Broccoli stalk soup recipe

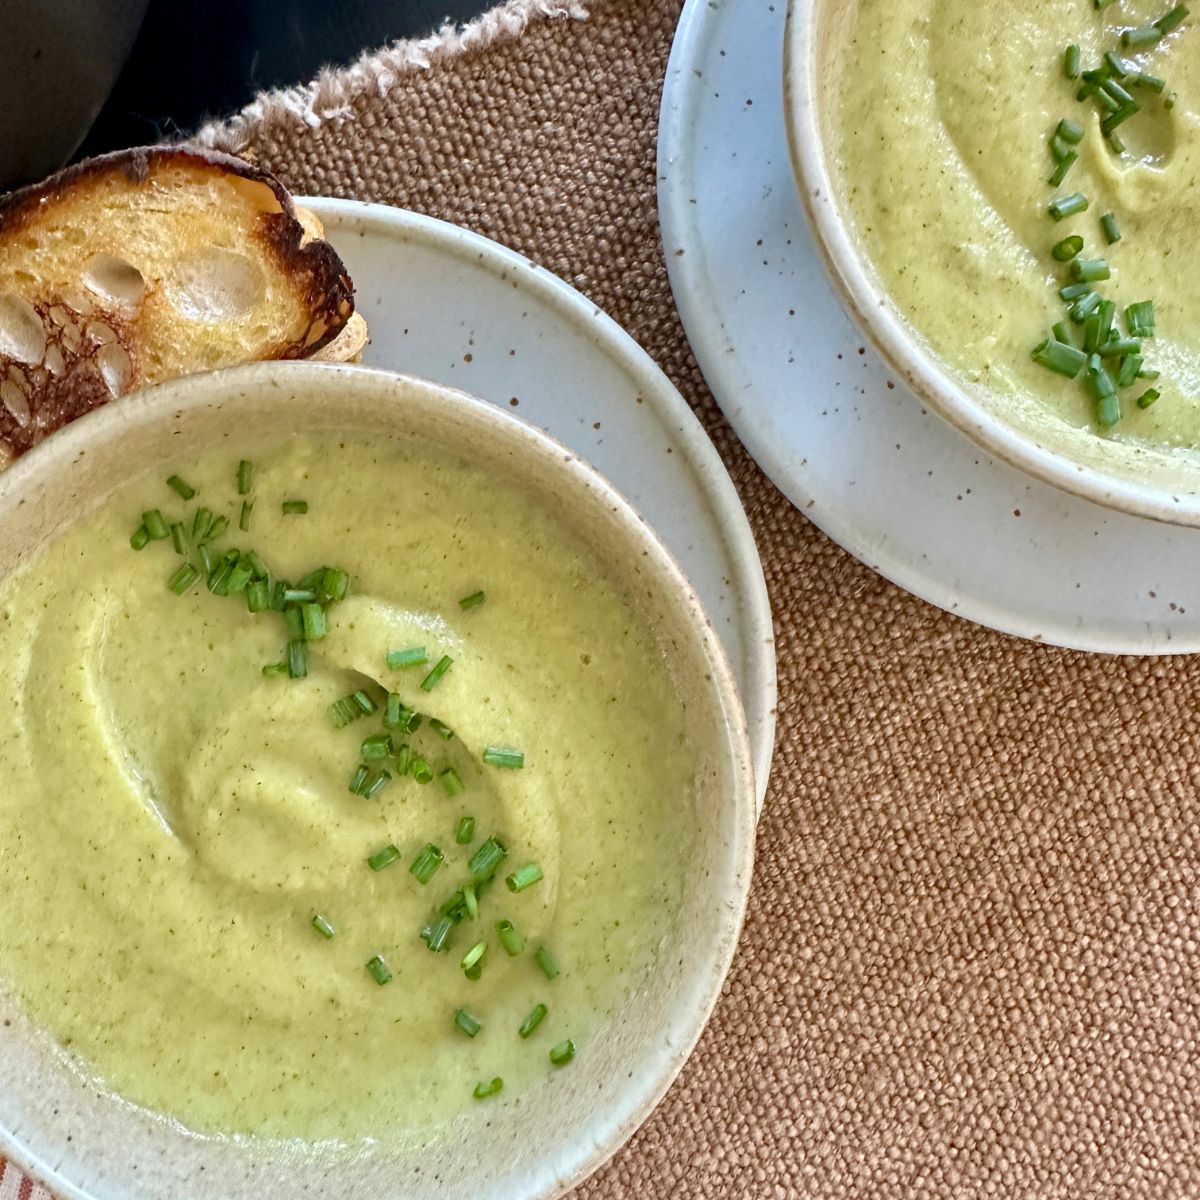
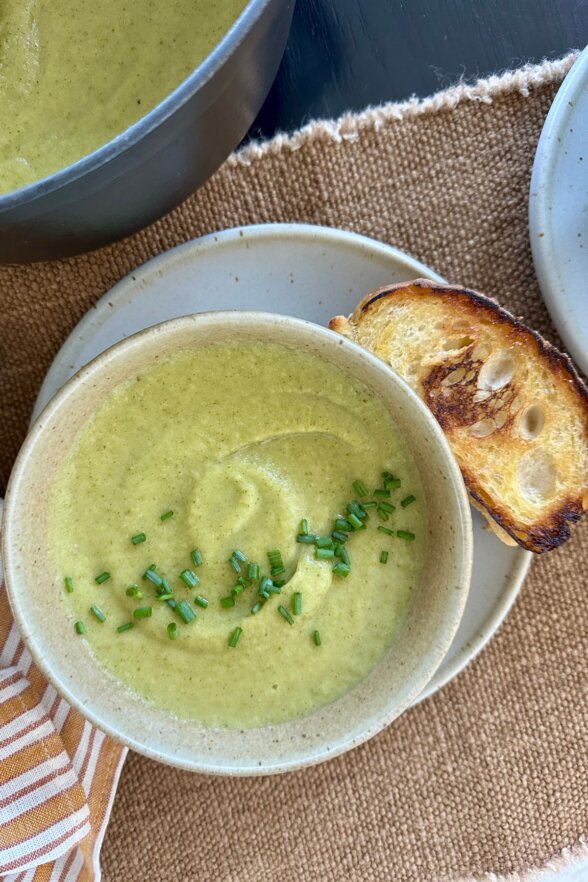
bowls of broccoli soup with bread

up close bowl of broccoli stalk soup

This month I’ve been teaching a broccoli and cauliflower stir-fry in my classes.  I am using only the florets since I know the stalks aren’t as popular in my house.  It’s all very well and good, except for the fact that I’ve been left at the end of each week with a heck of a lot of broccoli stalks.  I’m sure you’ve gathered by now that I am a compulsive use-everything-you’ve-got kind of a cook.  I absolutely hate to waste food!  In fact, I started a tradition in the house called “Frittata Fridays.”  That’s when I pull together bits of leftovers and random vegetables and turn them into breakfast.  Everyone’s happy!

So in order to not throw away the perfectly good broccoli stalks, I have been juicing lots of them into our juices.  But there’s only so much of that I can take.  What else could I use them for?   On a whim I decided to see if I could turn the stalks in a pureed soup like my Cauliflower and Roasted Garlic Soup, which is one of my absolute favorites.  My biggest concern was that the stalks wouldn’t have enough flavor and the soup would taste like nothing — WRONG!  It was delicious.  Warm, rich, creamy and using one of my favorite soup-thickening techniques (cooking and pureeing Yukon Gold potatoes with the soup), it tasted like there was lots of cream or butter when there was none.

Nutritionally speaking, the stalks are quite comparable to the florets, which is awesome since broccoli is once of those super foods you should be eating a lot of (and not throwing into the garbage!)  In fact, I’m big on the whole cruciferous family of vegetables which includes all the cabbages, kale, bok choy, cauliflower, brussels sprouts, collard greens and more.  These vegetables contain incredible amounts of vitamins, minerals, antioxidants, cancer-fighting compounds, and even protein.  Load up, people!

I enjoyed this soup straight away with an extra pinch of flaky sea salt and a few grinds of black pepper.  My husband stirred into his bowl a big pinch of shredded raw cheddar cheese and thought that was great.  For the girls, I made them grilled raw cheddar cheese and kale pesto sandwiches on spelt bread and they loved dipping those into the soup.  Even Mr. Picky finished his entire bowl — plain of course, with absolutely nothing added.  This was a winner all around!

finished bowl of broccoli soup with bread on the right, big bowl in the back

bowls of broccoli soup with bread

Broccoli Stalk Soup

Pamela
4.94 from 16 votes
Servings 6

Ingredients
  

  • 2 Tablespoons unsalted butter or unrefined cold-pressed olive oil
  • 1 medium onion chopped
  • 2 large garlic cloves chopped
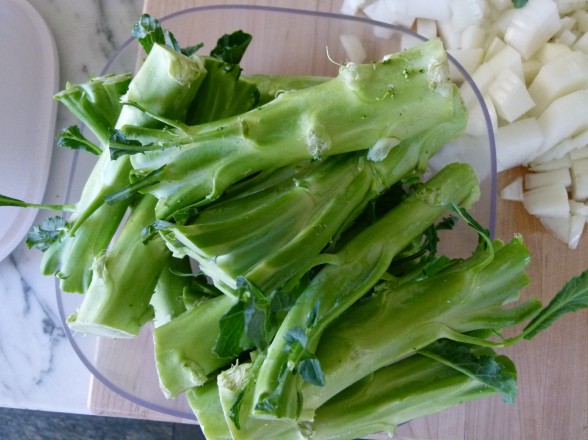
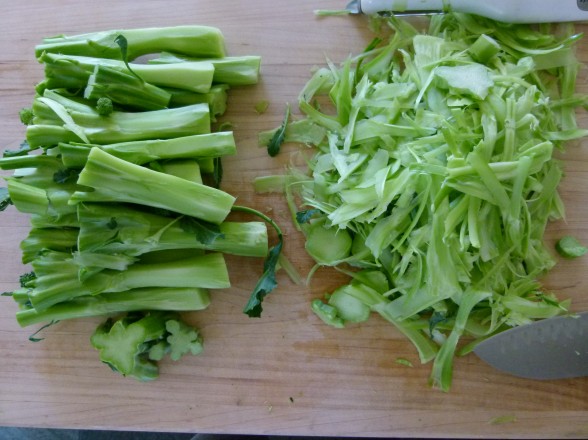
  • 2 ¼ - 2 ½ pounds broccoli stalks ends and any tough woody layers removed
  • 1 large Yukon Gold potato about 8 ounces, peeled if desired and cut into 1-inch pieces
  • 6 cups chicken or vegetable stock preferably homemade
  • 2-3 teaspoons sea salt
  • freshly ground pepper to taste

Instructions
 

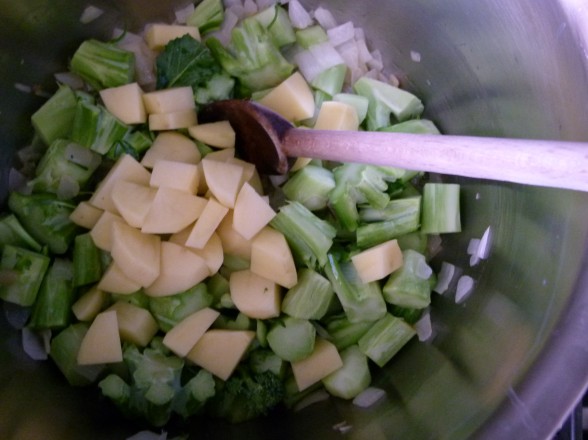
  • In a large pot over medium heat, melt the butter or warm the oil. Add the onion and garlic and sauté, covered, until tender and translucent, about 6 minutes.
  • Add the broccoli, potato, stock and salt. Bring to a boil over high heat and then lower to a simmer. Cook partially covered until potatoes and broccoli stalks are tender, about 20 minutes.
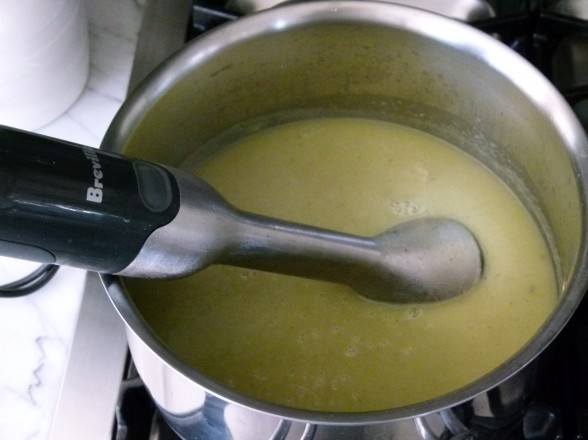
  • Puree soup with an immersion blender or in batches in a blender. Taste for seasoning.

Notes

You can stir in shredded cheese before serving, garnish with grated Parmesan or Pecorino, top with grilled cheese croutons or chopped chives
Tried this recipe?Let us know how it was!

Slow cooker chicken tacos recipe

You have all waited patiently while my life changed with the arrival of my new slow cooker. Apparently, I am very late to this party.  I had no idea there was this whole huge world of slow cooker devotees.  There are even websites devoted to only slow cooker recipes.  I could wallow in self pity right now, knowing that all these years I could have been starting my dinner first thing in the morning and then return at 6:00 pm to a fully cooked meal.  I could think about all the fall apart tender meats I missed out on or the flavorful soups and stews that could have been.  But who can be down when you’re in love?  Not me, friends.  Because I am in LOVE with my new slow cooker.

I use the words “slow cooker” instead of Crock Pot because Crock Pot is a brand which I don’t have.  But for all intents and purposes, they are used in the same way.  If you don’t have a slow cooker, I am not trying to sell you one here and I will provide directions in this recipe for how to make these tacos without one.  But seriously people, this machine rocks.  I don’t know what took me so long to get one.  I think part of my resistance was that I don’t have any room in my kitchen to store it.  I still don’t, but I did give away a box of Disney DVD’s in the garage to make space for it.  (Shhhhhh!)  I also never had a job where I left early in the morning and didn’t return until 6:00 pm to a house of hungry human beings.  Until now.

The irony is that I bought my sister a slow cooker a few years ago when she had her second baby because she does have a job like that.  She has been raving about it ever since!  A few months ago, I gave my other sister the same slow cooker when she moved into a new house and I think she just started playing around with it.  But I’ve used mine a few times a week since mid-December and I’m hooked.

Listen, no one needs a slow cooker, but here is why I love mine:

–if you spend a little time before you leave for the day, your slow cooker will make dinner and keep it warm for you until dinnertime;

–slow cookers cook at low heat for longer time.  Lower heat prevents nutrient loss.  Also, cooking above 350 degrees (which a slow cooker does NOT) can create AGE’s (advanced glycation end products) which are very inflammatory to the body and considered carcinogenic (ugh.)  Yup, you heard that right.  Preparing food in a slow cooker is better for your health!

–slow cooking can be very beneficial to tougher, leaner cuts of meat by breaking down the muscle and creating a very soft, tender meat;

–you can leave it unattended for up to 12 hours without overcooking your food or worrying about burning your kitchen down.

Again, I am new to slow cookers, and although I have learned a lot just by trail and error, I am no expert.  But so far, I’ve noticed that I prefer the recipes that ask you to brown meat or saute vegetables before adding them to the slow cooker.  You get much better flavor that way.  Yes, I realize you’re getting another pan dirty, but it’s worth it and you’re getting it over with in advance.  Also, I’ve made many non-slow cooker recipes in the slow cooker and just reduced the liquid a bit since there’s almost no evaporation happening and a lot of condensation.

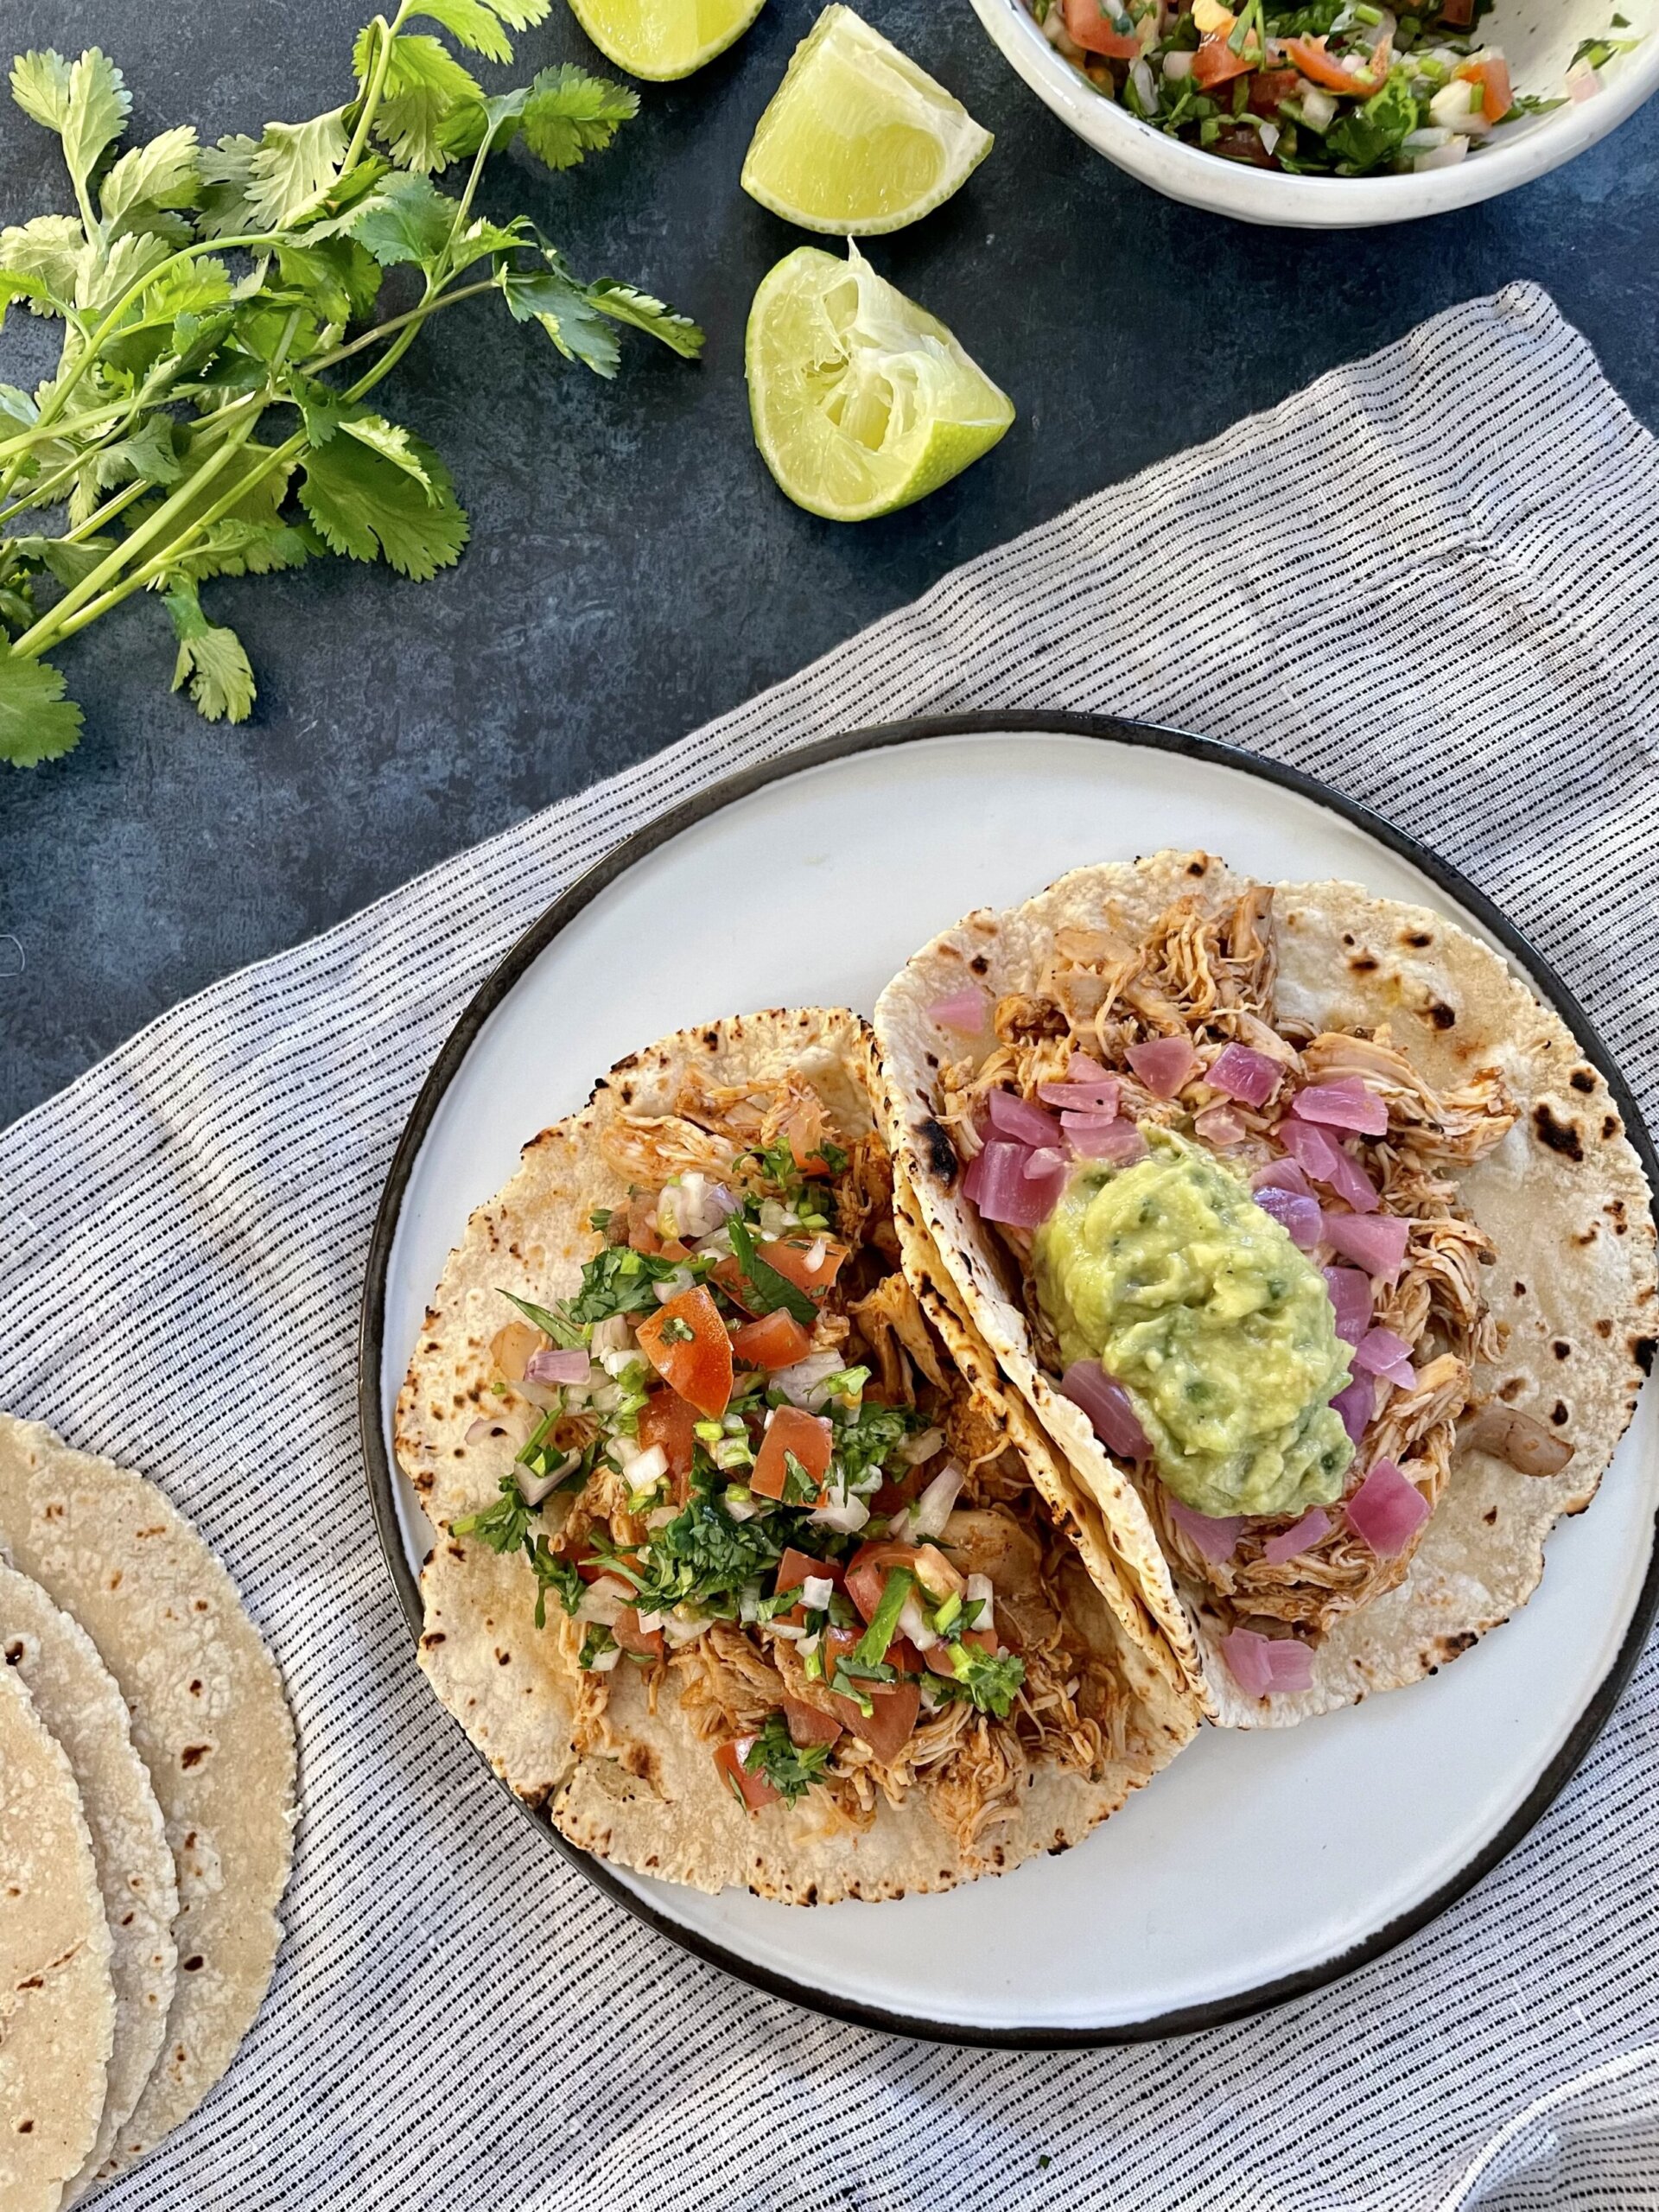
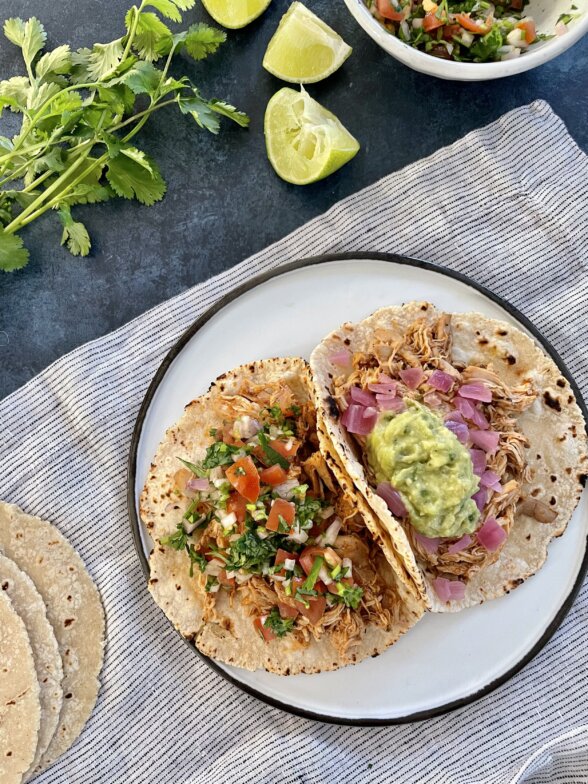
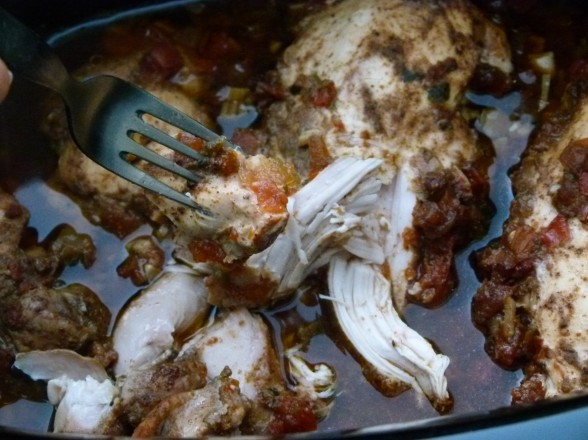
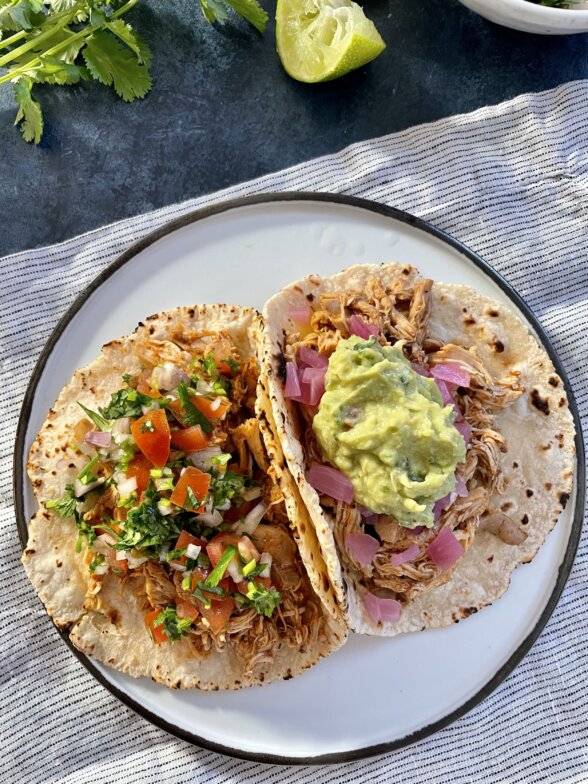
The recipe I’m posting today is a super easy one which I made on Sunday.  This is truly a measure, dump and press start recipe.  I used two different kind of chicken parts to see how they would both turn out and I’ll tell you the truth — although my family much prefers white meat, no one could tell what was what.  Both the thigh and breast meat were super fork-tender.  I personally think thighs have more flavor, but that’s just me.  Everyone L-O-V-E-D these!  I set up a taco bar with lots of toppings so they could just help themselves so I could sit on the couch with a cozy blanket and the new issue of Bon Appetit while watching the football game.  Bliss.  Slow cooker + Me = Together Forever!

Any slow cooker love stories out there?  I want to know it all — how and when you met, how you keep the passion alive, recipes for success, etc!


Slow Cooker Chicken Tacos

Pamela, adapted from Martha Stewart Living
5 from 1 vote
Servings 6

Ingredients
  

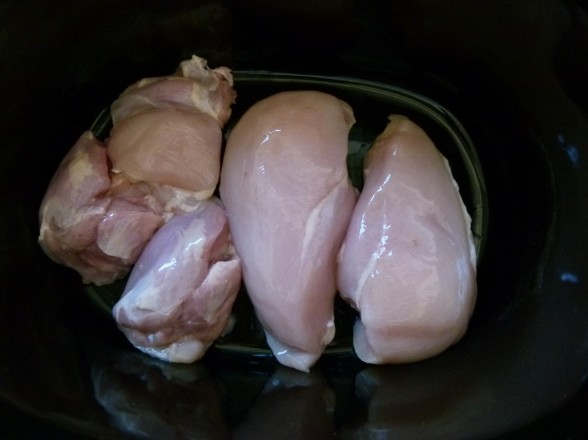
  • 2 pounds boneless skinless chicken breasts and/or thighs (I used 2 breasts and 3 thighs.)
  • 1 teaspoon chili powder
  • 1 teaspoon ground cumin
  • ½ teaspoon ground chipotle powder
  • 1 teaspoon sea salt
  • black pepper to taste
  • 4 cloves garlic finely chopped
  • ½ cup prepared tomato salsa I used pico de gallo. + more for serving
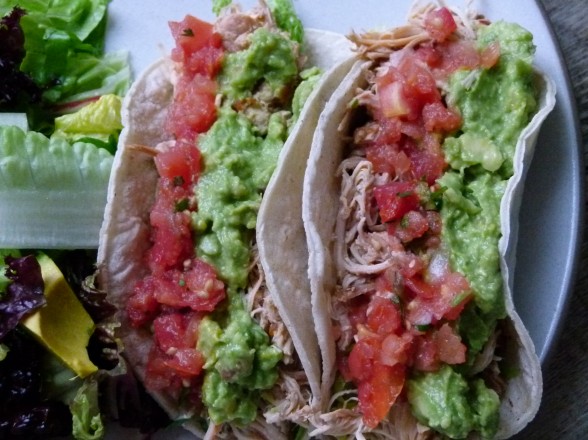
  • suggested accompaniments: corn tortillas guacamole, salsa, shredded lettuce, cilantro-lime slaw

Instructions
 

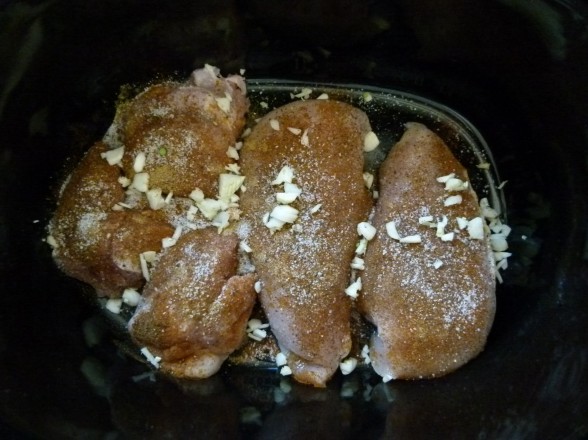
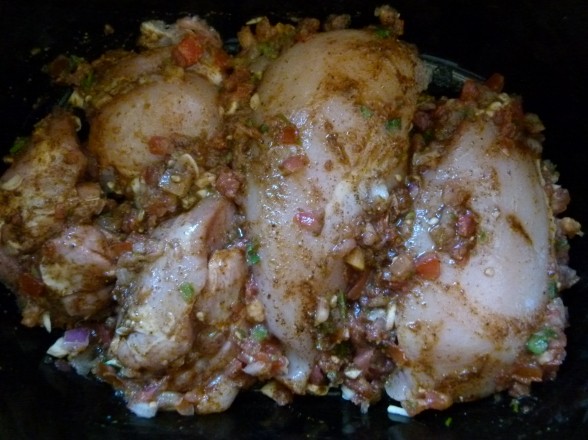
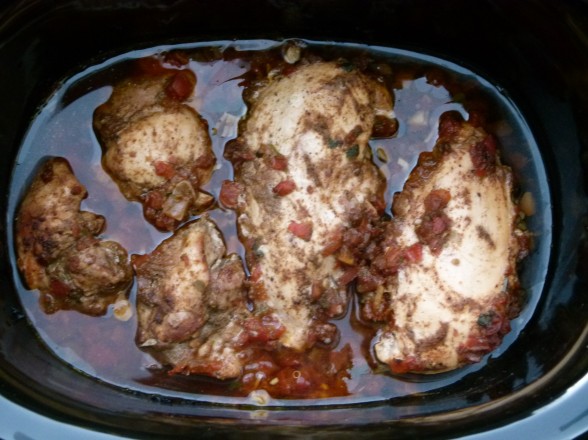
  • Place the chicken in slow cooker and sprinkle with chili powder, cumin, chipotle powder, salt and pepper. Add garlic and salsa and rub around to combine. Cover; cook on high for 4 hours or low for 6-8 hours.
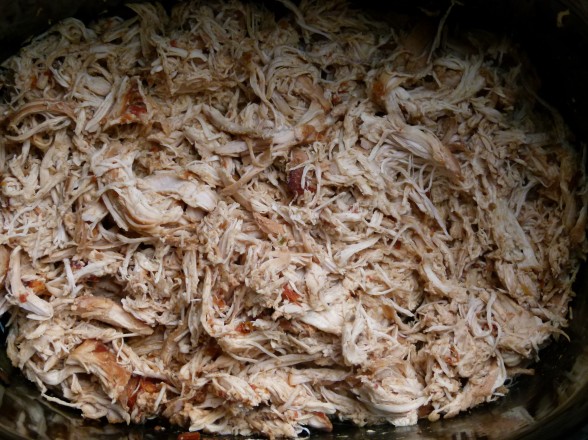
  • Either shred the chicken with 2 forks right in the slow cooker or transfer to a plate to shred. Moisten chicken with cooking juices and serve with desired tortillas/taco shells and toppings. You could even serve the chicken over rice with salsa and diced avocados.

Notes

Leftovers are great in a quesadilla!
Oven method: preheat oven to 350 degrees. In step 1, place all ingredients (except accompaniments) in a 5-quart Dutch oven or ovenproof pot with a tight-fitting lid. Add 2 cups water or chicken stock. Cover and bake until chicken is fork-tender, about 2 hours. Proceed with step 2.
Tried this recipe?Let us know how it was!


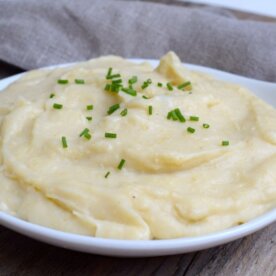
Millet-Cauliflower Mash Recipe

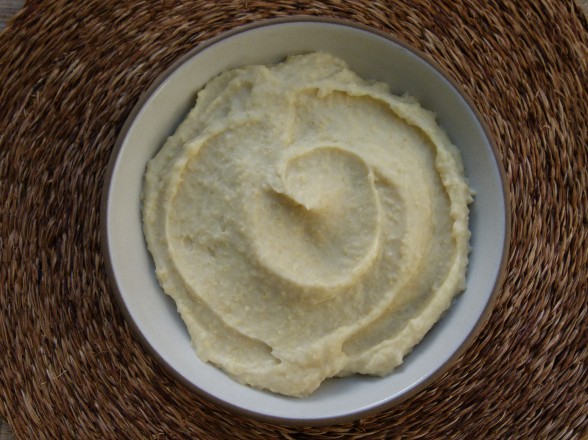
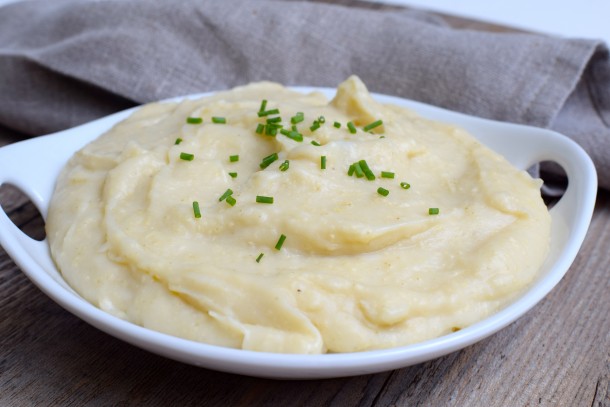
millet-cauliflower mash | pamela salzman

Don’t change that dial!  I know what’s happening here.  You see the word “millet” and all of a sudden you need to go wash your hair instead of reading the rest of this post.  You think it’s bird seed or that you’re family will think it’s bird seed.  Ok, you’re not far off, but this is incredibly tasty birdseed, people!  I know you established some hardcore resolutions last week and I am here to help.  This millet mash is delicious, creamy, comforting, and incredibly nutritious AND alkalizing and gluten-free and dairy-free and vegan and everything else you want to be right now.  Still with me?

Millet is such an under-appreciated seed.  It’s very easy and quick to prepare and has a very mild flavor.  I posted a millet recipe last year and discussed the myriad benefits of millet there.  Do check it out if you’re new here!   I also made a scrumptious millet porridge the other day with coconut milk, almond milk and no additional sweeteners.  I think I like it better than my brown rice pudding.

Last year I taught this Millet-Cauliflower Mash with hesitation.  I always have a few risky recipes which make me worried people will think they’re too “out there.”  But deep down I knew this dish was amazing and it ended up being a huge hit.  Millet-Cauliflower Mash is my mashed potatoes without the potatoes and without the butter and cream.  I actually considered serving this for Thanksgiving, but my husband thought I was getting carried away.  Truthfully, I serve mashed potatoes once a year (on Thanksgiving) and Millet-Cauliflower Mash practically once a month the rest of the year.  I won’t lie and tell you it tastes exactly like mashed potatoes.  Millet is slightly nutty and corny tasting and this puree isn’t baby-food-smooth like mashed potatoes, but instead feels a little like polenta.  The flavor is definitely very mild and neutral, though.  I love it with anything saucy like Baked Chicken with Artichokes or Orange and Rosemary Glazed Chicken.  You can even serve it with meatballs or a vegetable stew.  If you have leftovers, the mash will firm up in the refrigerator and you’ll need to add a bit of water or broth to reheat it.  Alternatively, you can treat it like leftover polenta and slice it up and then bake it or fry it.  Still with me?  Great!  Now go get thee some millet!

Millet-Cauliflower Mash

Pamela
5 from 1 vote
Servings 6

Ingredients
  

  • 1 medium onion chopped
  • 1 Tablespoon unrefined olive oil unsalted butter or unrefined coconut oil
  • 1 cup millet rinsed
  • 3 cups water
  • 3 cups cauliflower florets
  • 3 garlic cloves
  • 2 teaspoons sea salt
  • 1 Tablespoon chopped chives optional (I didn't have any the day I photographed this.)
  • unsalted butter optional

Instructions
 

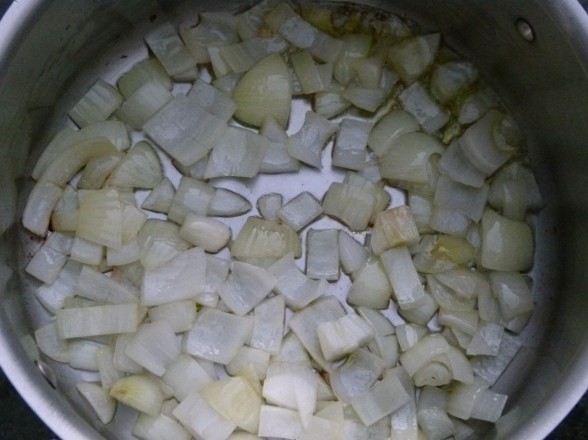
  • In a large saucepan, heat the olive oil. Add the onion and sauté over medium heat until tender and translucent, about 3-4 minutes.
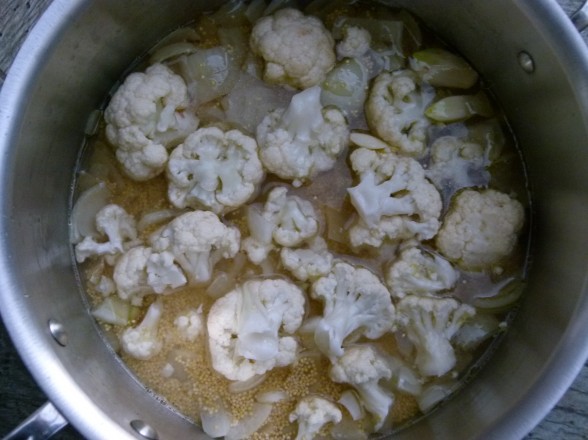
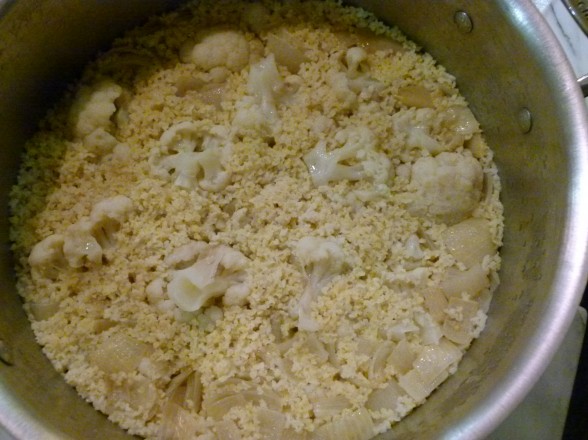
  • Add the millet, water, cauliflower, garlic and salt. Bring to a boil over high heat, cover and simmer for 25-30 minutes, until the vegetables are soft and the millet is cooked.
  • Remove from the heat. Transfer to a food processor and blend until smooth or mash with a potato masher until desired consistency is achieved. The food processor will make this much smoother.
  • Transfer to a serving bowl and sprinkle with chives, if you like. You can also stir in a little unsalted butter for a creamy finish, but it’s delicious without.
Tried this recipe?Let us know how it was!


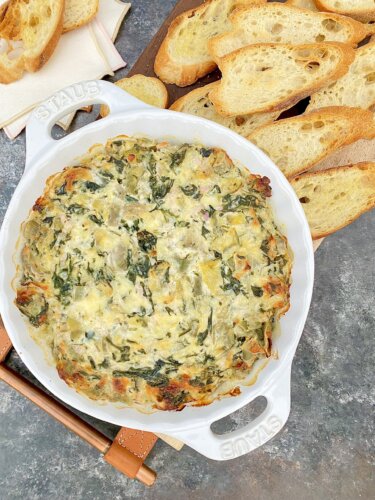
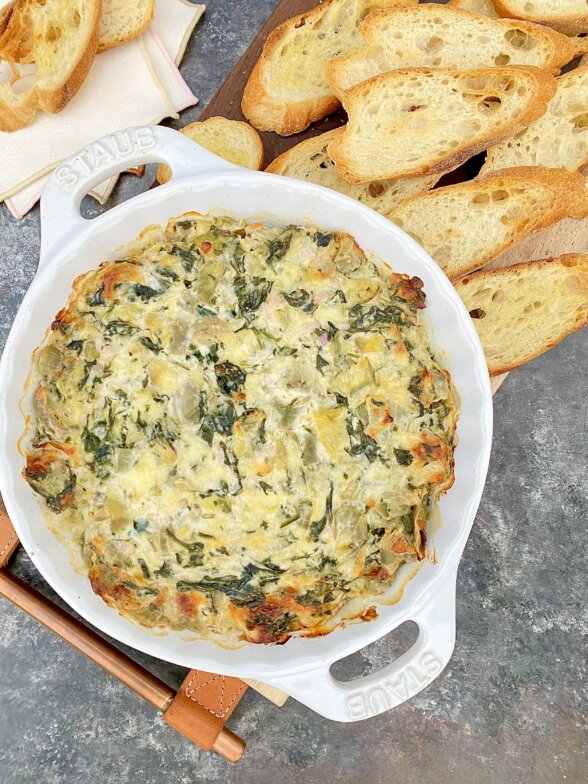
Hot spinach artichoke dip recipe

I hope you all had a lovely Christmas!   Even though you haven’t heard from me in a few days, I have been cooking up a storm nonetheless!  We arrived in NY to visit my family and between Christmas Eve for 79 people to breakfast-lunch-dinner for our clan of 15 every day, I’ve been busy in the kitchen.  What has been fun is the team effort.  My sisters, my mom and I have been planning and preparing together which really is the only way when you’re trying to figure out what to make that most everyone will like.  My husband is actually pitching in as I type this and making baked ziti with my mother for tonight’s dinner.  It is seriously hilarious listening to him explain his “method” to my Italian mother.  Also nice to have the night off so I have a few minutes to write something for you lovely readers!

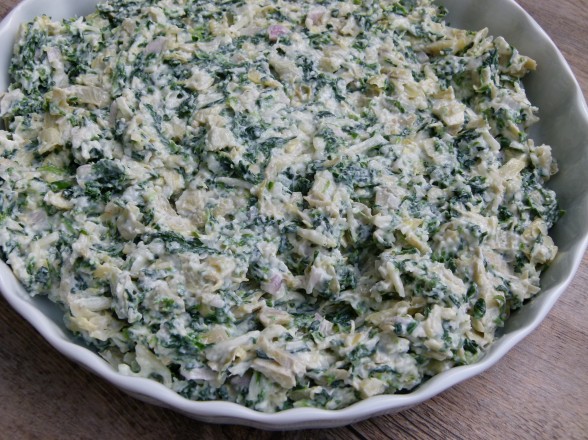
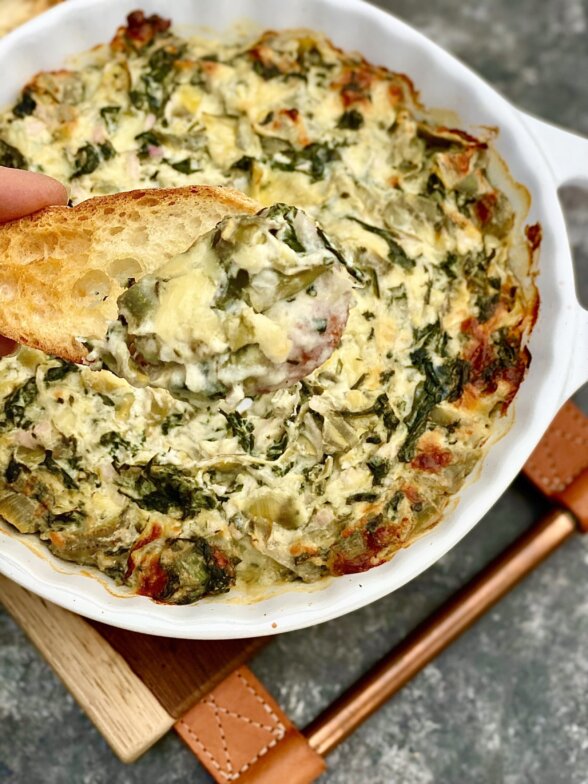
I always find at this time of year many of my friends and students are looking for a winner hors d’oeuvre for all the entertaining and football-watching they do.  I have quite a few on the site already and you can check out the segments I did for our local news the last two years, but I would love to share this popular (although I wouldn’t say the most healthful) dip that is always very popular.  Hot spinach artichoke dip is something my husband and my kids love to share in a restaurant.  They somehow rationalize all the sour cream and cheese with the presence of spinach in there.  This is a lighter version, but still warm, creamy and tastes just like the one you’ve had at your favorite restaurant.  My kids like to scoop this onto crostini, pita chips or even tortilla chips.  Although I’ve eaten the dip with sweet bell pepper strips  and blanched cauliflower, I think they probably had the better idea.

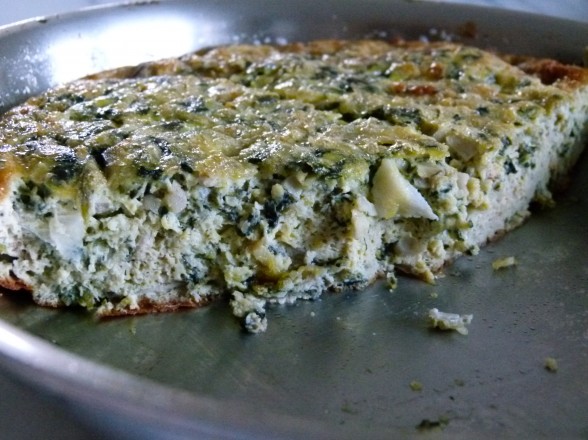
I know you busy you all are and what you really want to know is how you can do this ahead of time so you you’re as relaxed as Ina when her guests arrive.  Oh how I’d love to be invited over for cocktails and cards with Ina!  But I digress.  You will blend this whole concoction together in no time — no sauteeing or blanching — and keep it covered in the fridge until the next day when you want to serve it.  Then uncover it and bake it for about 25 minutes until hot and melted and bubbly.  I usually time this to be ready about 15 minutes after I’ve told my guests to arrive since no one these days shows up exactly on time, including yours truly.  This dip is really best served hot and because there’s cheese in it, the longer it sits out, the more it firms up.  So it’s best if you don’t have this out too early.  I also recommend if you’re going to make a few for a longer cocktail party or football game to stagger them about an hour apart so you can serve a nice hot one a few times.  Very recently I discovered a new and incredible way to eat leftovers of this dip — blended with beaten eggs and baked as a frittata, which is this photo right below.

Leftovers can be mixed with beaten egg and baked into a frittata

Now you can have your fabulous hors d’oeuvre for New Year’s Eve and the beginnings of an amazing New Year’s Day breakfast.  Does it get any better than this???


Hot Spinach and Artichoke Dip

Pamela
5 from 1 vote

Ingredients
  

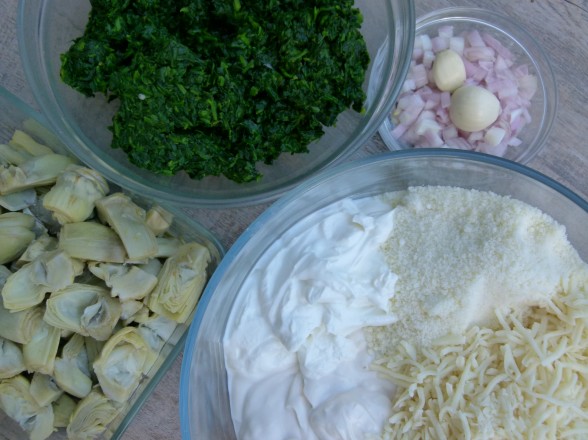
  • 10 ounces artichoke hearts frozen defrosted or packed in water, drained
  • ¼ cup chopped shallots
  • 1 clove garlic
  • 10 ounces frozen chopped spinach thawed and squeezed dry (I do this in a thin clean kitchen towel) or 10 ounces fresh spinach, steamed in a little water until wilted and excess water squeezed out
  • ½ cup Greek yogurt
  • ½ cup Vegenaise or mayonnaise I use soy-free Vegenaise.
  • 2/3 cup grated Pecorino or Parmigiano Reggiano cheese I use Pecorino.
  • 4 ounces mozzarella cheese shredded
  • salt and pepper to taste

Instructions
 

  • Preheat oven to 375 degrees.
  • In a food processor, coarsely chop the artichoke hearts with the shallots and garlic.
  • Combine all the ingredients in a medium bowl.
  • Place in a 9 or 10-inch oven-proof dish and bake for 20-25 minutes, until hot and cheese is melted. Serve immediately.

Notes

Notes: this obviously has a lot of dairy, but it *may* be possible to make this dairy-free with vegan mozzarella (Violife has a good one) and vegan Parmesan and vegan yogurt (Forager cashew yogurt or Kite Hill coconut yogurt may work.)
You can assemble this in the baking dish the night before, remove from the refrigerator before you preheat the oven so it's not ice cold, and then bake.
Tried this recipe?Let us know how it was!


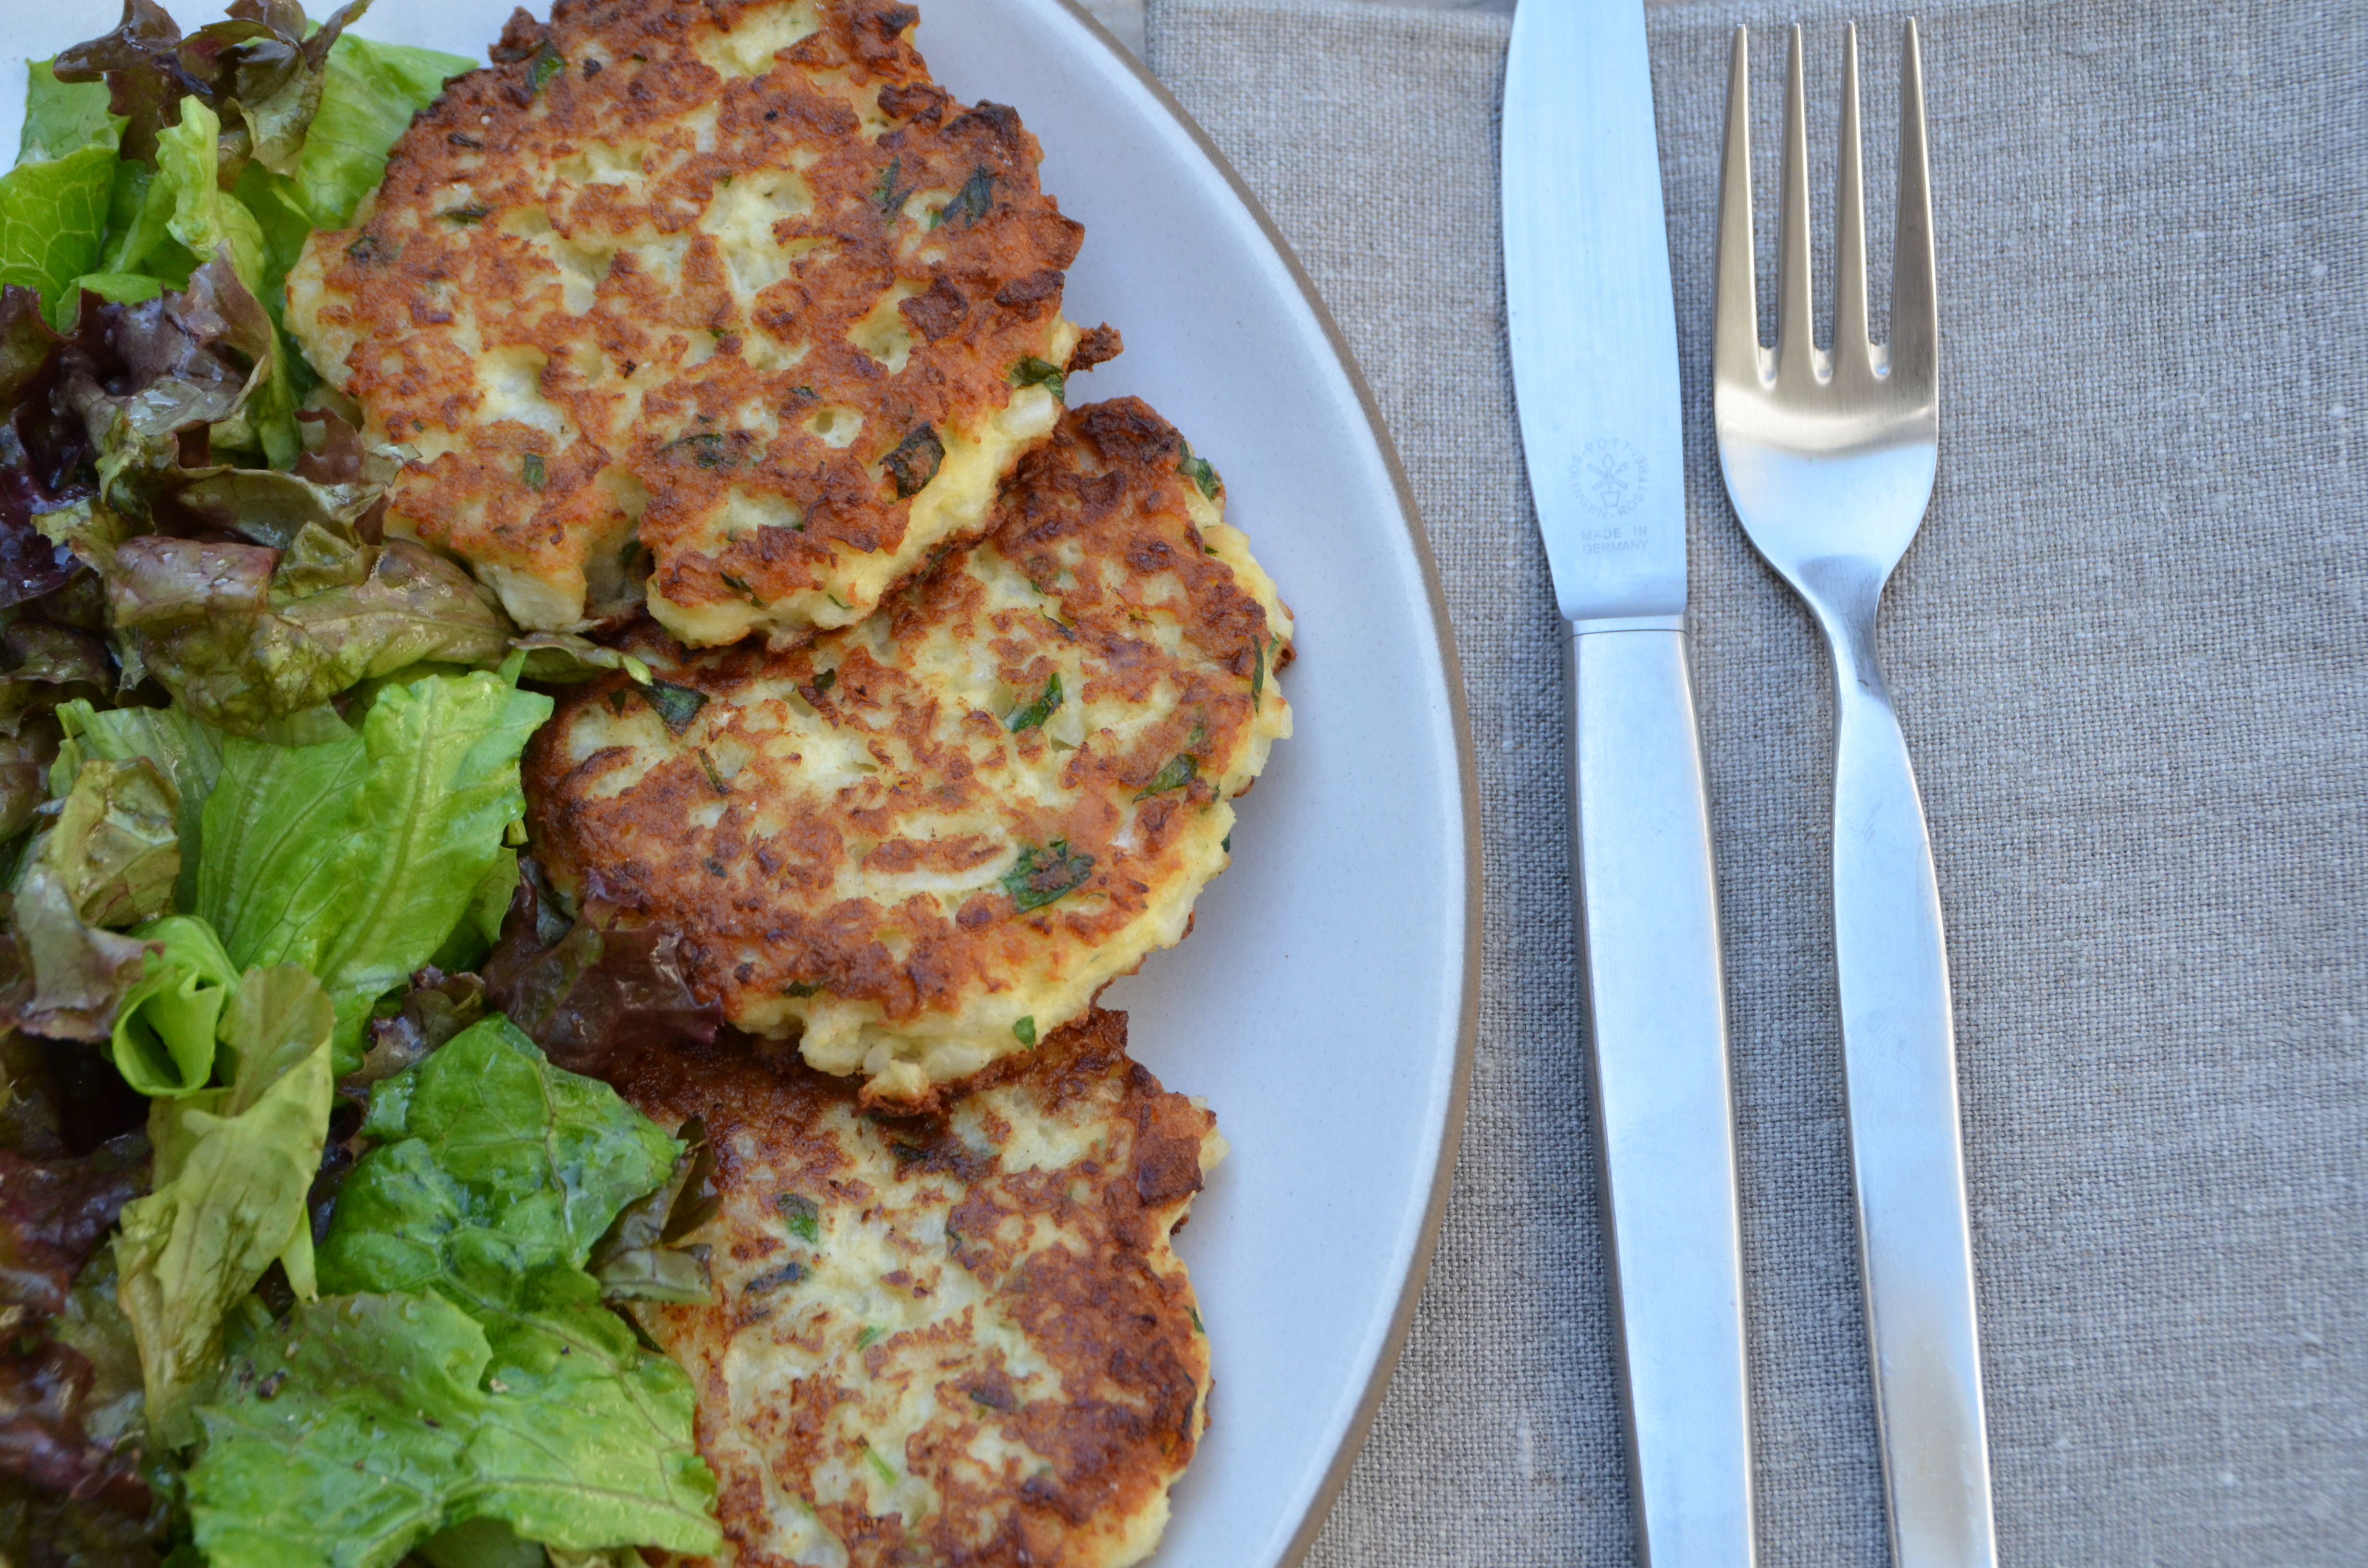
Cauliflower fritters recipe

“Wow.”  That’s what I said a few days ago when I woke up and it was December.  DE-CEMBER.  I’ve got no holiday card in the works yet.  I went to the movies on Black Friday and I worked through Cyber Monday which means I am waaaaaay behind on my Christmas and Hanukkah shopping.  The only December task I have checked off my list is getting Mr. Picky’s suit let out so I wouldn’t have to go out and buy him another for Christmas Eve.  But I’m not worried about Christmas quite yet since that’s a good 3 weeks away.  Hanukkah, on the other hand, starts on Saturday.  This Saturday!

As you might have learned from reading this blog, my family is Italian and my husband is half Jewish and half Puerto Rican which means a lot of holidays and a lot of food!  But thankfully, and I mean that, I am off the hook for preparing the annual Hanukkah dinner and gift exchange with my husband’s family.  My mother-in-law has that one mastered so she will be making dozens of potato latkes for us to enjoy when we celebrate this weekend.  Traditional foods on Hanukkah include anything fried in oil to symbolize the miracle oil in the temple in Jerulsalem.  For most, this means potato pancakes (latkes) and doughnuts.  Ugh.  Not the most healthful foods on the planet.  I usually indulge in a latke or two since my mother-in-law makes the absolute best.  But the Jews love a holiday and many of them last 8 days, Hanukkah included.  So my kids and my husband nudge me to make latkes a few more times during the week.  They know better than to ask me to make doughnuts.

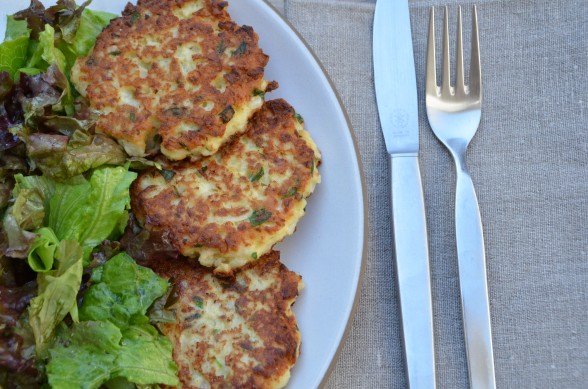
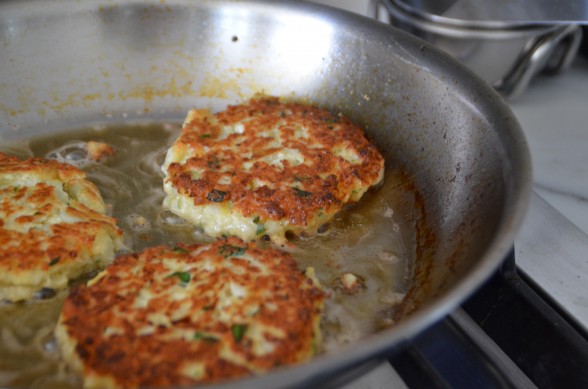
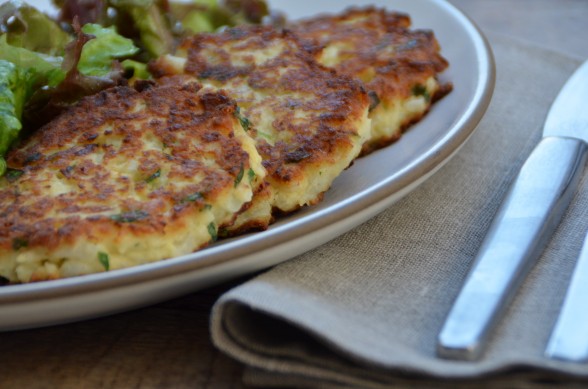
To mix it up a bit, I always cook up zucchini latkes at least once during Hanukkah and the kids love them, especially Mr. Picky.  This year I am also going to make these delicious Cauliflower Fritters during Hanukkah because to me they taste kind of latke-ish, they’re cooked in oil, they’re made with CAULIFLOWER and my family is obsessed with them!  There may not be any potato in there, but I bet you could grate a fresh potato and fold it in there and call it a Cauliflower Latke!  I’ve seen many recipes which use cauliflower in place of potatoes or rice.  Cauliflower is rather neutral in flavor and mashes up nicely to a soft texture so you really have no idea there is cauliflower in these patties.

What I love about these Cauliflower Fritters is that the batter can be made earlier in the day and the fritters made just before you are ready to eat.  My husband loves them on top of a pool of warm marinara sauce, Mr. Picky squirts mustard on his, and I like to eat them with a crisp salad.  Since there is flour in the batter, I treat these fritters as if they were a starch and I make another vegetable side dish for dinner.  Once you taste these, you’ll be making them all year long!

Cauliflower Fritters

Pamela, adapted from skinnytaste.com
5 from 1 vote

Ingredients
  

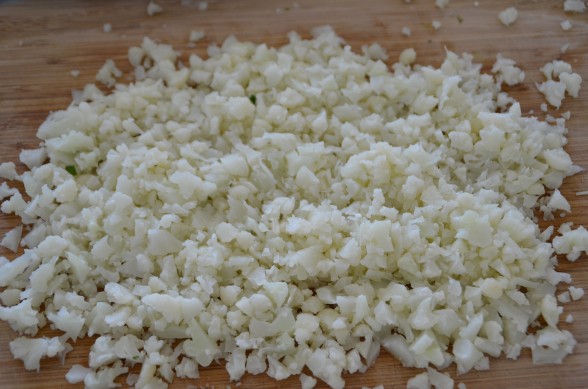
  • 4 cups steamed* chopped cauliflower, about 1 medium head (you can also use frozen, steamed cauliflower, defrosted)
  • 1 cup whole wheat pastry flour or gluten-free flour I like King Arthur Multi-purpose Gluten-free Flour (you can also use all-purpose flour)
  • 2 cloves garlic finely chopped
  • 2 large eggs beaten
  • ½ cup grated Pecorino or Parmesan cheese optional if you're dairy-free
  • ¼ cup fresh parsley or chives finely chopped
  • 1 teaspoon sea salt
  • freshly ground black pepper to taste
  • About ¼ cup hot water
  • Unrefined olive oil for cooking fritters

Instructions
 

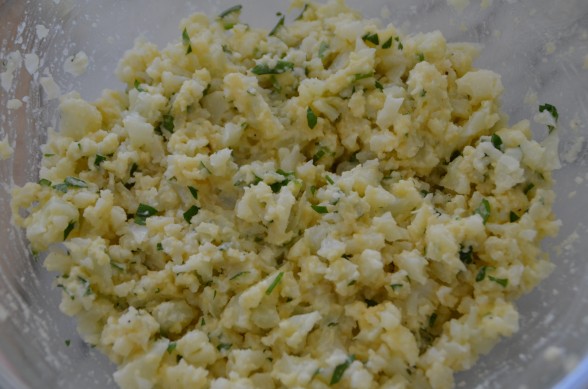
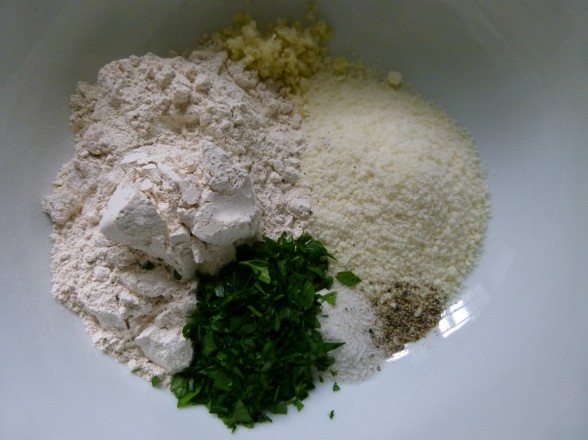
  • Place the cauliflower in a large bowl and add the flour, garlic, eggs, cheese, parsley, salt and a few grinds of pepper and combine. Add hot water a little at a time to make a batter that looks like egg salad. I mush everything together with my hands.
  • Heat a large skillet over medium heat. Add about 2 tablespoons oil or enough to coat bottom of skillet. When oil is heated, take a ¼ cup of batter and form into a patty. Cook in the oil until golden brown on the bottom. Flip fritter and cook until golden brown on the second side. You can likely fit 6 fritters at one time. Repeat with remaining batter.

Notes

The batter can be made ahead and the fritters can be frozen, too.
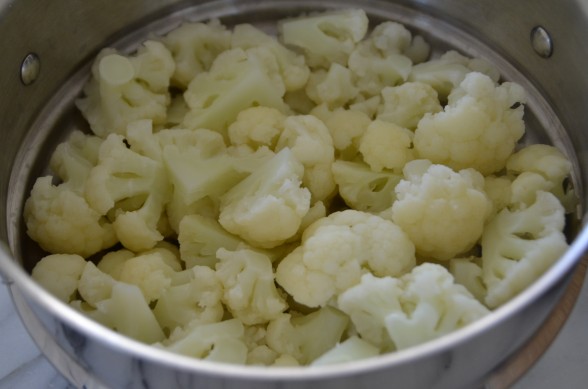
*To steam the cauliflower, cut it into large florets and place in a vegetable steamer over boiling water, steam, covered, until the cauliflower is tender, (about 7-10 minutes), then roughly chop, measure 4 cups, and place into a large bowl.
Tried this recipe?Let us know how it was!

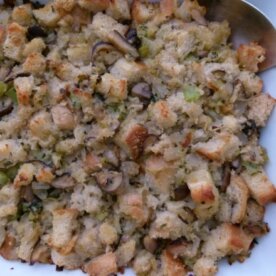
Mushroom and leek stuffing recipe

When I married my husband over 17 years ago (gasp!), I was more than excited to start hosting some of the holidays at our new home.  But I soon realized that my husband’s traditions were slightly different from the ones I grew up with, especially on Thanksgiving.  What?  No first course of pasta with marinara sauce?  Strange, I thought, but I could adapt!  My mother-in-law kindly shared with me the way things were done on the West Coast.  She liked to serve everyone a salad to start and plate the main dinner for each person in the kitchen.  Turkey and gravy, mashed potatoes and stuffing were all givens, and their stuffing of choice was Pepperidge Farm.  No problem!

My husband and I have hosted every Thanksgiving since 1996 and enjoy the comfort that develops when you do something over and over again.   I have since incorporated my own traditions like buffet – easier and much less waste – and soup to start.  About 6 years ago I decided to examine the ingredients on the seemingly innocuous bag of Pepperidge Farm stuffing.  Holy crap.  I couldn’t believe the garbage that went into breadcrumbs!  One thing I knew for certain was that Pepperidge Farm was uninvited to Thanksgiving…forever!

Actually, if it were up to me, I would drop stuffing from the menu altogether.  I really don’t get it.  With ALL the delicious food on the Thanksgiving table, many of the dishes starchy, we’re going to eat gussied up bread, a food we already overeat on every other day of the year??  I was trying to explain to my husband that mashed potatoes, sweet potatoes and butternut squash are all starches, as is the obligatory cornbread.  We should balance out the meal with additional vegetables, like Brussels sprouts!  “You’re taking this health food thing a little too far.  The stuffing stays!”

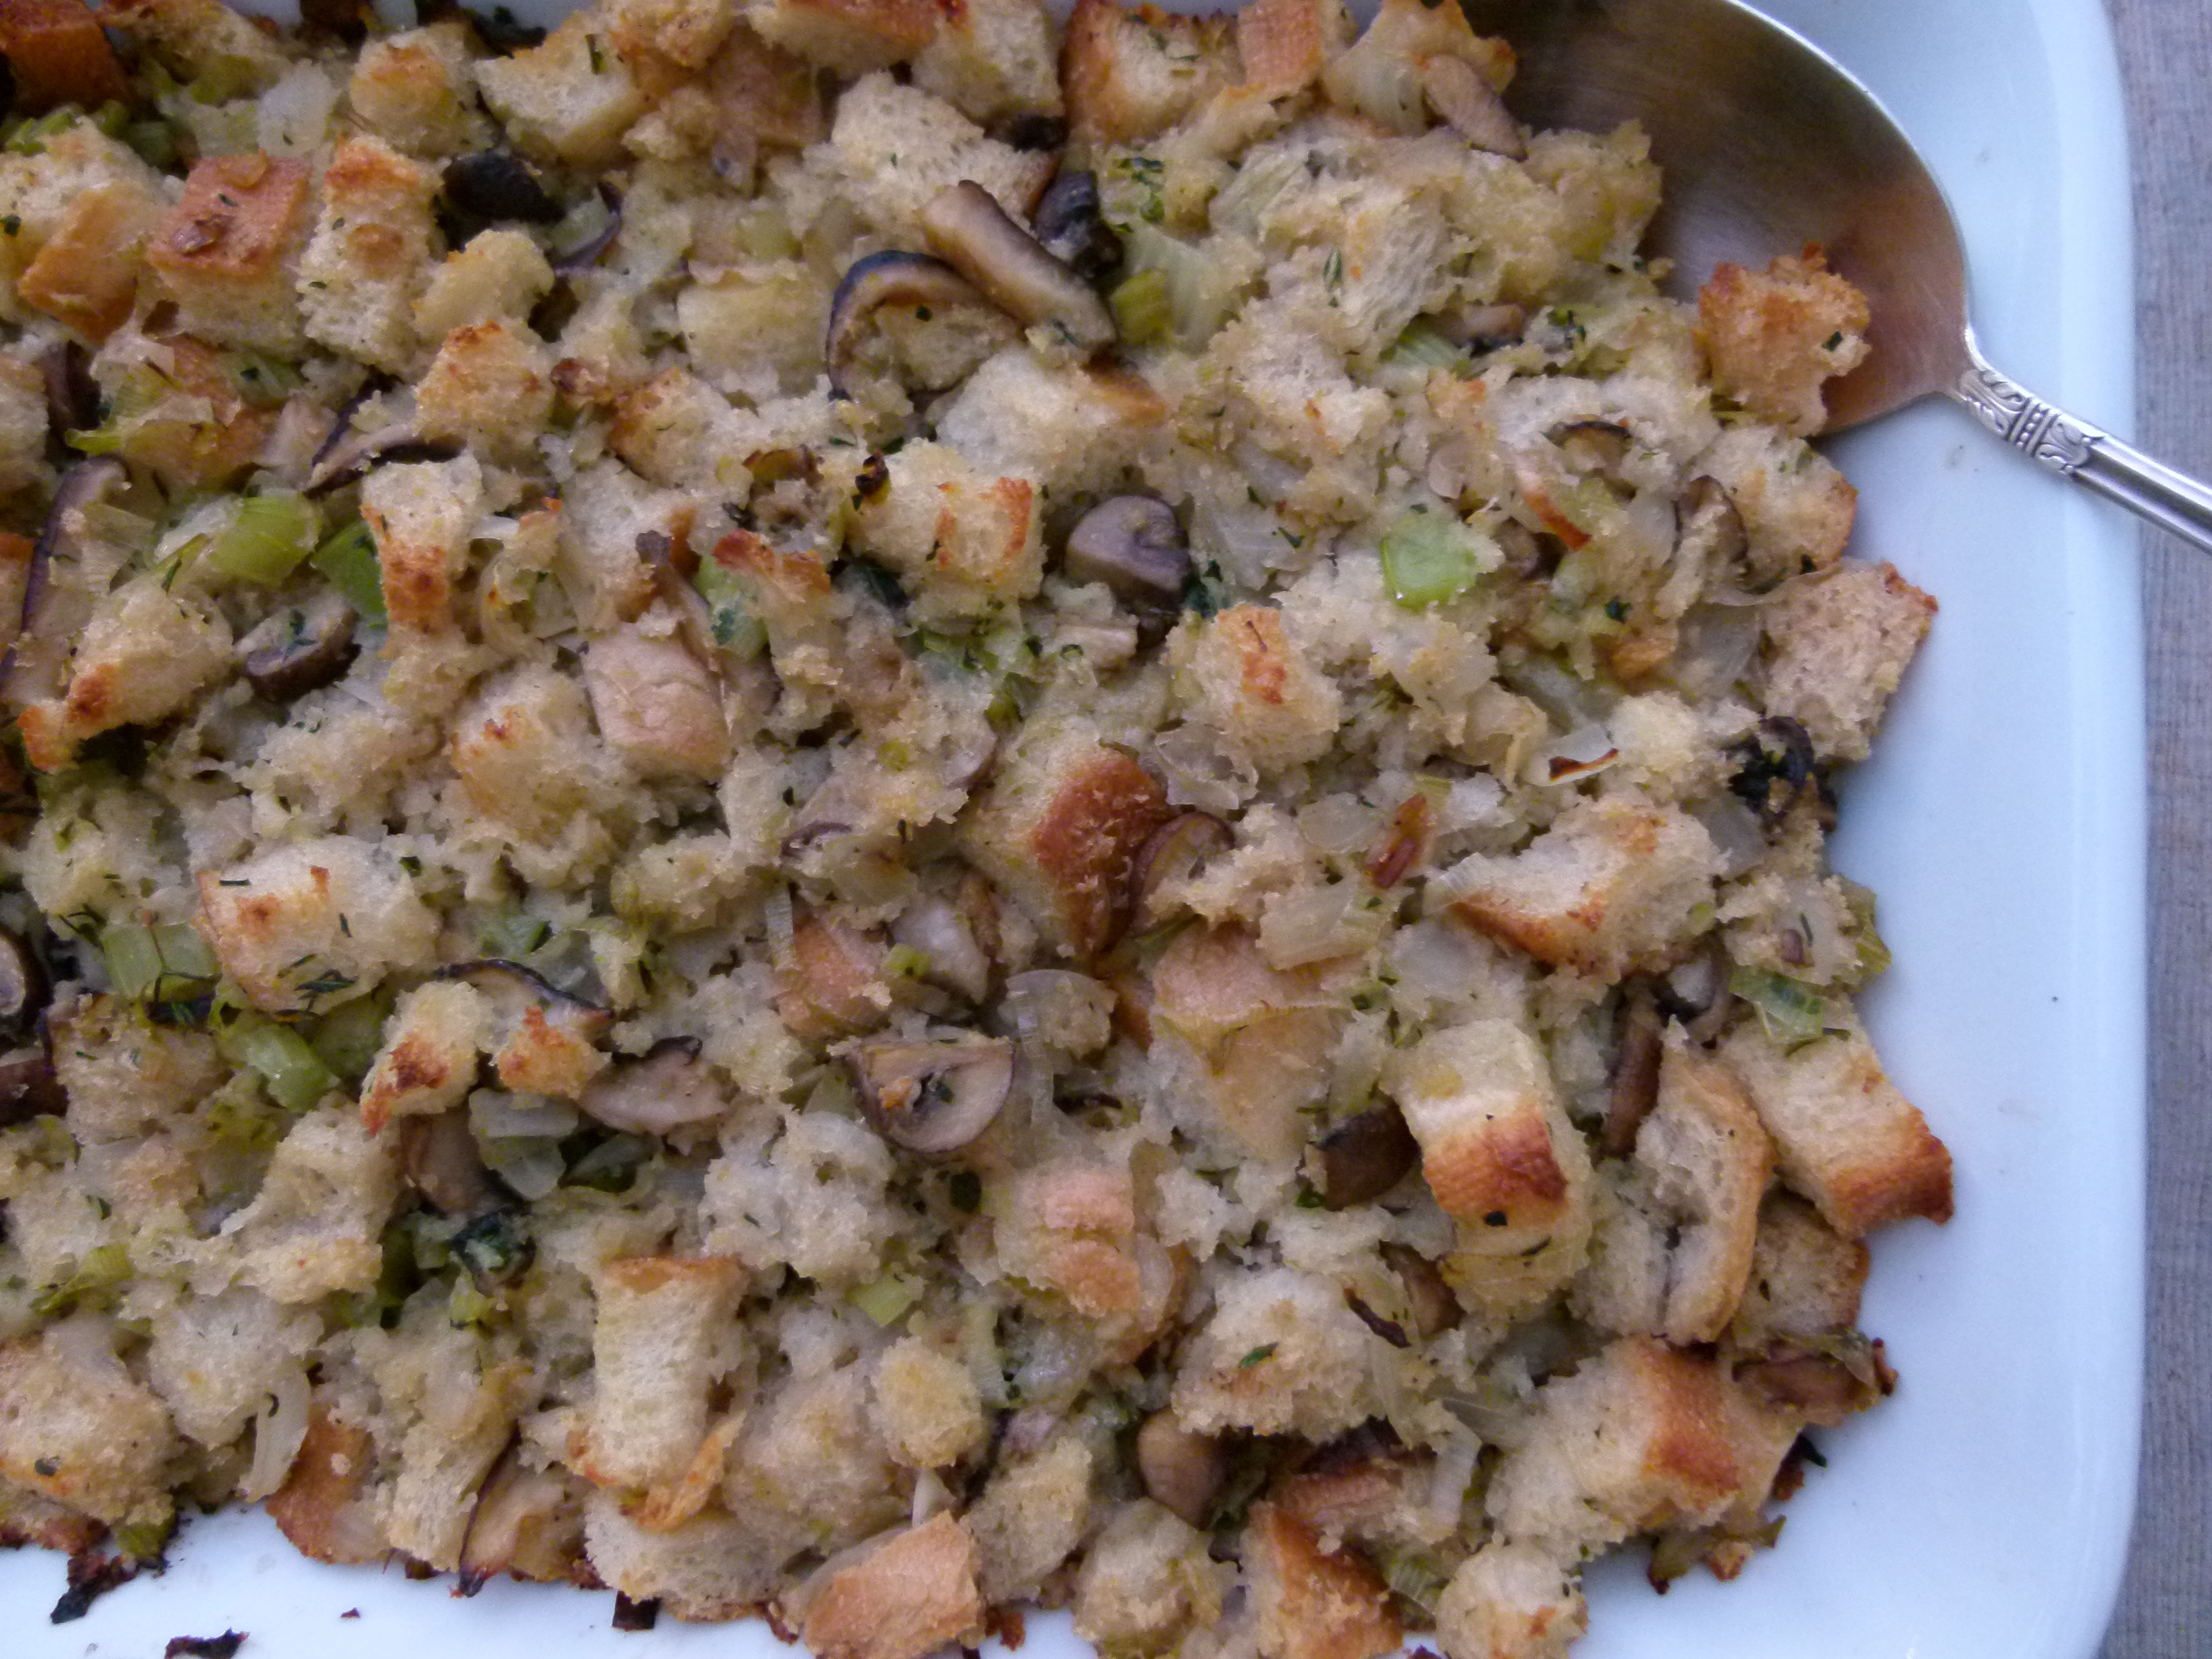
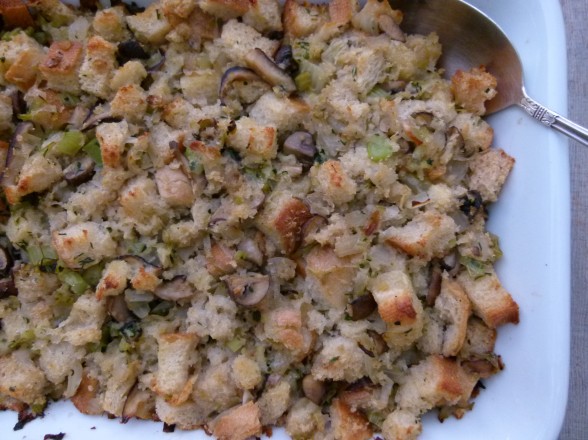
Although I like to think of myself as the dictator of my kitchen empire, the director of Thanksgiving, I’m really a democratic leader.  I figured my only option was to create a delicious, higher quality stuffing that looked like Pepperidge Farm and tasted enough like it, but even better.  So here’s my take on a good classic stuffing that’s not too gourmet, in fact tastes very close to our old preservative-laden standby.    I usually make two for our dinner, one with mushrooms to suit me and one without for my hubby.

I’ve tried this stuffing with whole grain breads like whole wheat or spelt, but truthfully it tastes a little “wheat-y.”  There was a fantastic bread I used to buy from Whole Foods called Miche, which was a sourdough bread made of a blend of whole wheat and white flours.  That was about as whole grain as my family could take on Thanksgiving.  Truth be told,  I prefer to go down in our family history as the benevolent one who said, “ let them eat stuffing!”

Mushroom and Leek Stuffing

Pamela
5 from 1 vote
Servings 8 -10 (although I make 2 for 24 people on Thanksgiving and it is plenty)

Ingredients
  

  • 1 ½ pounds rustic whole wheat or white bread hard crust removed
  • 6 Tablespoons unrefined cold-pressed extra-virgin olive oil
  • ½ pound shiitake mushrooms wiped clean, stems removed and discarded, caps sliced
  • ½ pound cremini mushrooms wiped clean, quartered
  • 2 stalks celery chopped
  • 1 large onion chopped
  • 2 leeks cleaned and sliced
  • 3 garlic cloves minced
  • 1 ½ teaspoons fresh thyme chopped
  • 1 teaspoon dried sage or poultry seasoning or 2 teaspoons fresh sage chopped
  • 2 Tablespoons flat-leaf parsley chopped
  • 2 teaspoons sea salt or 3 teaspoons if using unsalted stock
  • ½ teaspoon black pepper
  • 3-4 cups chicken turkey or vegetable stock (depending on if you like it wet or dry)
  • 2 Tablespoons unsalted butter cut into small dice (optional)

Instructions
 

  • Preheat oven to 350 degrees.
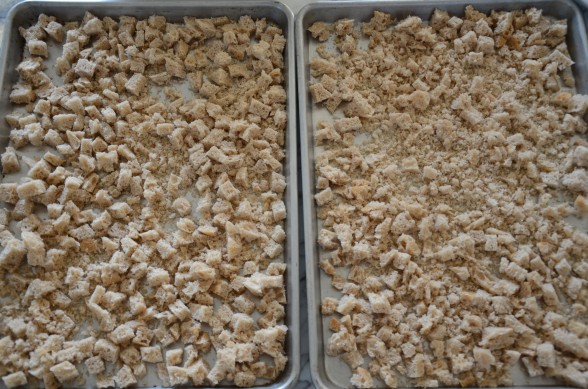
  • Place bread in a food processor and process into large crumbs or cut into ½-inch dice. (I like to do a combination.) You should have 10 cups. Spread bread over 2 large shallow baking pans and bake in upper and lower thirds of oven, stirring occasionally and switching position of pans halfway through baking, until completely dry, about 25 minutes. Transfer bread to a large bowl.
  • Increase oven temperature to 450 degrees and grease a 13x9-inch baking dish.
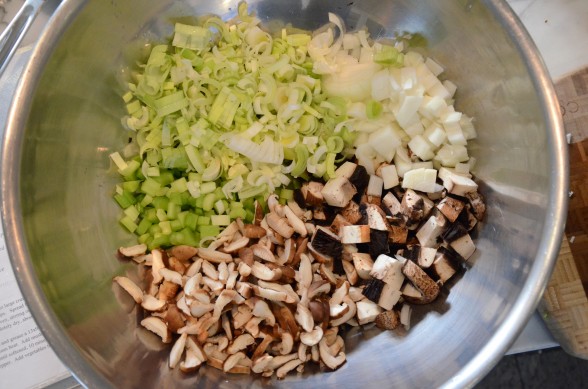
  • Heat olive oil in a large skillet over medium heat. Add mushrooms, celery, onion, leeks, and garlic, and sauté, stirring occasionally until softened, 10 minutes.
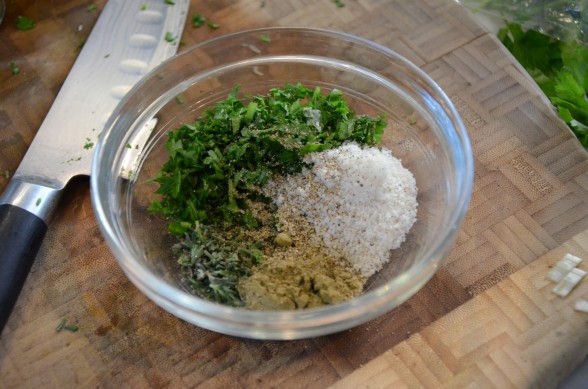
  • Stir in thyme, sage, parsley, salt and pepper. Add vegetables to bread, tossing to combine.
  • Pour chicken broth over the bread mixture, tossing to coat evenly.
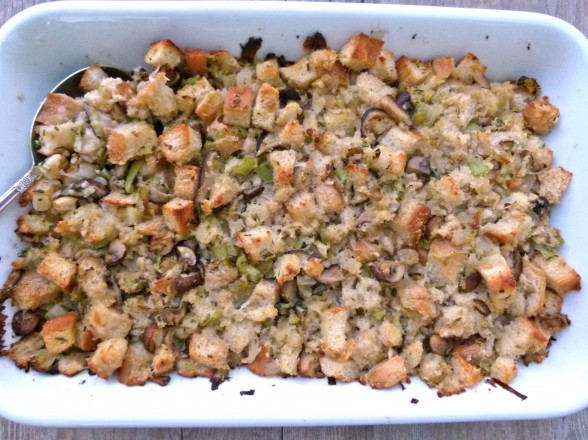
  • Spread stuffing in a baking dish, dot with butter and cover tightly with foil. Bake in upper third of oven until heated through, about 20 minutes. Remove foil and bake stuffing until top is browned, 10 – 15 minutes more. Stuffing can also be baked in a well-greased 12-cup muffin tin.

Notes

Bread crumbs can be prepared several days in advance.
Vegetables can be chopped the day before.
Entire casserole can be prepared up to the point of baking the day before and refrigerated or frozen and then thawed and baked according to the directions.
Tried this recipe?Let us know how it was!


Farro with roasted vegetables and roasted tomato dressing recipe

We had such a nice Labor Day weekend.  I hope you did, too.  We were able to squeeze in some beach time, family time, yoga (for me) and our annual block party, which was great fun.  The combination of the balmy weather and refrain from “labor” made me wish that summer would last just a little longer.  Although, as I mentioned in my gazpacho post, I am riding the summer tomato train for as long as possible.  Since this may very well be my last recipe of the year with tomatoes, I am sharing a goodie.

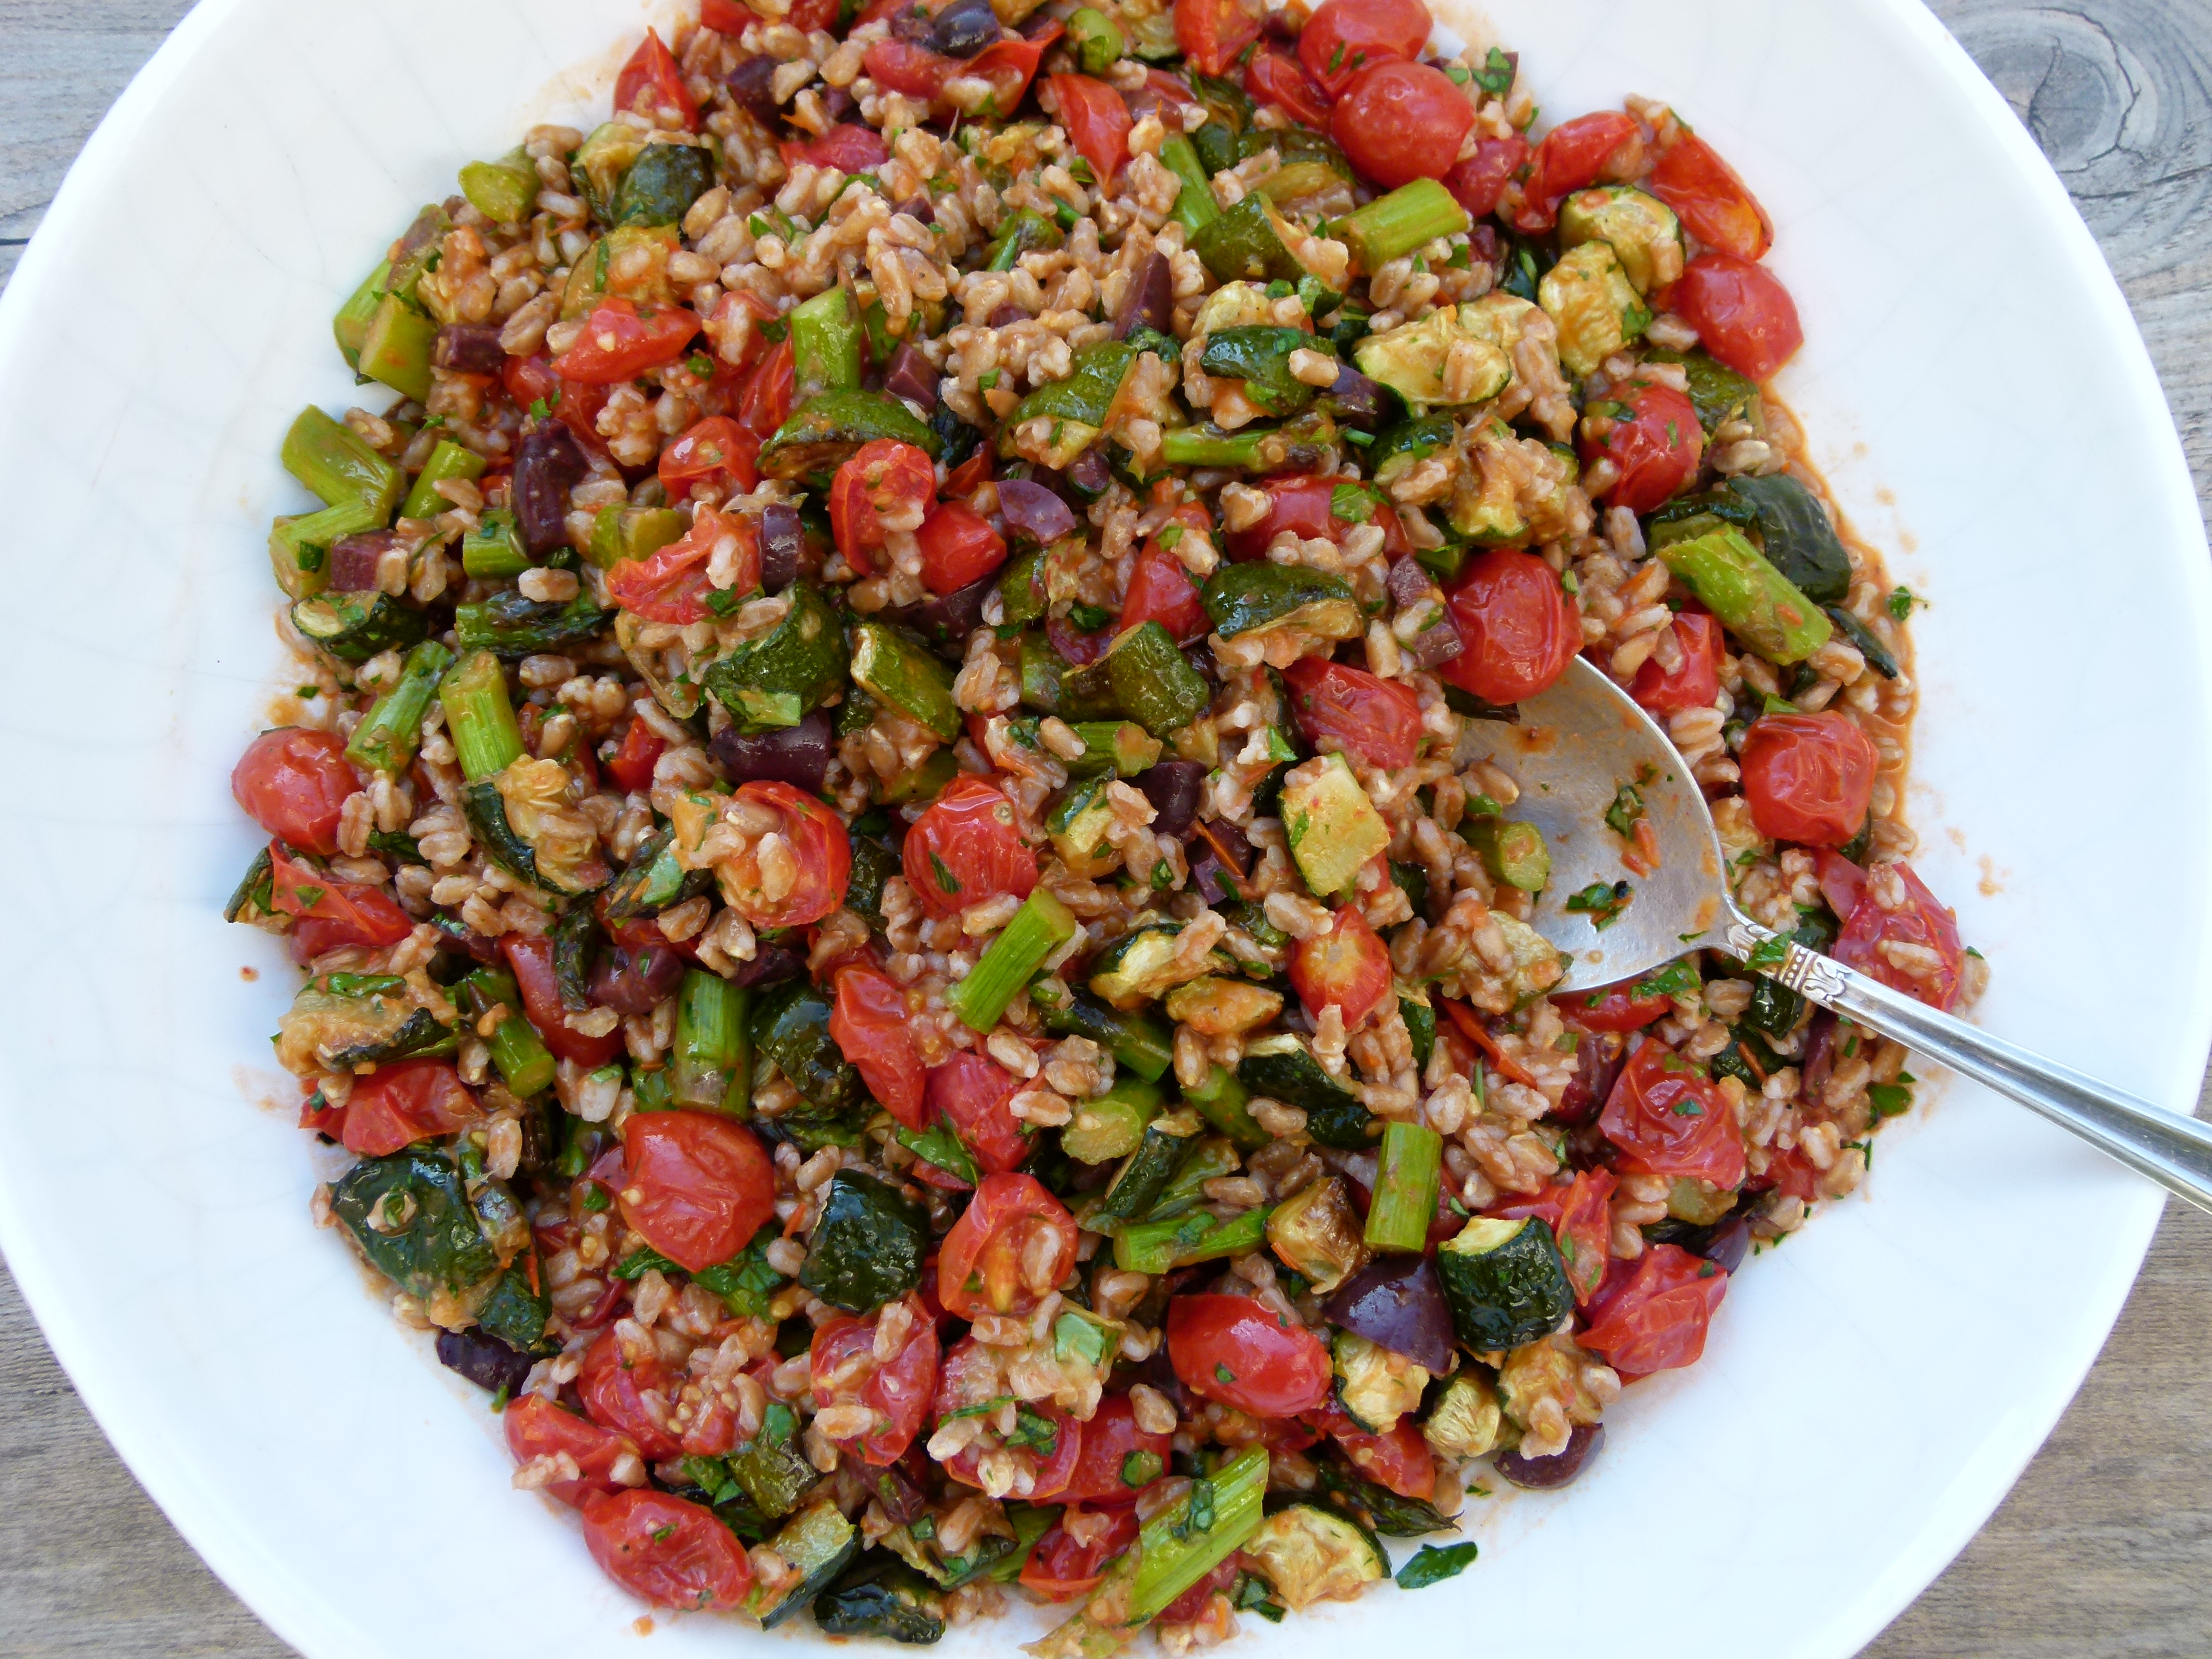
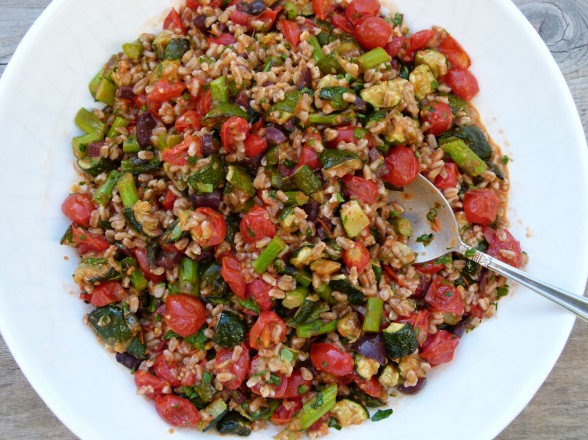
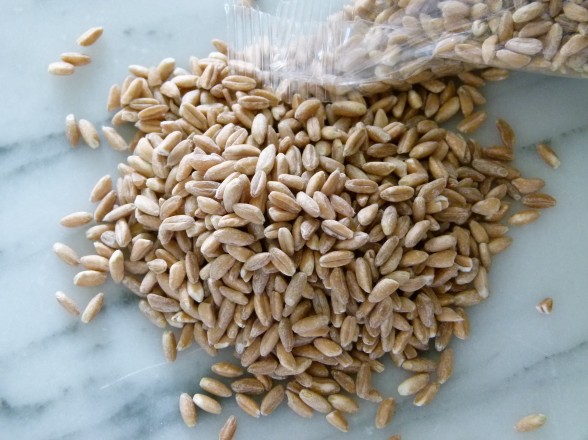
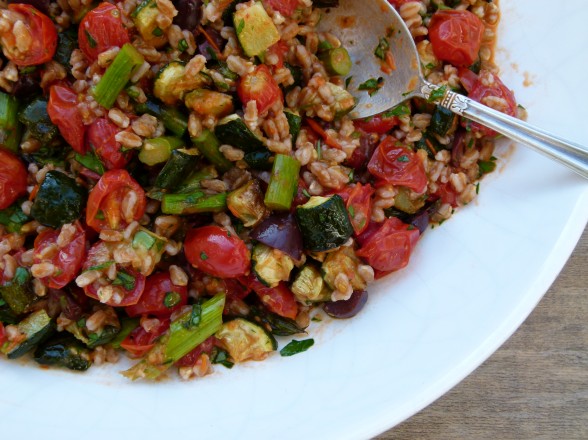
The inspiration for this recipe came from Deb at Smitten Kitchen who adapted it from Gourmet magazine.  The original recipe called for Israeli couscous, which I couldn’t help but substitute out for a more whole (and tastier) grain like farro.  But what makes this dish special is the incredible dressing which uses slow-roasted tomatoes as it’s base.  What could be better, tomatoes and grains with a tomato dressing?  It’s the perfect recipe for a tomato-fanatic like me!

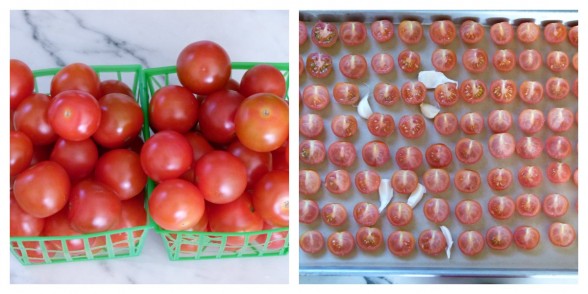
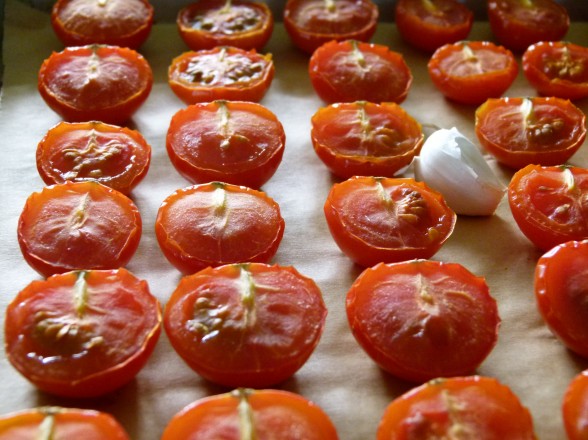
Ok, I can read your mind.  It’s not the fastest recipe on the planet.  The cherry tomatoes have to be washed, dried, halved, arranged on a baking sheet and roasted for an hour.  Although you don’t have to arrange the tomato halves like soldiers in the photo here.  I thought it would look nice that way, but now I realize it just makes me look obsessive compulsive.  Anyway, I was making this on Friday afternoon to bring to the beach for a potluck, and I tried timing the tomato prework. Excluding the roasting bit, I think it only took me about 15 minutes which I did while watching an episode of “Barefoot Contessa.”  Can I just say I wish Ina Garten would invite me over to cook, play bridge and drink cocktails with her and her friends, especially TR.  Sigh.  Speaking of Ina, do you remember her Orzo with Roasted Vegetables from 2001?  Gasp, was that really 11 years ago?  You know, the one that we all made a gajillion times for every backyard barbeque and potluck for years.  Loved it, but OD’ed on it for sure.  Ina’s salad was easy, but definitely involved some labor, and yet we all thought it was worth it.

Ok, this recipe is like that for me!  A little extra work, but worth it, worth it, worth it!  I taught this last September and again to a group this past July, all the while thinking how divine it is and how much I love it.  And then, while watching Ina on Friday afternoon, that orzo salad popped into my head and I changed this recipe on the spot by cutting the amount of farro in half and adding a bunch of roasted vegetables in its place.  The good news — it was A-MAZING, so much better than the original!  The bad news – it was A-MAZING, so much better than … the way I had taught it to A LOT of students.  Guilty face.  Well, I guess that’s what blogs are for!


View this post on Instagram


A post shared by Pamela Salzman (@pamelasalzman)

Farro with Roasted Vegetables and Roasted Tomato Dressing

Pamela, inspired by Gourmet via Smitten Kitchen
5 from 1 vote
Servings 6 -8

Ingredients
  

  • 2 pints cherry tomatoes about 1 ½ pounds
  • 6 small-medium garlic cloves UNpeeled
  • ¼ cup unrefined cold-pressed extra-virgin olive oil + additional for vegetables
  • ¼ cup warm water
  • 1 teaspoon fresh lemon juice
  • 1 teaspoon sea salt + additional for vegetables
  • ¼ teaspoon freshly ground black pepper + additional for vegetables
  • 1 bunch asparagus trimmed
  • 5-6 medium zucchini
  • 1 cup farro
  • Kosher salt
  • ½ cup Kalamata olives pitted and chopped
  • 1/3 cup chopped fresh flat-leaf parsley
  • ¼ cup chopped fresh basil
  • 1 teaspoon chopped fresh thyme only if you’ve got it

Instructions
 

  • Preheat oven to 250 degrees. Halve tomatoes through stem end and arrange cut-side up in one layer on a large baking sheet. Add garlic to pan and roast about 1 hour, or until tomatoes are slightly shriveled around the edges. Cool in the pan for 30 minutes.
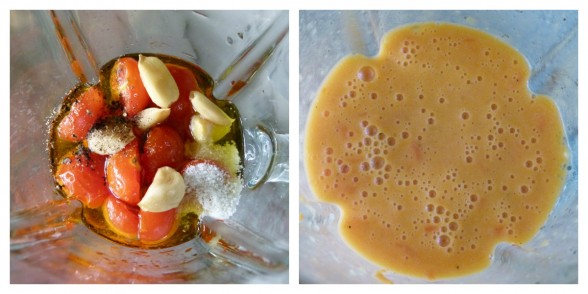
  • Peel the garlic and put in a blender with oil, water, lemon juice, salt, pepper and ½ cup roasted tomatoes. Blend until very smooth.
  • Turn the oven to 400 degrees. Arrange the asparagus on a large baking sheet and drizzle with oil plus a sprinkle of salt and pepper to taste. Chop the zucchini into 1-inch cubes. Toss with olive oil and arrange in one layer on a baking sheet. Sprinkle with salt and pepper to taste. Roast asparagus for 12 minutes or until tender. Roast zucchini 35 minutes or until caramelized. Chop asparagus into 1-inch pieces.
  • Bring a large pot of water to a boil. Add a few substantial pinches of kosher salt and the farro. Cook until farro is tender, but still al dente, about 20-25 minutes. Drain very well and transfer to a serving bowl.
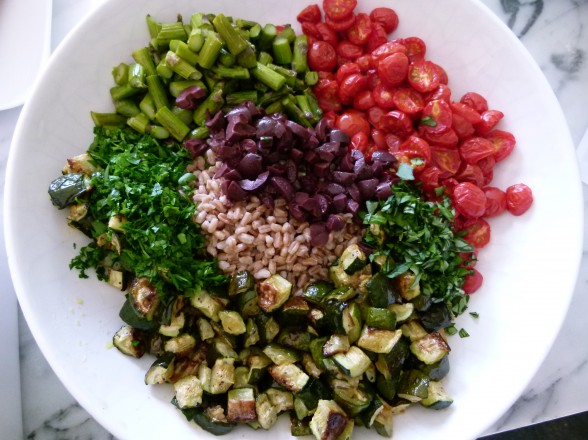
  • Add olives, remaining tomatoes, asparagus, zucchini, herbs and dressing to farro. Toss to combine and taste for seasoning. Serve warm or at room temperature.
Tried this recipe?Let us know how it was!


Gazpacho with avocado recipe

The kids are going back to school tomorrow, which means that my favorite season is UNofficially over.  No more lazy days and waking up late or reading for pleasure instead of for a test.  Back to making lunches at 6:30 am and soccer carpools.  Not so fast!  The good news is that summer isn’t officially over until September 22nd and there are tomatoes to prove it.

If you’re new here, I am mildly obsessed with summer tomatoes, i.e. tomatoes grown in soil and hot July and August sun until they’re sweet and juicy and drippy with intense tomato flavor.  My garden doesn’t produce that many so I supplement with tomatoes from my local farmers markets or GROW, my favorite local market which always seems to find great produce from local farms.  I’m a lucky girl for sure!  I try to take advantage of the fleeting tomato season, so I buy a ton and seem to use tomatoes almost every day in some way, even for breakfast or in between meals.  Just now I took a handful of yellow grape tomatoes and ate them as a little snack like candy, which is what they tasted like.  Yum!

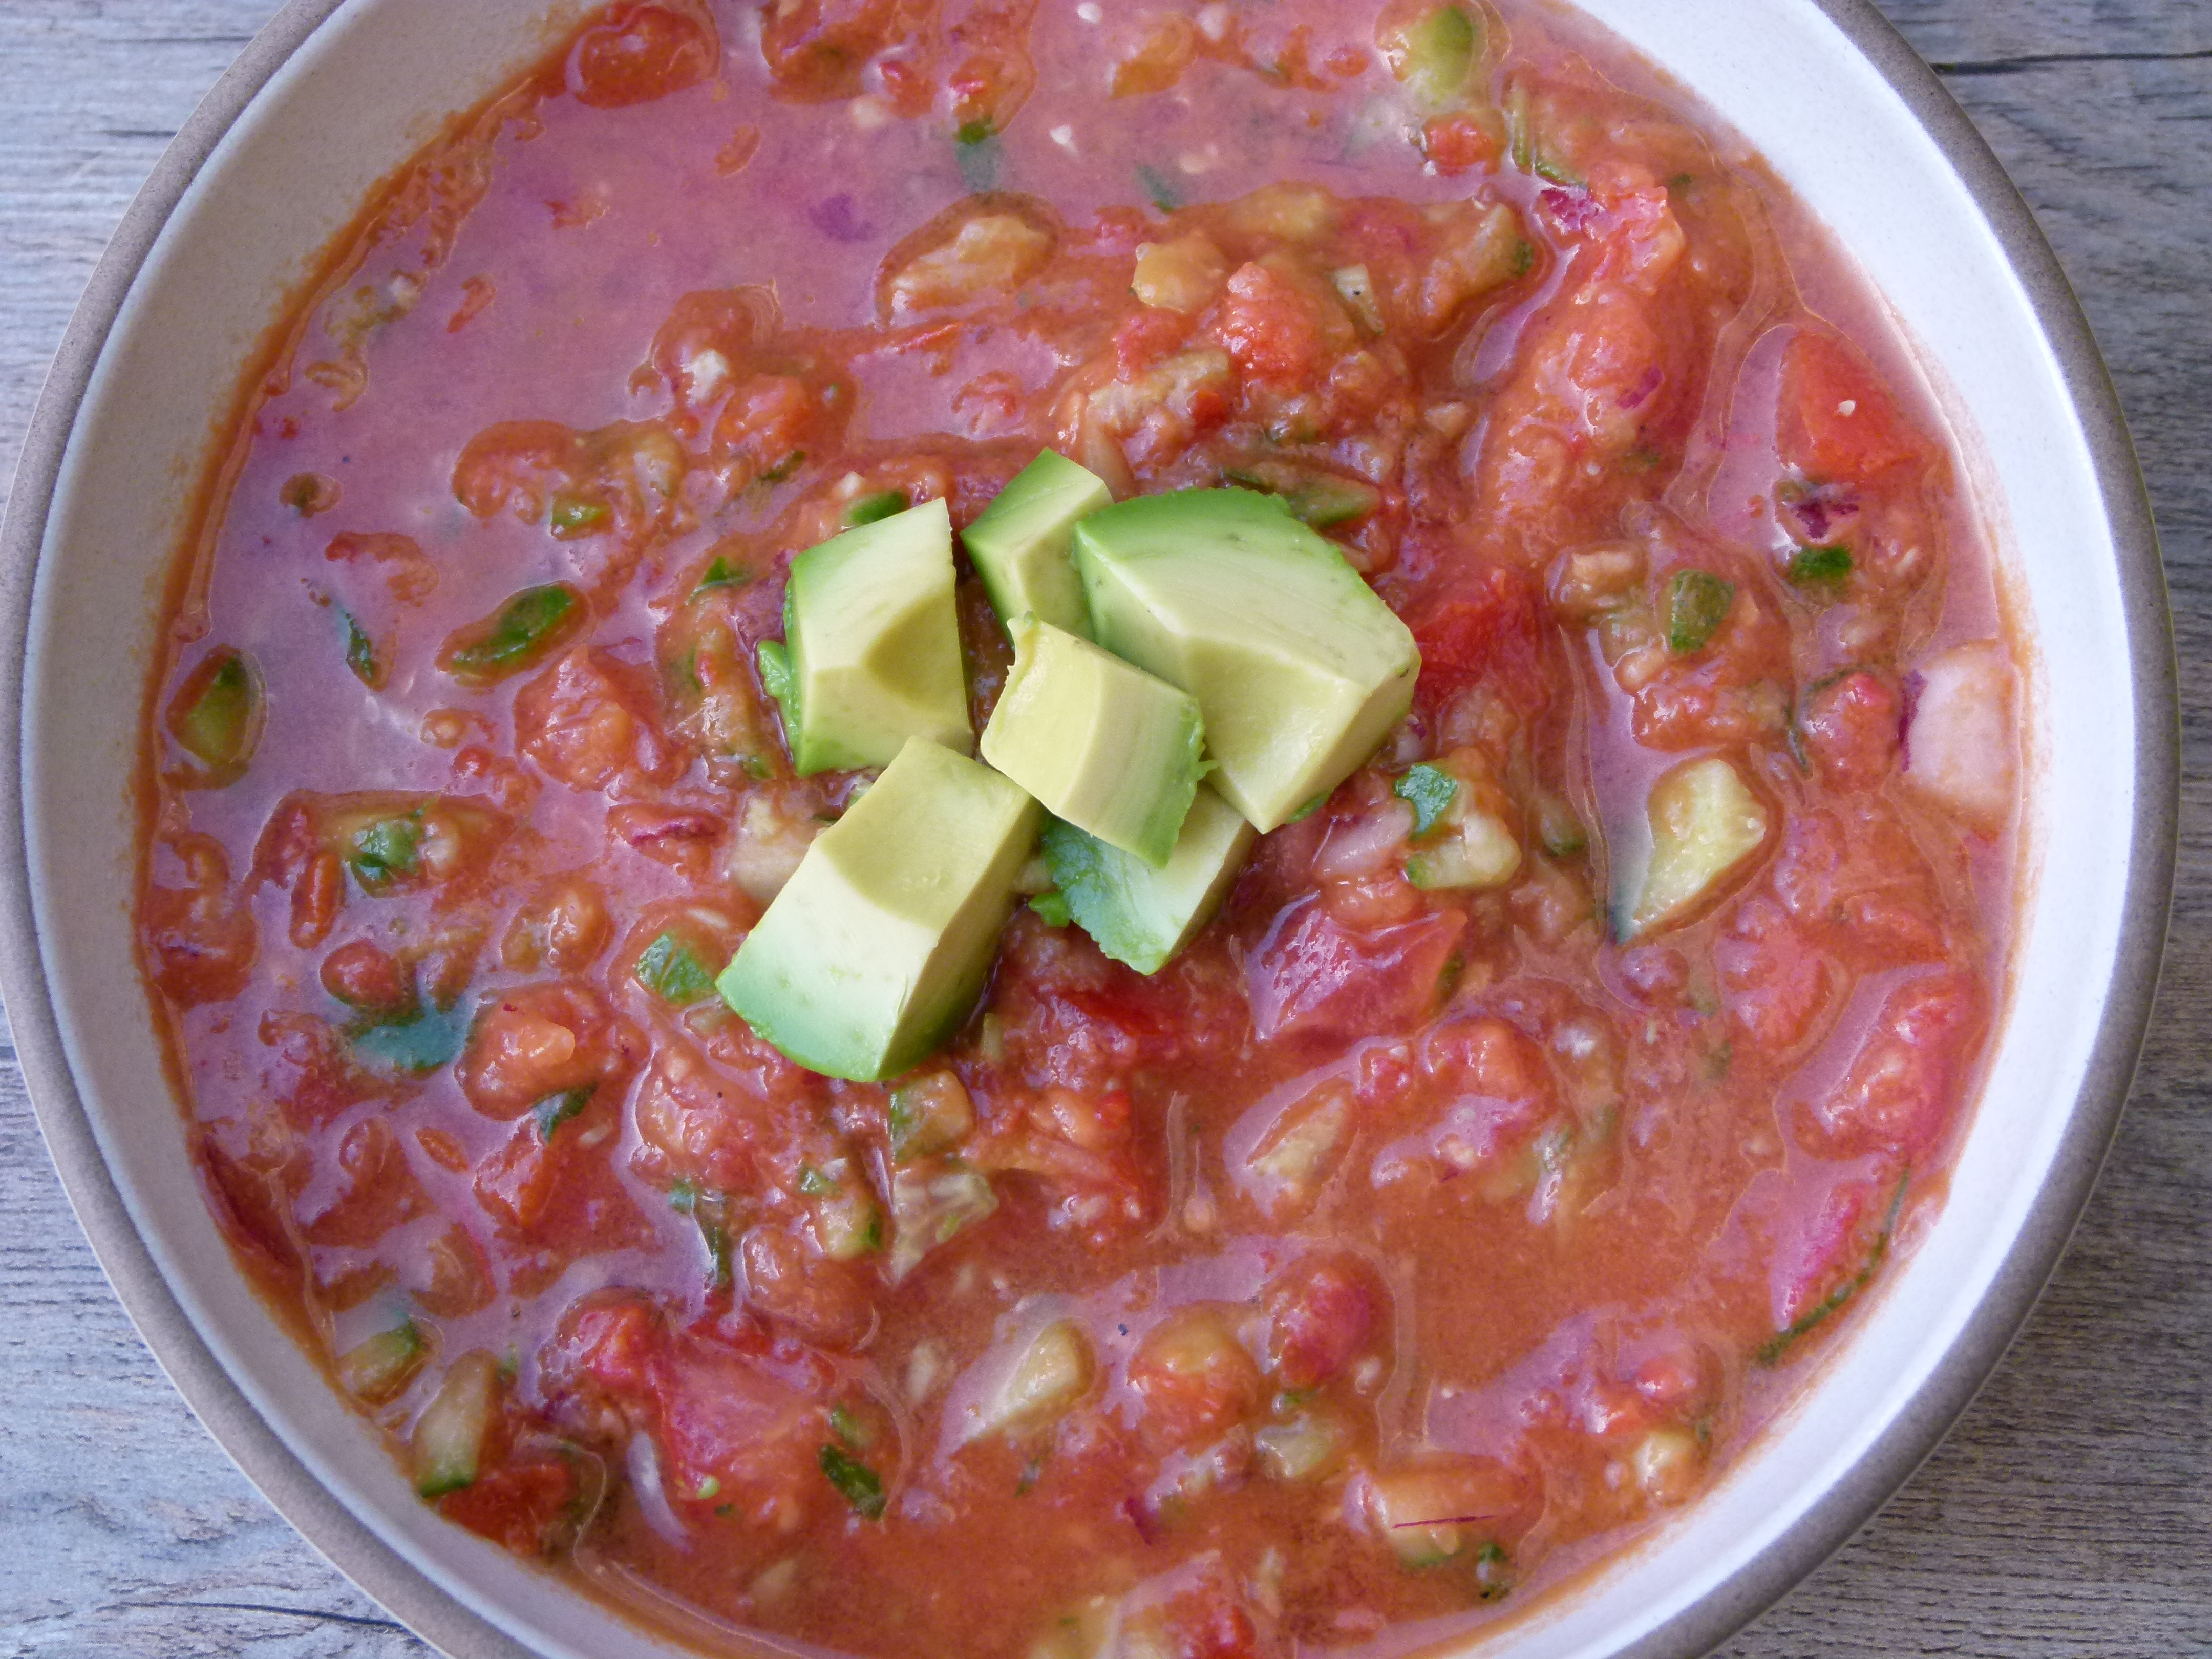
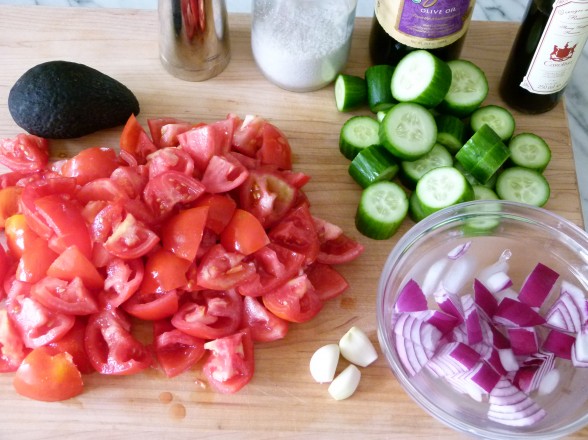
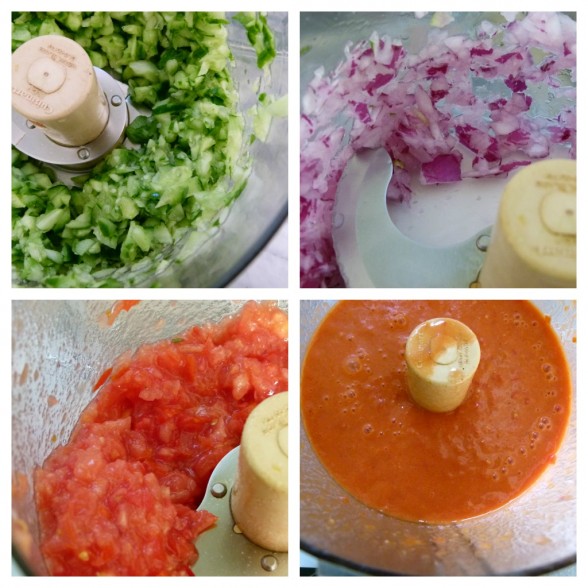
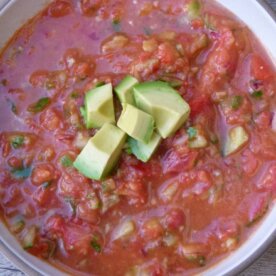
best to chop each ingredient separately; pureed  fresh tomatoes stand in the place of canned tomato juice

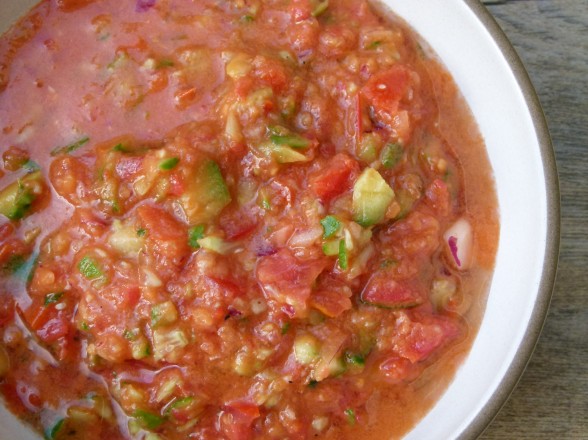
It’s always my preference to keep things simple when the ingredients are perfect, like sliced tomatoes and avocado on grilled bread with sea salt, but gazpacho is a recipe that is worth the extra 5 minutes to make.  We’ve been enjoying some hot weather here in Southern California so it’s the perfect time to enjoy this cooling, no-cook soup.  My version of gazpacho is not exactly traditional, but just as delicious and possibly a tad more healthful.  In Spain, it is very typical to add day-old bread, which I omit.  I don’t notice the lack of bread one bit, and I think if you’re going to indulge in bread, you might as well actually know you’re eating it.  I also don’t use canned tomato juice, which normally contains BPA or aluminum or both.  Yikes!  Not only that, I think you can get a cleaner, more tomato-y flavor from using awesome fresh tomatoes, not to mention more vitamins, minerals and antioxidants like lycopene.

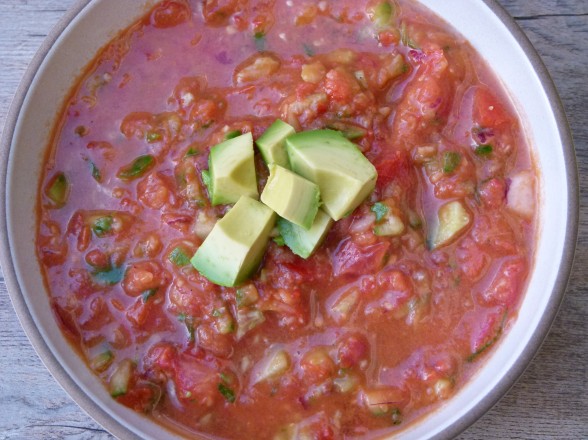
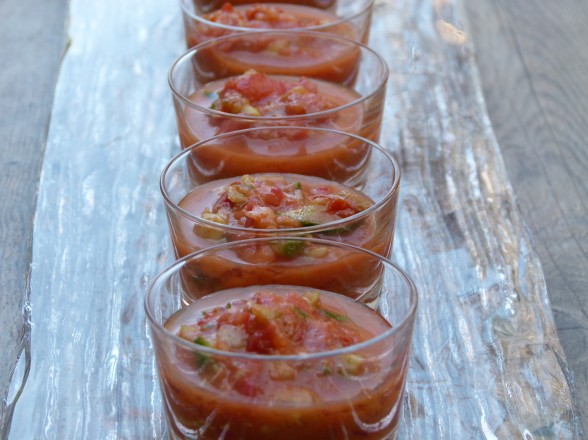
My kids like gazpacho because they think it tastes like a blended salad and they can add an assortment of toppings.  As I’ve mentioned, I’m big into topping bars, especially for soups and salads, because I think it gives the kids more control over what they’re eating and I notice they tend to eat more of a food when they can make it their own, so to speak.  Our favorite topping with gazpacho is creamy cubes of avocado with give the perfect balance to the acidity of the tomatoes and vinegar.  But don’t let me stop you there.  Croutons, grilled corn kernels, chopped shrimp or crab are all fantastic additions to the top of this bowl of summery goodness.  I’ll come clean and confess I’ve even put out popcorn for Mr. Picky to add.  Whatever works, people.  I love pairing cool gazpacho with chicken kebabs and chimichurri sauce or a summer frittata for a light dinner.  But one of my favorite ways to serve it is in little shot glasses as an hors d’oeuvre.  With Labor Day weekend around the corner, here’s one way you can keep that summer feeling going strong.
Gazpacho with Avocado

Pamela
5 from 1 vote
Servings 6

Ingredients
  

  • 2 cups large chopped unpeeled Persian cucumbers about 3-4
  • ½ small red onion cut into chunks*
  • 4 large about 2 ½ - 2 ¾ pounds ripe tomatoes, cored and cut in half crosswise to remove the seeds, cut into chunks
  • 3 medium garlic cloves peeled
  • 2 teaspoons sea salt
  • freshly ground black pepper to taste
  • 2 Tablespoons Sherry vinegar
  • ¼ cup unrefined cold pressed extra-virgin olive oil
  • 1 avocado cubed

Instructions
 

  • Place the cucumber in a food processor fitted with the metal blade and pulse until coarsely chopped. Transfer the cucumber to a large bowl. Repeat the process with the red onion and transfer to the bowl with the cucumber.
  • Take half of the tomato and pulse in the food processor until chunky and add to the bowl.
  • Smash the garlic cloves and place in the food processor with the remaining tomato pieces, salt and pepper, vinegar and oil. Process until smooth.
  • Transfer mixture to the bowl with the cucumber and onion and stir to combine. Cover and refrigerate until cold.
  • Before serving, garnish with avocado. Can be made several days ahead.

Notes

You can add finely diced radish for pepperiness; hot sauce or jalapeño for heat, croutons for crunch, or a dollop of sour cream. You can also use yellow heirloom tomatoes for a yellow gazpacho.
*Onion can be soaked in ice water for 15 minutes to take the edge off the raw flavor.
Tried this recipe?Let us know how it was!