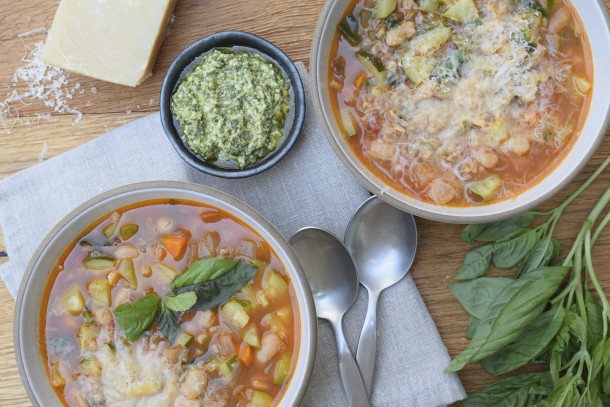
Zucchini-gruyere tart


Do you remember the first cookbook you ever bought? Not counting the Calling All Girls Party Book in second grade, I bought my first cookbook with my own money in 1987, the year I graduated from high school. My Aunt Maria drove me out to one of her favorite gourmet food shops in the Hamptons on Long Island. Loaves and Fishes was a darling little shingled cottage in Sagaponack and run by a mother-daughter team named Anna and Sybille Pump. All these years I thought I was their biggest fan, but apparently I’m not the only Loaves and Fishes admirer. The famous Ina Garten has adapted a recipe or two (or more) from Anna and even dedicated one of her cookbooks to her.

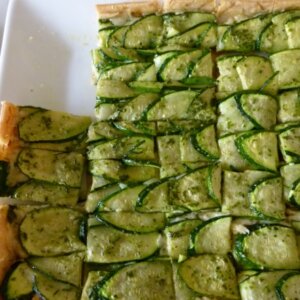
I basically taught myself how to cook from Loaves and Fishes. When The Loaves and Fishes Party Cookbook came out, I scooped it up and read it cover to cover. Anna Pump taught me how to entertain with ease and it was from this book that I learned what I could prep in advance, an education that still serves me today. Loaves and Fishes is still around. I actually visited the cook shop in Bridgehampton last summer. I wouldn’t say that the recipes in the book are the most healthful or that I even use many of them today, but this recipe for zucchini-gruyere tart from the first book is my hands-down favorite hors d’oeuvre ever. It should be in the Hors D’oeuvre Hall of Fame. I have been making it for 24 years and it has never failed me (even when I’ve used zucchini from (shhhh!) Mexico when they’re out of season here.) I have also made it with heirloom tomatoes instead of zucchini and it’s always a showstopper.

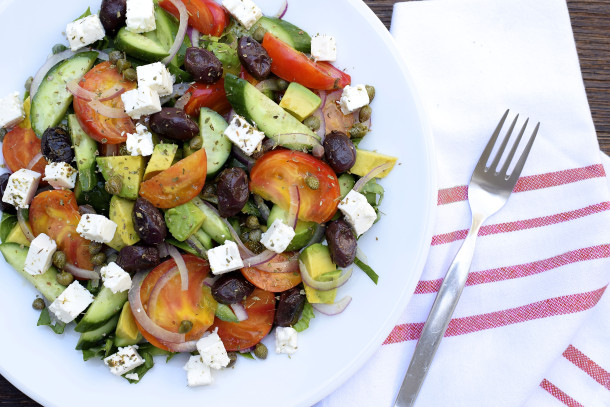
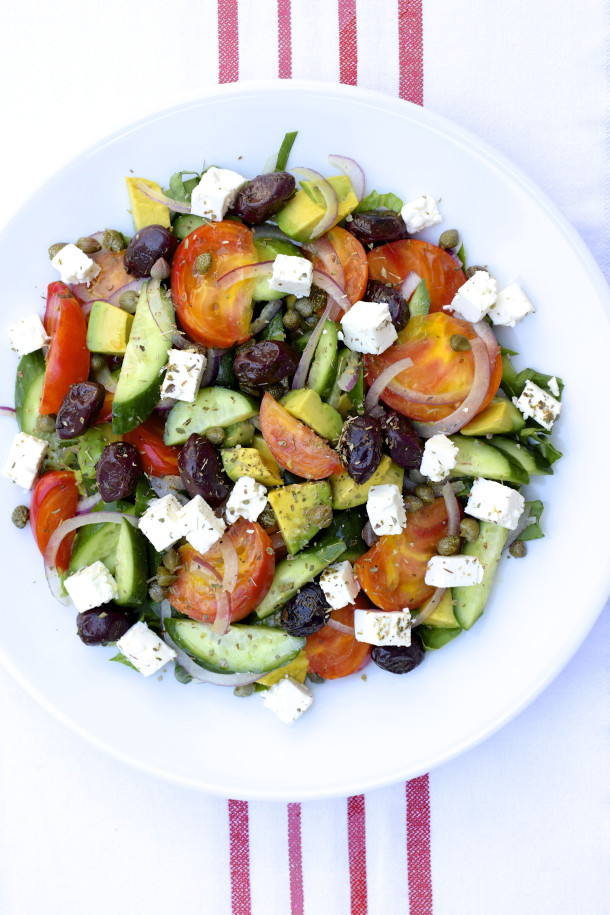
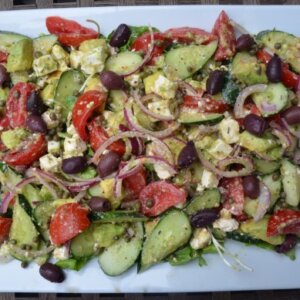
Manhattan Beach has the potluck thing down. Last weekend my friends Kristy and Sarah hosted a lovely “small plates night” at Sarah’s home. You MUST do this sometime. Everyone brings an appetizer or a bottle of wine and has a fabulous time catching up and watching the sun set over the ocean (it helps that Sarah lives right in front of the Pacific.) I brought the zucchini tart which I cut into 64 slightly-bigger-than-bite-size pieces and it vanished faster than the chardonnay, which is saying something.

Please don’t be intimidated by the pastry crust — if you’ve rolled out sugar cookie dough, you can do this. But if you don’t want to, just buy 2 premade pastry crusts and fit it to the baking sheet. Puff pastry would be another option here. Every time I make it, I apply the tips I learned from my first books and I blind bake the crust the day before and leave it at room temperature. Also the day before I shred the cheese, slice the zucchini, make the herb oil and refrigerate them all separately. After working (i.e. cooking) all day and shuttling kids to their activities, all I needed to do before the party was assemble the tart and freshen up while it baked in the oven. Now, go find an excuse to make this and then thank Anna Pump.

Zucchini-Gruyere Tart
Ingredients
- CRUST:
- 1 ½ cups unbleached all-purpose flour
- 1 cup whole wheat pastry flour or use all regular white flour
- ¾ cup 1 ½ stick unsalted butter, chilled and cut into 12 pieces
- ½ teaspoon sea salt
- 2 small egg yolks
- 5 Tablespoons cold water
- FILLING:
- 4 medium zucchini about 1 ½ pounds
- 1 cup fresh parsley leaves
- 3 cloves of garlic peeled
- ¼ cup fresh basil leaves
- 1 Tablespoon coarsely chopped fresh thyme
- ½ teaspoon ground black pepper
- ½ teaspoon sea salt
- ½ cup unrefined cold-pressed extra-virgin olive oil
- 5 Tablespoons Dijon mustard
- ¾ pound Gruyere cheese grated
- 1/3 cup finely grated Pecorino-Romano or Parmesan cheese
Instructions
- To make the crust, place the flour, butter and salt in the bowl of a food processor fitted with the metal blade. Pulse 5 times. Add the egg yolks and pulse 2 more times. With the motor running, and the water through the feed tube. Process only until the dough begins to stick together. Transfer the dough to a floured surface and quickly form it into a ball. Wrap the dough in parchment and refrigerate it for 30 minutes.
- Preheat the oven to 400 degrees.
- Cut the zucchini diagonally into 1/8- inch slices and place them in a large bowl. (A mandoline makes this task very easy. You can do this the day before and refrigerate, covered.)
- Put the parsley, garlic, basil, and thyme in the bowl of a food processor fitted with the metal blade. Sprinkle with the pepper and salt and process until the herbs are chopped fine. With the motor still running, add the olive oil through the feed tube. (You can dot his the day before and keep refrigerated in an airtight container.) Pour the herb mixture over the zucchini slices and mix well.
- Roll out the pastry dough to a 1/8-inch thickness. Fit it into a 18-by-12-by-1-inch pan. Cover the pastry with parchment paper, including the corners. Pour pie weights over the parchment paper, filling the pan. Bake the crust for 15 minutes. Remove parchment and weights and bake the tart pastry for 5 minutes more. *
- Spread the mustard over the bottom of the crust. Distribute the cheeses over that. Arrange the zucchini in overlapping rows, covering the cheese. Pour whatever herb mixture is left in the bowl over the zucchini.
- Reduce the oven temperature to 375 degrees and bake the tart for 30 minutes more.
Notes