Skip to content
Get Pamela’s Monday Musings Newsletter! →
About
Recipes
Classes
Bootcamps
Bootcamp Portal Login
Shop
Contact
Newsletter
Online Class Login
Search
Home
›
coconut
coconut
Recipes
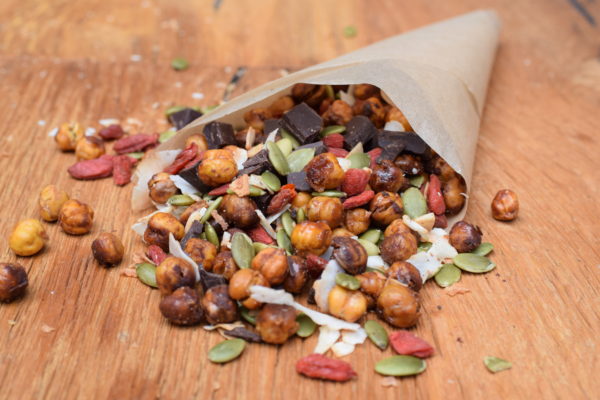
Really Crunchy Chickpea Trail Mix Recipe
Recipes
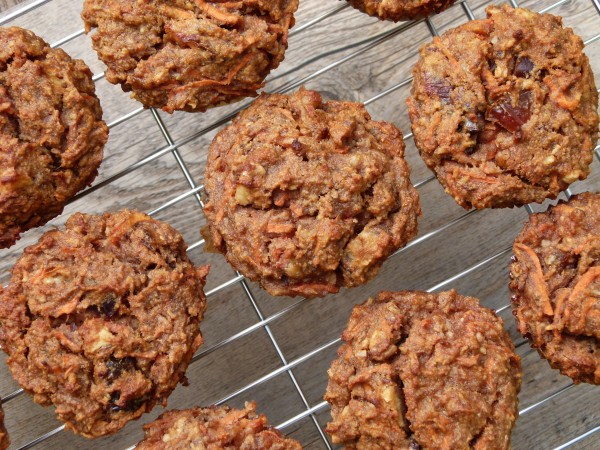
Easy Healthy Banana Carrot Muffins Recipe
Recipes
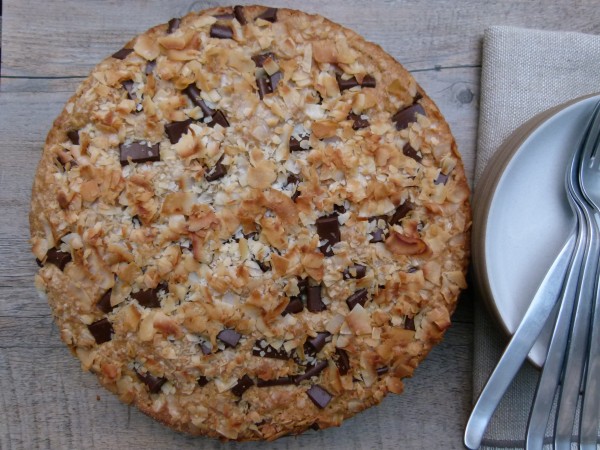
Coconut Coffeecake with Chocolate Chunks Recipe (gluten-free/dairy-free adaptable)
Recipes
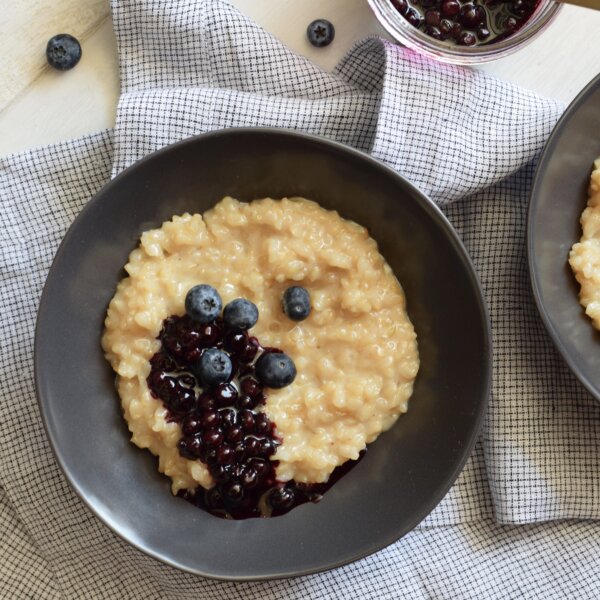
Warm coconut millet porridge recipe
Recipes
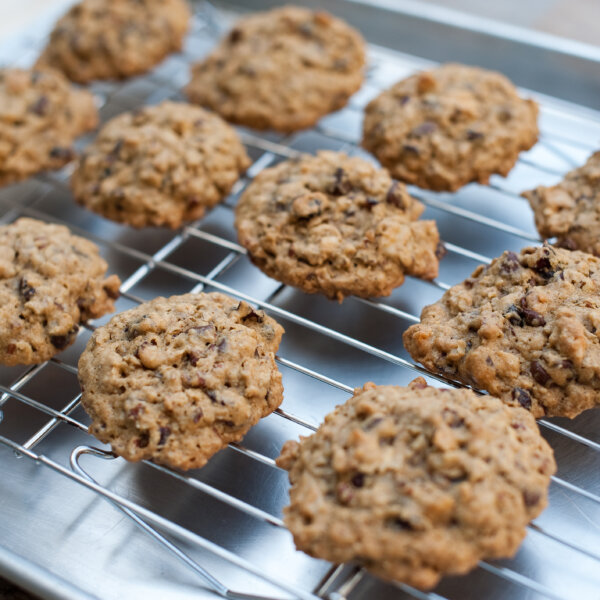
Trail Mix Cookies Recipe
Recipes
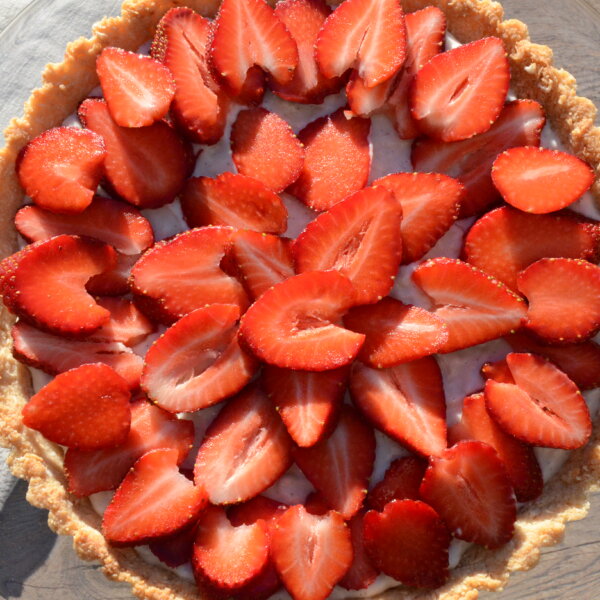
Coconut-Almond Tart with Strawberries Recipe
Recipes
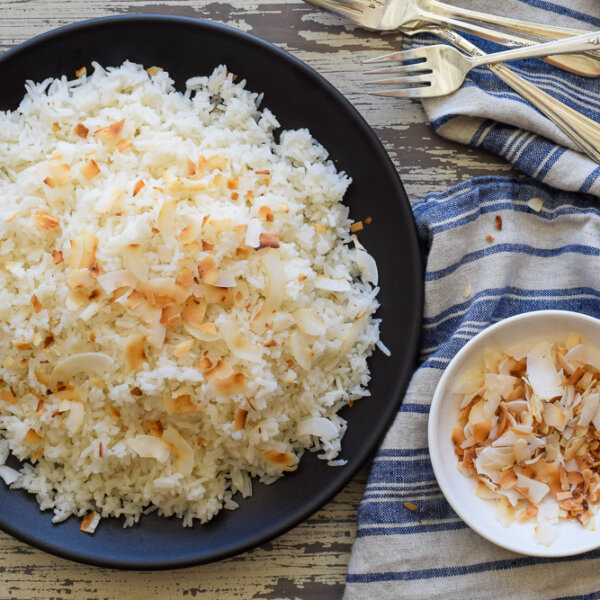
Coconut rice recipe
Recipes
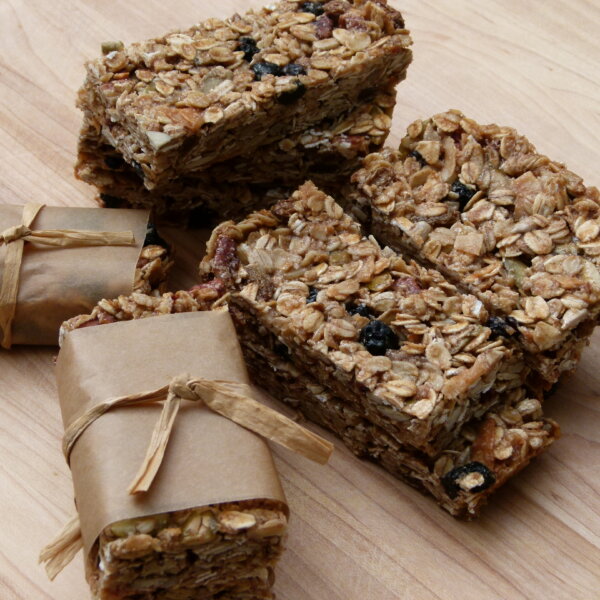
Healthy Granola Bars Recipe
Recipes
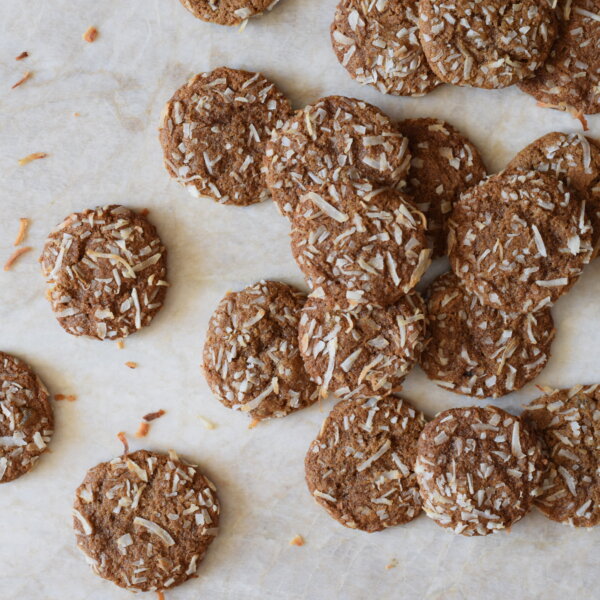
Chocolate coconut macaroons recipe
Recipes
Molasses-ginger cookies recipe
Desserts
Creamy Brown Rice Pudding (Vegan)
Recipes
Sweet potato-coconut soup recipe