How to thicken soups and stews without cream, butter or flour

I make a lot of soups and stews for the family, especially from September through May.   I know many of you have been freezing your buns off on the East Coast and Midwest lately and are likely craving a bowl of steamy, thick, rich soup to warm your body and soul.  I love all types of soups from brothy to substantial and hearty, but I always try to keep them nutritious and clean.   Fortunately, I have learned a few tricks for making soups and stews richer or creamier without using the old-fashioned techniques of a roux, heavy cream, flour or cornstarch.  Actually, my mom taught me to thicken my stews by mashing softened butter with equal parts all-purpose flour and stir that in the pot towards the end of cooking which works just fine, but these days many people are dairy and/or gluten-intolerant or looking to save a few calories wherever possible without sacrificing flavor and nutrition.  Why add unnecessary fat, non-nutritive calories, and/or hard-to-digest ingredients if you can achieve the same result more naturally?

Here are my favorite tricks for thickening soups and stews:

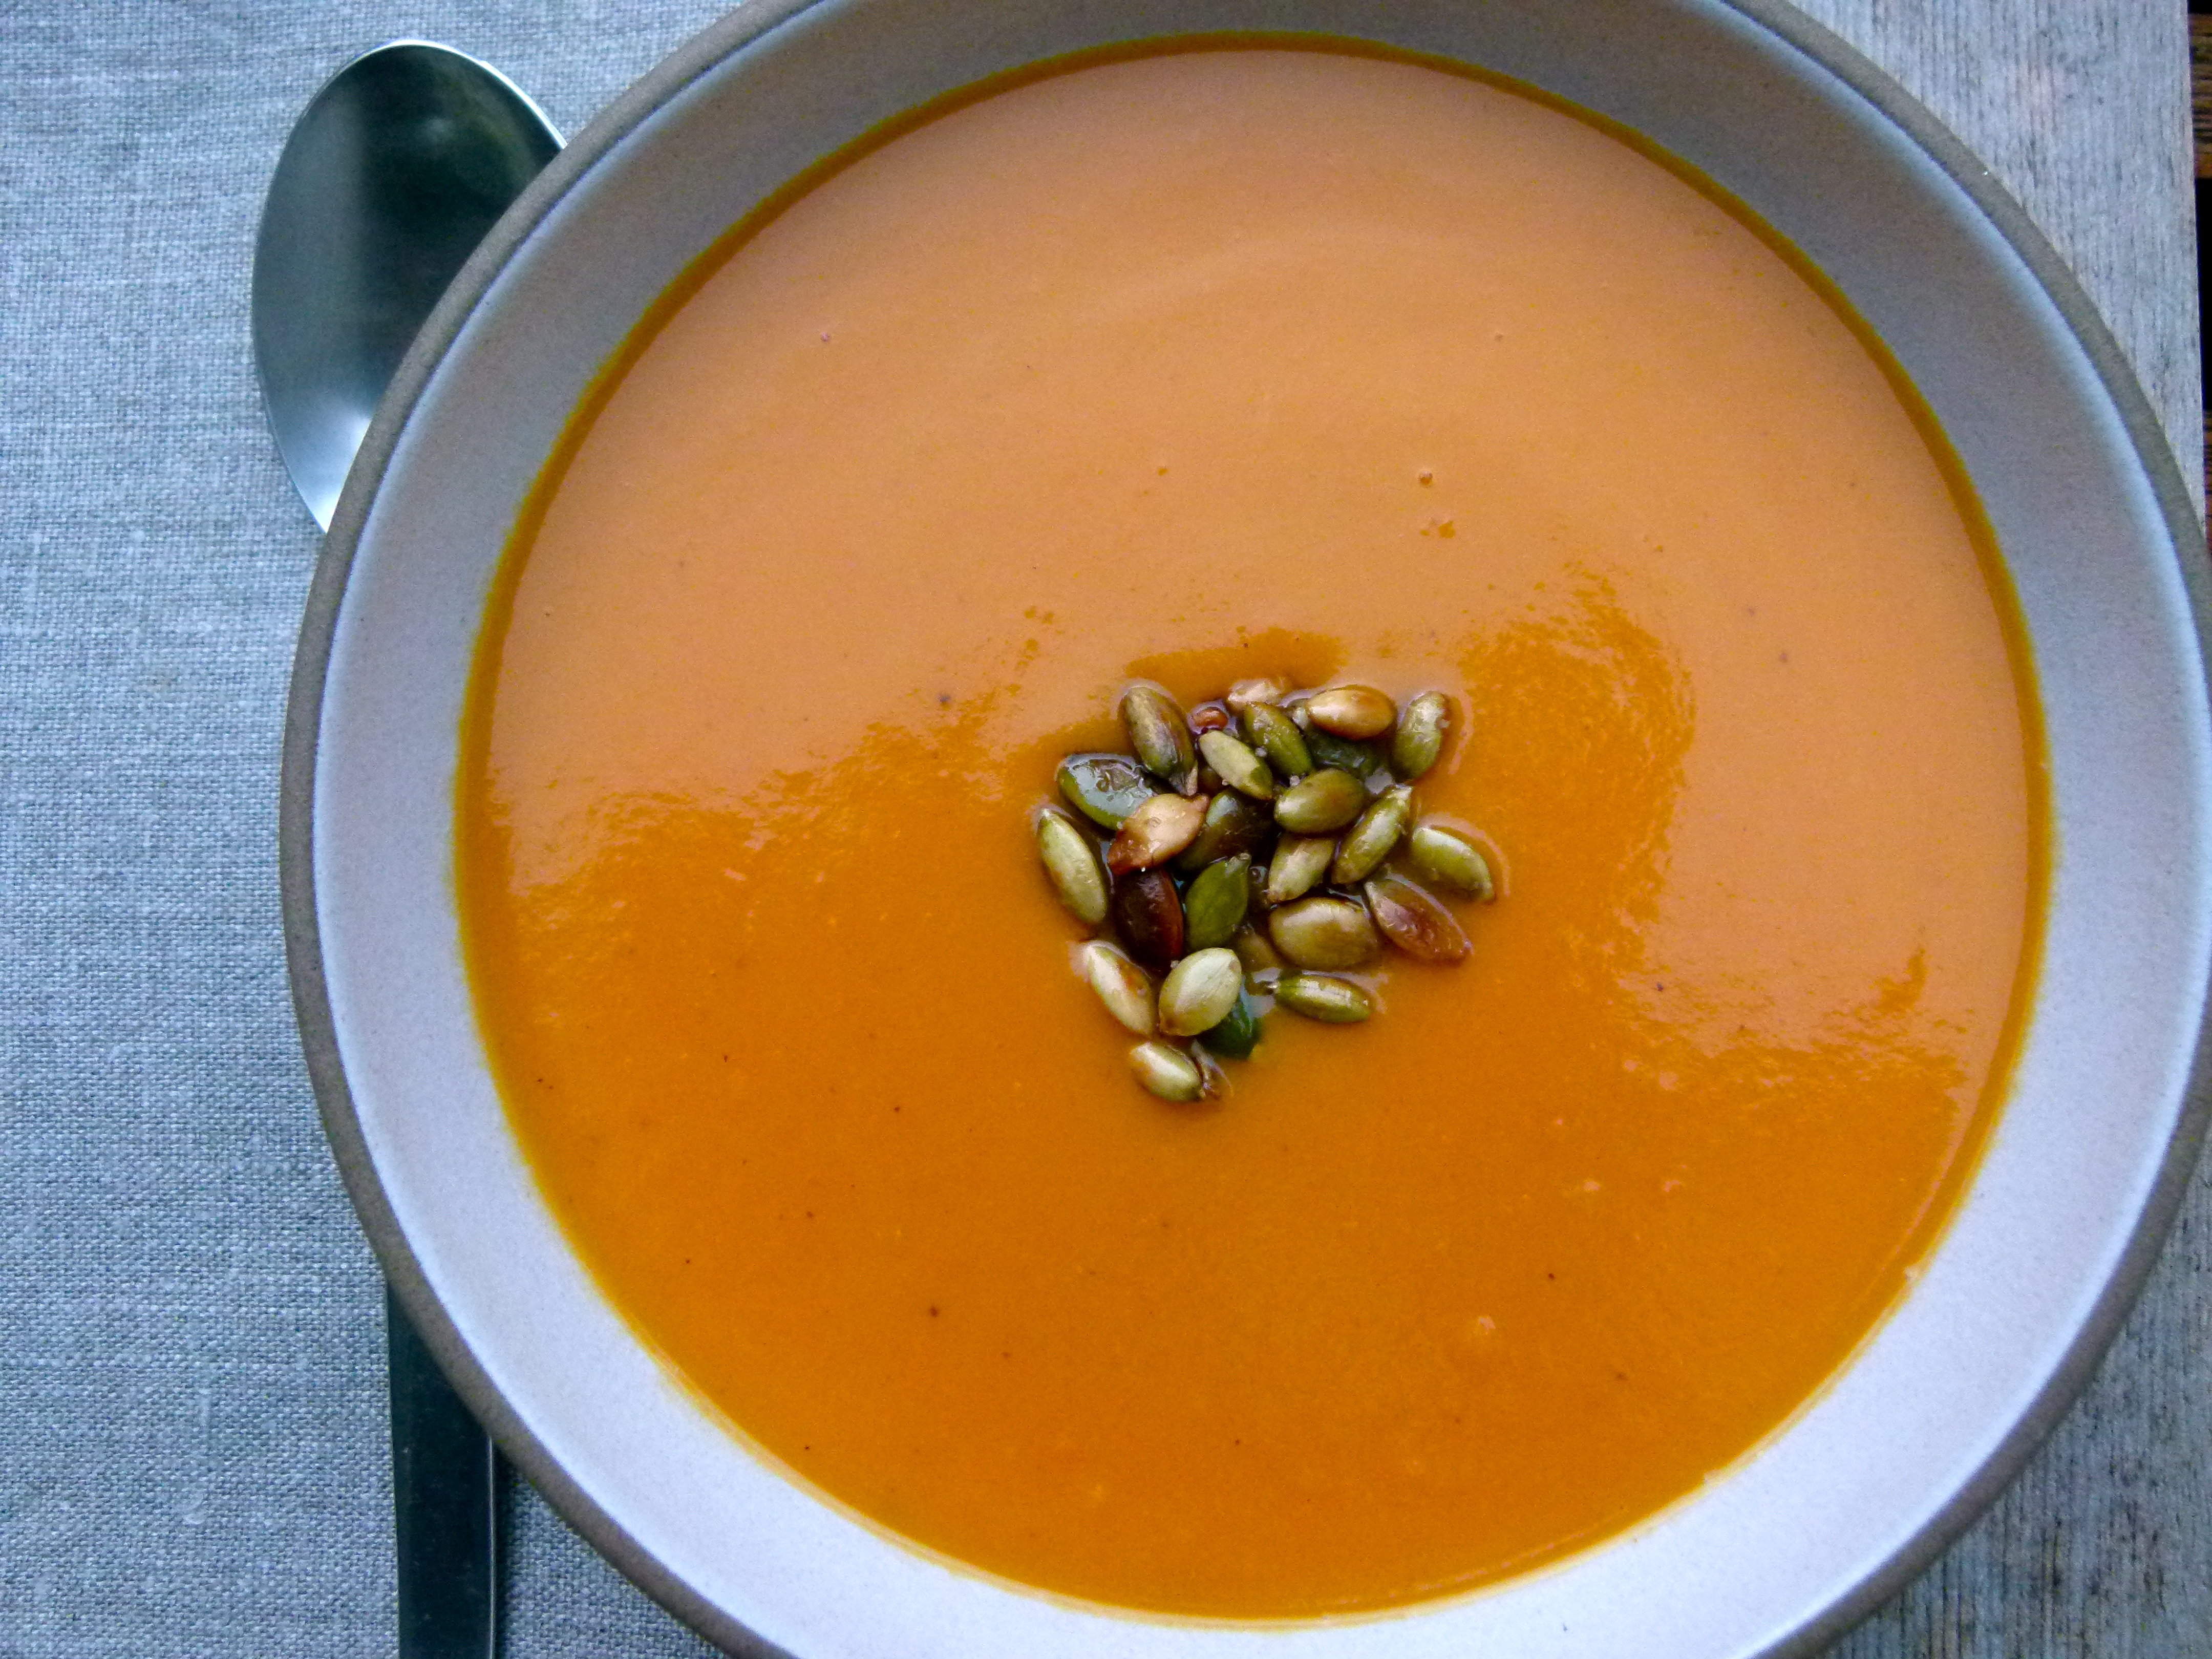
pureeing cooked vegetables and stock — this is the method I use most often.  I like to take a cup of vegetables and stock (leave any pieces of animal protein in the pot) from the cooked soup and blend them in a blender or mini food processor and then add it back to the pot.

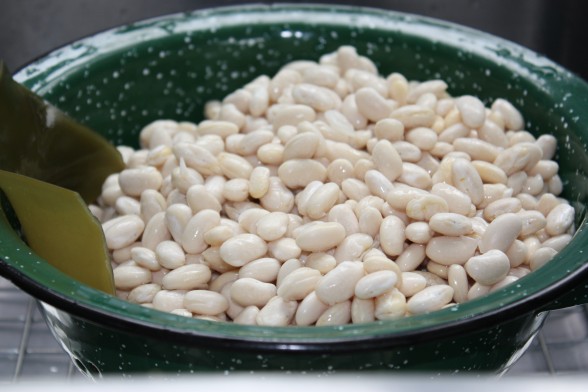
white beans — cooked Cannellini or Great Northern beans have a bland, neutral flavor and fantastic creaminess when they are pureed.    Take a can of beans with a cup of hot stock from the soup and blend together until smooth, then add back to pot.  Or cook beans with soup and puree the entire soup, beans included.  Beans add great fiber and protein, as well!  I love this recipe for Potato and White Bean Soup and this post for how to cook your beans from scratch.  Otherwise, Eden is my favorite BPA-free, organic brand.

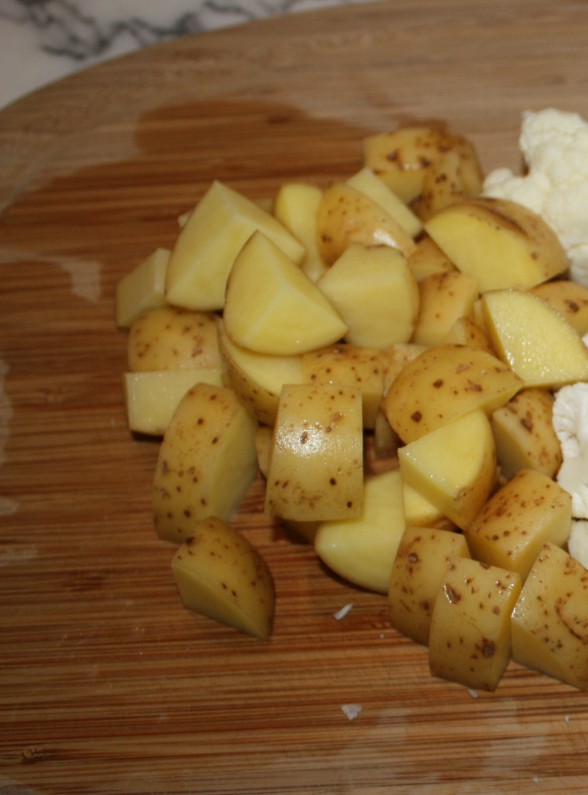
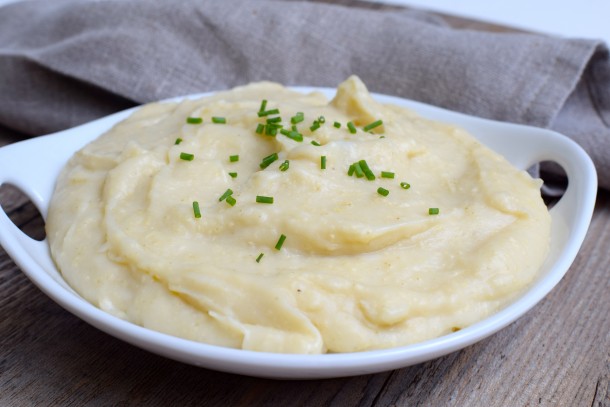
Yukon Gold potatoes — potatoes add a lovely richness and neutral flavor to soups, especially if you can puree some or all of them.  Use same technique above, either cook potatoes separately, puree with hot stock and add to the soup or cook potatoes with the soup and puree in the pot.  The Yukon Gold variety has a nice buttery flavor and you get the benefits of a whole food.  Check out Potato and White Bean Soup, as well as Cauliflower and Roasted Garlic Soup.

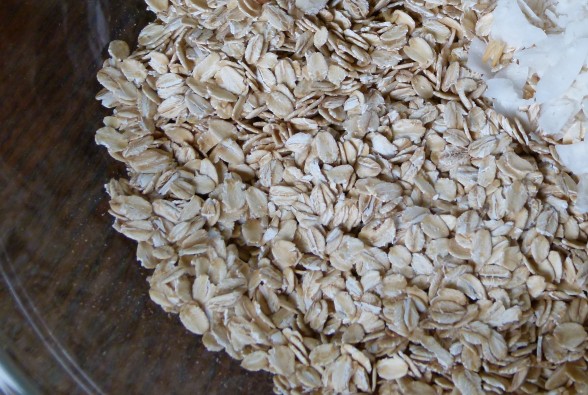
rolled oats — sounds weird, I know.  But if you plan on a pureed soup, you won’t detect any oatmeal.  The rolled oats not only thicken the soup and add great fiber, but add an amazing silkiness.  I use rolled oats in my Puree of Asparagus Soup which I can post this Spring.  Several manufacturers sell gluten-free rolled oats, such as Bob’s Red Mill

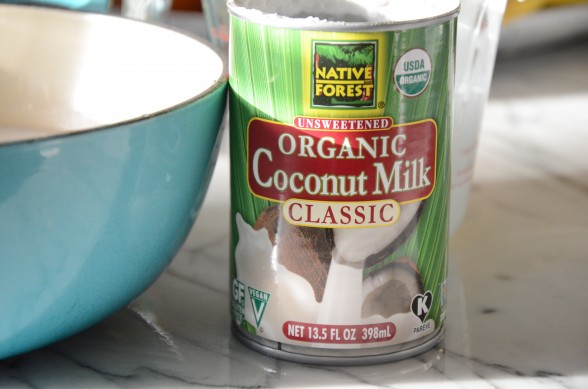
coconut milk instead of cream — okay, you won’t be saving many calories using coconut milk, but I am a huge fan of unrefined coconut products and their myriad health benefits.  And generally speaking unrefined coconut products are easier to digest than pasteurized cow dairy.  I love coconut milk in my Sweet Potato Soup, Chicken Tikka Masala, Thai Coconut Chicken Soup (to be posted soon!), as well as any soups with winter squash.  It’s so smooth and rich with a subtle sweetness and it won’t make your soup taste like a piña colada — promise!  My favorite brand is Native Forest which supposedly doesn’t contain BPA in their can liners.

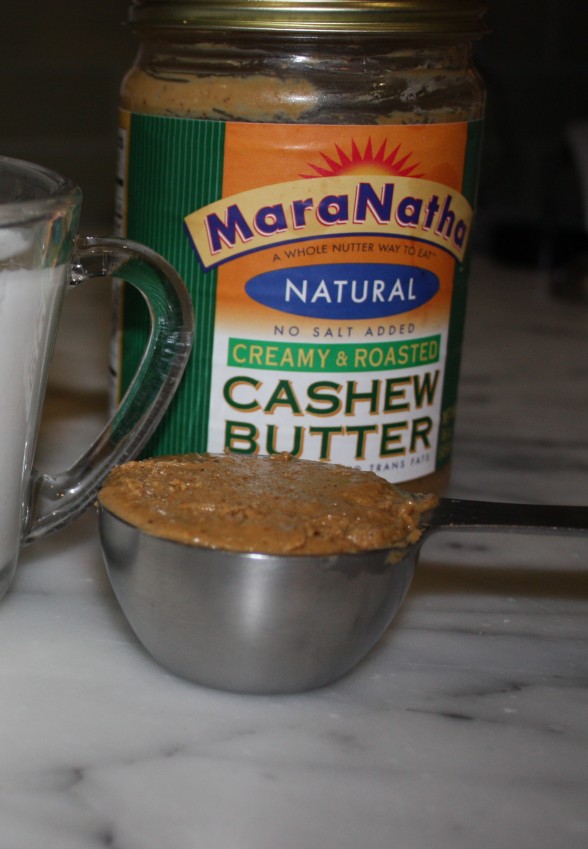
ground nuts, like almonds or cashews —  I’ve seen this in some Spanish or North African soups.  The nuts add some high quality protein, as well.  I use cashew butter or ground cashews in my Chicken and Vegetable Curry.

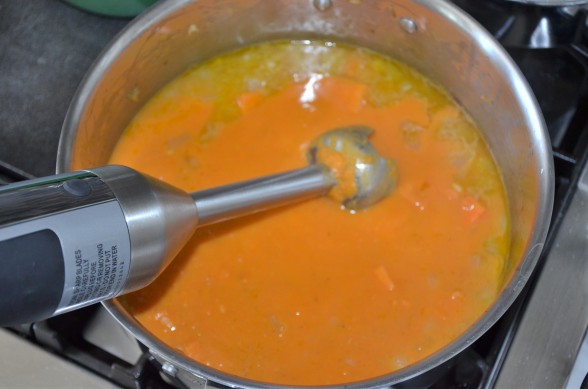
immersion blender — sure you can puree with a standard blender, but you have to do it in batches and veeerrrry carefully so that you don’t create a heat explosion.  Then you need to pour the puree into another container and puree what’s left in the pot.  Too much work for me and I don’t love the extra dishwashing involved.  Stick an immersion blender directly in the pot and puree as much or as little as you like.  Rinse the immersion blender in the sink and put it away.  I have the Breville immersion blender which I love, but some of my students bought the Cusinart which they think is great.

What are your tried and true methods of thickening soups?

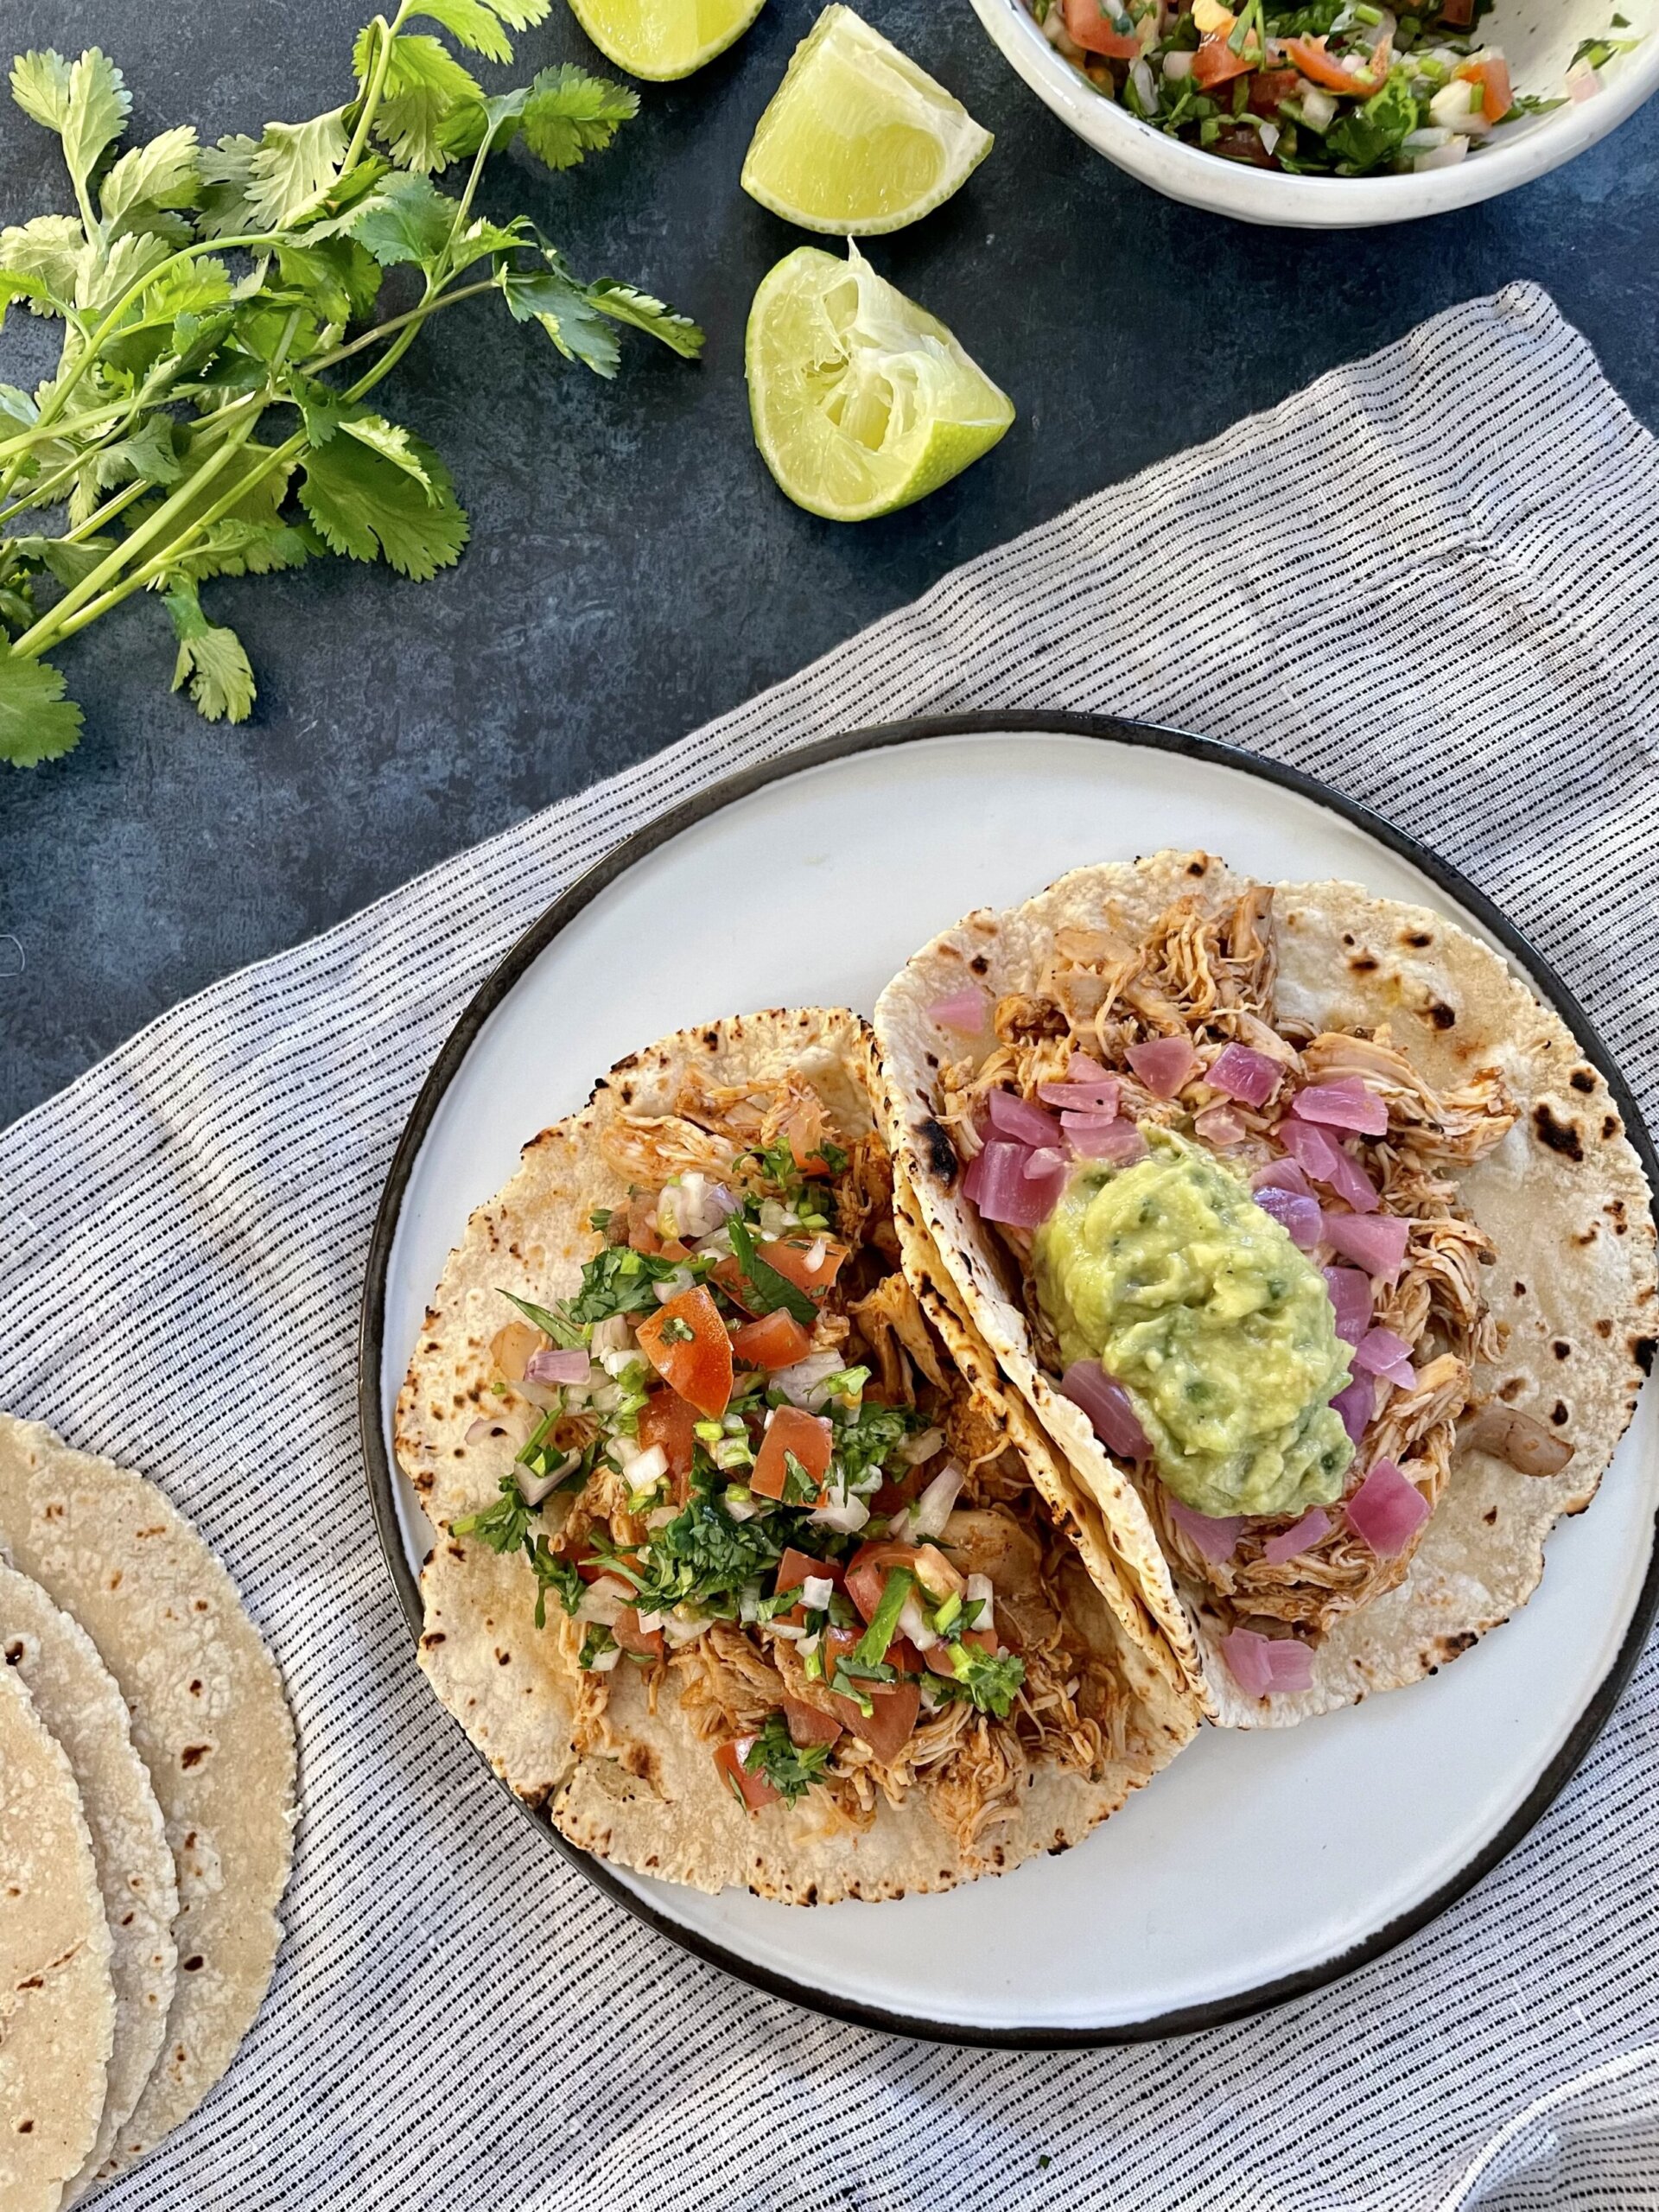
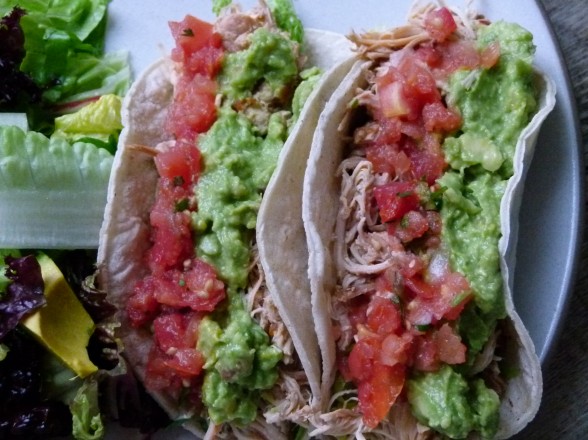
Slow cooker chicken tacos recipe

You have all waited patiently while my life changed with the arrival of my new slow cooker. Apparently, I am very late to this party.  I had no idea there was this whole huge world of slow cooker devotees.  There are even websites devoted to only slow cooker recipes.  I could wallow in self pity right now, knowing that all these years I could have been starting my dinner first thing in the morning and then return at 6:00 pm to a fully cooked meal.  I could think about all the fall apart tender meats I missed out on or the flavorful soups and stews that could have been.  But who can be down when you’re in love?  Not me, friends.  Because I am in LOVE with my new slow cooker.

I use the words “slow cooker” instead of Crock Pot because Crock Pot is a brand which I don’t have.  But for all intents and purposes, they are used in the same way.  If you don’t have a slow cooker, I am not trying to sell you one here and I will provide directions in this recipe for how to make these tacos without one.  But seriously people, this machine rocks.  I don’t know what took me so long to get one.  I think part of my resistance was that I don’t have any room in my kitchen to store it.  I still don’t, but I did give away a box of Disney DVD’s in the garage to make space for it.  (Shhhhhh!)  I also never had a job where I left early in the morning and didn’t return until 6:00 pm to a house of hungry human beings.  Until now.

The irony is that I bought my sister a slow cooker a few years ago when she had her second baby because she does have a job like that.  She has been raving about it ever since!  A few months ago, I gave my other sister the same slow cooker when she moved into a new house and I think she just started playing around with it.  But I’ve used mine a few times a week since mid-December and I’m hooked.

Listen, no one needs a slow cooker, but here is why I love mine:

–if you spend a little time before you leave for the day, your slow cooker will make dinner and keep it warm for you until dinnertime;

–slow cookers cook at low heat for longer time.  Lower heat prevents nutrient loss.  Also, cooking above 350 degrees (which a slow cooker does NOT) can create AGE’s (advanced glycation end products) which are very inflammatory to the body and considered carcinogenic (ugh.)  Yup, you heard that right.  Preparing food in a slow cooker is better for your health!

–slow cooking can be very beneficial to tougher, leaner cuts of meat by breaking down the muscle and creating a very soft, tender meat;

–you can leave it unattended for up to 12 hours without overcooking your food or worrying about burning your kitchen down.

Again, I am new to slow cookers, and although I have learned a lot just by trail and error, I am no expert.  But so far, I’ve noticed that I prefer the recipes that ask you to brown meat or saute vegetables before adding them to the slow cooker.  You get much better flavor that way.  Yes, I realize you’re getting another pan dirty, but it’s worth it and you’re getting it over with in advance.  Also, I’ve made many non-slow cooker recipes in the slow cooker and just reduced the liquid a bit since there’s almost no evaporation happening and a lot of condensation.

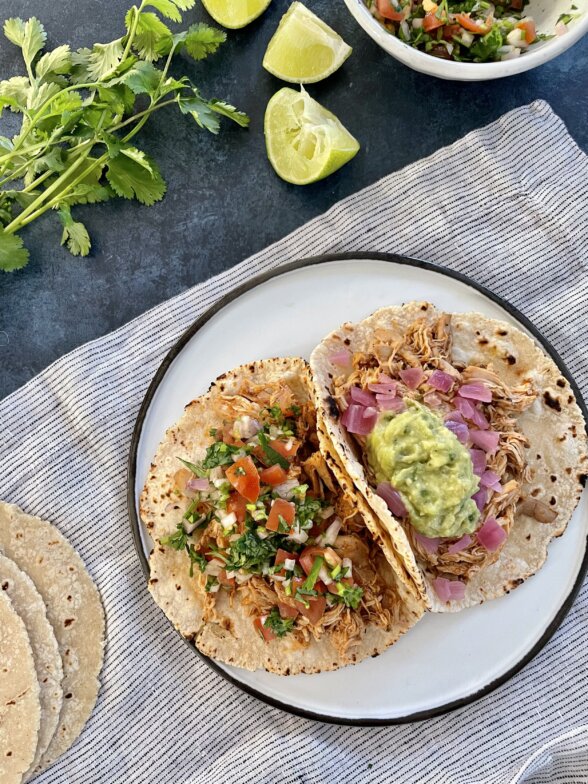
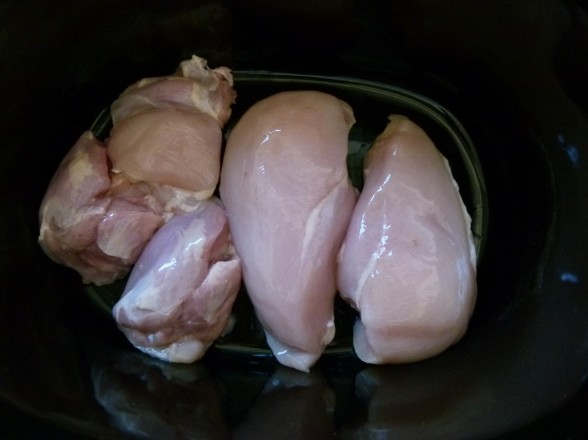
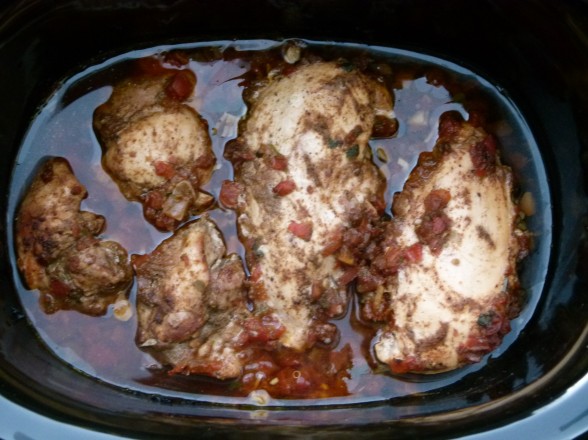
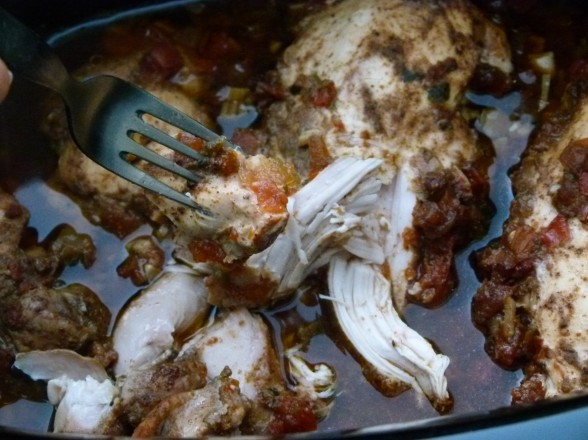
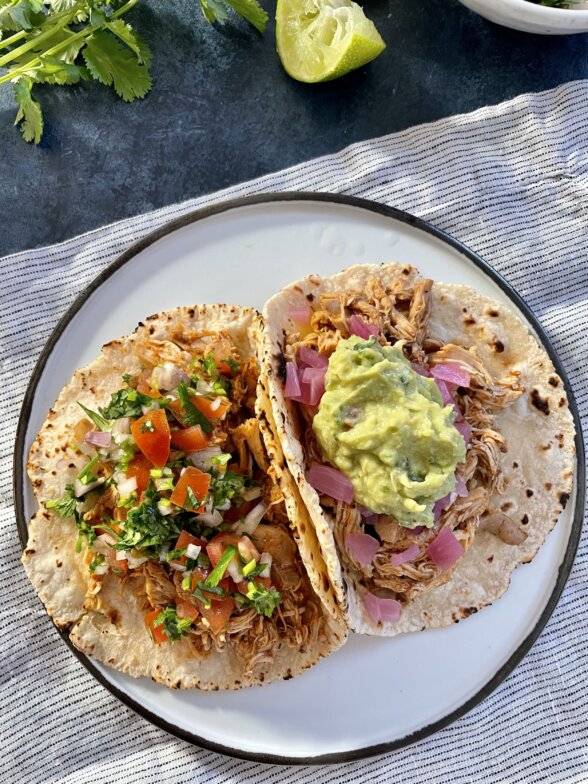
The recipe I’m posting today is a super easy one which I made on Sunday.  This is truly a measure, dump and press start recipe.  I used two different kind of chicken parts to see how they would both turn out and I’ll tell you the truth — although my family much prefers white meat, no one could tell what was what.  Both the thigh and breast meat were super fork-tender.  I personally think thighs have more flavor, but that’s just me.  Everyone L-O-V-E-D these!  I set up a taco bar with lots of toppings so they could just help themselves so I could sit on the couch with a cozy blanket and the new issue of Bon Appetit while watching the football game.  Bliss.  Slow cooker + Me = Together Forever!

Any slow cooker love stories out there?  I want to know it all — how and when you met, how you keep the passion alive, recipes for success, etc!


5.0 from 1 reviews
Slow Cooker Chicken Tacos
Author: 
Serves: 6
 
Ingredients
  • 2 pounds boneless, skinless chicken breasts and/or thighs (I used 2 breasts and 3 thighs.)
  • 1 teaspoon chili powder
  • 1 teaspoon ground cumin
  • ½ teaspoon ground chipotle powder
  • 1 teaspoon sea salt
  • black pepper to taste
  • 4 cloves garlic, finely chopped
  • ½ cup prepared tomato salsa (I used pico de gallo.) + more for serving
  • suggested accompaniments: corn tortillas, guacamole, salsa, shredded lettuce, cilantro-lime slaw
Instructions
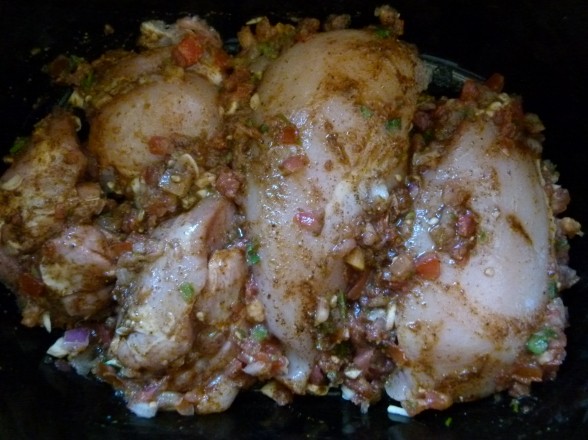
  1. Place the chicken in slow cooker and sprinkle with chili powder, cumin, chipotle powder, salt and pepper. Add garlic and salsa and rub around to combine. Cover; cook on high for 4 hours or low for 6-8 hours.
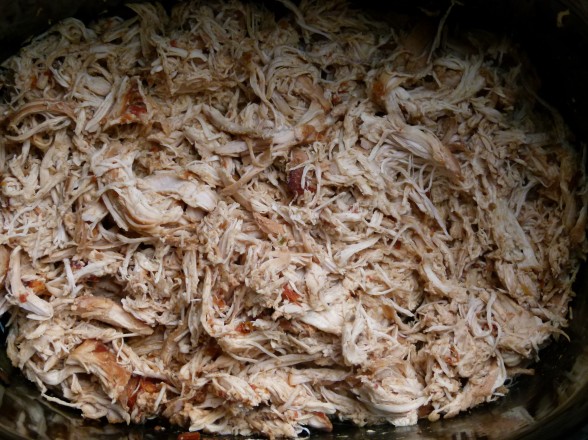
  2. Either shred the chicken with 2 forks right in the slow cooker or transfer to a plate to shred. Moisten chicken with cooking juices and serve with desired tortillas/taco shells and toppings. You could even serve the chicken over rice with salsa and diced avocados.
Notes
Leftovers are great in a quesadilla!

Oven method: preheat oven to 350 degrees. In step 1, place all ingredients (except accompaniments) in a 5-quart Dutch oven or ovenproof pot with a tight-fitting lid. Add 2 cups water or chicken stock. Cover and bake until chicken is fork-tender, about 2 hours. Proceed with step 2.


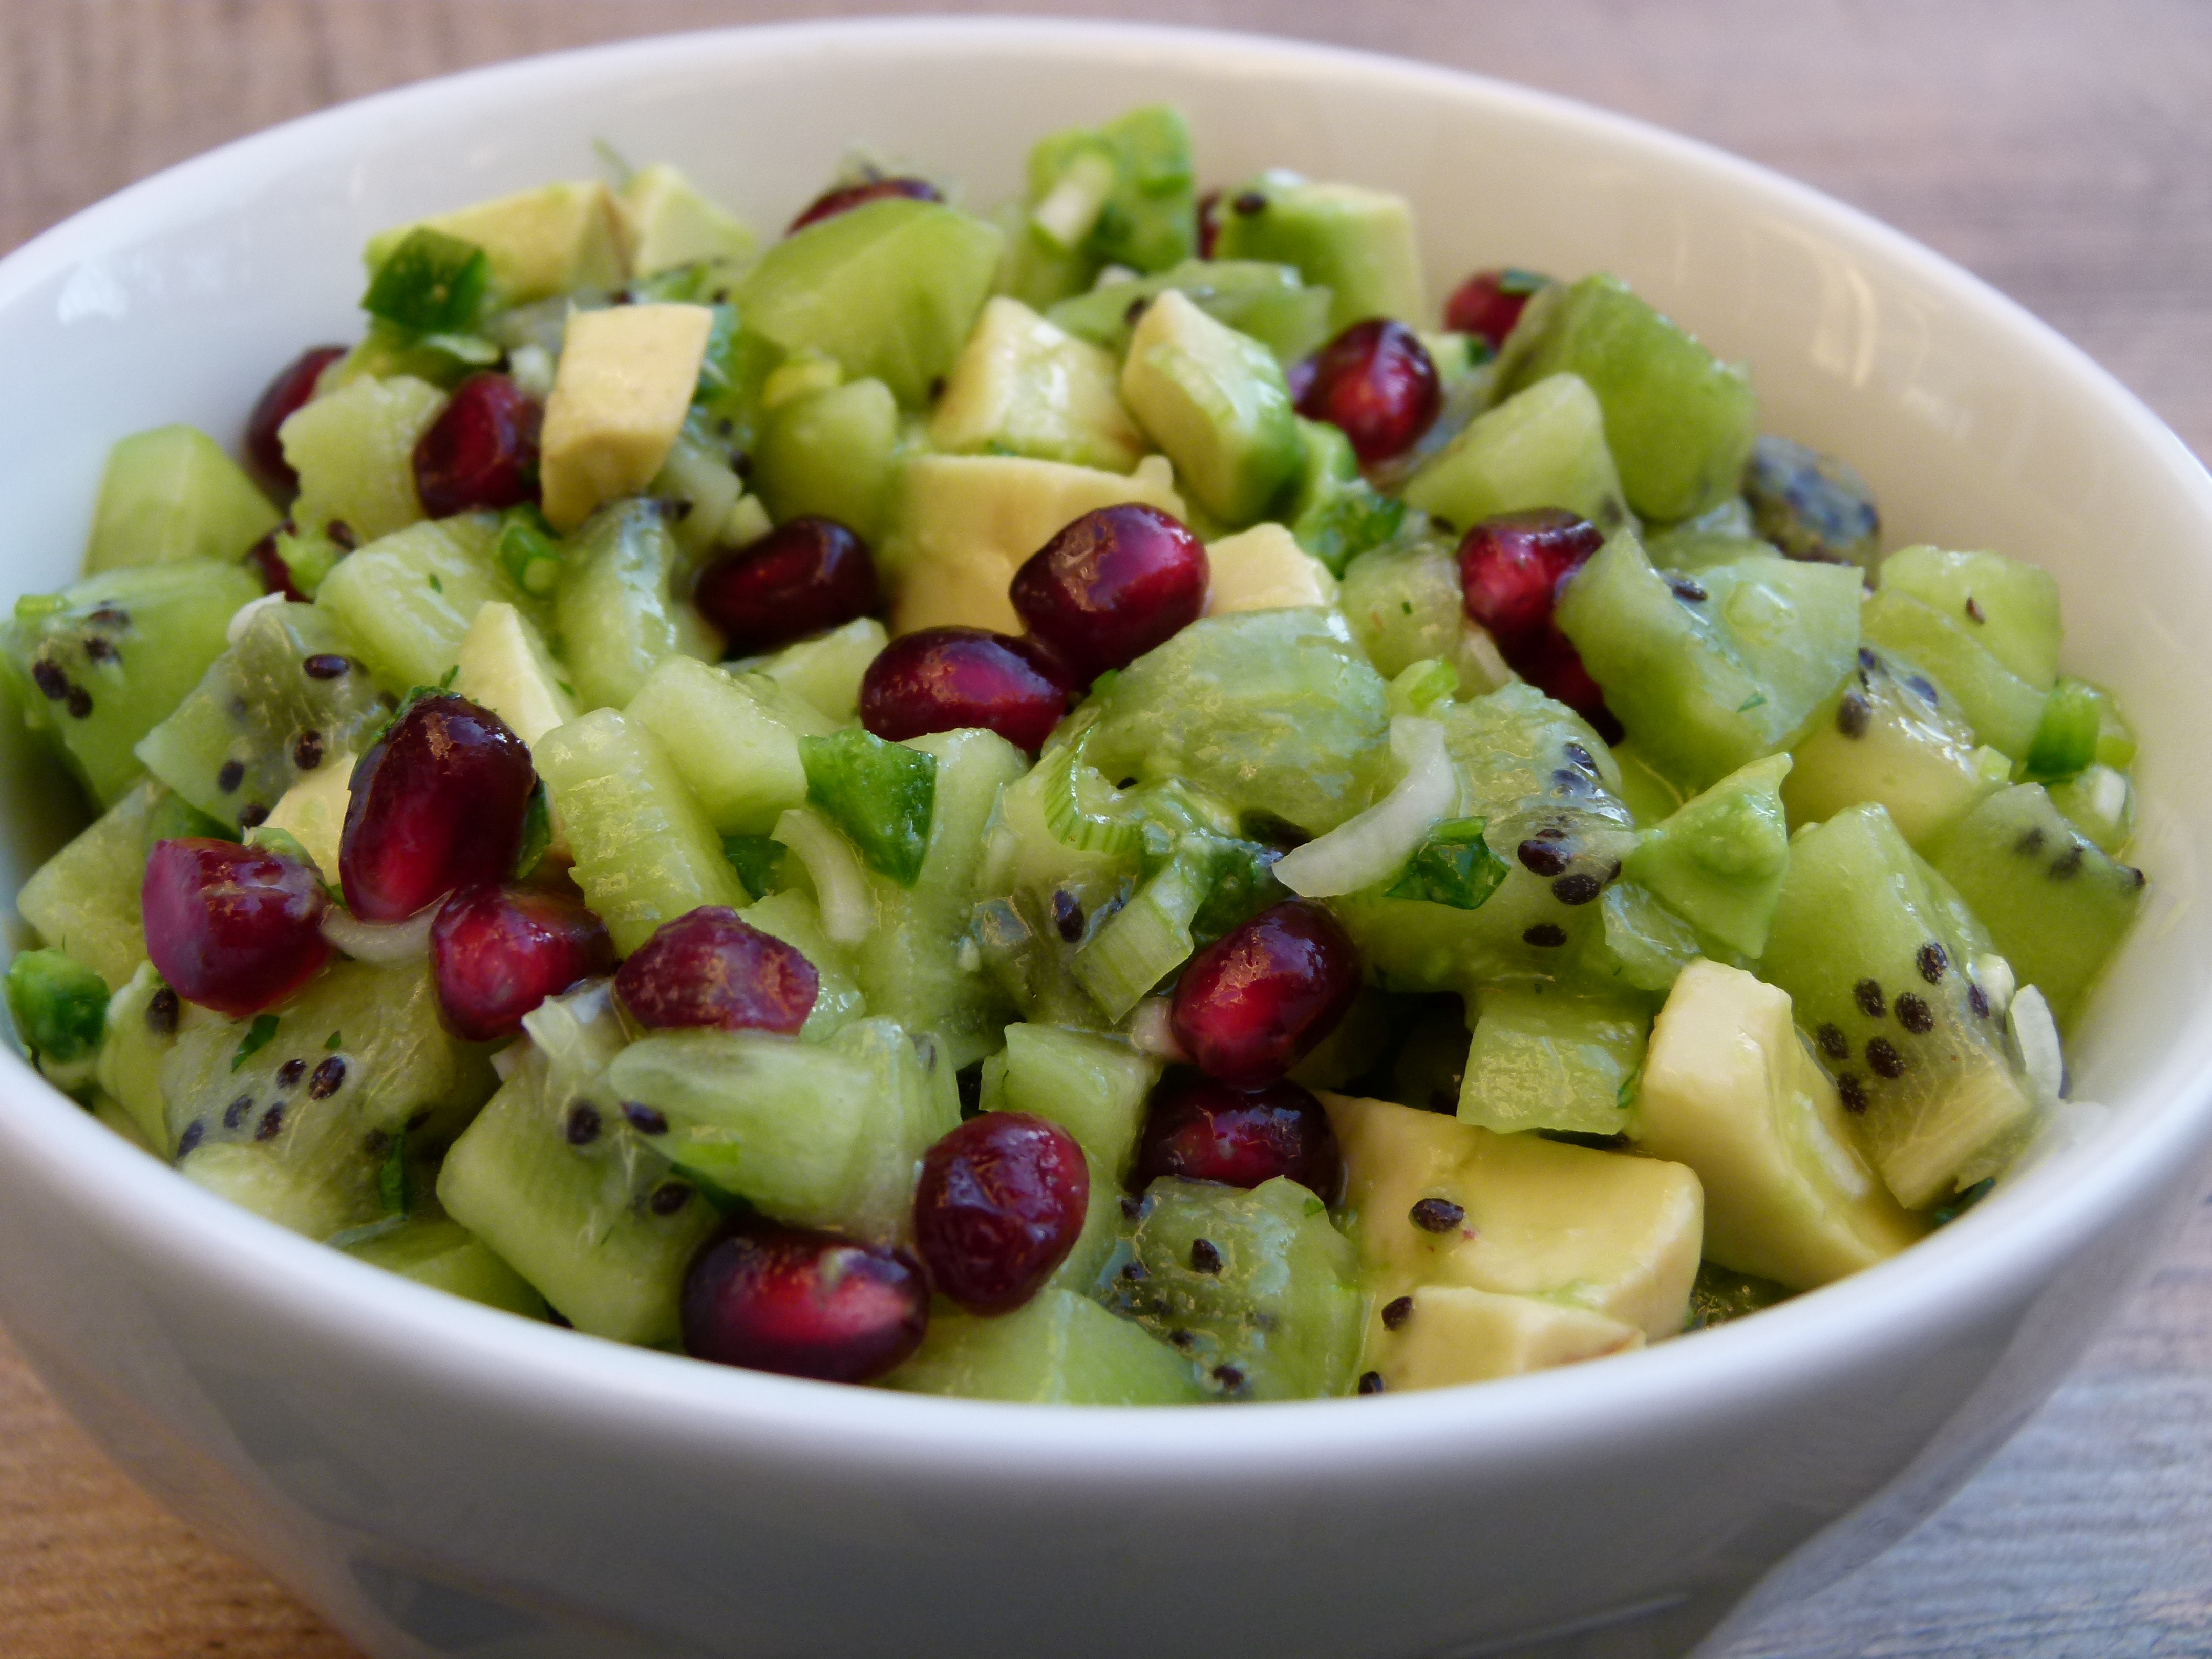
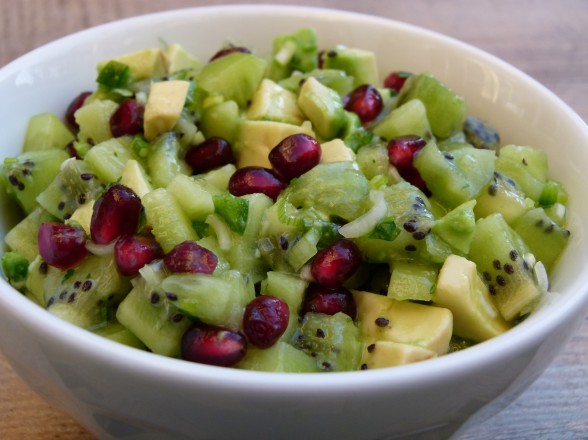
Kiwi salsa recipe

Have you ever looked at recipe and thought there was an ingredient that could be omitted no big deal?  But then afterwards you realize that maybe it was there for a reason.  I swear I don’t think I zested a piece of citrus for 20 years because I didn’t know any better.  Entire recipes, too.   Sometimes I’ve passed on recipes that I learned later were really great.  I’m still learning what kinds of recipes work for my family and me and it always helps to get recommendations from friends who eat the way we do.

I was at the farmer’s market a few weeks ago buying pomegranates and a woman standing next to me asked me what I was going to do with all of them and how one eats pomegranates.  I was very enthusiastic giving her all sorts of suggestions from yogurt parfaits to salads to cocktails, all very standard and common, I’ll admit.  Then this other woman out of the blue asked, “have you ever tried pomegranates in guacamole?”  Show-off.  No, I haven’t nor had I ever heard  of such a thing.  I thought to myself it sounded a little out there and I planned on NOT trying it any time soon.  So I took my pomegranates home to my granola and greens and that was that.

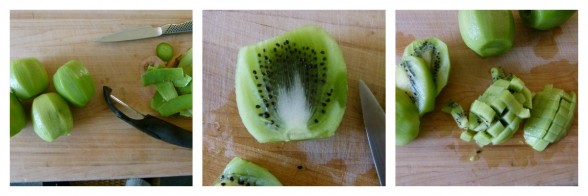
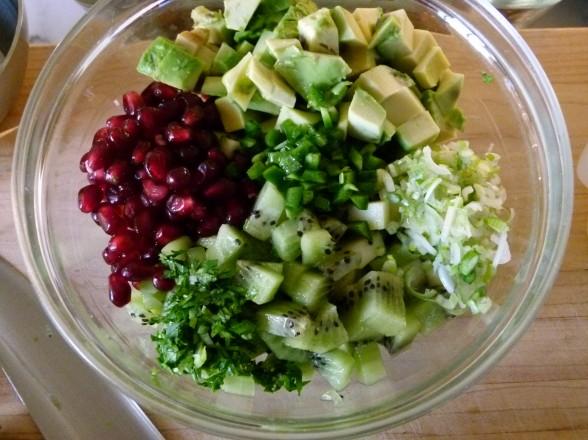
Then last week I was teaching at my friend Lisa‘s house and she was telling me about her CSA boxes and how exciting it has been receiving such great produce every week.  Lisa said she had gotten so many kiwis the last few weeks that she was forced to find a few new delicious ways to enjoy them, including an amazing kiwi salsa with pomegranates.  Light bulb.  Oh really?  Tell me more.  She had made a very easy chunky salsa that was more tart than sweet, but had creamy avocados and crunchy pomegranate seeds.  The universe was telling me to make this no matter how crazy it sounded.  I love kiwis as much as the next person and you know I am mad for pomegranates and avocados, so how bad could it be?

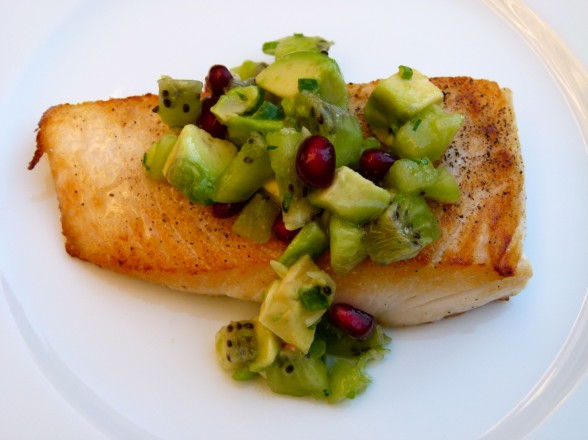
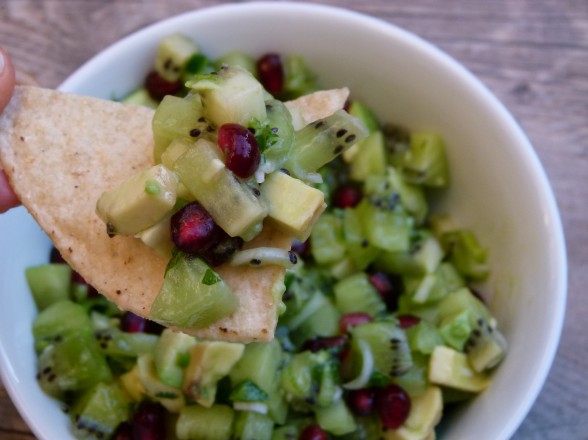
A few nights ago I planned on pan-seared wild halibut with the salsa plus some cilantro rice and cauliflower.  I wouldn’t say that fish gets everyone super excited in our house, except me of course.  And Daughter #2 is still on her anti-seafood campaign.  But everyone FREAKED out over this salsa and the fish.  My husband said, “I have to say I am delightfully surprised by how much I like this.  This salsa is fantastic.”  He’s really not as dorky as he sounds. He and Mr. Picky polished off their fish and salsa and then proceeded to finish the remaining salsa with tortilla chips.  Mr. Picky even suggested making the salsa with fish tacos.  Success!

This was not as sweet as a mango or pineapple salsa, which the hubby doesn’t care for.  Instead kiwis and pomegranates are both a little tart, probably more tart than a peak-of-summer tomato.  And it’s a great option for the winter when all these ingredients are in season.  Plus, it’s super nutritious!  Kiwis, pomegranates and jalapenos are loaded with Vitamin C and antioxidants.  And avocados have amazing healthful fats and Vitamin E.  All great beauty foods!  I made this two hours ahead of eating it in the 15 minutes I had between coming back from dropping Mr. Picky off at soccer and picking up Daughter #2 to go to music lessons.   What is better than fast and easy?  I think I’m I’m going change up our standard Super Bowl fare and make a bowl of this.  It’s a new year people and I’m going to act like it!

Kiwi Salsa
Author: 
Serves: makes about 1½ cups
 
Ingredients
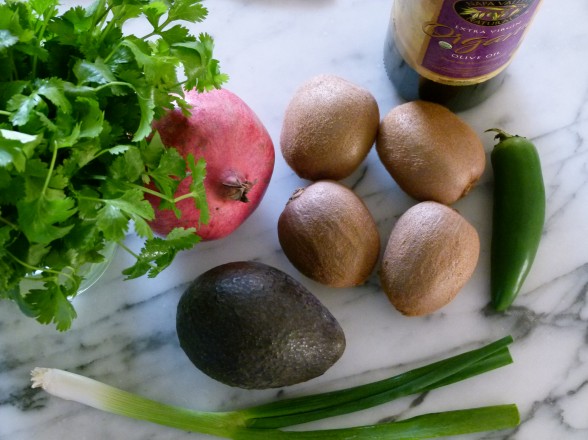
  • 1 cup diced peeled kiwifruit, about 3-4 kiwis (don't choose kiwis that are too soft)
  • ¼ cup pomegranate seeds (see how to seed a pomegranate)
  • ½ an avocado, peeled and chopped
  • 1 Tablespoon thinly sliced green onion (white and light green parts)
  • ½ Tablespoon minced fresh, seeded jalapeno (or more or less according to your desired heat level)
  • 1 teaspoon finely chopped fresh cilantro (about 6 sprigs) -- you can add more, but I was rushing to finish this
  • 1 teaspoon unrefined extra-virgin olive oil
  • a few pinches of sea salt or to taste
Instructions
  1. In a medium bowl, gently combine all ingredients so you don’t mash the avocado and kiwi. Taste for seasonings, specifically jalapeno and salt, and adjust accordingly. I like to let salsas sit for an hour or so to allow the flavors to meld. Keep covered so the avocado doesn’t brown.


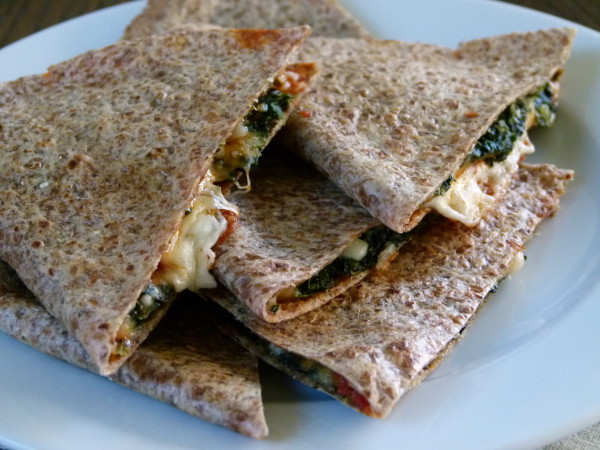
Spinach Pizza Quesadilla Recipe

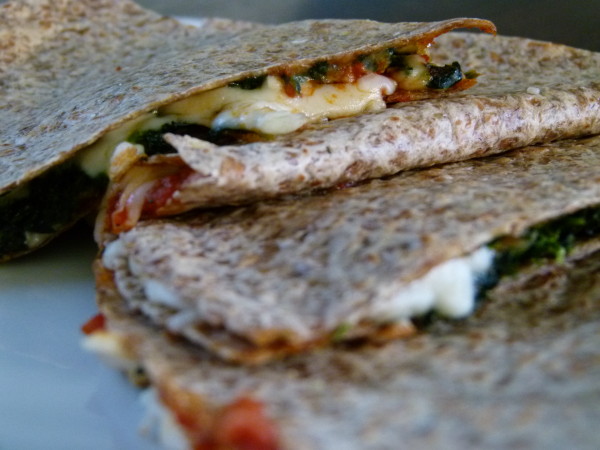
Spinach Pizza Quesadilla | Pamela Salzman

When I am hungry, I am not picky.  I can find a lot of different options in my refrigerator or pantry that will do the trick.  Give me last night’s roasted sweet potato or a couple dates stuffed with pecans and coconut or even a sprouted grain tortilla smeared with almond butter and wrapped around a banana.  Instant gratification.  My kids don’t yet have the ability to see the potential lurking in our kitchen that I do.  That or they are incredibly lazy.  While we are blessed to have an ample supply of food in our house, my children still manage to complain…”there’s never anything to eat around here!”  I know.  Insane.

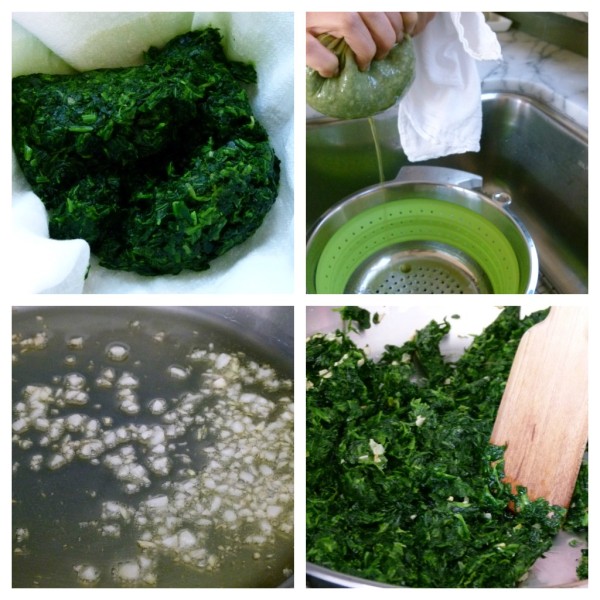
preparing spinach

In my former life, this may have made me feel inadequate, like I’m a bad mom.  I don’t want to have the house where there’s nothing good to eat!  But I’m onto my kids.  I can read between the lines.  They’re not whining about the lack of food.  They’re whining about the lack of prepared-ready-to-eat-tasty-not-leftovers-from-dinner food.  And serve it on a silver platter while you’re at it!  I’m sure my kids would love it if I had the pantry stocked with orange, crispy cheese-flavored curls or boxed cookies.  But that’s not food and it sure won’t help them get through their homework or a 90-minute soccer practice.  Unfortunately, despite what you might think, I don’t have the time to cook up homemade snacks all day, as much as I would truly enjoy that.

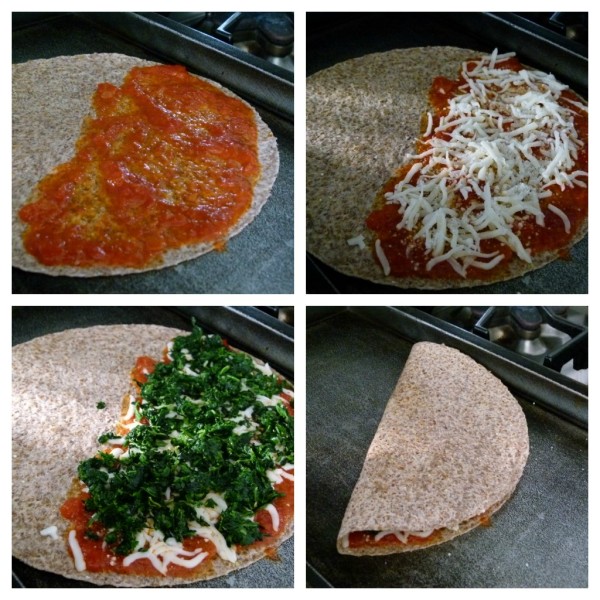
step-by-step

Instead, I have taken some advice from the Chinese proverb,”Give a man a fish and he will eat for a day.  Teach a man to fish and he will eat for a lifetime.”  The point is that I think it’s more beneficial to my kids if they learn how to make a thing or two in kitchen especially when I’m not available to whip up something fabulous.  This has been a s-l-o-o-o-w process, which I might need to speed up since Daughter #1 is supposed to be leaving for college in a year and a half (gasp.)  Among other things, I have taught the girls to make one of their favorite snacks/lunches of the last 10 years.  Pizza Quesadillas is a very popular and oft-requested after-school snack in our house, and not just by my girls, but their friends, as well.  They take minutes to make and I usually have the simple ingredients on hand.  I don’t know that they’re any better for you than a typical quesadilla, which is merely cheese (cheddar or jack) melted in a flour tortilla.  This is just a fun twist on a quesadilla and a pizza, where you use mozzarella and also a little marinara sauce.  I can’t help but sneak in a few veggies, usually leftover from the night before.  Anything with which you might top a pizza is fair game here.  In general, I love using whole grain tortillas, either sprouted grain or whole spelt, both of which are more nutritious and more digestible than white flour tortillas.  Are you gluten-free?  There are fantastic brown rice tortillas by Food For Life!   With all that fiber and protein, the girls fill up more quickly than if they had eaten a mess of packaged snacks and they also get the benefits of long-lasting energy until dinner time.

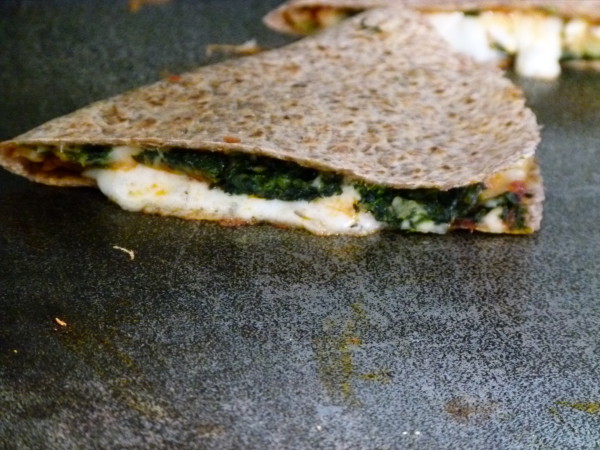
get that cheese melted

You my have noticed that I haven’t mentioned the apple of my eye, Mr. Picky in this post.  I have taught him how to make a couple of snacks including smoothies, acai bowls, toast, and peanut butter and jelly on a rice cake.  But cheese is just not on his “must try list.”  One of his new years resolutions is to be less picky, which I find very endearing.  But in the same breath he also added that he would sooner try eating insects before he ate cheese.  Did I mention “s-l-o-o-o-w process?”

snack time!

5.0 from 1 reviews
Spinach Pizza Quesadilla
Author: 
Serves: makes 4 quesadillas
 
Ingredients
  • If you need to make some sautéed spinach:
  • 1 Tablespoon unrefined extra-virgin olive oil
  • 3 cloves of garlic, minced
  • 1 pound frozen chopped spinach, defrosted and squeezed of excess water (I do this in a thin, clean dish towel)
  • sea salt to taste
  • 4 whole spelt, sprouted grain or your favorite tortillas
  • ½ cup marinara sauce
  • 1 cup shredded mozzarella or vegan cheese (Daiya is my favorite vegan cheese)
  • Pecorino Romano or Parmesan cheese, to taste
Instructions
  1. Preheat your griddle to 350 degrees or a large, heavy skillet over medium heat.
  2. Heat the olive oil in a medium sized skillet over medium heat, add the garlic and sauté until fragrant, about 30 seconds. Add spinach and a pinch or two of salt and break up with wooden spoon or spatula. Sauté until heated through, about 5 minutes.
  3. If you are using a cast iron or non-stock griddle or skillet, place a tortilla on the griddle or skillet dry without any oil or butter. If using stainless steel, you may need a teaspoon of oil to prevent sticking. Spread 2 Tablespoons of marinara sauce on half of the tortilla. Follow with ¼ cup mozzarella cheese, a sprinkling of pecorino or parmesan, if desired, and ¼ cup spinach mixture on top of cheese. Fold the tortilla in half to make a quesadilla.
  4. Allow quesadilla to sit on griddle until underside is lightly golden brown and flip over. Cook until cheese is melted.
  5. Slice in half or in thirds and serve.
Notes
This could be made with any leftover veggies, other options include: mushrooms, peppers, broccoli, kale. It also makes a nice lunch for school if your kids don’t mind eating it at room temperature.


Stir-fried soba noodles with vegetables and tofu

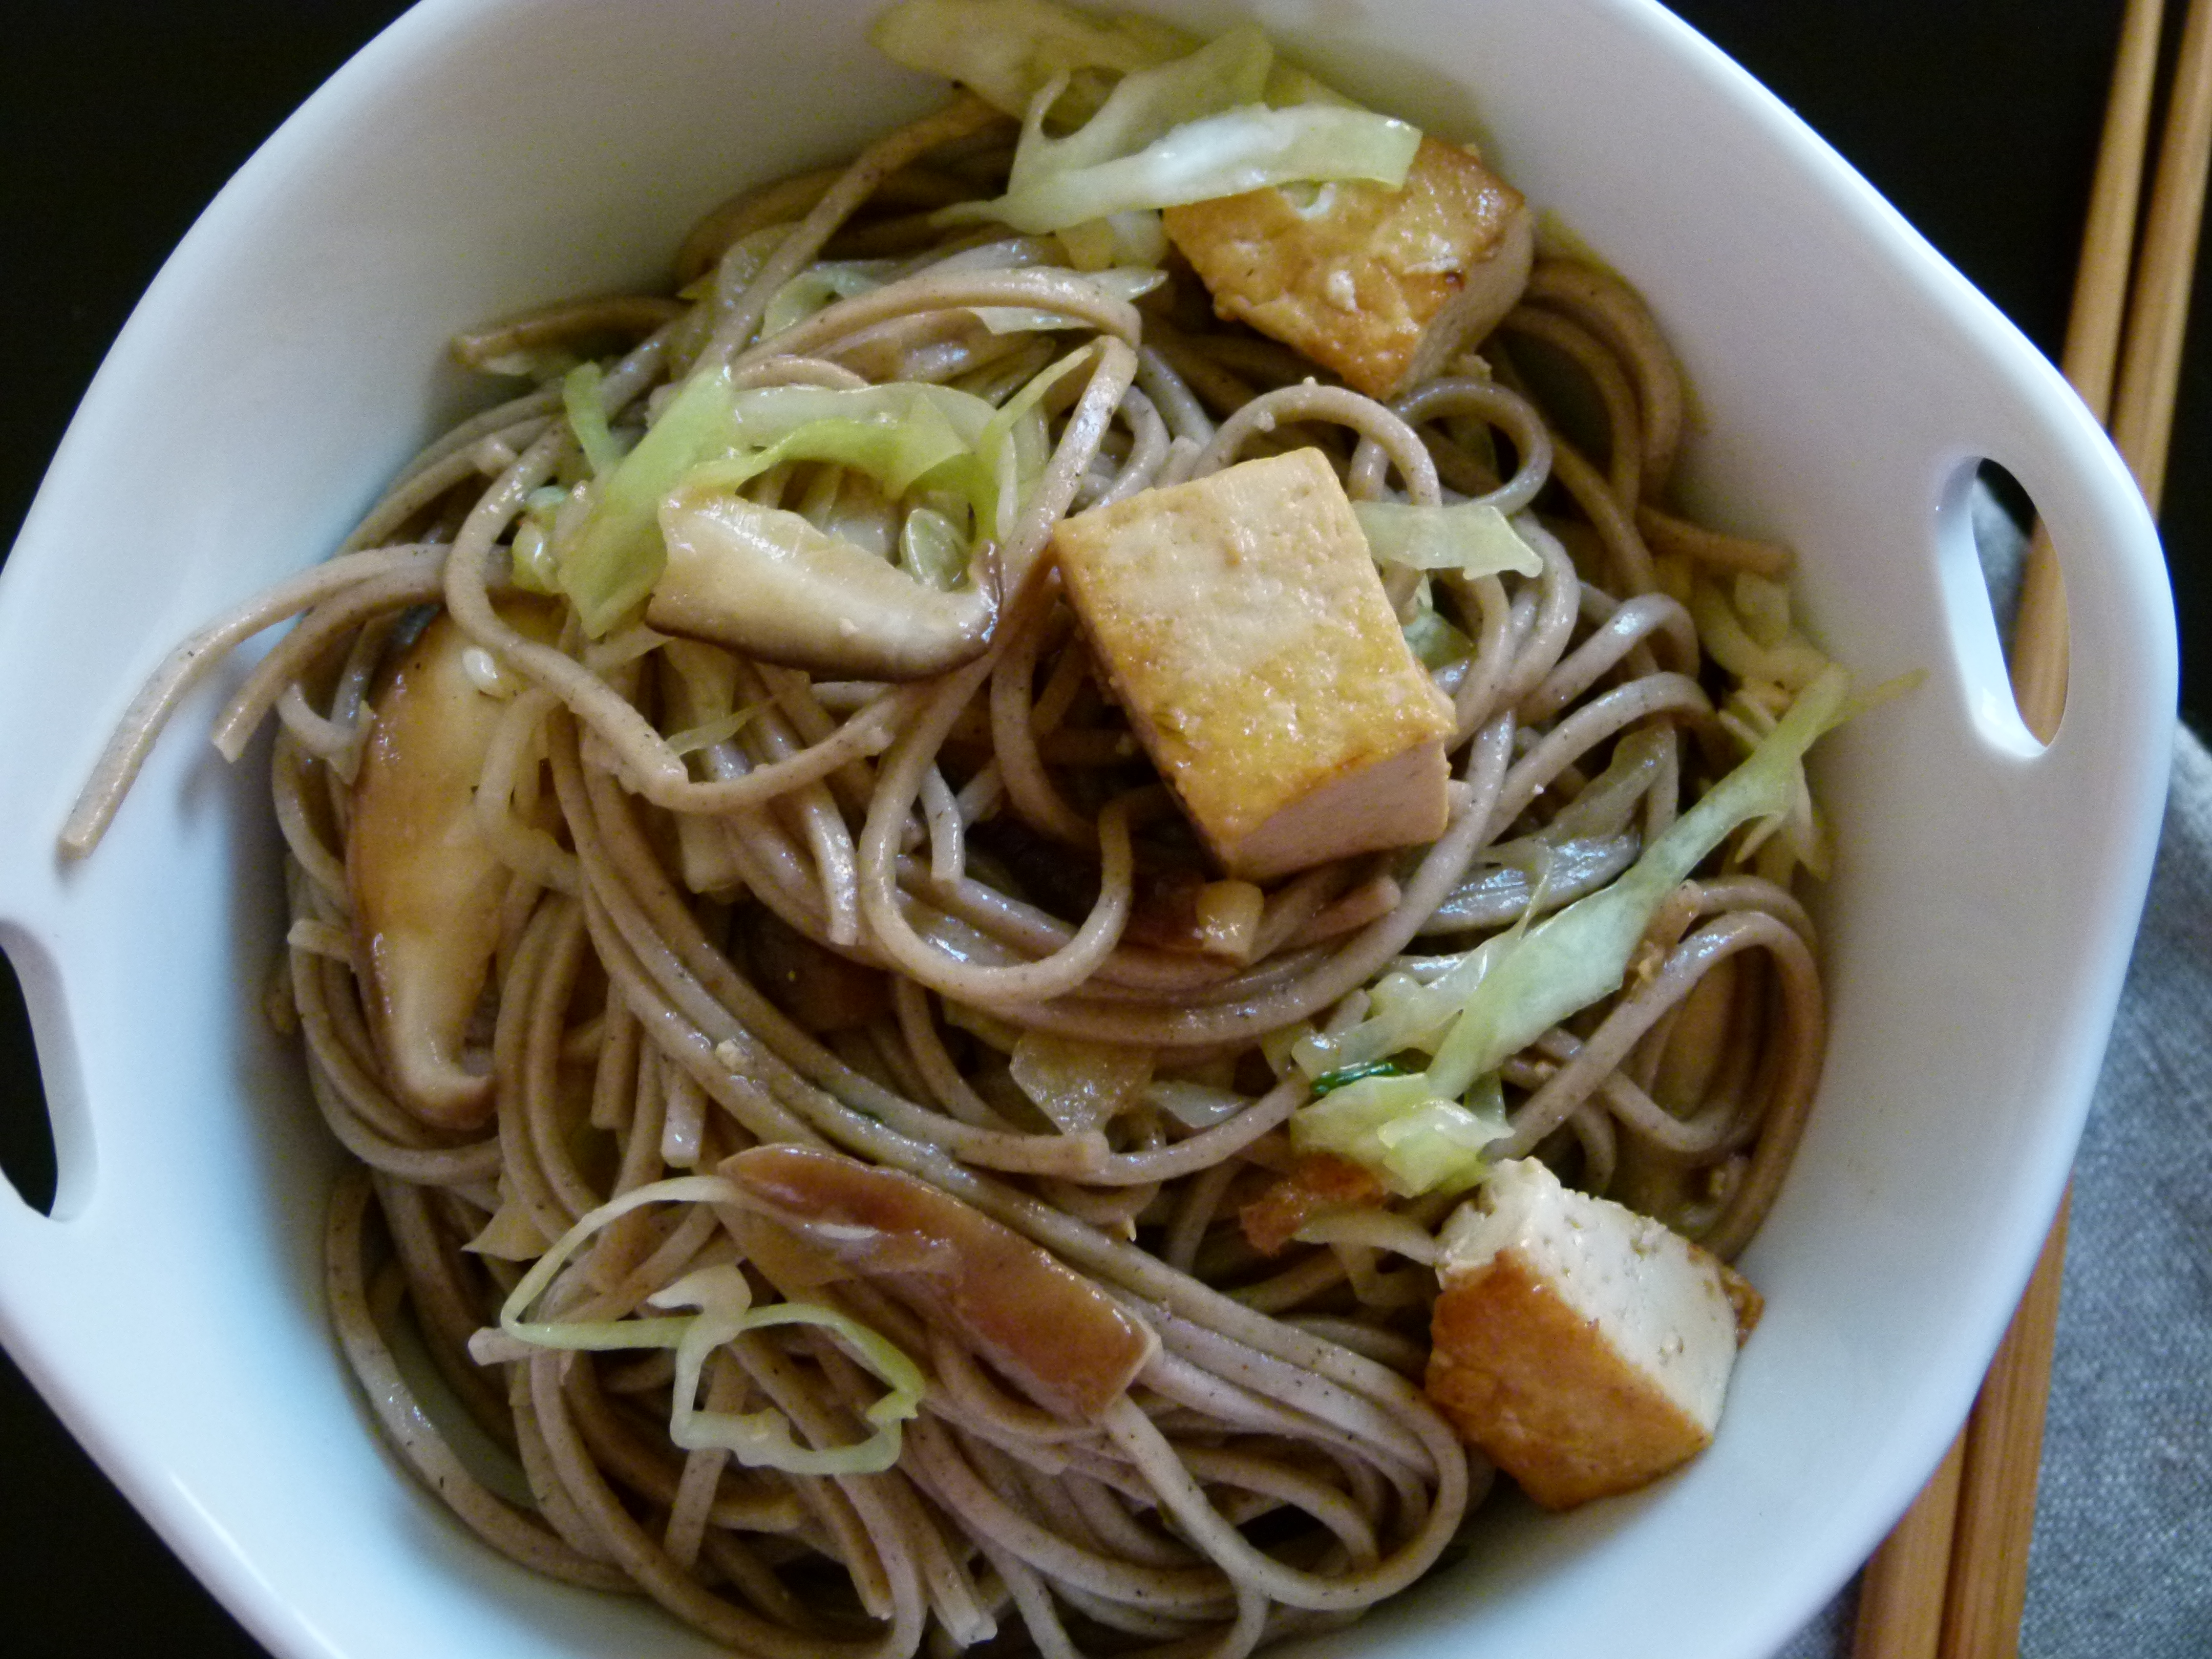
You know what’s harder than sticking to new year’s resolutions?  Getting back into a normal routine after you’ve had a very leisurely vacation away from home.  After two weeks of no mail, no work (sort of), no carpools, and no making lunches at 6:00 am (the biggest vacation of all!), this week was like a smack in the tush.  At one of my classes this week, I couldn’t think of the word for “colander.”  This has happened to you too, yes?  I thing I did not take a break from over the holidays was cooking dinner, so I decided to get back into my kitchen with some easy meals this week.
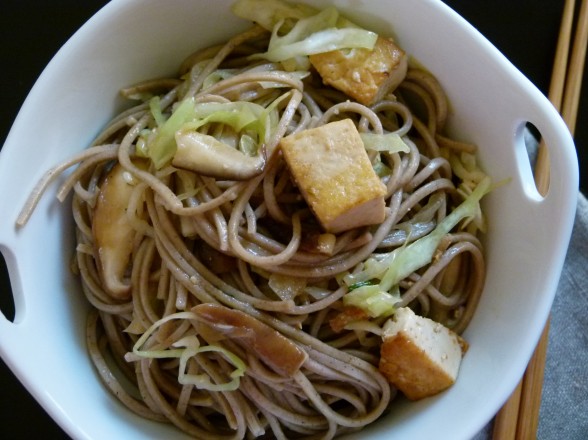
My mother-in-law gave me a slow cooker for the holidays and I have used that twice already.  I can just tell you now there are slow cooker recipes in your future!  I also made this tried and true noodle stir-fry which my kids and husband absolutely adore.  And why wouldn’t they?  It’s basically Asian pasta!  I save stir-fries for the nights when I know I’m going to be pressed for time, but always the day before a school day since it is a slam-dunk for the next day’s lunch box.  This particular stir-fry is really about the noodles with a little protein and veg thrown in there, so I always make a second vegetable dish like Sesame Spinach Salad or Roasted Sesame Cauliflower with Nori, for example.

The trick with any stir-fry is to have all your ingredients prepped before you start cooking.  It is a very quick-cooking method with little time in between steps, so it’s best not to wait to wash and chop your veggies.  In this recipe, I used two vegetables that cook up pretty fast, shiitake mushrooms and cabbage, which are also downright awesome for you.  But if you prefer to use something else, just make sure it also cooks quickly, like snow peas.  If you have broccoli or carrots lying around that you’d like to throw in there, it’s probably best to steam or blanche them for a minute or two before adding them to your pan.  You can do this in a little water in the wok before you get started that way you won’t have an extra pot to wash.

The night I made this, my husband came home and asked if there was any way he could have a little chicken to add to the dish.  Of course!  Just step aside so I can pull out my magic wand!  Actually, I did have a couple of boneless, skinless chicken breasts in the fridge.  He turned on the grill while I sliced them into cutlets.  I put them in a pie plate with about 3 Tablespoons of shoyu (soy sauce), 2 Tablespoons of olive oil and a few shakes of unseasoned rice vinegar.  I flipped them around a bit to coat and I let them sit at room temp for about 15 minutes.  They took a minimal amount of time to grill and then we chopped them up and added them to the noodles.  I’m so sorry I don’t have a photo!  It was actually really delicious and Mr. Picky asked for the same chicken the next night.  Chicken that takes a few minutes again?  I always have time for that!


View this post on Instagram


A post shared by Pamela Salzman (@pamelasalzman)


If you give this recipe a try, snap a pic and tag @pamelasalzman so I can see your beautiful creations. I also really appreciate readers taking the time to leave a rating and review! Subscribe for free to my site for the latest recipes,  updates and things I’m loving lately.  If you enjoy this recipe, I taught it last year in my online class!  Give me an hour a month, and I’ll make you a better, healthier cook!

Stir-fried Soba Noodles with Vegetables and Tofu
Author: 
Serves: 4-5
 
Ingredients
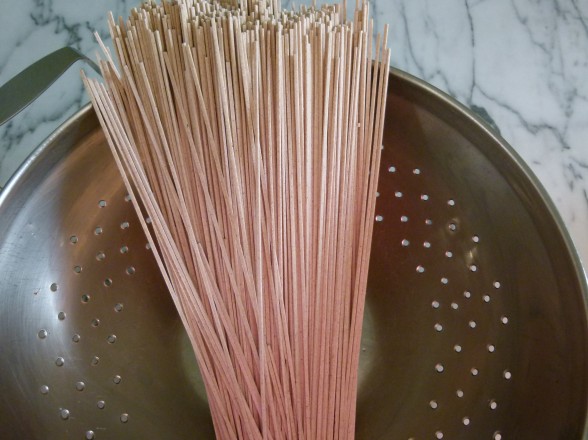
  • 12 ounces soba noodles (either wheat/buckwheat blend, all buckwheat or you can use your favorite wheat or brown rice spaghetti)
  • Pinch of kosher salt
  • 2 teaspoons toasted sesame oil
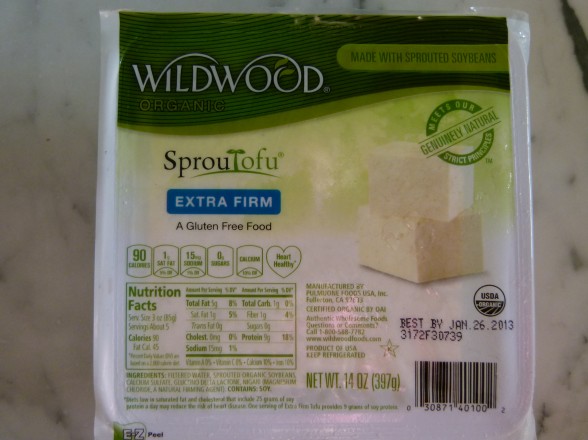
  • 14 ounce package of firm or extra-firm tofu, preferably non-GMO
  • 1 teaspoon arrowroot or cornstarch, preferably non-GMO
  • 4 teaspoons Chinese rice wine or dry sherry
  • 2 Tablespoons shoyu or tamari
  • 1 Tablespoon water
  • ¼ teaspoon red pepper flakes (optional)
  • 2 garlic cloves, crushed
  • 2 quarter-size pieces of peeled fresh ginger
  • 4 scallions, white and green parts sliced
  • sea salt to taste
  • 2 Tablespoons unrefined peanut or coconut oil
  • 3 cups thinly sliced Napa cabbage or green cabbage
  • 4 ounces (about 2 cups) fresh shiitake mushrooms, stems removed, caps wiped clean and thinly slice
Instructions
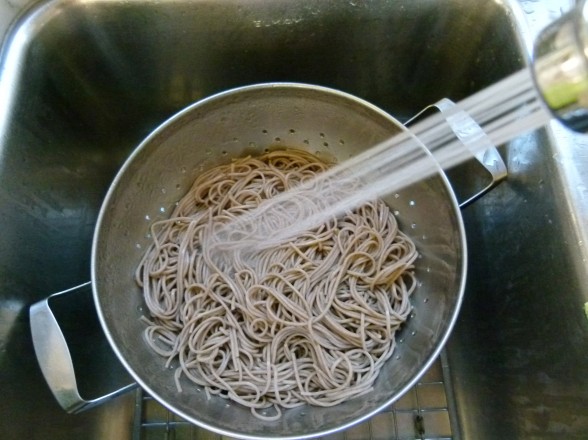
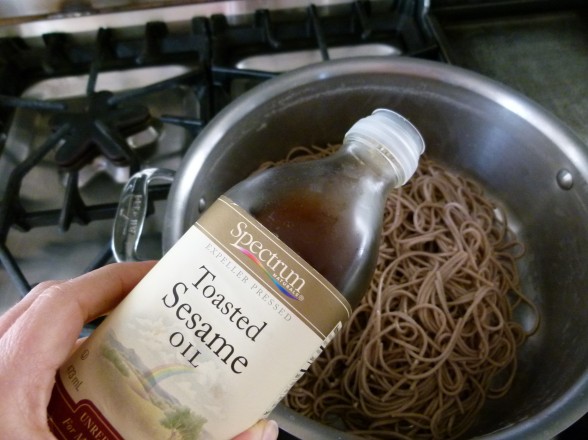
  1. Bring a large pot of water to a boil. Add a pinch of kosher salt and soba noodles, Stir well and cook until just done, about 4 minutes. Drain in a colander and rinse under cool water to stop the cooking. Drain well and return back to the pot. Add sesame oil and stir to coat. You can do this in advance.
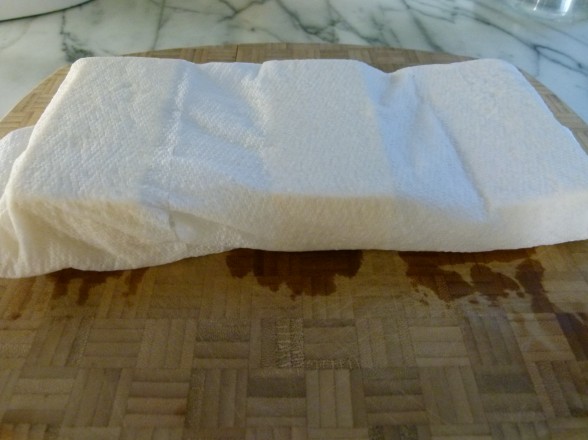
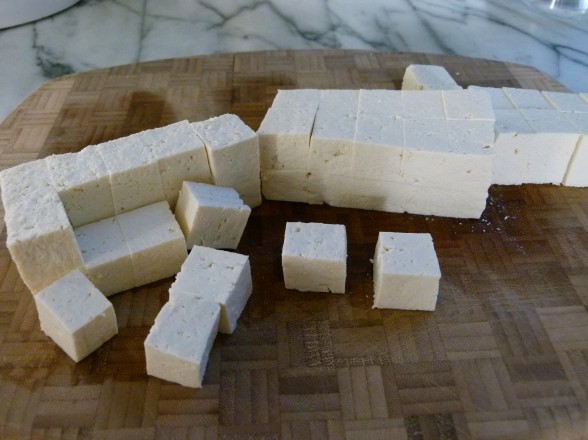
  2. Slice tofu into three equal slabs. Press each slab with a paper towel to absorb excess moisture. This will make the tofu able to absorb other flavors. Cut into 1-inch cubes.
  3. In a small bowl, whisk together arrowroot, rice wine, shoyu, and water. Set aside.
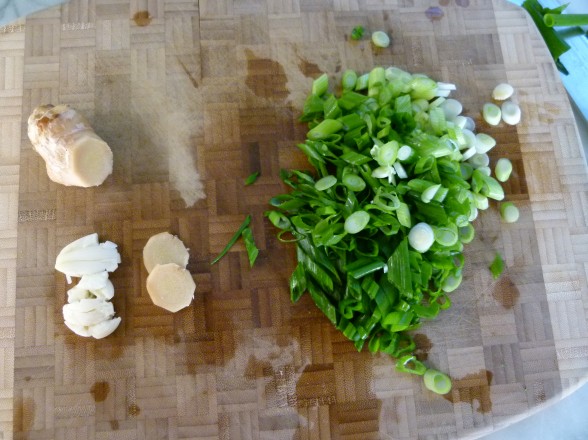
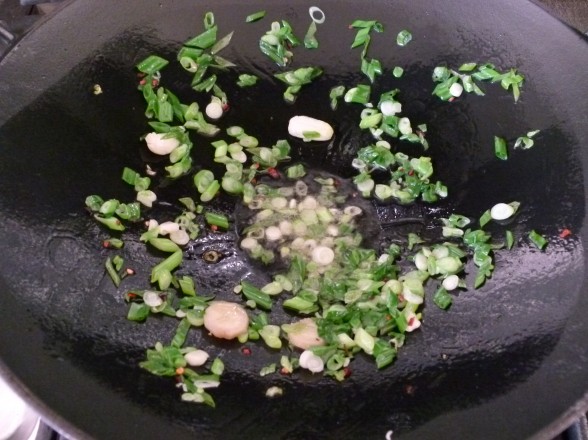
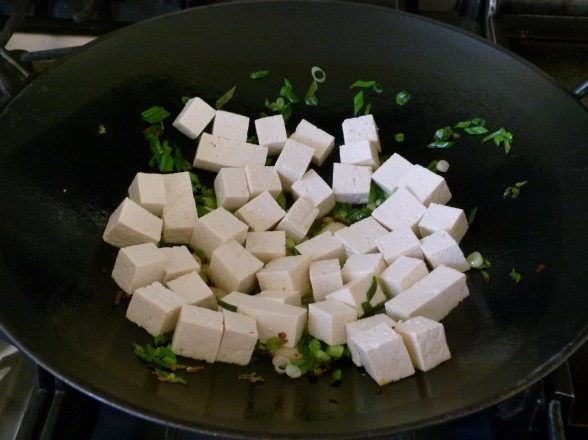
  4. Heat 1 Tablespoon oil over medium high heat in a wok or large skillet and swirl around the sides of the wok. Add the red pepper flakes, garlic, ginger and scallions. Cook, stirring, until fragrant, about 1 minute. Add the tofu and stir-fry until lightly colored, about 5 to 6 minutes. Don't move it around too much, otherwise it will stick.
  5. Add the remaining tablespoon of oil along with the cabbage and mushrooms and sprinkle with a pinch of salt. Stir-fry one minute until just wilted, but not cooked all the way.
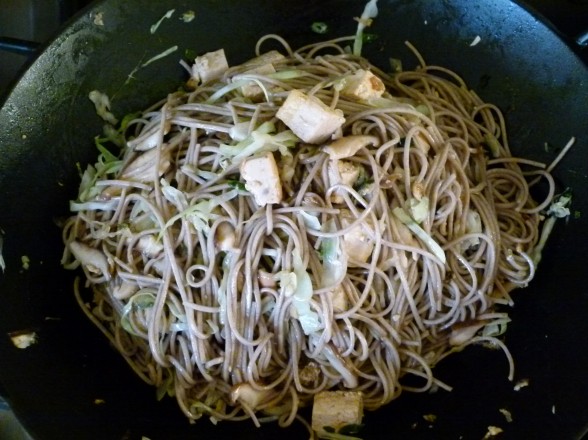
  6. Give the reserved sauce a quick whisk and then add to the wok along with the noodles. Stir-fry, tossing constantly to heat through. You can remove the garlic and ginger before serving, if desired.
Notes
This a delicately flavored noodle dish. If you prefer it saucier, just double the sauce ingredients.


Millet-Cauliflower Mash Recipe

millet-cauliflower mash | pamela salzman

Don’t change that dial!  I know what’s happening here.  You see the word “millet” and all of a sudden you need to go wash your hair instead of reading the rest of this post.  You think it’s bird seed or that you’re family will think it’s bird seed.  Ok, you’re not far off, but this is incredibly tasty birdseed, people!  I know you established some hardcore resolutions last week and I am here to help.  This millet mash is delicious, creamy, comforting, and incredibly nutritious AND alkalizing and gluten-free and dairy-free and vegan and everything else you want to be right now.  Still with me?

Millet is such an under-appreciated seed.  It’s very easy and quick to prepare and has a very mild flavor.  I posted a millet recipe last year and discussed the myriad benefits of millet there.  Do check it out if you’re new here!   I also made a scrumptious millet porridge the other day with coconut milk, almond milk and no additional sweeteners.  I think I like it better than my brown rice pudding.

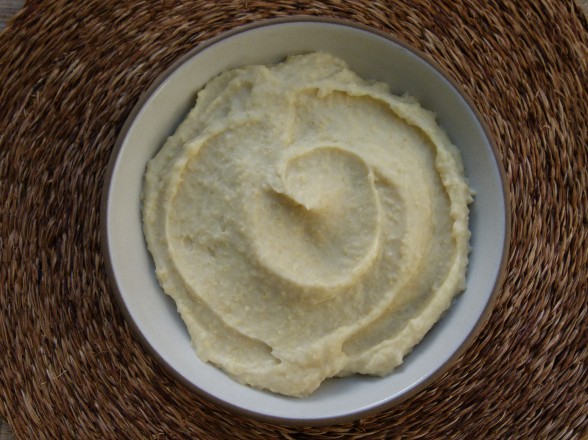
Last year I taught this Millet-Cauliflower Mash with hesitation.  I always have a few risky recipes which make me worried people will think they’re too “out there.”  But deep down I knew this dish was amazing and it ended up being a huge hit.  Millet-Cauliflower Mash is my mashed potatoes without the potatoes and without the butter and cream.  I actually considered serving this for Thanksgiving, but my husband thought I was getting carried away.  Truthfully, I serve mashed potatoes once a year (on Thanksgiving) and Millet-Cauliflower Mash practically once a month the rest of the year.  I won’t lie and tell you it tastes exactly like mashed potatoes.  Millet is slightly nutty and corny tasting and this puree isn’t baby-food-smooth like mashed potatoes, but instead feels a little like polenta.  The flavor is definitely very mild and neutral, though.  I love it with anything saucy like Baked Chicken with Artichokes or Orange and Rosemary Glazed Chicken.  You can even serve it with meatballs or a vegetable stew.  If you have leftovers, the mash will firm up in the refrigerator and you’ll need to add a bit of water or broth to reheat it.  Alternatively, you can treat it like leftover polenta and slice it up and then bake it or fry it.  Still with me?  Great!  Now go get thee some millet!

Millet-Cauliflower Mash
Author: 
Serves: 6
 
Ingredients
  • 1 medium onion, chopped
  • 1 Tablespoon unrefined olive oil, unsalted butter or unrefined coconut oil
  • 1 cup millet, rinsed
  • 3 cups water
  • 3 cups cauliflower florets
  • 3 garlic cloves
  • 2 teaspoons sea salt
  • 1 Tablespoon chopped chives, optional (I didn't have any the day I photographed this.)
  • unsalted butter, optional
Instructions
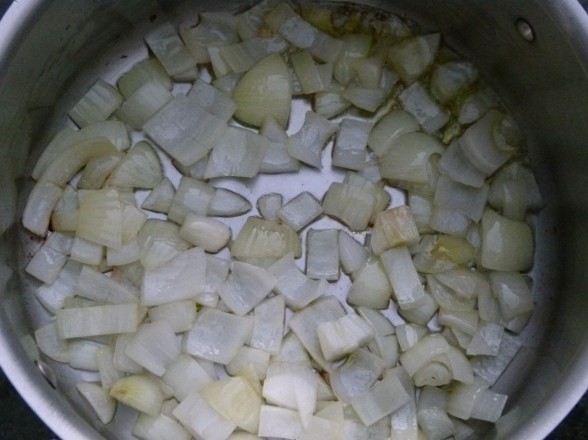
  1. In a large saucepan, heat the olive oil. Add the onion and sauté over medium heat until tender and translucent, about 3-4 minutes.
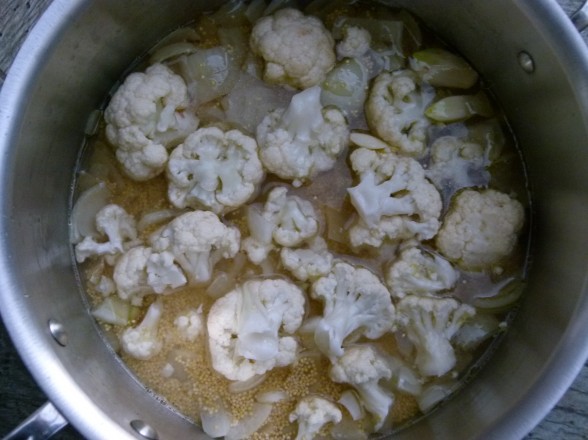
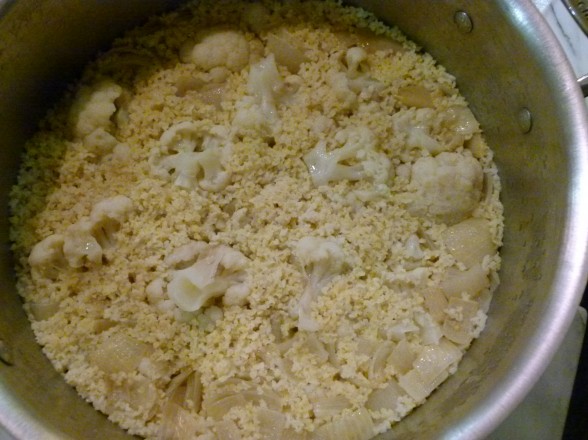
  2. Add the millet, water, cauliflower, garlic and salt. Bring to a boil over high heat, cover and simmer for 25-30 minutes, until the vegetables are soft and the millet is cooked.
  3. Remove from the heat. Transfer to a food processor and blend until smooth or mash with a potato masher until desired consistency is achieved. The food processor will make this much smoother.
  4. Transfer to a serving bowl and sprinkle with chives, if you like. You can also stir in a little unsalted butter for a creamy finish, but it’s delicious without.


Italian wedding soup recipe

I love new beginnings and thankfully we have so many opportunities to start fresh.  For me, the first day of school, beginning of summer, first day of spring and of course, January 1st are all times of the year when I take a minute to regroup, reflect and think about what I’d like to do better or differently.  I even think of Sundays in the same way, a time to prepare for the week ahead.  I am an obsessive list-maker so I start with my menu for the week, as well as errands that need to get done, calls to be made, projects that need to be completed, etc.  But January 1st is a day when I think about bigger goals whether it’s being more physically active, learning how to meditate, eating dinner as a family 5 nights a week, or stepping away from the computer by 8:00 pm each night (sounds like a dream, yes?).

Most people I know make resolutions about food and their health or just take this time after holiday indulging to cleanse or go on a diet.  I’ve never been able to restrict my daily fuel consumption to juices for a few days without becoming a complete raging you-know-what, so instead I try to return our diet to lighter, but always nourishing foods.  It is still the middle of winter after all, and too many cold and raw foods may leave you feeling imbalanced and out of harmony with nature.

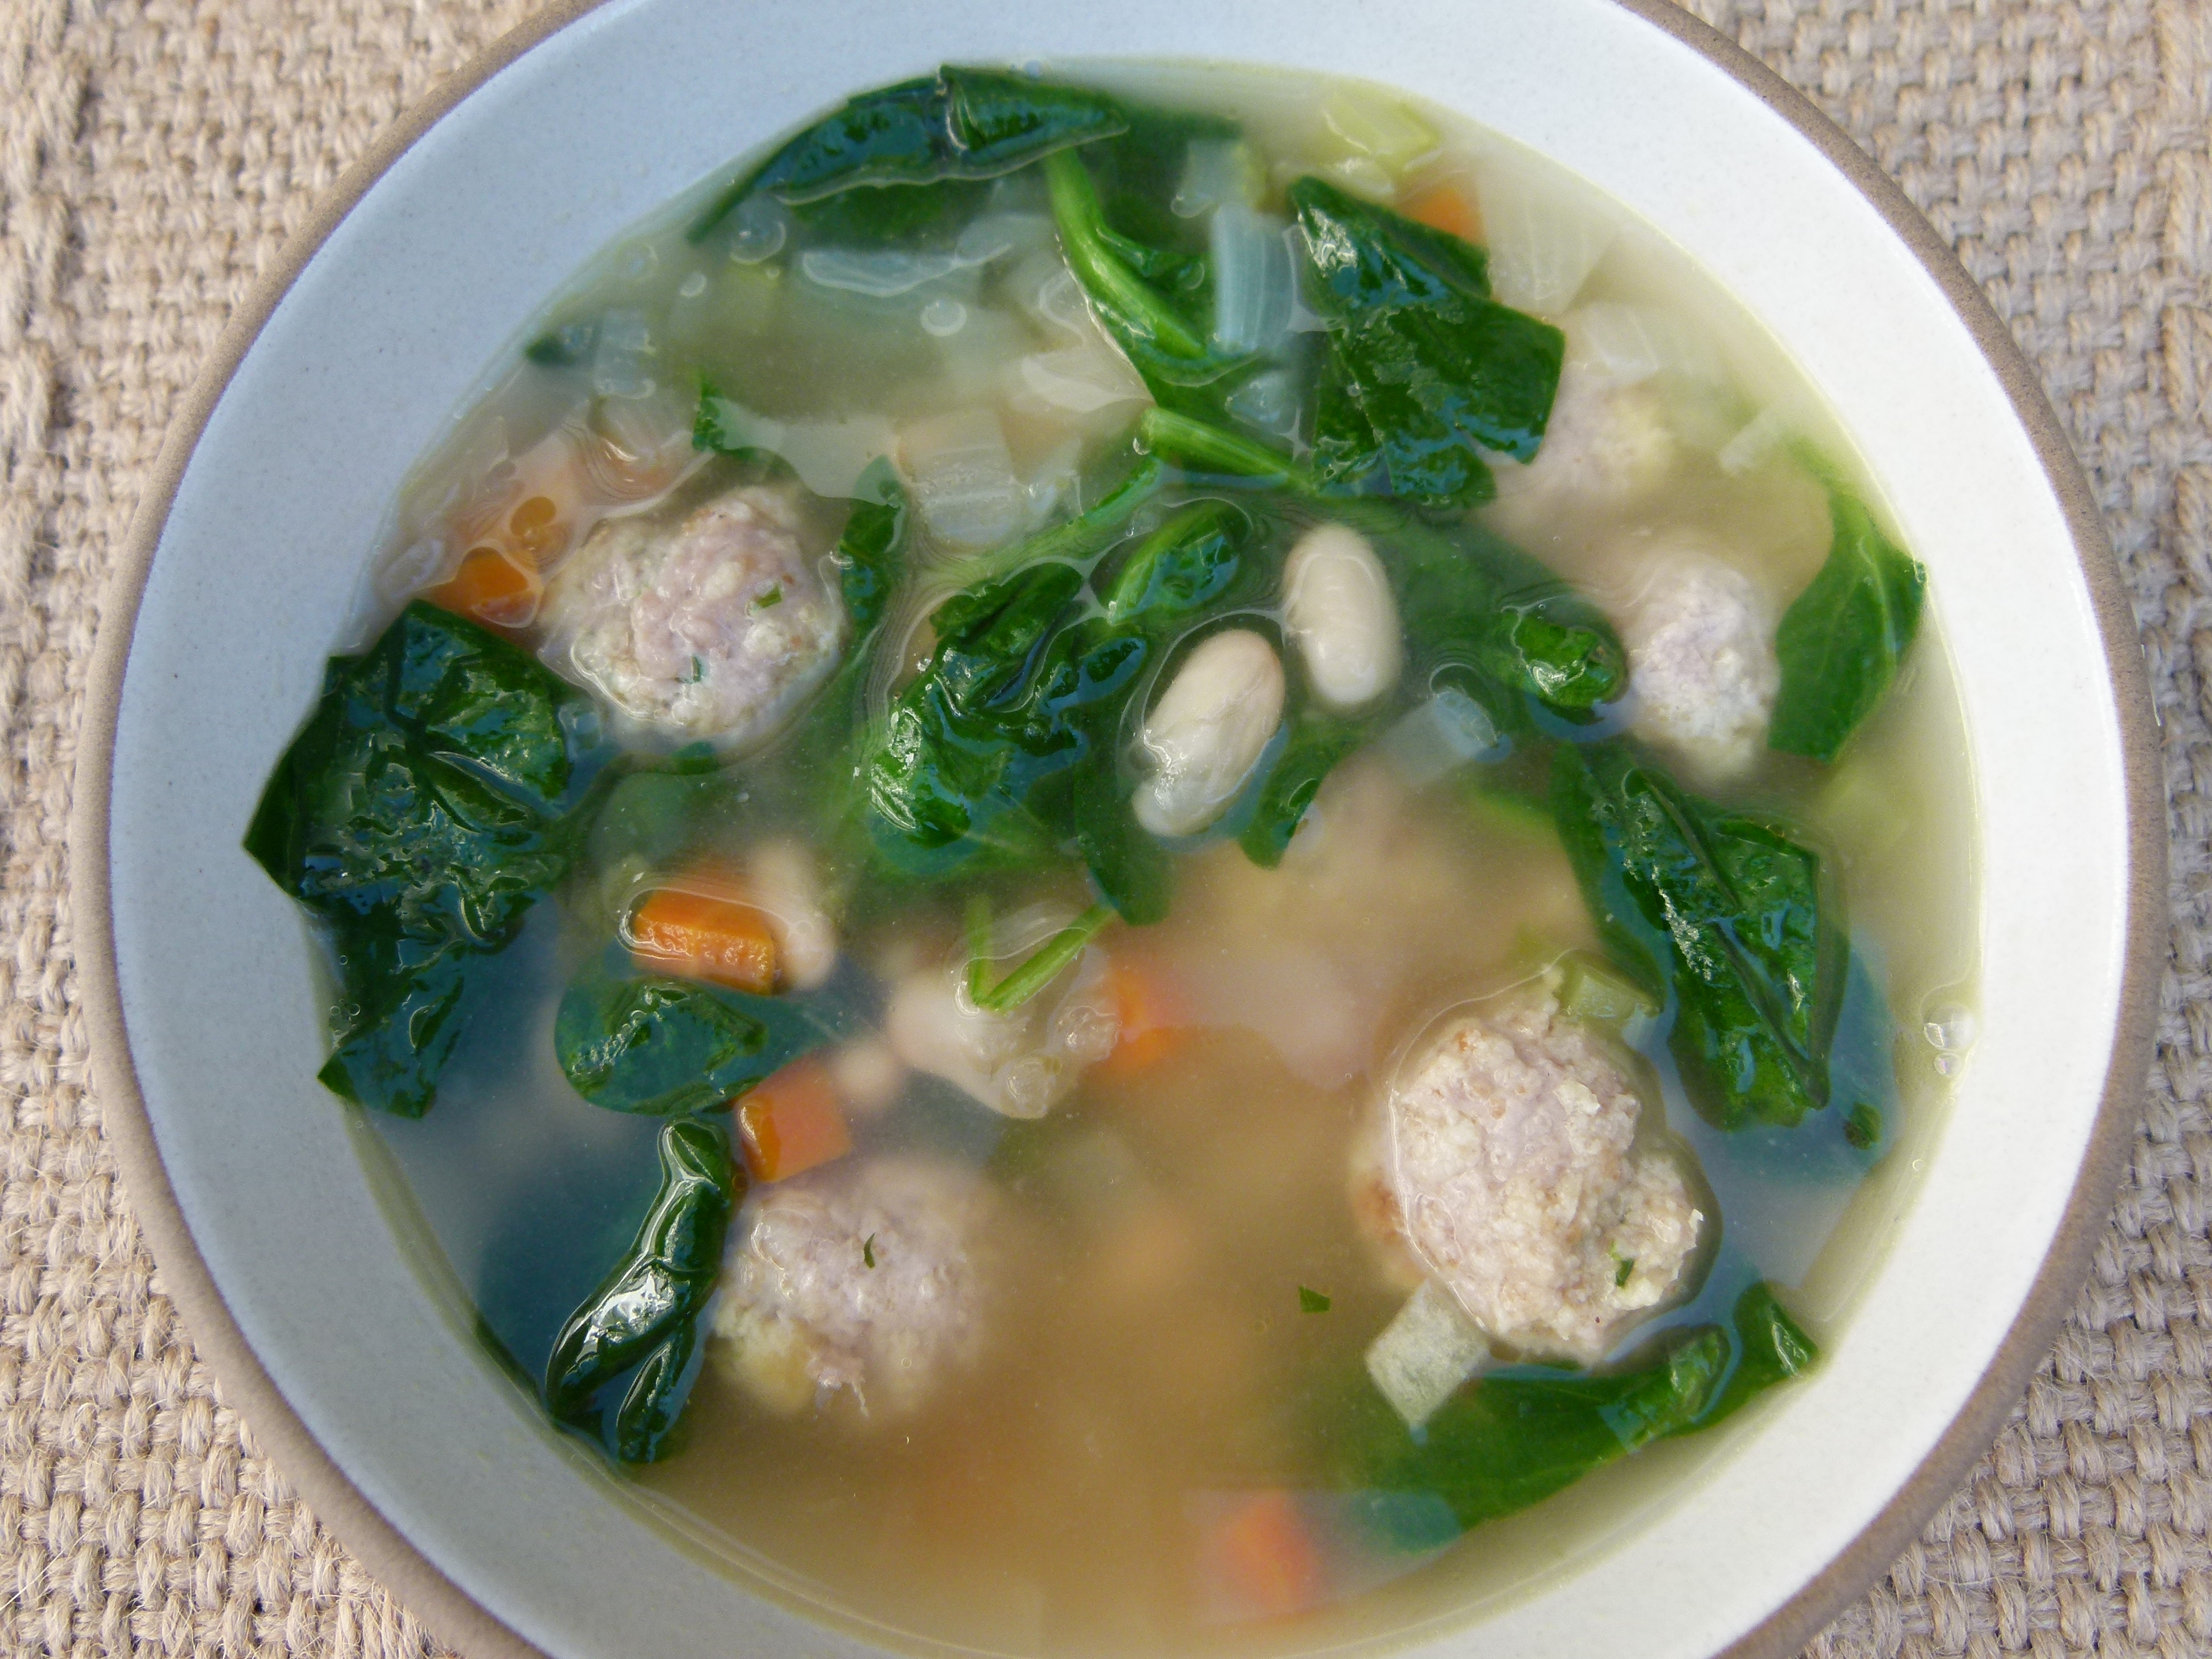
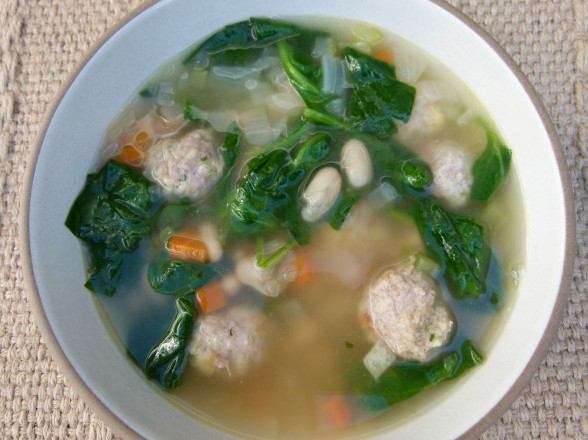
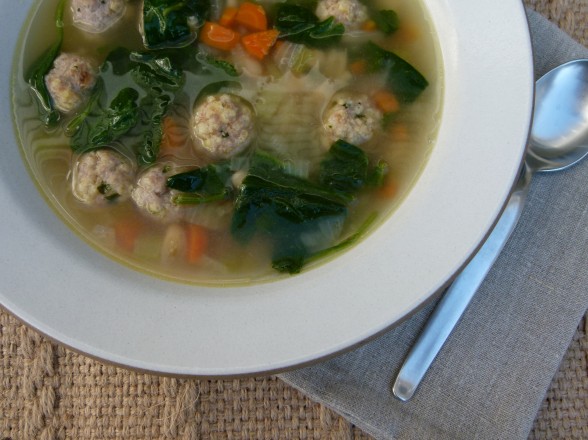
I recently spent the week with my family in NY and had a great time cooking with my mom and sisters.  I think we made a soup or stew every single day for either lunch or dinner.  Kids usually like soups, especially if you let them add fun foods on top like tortilla chips, popcorn or shredded cheese.  Soups are also a great opportunity to get in some homemade stock which is such a great immune booster at the time of the year when we need it most.  I’d like to share with you one of my kids’ favorites, Italian Wedding Soup.  Honestly, I didn’t do my homework here and I can’t tell you the origins of the name, but you can call it whatever you like, including “chicken soup with baby meatballs” which is what Mr. Picky calls it.  He ate three bowls of this the other day which makes me happier than getting into my skinny jeans.  If you have a picky eater, you know what I’m talking about.

My grandma used to make a version of this with small pasta and escarole, but I think white beans are much more nutritious than pasta.  The way I prepare this here is rather brothy, but I don’t see why you couldn’t add more vegetables or beans and make it heartier.  Either way, whenever I eat this, it always feels like a big loving hug and I can’t think of a better way to start a new year.

5.0 from 1 reviews
Italian Wedding Soup
Author: 
Serves: 8
 
Ingredients
  • FOR THE MEATBALLS*:
  • 1 large egg
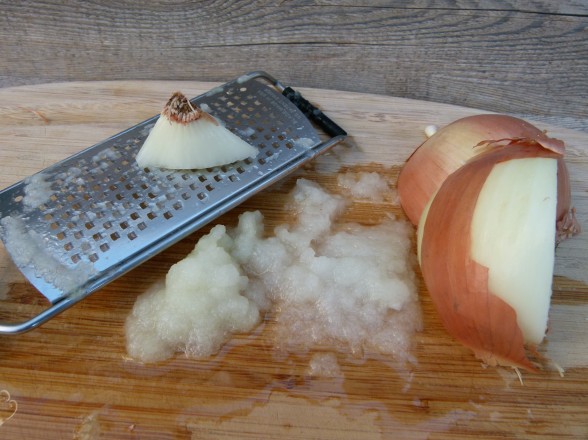
  • ¼ of an onion, grated
  • ¼ cup dry whole grain bread crumbs (purchased or just toast fresh breadcrumbs)
  • ½ cup fresh bread crumbs (1 slice of bread, hard crusts removed, processed in food processor)
  • ⅓ cup Pecorino or Parmigiano cheese
  • 1 pound ground turkey, preferably dark meat
  • 1 Tablespoon finely chopped parsley
  • 1 clove garlic, finely chopped
  • ¾ teaspoon sea salt
  • freshly ground black pepper to taste
  • FOR THE SOUP:
  • 2 Tablespoons unrefined extra-virgin olive oil
  • 1 medium yellow onion, diced
  • 2 large carrots, diced
  • 2 stalks celery, diced
  • 10 cups chicken or turkey stock, preferably homemade
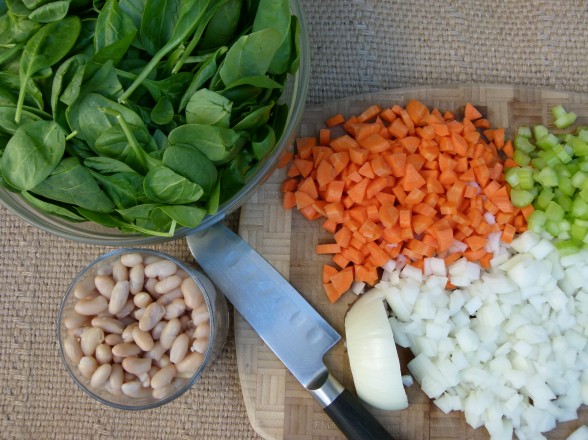
  • 1 ½ cups cooked cannellini beans or 1 15-ounce can, drained and rinsed**
  • sea salt and freshly ground pepper to taste
  • 10 ounces baby spinach, stems trimmed or 1 head escarole, chopped
  • 2 Tablespoons freshly grated Pecorino or Parmigiano, plus extra for garnish
Instructions
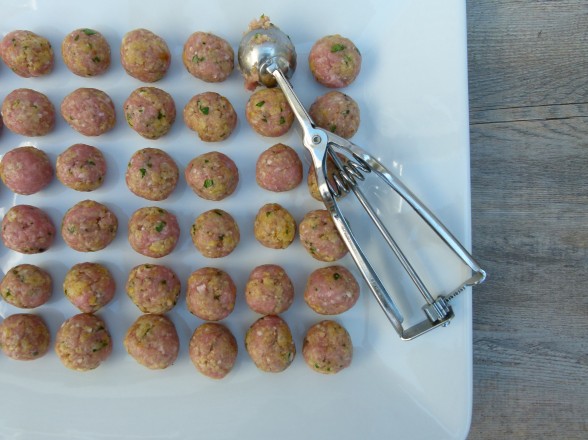
  1. To make the meatballs, stir the first five ingredients in a bowl to blend. Add the remaining meatball ingredients and combine well with your hands. Using a half tablespoon or a mini-ice cream scooper, scoop the meat mixture into your hands and from them into 1-inch diameter meatballs. Set aside on a plate or baking sheet.
  2. To make the soup, warm the olive oil in a large pot over medium heat. Add the onions, carrots and celery and sauté until the onions are translucent.
  3. Add the broth, beans and 2 teaspoons salt. Bring to a boil and carefully add the meatballs (if using escarole, add this now too.) Lower to a simmer and cook until the meatballs are cooked through, about 8-10 minutes.
  4. Stir in the spinach and grated cheese and cook until spinach is just wilted.
  5. Taste for seasoning. Serve with additional grated cheese, if desired.
Notes
*To make this vegetarian, use your favorite vegetarian meatballs and vegetable broth.

**Traditionally served with ditalini or pastina. If you prefer to use pasta, add already cooked pasta to the soup and the end with the spinach. Another option is to add cooked Arborio rice or green peas.


Hot spinach artichoke dip recipe

I hope you all had a lovely Christmas!   Even though you haven’t heard from me in a few days, I have been cooking up a storm nonetheless!  We arrived in NY to visit my family and between Christmas Eve for 79 people to breakfast-lunch-dinner for our clan of 15 every day, I’ve been busy in the kitchen.  What has been fun is the team effort.  My sisters, my mom and I have been planning and preparing together which really is the only way when you’re trying to figure out what to make that most everyone will like.  My husband is actually pitching in as I type this and making baked ziti with my mother for tonight’s dinner.  It is seriously hilarious listening to him explain his “method” to my Italian mother.  Also nice to have the night off so I have a few minutes to write something for you lovely readers!

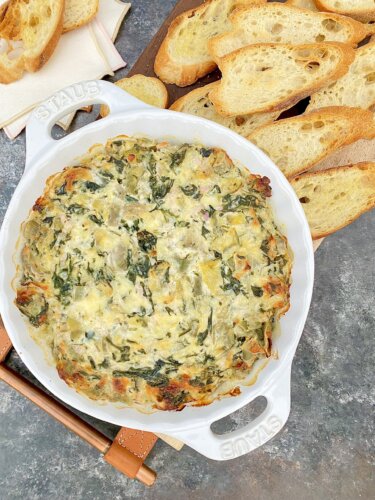
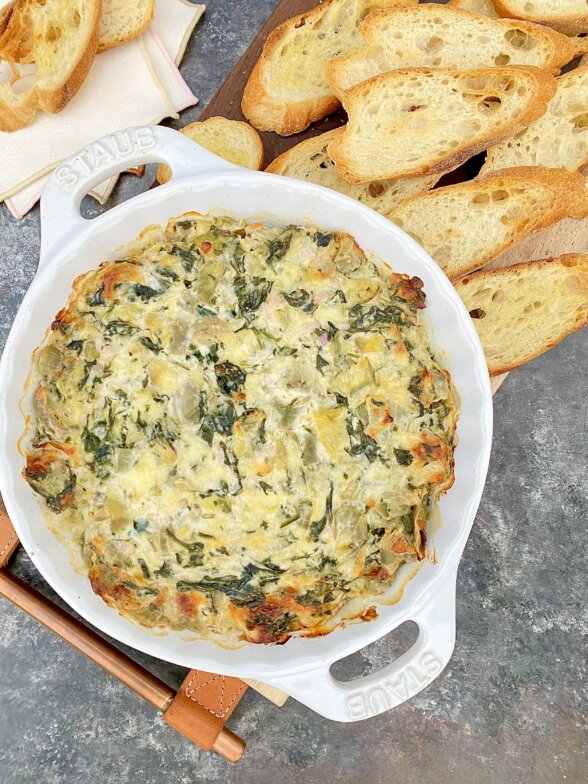
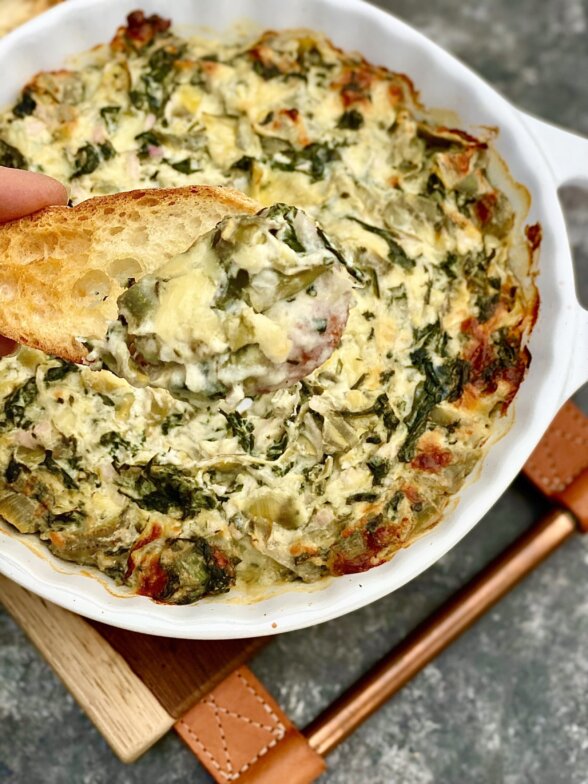
I always find at this time of year many of my friends and students are looking for a winner hors d’oeuvre for all the entertaining and football-watching they do.  I have quite a few on the site already and you can check out the segments I did for our local news the last two years, but I would love to share this popular (although I wouldn’t say the most healthful) dip that is always very popular.  Hot spinach artichoke dip is something my husband and my kids love to share in a restaurant.  They somehow rationalize all the sour cream and cheese with the presence of spinach in there.  This is a lighter version, but still warm, creamy and tastes just like the one you’ve had at your favorite restaurant.  My kids like to scoop this onto crostini, pita chips or even tortilla chips.  Although I’ve eaten the dip with sweet bell pepper strips  and blanched cauliflower, I think they probably had the better idea.

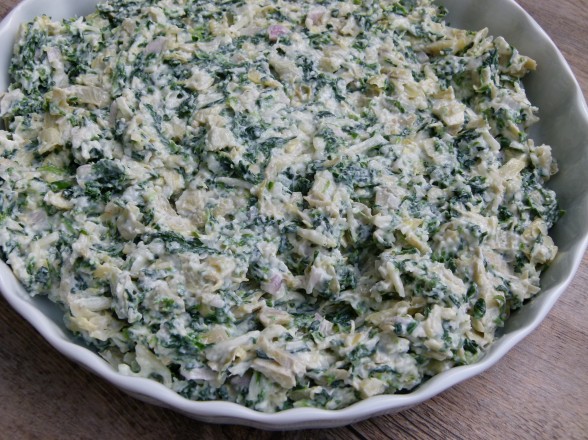
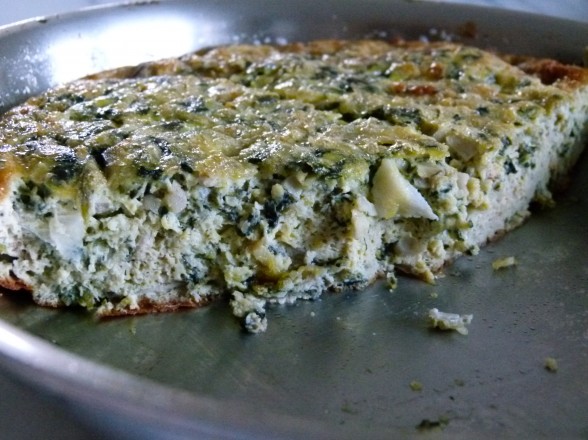
I know you busy you all are and what you really want to know is how you can do this ahead of time so you you’re as relaxed as Ina when her guests arrive.  Oh how I’d love to be invited over for cocktails and cards with Ina!  But I digress.  You will blend this whole concoction together in no time — no sauteeing or blanching — and keep it covered in the fridge until the next day when you want to serve it.  Then uncover it and bake it for about 25 minutes until hot and melted and bubbly.  I usually time this to be ready about 15 minutes after I’ve told my guests to arrive since no one these days shows up exactly on time, including yours truly.  This dip is really best served hot and because there’s cheese in it, the longer it sits out, the more it firms up.  So it’s best if you don’t have this out too early.  I also recommend if you’re going to make a few for a longer cocktail party or football game to stagger them about an hour apart so you can serve a nice hot one a few times.  Very recently I discovered a new and incredible way to eat leftovers of this dip — blended with beaten eggs and baked as a frittata, which is this photo right below.

Leftovers can be mixed with beaten egg and baked into a frittata

Now you can have your fabulous hors d’oeuvre for New Year’s Eve and the beginnings of an amazing New Year’s Day breakfast.  Does it get any better than this???


5.0 from 1 reviews
Hot Spinach and Artichoke Dip
Author: 
Serves: makes about 3¾ cups or enough for about 8 people
 
Ingredients
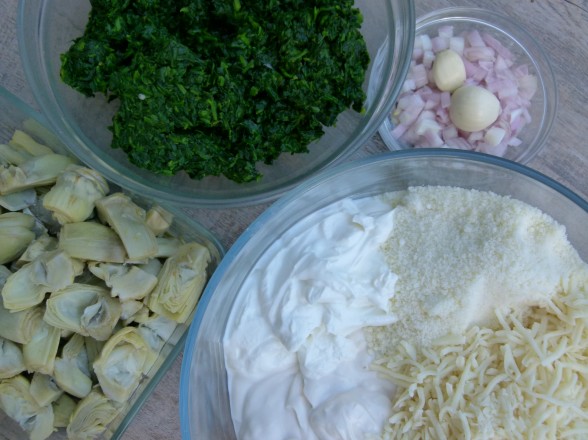
  • 10 ounces artichoke hearts frozen, defrosted or packed in water, drained
  • ¼ cup chopped shallots
  • 1 clove garlic
  • 10 ounces frozen chopped spinach, thawed and squeezed dry (I do this in a thin clean kitchen towel) or 10 ounces fresh spinach, steamed in a little water until wilted and excess water squeezed out
  • ½ cup Greek yogurt
  • ½ cup Vegenaise or mayonnaise (I use soy-free Vegenaise.)
  • ⅔ cup grated Pecorino or Parmigiano Reggiano cheese (I use Pecorino.)
  • 4 ounces mozzarella cheese, shredded
  • salt and pepper to taste
Instructions
  1. Preheat oven to 375 degrees.
  2. In a food processor, coarsely chop the artichoke hearts with the shallots and garlic.
  3. Combine all the ingredients in a medium bowl.
  4. Place in a 9 or 10-inch oven-proof dish and bake for 20-25 minutes, until hot and cheese is melted. Serve immediately.
Notes
Notes: this obviously has a lot of dairy, but it *may* be possible to make this dairy-free with vegan mozzarella (Violife has a good one) and vegan Parmesan and vegan yogurt (Forager cashew yogurt or Kite Hill coconut yogurt may work.)

You can assemble this in the baking dish the night before, remove from the refrigerator before you preheat the oven so it's not ice cold, and then bake.


Â