In the Vegan Kitchen: Christmas with Jenni Kayne and The Chalkboard

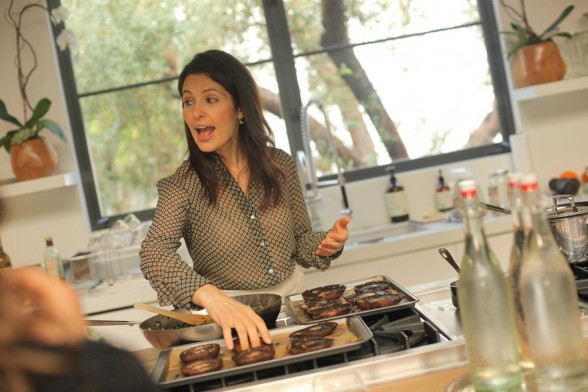
One of my favorite things to do is plan menus for special occasions and holidays.  I’m sure you gathered from my multiple enthusiastic posts leading up to Thanksgiving that I really enjoy the whole process, but my main goal is to pull together a celebration that I can enjoy with everyone else.  So when my friend and student Jenni Kayne and the team at The Chalkboard asked me to teach a Christmas cooking class as part of their “In the Vegan Kitchen” series, I was very excited!

First of all, I loooooooove Christmas!  But not all the commercial nonsense.   I love getting together with my enormous family in New York and celebrating all of our fun traditions.  I have the best time decorating my parents’ tree with my kids and listening to all the little ones singing carols from song books my oldest daughter made when she was in 3rd grade.  Totally true!  And I always look forward to indulging in my Aunt Maria’s multitude of unbelievable cookies.  Just for the day, of course!

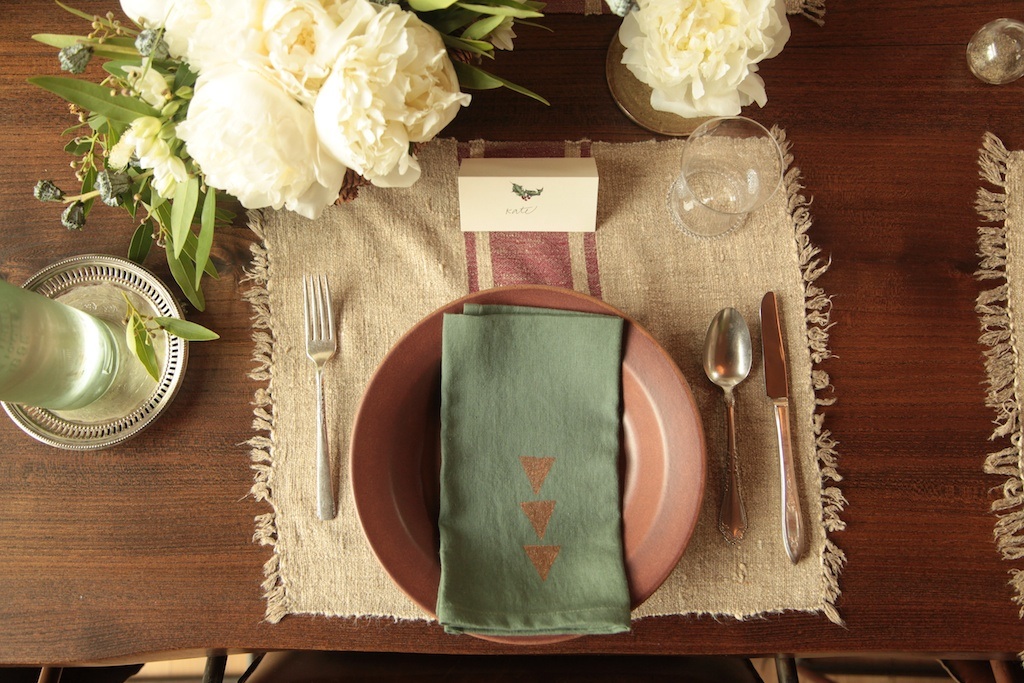
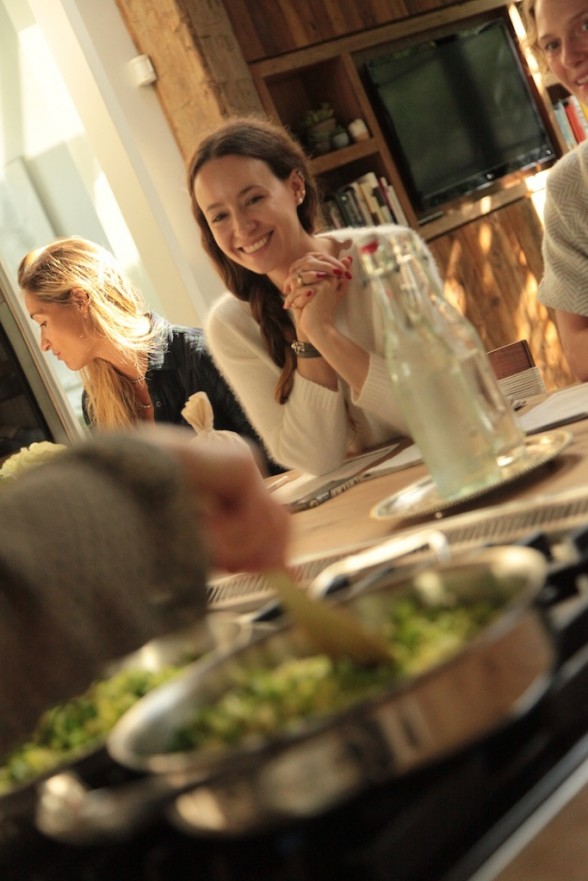
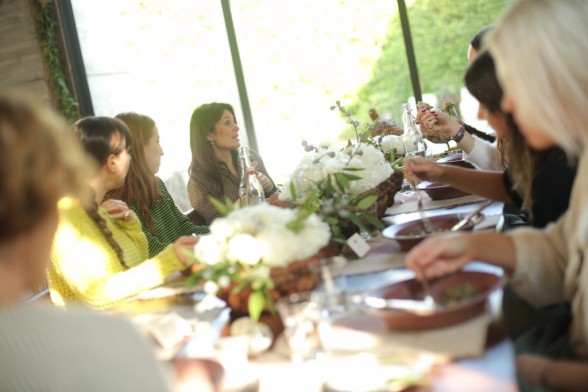
But Christmas at Jenni’s house would be different.  Although I place a major emphasis on plant foods on this blog, in my classes, and at home, I am no vegan.  If it weren’t for feta cheese and eggs, I could probably do it.  Regardless, my task was to create and teach a fabulous vegan Christmas menu for some fabulous ladies.  Besides Jenni, a few of my regular students attended including Shiva Rose (do check out her blog — I always learn so much from her), Lauren Soloff from The Granola Project, Nicole Simone (a gorgeous woman with a gorgeous voice), Ambre Dahan, design director of Joe’s Jeans, as well as some newbies like Lauri Kranz, a woman after my own heart with her incredible business Edible Gardens LA, and Rachel Craven, who designed some of the beautiful linens Jenni used for the meal.  Speaking of Jenni, if you haven’t checked out her amazing blog, Rip + Tan, you must.  She is so stylish and chic, and I admire everything she pulls together.  Lucky for us, she reveals all her amazing sources on her site.

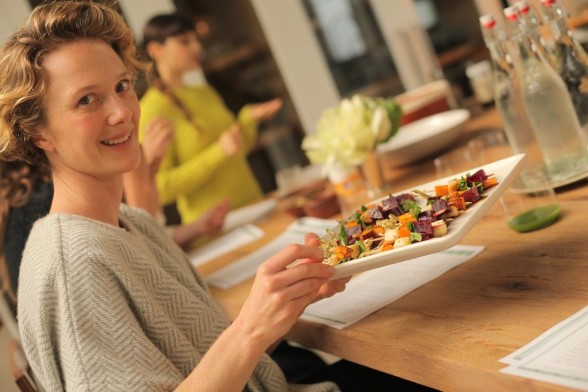
Back to the menu, I wanted to teach recipes that are delicious and healthful whether you are a vegan or not.  We started with one of my favorite hors d’oeuvres, Beet, Butternut Squash and Apple Skewers.  It’s basically a few of my favorite winter salad ingredients roasted, skewered and then drizzle with a simple balsamic vinaigrette.  (If you’re not vegan or dairy-free, feel free to add a cube of feta.   Shhhhhh!)  These are so easy that usually I get my kids to make all the skewers for me.

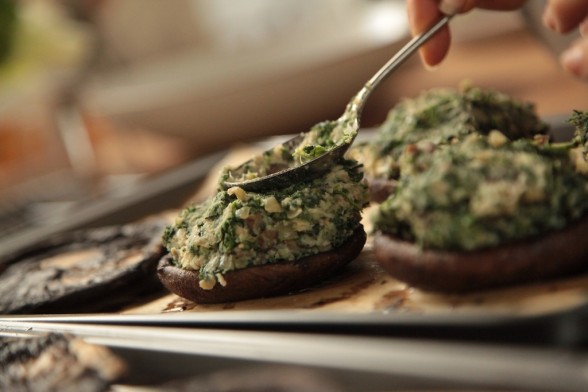
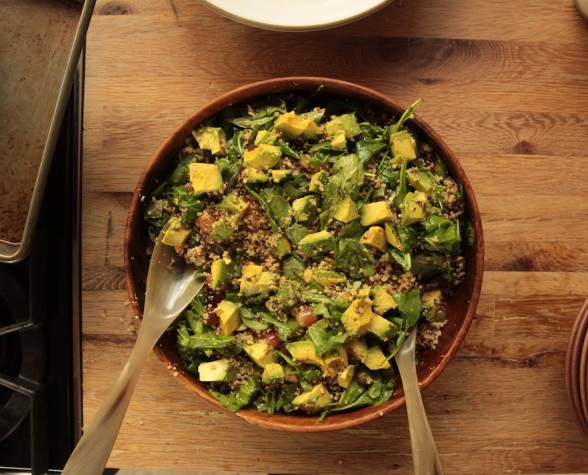
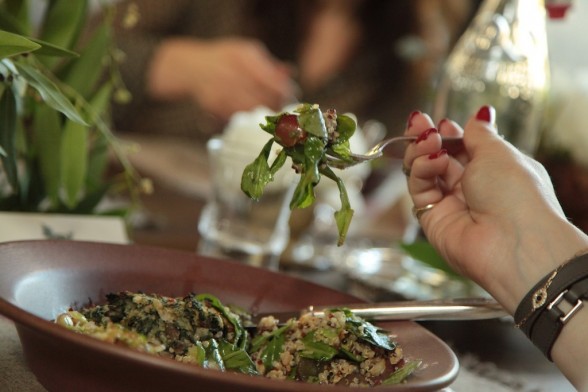
My mom always serves stuffed mushrooms as a side dish on Christmas.  So for the main meal, I came up with Creamy White Bean and Spinach-stuffed Portobello Mushrooms.  I made a really meaty, substantial and flavorful filling for the mushrooms based on pureed white beans and roasted garlic which also added a little protein to the dish.  Next I made a fun Quinoa and Arugula Salad with Avocados, Grapes, Almonds and a Smoked Paprika Dressing.   When I tested this on my family they all loved it, except Mr. Picky who still has yet to try salad with vinaigrette.  I just served him all the salad components separately, except the arugula.  And the quinoa. One day.  Although I think everyone’s favorite was the Shredded Brussels Sprouts with Caramelized Shallots.  They really are delicious and cook very quickly so you can prep the sprouts in advance and cook them at the last moment.

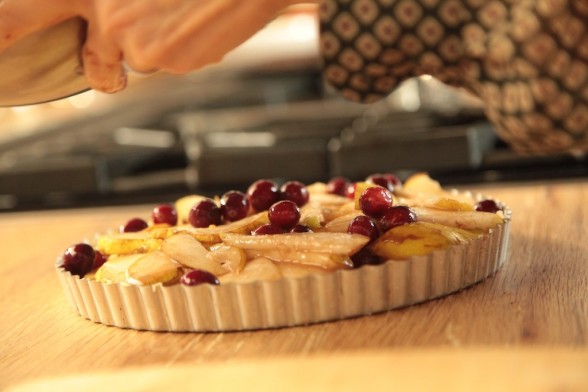
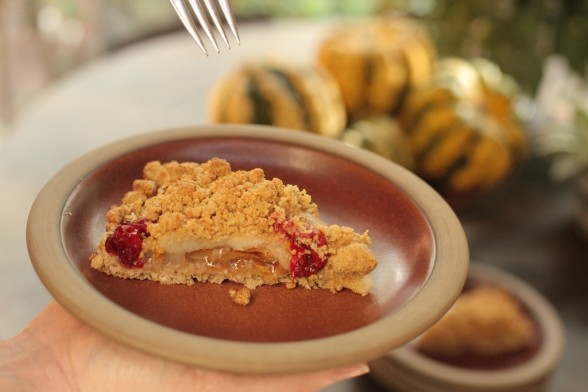
Lastly I showed the class a delicious and beautiful Pear and Cranberry Tart which I am planning to make for my family’s Christmas this year.  All the recipes were also gluten-free since Jenni is GF.  That wasn’t a factor until the dessert, but I was able to use Bob’s Red Mill GF oat flour with success.  I tested the tart with both coconut oil and Earth Balance in place of butter.  The coconut oil was perfect in the crust and worked fine in the crumb topping, but I think Earth Balance was much better in the topping.  But overall, this was a really natural, not-to-sweet seasonal dessert which I think Kate was going to sneak home so she could eat it for breakfast the next day!

It was a lovely time that I shared with some amazing women!  For more photos and all the recipes, please check out the post “In the Vegan Kitchen:  Festive Holiday Feast” over at The Chalkboard.  And Jenni has meticulously detailed everything from flowers to flatware to recipes on her blog ripplustan.com.  I will be posting at least one step by step of the recipes in the next week or so, mostly likely the tart.  In the meantime, I can’t wait for Christmas!!!

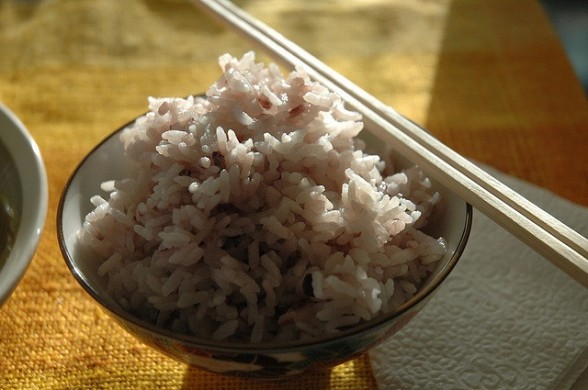
Rice and Arsenic — What You Need to Know


I first heard of arsenic from the movies. It was an effective way to poison someone, and it went with old lace. Recently, we were warned about arsenic content in apple and grape juices, and now Consumer Reports has published findings about “troublesome” levels of arsenic in rice and rice products, from baby cereal to pasta. Reports such as these often lead people to question what foods are actually safe these days—and specifically with rice—can we still eat it?Continue reading

Gingerbread cookies recipe

Mr. Picky asked me the other day if I would make cookies with him and I was this close to saying “Not today, sweetie.  I’m too busy.”  That would have been absolutely true.  We’re all so busy.  I don’t know anyone whom I have asked lately “How are you?” that hasn’t responded, “Really busy!  How are you?”  It’s not just this time of year either.  I feel like we’re running around at 90 miles an hour all year long.
In my classes and on my blog, I try to emphasize balance and moderation, yet I’m not so sure I practice what I preach with respect to finding downtime.  And as I had that thought, my daughters came home from school.  That is to say, they pulled into the garage in a car driven by Daughter #1 who turned 16 two months ago.  They walked in and all I could see was a 4-year-old and a 6-year-old.  I used to hate it when people told me kids grow up so fast, but the cliché couldn’t be more true.  It goes by in a nanosecond.  I can’t say my daughters have asked me recently to bake cookies with them, instead they invite their girlfriends over to stay up late and eat the cookie dough I keep in the freezer.  Believe me, I’m thrilled they even hang out at our house!  So last week I skipped writing a post that I thought would get published last Friday and instead baked cookies with my favorite little dude.  Totally worth it.

Mr Picky is a funny kid.  Some people joke with me that a boy who eats lentils and beans cannot be labeled “picky.”  And every year he adds more and more foods to the still narrow “approved” list.  But he doesn’t seem to like what most kids do such as buttered pasta, macaroni and cheese, pizza or sandwiches, not that I’m complaining.  His favorite cookies don’t contain candy or sprinkles, but instead are gingerbread.  And that’s what we decided to make last week.

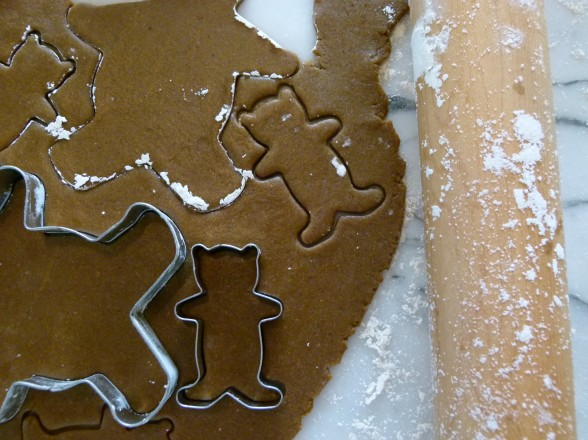
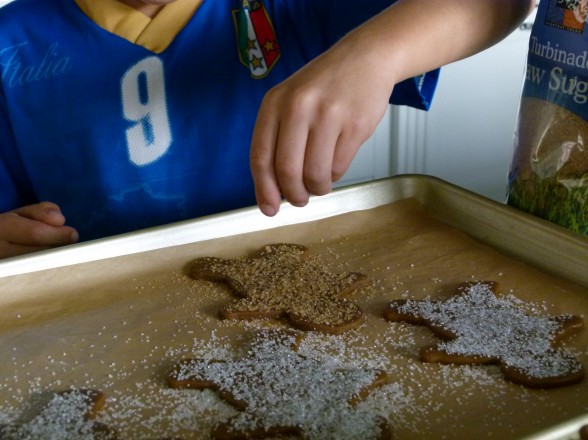
Gingerbread cut-out cookies are a commitment.  It’s not like make a batter and spooning drops of it onto a baking sheet.  There’s chilling the dough, rolling it out, cutting it into shapes, decorating the cookies.  It’s a fairly simple dough to make and I don’t hold back on the spices.  But these cookies aren’t spicy, they’re just really flavorful.  Whole wheat pastry flour can be substituted with a gluten-free flour blend such as the King Arthur Multi-purpose GF Flour plus the addition of 1/4 teaspoon xanthan gum per cup of flour.  Mr. Picky’s favorite part is decorating which I always keep pretty simple with raw sugar, currants or mini-chocolate chips.

We had the best afternoon.  It was so nice to have one-on-one time with him and chat about school, football and his favorite new book.  We also talked about the mystery of Santa and that this was definitely going to be the year that he stayed awake to watch him leave gifts under my parents’ tree.  Sweet.  Spending time in the kitchen with my son was such a gift and a reminder to me that the biggest joys in life don’t come from checking off my to-do list.

Gingerbread Cookies

Pamela

Ingredients
  

  • 4 cups whole wheat pastry flour or your favorite gluten-free flour blend +1 tsp. xanthan gum
  • ¾ teaspoon baking soda
  • ¾ teaspoon salt
  • 4 teaspoons ground ginger
  • 1 Tablespoon ground cinnamon
  • ¾ teaspoon ground cloves
  • ½ teaspoon allspice
  • a few grinds finely ground black pepper optional
  • 1 cup 2 sticks unsalted butter, at room temperature
  • 2/3 cup dark natural cane sugar i.e. muscavado, or dark brown sugar, packed
  • 2 large eggs
  • 2/3 cup unsulphured molasses not blackstrap unless you like that bitterness
  • large grain sugar for decorating or mini-chocolate chips or currants

Instructions
 

  • In a medium bowl, whisk together flour, baking soda, salt and spices. Set aside.
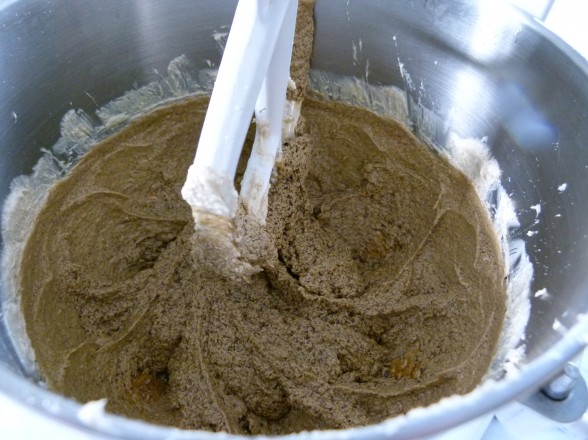
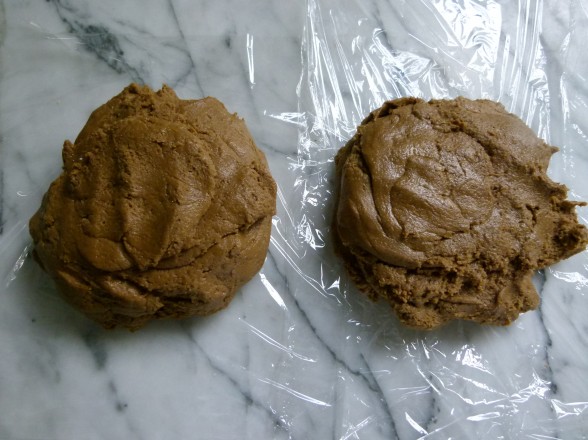
  • In a bowl of a mixer fitted with the paddle attachment (or by hand), cream the butter until it is light and fluffy. Add the sugar and mix again until light and creamy, about 2-3 minutes. Blend in the eggs one at a time and then the molasses. Add the flour mixture in two additions either by hand or on low speed. Divide the dough in two pieces, wrap each in plastic and chill for at least an hour.*
  • Preheat the oven to 350 degrees. Line two baking sheets with unbleached parchment paper or Silpats.
  • Roll the dough out onto a lightly floured countertop to about 1/8-inch thick and cut with cookie cutters of your choice. ** Reroll the scraps and continue to cut additional cookies. Decorate with sugar crystals, dried fruit or chocolate chips before baking. For softer cookies, roll out a little thicker. Transfer to baking sheets and bake for 10-12 minutes for 3-4-inch cookies (less for smaller cookies, more for larger.) I like to see a little tinge of golden color around the edges of the cookies. Remove from the oven and allow to cool on the baking sheets for 2 minutes and then transfer cookies to a wire rack to cool completely.

Notes

*Dough can be prepared up to 2 days in advance.
**If you are not comfortable rolling on your countertop, roll the cookies out on a piece of parchment cut to fit the baking sheet. Remove scraps. Then transfer the parchment and cookies to the sheet and bake.
Tried this recipe?Let us know how it was!

Cauliflower fritters recipe

“Wow.”  That’s what I said a few days ago when I woke up and it was December.  DE-CEMBER.  I’ve got no holiday card in the works yet.  I went to the movies on Black Friday and I worked through Cyber Monday which means I am waaaaaay behind on my Christmas and Hanukkah shopping.  The only December task I have checked off my list is getting Mr. Picky’s suit let out so I wouldn’t have to go out and buy him another for Christmas Eve.  But I’m not worried about Christmas quite yet since that’s a good 3 weeks away.  Hanukkah, on the other hand, starts on Saturday.  This Saturday!

As you might have learned from reading this blog, my family is Italian and my husband is half Jewish and half Puerto Rican which means a lot of holidays and a lot of food!  But thankfully, and I mean that, I am off the hook for preparing the annual Hanukkah dinner and gift exchange with my husband’s family.  My mother-in-law has that one mastered so she will be making dozens of potato latkes for us to enjoy when we celebrate this weekend.  Traditional foods on Hanukkah include anything fried in oil to symbolize the miracle oil in the temple in Jerulsalem.  For most, this means potato pancakes (latkes) and doughnuts.  Ugh.  Not the most healthful foods on the planet.  I usually indulge in a latke or two since my mother-in-law makes the absolute best.  But the Jews love a holiday and many of them last 8 days, Hanukkah included.  So my kids and my husband nudge me to make latkes a few more times during the week.  They know better than to ask me to make doughnuts.

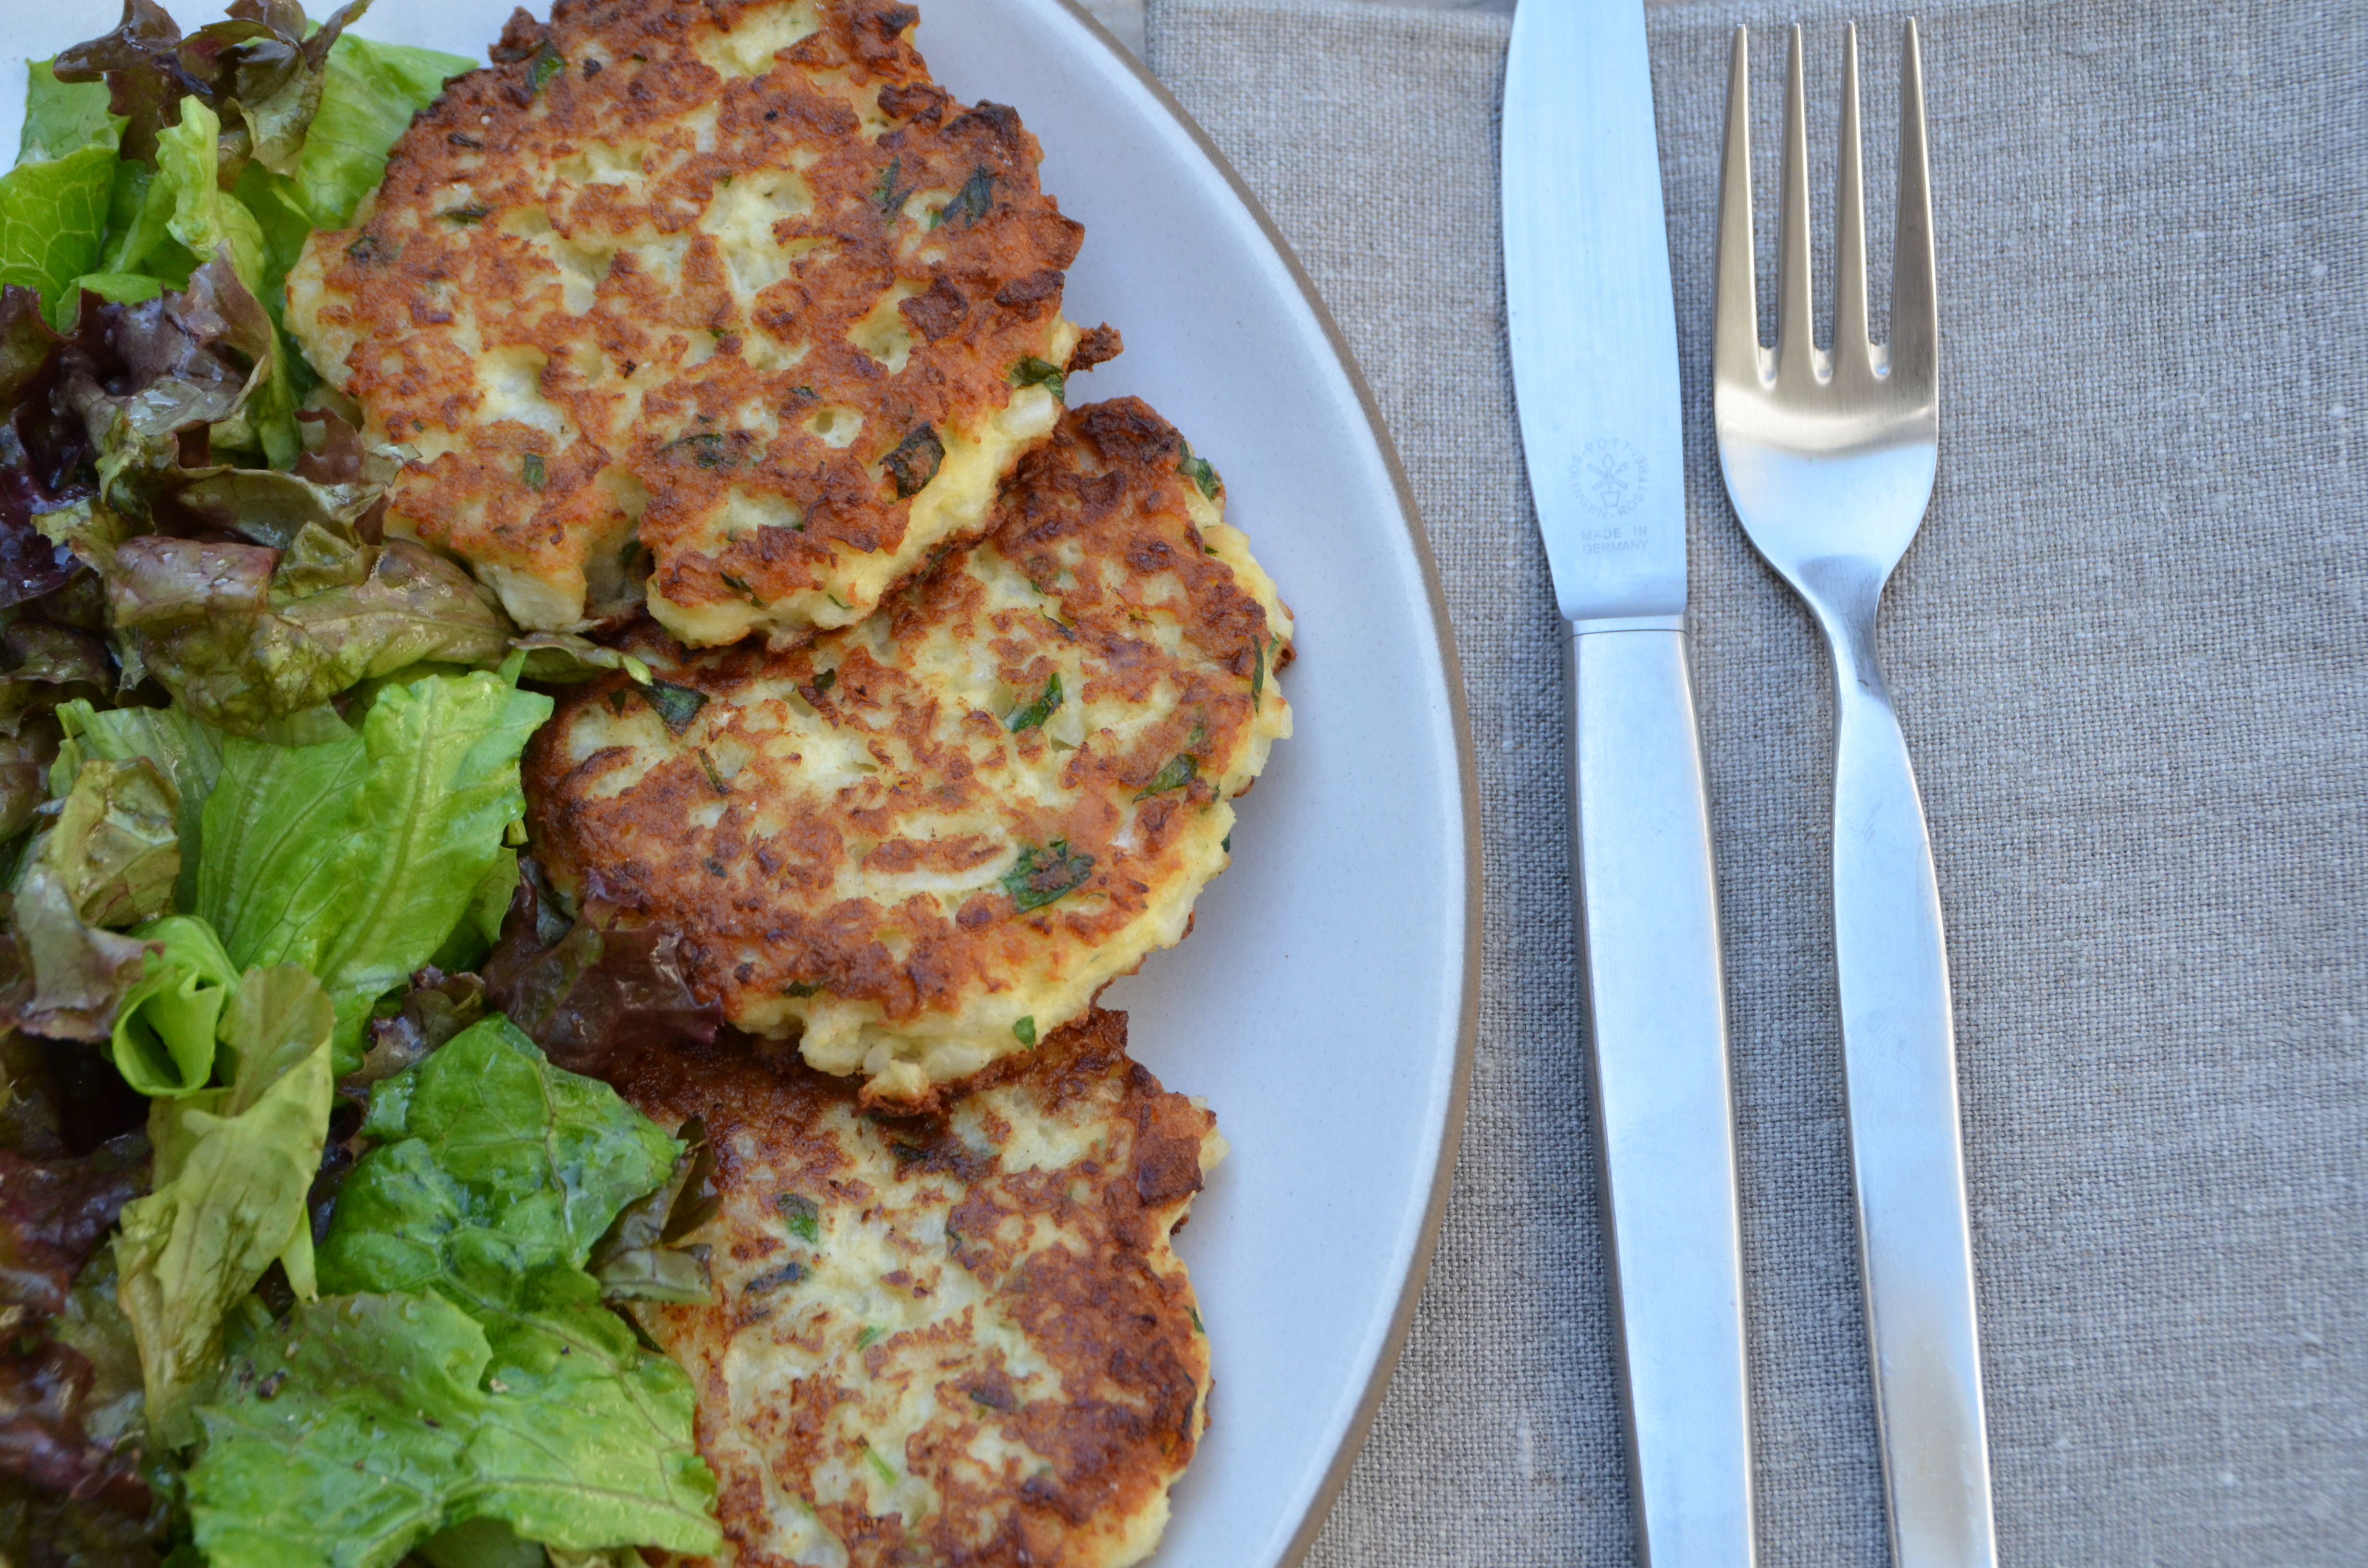
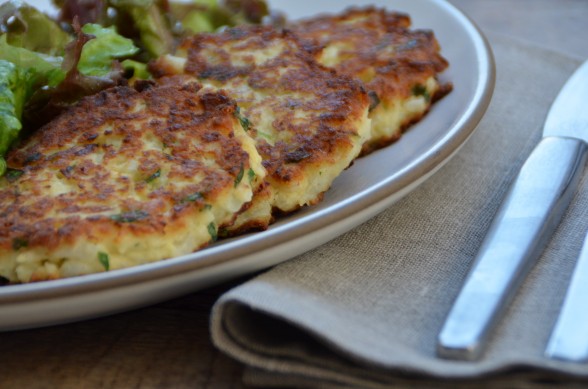
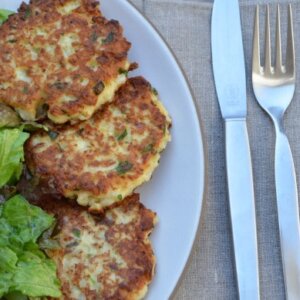
To mix it up a bit, I always cook up zucchini latkes at least once during Hanukkah and the kids love them, especially Mr. Picky.  This year I am also going to make these delicious Cauliflower Fritters during Hanukkah because to me they taste kind of latke-ish, they’re cooked in oil, they’re made with CAULIFLOWER and my family is obsessed with them!  There may not be any potato in there, but I bet you could grate a fresh potato and fold it in there and call it a Cauliflower Latke!  I’ve seen many recipes which use cauliflower in place of potatoes or rice.  Cauliflower is rather neutral in flavor and mashes up nicely to a soft texture so you really have no idea there is cauliflower in these patties.

What I love about these Cauliflower Fritters is that the batter can be made earlier in the day and the fritters made just before you are ready to eat.  My husband loves them on top of a pool of warm marinara sauce, Mr. Picky squirts mustard on his, and I like to eat them with a crisp salad.  Since there is flour in the batter, I treat these fritters as if they were a starch and I make another vegetable side dish for dinner.  Once you taste these, you’ll be making them all year long!

Cauliflower Fritters

Pamela, adapted from skinnytaste.com
5 from 1 vote

Ingredients
  

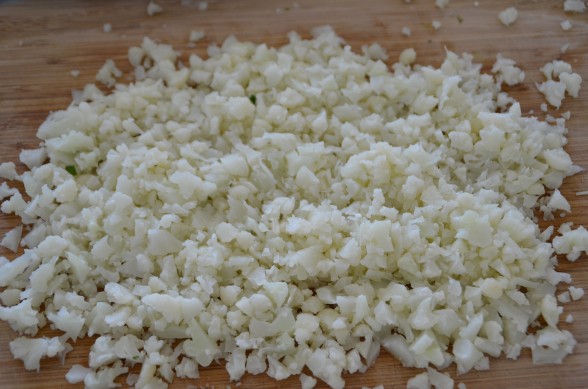
  • 4 cups steamed* chopped cauliflower, about 1 medium head (you can also use frozen, steamed cauliflower, defrosted)
  • 1 cup whole wheat pastry flour or gluten-free flour I like King Arthur Multi-purpose Gluten-free Flour (you can also use all-purpose flour)
  • 2 cloves garlic finely chopped
  • 2 large eggs beaten
  • ½ cup grated Pecorino or Parmesan cheese optional if you're dairy-free
  • ¼ cup fresh parsley or chives finely chopped
  • 1 teaspoon sea salt
  • freshly ground black pepper to taste
  • About ¼ cup hot water
  • Unrefined olive oil for cooking fritters

Instructions
 

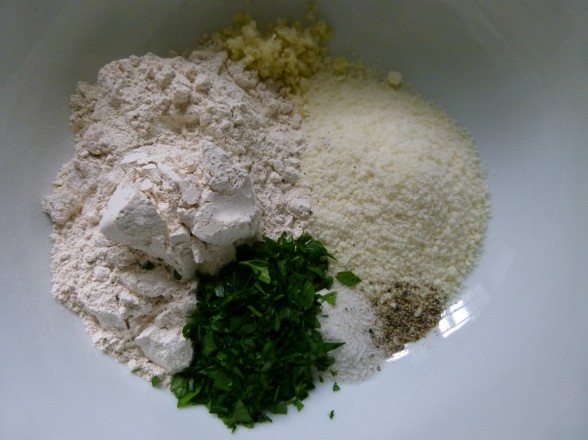
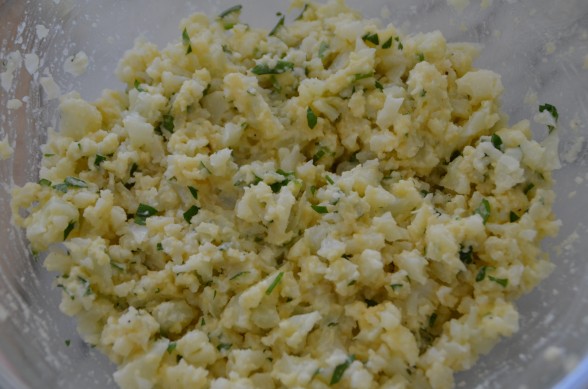
  • Place the cauliflower in a large bowl and add the flour, garlic, eggs, cheese, parsley, salt and a few grinds of pepper and combine. Add hot water a little at a time to make a batter that looks like egg salad. I mush everything together with my hands.
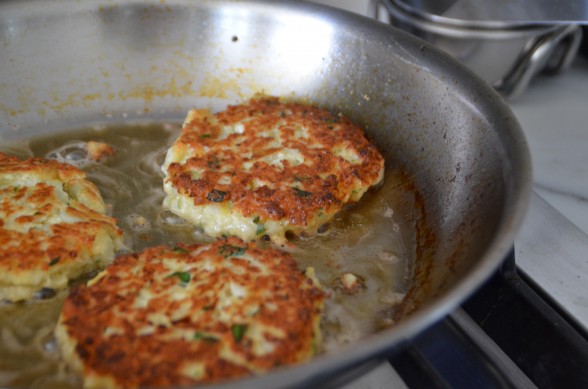
  • Heat a large skillet over medium heat. Add about 2 tablespoons oil or enough to coat bottom of skillet. When oil is heated, take a ¼ cup of batter and form into a patty. Cook in the oil until golden brown on the bottom. Flip fritter and cook until golden brown on the second side. You can likely fit 6 fritters at one time. Repeat with remaining batter.

Notes

The batter can be made ahead and the fritters can be frozen, too.
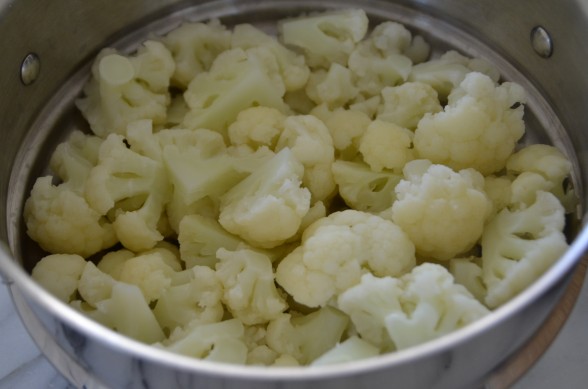
*To steam the cauliflower, cut it into large florets and place in a vegetable steamer over boiling water, steam, covered, until the cauliflower is tender, (about 7-10 minutes), then roughly chop, measure 4 cups, and place into a large bowl.
Tried this recipe?Let us know how it was!

Pumpkin oatmeal recipe

I always thought the strategy stopped once I served Thanksgiving dinner, but I actually think it’s just as challenging figuring out how to work efficiently with all the leftovers.  I really detest throwing away food, so I try to give away care packages to my guests before they leave on Thanksgiving lest I end up with more stuffing than we can consume in two days.  But instead of searching the internet for creative ways to use up our turkey and vegetables, my 14-year-old daughter had the answer all along — invite a bunch of teenagers over for dinner.  Brilliant!  Ten of her friends came over the day after Thanksgiving for a “pot luck.”  Each kid was supposed to bring a dish for everyone to share, but I think only one boy brought a tupperware of mashed potatoes and gravy.  Fine by me!  I don’t think there was a shred of turkey left in the fridge.

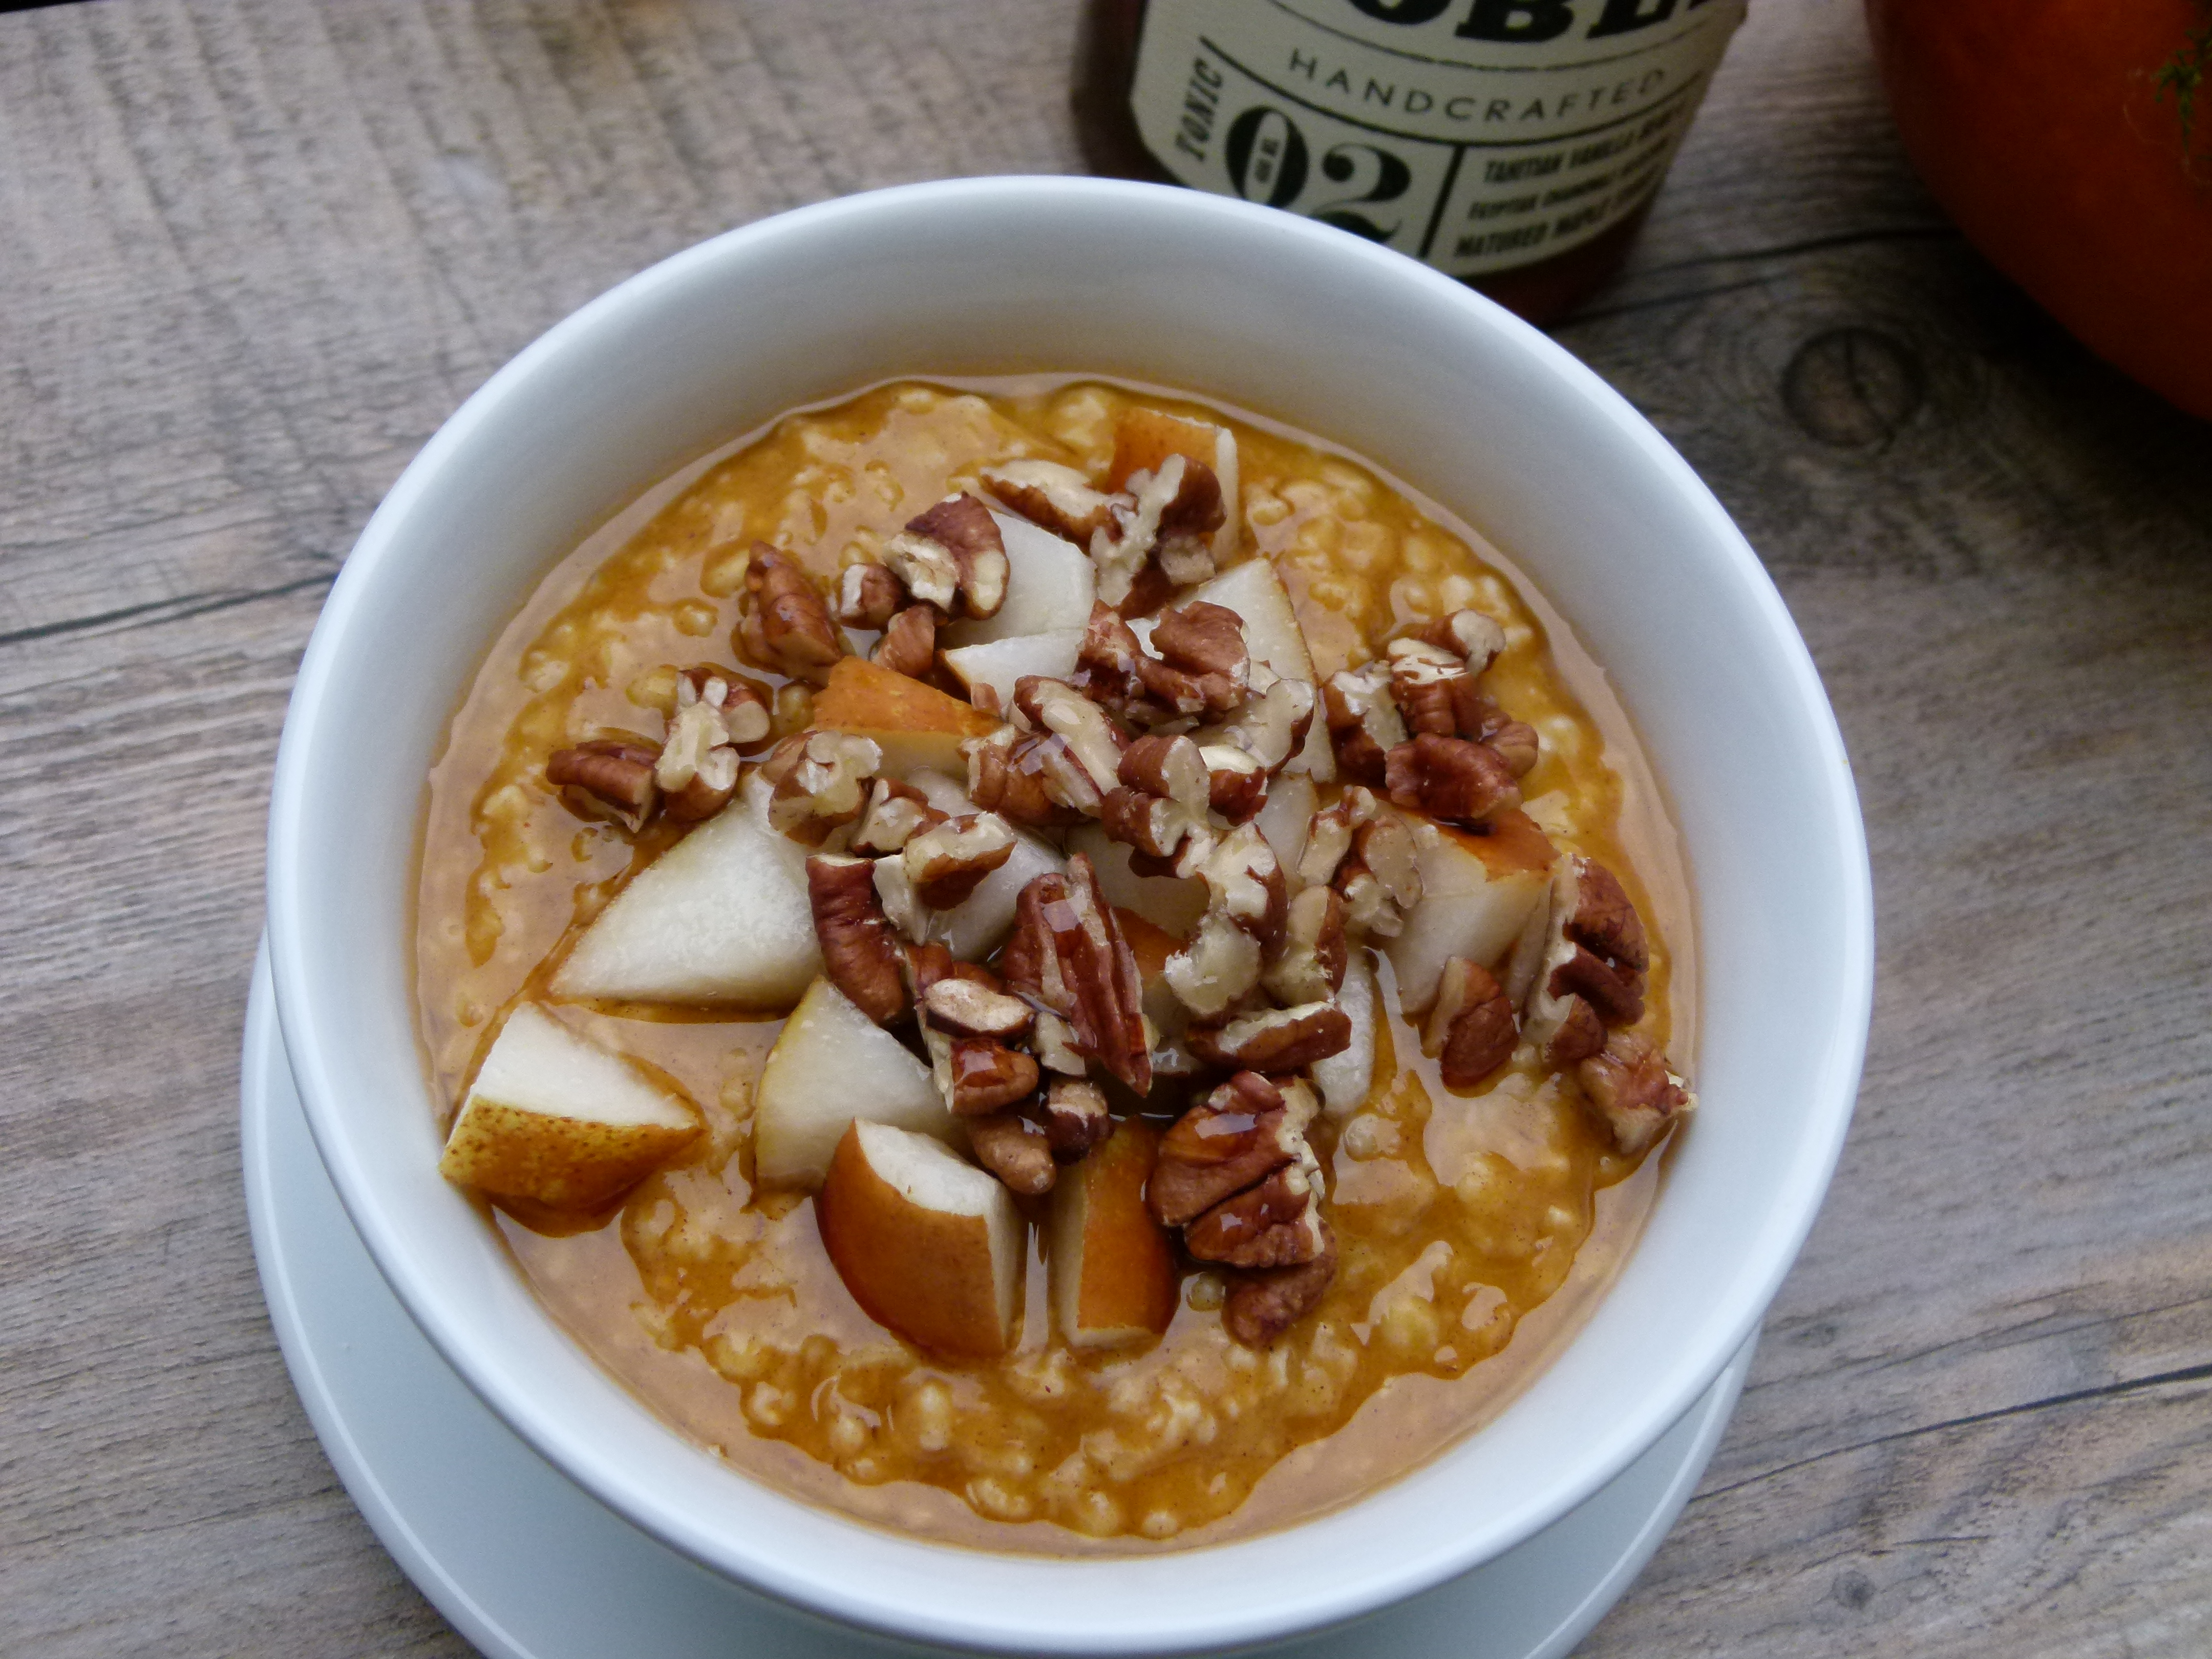
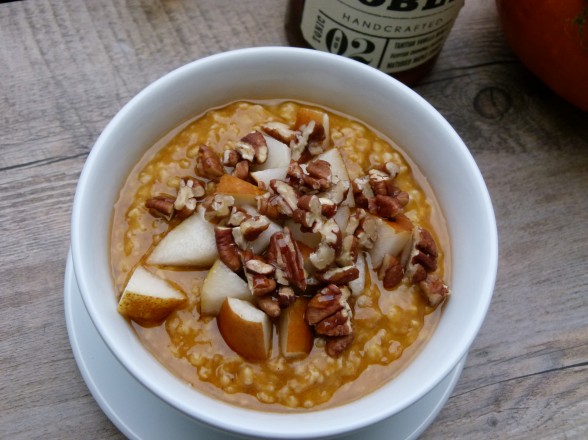
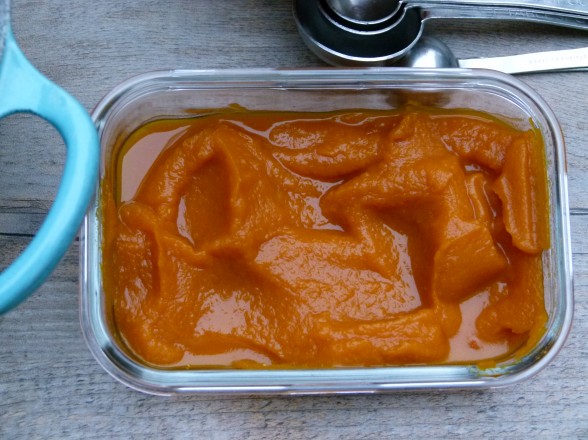
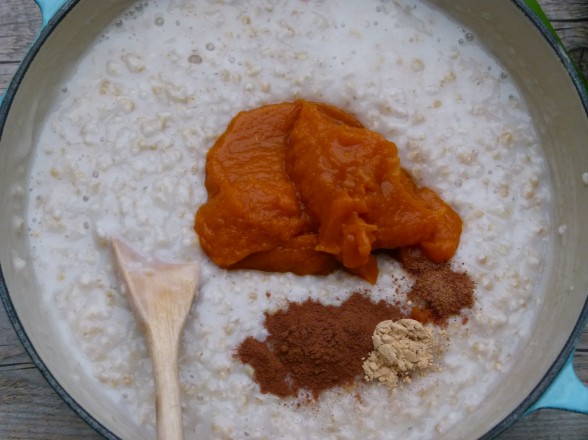
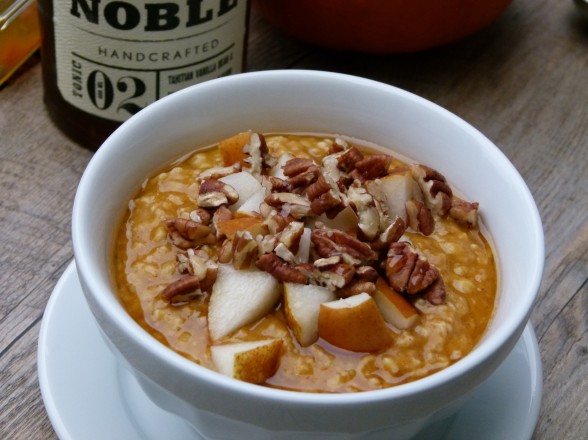
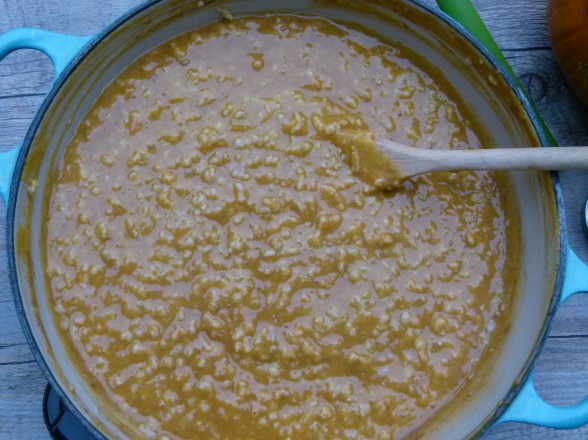
The only thing the kids didn’t consume were a few raw egg whites and some pumpkin puree leftover from roasting pumpkin for a couple pies.  The egg whites could easily find their way into a frittata, but I wanted to do something different with the pumpkin.  I love making oatmeal on Monday mornings.  It’s easy and starts the week off on a healthful note.  After the oats were finished, I stirred in the pumpkin puree along with the typical spices that I would use in a pie — cinnamon, ginger and nutmeg.  Everyone added his or her own twist to this new oatmeal.  My husband added granola; Mr. Picky sprinkled on cinnamon-sugar; the girls ate theirs with pomegranates and walnuts.  But I think mine was the best of all — fresh diced pear, chopped pecans and this crazy delicious new maple syrup my husband discovered called Noble.  It was heaven — warm and comforting and nourishing at the same time.

I was really winging it with the measurements for pumpkin and the spices, so you can too.  I had a heaping 1/2 cup of puree, but because pumpkin doesn’t have a strong flavor, I think you can add up to a cup and not feel like you’re eating a bowl of squash with some oats mixed in.  As far as the spices go, cinnamon and ginger in particular are favorites of mine and they happen to be anti-inflammatory and high in antioxidants, so I was fairly liberal.  But again, this is an easy “recipe” to adjust to suit your tastes.   Do you dare me to go roast another pumpkin so I can eat this again?  I just might….

Pumpkin Oatmeal

Pamela
Servings 4 -5

Ingredients
  

  • 4 cups water
  • 1 cup steel cut oats you can also make this with rolled oats -- just follow package directions for cooking
  • ¼ teaspoon sea salt
  • optional: additional drizzle of milk such as almond milk or raw milk
  • ½ - 1 cup pumpkin puree
  • 1 teaspoon ground cinnamon
  • ¼ teaspoon ground ginger
  • 1/8 teaspoon ground nutmeg
  • toppings can include: fresh pear or pomegranate seeds sautéed apples, granola, maple syrup, maple sugar, pecans, sliced almonds or walnuts, bananas, mini-chocolate chips

Instructions
 

  • For overnight oats: Bring water to a boil in a medium saucepan. Add oats and salt. Cook for 1 minute. Remove from heat and cover. Let stand overnight. The next morning, reheat over medium heat, stirring in some milk (I usually use about 1/4 -1/3 cup) if desired for extra creaminess.
  • If making in the morning, cook oats in water with salt until tender, usually about 35 minutes. Add enough milk to achieve desired creaminess.
  • Add pumpkin puree and spices to oatmeal and heat through. Serve with optional toppings.

Notes

To make 6 servings, increase water to 6 cups and oats to 1 ½ cups.
Tried this recipe?Let us know how it was!


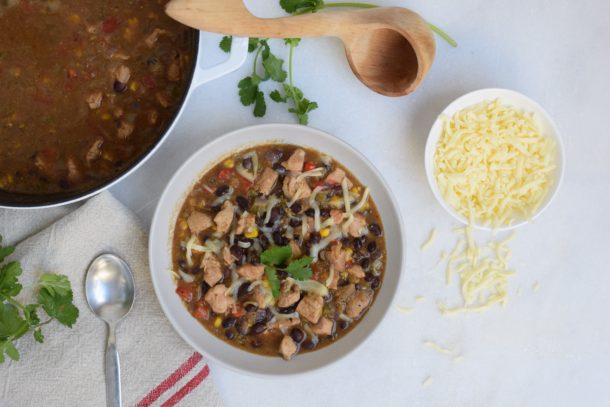
Deer Valley-Style Turkey and Black Bean Chili Recipe

Are we having fun yet?!  Good, good.  I have been running around the house yesterday and today like a busy bee, very excited that the big day is almost here.  I’m taking a quick breather from the Thanksgiving marathon just to touch base and check-in with you all.  Hope everything is going according to plan and that you’re enjoying the process.  What I am not doing today, however, is sharing a Thanksgiving recipe on the day before Thanksgiving because I know you are all planners and that ship has sailed!

Instead, I thought I would give all you super organized and efficient people a great way to use up any leftover turkey you might have on Friday.  I always make turkey stock and a simple turkey vegetable soup the day after.  I have also given in to chicken pot pie or shepherd’s pie with turkey.  But I also think it’s nice to make something on Friday that tastes NOTHING like the dinner you just spent a month thinking about!  It’s actually one of my strategies for getting everyone excited to eat leftovers even the day after Thanksgiving.

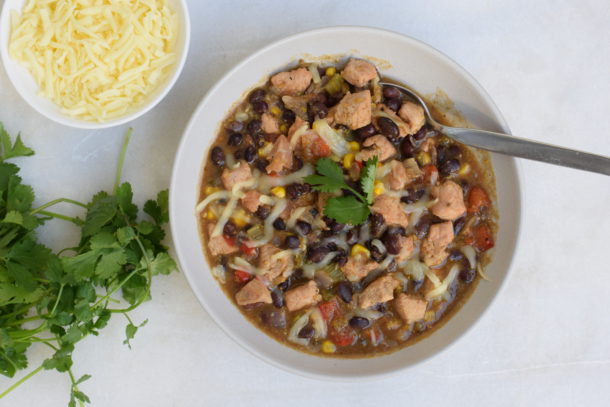
This recipe is inspired by the fabulous chili at the Deer Valley ski resort in Utah.  I first skied Deer Valley in 1994 when my husband and I were engaged.  He and his family have been going to the resort since it first opened over 30 years ago.  It is a really special place and we are fortunate to be able to go there a couple times each year with the kids.  Although I enjoy skiing and Deer Valley is absolutely stunning, I’m not super gung-ho about getting out there early and making the most of my day on the slopes.  I’m really in it for the food.  My favorite part about skiing is building up a good appetite and rewarding myself with a nice hearty lunch.  I actually start thinking about this turkey chili when I sit down on the chair lift for the first run of the day!

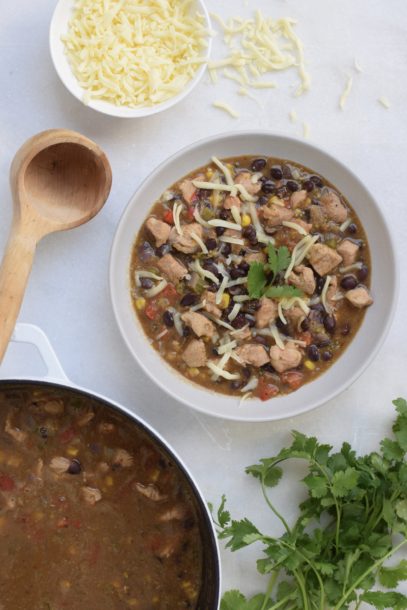
Turkey chili is one of the few items that the resort serves every single day.  I happen to notice the the lunchrooms also serve a roast turkey plate every single day.  Hmmm, could it be the kitchen needed to find a way to use up yesterday’s roast turkey?  Hmmm….  Anyway, we all love this chili because it’s lighter than a beef chili and a totally different take on the typical red, tomato-based ones that are so common.  This one is lighter and tastes fresher, perhaps because of all the delicious vegetables.   Regardless, all the signature shops on the mountain and many of the local grocery stores sell the special seasoning packet and the dried black beans in addition to the recipe so you can make it at home.  For $7 or $8 plus the cost of the turkey, vegetables and stock, you can make this pot of deliciousness at home.   Hmmm….$8 for 1/2 pound of dried beans and a few dried spices.  It wasn’t long before I decided I need to figure out what the heck was in that seasoning packet!

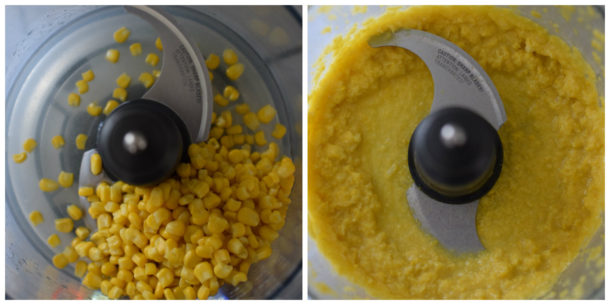
I can’t say this turkey chili is exactly like Deer Valley’s, but it’s close enough and I’m not sure my kids have noticed.  For sure I use half the amount of butter than the recipe calls for and I omitted the leeks, which I think don’t make or break this chili.  I also don’t use canned creamed corn, because ugh — canned and creamed and sugar don’t go with corn — so instead I just make a little corn puree.  The only ingredient you may not have lying around is masa, which is ground dried corn that’s been treated with lime.  It’s what corn tortillas and tamales are made from.  I have to say, it does thicken up the chili and give it a fabulous Southwestern corn flavor.  It’s also not an expensive ingredient, so I say definitely go for it.

Alrighty, dear readers, that’s all the time I have today. I am elbow-deep in sweet potatoes and butternut squash and my kids are starting to bicker about who gets to pick the music we listen to while we work.  Ahhh, sounds like Thanksgiving!  Hoping you all have a lovely holiday.  xoxo


Deer Valley-Style Turkey and Black Bean Chili

Pamela
5 from 3 votes
Servings 8

Ingredients
  

  • 4 Tablespoons unsalted butter you can use oil, but it won’t be as good -- vegans can use organic Earth Balance
  • 2 pounds boneless skinless turkey breast, cut into 1-inch cubes or cooked turkey, cubed -- vegetarians and vegans can add 5 cups of additional vegetables and beans
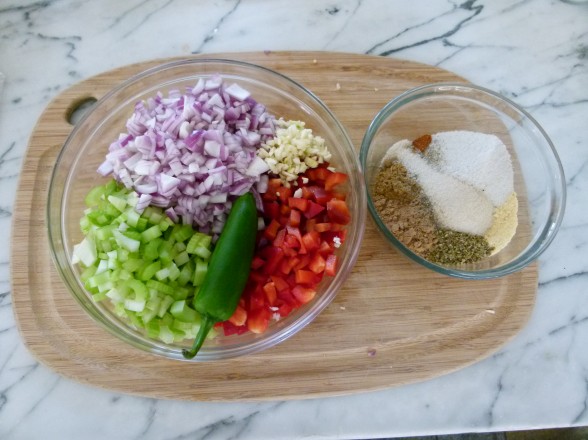
  • 1 red onion chopped
  • 1 cup chopped celery about 3 stalks
  • 1 sweet red bell pepper chopped
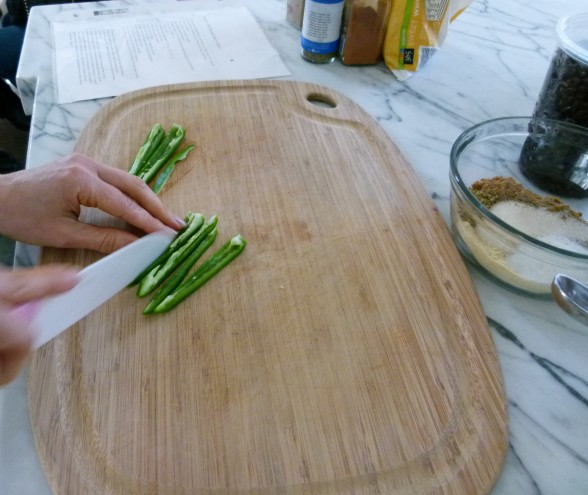
  • 1 jalapeno seeded (or leave seeds for extra heat) and finely diced (optional)
  • 2 cloves garlic finely diced
  • ¼ cup masa harina more if you like a thick chili
  • 2 ½ Tablespoons ground cumin
  • 2 Tablespoons ground coriander
  • 2 teaspoons dried oregano
  • 1 teaspoon cayenne cut back if you don't like spicy
  • 2 Tablespoons maple sugar or natural cane sugar
  • 2 teaspoons sea salt double if you’re using unsalted stock
  • freshly ground black pepper to taste
  • 4 ½ cups of chicken or turkey stock divided* -- vegans can use vegetable stock
  • 2 ¼ cups frozen sweet corn thawed (about 12 ounces)
  • 5 cups or 3 15-ounce ounce cans cooked black beans drained and rinsed

Instructions
 

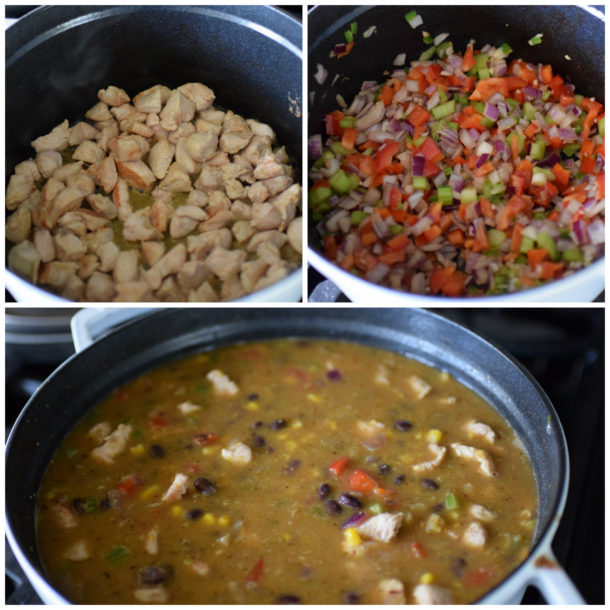
  • Melt butter in a large pot. If using raw turkey, add half the turkey and sauté until lightly browned. Remove with a slotted spoon to a bowl. Repeat with the remaining turkey. If using cooked turkey, do not saute in butter, but add in step 3.
  • Add the onion, pepper, celery, jalapeno, and garlic to the pot and sauté until tender, about 10 minutes.
  • Add the masa harina, spices, sugar, salt and pepper to the pot and cook, stirring frequently for 5 minutes. Return turkey and any accumulated juices back to the pot.
  • Add 4 cups stock, 1 cup corn and the beans to the pot. Take the remaining 1 ¼ cup of corn and puree with the remaining ½ cup stock in a food processor (a mini processor works too.) Add the pureed corn to the pot. Mix well and bring to boil over medium-high heat. Lower the heat to a simmer and cook, partially covered for 25 minutes. Serve with desired condiments (sour cream, cheese, minced onion, cilantro) or serve on top of a baked potato.

Notes

*If you only have stock in 32 oz. containers, no need to open a new one just for a 1/2 cup of stock. Puree corn in 1/2 cup water.
Tried this recipe?Let us know how it was!


Deer Valley-Style Turkey and Black Bean Chili | Pamela Salzman

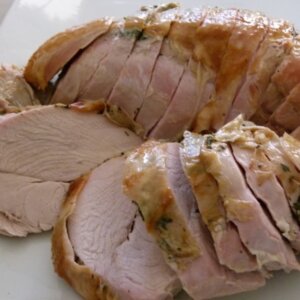
Roasted Whole Bone-In Turkey Breast Recipe

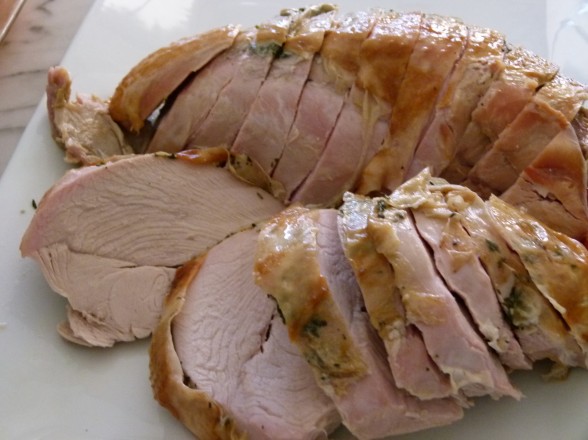
This is it, friends!  We’re in the home stretch and I’ve got one last recipe to share before the big day.  By now you know I get most excited about the side dishes, but in my classes I spend more time answering questions about turkey.  What size should I order?  What kind of turkey should I buy?  Why does my turkey always turn out dry?  How do I know when it’s done?  What do you think about deep frying a turkey?  (I don’t.)  And so on.  Even though I’ve been around this block quite a few times, and I’ll admit that I can get a little unnerved when it’s time to make the turkey.  With so many factors at play here, e.g. size, temperature of the bird, variance in oven temperatures, and so many methods, e.g. dry brine, wet brine, kosher, breast side down, basting every 20 minutes, etc., it can be a little tricky knowing how to achieve the best result.  I think most of my turkeys have turned out great.  But I’ve had my mishaps and I have learned there’s always a solution, even when I forgot to close the door to my garage refrigerator and my turkeys were about 80 degrees the next morning.  Total rookie move, and that was three years ago. (I didn’t cook them, by the way.  I went to Whole Foods at 7:00 am and bought 2 brined turkeys.  Problem solved!)

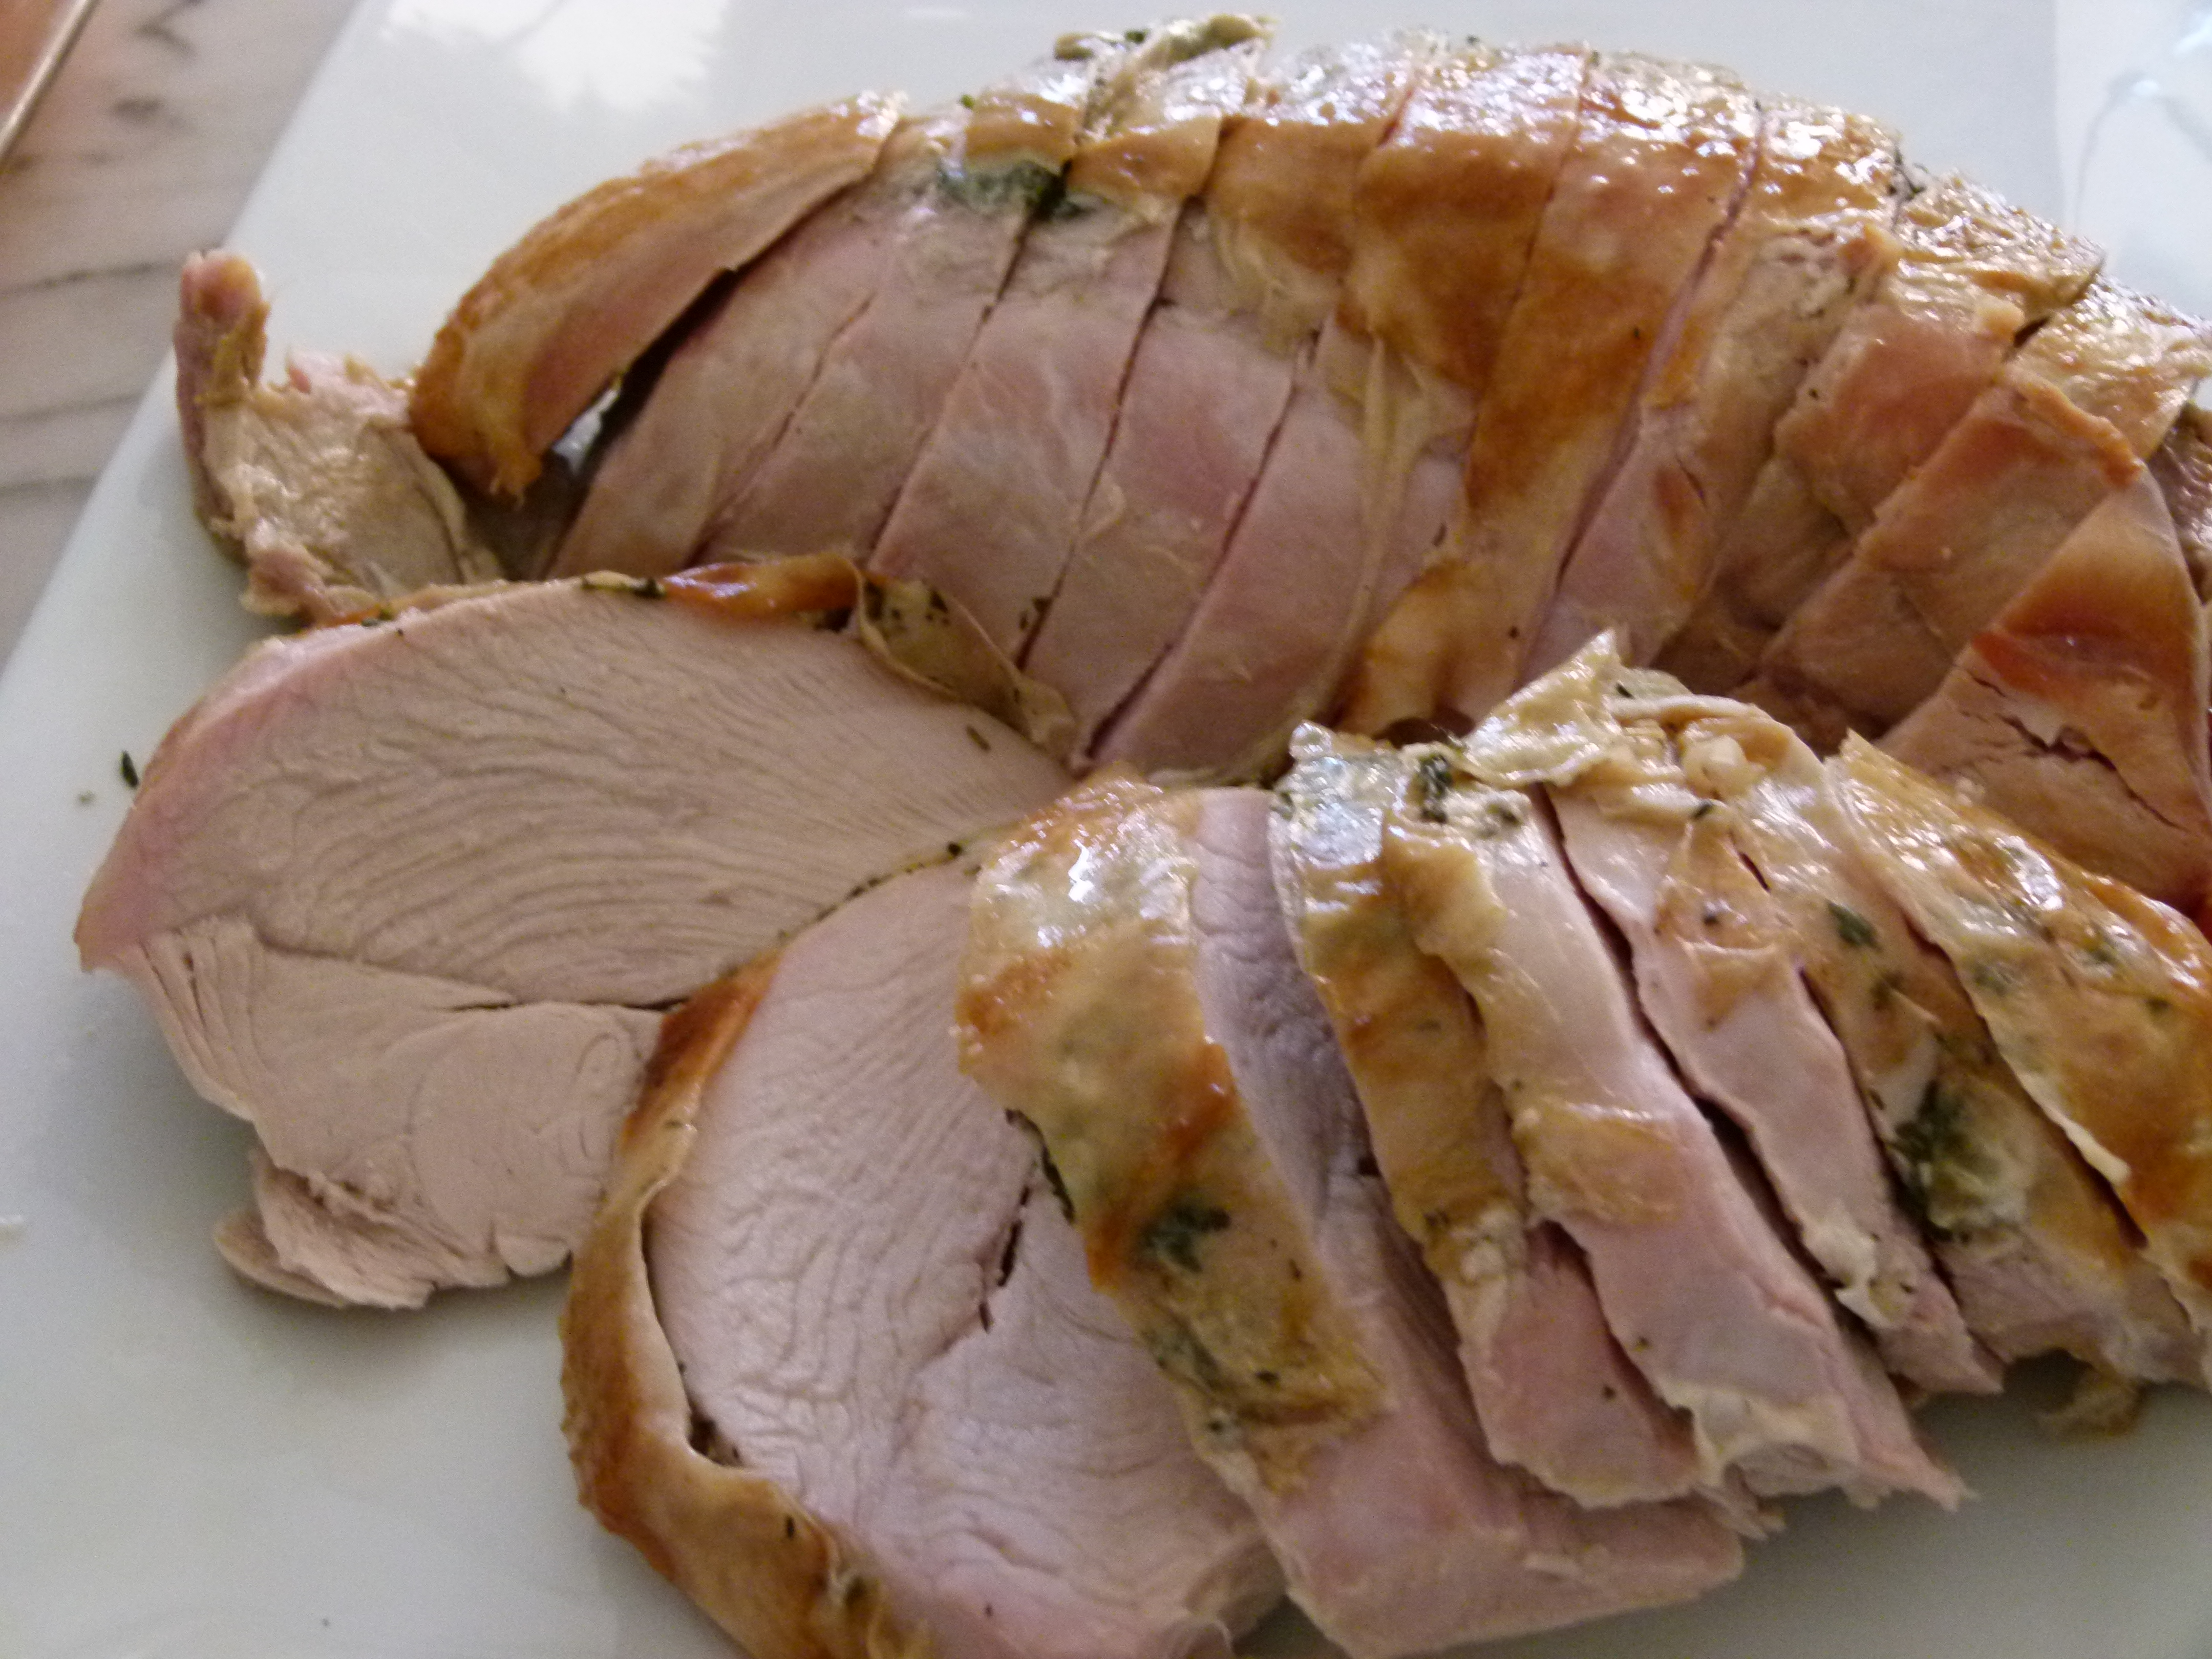
I’ve really only cooked two different versions of turkey, a whole roasted bird and a whole roasted breast.  Like I said, I get more excited and have more fun with the side dishes!  But traditionally since the turkey is the star of the show, I like to put my best foot forward and prepare a delicious bird.  Normally I roast two whole turkeys on Thanksgiving, but a whole roasted breast can come in handy for a smaller crowd or to supplement a whole turkey if most of your guests prefer white meat.  I’ve tested many methods for cooking a breast and this is hands-down my favorite.  It is also a little different from how I cook a whole turkey.  Whereas I prefer dry brining a whole turkey, I’ll go for the wet brine with a turkey breast which is much more easy to maneuver in a ziptop bag full of brining liquid. (Unlike the time in 2001 when my bag o’brine surrounding my 20-pound turkey exploded all over my kitchen floor.  Cleaning that mess was definitely NOT on the schedule.)  Either way, it is key to get that meat pre-seasoned with salt so it’s tasty and stays moist.  It makes a huge difference!

I’ve made a dozen of these whole breasts over the last couple weeks and each one has turned out moist and flavorful.  The best part is that with this straightforward method, there’s no constant basting and no worrying about wether or not the thigh meat will cook at the same rate as the breast.  Funny, the question I received the most after classes this month was “why do we only make turkey on Thanksgiving?”

Roasted Whole Bone-In Turkey Breast

Pamela
Servings 10 -12

Ingredients
  

  • For the brine: do not brine a kosher turkey
  • 1 1/3 cups Kosher salt such as Diamond Crystal
  • ¼ cup light brown sugar
  • 1 ½ teaspoons whole peppercorns
  • 1 quart water
  • 4 quarts ice water
  • 1 brining bag or heavy duty gigantic Ziploc bag
  • For the turkey:
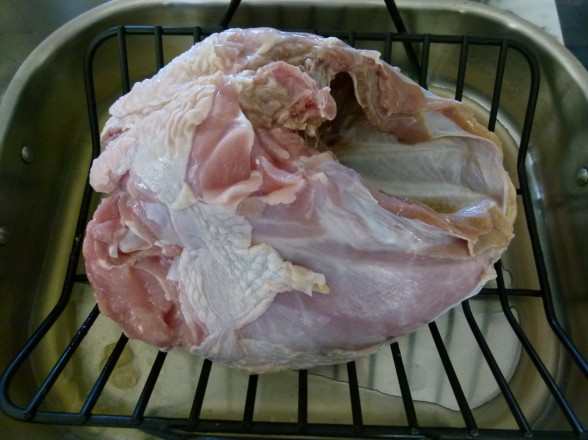
  • 1 , 6-7 pound whole bone-in skin-on turkey breast
  • 2 Tablespoons fresh thyme leaves chopped
  • 2 teaspoons freshly ground black pepper
  • 6 Tablespoons softened unsalted butter or unrefined cold pressed, extra virgin olive oil
  • 1 cup chicken or turkey stock or water stock will allow you to make gravy
  • Gravy
  • ¼ cup white wine
  • 5 Tablespoons all-purpose flour or a gluten-free flour blend, such as King Arthur's Multi-purpose
  • 3- 3 ½ cups chicken or turkey stock preferably homemade
  • Sea salt and freshly ground black pepper to taste

Instructions
 

  • Make the brine: In a medium saucepan over high heat, combine the salt, brown sugar, peppercorns and 1 quart water. Bring to a boil and continue boiling, stirring until the salt and sugar are dissolved, about 3 minutes. Remove from the heat and transfer to a large bowl. Stir the ice water into the brine and make sure this mixture is cool before proceeding, otherwise add more ice.
  • Place the brining bag in a large bowl or pot and transfer the turkey to the bag. Pour in the brine into the bag with additional ice, if needed. Seal the bag securely! Refrigerate the turkey for 12 to 18 hours.
  • About an hour before cooking, remove the turkey from the brine, rinse thoroughly with cold water and pat dry with paper towels.
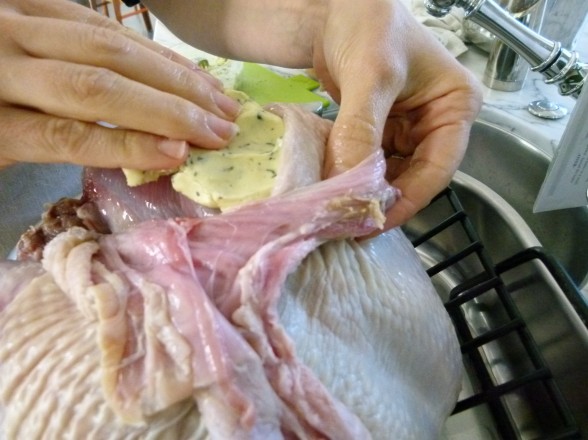
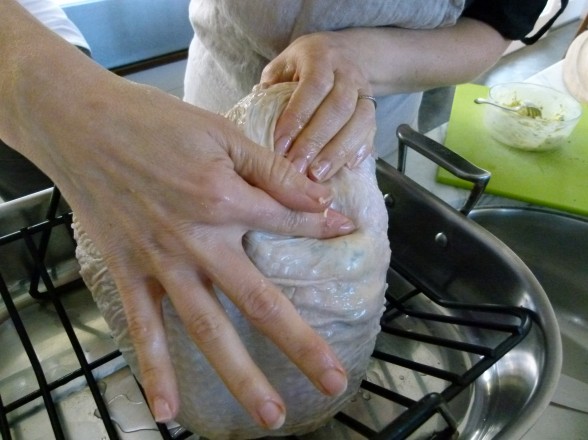
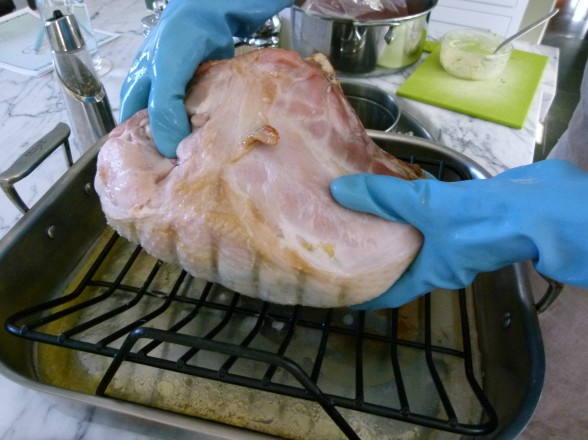
  • Preheat the oven to 425 degrees. Combine the thyme, black pepper and butter in a small bowl. Loosen the skin from the breast and open it to make a pocket. Spread the butter mixture directly on the meat. Rub a little all over the skin. Place the turkey breast-side down in a v-shaped rack in a roasting pan. Add the stock. Roast the turkey for 30 minutes.
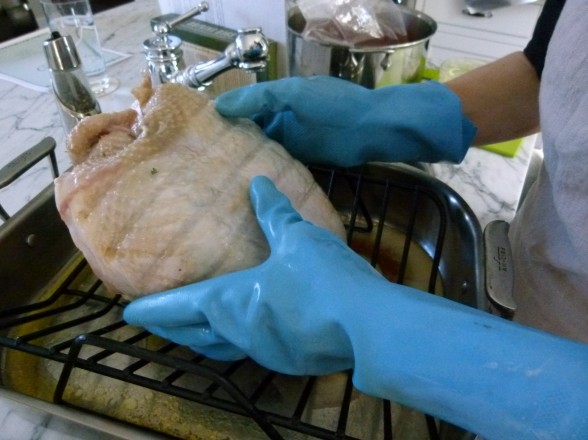
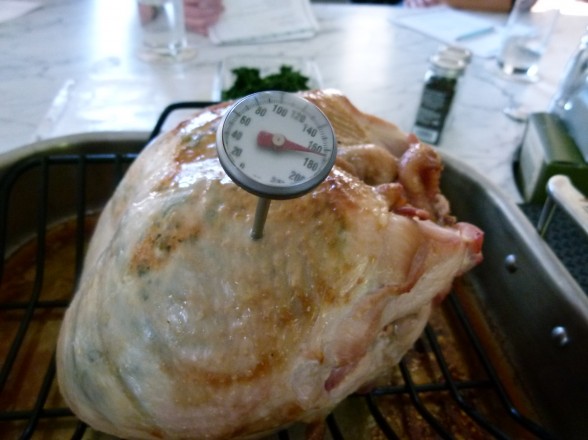
  • Reduce oven temperature to 325 degrees. Turn turkey breast-side up (I wear rubber gloves to flip) and tent with foil. Continue to roast until an instant read thermometer registers 160-165 degrees when inserted into the thickest part of the breast, about an additional 1 ½ to 2 hours, depending on the size of the turkey. The temperature of the meat is more important than how long the turkey is in the oven!
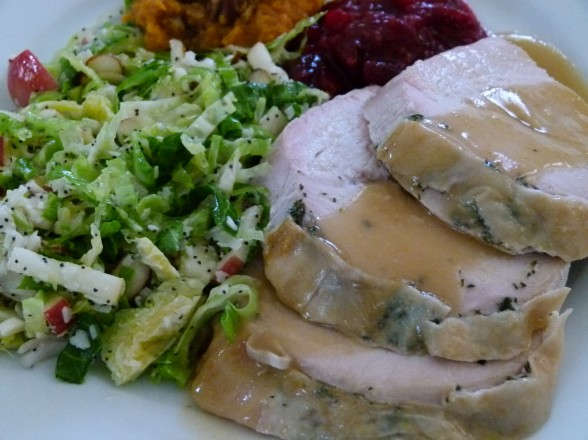
  • Remove from oven and keep covered with foil and allow to rest at room temperature at least 30 minutes. Carve and serve with pan juices or prepare gravy. Don't forget to save the carcass for making stock!
  • To make gravy: remove the turkey from the roasting pan, pour the pan drippings into a fat separator.
  • Pour the wine and the pan juices (that have been separated from the fat) back into the roasting pan, and place over medium heat. Bring to a boil and boil for 2-3 minutes, scraping the bottom of the pan with a wooden spoon to dislodge any brown bits. Strain into a bowl and set aside.
  • In a saucepan over medium heat, warm the reserved fat until it is bubbly. If you don't get 3-4 Tablespoons of fat from the drippings, add some olive oil. Add the flour and whisk rapidly to cook the flour.
  • Strain the mixture from the roasting pan into the saucepan and 2 cups of stock. Cook, while rapidly stirring, until smooth and thickened, 1-2 minutes. Add the remaining stock as needed to achieve desired consistency. Season to taste with salt and pepper.

Notes

Check out my video on how to make gravy and carve the breast at the bottom of this post!
Tried this recipe?Let us know how it was!


Planning a Happy Thanksgiving — 1 Week and Counting

This post was originally published on November 17, 2011.

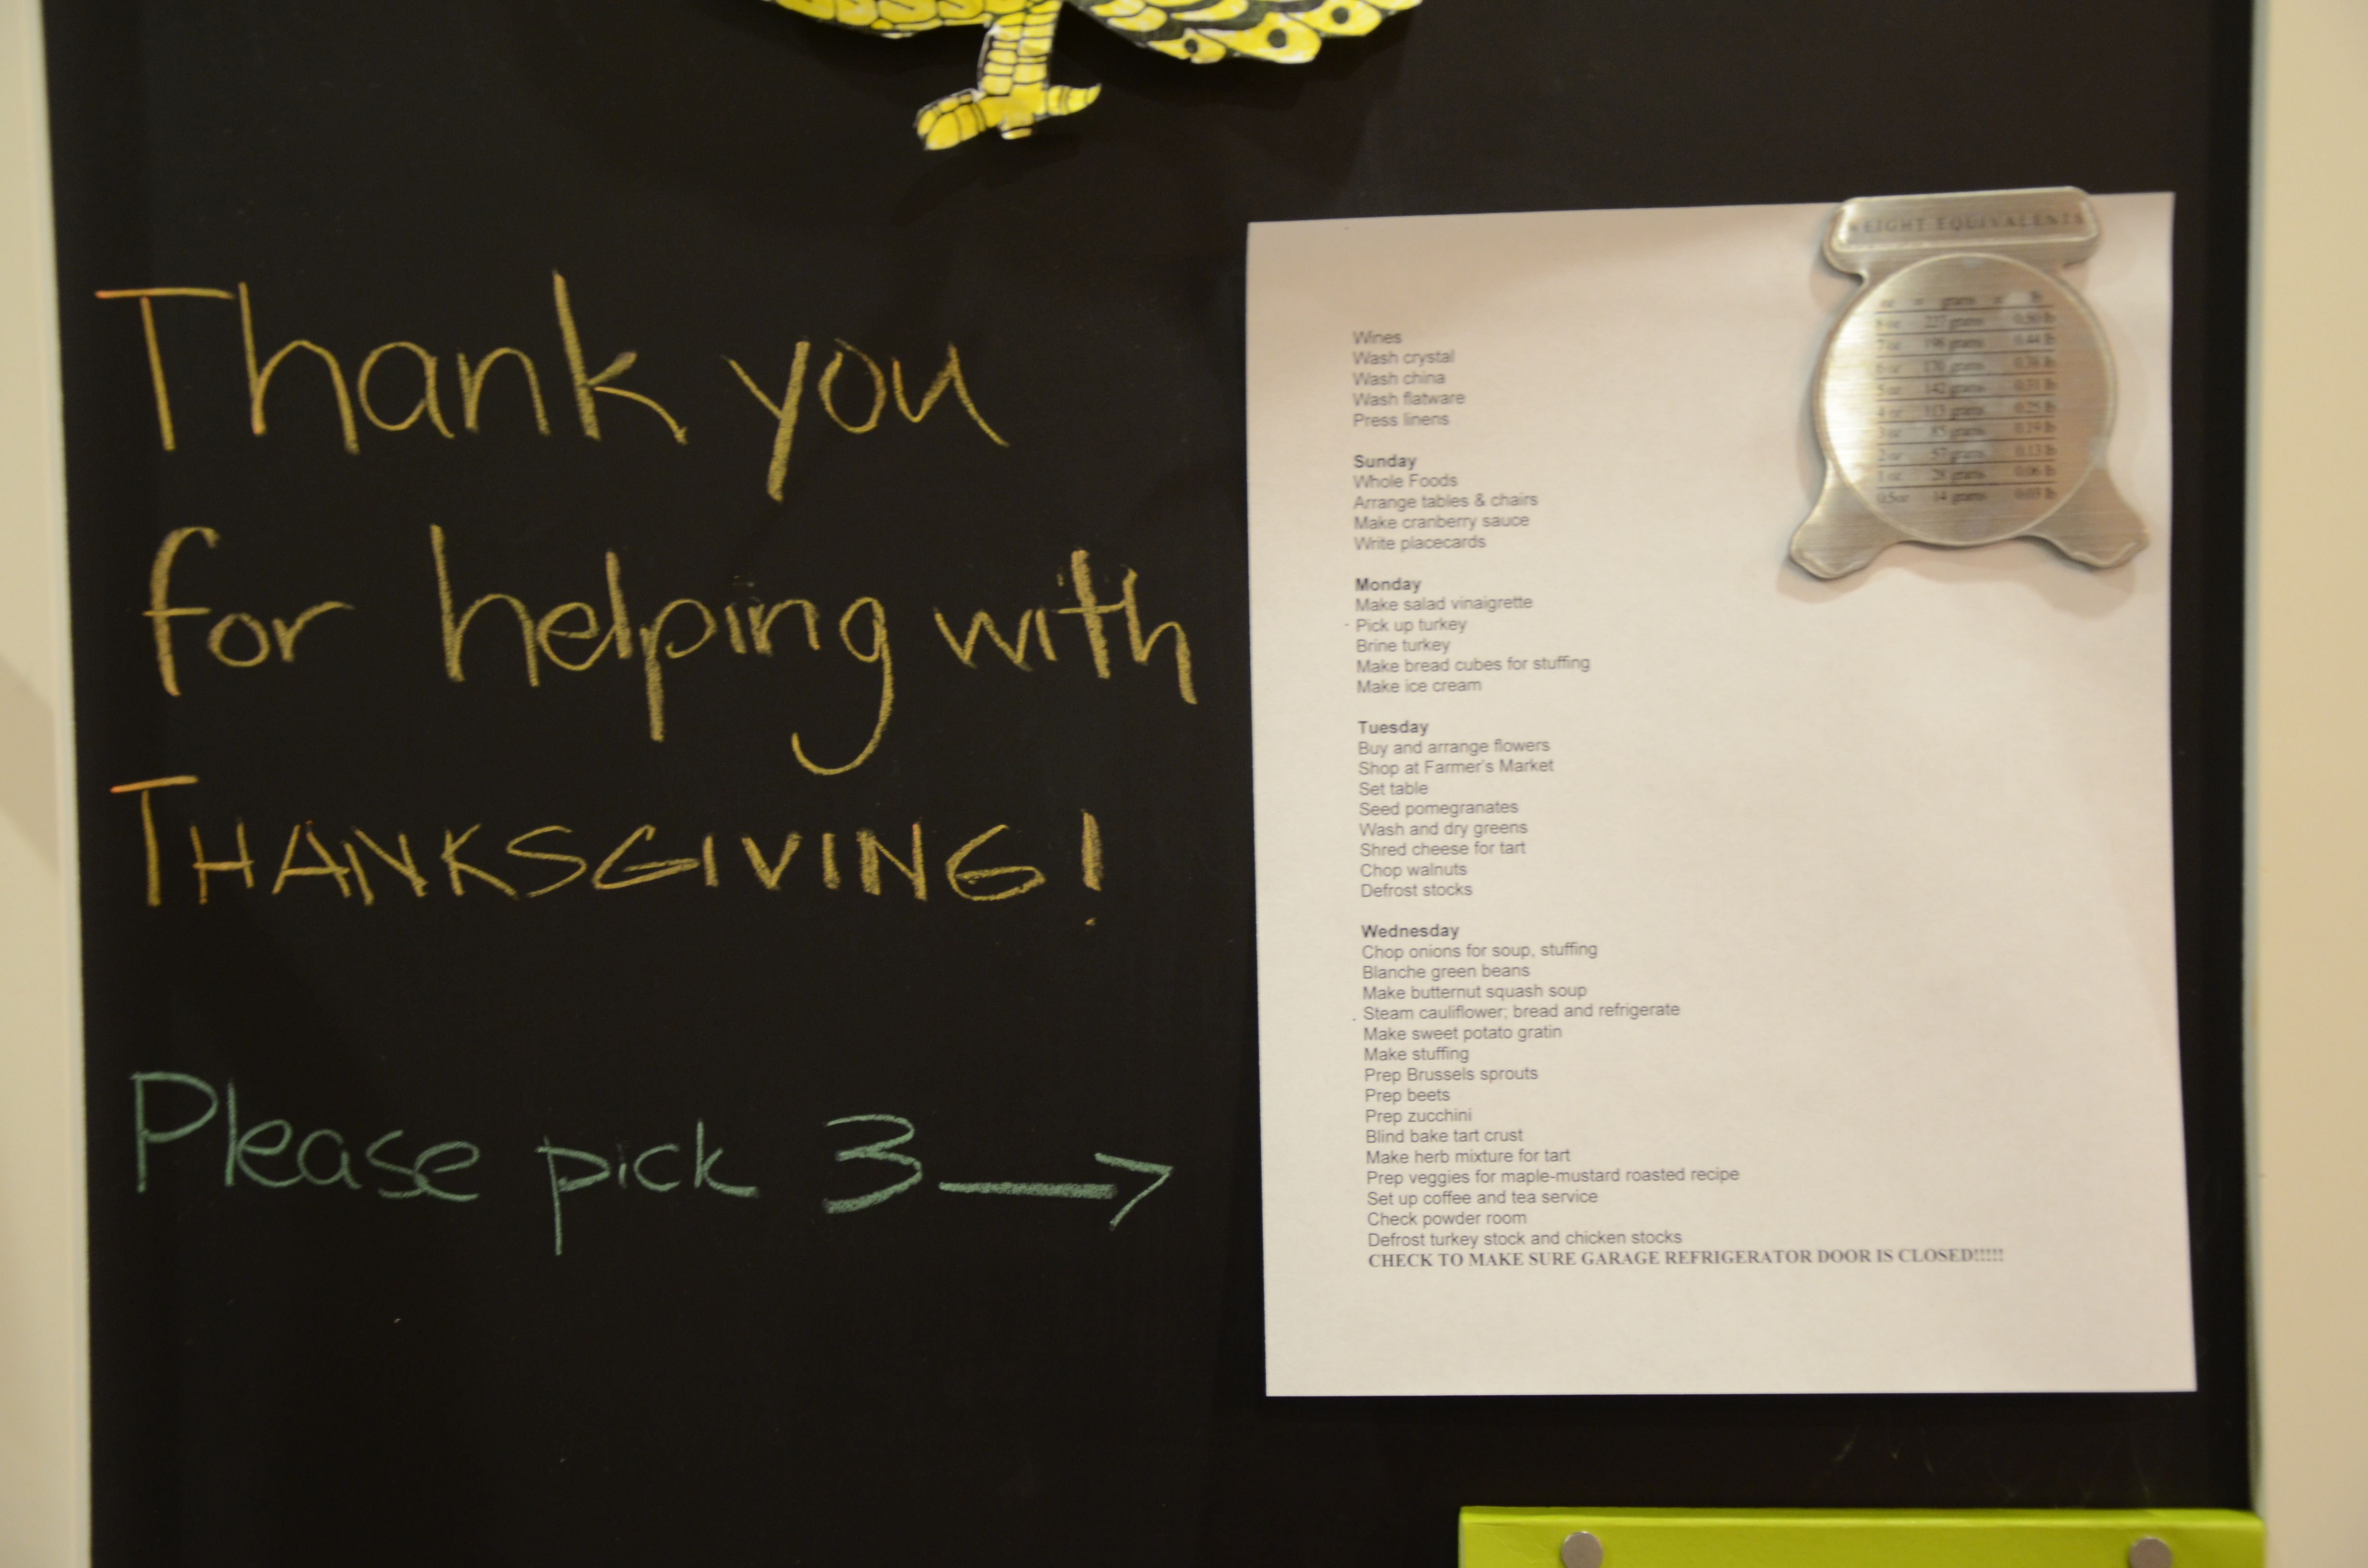
Wow, the last three weeks have gone by so quickly!  Not only am I very excited to celebrate Thanksgiving — we have a super fun crew joining us this year — but I am looking forward to some one-on-one time with the kids.  They are all going to help me this year.  They just don’t know it yet.  I used to get all of them in the kitchen Thanksgiving morning to help me with pies or trimming green beans or whatnot, but two of my beauties have taken to sleeping until noon on days off.  However I had a stroke of genius, which is to tack my Thanksgiving to-do list on the refrigerator and have everyone sign up for three tasks.  I’m asking my husband to help too, to set a good example, of course.

I have a crazy work schedule until Sunday, so I’ll start getting busy then.  Here’s what my schedule will look like from Sunday until we eat on Thursday at 4:00 pm (-ish):

Sunday

Go grocery shopping for most perishable items, bread for stuffing and food for remaining dinners this week.

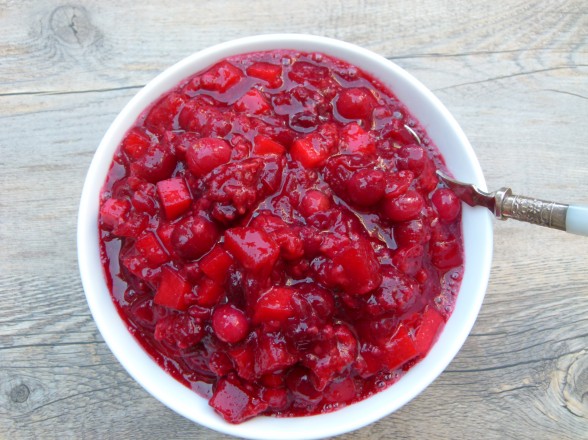
Make cranberry sauce (I used to make applesauce on Sunday, too, but my friend Caitlin is bringing it this year.)

Arrange tables and chairs

Write out placecards for table (a good job for one of the kids)

Dinner:  orange and rosemary-glazed chicken, brown rice and broccoli

Monday

Make salad vinaigrette

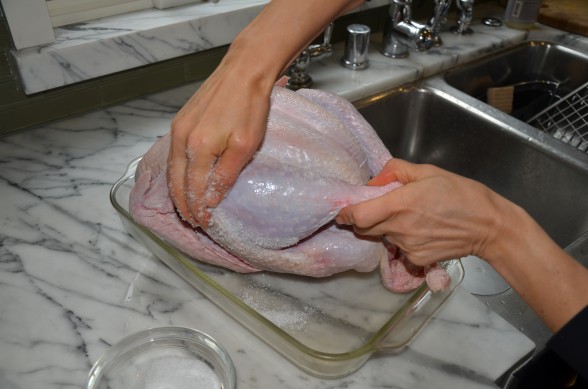
Pick up turkeys and dry brine

Make bread cubes for stuffing

Make ice cream

Dinner:  tacosblack beans and salad

Tuesday

Shop for last perishable items from farmer’s market

Buy flowers and put together table arrangements

Set table (I’ll set one place setting and have one of the kids do the rest.)

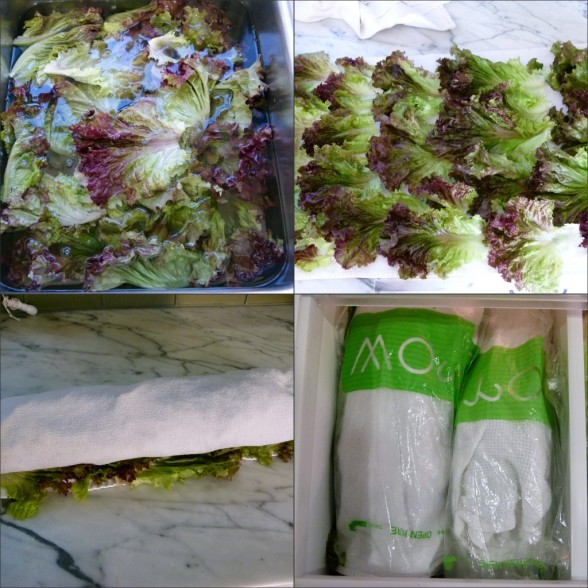
Wash and dry greens (salad)

Chop walnuts (salad)

Seed pomegranates (salad)

Shred gruyere (tart)

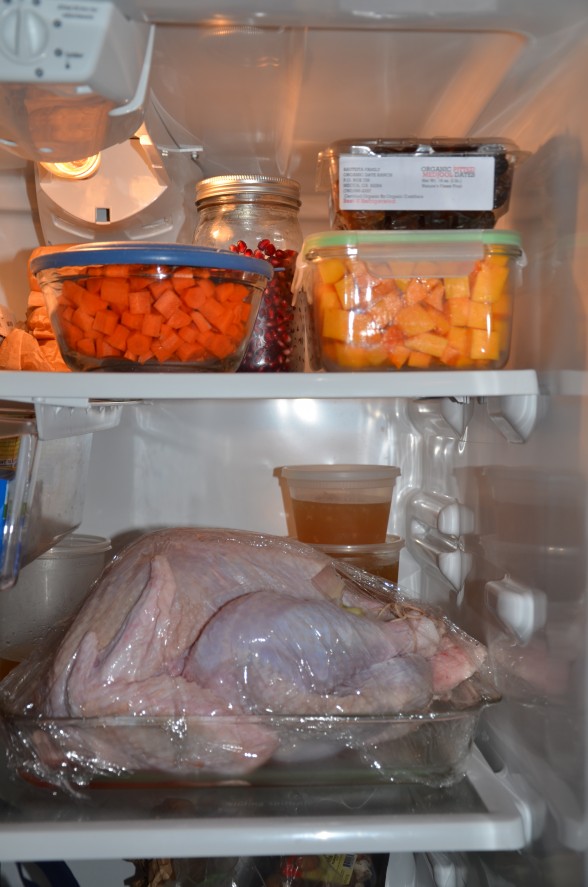
Defrost chicken/turkey stocks

Dinner:  Spice-rubbed salmon, sauteed spinach, baked sweet potato “fries”

Wednesday

Chop onions for soup, stuffing and roasted vegetables

Prep beets (salad)

Blanche green beans (salad)

Slice zucchini (tart)

Make soup

Steam, bread cauliflower

Blind bake crust (tart)

Herb oil (tart)

Make stuffing

Prep vegetables for Maple-Mustard Roasted Veggies

Trim and halve Brussels sprouts

Make sweet potato gratin

Set up for coffee and tea service

Check powder room

Dinner:  pantry pasta with chickpeas

Before bed:  make sure garage refrigerator door is closed!

Thursday

6:00 am wake and shower

Make cornbread (small oven)

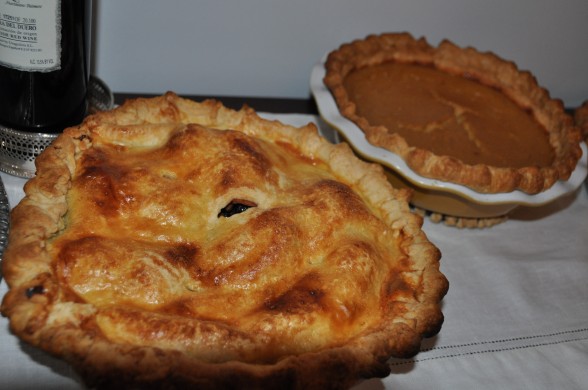
Make pumpkin pies (large oven)

Bake coffee cake (small oven)

Make gingerbread (large oven)

9:15 Take turkeys out of refrigerator

All desserts must be out of large oven by 10:30 am

Make apple pie (small oven)

10:45 turkeys go in large oven breast side down at 425 degrees

11:25 turn oven down to 325 degrees and flip turkey breast side up

12:00 reheat soup and serve with cornbread

tidy up kitchen

get dressed and dry hair (a girl’s gotta look good!)

Put mixing bowl and beaters in freezer for whipped cream

Chop fennel (salad)

1:30 Peel potatoes and make mashed potatoes; keep in bowl, covered, over pot of simmering water

2:15 zucchini tart in small oven

2:30 fry cauliflower and heat tomato sauce; serve hot

3:00 serve hors d’oeuvres; start testing turkey temperature

3:00 – 3:30 take turkey out of oven

Put vegetables in large oven at 400 degrees

Make gravy

Reheat stuffing in small oven

Bake sweet potatoes in large oven

Make Brussels sprouts with turkey bacon and dates

Chop apples for salad, dress salad

Light candles, pour water in glasses

3:50-4:00 Carve turkeys

4:00 Dinner is served

After dinner:  whip cream (do not overbeat!), coffee and tea, sparkling water

Make notes on what to remember for next year.  Next year??!!