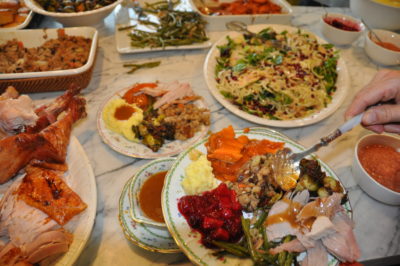
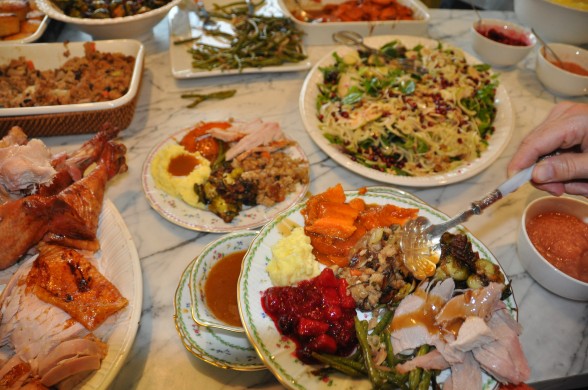
Planning a Happy Thanksgiving — 4 Weeks and Counting

This post was originally published on October 27, 2011.  I adore Thanksgiving.  I love the traditions, the food, the Macy’s parade on television while I am making my pies, the football games.   I love moving the family room furniture after the last football game is over to extend the dining room table.   I love hearing everyone share why they’re grateful.  I have cooked every Thanksgiving for the last 16 years, as well as dozens of Thanksgiving-themed cooking classes.   I have made lots of mistakes and in the process learned a thing or two about how to execute and enjoy  a very happy Thanksgiving.  Every Thursday from today until the big day, I will share my best tips, strategies and a few good recipes to set you up for a successful holiday.  Let’s get started!

4 Weeks Before Thanksgiving

  • Guest list  Now is a good time to invite family and friends for the holiday, even if they are regulars.  I send an email out to all our guests with the schedule for the day, especially when we will sit down for dinner.  We live on the West Coast, which means the last football game is over at 4:00.  Anyone that wants to come for the earlier game is welcome to do so.  There’s coffeecake, fruit and coffee in the morning.  A mugful of soup and cornbread around noon; hors d’oeuvres at 3:00 pm and dinner is at 4:00 or whenever the game is over.  You know that I pray for no overtime!
  • Plan your menu Planning the Thanksgiving menu requires a bit of strategy and balance.   Make sure you have a balance of cooked and raw food (One thing I have learned is no matter how big your kitchen or how many ovens you have, it’s never enough on Thanksgiving!); protein, starches and vegetables (I find most Thanksgiving menus to be too starchy;) and ingredients (make sure not every recipe has dried fruit and nuts in it.)  Know what dishes need an oven and when because if you’re making turkey and you have one oven, you won’t be baking too much in the hours before dinner.
Also, know your audience.  I love trying new recipes, but my family looks forward to the same traditional standbys every year.  There was almost a revolution when I took Breaded Cauliflower off the menu in 2007 ( I now serve it as an hors d’oeuvre.)  So I compromise by making the classics (traditional roast turkey with gravy and cranberry sauce, mashed potatoes, stuffing, and pumpkin pie), but I also try out a new salad or vegetable side dish every year.
But just because you’re cooking overtime for Thanksgiving dinner, doesn’t mean your household won’t be needing dinner the night before and breakfast the morning of.  Instead of ordering takeout pizza on Wednesday night, make and freeze a casserole in the weeks ahead or plan for your easiest 20-minute meal.  The same goes for Thanksgiving day, especially if you have young children in the house.  You can save your appetite and get by on a piece of fruit for the day, but your four-year-old cannot.  I always make a pot of butternut squash soup the day before and a pan of cornbread to be served around noon to tide anyone over until the big meal.
  • Outsource    Do as I say here.  Don’t do as I do.  You don’t have to make everything yourself.  In fact, most people would be delighted to contribute something to the holiday which will alleviate the pressure on you.  But you must be specific otherwise you’ll end up with 4 pumpkin pies and no green vegetables and we all know what I think about that.  “Thank you, Caitlin for your offer to bring something.  I think I’ll take you up on it.  We have neither stuffing nor apple pie yet.  Would you like to tackle one of those?”
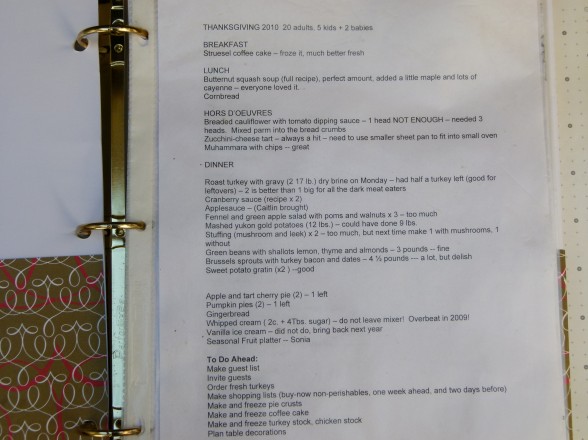
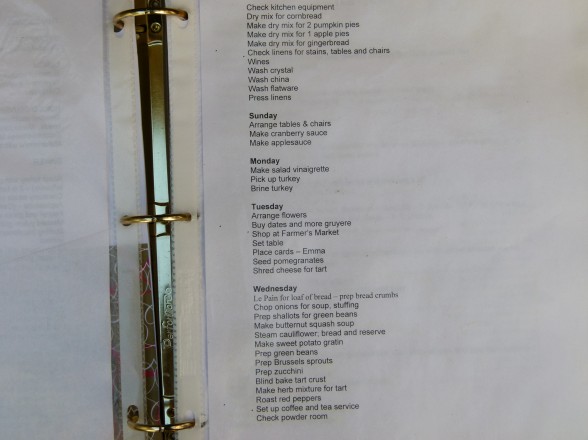
  • Write out a schedule Take the time to plan everything that you need to do over the next four weeks and put it on the computer so you have it for future holidays.  By taking a little time now, you will save yourself stress, anxiety and HOURS later.  Trust me on this.  You can see my detailed schedule as an example.
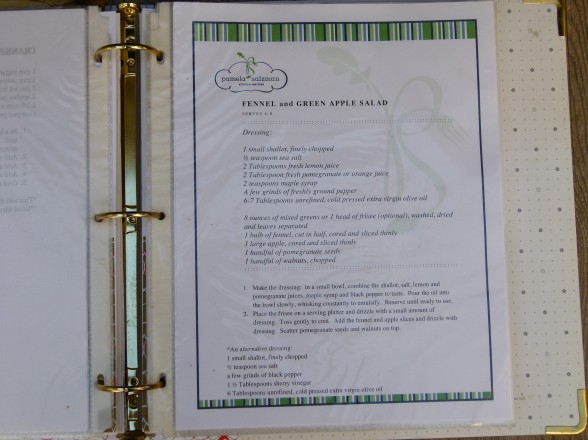
  • Photocopy your recipes from books and magazines I remember my first Thanksgiving with a stack of cookbooks and magazines taking up valuable counter space and my wasting so much time looking up each recipe multiple times.  Ugh!  Put your photocopied recipes in sheet protectors and create a dedicated Thanksgiving or holiday binder organized by category.  This just might be the most useful tip I give you.
Here’s what I am probably making this year:
Breakfast:
Coffeecake, fruit, coffee and tea
Lunch:
Butternut Squash or Sweet Potato-Coconut Soup and Cornbread
Hors D’oeuvres:
Breaded Cauliflower with Tomato Dipping Sauce
Dinner:
Applesauce
Mashed Yukon Gold Potatoes
Sweet Potato Casserole
Whole Grain Stuffing with Mushrooms, Leeks and Herbs
Roasted Green Beans with Lemon, Shallots and Thyme
Harvest Chopped Salad or Butternut Squash Salad
Dessert:
Apple Pie
Homemade Vanilla Ice Cream
Freshly Whipped Cream
Fresh Seasonal Fruit

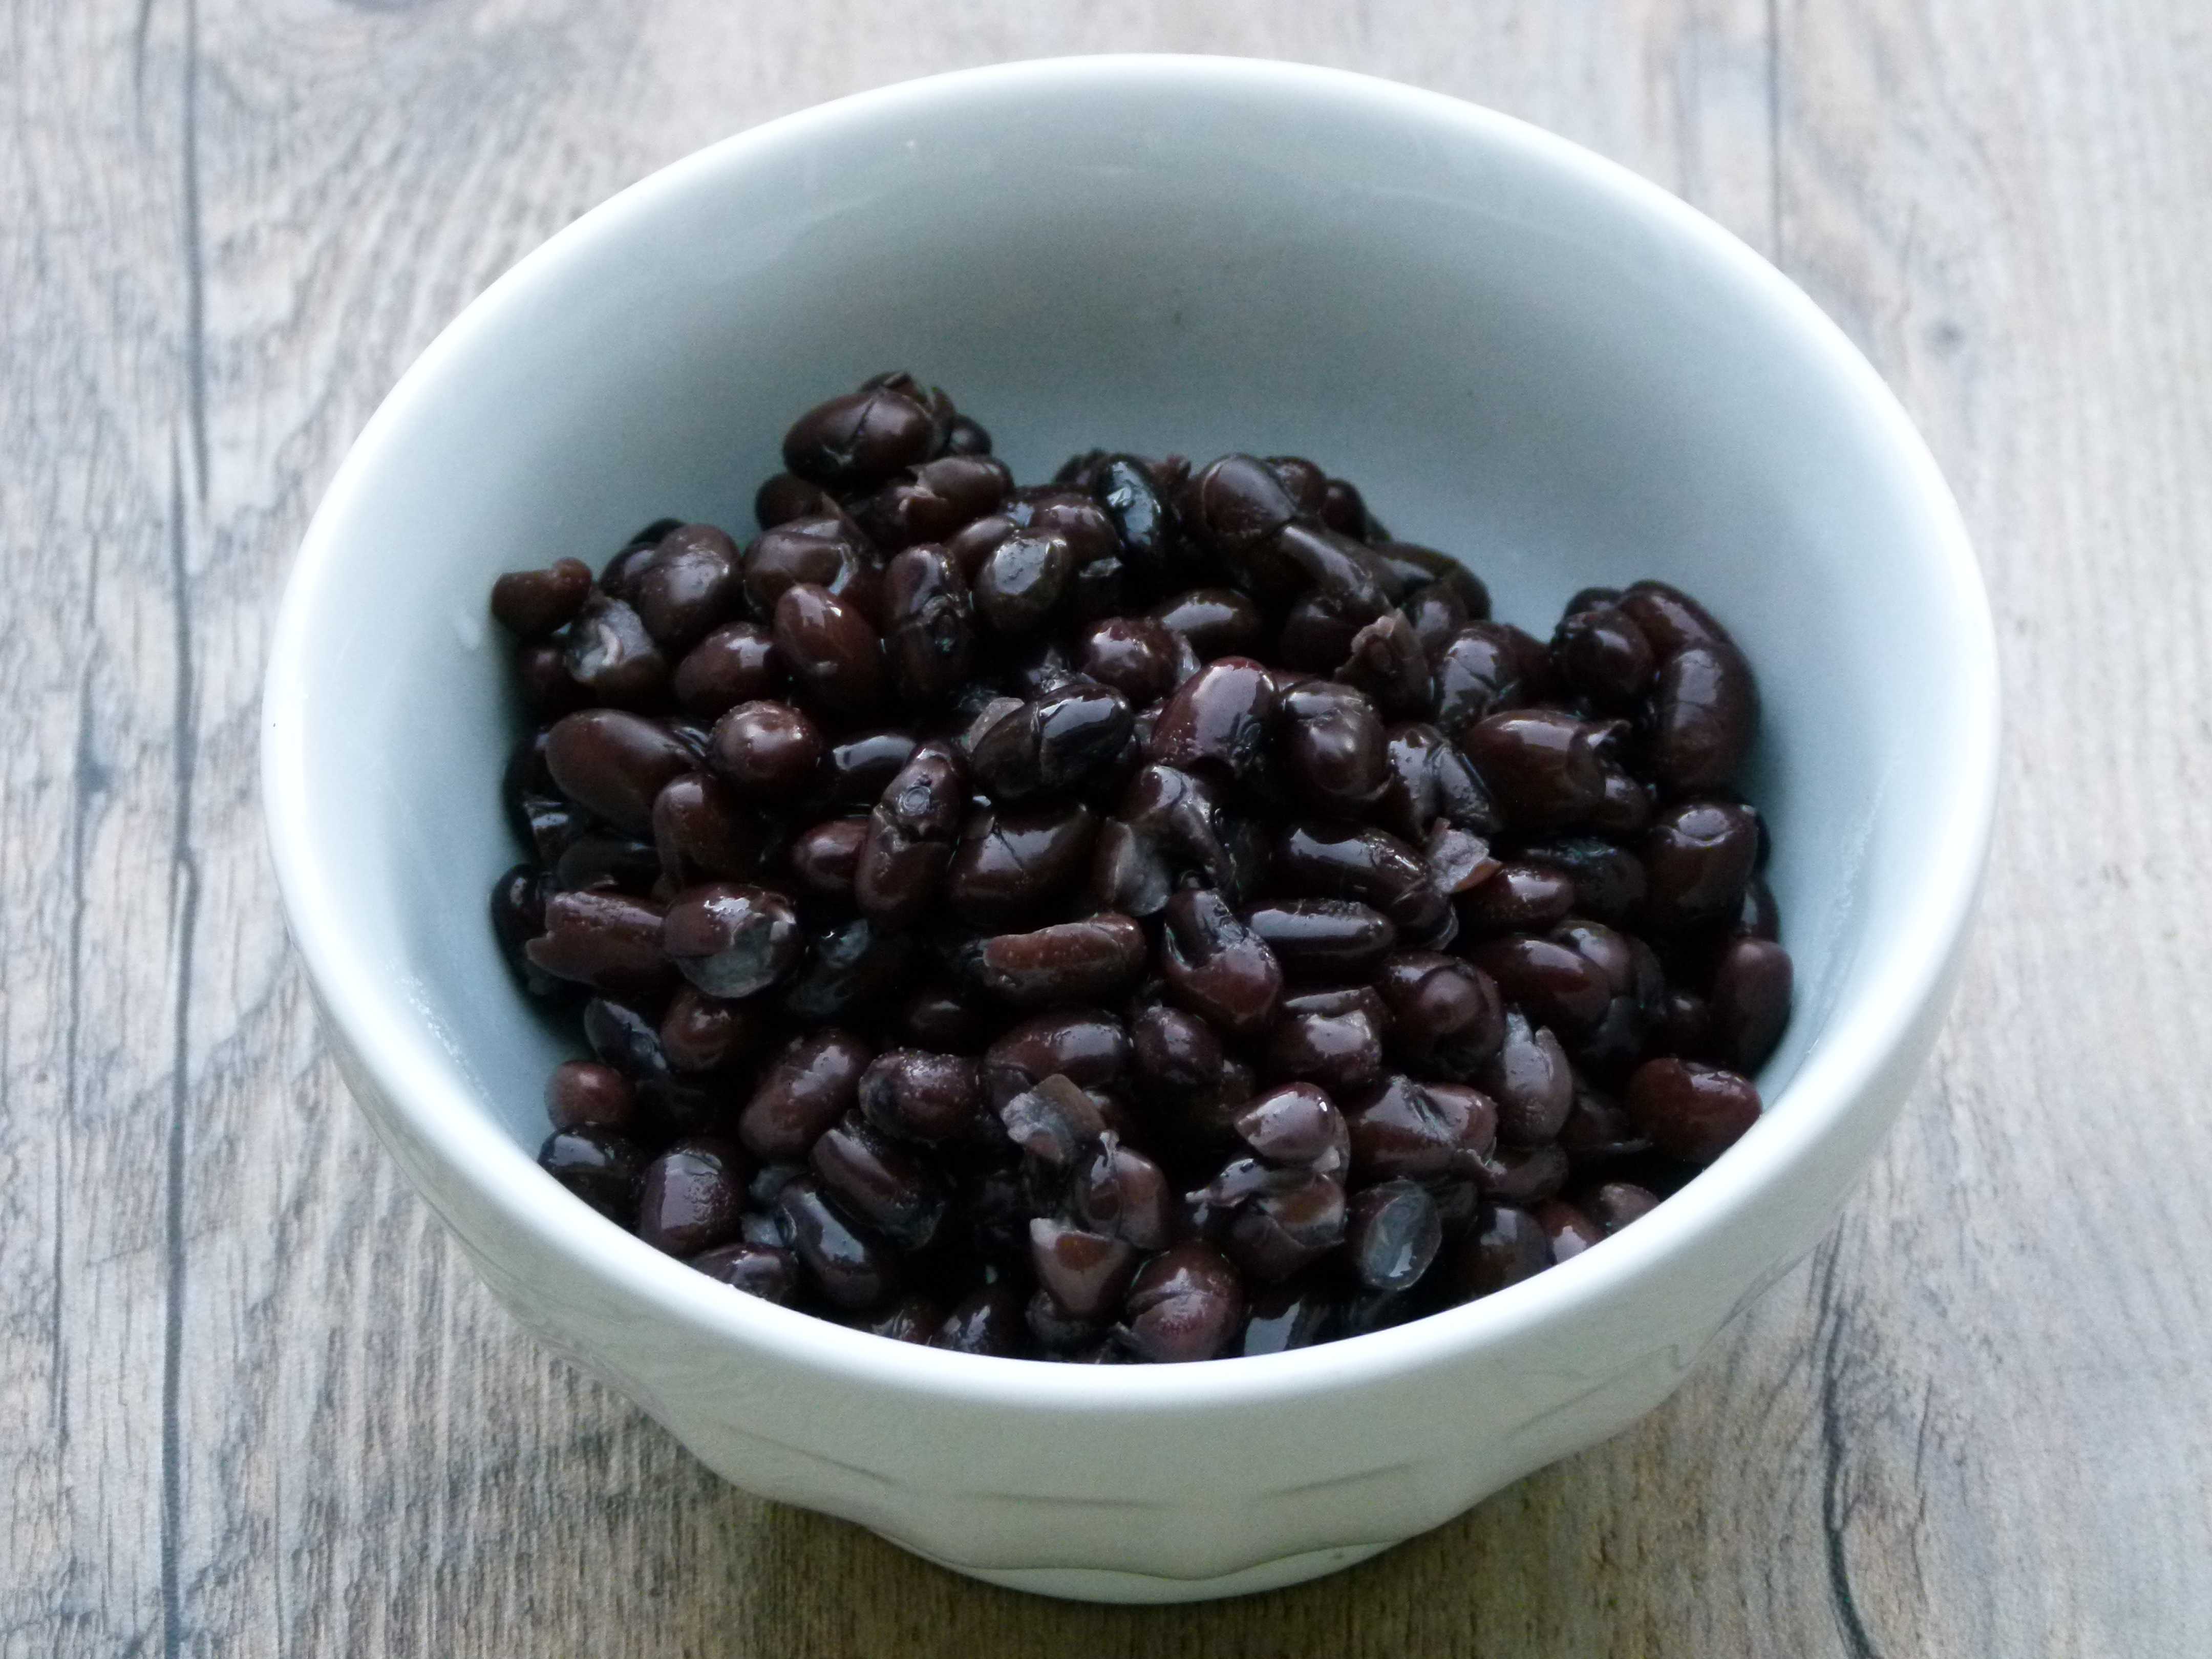
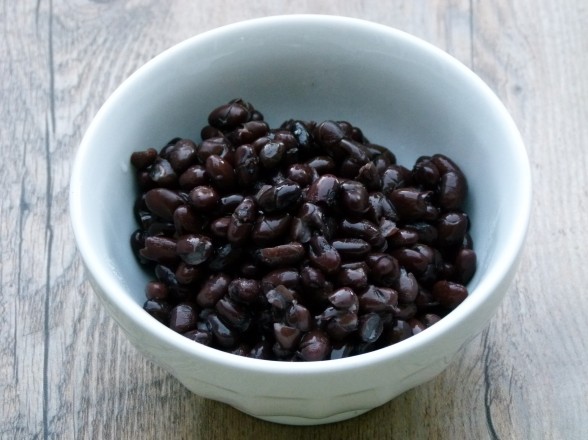
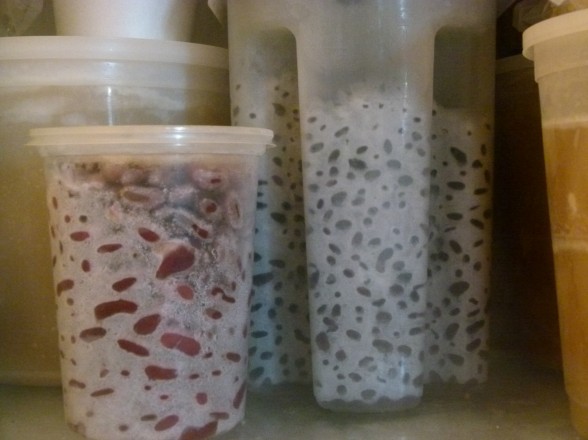
How to cook beans from scratch

This is the time of year when I start to make more bean-based soups and chilis.  And as soon as it stops being 80 degrees around here, I’ll get right on that.  Actually, regardless of the season, we are a bunch of bean eaters in this house.  Besides chili, I use beans in Mexican dishes, salads, pastas, veggie burgers, with braised greens or in dips.  There are many varieties of beans that we eat — from garbanzos to black to pinto to Cannellini and more.

Beans are incredibly versatile and they happen to be a great low-fat source of fiber and protein.  Beans are one of those low-glycemic foods that gives you long-lasting energy without spiking your blood sugar.  Hooray!  No insulin surge!  And what’s more is that several types of beans including kidney, pinto and black are off the charts in antioxidants, as in a whole heck of a lot.

Beans are quite affordable, especially if you make them from scratch.  A pound of dried beans can cost anywhere from $1 to $1.50 and that will yield the equivalent of 3-4 15-ounces cans.  If you buy high-quality organic beans from a company like Eden Organic, which doesn’t line their cans with BPA, one can costs approximately $2.30.  You can do the math here and realize that you would save a lot of money buy cooking your beans from scratch.  Not only that, most cans are lined with BPA, which is a carcinogen that is not easily detoxified.  And wouldn’t you feel better about not throwing all those cans into a landfill?  Yes indeed.  

I am teaching a black bean and pumpkin soup recipe this month in my classes and I have noticed my students furiously scribbling my instructions for how to cook dried beans.  I realized this would be a good thing to post, so here are a few of my tips for preparing beans from scratch.

  1. Buy beans from a store with a high turnover to ensure you don’t get very old beans which take longer to cook.
  2. Plan ahead since you need to soak beans for at least 6 hours and then cook them for an hour or more.
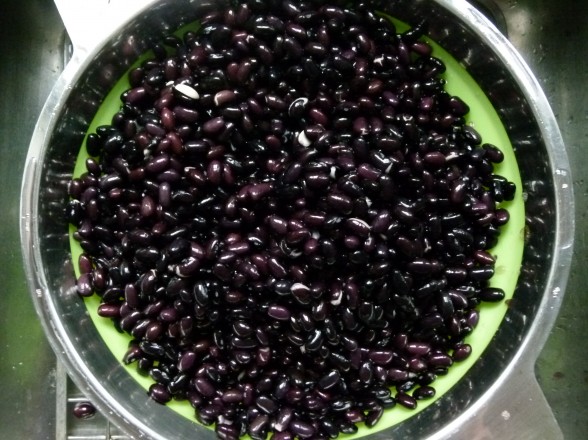
  3. Pick through the beans before soaking and look for any small stones or debris.
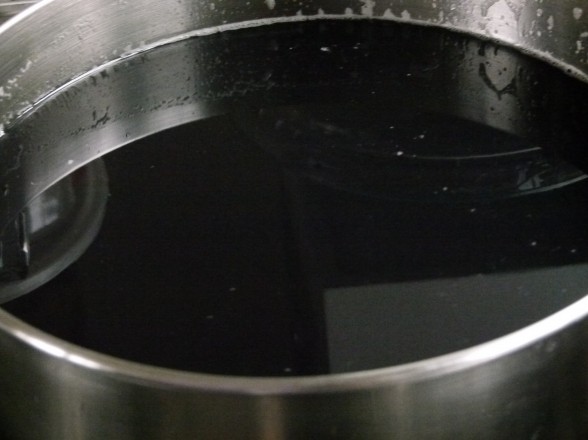
  4. Place beans in a large bowl or pot and cover with a generous (4-6 inches) of cold water.  If you have a piece of kombu (kelp), add that to the beans for additional digestibility and alkalinity.  Leave the bowl on the countertop or in the refrigerator for at least 6 hours or overnight.  Check to make sure all the beans stay below sea level!   I usually start soaking in the morning when I’m making breakfast.
  5. Drain the beans in a colander and transfer (with kombu, if using) to a large pot.  Sometimes I add some onion and celery if I know I’m going to use the beans for a salad, but I usually don’t add vegetables.  Fill with fresh cold water to cover by at least 4 inches and bring to a boil over high heat.
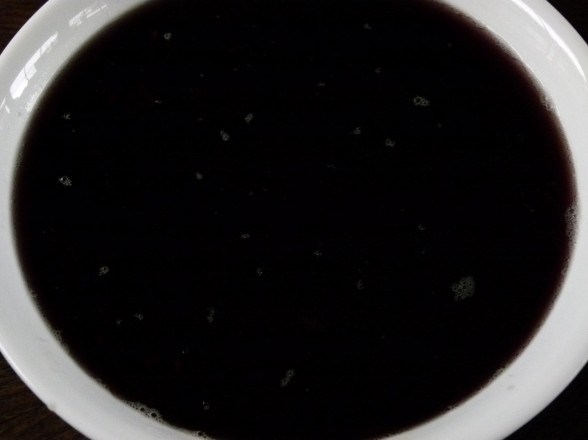
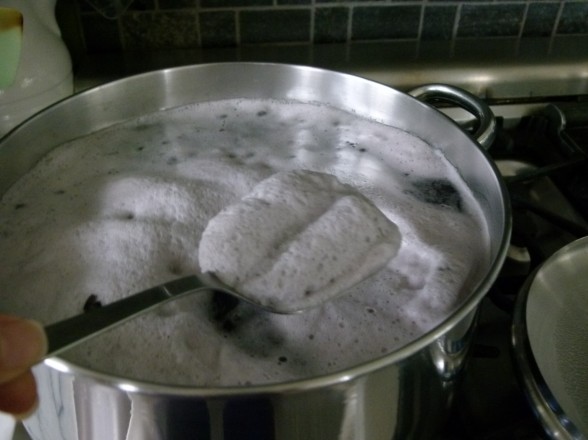
  6. Lower heat to a simmer and skim off any foam from the top.  Maintain a gentle, active simmer.  Boiling the beans rapidly can make them lose their shape.
  7. Start to test the beans for tenderness after 50 minutes.  Continue to taste them until desired tenderness is achieved.  This can take an hour or more depending on the age of the beans.
  8. Turn the heat off and if you have time, add some kosher salt to the beans and allow the beans to cool in their cooking liquid.
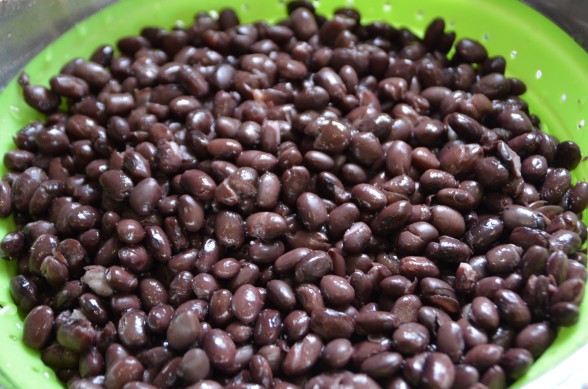
  9. Drain and now they’re ready to eat!  Or store them in the refrigerator for up to 3 days or in the freezer for up to 3 months.
Update 4.30.13:  I have had great success cooking dried beans in a slow cooker.  Whereas the beans are more digestible if you presoak them, they will still cook to perfect tenderness without soaking.  I put 2 pounds of dried beans in my slow cooker and filled it up with water (an inch or so under the lid.)  Set it on LOW for 7 hours and they will be perfect.  So exciting!

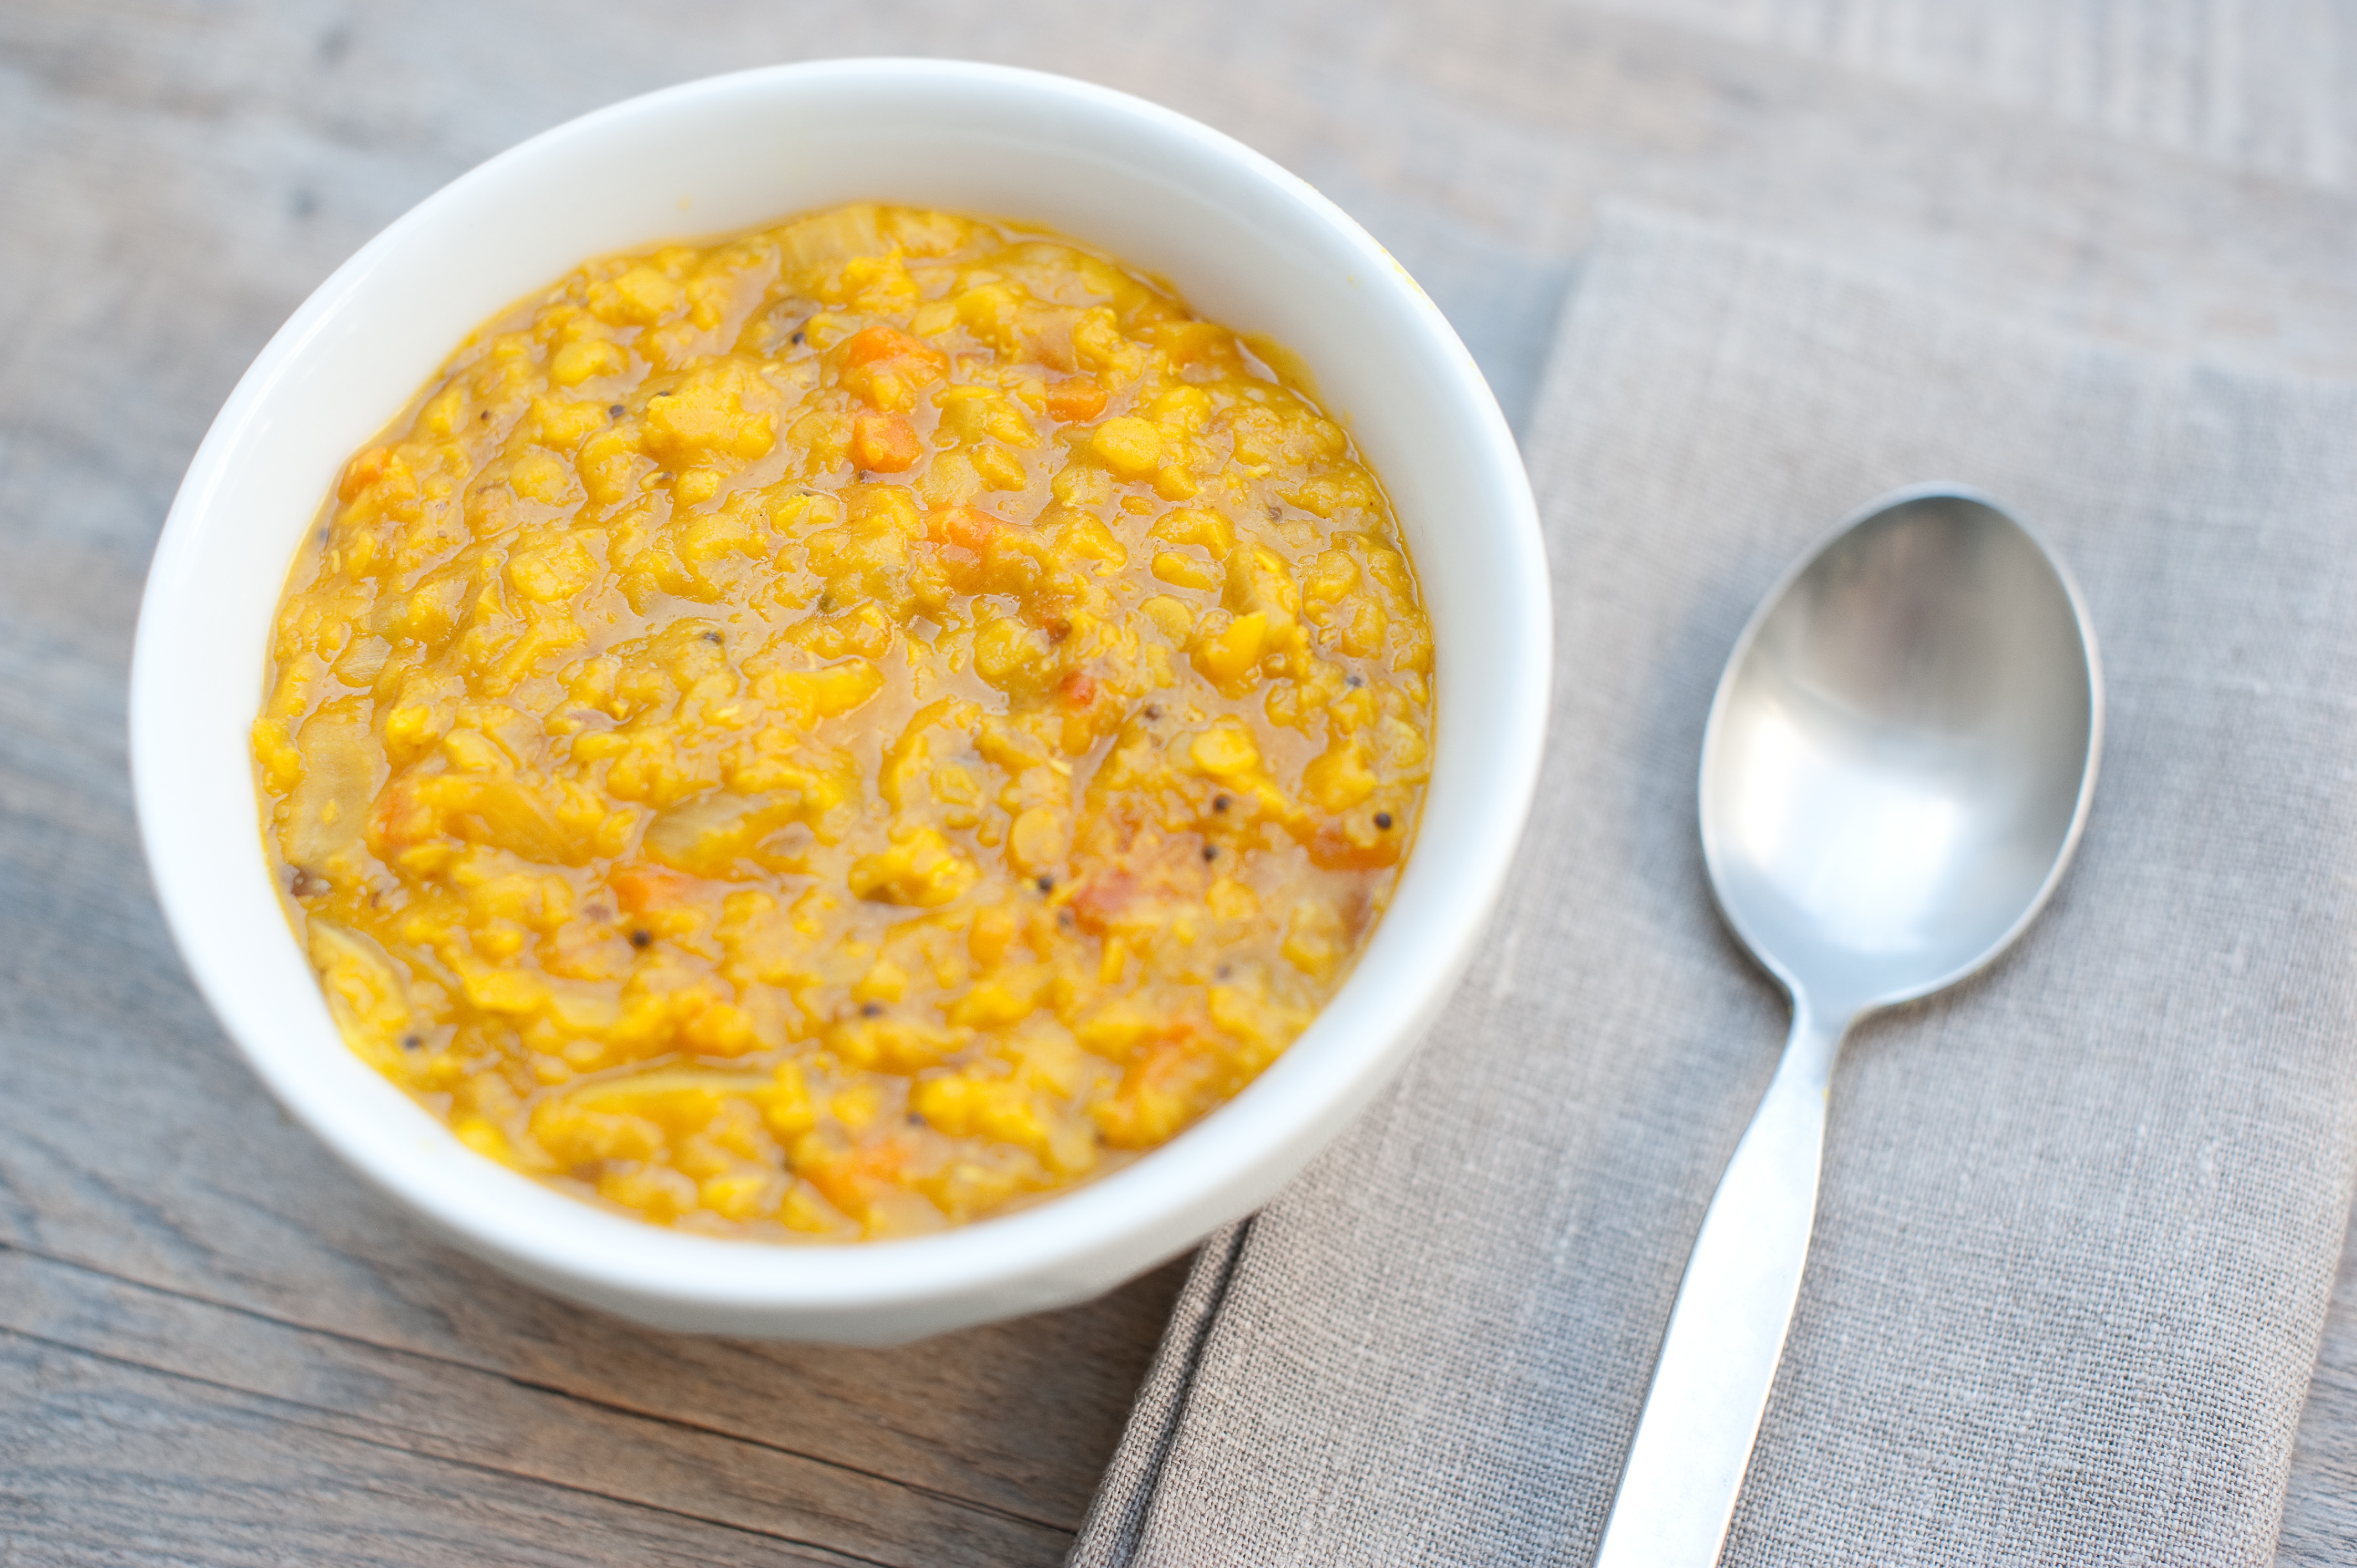
Red lentil dal recipe

I think Indian food is very misunderstood in this country.  Many people have the impression it’s overly spicy, heavy and greasy.  Perhaps it’s because there aren’t a plethora of great Indian restaurants here and very often the not-so-great ones do serve oily, creamy dishes.  Who knows, but that’s not what Indian food is all about.  I started experimenting with Indian-inspired recipes about a year ago and fell in love.

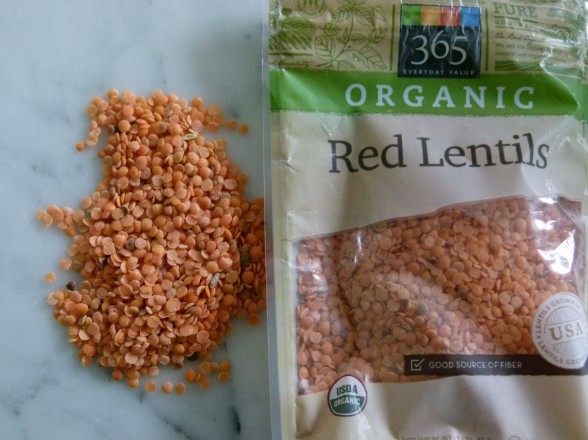
I am especially crazy about the many versions of Dal, which simply means “lentils.”  (By now you’ve figured out the name of this recipe is somewhat redundant, “Red Lentil Lentil.”)  The lentils used in Dal are not the brown or French lentils commonly eaten here, but a split lentil which almost looks like a lentil flake.  What is so fantastic about these lentils is that they cook up quickety-quick so they are perfect for a last minute meal.

What’s lucky for me is that Mr. Picky loves lentils.  Yeah, yeah, how can I call him picky if he eats lentils?  Because he won’t eat a hundred other things that most kids do eat!  Regardless, his palate has been developing slowly and I was thrilled when he tried brown lentils for the first time.  From that moment on, all lentils were fair game.  Sure enough, after I told him this dal was “lentils,” he shrugged his shoulders and said “OK, I’ll have some.”  Happy dance!

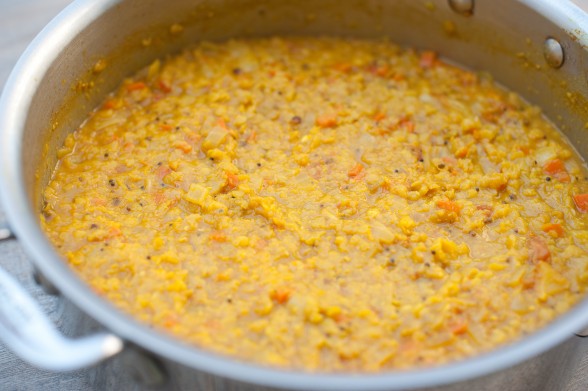
Dal is very nutritious (loaded with fiber, protein and iron) and easy to digest.  Since the lentils are split, they don’t hold their shape the way common lentils do.  In fact, they become kind of mushy which I find to be so comforting.  Mmmmmmm!  But like I mentioned, split lentils can be made so many different ways — from thin and watery to stick-a-fork-in-it-thick.  The lentils themselves have a very subtle flavor and benefit from some flavorful (and very anti-inflammatory) spices.  That doesn’t mean dal has to be hot spicy.  This version here is soupy, but not brothy, flavorful, but not overpowering — for me, it’s just right.  But the beauty of dal is that you can make this to suit your taste. Since the kids started school, I have been working quite a bit more and lately I have been feeling a little out of balance.  You know when you just need a comfy blanket and a little R&R?  Dal to the rescue!  

Red Lentil Dal

Pamela
5 from 1 vote
Servings 6

Ingredients
  

  • 1 ½ Tablespoons ghee
  • 1 ½ teaspoons mustard seeds
  • 2 large garlic cloves minced
  • 1 ½ Tablespoons fresh grated ginger
  • 2 teaspoons ground turmeric
  • 1 ½ teaspoons ground coriander
  • ¾ teaspoon ground cumin
  • ¼ teaspoon onion powder
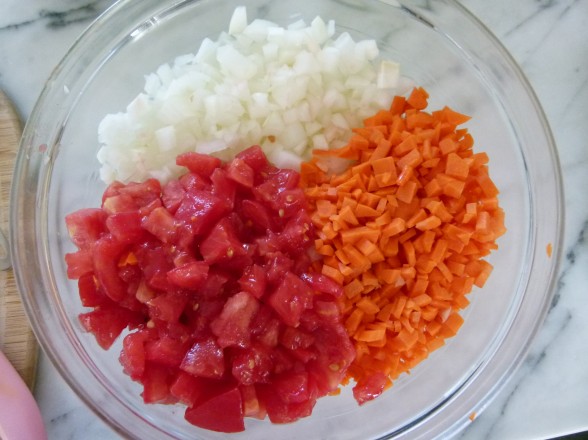
  • 1 small onion diced
  • 1 carrot diced
  • 1 large tomato peeled, seeded and diced
  • 2-3 teaspoons sea salt based on saltiness of stock
  • 1 ½ cups red lentils or any other split lentils
  • 4 cups water or vegetable stock
  • Accompaniments: whole plain yogurt, cucumber raita and/or naan

Instructions
 

  • Melt ghee in a soup pot over medium heat.
  • Add the mustard seeds and cook until they start to pop, about 1 minute.
  • Add the garlic, ginger and remaining spices. Sauté for 1 minute, or until fragrant.
  • Stir in the onion, carrot and tomato. Sprinkle with salt and cook until just tender.
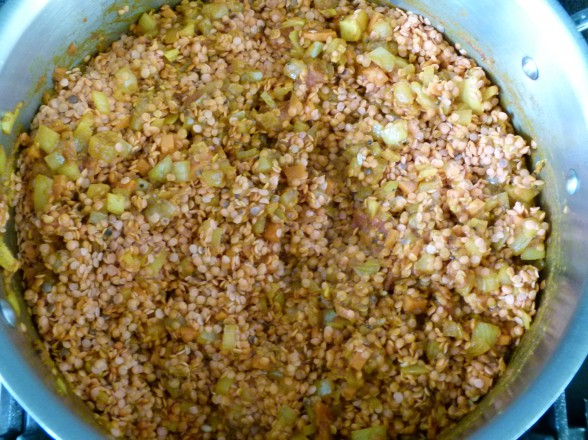
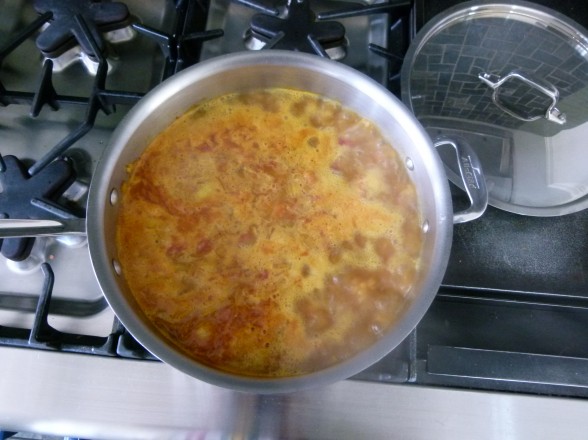
  • Add lentils and stir to coat with the vegetables and spices. Pour in the water or stock and bring to a boil. Lower heat to a simmer and cook until lentils are broken up, about 20 minutes. Taste for seasonings. Serve on its own or with a dollop of yogurt or raita.
Tried this recipe?Let us know how it was!

Baked chipotle sweet potato fries recipe

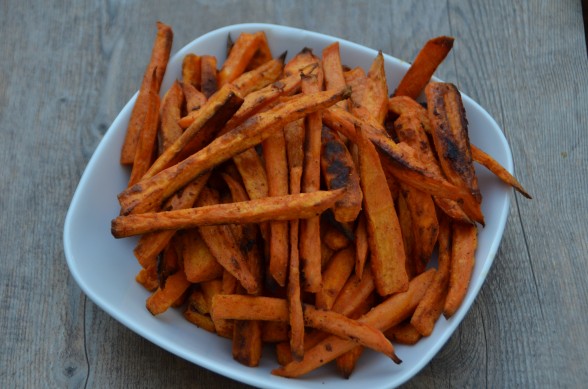
Sweet potato fries have been quite popular in the last few years, usually being touted as a more healthful alternative to regular fries.  I can see why that is believable.  After all, sweet potatoes are much more nutrient-dense than white potatoes, especially if the white potatoes are peeled and have the majority of their vitamins removed.  But once you fry anything, even if it’s organically grown kale from your composted garden, it is no longer a healthful food.  This is especially true about food fried in restaurants, which use the cheapest oils, heated over and over and over again until they’re just big vats of free radicals and trans fats.  Yuck.   Dr. Mercola makes the bold statement that eating one French fry is the equivalent of smoking one cigarette.  I’ll be the first to say that Mercola can be a bit of an alarmist, but I do agree that commercially fried foods are among the worst things you can consume, even the beloved sweet potato.

My daughters and I are pretty obsessed with sweet potatoes, and not just because they are incredibly rich in beta-carotene (which your body converts to Vitamin A), as well as Vitamin C, manganese and fiber.  We just think they are super delish!   We are perfectly happy with a simply roasted sweet potato eaten out of hand like a cookie, instead of a cookie!  I’ve even eaten them the next day for breakfast with some yogurt and cinnamon.  But I just can’t bring myself to eat restaurant sweet potato fries.  Sad face.  An even bigger bummer is that I have attempted to duplicate sweet potato fries at home and I could never create the crispy crunchy texture of a real fry without actually deep frying them.  I have tried soaking them in ice water, salting them, parboiling, dipping them in an egg white wash (eeek!) all to no avail.  I hear tossing them in a little cornstarch works well, but I prefer to keep them a little more natural.  I have concluded that a home cook cannot achieve the same results in the oven.  However, you can still make very delicious, dare I say addictive, baked sweet potato “fries” that may even be classified as “healthful.”

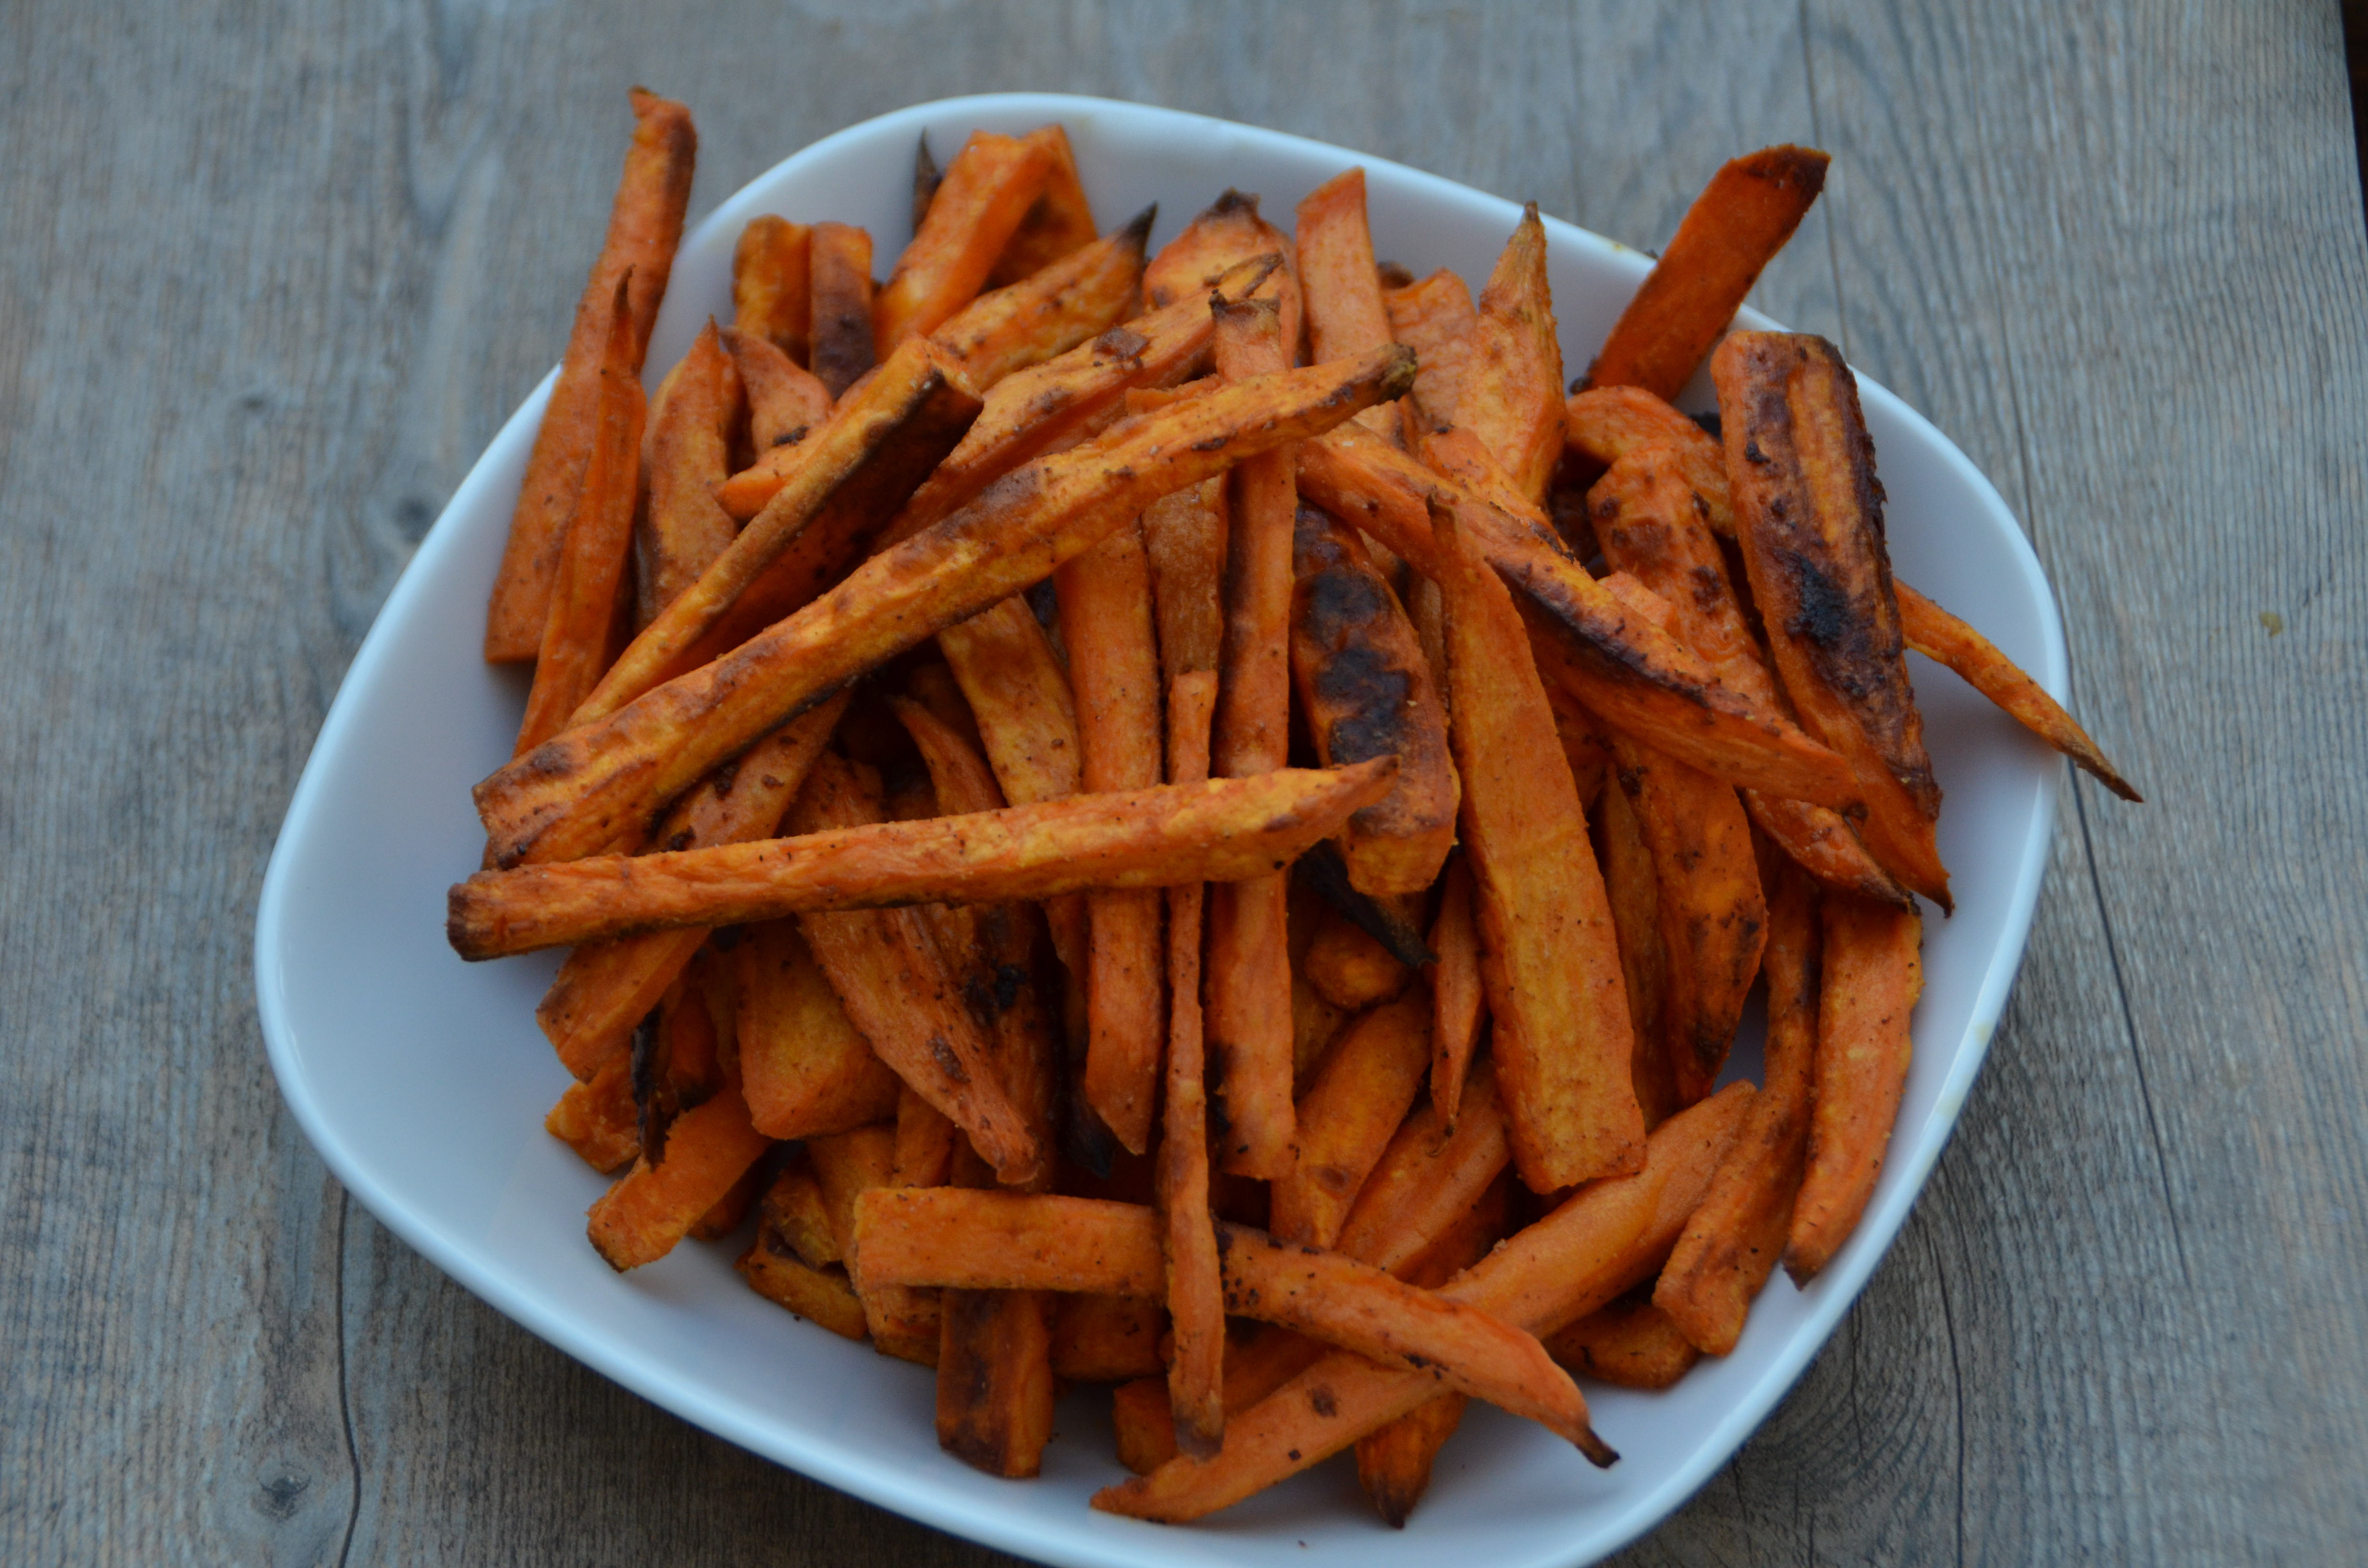
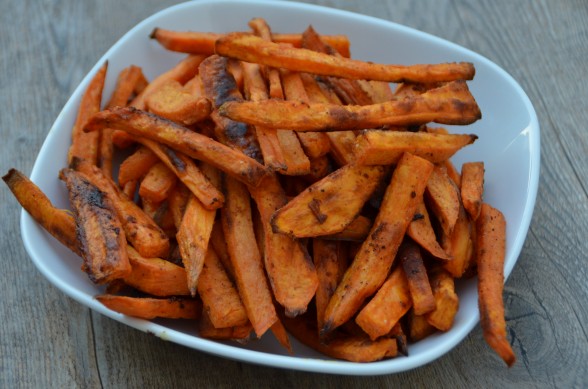
This recipe here has some spices added for extra flavor, in fact I encourage you to lick your fingers after tossing the spices and coconut oil with the sweet potatoes and tell me it doesn’t taste like barbequed Lays potato chips!  After dozens of attempts of making baked sweet potato fries, I offer you a few tips:

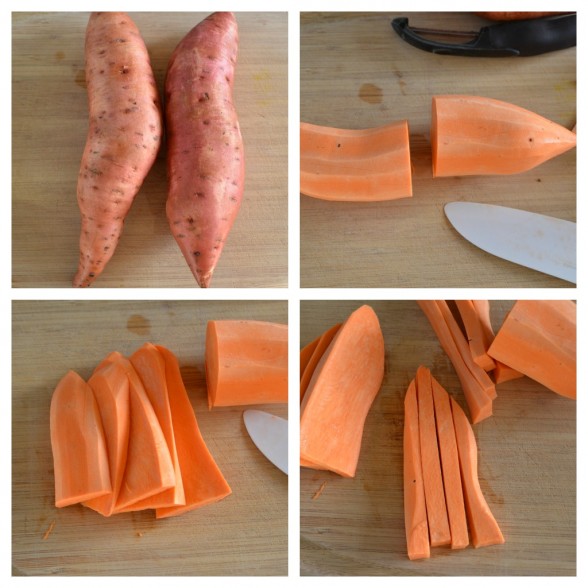
  • cut the sweet potatoes into thin sticks, about 1/4 inch;
  • bake them in one layer and not on top of each other;
  • don’t allow all the sweet potato sticks to touch each other otherwise they’ll steam each other;
  • if you’re two pans don’t fit in the oven side by side, rotate them halfway during baking.

Even following these tips won’t result in fries like your local fast food restaurant, but they also won’t be soggy or limp.  Do any of you have some great tips for making baked sweet potato fries?

Baked Chipotle Sweet Potato Fries

Pamela, inspired by several sources, including Joy the Baker and Skinny Taste
Servings 4 -6 (or just me if I'm lacking self-control)

Ingredients
  

  • 1 ½ pounds sweet potatoes sometimes labeled as "yams", Garnet or Jewel, scrubbed (peeled if desired)
  • 4 Tablespoons unrefined coconut oil melted
  • ½ teaspoon ground chipotle chili pepper or less to make it less spicy*
  • ½ teaspoon garlic powder
  • ½ teaspoon natural cane sugar
  • ½ teaspoon sea salt + extra to sprinkle
  • ¼ teaspoon paprika

Instructions
 

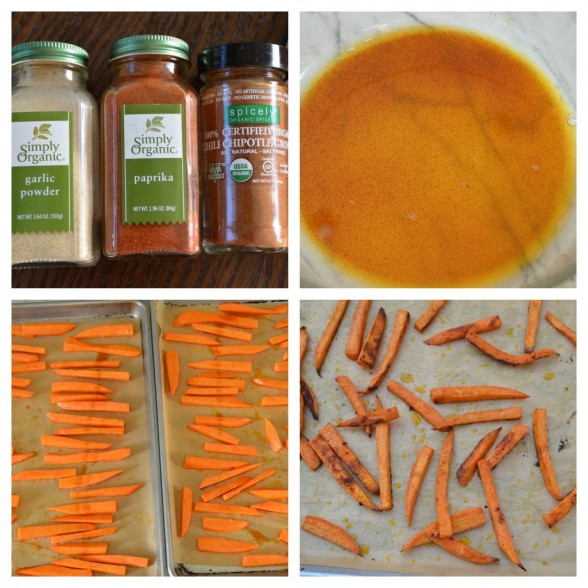
  • Preheat oven to 450 degrees (or 425 degrees if your oven runs hot.) If you can’t fit two sheet pans side-by-side in the oven, place one rack in the lower third of the oven and another rack in the upper third of the oven. Line two rimmed baking sheets with parchment paper.
  • Cut sweet potatoes like French fries, about about ¼-inch by ¼-inch by 3 inches long.
  • In a large bowl, combine oil and seasonings. Add sweet potato sticks and toss to coat well. Arrange sweet potatoes on prepared baking sheets in a single layer, evenly spaced. Sprinkle with another pinch of sea salt.
  • Bake 15 minutes and flip potatoes over. Continue to bake until lightly browned at the edges and slightly crisp, but still tender, about 10-15 minutes. If you’d like them to be a little more crisp, put the pan under the broiler for 30-60 seconds. Allow to cool slightly before serving.

Notes

*These are probably a 5 or 6 out of 10 on the heat scale. Cut the chipotle in half to make it less spicy or substitute smoked paprika to cut out all spiciness.
Tried this recipe?Let us know how it was!


How to Eat Your Way Through France Without Gaining an Ounce

Something bizarre happened during my recent trip to France.  After indulging in what seemed like copious amounts of incredible food for a week and feeling like I would likely need to watch my diet upon coming home, I cautiously stepped on the scale and saw that I hadn’t gained an ounce.  How was that possible?  I felt as though I had eaten more than usual and I even gave in to foods I don’t normally eat at all like bread, wine and chocolate.  Well, I wasn’t the only one.  The day after I returned home, the emails from other students were flying –  “I didn’t gain any weight!  I can’t believe it!”

Well I’ve been thinking about my experience which relates to the so-called “French Paradox,”  the idea that the French people are able to enjoy food high in saturated fat yet don’t suffer from coronary heart disease.  Of course, my experience and observations are rather personal and unscientific and I haven’t taken any blood tests, but I have come to some conclusions about the French and the benefits of their way of eating, at least where I visited in the countryside.  Here’s what I observed about their approach to food:

  • Eating is a leisurely act.    The French take their time when they eat.  No one is in a rush to finish or to serve you if you are in a restaurant.  Lingering over over a meal, especially lunch, is very relaxing and pleasurable.  I noticed I was able to enjoy my food more and really pay attention and savor what I was eating.  I can’t tell you how much more satisfied I felt eating this way.  This is a lot different from how many of us eat, on the run, inhaling who-knows-what, only to be hungry an hour later.
  • Lunchtime is sacred.  Although I understand the French are starting to work more hours in a day, they’re aren’t messing with the 2-hour lunch.  Everyone except restaurants takes lunch from 12:00 to 2:00.  If you are headed to France, with the exception of large cities like Paris, do not expect to shop or run errands during this time.  Imagine my surprise when I was asked to leave the Toulouse-Lautrec Museum at 11:50 am.  They were closing for lunch, of course.  I’m thinking if you wanted to commit a crime in France, you’d have a great chance of not getting caught since I saw many a police officer packing it up at 11:55 am.  The point is that taking a nice long break from our hectic day is a very healthful way to restore our energy and enjoy your meal.
  • Lunch is the biggest meal of the day.  This relates to the observation above.  I found it so interesting that when I ate a very large lunch over 2-3 hours, I wasn’t hungry at all the rest of the day.  When dinnertime rolled around, I really only needed a small salad or cup of soup, if that.  Coincidentally, Ayurveda, the Indian science of life, teaches us to consume 75% of our calories before 2:00 pm.  Our digestive fire is at its peak when the sun is at its highest point in the sky, between 12:00 and 2:00.  I see many busy moms skipping lunch or eating a small salad because they have no time to sit and relax, but then the snacking starts as their energy begins to dip around 2:00 pm.  Then they’re eating cookies with the kids after school, needing a latte at 4:00 to keep their energy up, and then snacking while making dinner.  I definitely consumed fewer calories and slept better on the days I ate a larger than normal lunch.  The only tradition I won’t be able to continue at home is wine with lunch!
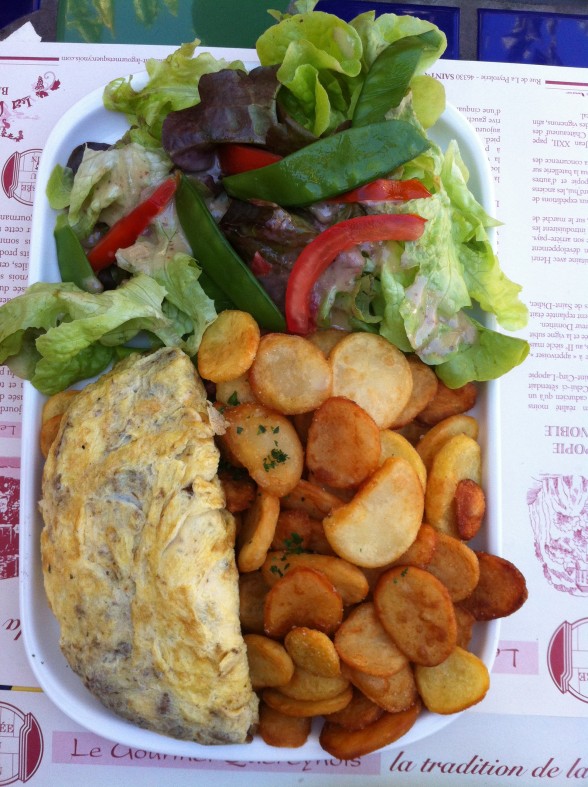
  • Whole, full-fat foods are more satisfying.  There’s no low-fat or non-fat goat cheese in France.  That’s not to say that if you go into a supermarket you won’t find (American) processed foods that are low-calorie, low-fat, sugar-free, etc.  But in general, the French go for the real deal and enjoy it.  Omelettes are made with whole eggs, not just the whites.  Cheese and dairy products are whole and unrefined, as well.  High quality fats fill you up and, in my opinion, taste better and are more satisfying.  You will surely be less likely to graze later.
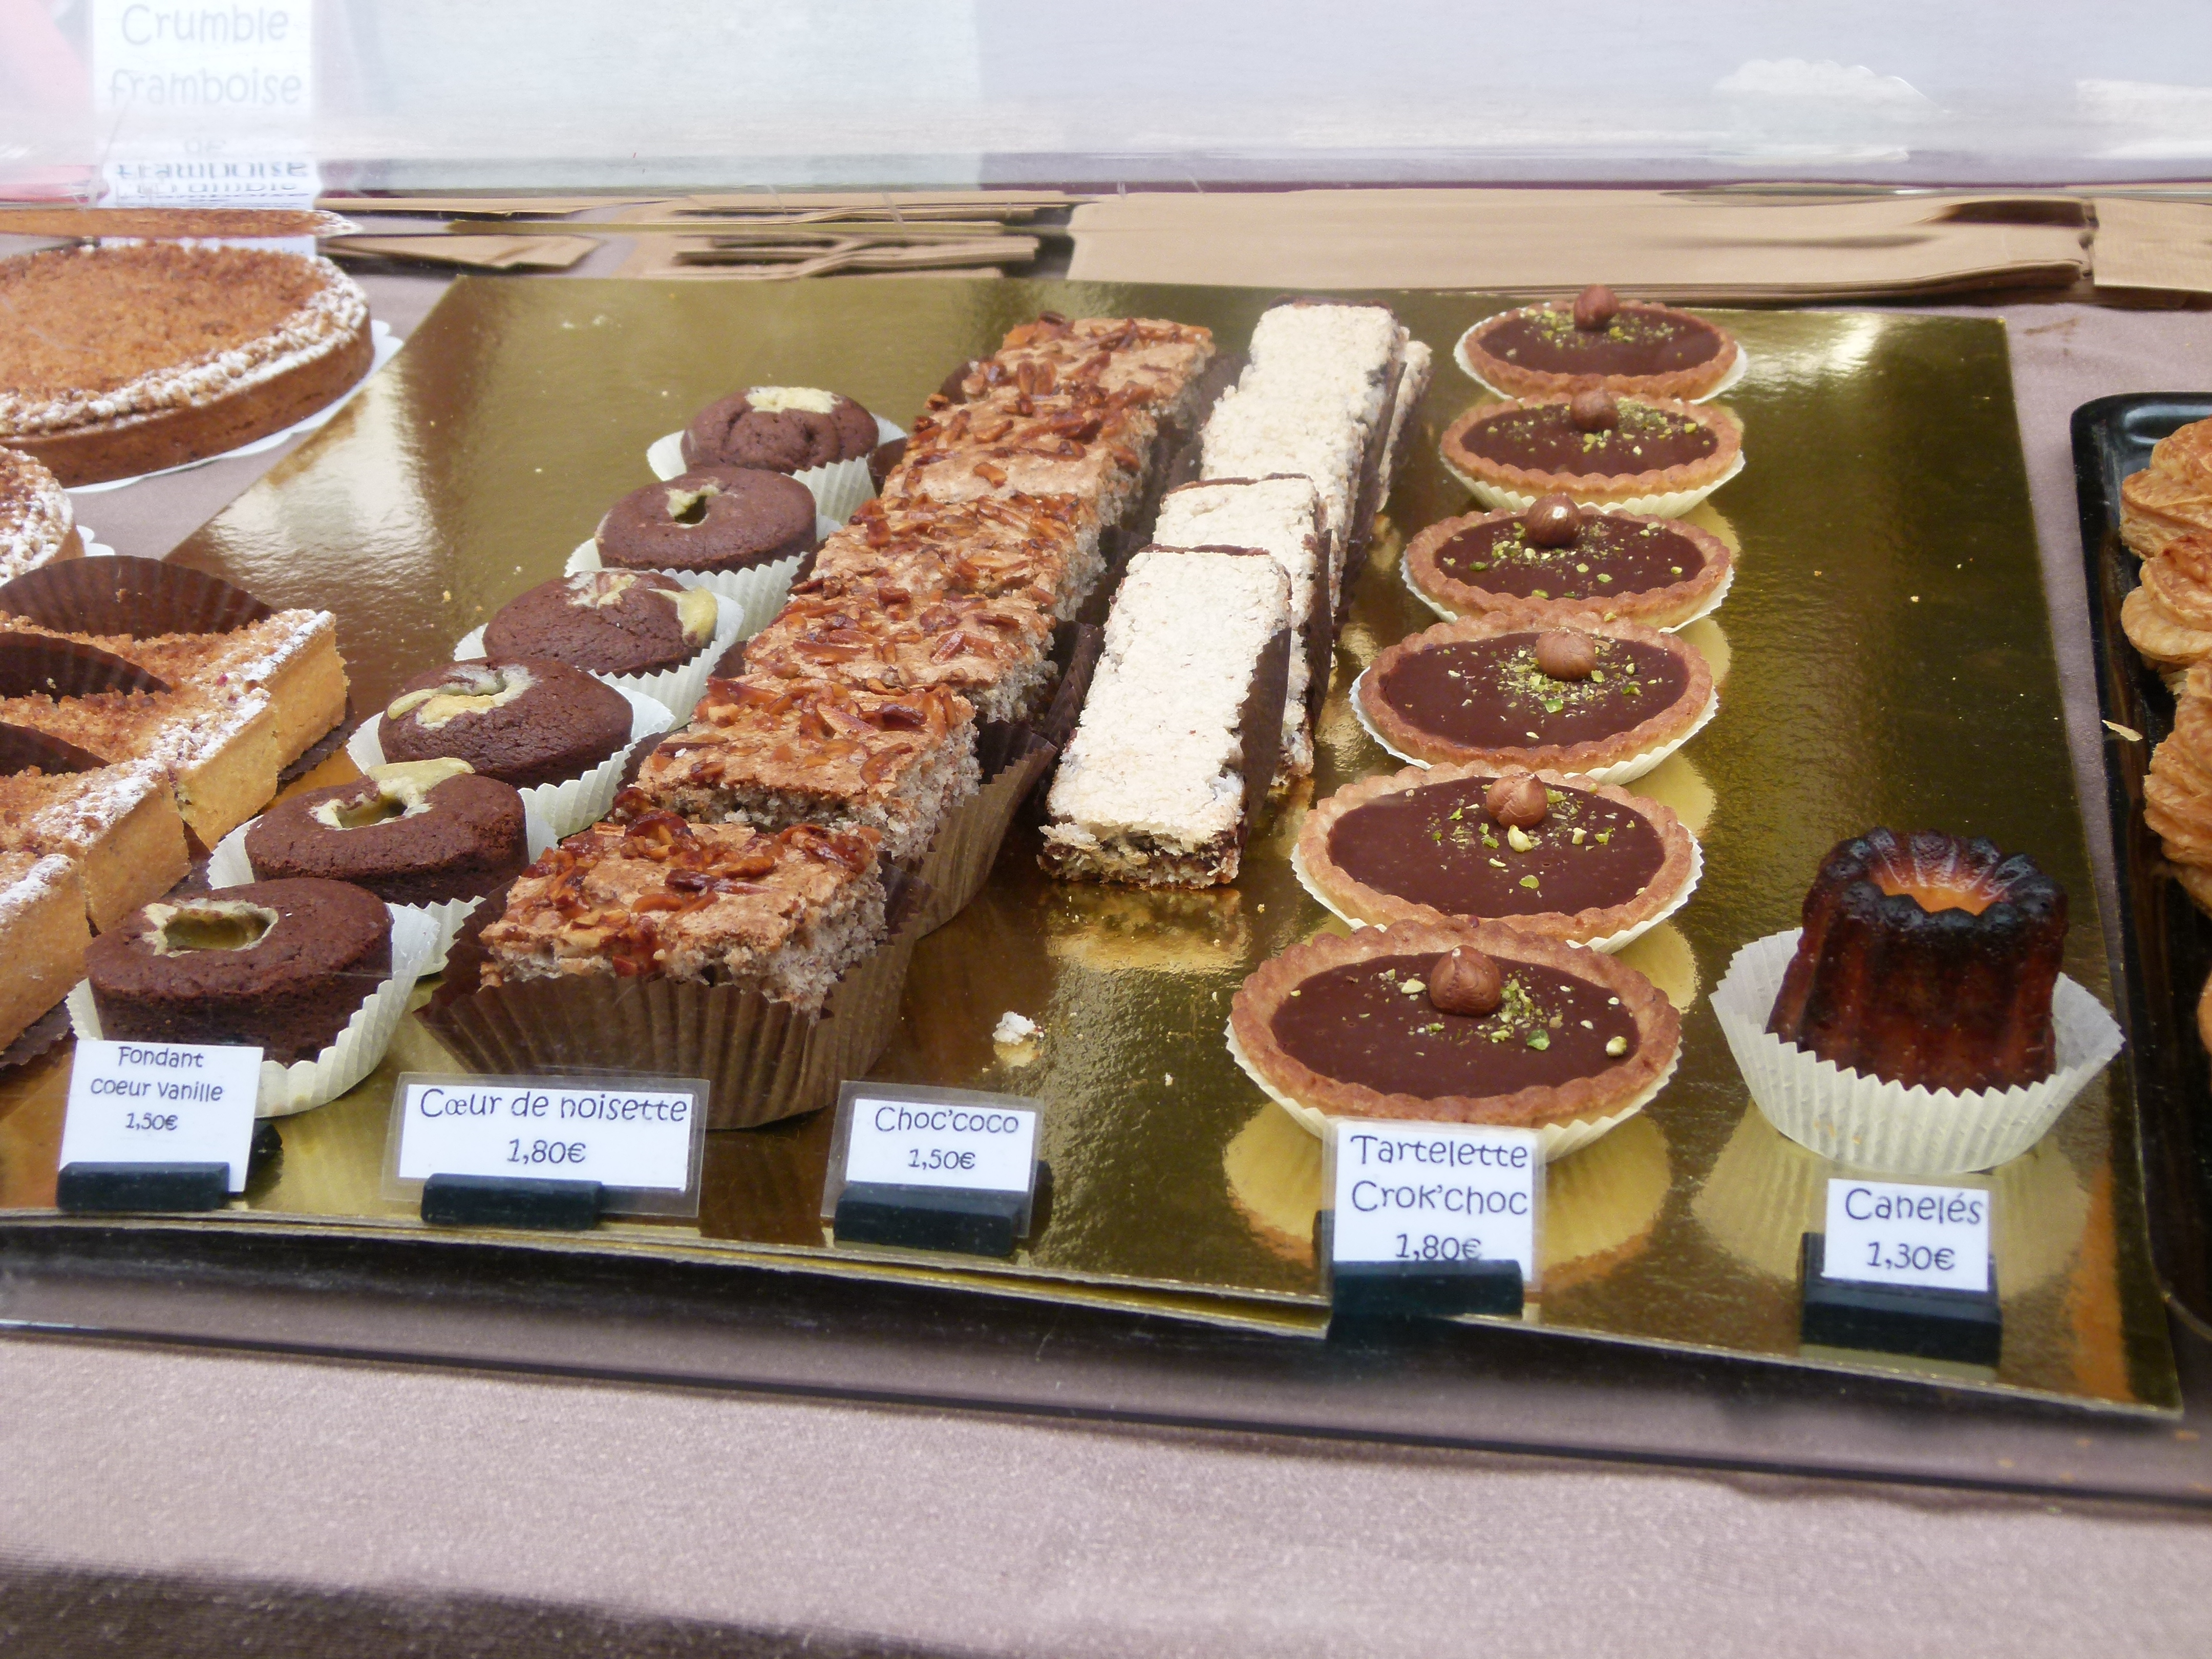
  • Just because the French are surrounded by seriously amazing food on a daily basis doesn’t mean they eat all of it….in one sitting.  Yes, there are crazy delicious croissants on every corner, as well as chocolate, pastries, and rich desserts.  I noticed that French people will indulge, but in much smaller portions than we do and not necessarily every day.  I was thinking one day about desserts in particular and the gigantic portions we get at restaurants in the states.   Some of these offerings can total more than 1,000 calories.  That’s completely insane.  When we did indulge in dessert in France, it was a very small, but satisfying portion.
  • No eating in between meals.  The French do not snack.  This goes against what many of us have been taught about eating many small meals a day to prevent ravenous hunger and stabilize blood sugar levels.  Everyone is different and small mini-meals may work for some people, but I know it doesn’t work well for me.  I tend to consume much more food in a day if I am constantly even just a little hungry.  200 calories here, 200 hundred calories there start to add up.  You won’t need snacks if you eat enough satisfying food at breakfast and lunch.
  • Fresh is best.  You already know this, but higher quality, fresh, unprocessed food is better for you.  Period.  It is more digestible and more recognizable by our bodies.  Fresh food contains more nutrients which signal to our bodies that we have been nourished.  No need for the body to send us signals that it needs more.  Think about how obsessed Americans are with dieting and losing weight, how afraid we are of fat and carbs.  While we consume more artificial, sugar-free, fat-free, processed and refined food, we just keep getting fatter and sicker.
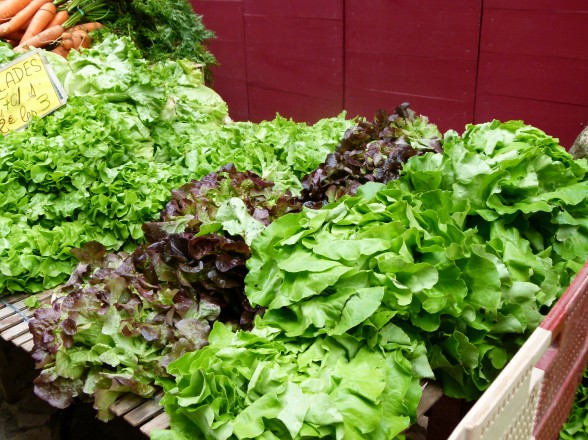
I am really interested to hear if you have had similar or dissimilar experiences traveling to other countries and adopting their way of eating.  Or perhaps you have noticed some strategies that have helped you maintain a healthy weight.  Please share!

Provençal Goat Cheese Gratin Recipe

If you don’t follow me on Facebook or Twitter, you might have been wondering this week if I fell off the face of the internet.  Believe it or not, I went back to Europe!  Except this time, I traveled solo and it was all work.  Last Friday I left the land of sandy beaches for the gorgeous countryside of Southwest France where I met eight fabulous ladies, several of whom are my cooking class students, for a one-week culinary retreat.

I was invited to Saint Antonin Noble Val by a lovely American couple who visited the region several years ago and decided to stay for good.  During the summer, Alisa and Bruce run Raison d’Art, an art camp for teenagers.  But in the off-season, they host specialty retreats for adults at a restored 200 year-old farmhouse.  When they asked me last winter if I would consider leading a culinary week in their area, it didn’t take long for me to say “OUI!”

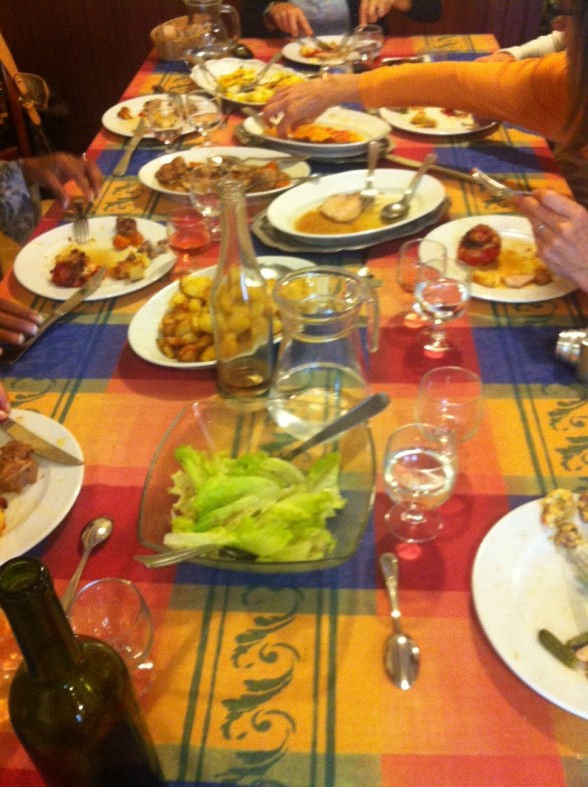
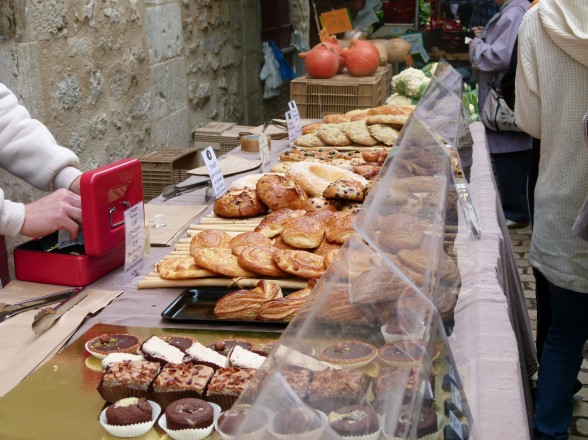
I did miss you all very much and had every intention of blogging, but my students were keeping me very busy this week and away from the computer.  We started out our days with invigorating hikes in the countryside followed by breakfast at the house.  But we weren’t here to relax.  Several mornings involved scouring the local open markets for ingredients to be used in our evening classes.  Alisa and Bruce also took us around to visit many neighboring villages and local artisans, including a family-run vineyard and a goat farm, where we bought the most insanely delicious goat cheese.  And everyday we adopted the French way by lingering for several hours over lunch, not that we had much of a choice – lunch is a serious time of day where ALL the shops and businesses except restaurants close from 12-2 (or longer) and no one is in a rush.

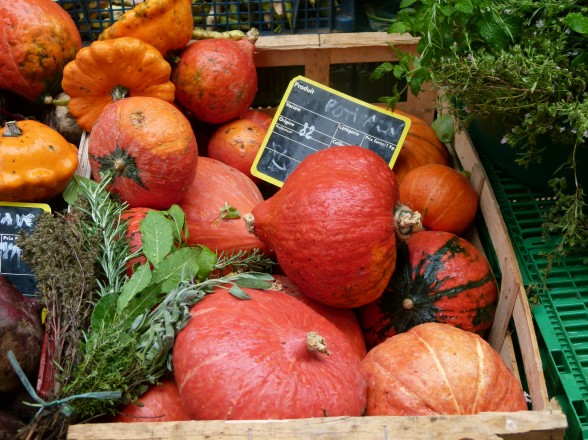
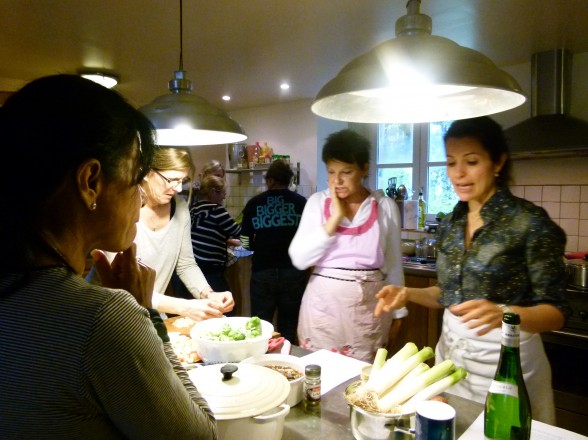
When we returned to the house at the end of each day, we all came together in the kitchen for our hands-on cooking classes.  Normally my classes back home are demonstration, but this was such fun for me to cook side by side with all the students.  I even tried a few things for the first time, such as potimaron, a delicious winter squash that I have yet to see in the states, as well as a few goat and sheep cheeses that that were so crazy good.  A lot of love went into our cooking and we enjoyed eating a delicious dinner together every night.  All the teaching wasn’t done by me, however.   After dinner, the ladies taught me how to play Canasta, an addictive card game I have yet to win.  Next time!

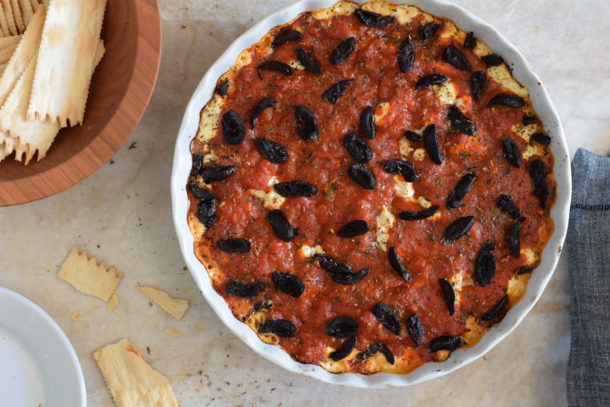
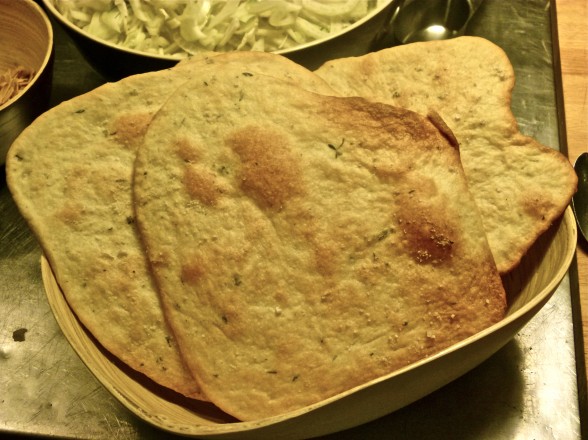
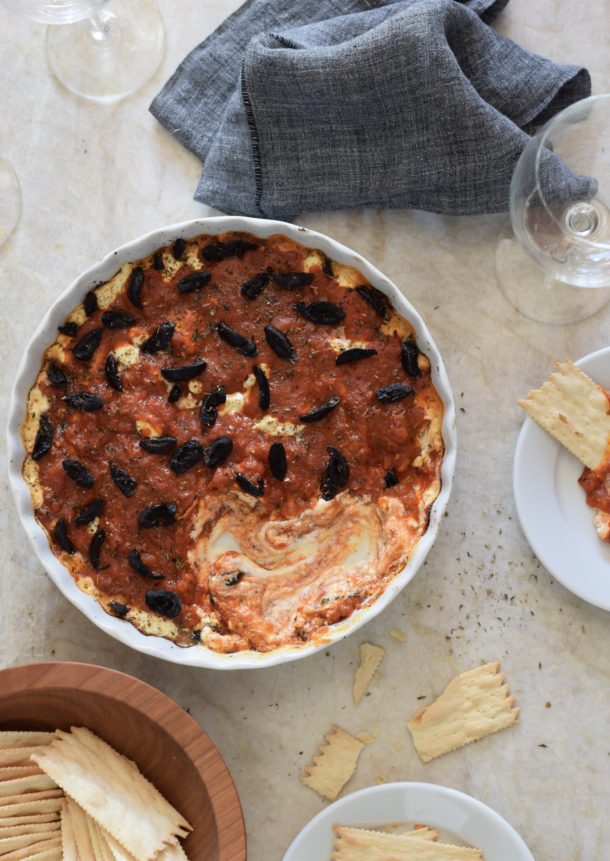
I wish I had been able to take more pictures while we were cooking and share some recipes along the way, but I was caught up in the energy of the kitchen and the lighting in 200 hundred year-old farmhouses isn’t all that fantastic either.  One recipe that I was able to photograph a bit of was this Provencal Goat Cheese Gratin that we ate with herbed flatbreads which we made ourselves.  Goat cheese is something I expected to see in France, but I had no idea how incredible it would be.  Nor did I expect that I’d choose to eat it twice day!

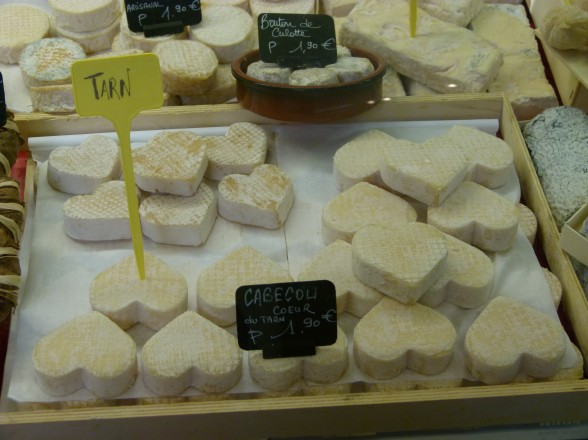
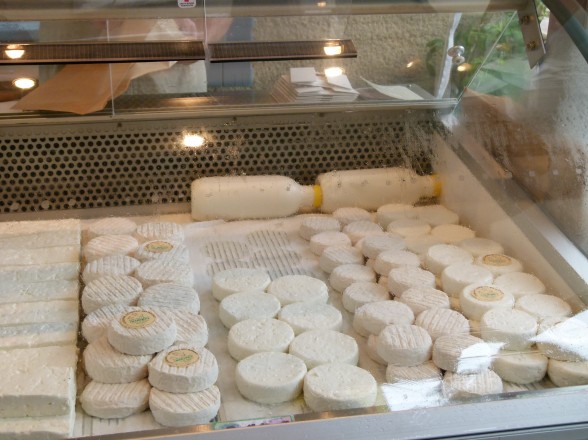
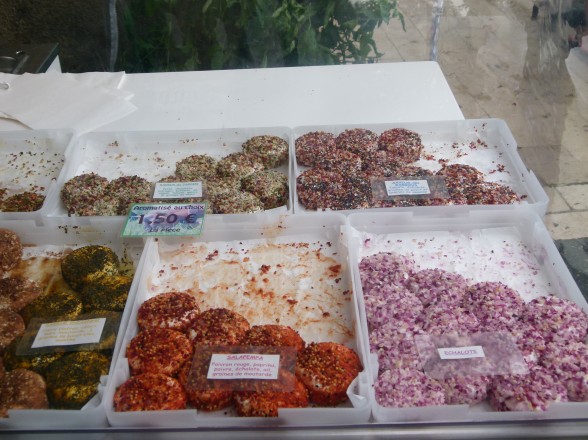
The goat cheese we bought was so fresh and made from raw goat’s milk, which is closer in composition to human milk than cow’s milk.  Raw dairy from goat, sheep or cow is also much easier for us to digest.  Several of the students commented that they can’t eat cheese in the U.S., but the goat cheese in France was no problem.  We enjoyed local goat cheese so many different ways – from super young and fresh to slightly aged.  We had it rolled in herbs or shallots, baked warm in a salad or broiled on a tartine.  By the end of the week, Bruce was making us goat cheese sampler plates to nosh on with fresh bread and local wine while we cooked.  Verrrry nice!

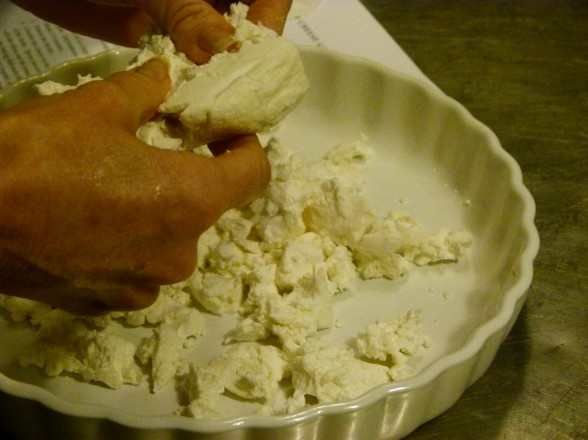
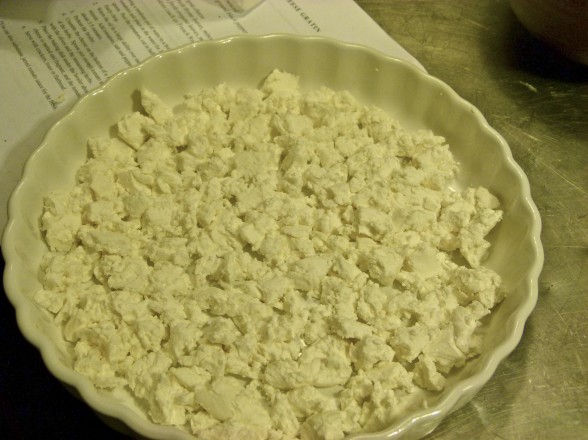
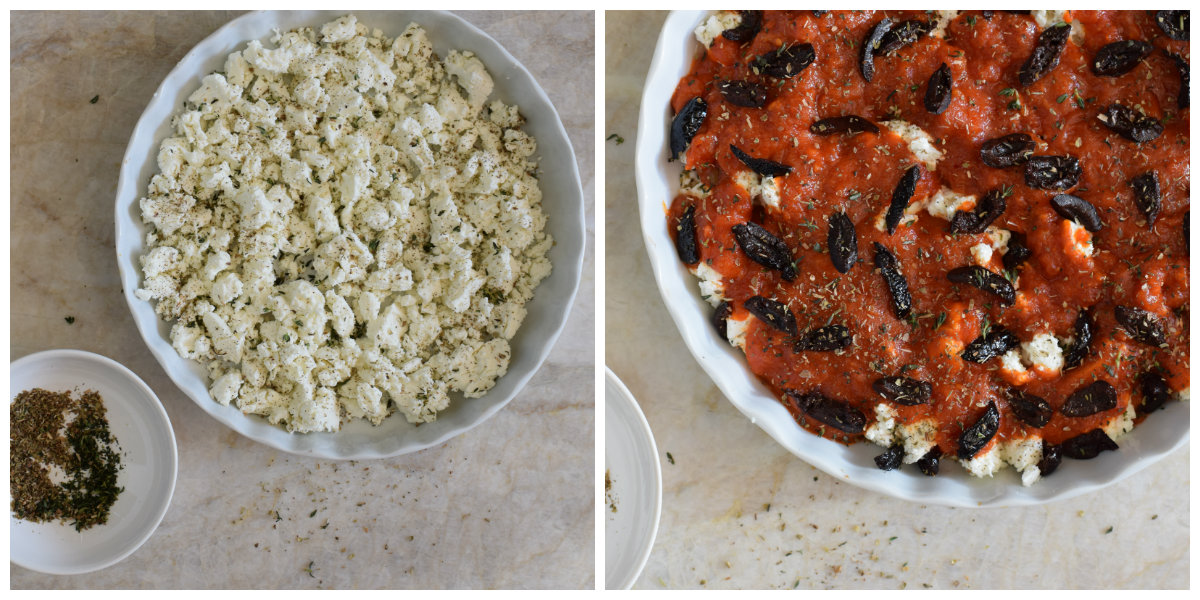
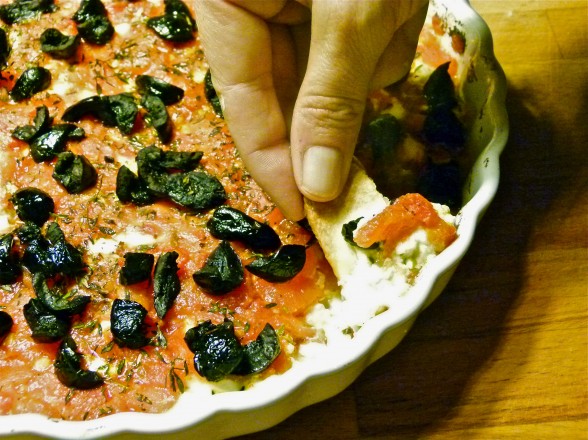
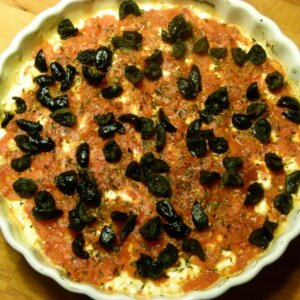
This baked gratin was a hit and it was super easy, too.  We simply made a bed of crumbled fresh goat cheese on the bottom of a fluted baking dish and topped it with a quick homemade fresh tomato sauce, fresh thyme, oregano and sliced oil-cured olives.  The gratin was broiled just until the goat cheese was warm.   It’s the perfect thing to make as an hors d’oeuvre since it’s easy, delicious and can be assembled ahead and broiled just when your guests arrive.  Although we baked our own flatbreads for scooping up the dip, I’ve also eaten this smeared on toast or fresh bread.  I imagine it would also be amazing with eggs.  Perhaps my next post will be titled, “How to Eat Your Way Through France Without Gaining Weight!”

Provençal Goat Cheese Gratin

Pamela, adapted from epicurious
Servings 6

Ingredients
  

  • Sauce:*
  • 6 medium tomatoes
  • 2 Tablespoons olive oil
  • 2 large cloves garlic minced
  • sea salt and freshly ground black pepper
  • Gratin:
  • 10 ounces soft goat cheese rindless
  • 2 teaspoons fresh thyme leaves minced
  • 2 teaspoons fresh oregano leaves minced or a pinch of dried
  • 20 black olives such as French Nyons, pitted and quartered

Instructions
 

  • Bring a medium pot of water to a boil and turn off the heat. Score the bottom of the tomatoes and place in the water for 30 seconds. Remove the tomatoes with a slotted spoon. Peel the tomatoes, cut in half around the “equator,” remove the seeds and finely chop.
  • Warm the oil in a large skillet over medium heat. Add the garlic and sauté for one minute. Add tomatoes, salt and pepper to taste and cook until slightly thickened, about 3-5 minutes.
  • Preheat the broiler.
  • Crumble the cheese on the bottom of a 10-inch round baking dish. Sprinkle with half of the herbs. Spoon just enough tomato sauce to evenly coat the cheese. Sprinkle with the olives and the remaining herbs.
  • Place the baking dish under the broiler about 3 inches from the heat. Broil until the cheese is melted and fragrant, and the tomato sauce is sizzling, 2-3 minutes.
  • Serve with crackers, toast, flatbread or fresh bread.

Notes

*You can also substitute 1 ½ - 2 cups jarred tomato sauce for the fresh.
Tried this recipe?Let us know how it was!

Trail Mix Cookies Recipe

Having teenagers is a double-edged sword.  On the one hand, it’s kind of cool that my girls are old enough to have adult conversations and share clothes with me.  On the other hand, it bums me out that they prefer to be with their friends over their parents.  I don’t take it personally, of course.  But if all goes according to plan, Daughter #1 will be going to college in two years and her younger sister two years after that which means I don’t have a lot of time left with them in the house.  This is one reason I encourage them to invite their friends to hang out at our house or spend the night as much as possible.  Not only does it make the house more lively, but I know what they’re up to and sometimes I’ll even overhear some good gossip.  Just recently did I figure out how to make my home the place to be.  It’s called FOOD.

Teenagers are always hungry.  No, I take that back.  They’re always “STAR-ving.”  They don’t even know what the word means.  My daughters complain that they’re starving if they haven’t eaten in two hours.  My point is that if you want to have the house that the kids want to hang out in, other than breaking the law and supplying alcohol (not recommended), you need to have some good eats.  I don’t think my house is considered to have the “best” food by any means.  There are no Cheetos, no soda and no microwave popcorn.  But I do always have tons of fresh fruit, leftovers from dinner, the makings of a quesadilla and lots of homemade cookie dough in the freezer, especially in the fall when the kids are back in school.

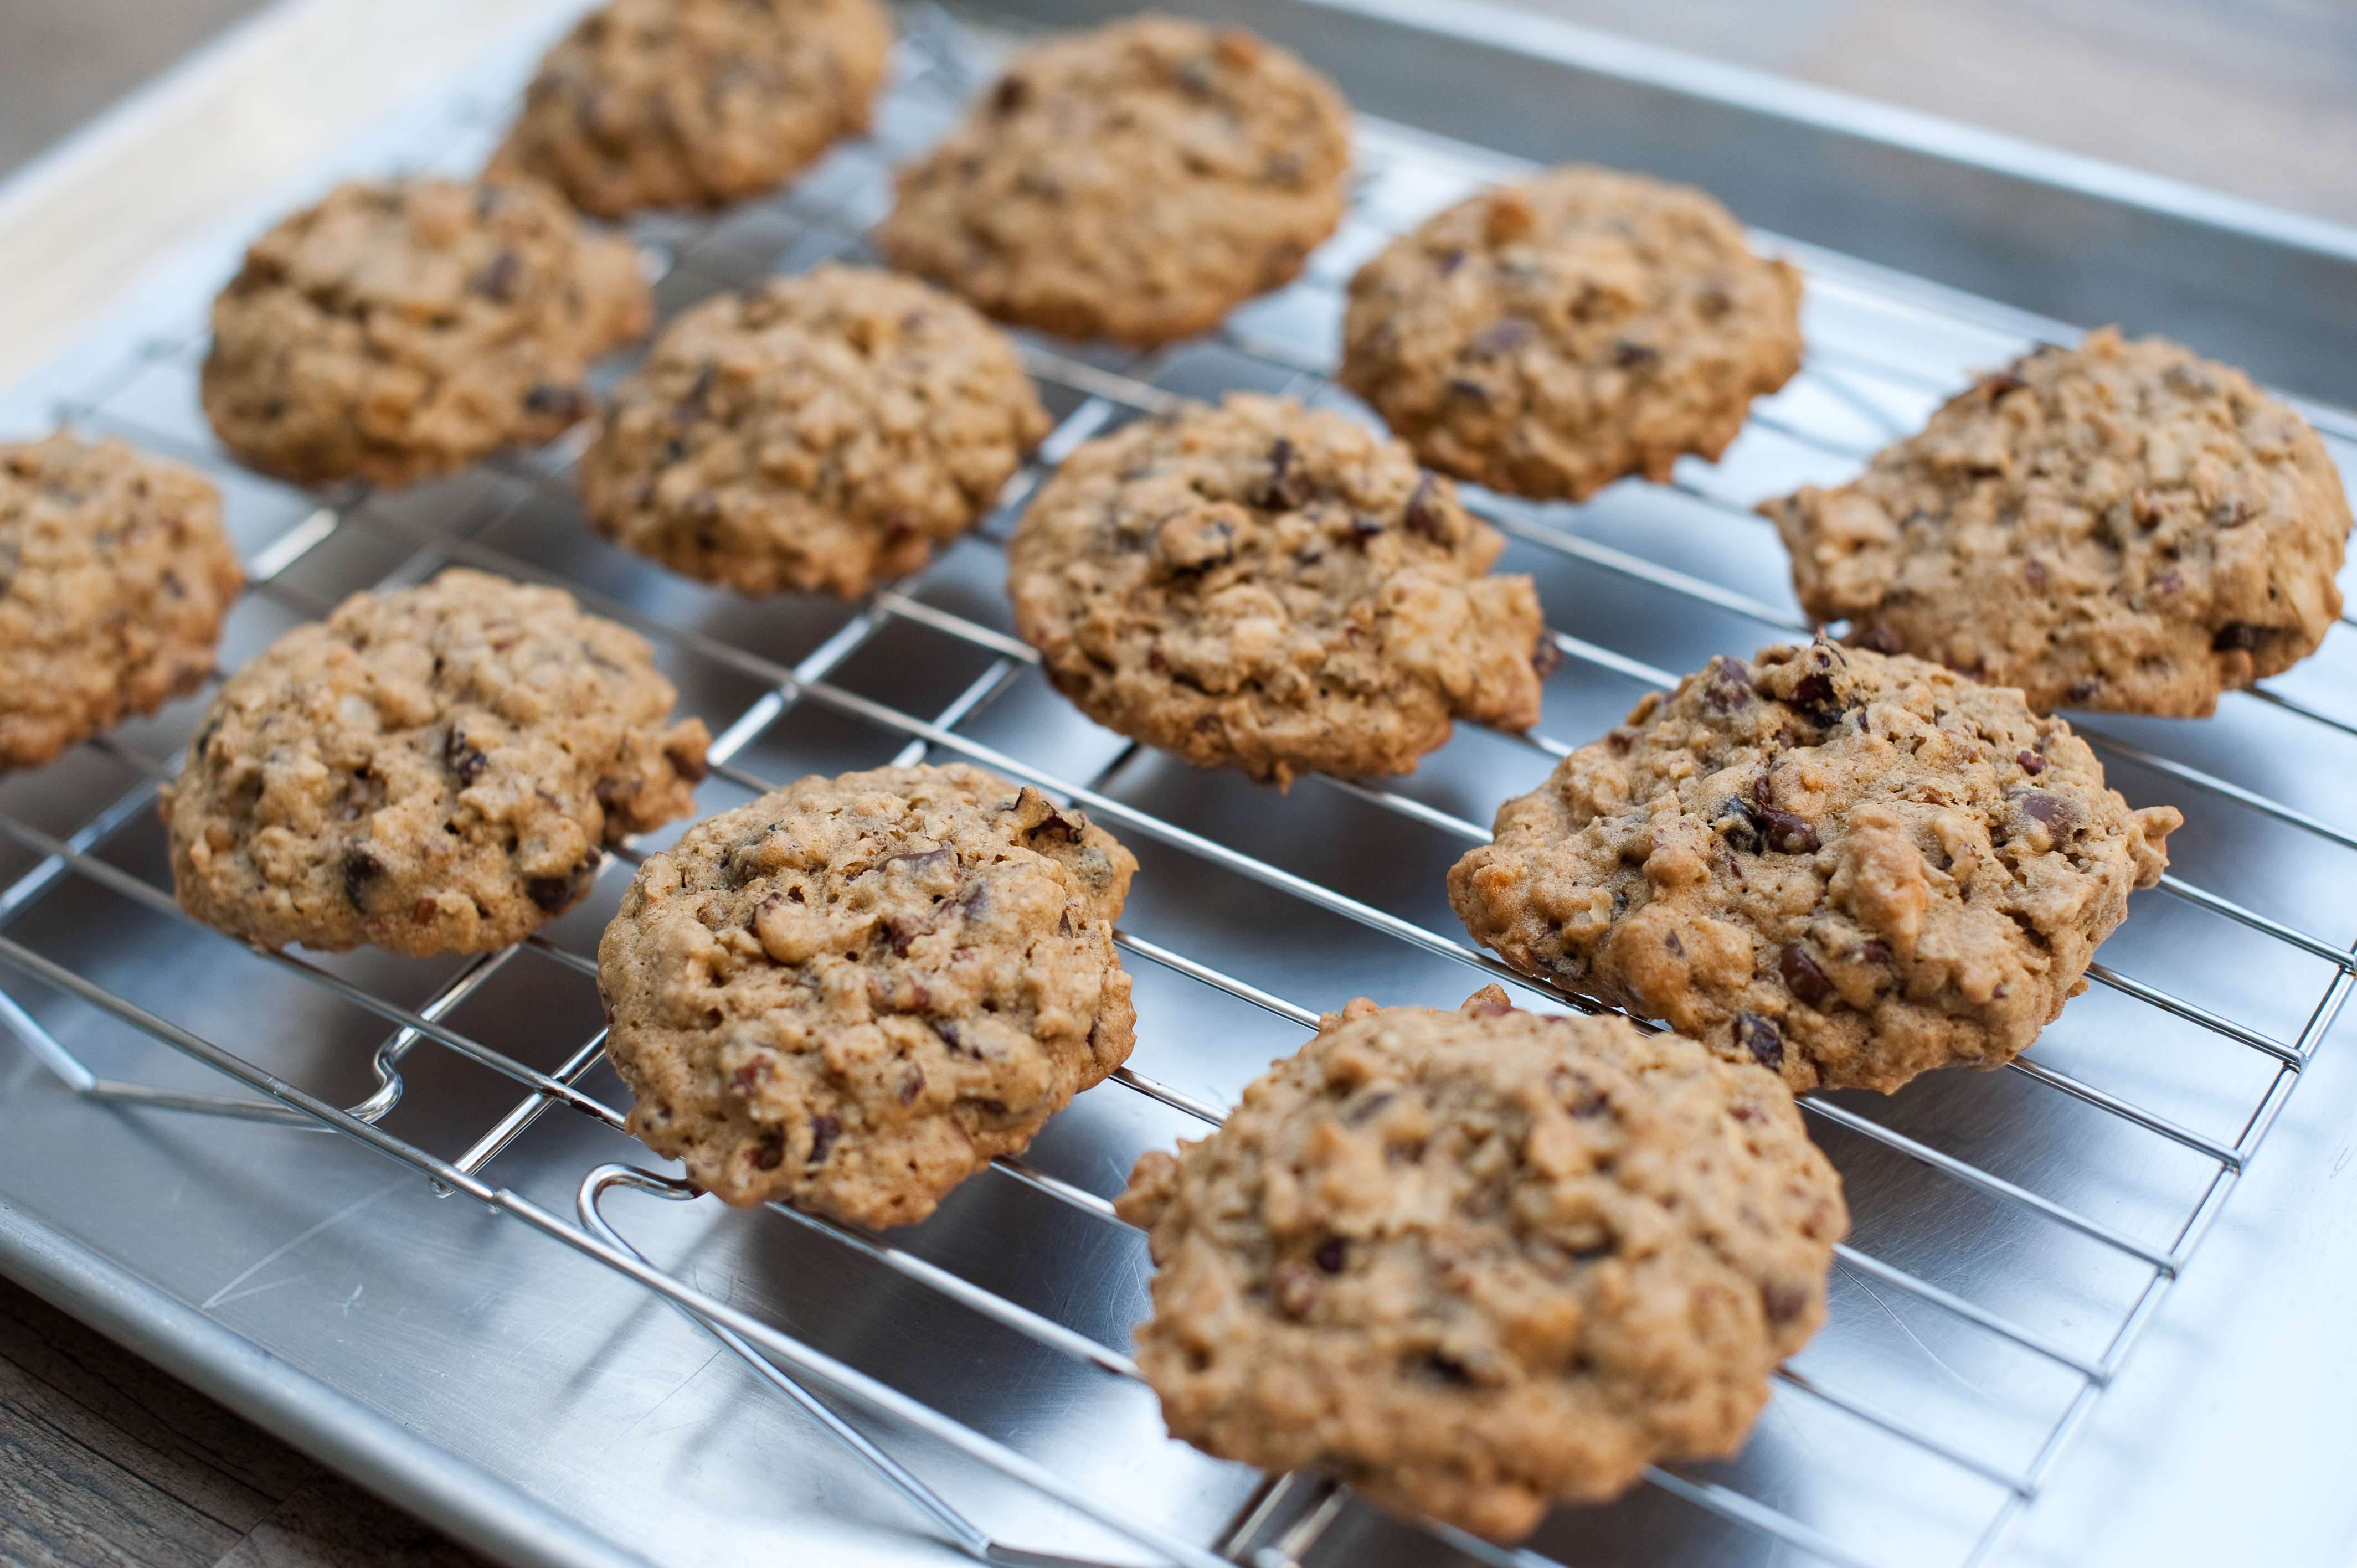
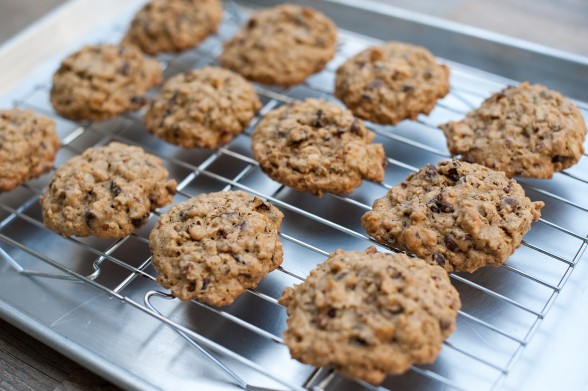
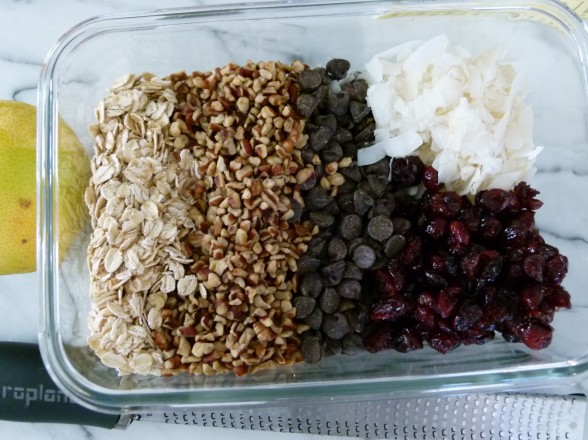
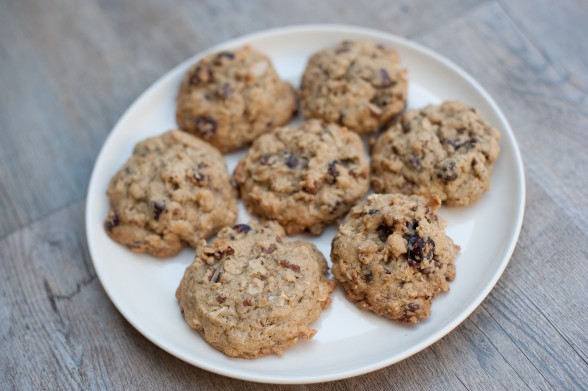
These Trail Mix cookies are a new favorite around here.  They’re like oatmeal chocolate chip cookies PLUS.  There are so many goodies in the cookies, it feels like you’re eating a handful of trail mix held together with some oatmeal cookie batter.  In fact, you could use trail mix in this recipe, hence the name.  I’m not sure I’ve made this recipe the same way twice since I’ll often use it as an excuse to clean out the bottom of my nut and dried fruit jars.  Before you get excited about a cookie that sounds like it might be healthful, it’s still a cookie, just maybe a higher quality one.  If you want a cookie that you can eat for breakfast, make these.  This recipe uses whole wheat pastry flour, rolled oats, flakes of unsweetened coconut, and chocolate chips.  My kids love pecans, so I generally use them here, but if I have a handful of walnuts or macadamia nuts, those can go in too.  Same idea with dried fruit — use whatever you’ve got.  The key with these cookies though, is to make sure you don’t decide to just eliminate an entire ingredient without coming up with a substitution.  All the “stuff” helps give your cookies structure and without it, your cookies will go a tad flat.  If you can’t eat nuts, I have used sunflower seeds with success, or you can just add 1/2 cup extra of chocolate chips, dried fruit and coconut to make up for the 1 1/2 cups of nuts.  What I did struggle with was the sugar in the cookies. The quantity is quite a bit less than you would find in a comparable cookie, but I didn’t have as much success substituting coconut sugar or maple syrup for the white and brown sugars.  At the end of the day, it’s still a cookie which we should enjoy in moderation.

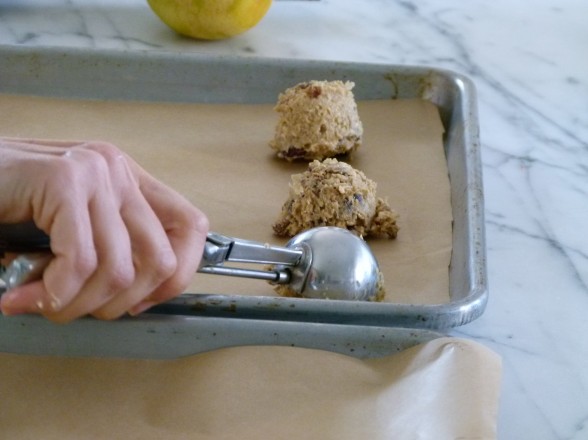
If you like to be prepared for weekday school lunches or unexpected playdates, it’s always nice to have some cookie dough on hand.  You can make this batter and keep it refrigerated for a week, baking off as many cookies as you like at any given time.  I also like to scoop the dough onto baking sheets with my ice cream scooper, freeze them raw (the same way you would freeze fruit), and when they are frozen solid, gather them up and put them in a container to freeze for a rainy day or the next sleepover.  And from the empty containers I generally see in the morning, I have also observed that teenagers are at their most STARVING in the middle of the night.

Trail Mix Cookies

Pamela, inspired by epicurious via Smitten Kitchen

Ingredients
  

  • 8 Tablespoons 1 stick unsalted butter, at room temperature
  • ½ cup natural cane sugar or coconut sugar
  • 2/3 cup brown sugar or coconut sugar
  • 1 teaspoon pure vanilla extract
  • 2 large eggs
  • 1 ½ cups whole wheat pastry flour
  • 1 teaspoon baking soda
  • 1 teaspoon sea salt
  • ½ teaspoon ground cinnamon
  • ¼ teaspoon ground nutmeg
  • 1/8 teaspoon ground cloves
  • 1 cup rolled oats either old-fashioned or quick-cooking
  • 1 ½ cups chopped pecans or walnuts or macadamia nuts
  • 1 cup chocolate chips
  • ½ cup unsweetened dried coconut flakes (or use extra pecans)
  • ½ cup dried fruit such as cranberries (or use extra chocolate chips)
  • Or use 3 ½ cups trail mix instead of above add-ins; chop nuts
  • ½ teaspoon freshly grated orange zest optional

Instructions
 

  • Preheat oven to 350 degrees. Line a large cookie sheet with parchment paper or a Silpat.
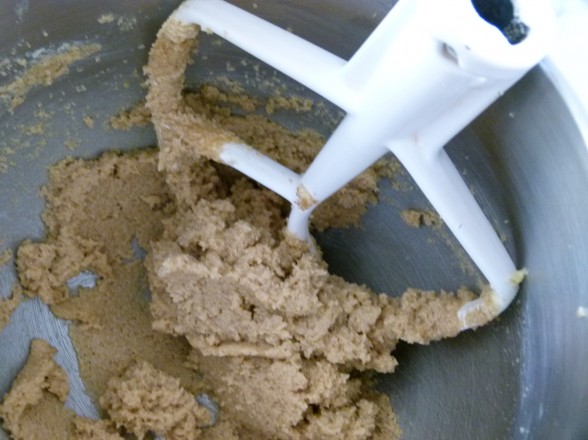
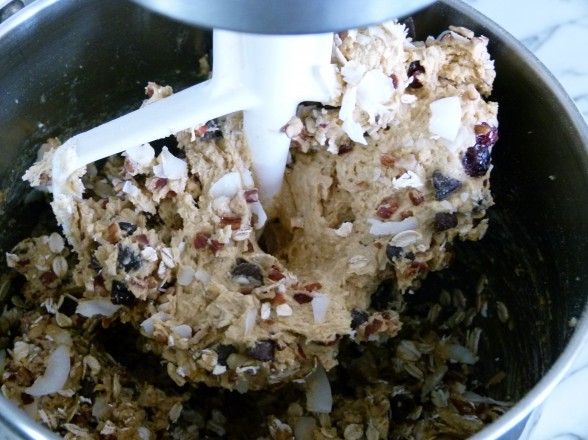
  • In the bowl of an electric mixer, cream the butter and sugars together until light and fluffy, about 4 minutes. Add the vanilla and 1 egg at a time until well incorporated.
  • In a separate bowl, mix together flour, baking soda, salt and spices. Add half the dry mix to the butter with the mixer on low speed. After the flour has been incorporated, add the remaining flour mixture and stir together.
  • Stir in the remaining ingredients.
  • Drop the dough by heaping tablespoons onto the cookie sheet and bake until golden, 12-15 minutes. (If you bake the dough directly from the fridge, add 3-5 minutes.)
  • Remove from the oven and cool cookies for 2 minutes before transferring to a cooling rack.
Tried this recipe?Let us know how it was!

Grain-Free Cauliflower Tabbouleh Recipe

We have had some interesting discussions in my classes lately about the latest findings concerning the presence of arsenic in rice.  Arsenic is a chemical element which occurs naturally in water, air, food, and soil.  This natural form is referred to as organic arsenic.  Arsenic is also the product of contamination from manmade fetilizers and pesticides, as well as burning coal and oil.  This inorganic arsenic is what is linked to certain cancers and has many people concerned.  Inorganic arsenic has found its way into may different foods through soil, as well as into our drinking water, but for some reason rice absorbs it much more than other foods.

Although I don’t take such reports lightly, the jury is still out on just how much arsenic is actually in rice since it varies from region to region (California-grown rice seems to contain less than rice grown in Arkansas, for example) and how much we should limit or not limit our rice consumption.  I’m generally not an alarmist in these situations, so I will be mindful of this information and continue to eat rice in moderation.  But it’s a good reminder of why it’s important to eat a well-balanced diet of a wide variety of whole foods (90% of the time, of course!).  I’m sure one can do research and find whatever it is we want to hear.  I like Dr. David Katz’s interesting point that cancer rates are generally low where rice consumption is highest.

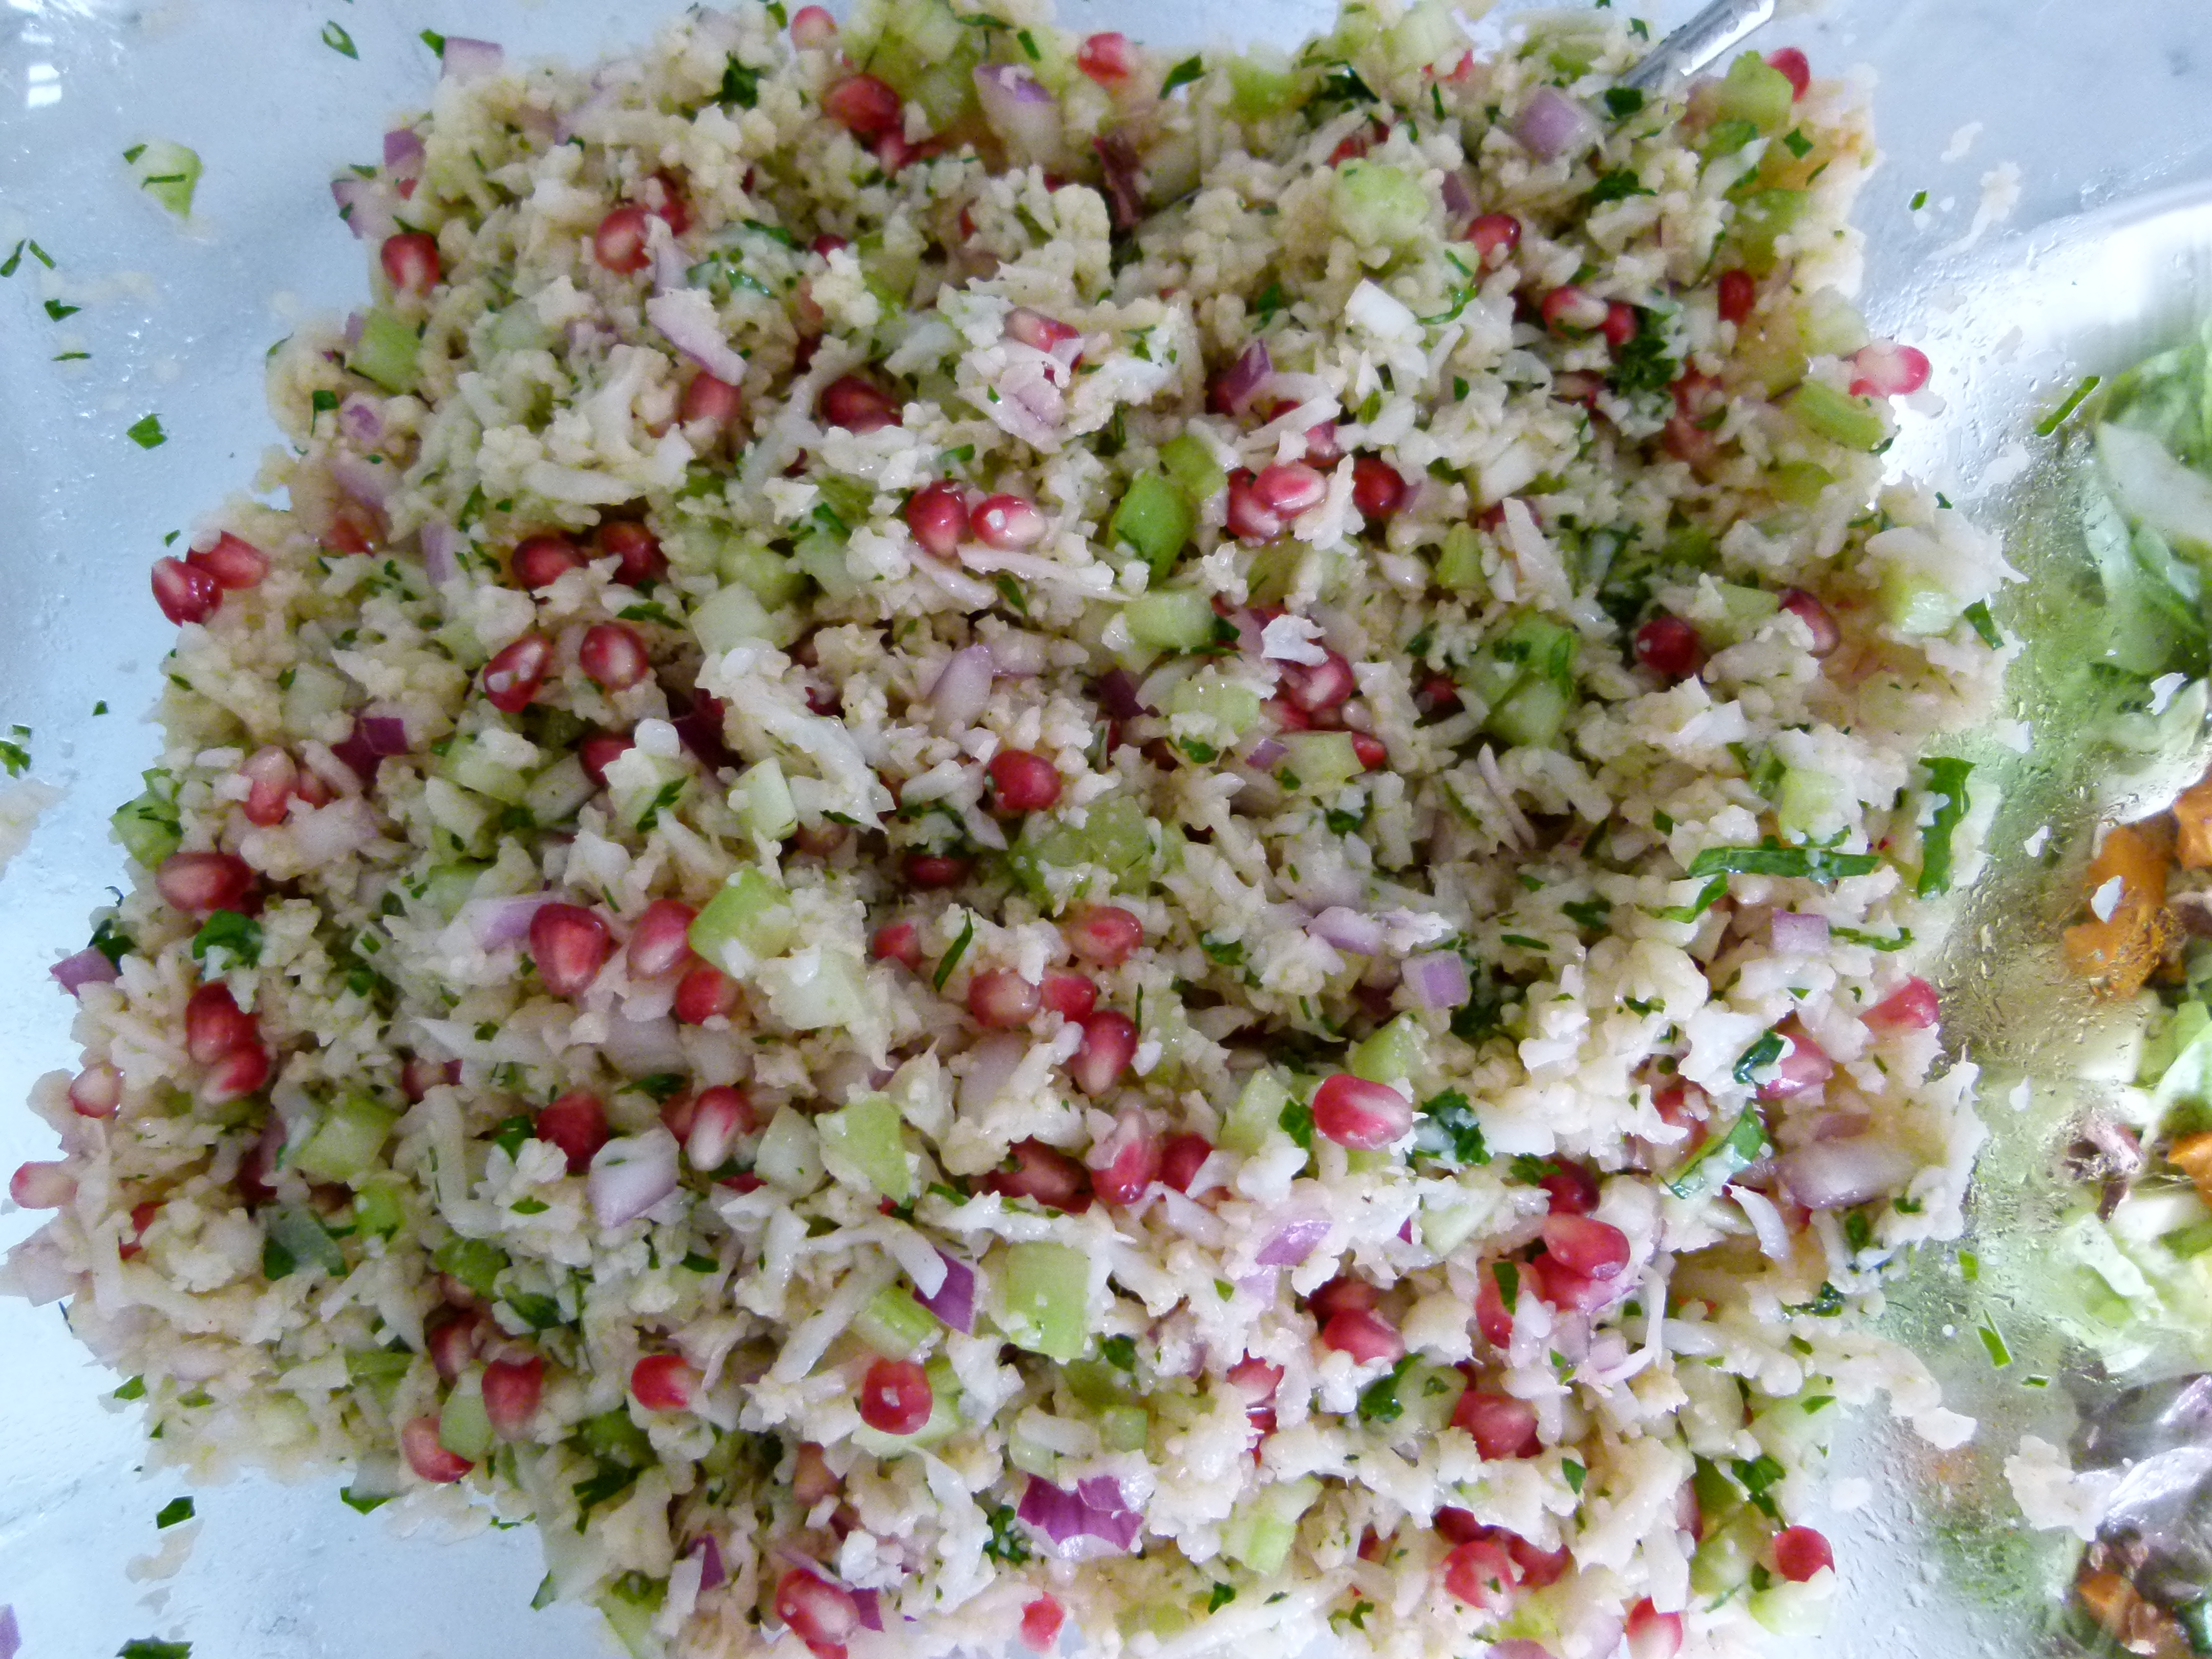
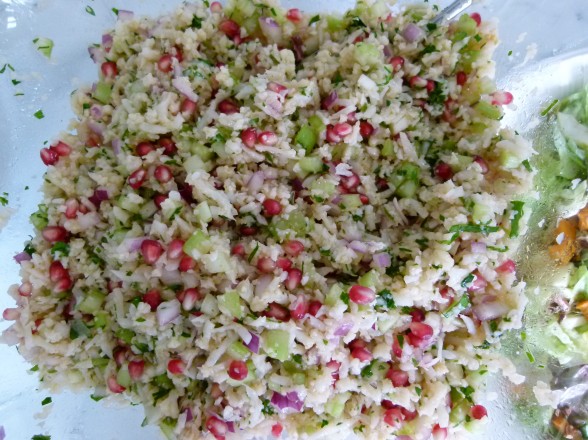
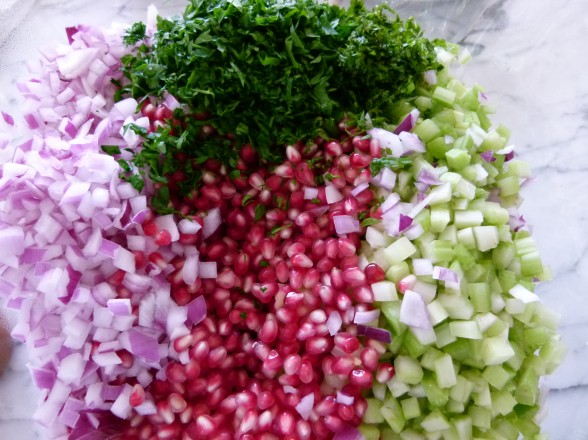
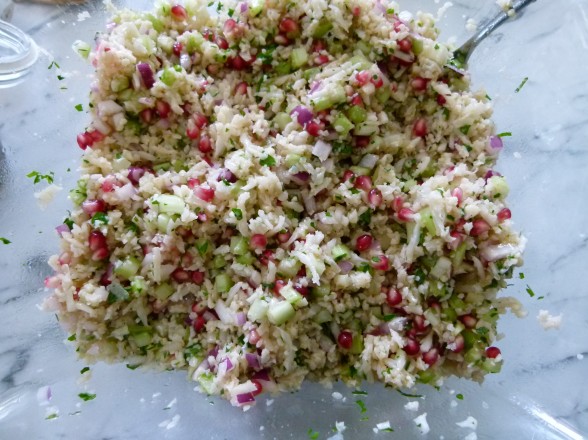
But if you are concerned about your rice intake or you’re just looking to expand your horizons a little, have I got the recipe for you!  Cauliflower Tabbouleh uses barely steamed and grated cauliflower in place of the typical bulgur wheat, making this a grain-free,  gluten-free salad.  When the cauliflower is grated, it completely resembles rice in appearance and even texture a little.  It’s fun serving this tabbouleh to guests who usually have no idea what they’re eating and naturally assume it’s rice.  Cauliflower has a fairly subtle flavor, so you really pick up everything else that’s going on here with fresh herbs, juicy pomegranates and a sweet-earthy dressing.

Tabbouleh is traditionally a parsley salad with bits of bulgur wheat, onion, tomato and cucumber.  It’s such an awesome, healthful, fresh salad which I really enjoy when the weather is warm.  I make a really yummy version with quinoa that is one of my summer staples.  But this recipe with cauliflower is like an autumnal tabbouleh with some pomegranates for a sweet and juicy crunch.  Many “cauliflower rice” recipes call for the cauliflower to be raw, which I don’t enjoy as much as giving it a quick steam or blanche.  Raw cruciferous vegetables are also a tad harder to digest than lightly cooked.  Cauliflower is is very rich in fiber, phosphorus and potassium, and a very good source of Vitamin C, Vitamin K, Folate, and Manganese.  Plus the entire cruciferous family contains powerful anti-cancer compounds.

I just made this for Rosh Hashana lunch last week and served it with roast chicken and a few other salads.  The girls got it in their lunchboxes the next day mixed with a few spoonfuls of quinoa and one of them had some feta mixed in as well.  By the way, I am posting photos of the kids’ school lunches once a week on Facebook and Twitter in case you’re in a lunchbox rut.  I also love this cauliflower with Spice-Rubbed Salmon, grilled chicken kabobs, and even turkey burgers. More importantly, there are so many ways to have fun with this preparation of cauliflower.  I’m thinking about using it in place of rice for a vegetable fried rice, just for fun of course.    No one here is giving up rice that fast!

Grain-Free Cauliflower Tabbouleh

Pamela
Servings 6 -8

Ingredients
  

  • 1 head cauliflower cut into florets
  • Kosher salt for cooking cauliflower
  • 2 cups diced celery about 5 stalks
  • Seeds from 1 large pomegranate about 1 1/3 cups
  • ½ cup finely diced red onion or shallot you can soak in ice water for 15 minutes to take the raw edge off
  • ¼ cup chopped parsley leaves
  • 2 Tablespoons chopped fresh mint leaves
  • ¼ cup fresh lemon juice
  • ½ cup unrefined cold-pressed, extra-virgin olive oil
  • ¾ teaspoon cinnamon
  • ¾ teaspoon cumin
  • ¾ teaspoon sea salt
  • ½ teaspoon of freshly ground black pepper or to taste

Instructions
 

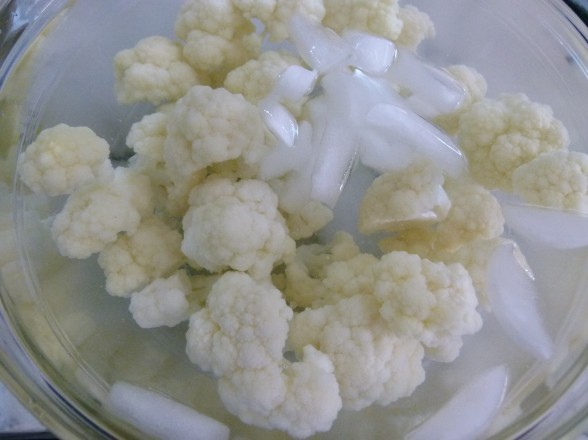
  • Prepare a large bowl with ice water. Place cauliflower in a large pot with an inch of water and a teaspoon of kosher salt. Bring to a boil and steam cauliflower for 3-4 minutes until crisp tender. Drain in a colander and immediately plunge cauliflower in ice water.
  • Drain cauliflower and transfer to a clean kitchen towel to dry off a little.
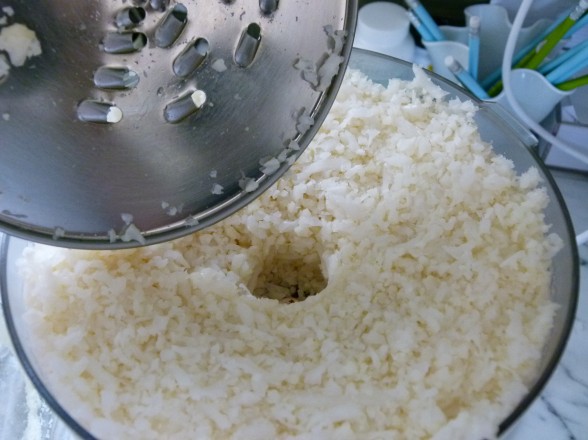
  • Fit the grater attachment in a food processor and gently grate/shred the cauliflower. It will look like barley or rice. Transfer to a serving bowl.
  • Stir in remaining ingredients and toss to combine. Taste for seasonings, especially if you allow this to sit. You may need an extra pinch of salt.
Tried this recipe?Let us know how it was!