Skip to content
Get Pamela’s Monday Musings Newsletter! →
About
Recipes
Classes
Bootcamps
Bootcamp Portal Login
Shop
Contact
Newsletter
Online Class Login
Search
Home
›
sugar
sugar
Recipes
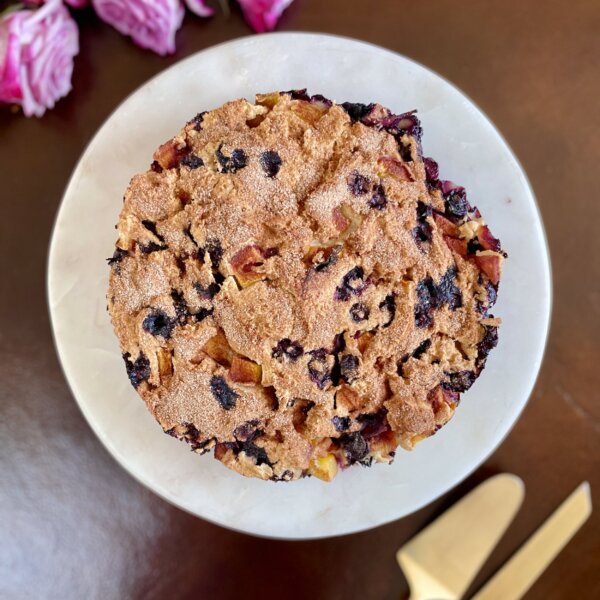
Peach-Blueberry Buckle Recipe
Recipes
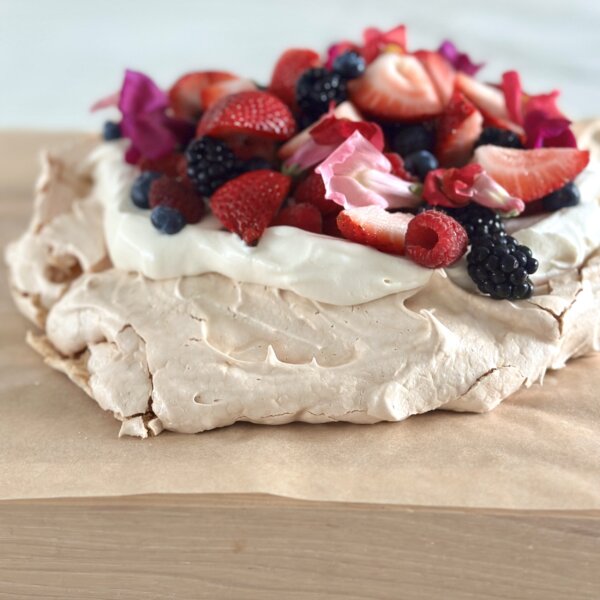
Pavlova with Whipped Greek Yogurt and Cream and Berries Recipe
Recipes
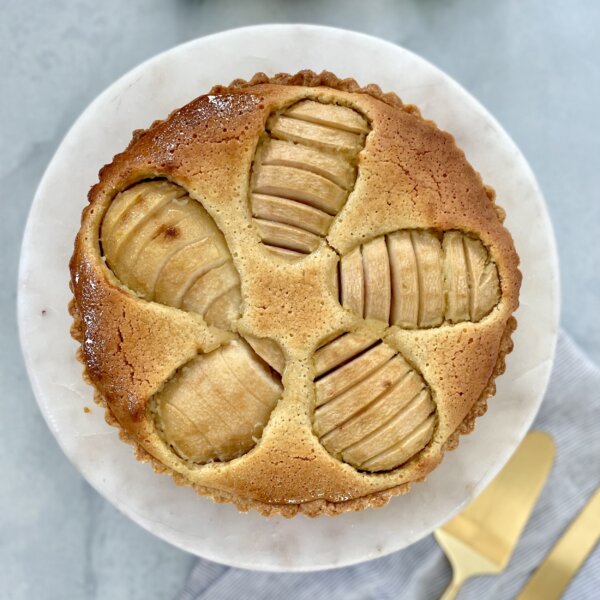
Pear Frangipane Tart Recipe
Recipes
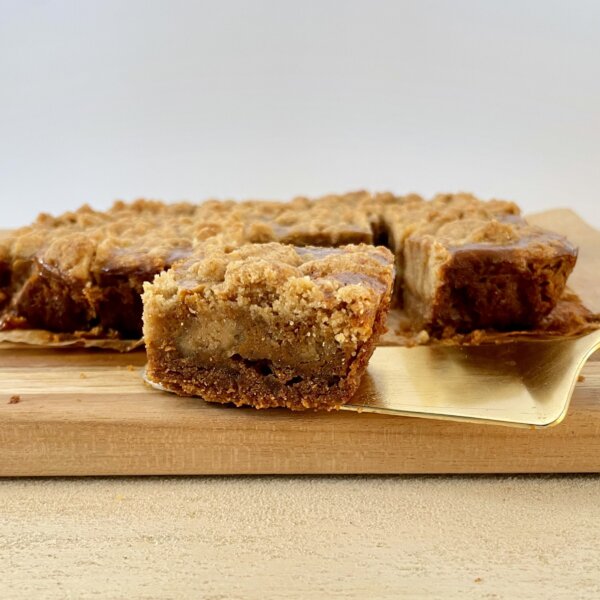
Pumpkin Crumble Bars Recipe
Desserts
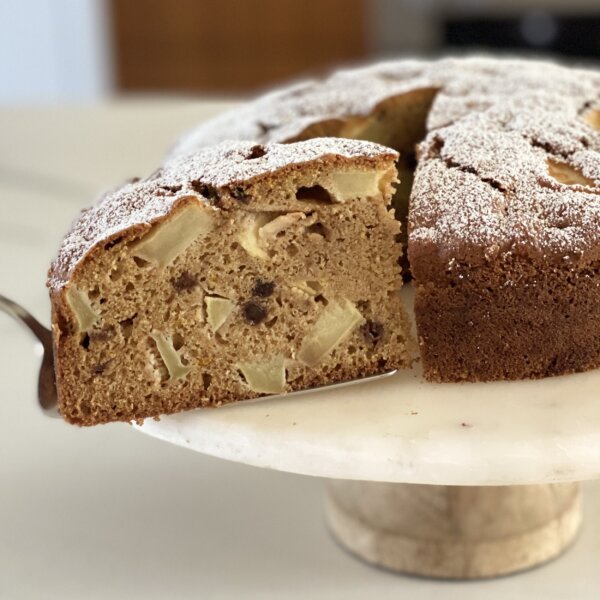
The Best Olive Oil Apple Spice Cake Recipe
Recipes
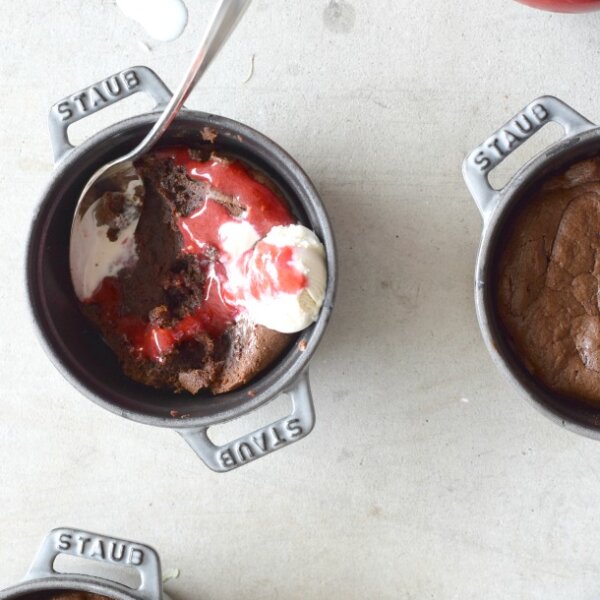
Mini flourless chocolate cakes recipe
Recipes
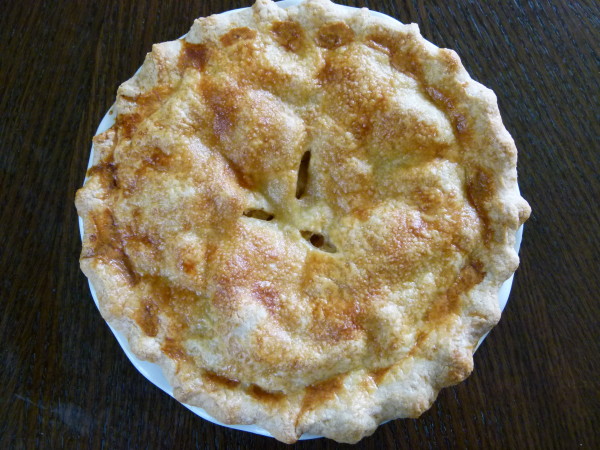
Perfect Apple Pie Recipe
Recipes
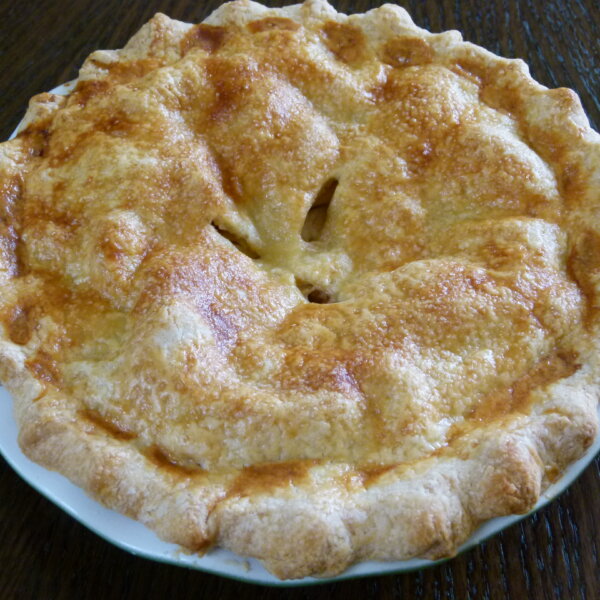
How To Make Pie Crust
Recipes
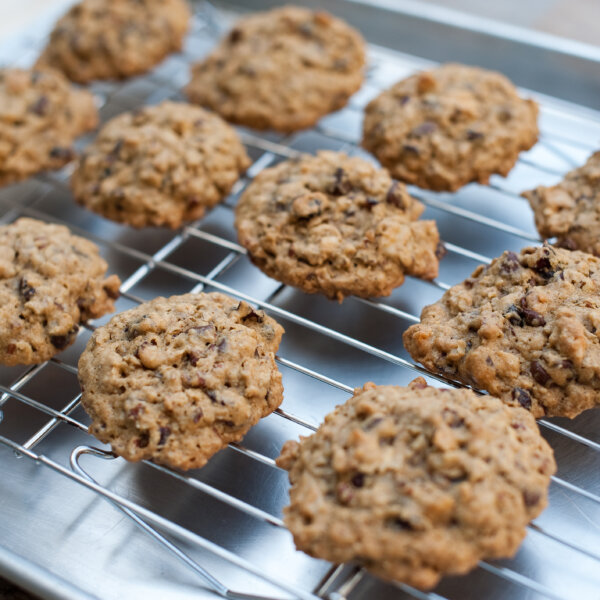
Trail Mix Cookies Recipe