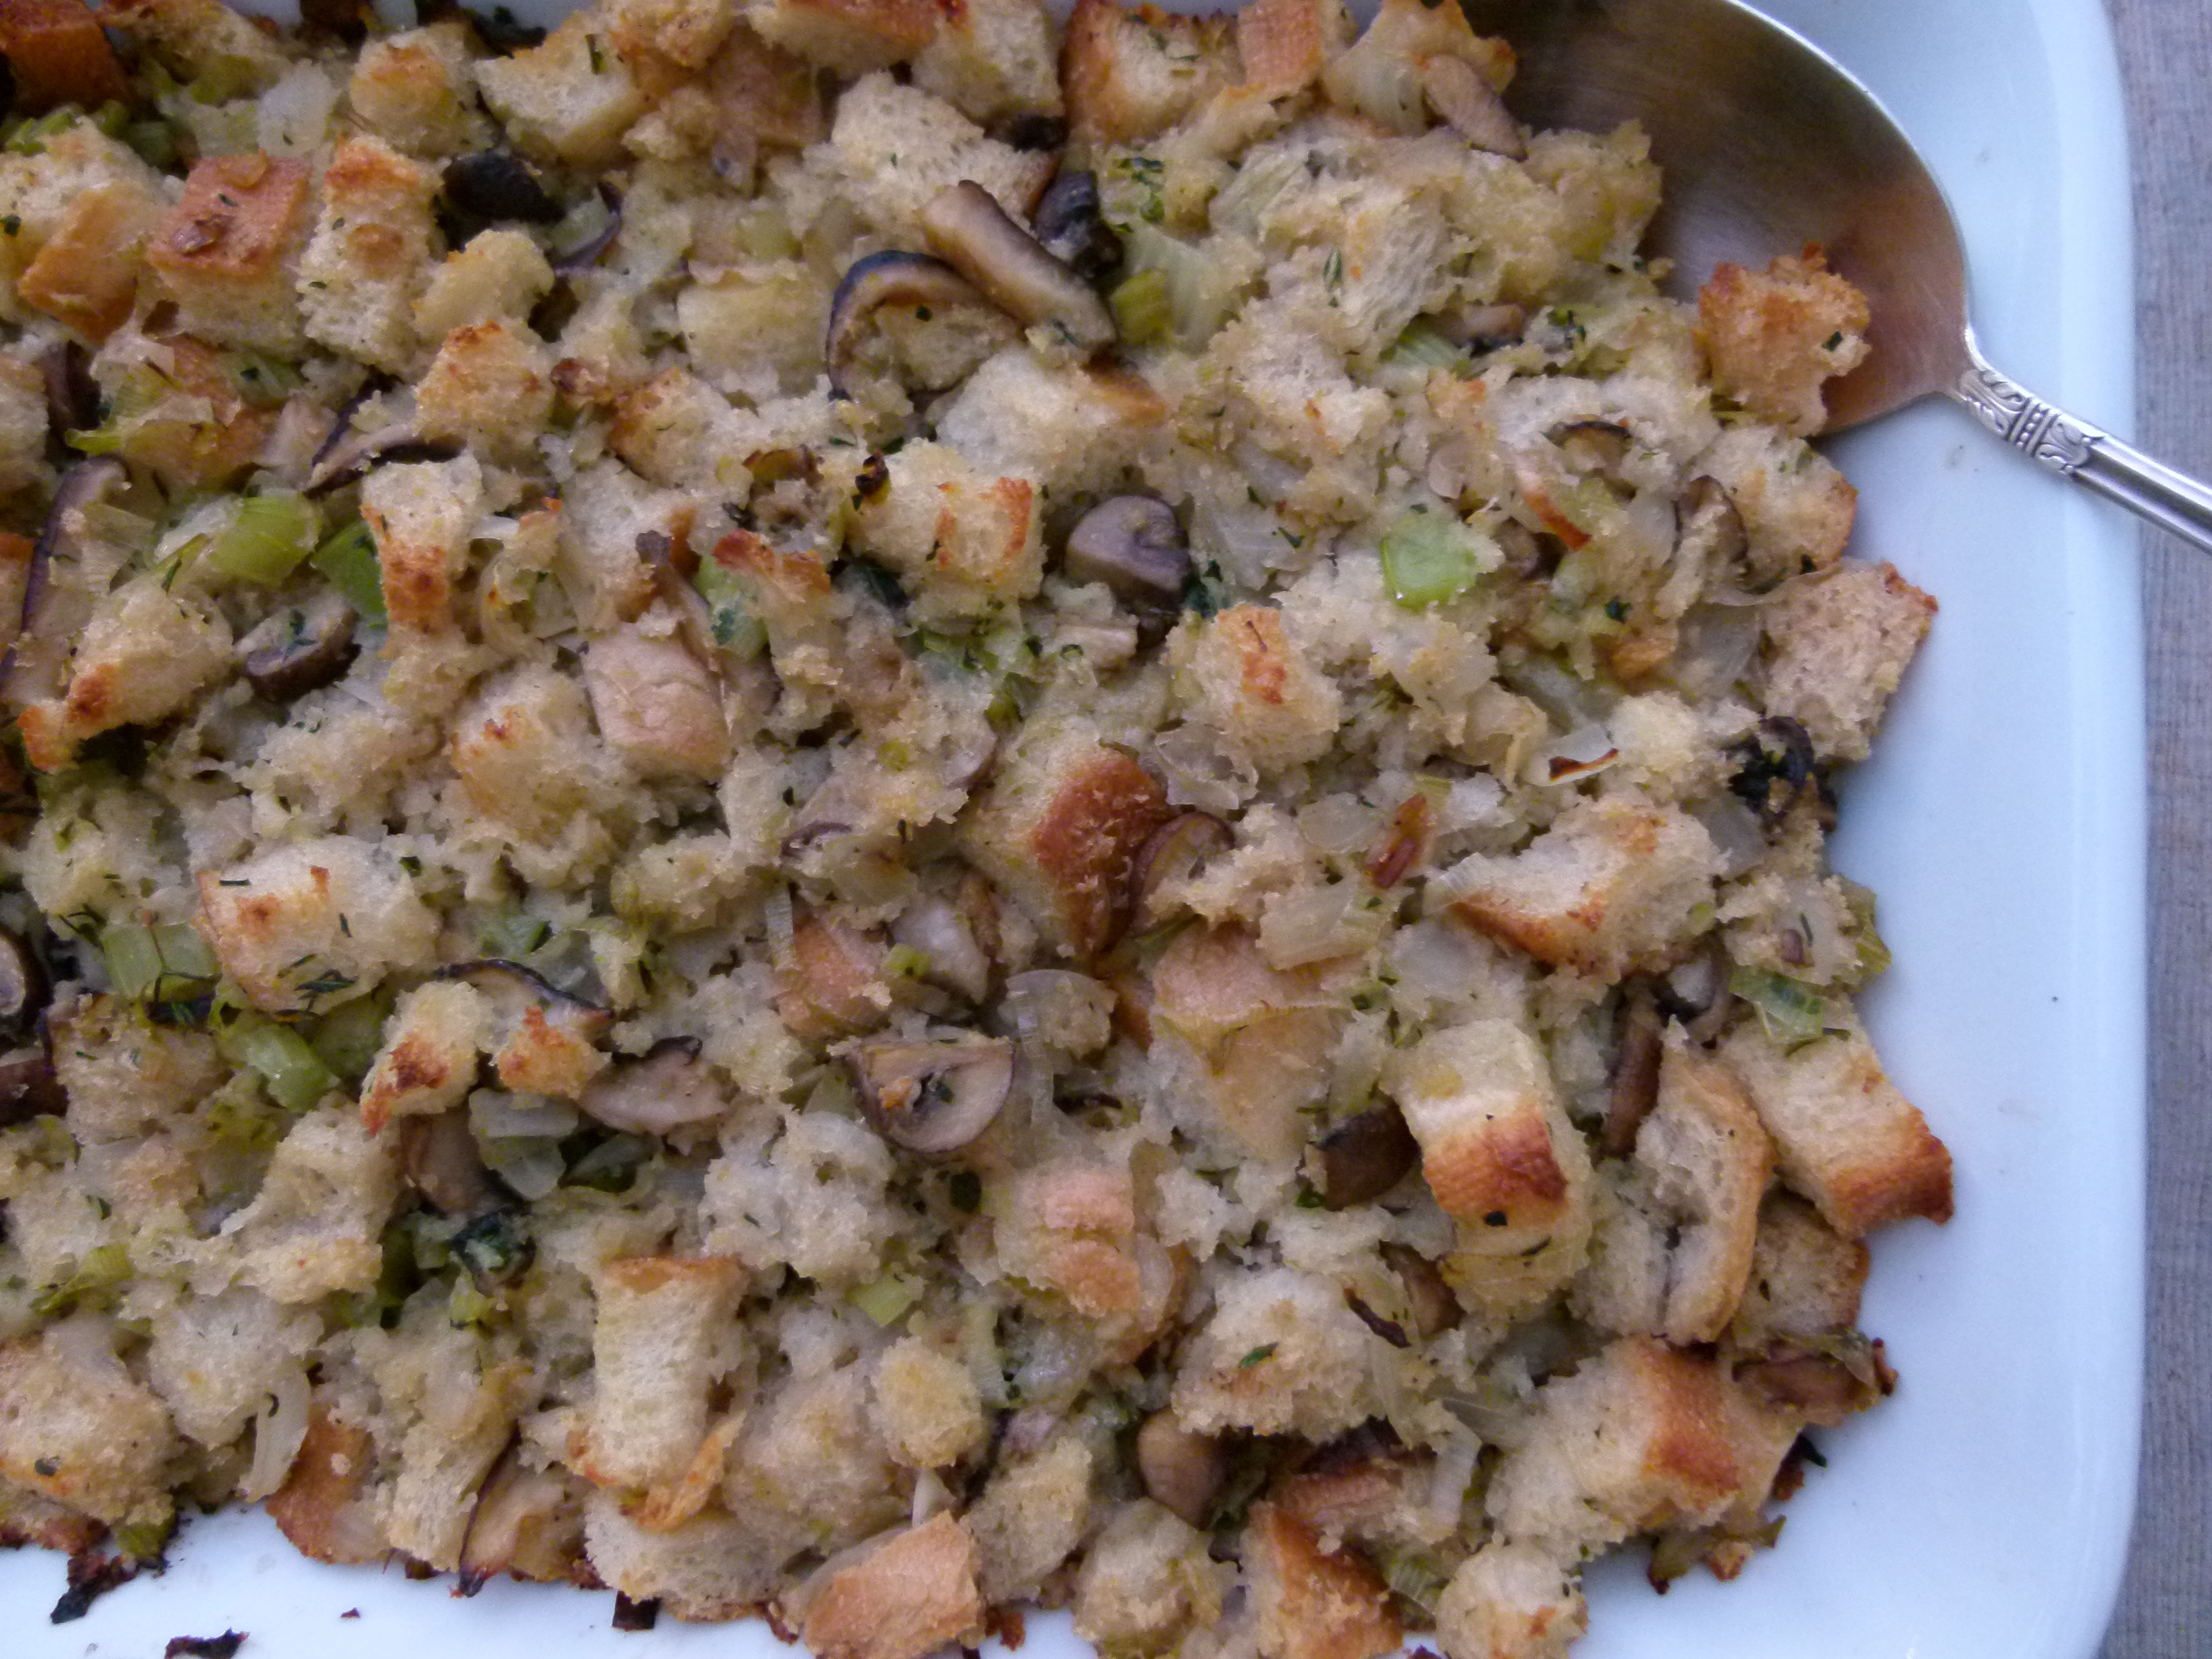
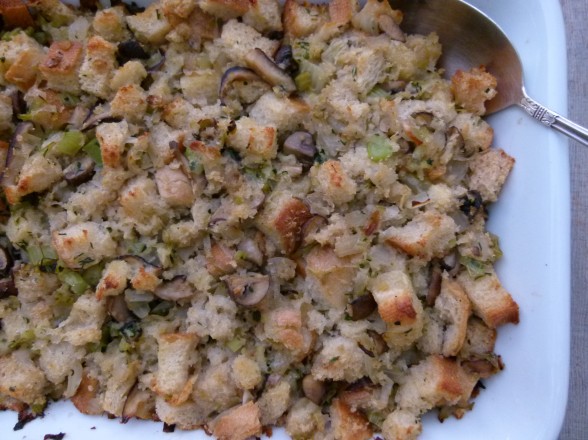
Mushroom and leek stuffing recipe

When I married my husband over 17 years ago (gasp!), I was more than excited to start hosting some of the holidays at our new home.  But I soon realized that my husband’s traditions were slightly different from the ones I grew up with, especially on Thanksgiving.  What?  No first course of pasta with marinara sauce?  Strange, I thought, but I could adapt!  My mother-in-law kindly shared with me the way things were done on the West Coast.  She liked to serve everyone a salad to start and plate the main dinner for each person in the kitchen.  Turkey and gravy, mashed potatoes and stuffing were all givens, and their stuffing of choice was Pepperidge Farm.  No problem!

My husband and I have hosted every Thanksgiving since 1996 and enjoy the comfort that develops when you do something over and over again.   I have since incorporated my own traditions like buffet – easier and much less waste – and soup to start.  About 6 years ago I decided to examine the ingredients on the seemingly innocuous bag of Pepperidge Farm stuffing.  Holy crap.  I couldn’t believe the garbage that went into breadcrumbs!  One thing I knew for certain was that Pepperidge Farm was uninvited to Thanksgiving…forever!

Actually, if it were up to me, I would drop stuffing from the menu altogether.  I really don’t get it.  With ALL the delicious food on the Thanksgiving table, many of the dishes starchy, we’re going to eat gussied up bread, a food we already overeat on every other day of the year??  I was trying to explain to my husband that mashed potatoes, sweet potatoes and butternut squash are all starches, as is the obligatory cornbread.  We should balance out the meal with additional vegetables, like Brussels sprouts!  “You’re taking this health food thing a little too far.  The stuffing stays!”

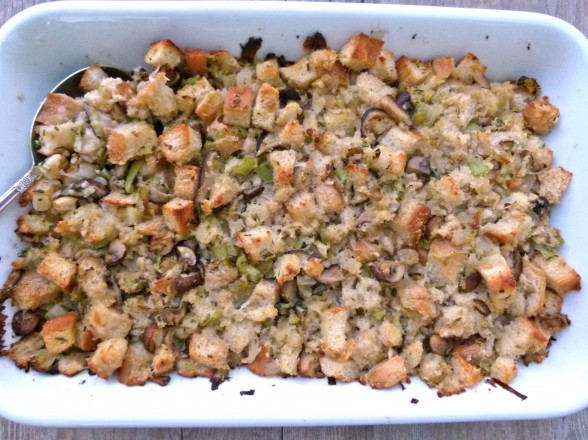
Although I like to think of myself as the dictator of my kitchen empire, the director of Thanksgiving, I’m really a democratic leader.  I figured my only option was to create a delicious, higher quality stuffing that looked like Pepperidge Farm and tasted enough like it, but even better.  So here’s my take on a good classic stuffing that’s not too gourmet, in fact tastes very close to our old preservative-laden standby.    I usually make two for our dinner, one with mushrooms to suit me and one without for my hubby.

I’ve tried this stuffing with whole grain breads like whole wheat or spelt, but truthfully it tastes a little “wheat-y.”  There was a fantastic bread I used to buy from Whole Foods called Miche, which was a sourdough bread made of a blend of whole wheat and white flours.  That was about as whole grain as my family could take on Thanksgiving.  Truth be told,  I prefer to go down in our family history as the benevolent one who said, “ let them eat stuffing!”
Mushroom and Leek Stuffing

Pamela
5 from 1 vote
Servings 8 -10 (although I make 2 for 24 people on Thanksgiving and it is plenty)

Ingredients
  

  • 1 ½ pounds rustic whole wheat or white bread hard crust removed
  • 6 Tablespoons unrefined cold-pressed extra-virgin olive oil
  • ½ pound shiitake mushrooms wiped clean, stems removed and discarded, caps sliced
  • ½ pound cremini mushrooms wiped clean, quartered
  • 2 stalks celery chopped
  • 1 large onion chopped
  • 2 leeks cleaned and sliced
  • 3 garlic cloves minced
  • 1 ½ teaspoons fresh thyme chopped
  • 1 teaspoon dried sage or poultry seasoning or 2 teaspoons fresh sage chopped
  • 2 Tablespoons flat-leaf parsley chopped
  • 2 teaspoons sea salt or 3 teaspoons if using unsalted stock
  • ½ teaspoon black pepper
  • 3-4 cups chicken turkey or vegetable stock (depending on if you like it wet or dry)
  • 2 Tablespoons unsalted butter cut into small dice (optional)

Instructions
 

  • Preheat oven to 350 degrees.
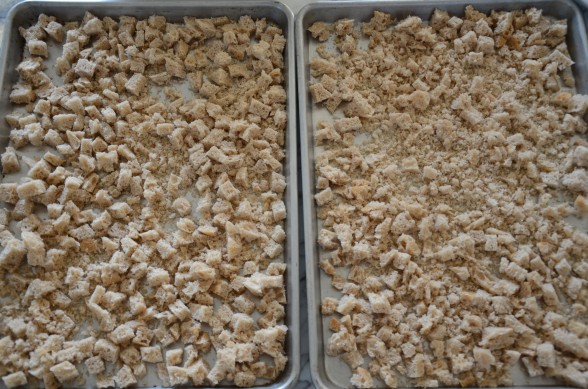
  • Place bread in a food processor and process into large crumbs or cut into ½-inch dice. (I like to do a combination.) You should have 10 cups. Spread bread over 2 large shallow baking pans and bake in upper and lower thirds of oven, stirring occasionally and switching position of pans halfway through baking, until completely dry, about 25 minutes. Transfer bread to a large bowl.
  • Increase oven temperature to 450 degrees and grease a 13x9-inch baking dish.
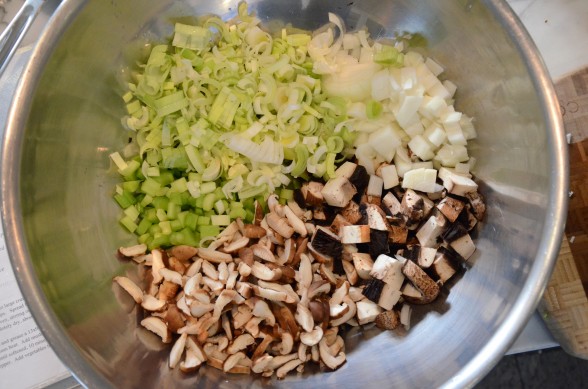
  • Heat olive oil in a large skillet over medium heat. Add mushrooms, celery, onion, leeks, and garlic, and sauté, stirring occasionally until softened, 10 minutes.
  • Stir in thyme, sage, parsley, salt and pepper. Add vegetables to bread, tossing to combine.
  • Pour chicken broth over the bread mixture, tossing to coat evenly.
  • Spread stuffing in a baking dish, dot with butter and cover tightly with foil. Bake in upper third of oven until heated through, about 20 minutes. Remove foil and bake stuffing until top is browned, 10 – 15 minutes more. Stuffing can also be baked in a well-greased 12-cup muffin tin.

Notes

Bread crumbs can be prepared several days in advance.
Vegetables can be chopped the day before.
Entire casserole can be prepared up to the point of baking the day before and refrigerated or frozen and then thawed and baked according to the directions.
Tried this recipe?Let us know how it was!


Grain-Free Cauliflower Tabbouleh Recipe

We have had some interesting discussions in my classes lately about the latest findings concerning the presence of arsenic in rice.  Arsenic is a chemical element which occurs naturally in water, air, food, and soil.  This natural form is referred to as organic arsenic.  Arsenic is also the product of contamination from manmade fetilizers and pesticides, as well as burning coal and oil.  This inorganic arsenic is what is linked to certain cancers and has many people concerned.  Inorganic arsenic has found its way into may different foods through soil, as well as into our drinking water, but for some reason rice absorbs it much more than other foods.

Although I don’t take such reports lightly, the jury is still out on just how much arsenic is actually in rice since it varies from region to region (California-grown rice seems to contain less than rice grown in Arkansas, for example) and how much we should limit or not limit our rice consumption.  I’m generally not an alarmist in these situations, so I will be mindful of this information and continue to eat rice in moderation.  But it’s a good reminder of why it’s important to eat a well-balanced diet of a wide variety of whole foods (90% of the time, of course!).  I’m sure one can do research and find whatever it is we want to hear.  I like Dr. David Katz’s interesting point that cancer rates are generally low where rice consumption is highest.

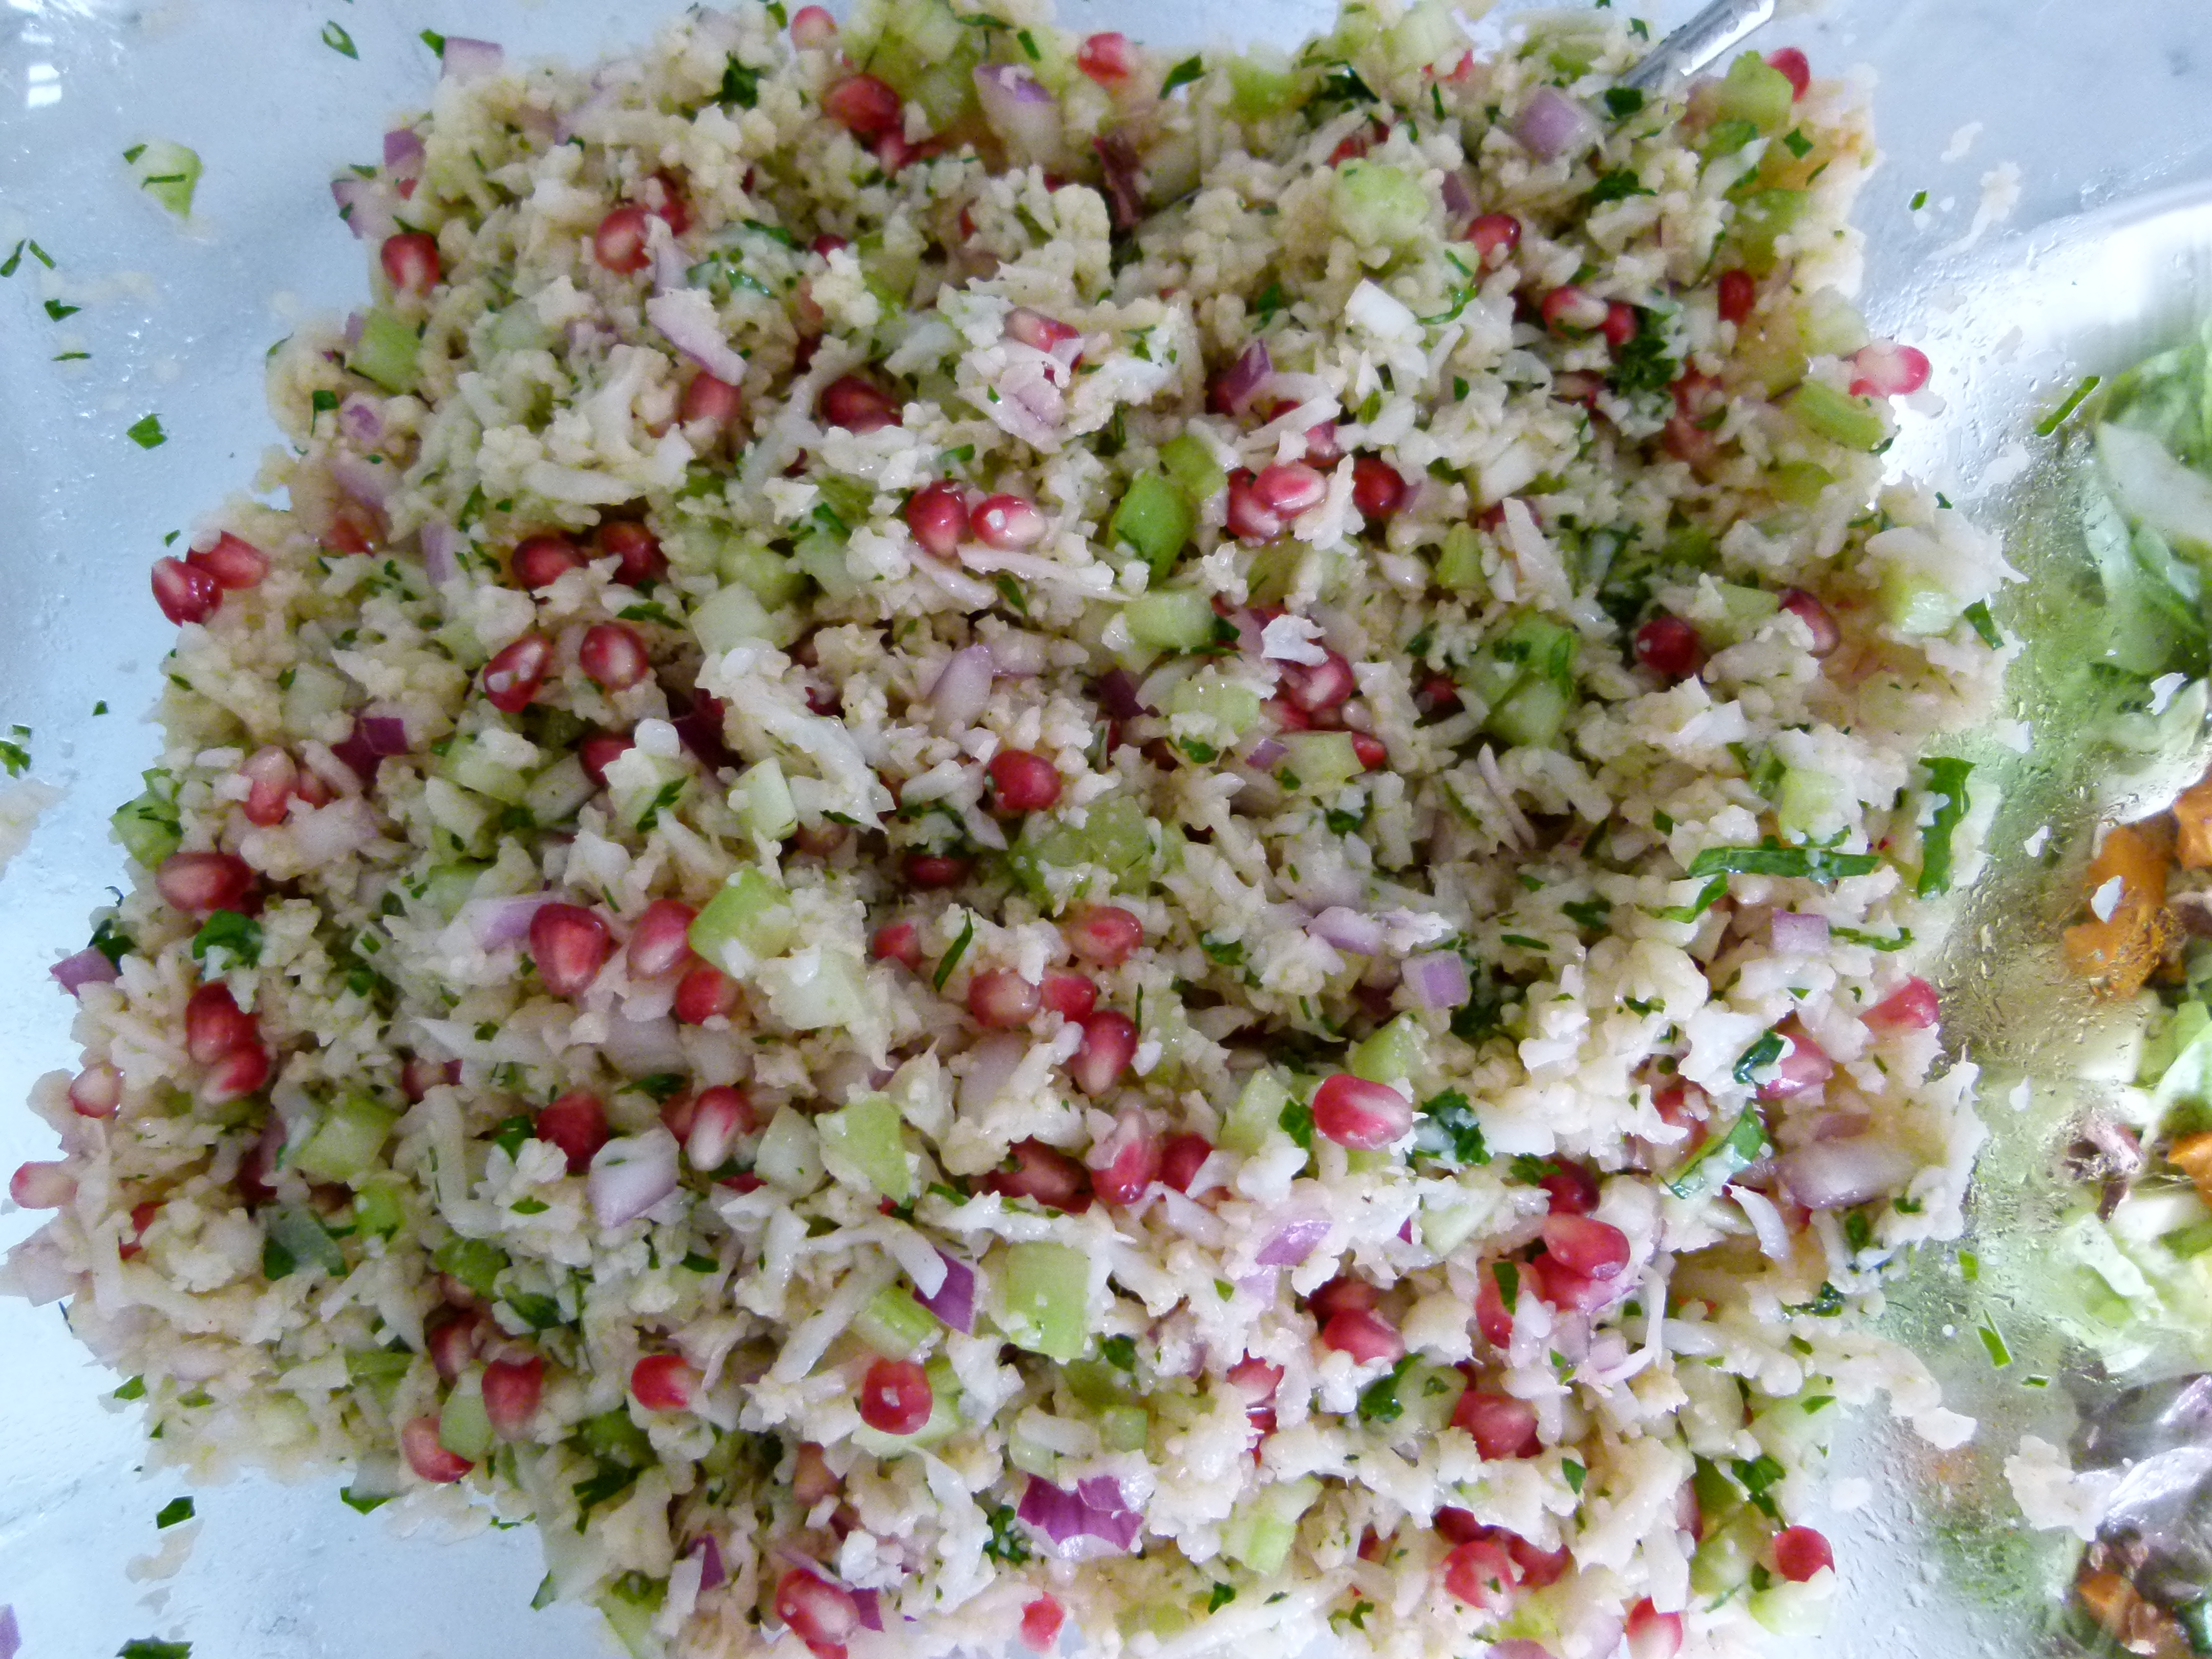
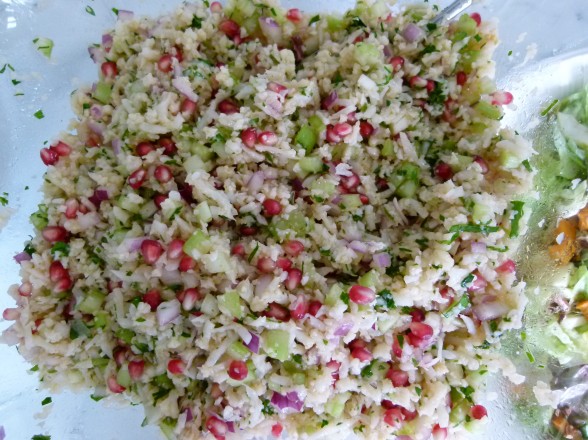
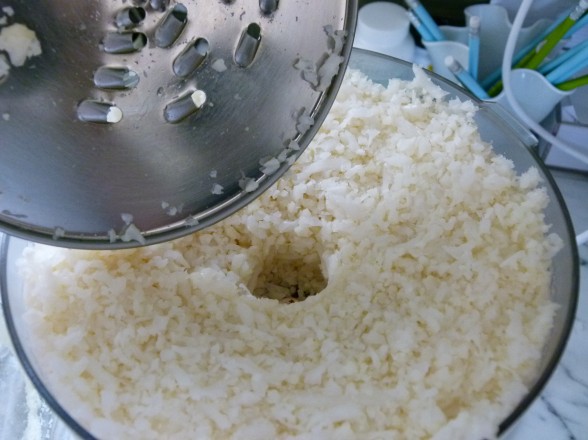
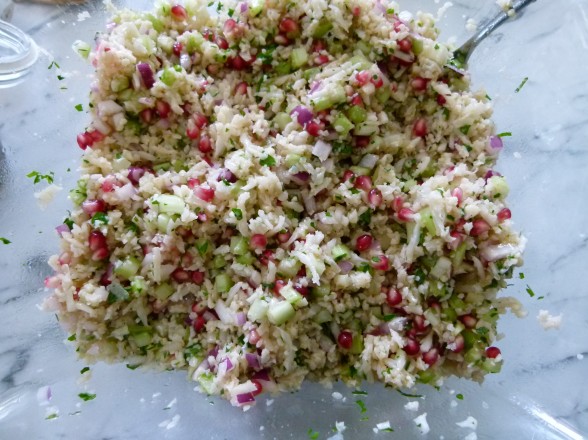
But if you are concerned about your rice intake or you’re just looking to expand your horizons a little, have I got the recipe for you!  Cauliflower Tabbouleh uses barely steamed and grated cauliflower in place of the typical bulgur wheat, making this a grain-free,  gluten-free salad.  When the cauliflower is grated, it completely resembles rice in appearance and even texture a little.  It’s fun serving this tabbouleh to guests who usually have no idea what they’re eating and naturally assume it’s rice.  Cauliflower has a fairly subtle flavor, so you really pick up everything else that’s going on here with fresh herbs, juicy pomegranates and a sweet-earthy dressing.

Tabbouleh is traditionally a parsley salad with bits of bulgur wheat, onion, tomato and cucumber.  It’s such an awesome, healthful, fresh salad which I really enjoy when the weather is warm.  I make a really yummy version with quinoa that is one of my summer staples.  But this recipe with cauliflower is like an autumnal tabbouleh with some pomegranates for a sweet and juicy crunch.  Many “cauliflower rice” recipes call for the cauliflower to be raw, which I don’t enjoy as much as giving it a quick steam or blanche.  Raw cruciferous vegetables are also a tad harder to digest than lightly cooked.  Cauliflower is is very rich in fiber, phosphorus and potassium, and a very good source of Vitamin C, Vitamin K, Folate, and Manganese.  Plus the entire cruciferous family contains powerful anti-cancer compounds.

I just made this for Rosh Hashana lunch last week and served it with roast chicken and a few other salads.  The girls got it in their lunchboxes the next day mixed with a few spoonfuls of quinoa and one of them had some feta mixed in as well.  By the way, I am posting photos of the kids’ school lunches once a week on Facebook and Twitter in case you’re in a lunchbox rut.  I also love this cauliflower with Spice-Rubbed Salmon, grilled chicken kabobs, and even turkey burgers. More importantly, there are so many ways to have fun with this preparation of cauliflower.  I’m thinking about using it in place of rice for a vegetable fried rice, just for fun of course.    No one here is giving up rice that fast!

Grain-Free Cauliflower Tabbouleh

Pamela
Servings 6 -8

Ingredients
  

  • 1 head cauliflower cut into florets
  • Kosher salt for cooking cauliflower
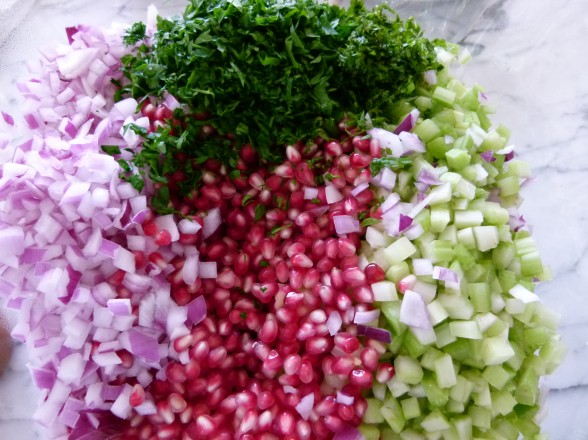
  • 2 cups diced celery about 5 stalks
  • Seeds from 1 large pomegranate about 1 1/3 cups
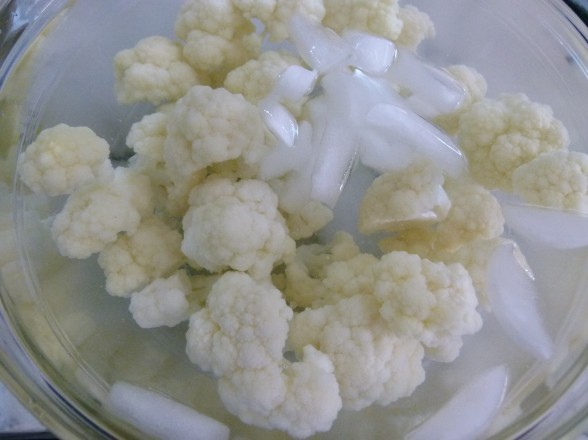
  • ½ cup finely diced red onion or shallot you can soak in ice water for 15 minutes to take the raw edge off
  • ¼ cup chopped parsley leaves
  • 2 Tablespoons chopped fresh mint leaves
  • ¼ cup fresh lemon juice
  • ½ cup unrefined cold-pressed, extra-virgin olive oil
  • ¾ teaspoon cinnamon
  • ¾ teaspoon cumin
  • ¾ teaspoon sea salt
  • ½ teaspoon of freshly ground black pepper or to taste

Instructions
 

  • Prepare a large bowl with ice water. Place cauliflower in a large pot with an inch of water and a teaspoon of kosher salt. Bring to a boil and steam cauliflower for 3-4 minutes until crisp tender. Drain in a colander and immediately plunge cauliflower in ice water.
  • Drain cauliflower and transfer to a clean kitchen towel to dry off a little.
  • Fit the grater attachment in a food processor and gently grate/shred the cauliflower. It will look like barley or rice. Transfer to a serving bowl.
  • Stir in remaining ingredients and toss to combine. Taste for seasonings, especially if you allow this to sit. You may need an extra pinch of salt.
Tried this recipe?Let us know how it was!

Chicken and Avocado Soup

Even though I’m a big football fan and I love a good game (especially when my team wins), when it’s over, it’s over.  Whether the outcome of the game is favorable or unfavorable, life goes on and so do I.  So football is finished until next year, but eating happens multiple times a day everyday.  And today I am much more focused on what to do with Super Bowl leftovers!

Quinoa cornbread became breakfast.  Chili went into thermoses for lunch.  And topping bar items can make their way into frittatas, quesadillas or soup for dinner.  This particular soup was not my brain child, but as often happens in my life, my kids leave the house and are amazed by what they’re “missing.”  A while back my mother-in-law took them to Cafe Rio, a “fast casual dining establishment,” and they went bonkers for the Tortilla Soup.  It’s is a brothy and flavorful chicken stock-based soup with some vegetables and whatever add-ins you choose.  Whereas the younger two kids asked me if we could go there for dinner some night and have it again, my older daughter knew me better than that and suggested I try to copy the soup at home.  Great idea!

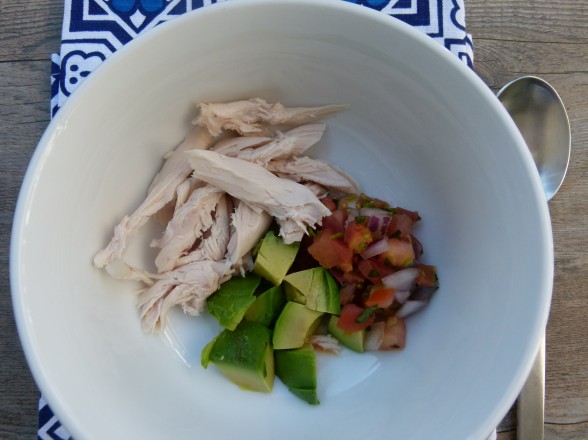
So one day my friend Cheryl and I went on a secret reconnaissance mission to the local Cafe Rio to check out the famous soup and see exactly how they do this thing.  Truthfully, their method is pretty genius and it’s the perfect soup to make at home for a family or a group.  The server adds into a cup your choice of chicken, guacamole, salsa, cheese, cilantro, and tortillas, and then ladles a flavorful chicken soup on top.  Yep, that’s it.  And except for being unbelievably salty, the soup was rather tasty.   You know how much I love a do-it-yourself situation (less work for me!)  Can you picture how easy this is if you have cooked chicken and salsa already made?  This comes together in minutes, I tell you, and everyone makes it the way they want.  You want it to be vegetarian?  No problem!  Just sub a great vegetable stock for the chicken stock and add in some pinto beans for protein.

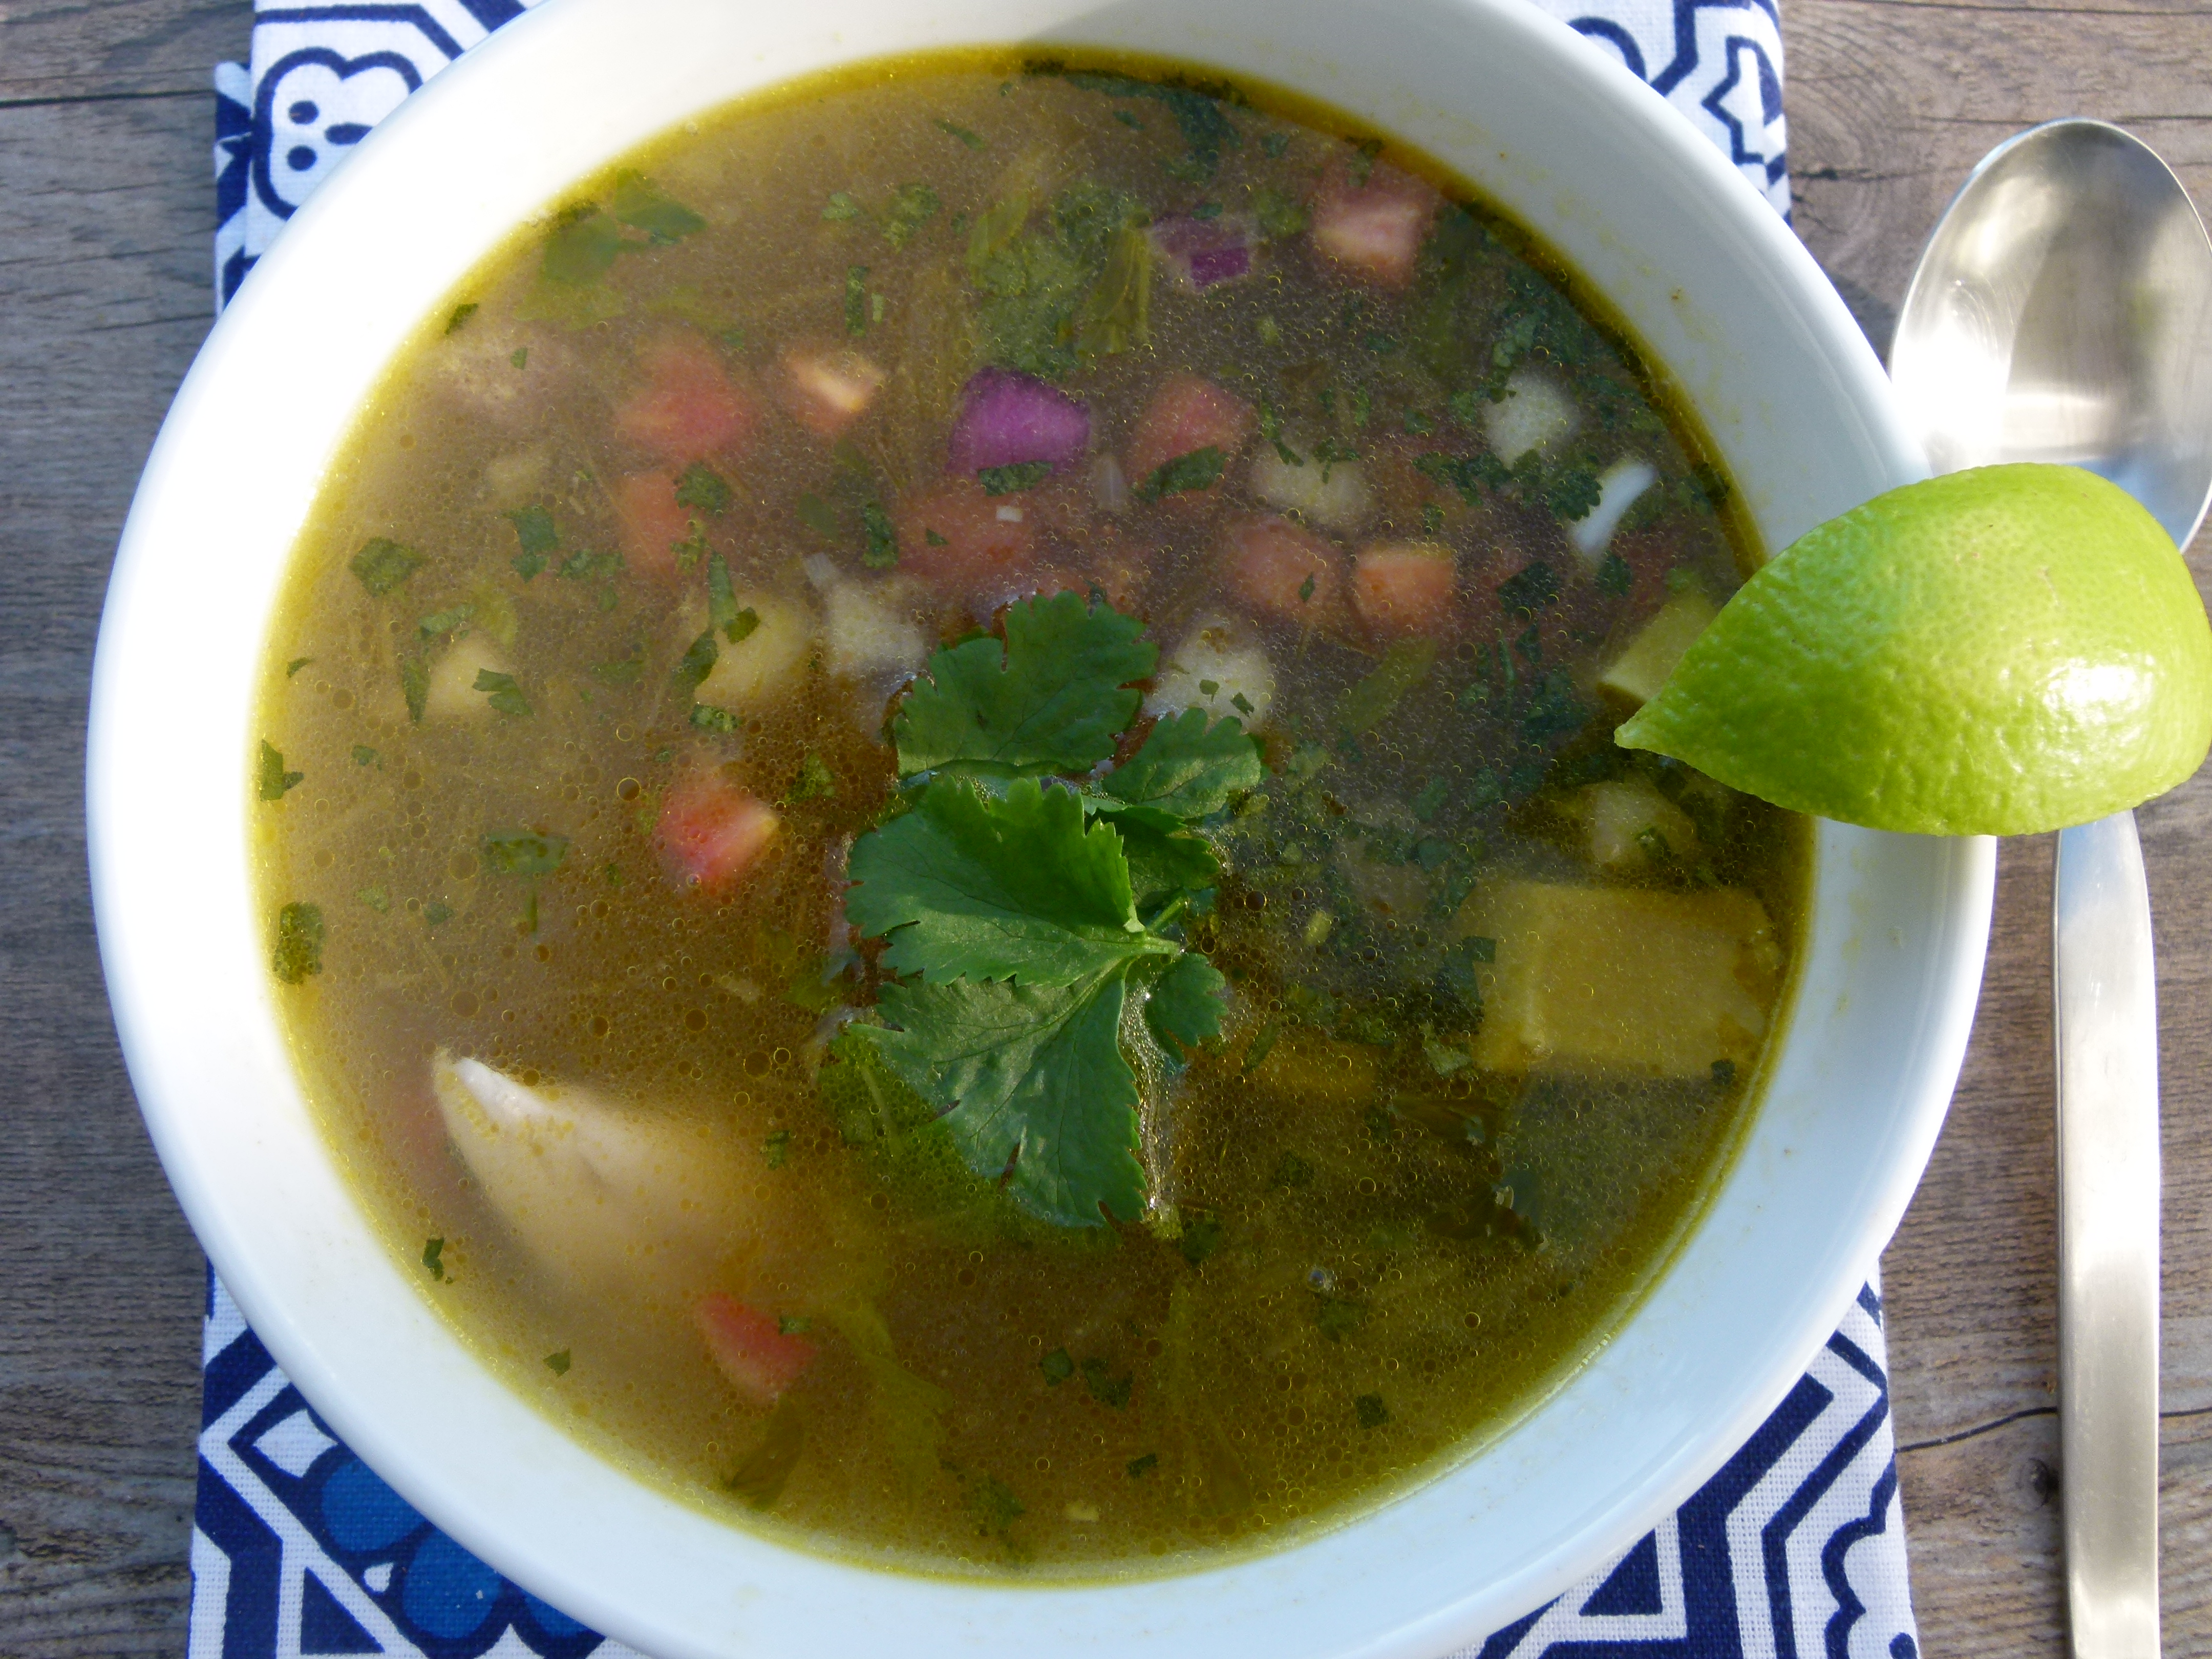
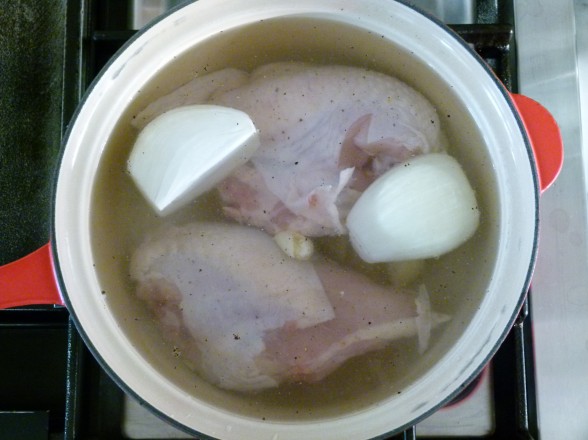
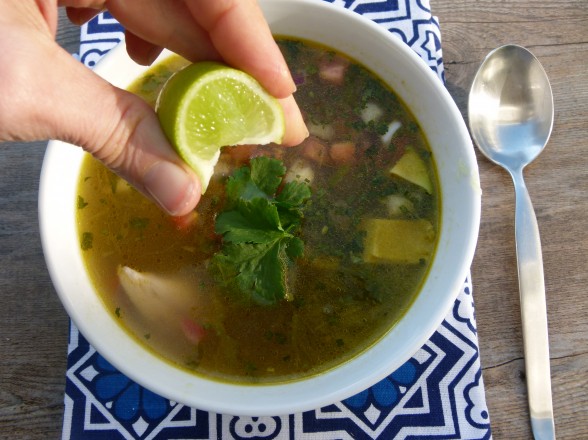
Even though my intent was to copy Cafe Rio’s soup, I ended up making a couple of my own tweaks, such as using chopped avocado instead of guacamole (but definitely use the guac if you have it) and adding a squeeze of lime at the end.  I used poached chicken the day I took these photos and give you directions for that in the recipe, but I have used leftover grilled chicken or the meat from a whole roasted chicken, too.  And sometimes I add quinoa to mine if I’m not in the mood for chicken, and I love that, too.  But the method behind this soup is giving me all sorts of ideas for how to use up some tasty leftovers.  If you make the soup base as directed here, I have chopped up leftover enchiladas and added them for an “enchilada soup,” but I bet you could add in taco meat and some tortillas for a “taco soup.”  I’m excited by the possibilities, plus I think I just made my meal plan for the week!


Chicken and Avocado Soup

Pamela
5 from 1 vote
Servings 6

Ingredients
  

  • 1 or 2 large bone-in skin-on chicken breast halves (depending on how much chicken you want in your soup)
  • ½ large onion peeled
  • 1 Tablespoon additive-free kosher salt such as Diamond Crystal
  • A few peppercorns crushed
  • A few garlic cloves crushed
  • 2 Tablespoons unrefined cold pressed, extra virgin olive oil
  • ½ large onion diced
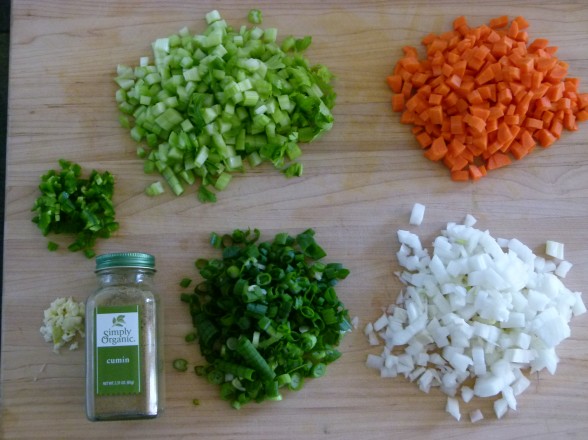
  • 3-4 scallions thinly sliced
  • 3 medium carrots diced
  • 2 stalks celery diced
  • 1 jalapeno seeded (if you don’t want too much heat) and diced (optional)
  • 1 clove garlic finely chopped
  • 1 teaspoon ground cumin
  • 8 cups chicken stock preferably homemade
  • 2 teaspoons sea salt double this if you use unsalted stock
  • freshly ground black pepper to taste
  • ½ cup pico de gallo fresh tomato salsa
  • 1-2 avocados peeled and cut into chunks or guacamole
  • 1 lime cut into 6 wedges (my favorite part!)
  • Other possible add-ins: tortilla chips chopped cilantro, shredded cheese

Instructions
 

  • Poach the chicken: Place the chicken breast, onion half (halved again), salt, pepper and garlic into a medium saucepan. Add enough cold water to cover the chicken. Bring to a boil over high heat and lower heat to a simmer. Simmer chicken for 25 minutes. Remove from heat and allow chicken to sit in the liquid until cool enough to handle.
  • In a large pot, warm the oil over medium heat. Add the chopped onion, scallions, carrots, celery and jalapeno. Sauté until onions are tender, about 5 minutes. Add garlic and cumin and cook for 1 minute.
  • Add the chicken stock, salt and pepper and bring to a boil. Lower heat and simmer until carrots are tender, about 4-5 minutes.
  • Pull chicken from liquid and remove skin and bones. Shred chicken into bite-size pieces. You can divide chicken amongst the 6 individual bowls or add it all to the pot.
  • Put a heaping spoonful of pico de gallo and avocado chunks/guacamole in each individual bowl and ladle soup on top. Squeeze lime on top and sprinkle with corn tortilla chips and fresh cilantro, if desired.
Tried this recipe?Let us know how it was!


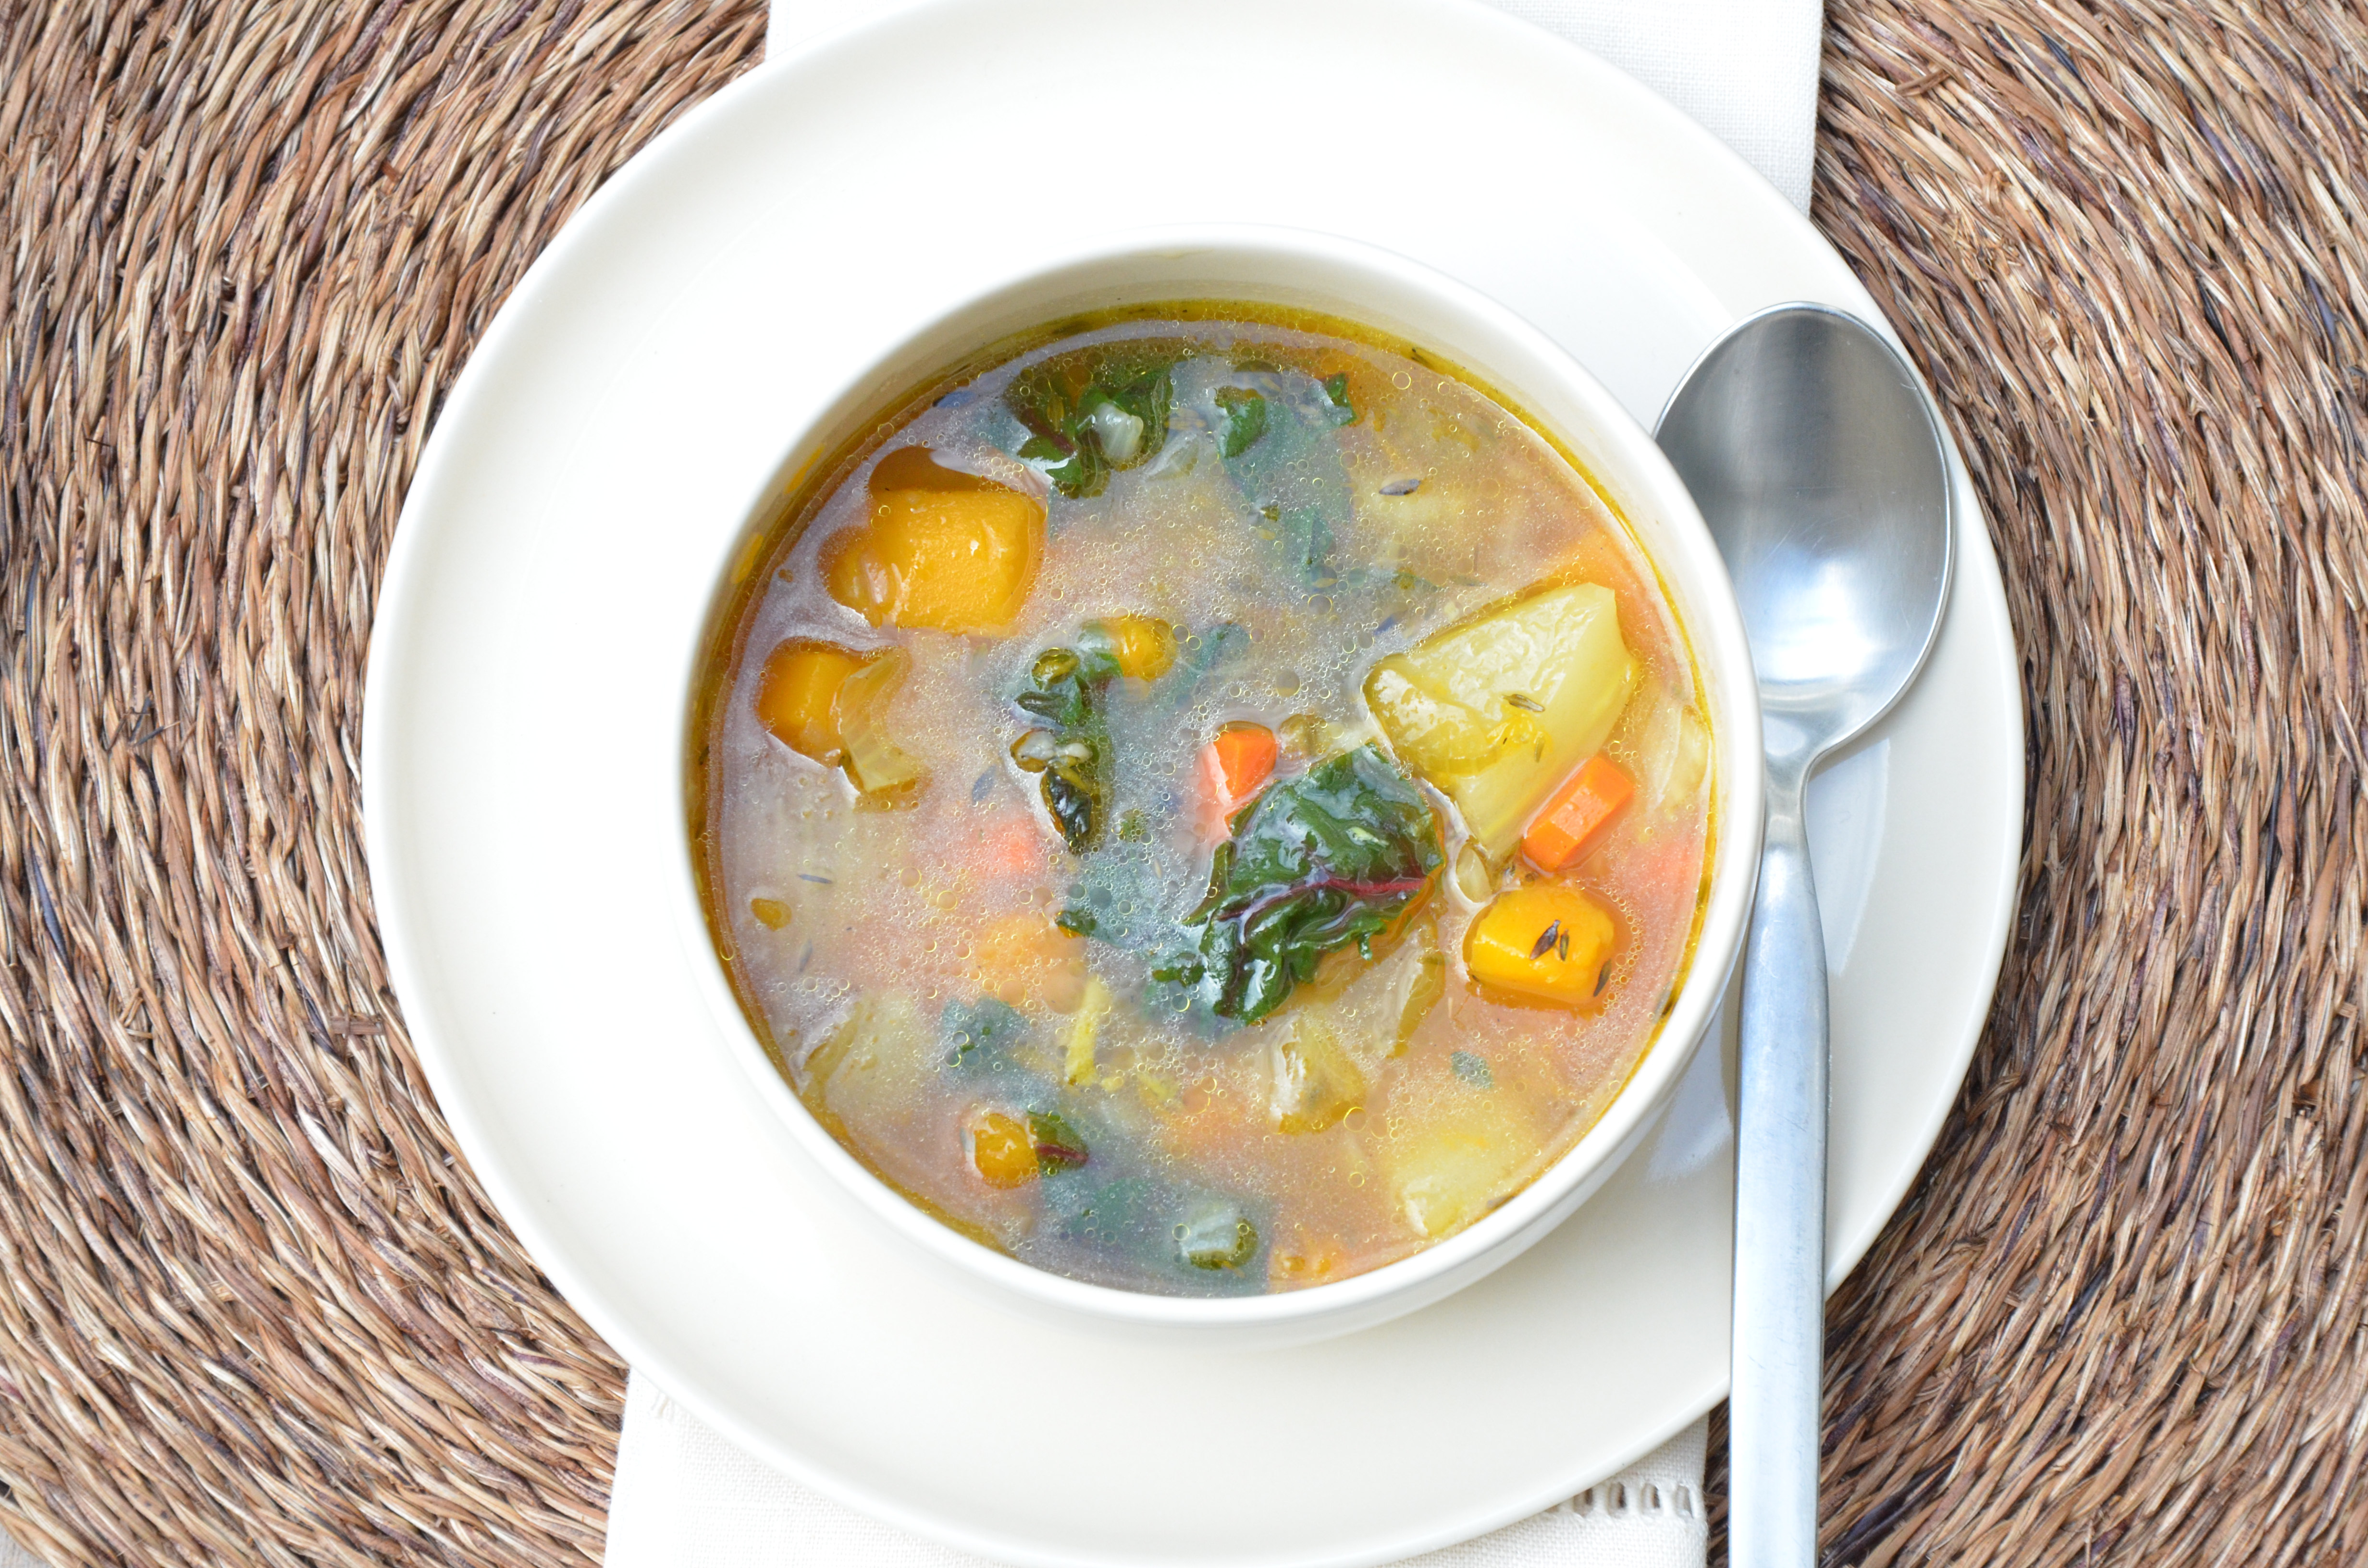
Rustic butternut squash soup with fennel and wild rice

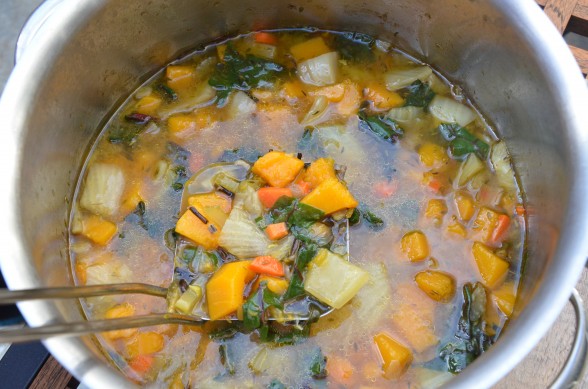
One way that I have learned how to be a more confident cook is by identifying certain “formula” recipes and then just changing the ingredients around to come up with something that seems like a different recipe. One day last year after I was bored with making Mushroom and Barley Soup for the umpteenth time, I changed a few ingredients based on what I had in the fridge and voila!  A new soup was born.  After a weekend of over-indulging (I keep leaving the house just before 4:00 when I know the craving for pumpkin pie will hit), this is exactly the kind of thing I want to eat.   It is light, but filling and very satisfying.  A bonus is that it is awesome with turkey stock, which I have loads of right now.  The kids are also happy to have this soup in their thermoses at school for a nourishing lunch, especially if I toss in a little shredded leftover turkey.


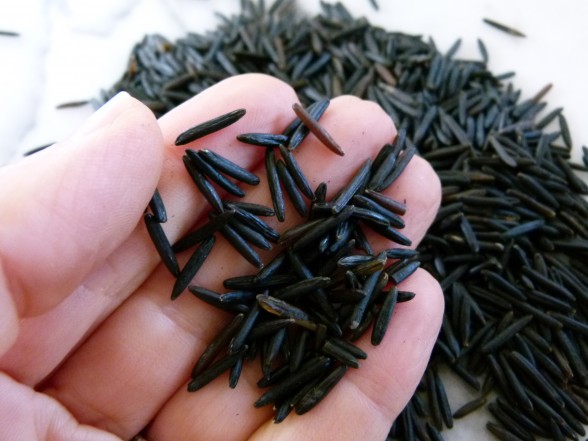
You can use any vegetables or grains you want or even substitute white beans or chickpeas, but one of my rules for a good diet is variety.  The day I made up this soup, I poked around the pantry and found a lonely bag of wild rice that I hadn’t said hello to in a while.  Funny thing about wild rice is that it’s actually not a rice at all, but really a grass.  And most of the wild rice that we find in our local markets is not really “wild,” but cultivated.  I love it all the same.   (Not) wild (not) rice is an absolutely delicious and nutritious whole food that you probably never eat.  It is nutty and almost smoky-sweet with a great chewy texture.  Wild rice is extremely high in folic acid (an essential B-complex vitamin lacking in many people’s diets), potassium and fiber.  Plus, that dramatic black color provides some powerful phytonutrients that aren’t easy to come by in nature.

Although this recipe came about as a pleasant surprise (just like my third child!), it has since become a regular in my repertoire.  Some things in life are just meant to be.

Rustic Butternut Squash Soup with Fennel and Wild Rice

Pamela
5 from 1 vote
Servings 6 -8

Ingredients
  

  • 1 Tablespoon unrefined cold-pressed extra-virgin olive oil
  • 1 Tablespoon unsalted butter or use all oil
  • 1 onion chopped
  • 1 garlic clove chopped
  • 1 carrot chopped
  • 1 celery stalk chopped
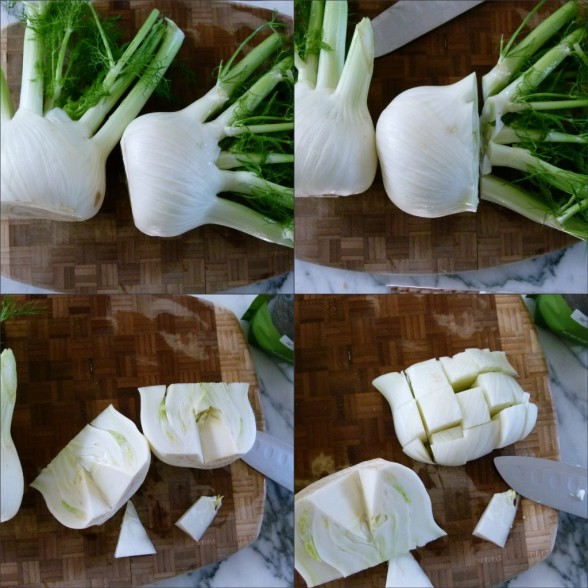
  • 2 fennel bulbs trimmed and chopped
  • 3 sprigs of fresh thyme
  • 1 cup wild rice or whole grain of choice -- adjust cooking time accordingly
  • 2 teaspoons sea salt double this if using unsalted stock + more to taste
  • 1 teaspoon freshly ground black pepper
  • 8 cups vegetable chicken or turkey stock (preferably homemade)
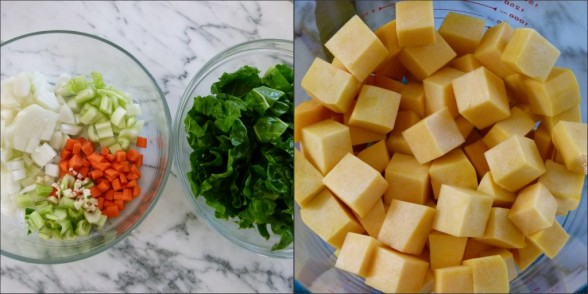
  • 1 medium butternut squash peeled and chopped (about 5 cups)
  • a few green leafies such as Swiss chard, coarsely chopped (if using chard, chop stems and keep separate from leaves)
  • 1-2 Tablespoons apple cider vinegar to taste (optional)

Instructions
 

  • In a large stockpot, melt the oil and butter over medium heat. Add onion, garlic, carrot, celery, and fennel (add chopped chard stems, if using.) Sauté until vegetables are tender, about 8 minutes.
  • Stir in the thyme, rice, stock, salt and pepper. Bring to a boil, partially cover and reduce heat. Simmer for 25 minutes.
  • Stir in butternut squash, cover slightly and simmer for an additional 25-30 minutes or until squash is tender. Add chopped greens and stir until wilted.
  • Taste for seasoning and garnish with fennel fronds, if desired. If you like a little acidity, add a few drops of apple cider vinegar. (I think the soup is better with the vinegar.)
Tried this recipe?Let us know how it was!


My favorite tuna salad

Well people, sandwich season is upon us and I’m proposing that we branch out and see if we can avoid making peanut butter and jelly everyday.  In fact, I know many of you are in nut-free schools and can’t rely on the old standby at all.  On the other hand, luncheon meats freak me out a bit — and not for any scientific reason.  I just can’t get past the idea that this turkey was cooked who knows when and squished and reformed into this new product with lots of “natural flavors.”  I’d rather poach or grill organic chicken breasts and give the kids chicken sandwiches, which is exactly what I do and I save a little money while I’m at it.

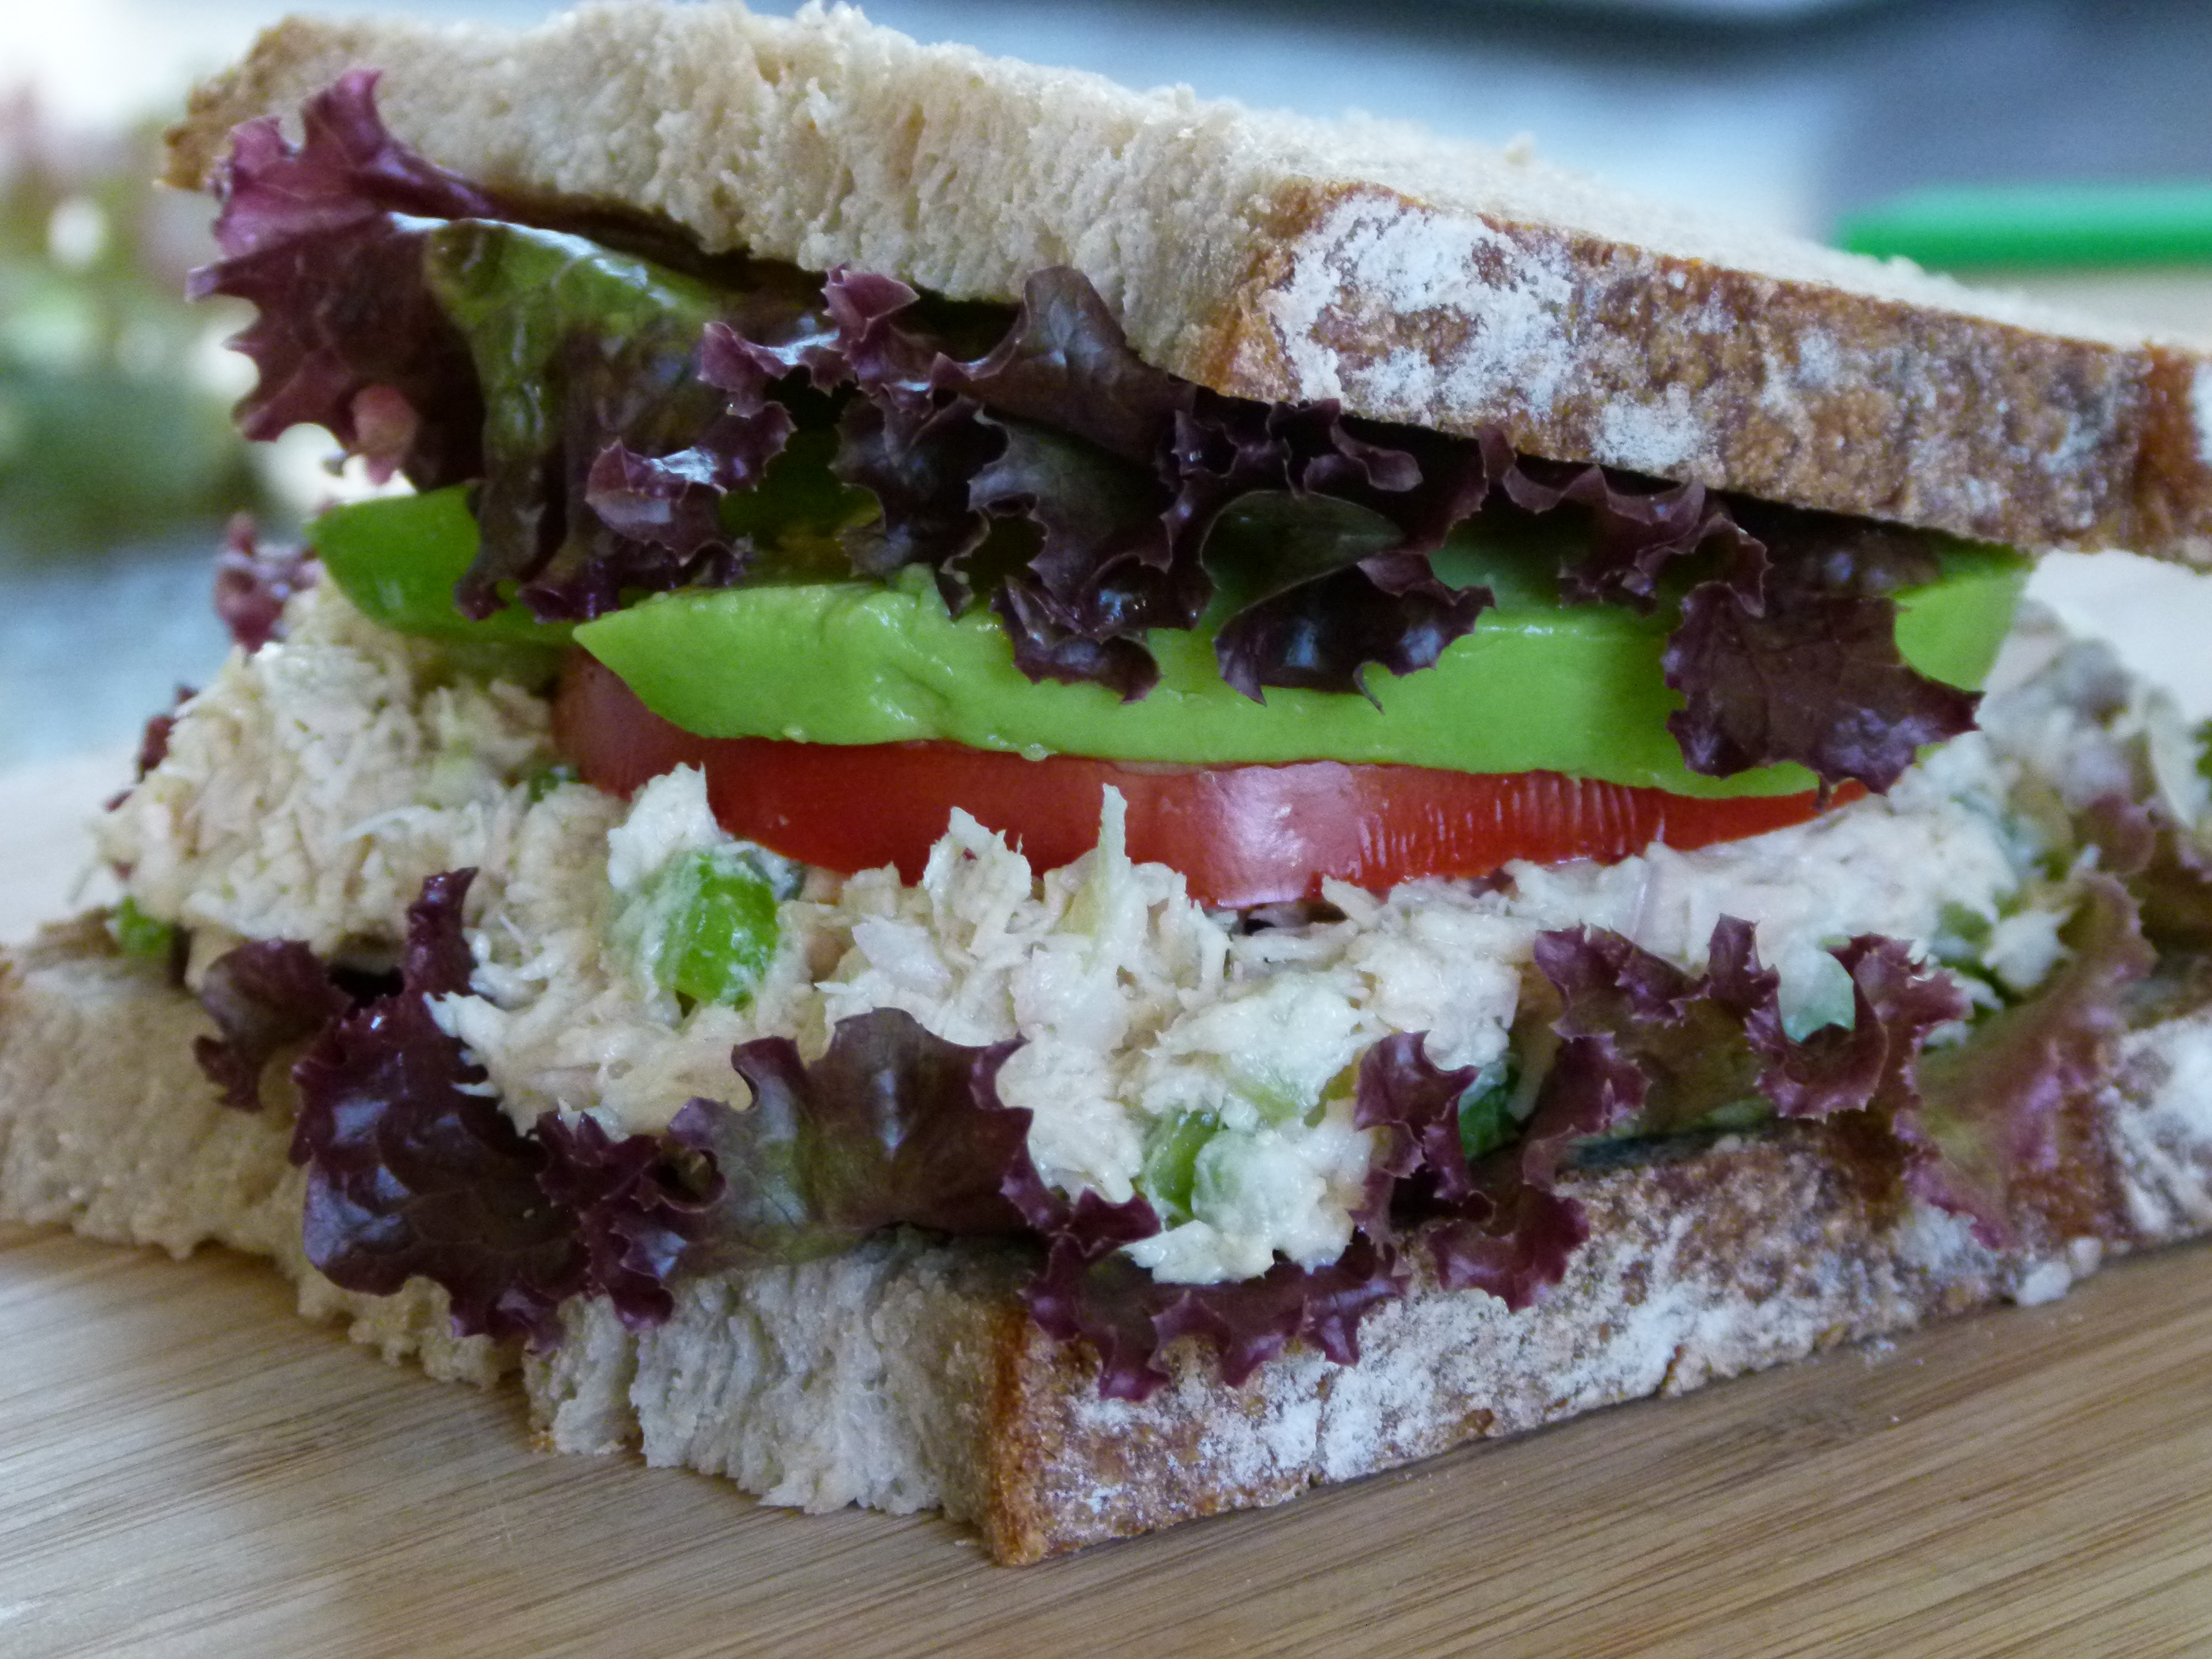
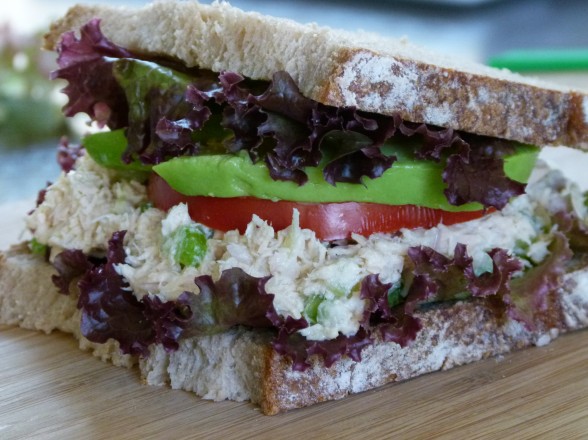
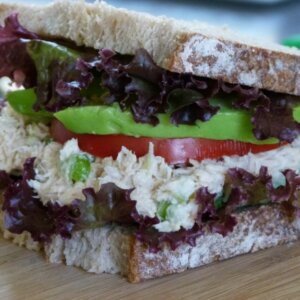
As for me, I’m not much of a sandwich eater, mostly because I prefer to eat quinoa over bread.  But if I had to pick a sandwich for my last supper, it would be tuna salad with lettuce, tomato and avocado on whole grain bread.  If there happen to be some grilled onions lying around, I would add those in, too.  But this wouldn’t be just any tuna salad, it would be this one right here, which my kids also love — hooray!

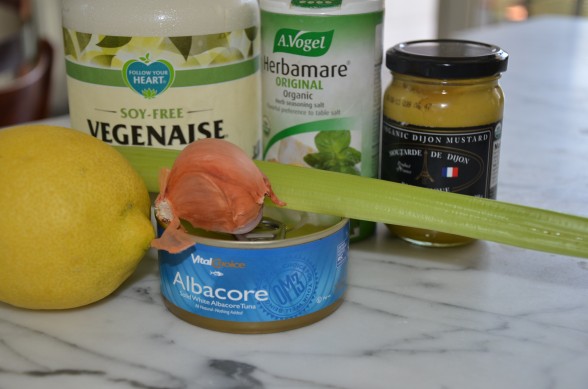
I found the canned tuna of my dreams at Vital Choice — cooked once, BPA-free cans, minimal mercury and absolutely the best tasting tuna ever.   (It’s also one of the most expensive tunas out there.  Drat!)  Tuna is high in Omega-3 fatty acids (very anti-inflammatory and you’re probably not getting enough of them) and high in protein (so important when the kids are at school).  I mix it with some of the expected like a little mayo (I like soy-free Vegenaise), celery, diced shallot (I hate cutting 2 tablespoons of onion and then wrapping the cut onion in the fridge), a little lemon juice to brighten everything up and a touch of Dijon mustard to give it some zing.  But don’t get mad when I tell you I have a random secret ingredient.  My friend Daisy introduced me to Herbamare, an organic herb and salt seasoning, several years ago and my tuna salad peaked.  It just adds the perfect flavor to complement the tuna.  I buy it at Whole Foods, but you can also find it on amazon.com.  Otherwise, just use some sea salt to taste.

You can make your tuna salad the night before to make your morning easier.  Mr. Picky doesn’t like sandwiches (hard to believe, right?), so he takes his tuna in a (BPA-free) container with a spoon.  My teenage girls would please like a breath freshener in their lunch bags on tuna day, and that does NOT mean a sprig of parsley.  Got it.  Look out for more lunch ideas in a future post!


My Favorite Tuna Salad

Pamela
5 from 1 vote

Ingredients
  

  • 1 6- ounce can water-packed tuna drained
  • ¼ of a lemon
  • 1 stalk celery diced, about ½ cup
  • 1 small shallot diced, about 2 Tablespoons
  • 2-3 Tablespoons mayonnaise I like soy-free Vegenaise or half Greek yogurt and half mayo
  • 1 teaspoon Dijon mustard optional
  • 3/8 teaspoon Herbamare or sea salt
  • Freshly ground black pepper to taste

Instructions
 

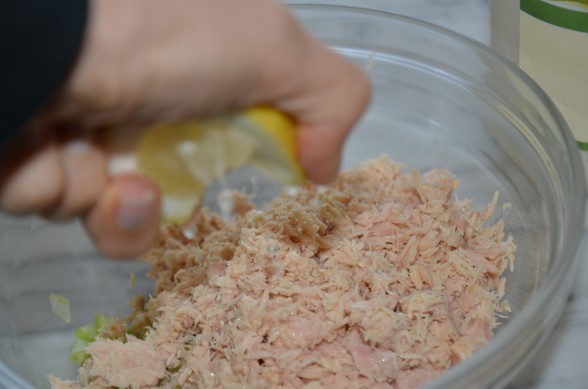
  • Right in the can, flake the tuna with a fork over a medium bowl, at the same time allowing the tuna to fall into the bowl. Squeeze the lemon over the tuna.
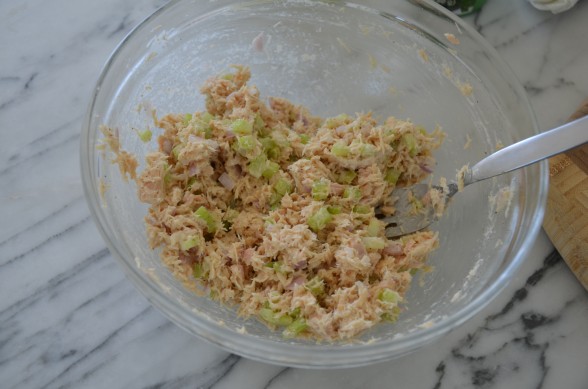
  • Add the remaining ingredients to the bowl and mix well. Taste for seasoning.

Notes

Notes: other additions can include diced apple, diced sweet bell pepper, sliced manzanilla olives (the ones stuffed with pimentos), chopped nuts, chopped water chestnuts, fresh dill
Tried this recipe?Let us know how it was!


White bean salad with celery and mint (and sometimes tuna)

Happy summer!  I really can’t believe it’s here, but I am just thrilled to bits.  Even though I still teach during the summer, I find that my schedule with the kids is a little easier and frees me up to spend a bit more time cooking.  The ironic thing is that during the summer, we don’t need to “cook” as much.  The weather is warmer and our bodies can tolerate more raw or lightly cooked foods.  But this has to be my favorite season for just the sheer bounty of vegetables and fruits available.  You can find me literally bouncing around the farmer’s markets in the summer overbuying berries and stone fruits, corn, eggplant, greens and tomatoes.  This past Saturday I bought a bushel of mint that was so gorgeous and fragrant, I couldn’t resist.  But I should have since already I GROW mint on my patio.

I also love summer since we entertain much more frequently and it’s a wonderful chance to catch up with friends.  I enjoyed a little quiet time this morning planning some weekend meals with guests in mind.  I have several new recipes I’ll be trying out, like chicken and vegetable kabobs with chimichurri sauce, black bean burgers with a smoky red pepper spread, and cantaloupe and cucumber salad.  I’m hoping they get the thumbs-up and I’ll post them before the end of the season.  Also, the kids and I have been having fun dipping big chunks of peeled ripe bananas into melted dark chocolate and freezing them.  But in as much as I get excited about experimenting, I also love my favorite stand-bys.

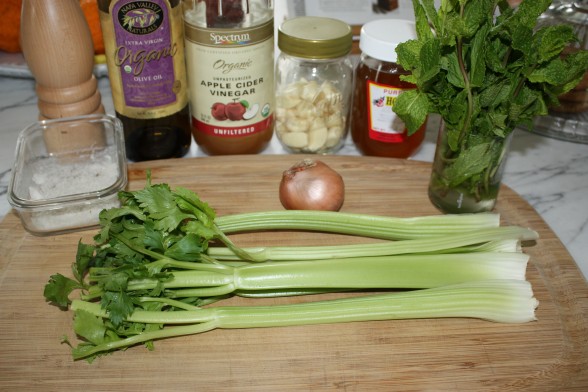
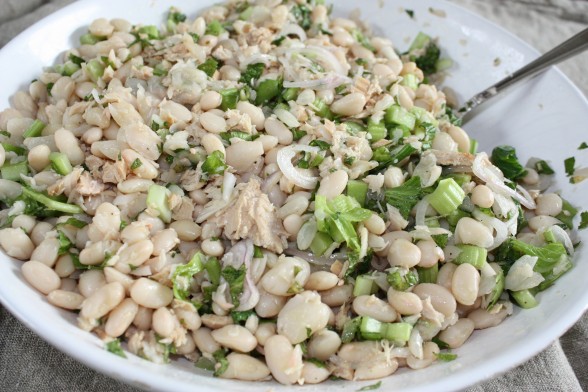
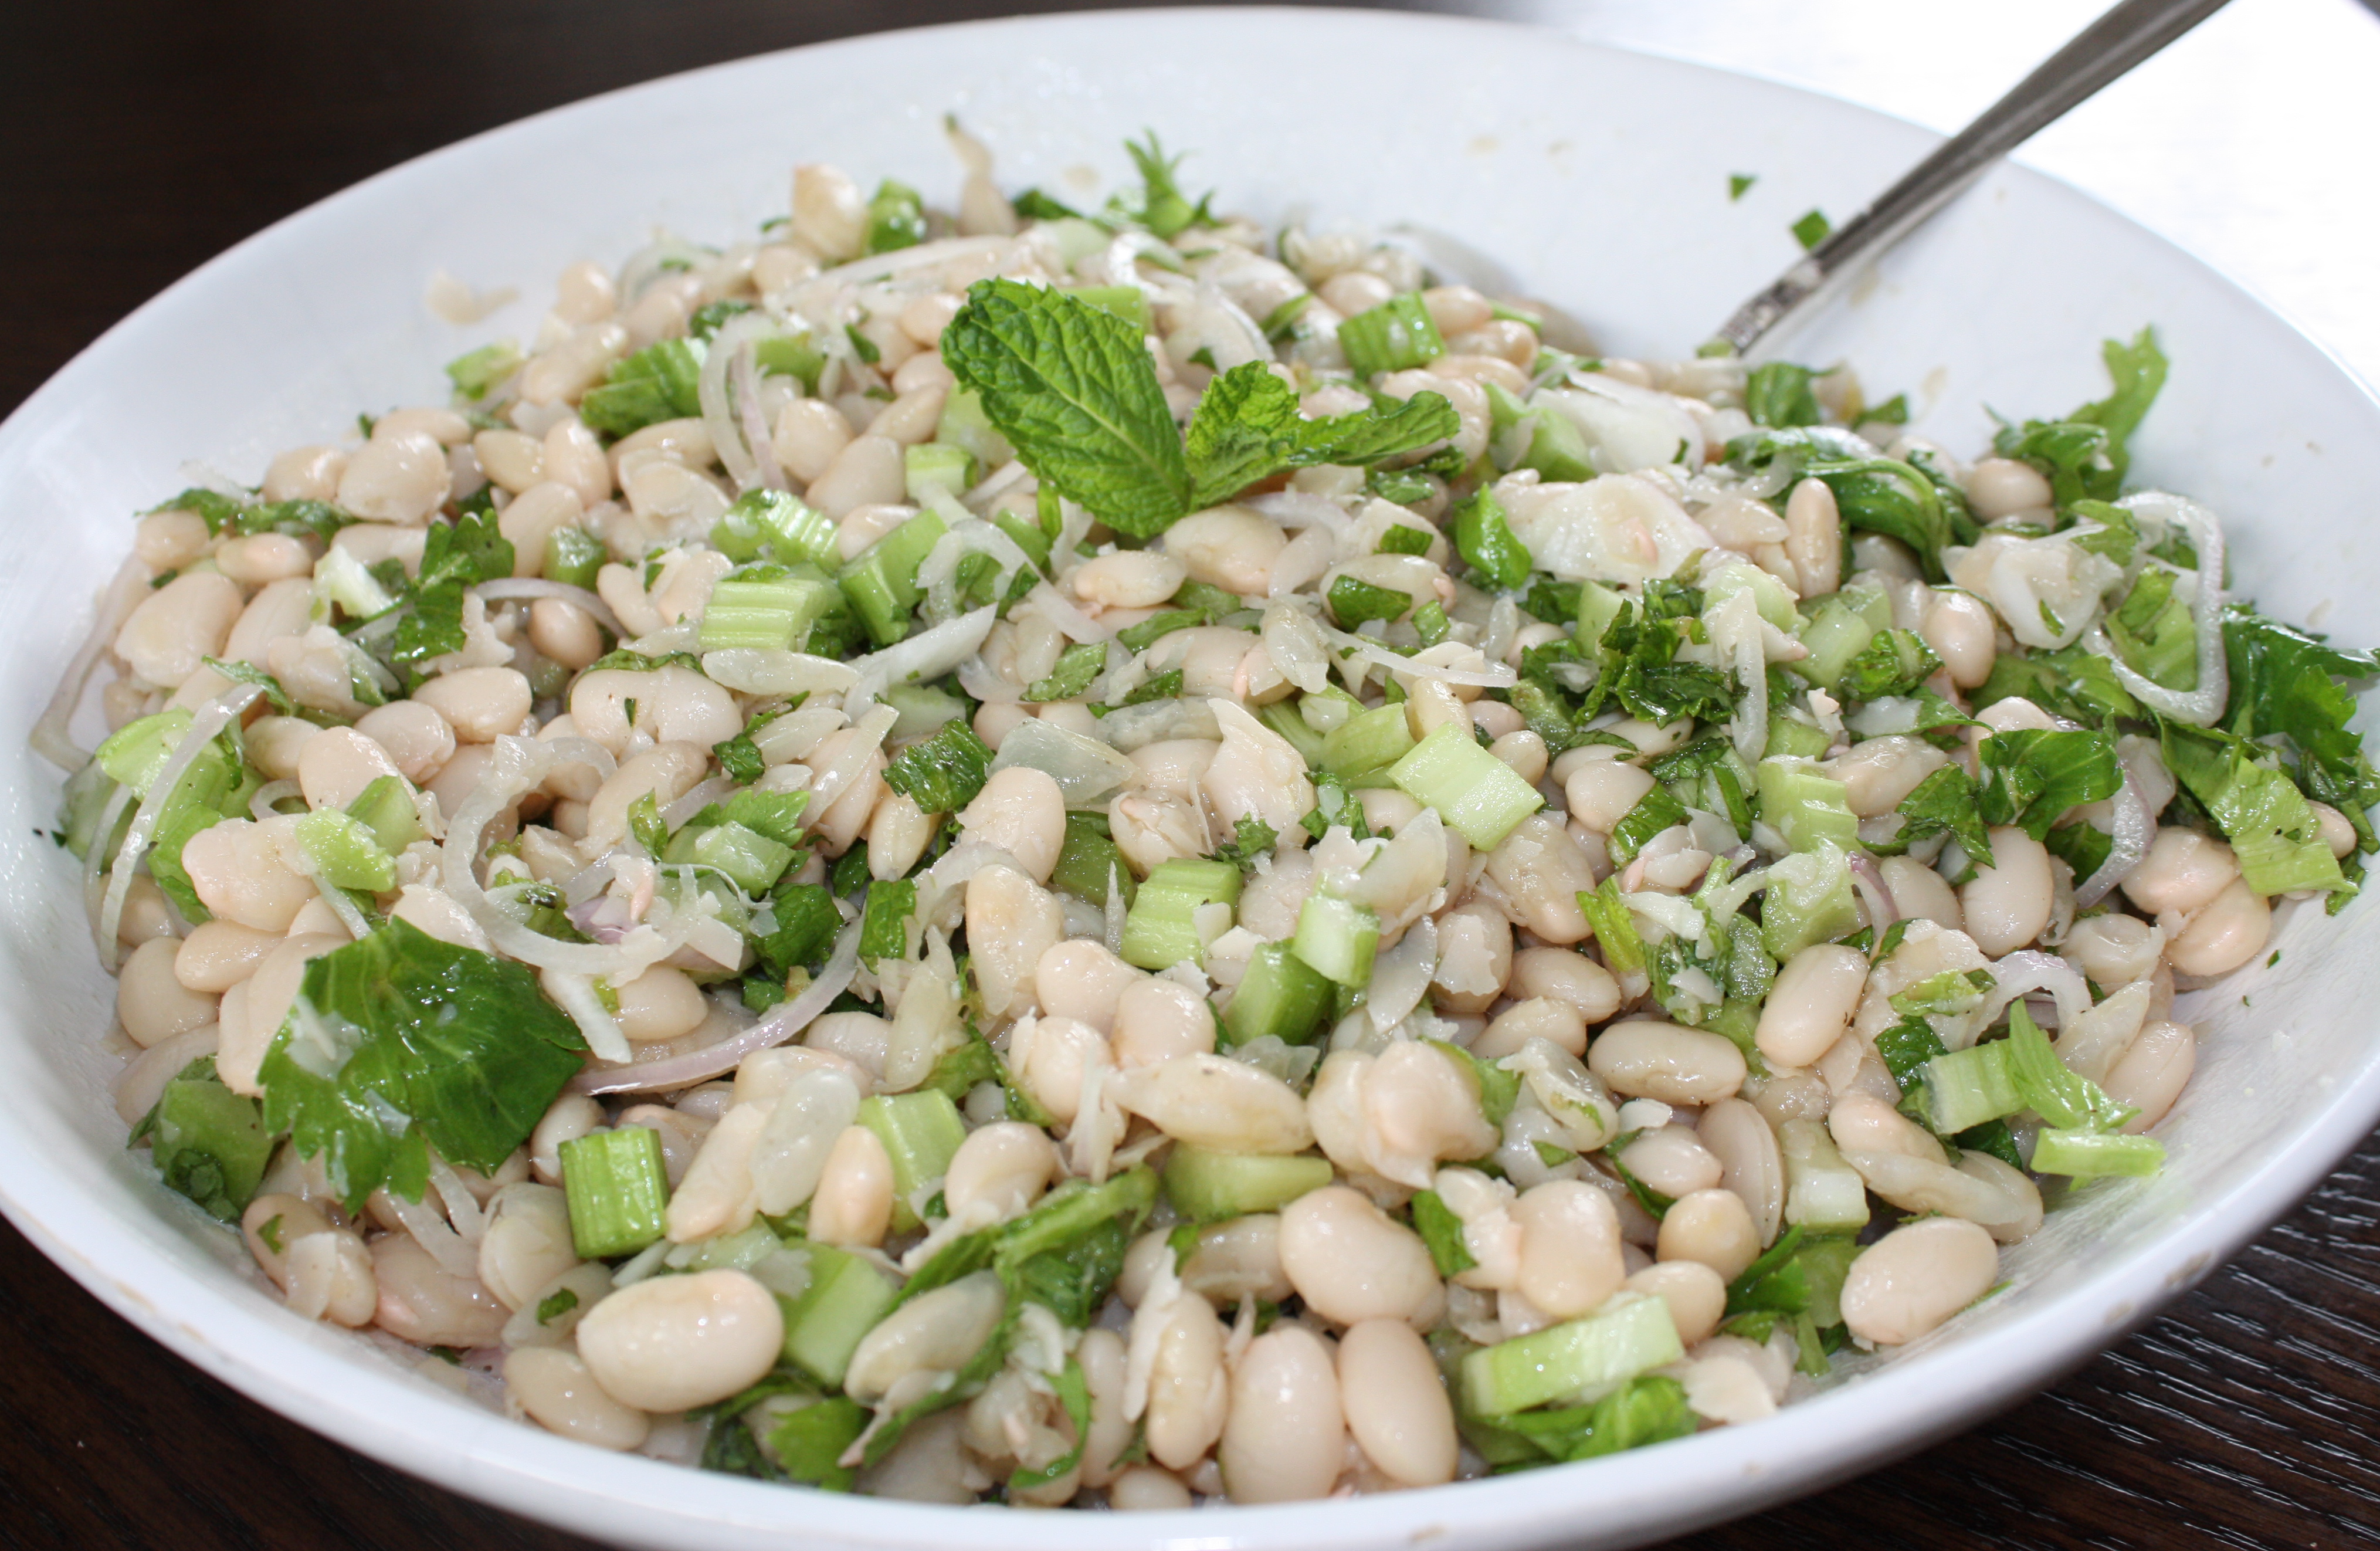
One of my regular dishes in the summer is this white bean, celery and mint salad.  By now you know I have a thing for creamy and crunchy together and I clearly have no self-control when a healthy bunch of mint seduces me.  On a beach day, I like to put the fixings out for a make-your-own sandwich bar.   Whether we choose to eat a quick bite at home or pack the sandwiches to go, this bean salad is always the perfect side to chicken salad, grilled vegetables or a humble turkey on wheat.  It is a great salad to bring on a picnic since the beans and celery don’t suffer after sitting in dressing for hours.  But the recipe is so easy that you might find yourself at home for lunch one day and decide that you can pull a beautiful healthful salad together with that can of white beans in your pantry and a simple vinaigrette.

Beans are a great source of inexpensive, low-fat protein and contain a ton of soluble fiber — so great for helping balance the LDL and HDL levels.  I am pretty good about planning meals in advance, so I will usually soak dried beans and make them from scratch, but opening up a can of Eden Organic beans is just fine, although a tad more expensive.  Sometimes I add canned tuna to this salad and you really need nothing more, although my girls love to take crusty bread and scoop up the salad and eat it that way.  Now would be a good time to mention that I dread BPA, which is a plastic and resin ingredient found in the linings of most cans, as well as water bottles and is associated with several health problems including breast cancer and infertility.  Thankfully, Eden Organics and Vital Choice Seafood do not use BPA in their can liners.

Please stop in again for more fresh, healthful and seasonal recipes to share with family and friends.  I’m looking forward to a great summer!


White Bean Salad with Celery and Mint (and Sometimes Tuna)

Pamela
5 from 1 vote

Ingredients
  

  • 1 pound dried Great Northern or cannellini beans*
  • 1 medium onion quartered
  • 1 stalk celery quartered
  • 1 clove garlic crushed
  • 1 2- inch piece kombu if you have it**
  • 1 Tablespoon kosher salt
  • Dressing:
  • ¾ cup unrefined cold-pressed extra-virgin olive oil
  • ¼ cup raw apple cider vinegar preferably unpasteurized
  • ½ teaspoon raw honey
  • 1 clove garlic crushed
  • 1 teaspoon sea salt
  • ½ teaspoon freshly ground pepper
  • 1 ½ cups chopped celery
  • 1 shallot cut into thin half-moon slices ar ½ red onion, small dice
  • 1 ½ cups loosely packed mint leaves chopped
  • 1 7- ounces can albacore tuna packed in oil or water optional, flaked

Instructions
 

  • Rinse the beans and pick over for small stones or debris. Soak the beans in cold water overnight with a 2-inch piece of kombu.
  • Discard the soaking liquid, and place the beans and the other ingredients for cooking them in a 6-quart pot. Add enough cold water to fill the pot half full. Bring to a boil. Simmer 1 to 1 ½ hours, until the beans are tender. Turn off the heat, add the tablespoon of kosher salt and allow to cool in the cooking liquid. Drain and discard the cooking liquid, onion, celery and kombu.
  • Whisk the dressing ingredients in a small bowl until emulsified.
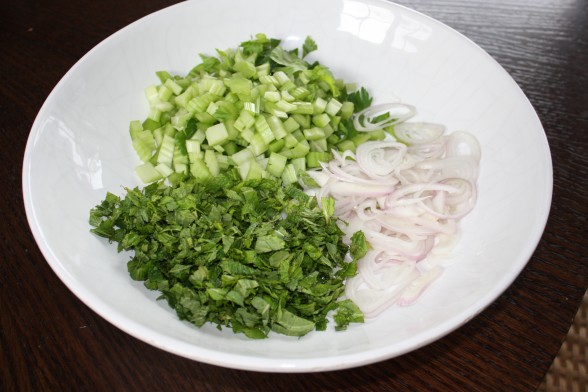
  • To make the salad, transfer the cooked beans to a serving bowl. Add the celery, sliced shallot, fresh mint and (optional tuna.) Pour the dressing over the beans and toss to blend. Serve at room temperature.

Notes

*Or you can use 6 cups drained and rinsed canned beans, approximately 3 or 4 cans.
** Kombu is a seaweed which helps tenderize the beans and make them more digestible. If you also cook the beans with the kombu, it adds alkalinity. I buy Eden kombu at Whole Foods or from amazon.com
Tried this recipe?Let us know how it was!


white bean salad with celery and mint (and sometimes tuna)

serves 8


1 pound dried Great Northern or cannellini beans*

1 medium onion, quartered

1 stalk celery, quartered

1 clove garlic, crushed

1 2-inch piece kombu (if you have it)**

1 Tablespoon kosher salt


Dressing:

¾ cup unrefined, cold-pressed extra-virgin olive oil

¼ cup raw apple cider vinegar, preferably unpasteurized

½ teaspoon raw honey

1 clove garlic, crushed

1 teaspoon sea salt

½ teaspoon freshly ground pepper


1 ½ cups chopped celery

1 shallot, cut into thin half-moon slices ar ½ red onion, small dice

1 ½ cups loosely packed mint leaves, chopped

1 7-ounces can albacore tuna packed in oil or water (optional), flaked

  1. Rinse the beans and pick over for small stones or debris.  Soak the beans in cold water overnight with a 2-inch piece of kombu.
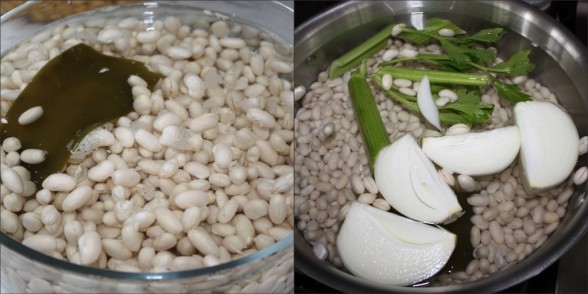
  2. Discard the soaking liquid, and place the beans and the other ingredients for cooking them in a 6-quart pot.  Add enough cold water to fill the pot half full.  Bring to a boil.  Simmer 1 to 1 ½ hours, until the beans are tender.  Turn off the heat, add the tablespoon of kosher salt and allow to cool in the cooking liquid.  Drain and discard the cooking liquid, onion, celery and kombu.
  3. Whisk the dressing ingredients in a small bowl until emulsified.
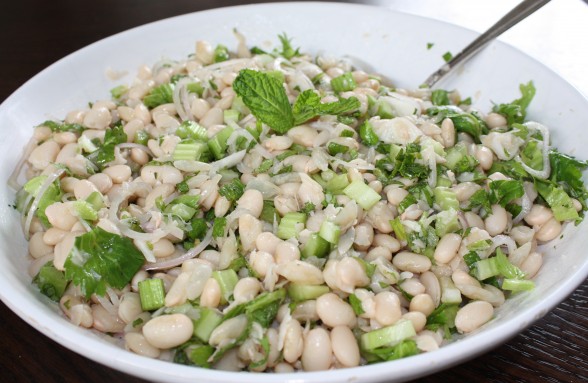
  4. To make the salad, transfer the cooked beans to a serving bowl.  Add the celery, sliced shallot, fresh mint and (optional tuna.)  Pour the dressing over the beans and toss to blend.  Serve at room temperature.


*Or you can use 6 cups drained and rinsed canned beans, approximately 3 or 4 cans.

** Kombu is a seaweed which helps tenderize the beans and make them more digestible.  If you also cook the beans with the kombu, it adds alkalinity.  I buy Eden kombu at Whole Foods or from amazon.com