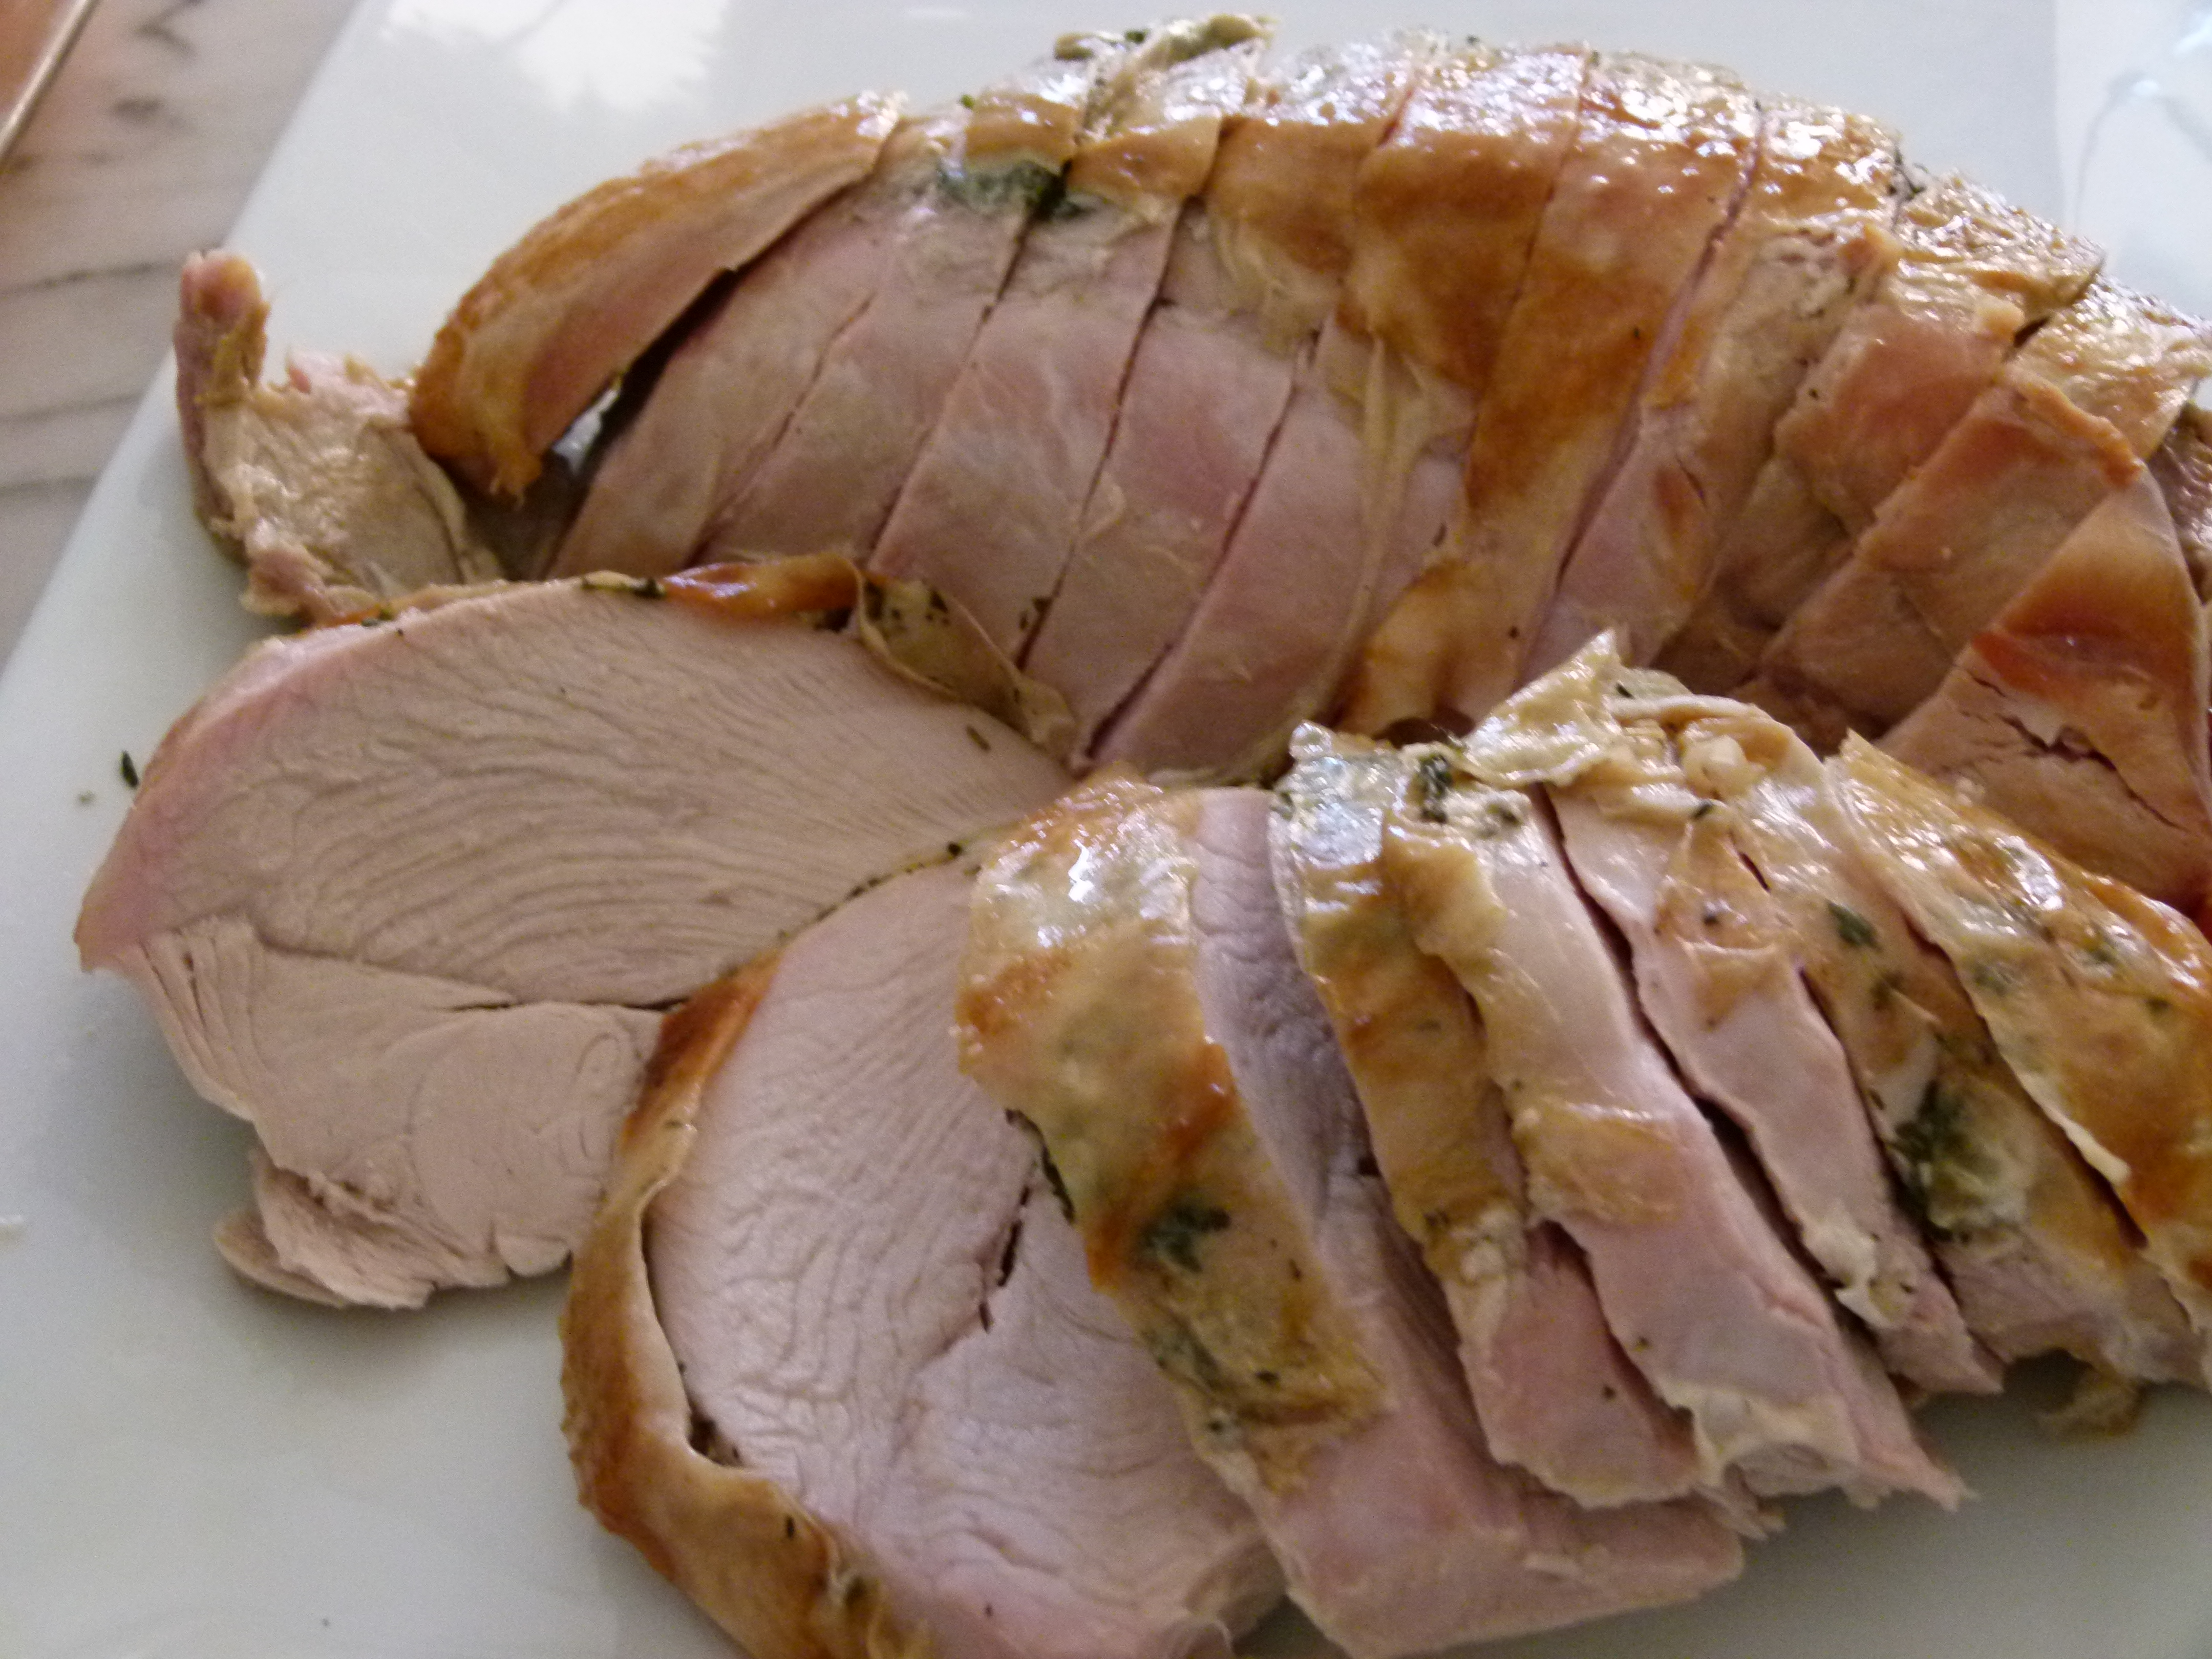
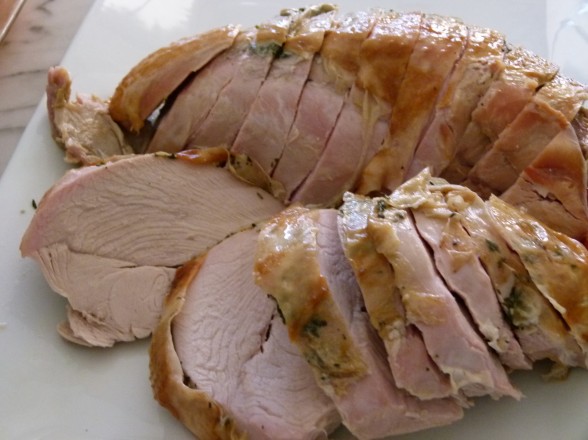
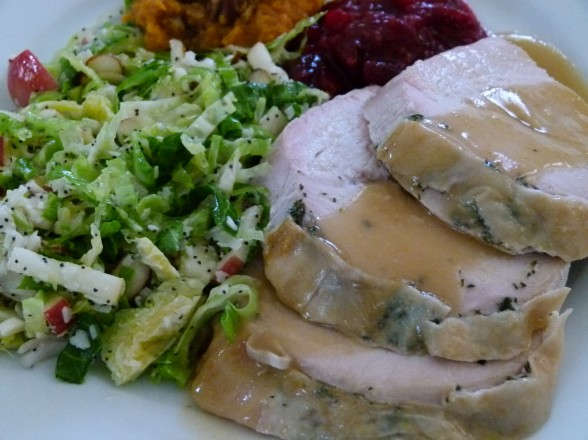
Roasted Whole Bone-In Turkey Breast Recipe

This is it, friends!  We’re in the home stretch and I’ve got one last recipe to share before the big day.  By now you know I get most excited about the side dishes, but in my classes I spend more time answering questions about turkey.  What size should I order?  What kind of turkey should I buy?  Why does my turkey always turn out dry?  How do I know when it’s done?  What do you think about deep frying a turkey?  (I don’t.)  And so on.  Even though I’ve been around this block quite a few times, and I’ll admit that I can get a little unnerved when it’s time to make the turkey.  With so many factors at play here, e.g. size, temperature of the bird, variance in oven temperatures, and so many methods, e.g. dry brine, wet brine, kosher, breast side down, basting every 20 minutes, etc., it can be a little tricky knowing how to achieve the best result.  I think most of my turkeys have turned out great.  But I’ve had my mishaps and I have learned there’s always a solution, even when I forgot to close the door to my garage refrigerator and my turkeys were about 80 degrees the next morning.  Total rookie move, and that was three years ago. (I didn’t cook them, by the way.  I went to Whole Foods at 7:00 am and bought 2 brined turkeys.  Problem solved!)

I’ve really only cooked two different versions of turkey, a whole roasted bird and a whole roasted breast.  Like I said, I get more excited and have more fun with the side dishes!  But traditionally since the turkey is the star of the show, I like to put my best foot forward and prepare a delicious bird.  Normally I roast two whole turkeys on Thanksgiving, but a whole roasted breast can come in handy for a smaller crowd or to supplement a whole turkey if most of your guests prefer white meat.  I’ve tested many methods for cooking a breast and this is hands-down my favorite.  It is also a little different from how I cook a whole turkey.  Whereas I prefer dry brining a whole turkey, I’ll go for the wet brine with a turkey breast which is much more easy to maneuver in a ziptop bag full of brining liquid. (Unlike the time in 2001 when my bag o’brine surrounding my 20-pound turkey exploded all over my kitchen floor.  Cleaning that mess was definitely NOT on the schedule.)  Either way, it is key to get that meat pre-seasoned with salt so it’s tasty and stays moist.  It makes a huge difference!

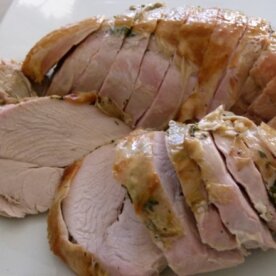
I’ve made a dozen of these whole breasts over the last couple weeks and each one has turned out moist and flavorful.  The best part is that with this straightforward method, there’s no constant basting and no worrying about wether or not the thigh meat will cook at the same rate as the breast.  Funny, the question I received the most after classes this month was “why do we only make turkey on Thanksgiving?”
Roasted Whole Bone-In Turkey Breast

Pamela
Servings 10 -12

Ingredients
  

  • For the brine: do not brine a kosher turkey
  • 1 1/3 cups Kosher salt such as Diamond Crystal
  • ¼ cup light brown sugar
  • 1 ½ teaspoons whole peppercorns
  • 1 quart water
  • 4 quarts ice water
  • 1 brining bag or heavy duty gigantic Ziploc bag
  • For the turkey:
  • 1 , 6-7 pound whole bone-in skin-on turkey breast
  • 2 Tablespoons fresh thyme leaves chopped
  • 2 teaspoons freshly ground black pepper
  • 6 Tablespoons softened unsalted butter or unrefined cold pressed, extra virgin olive oil
  • 1 cup chicken or turkey stock or water stock will allow you to make gravy
  • Gravy
  • ¼ cup white wine
  • 5 Tablespoons all-purpose flour or a gluten-free flour blend, such as King Arthur's Multi-purpose
  • 3- 3 ½ cups chicken or turkey stock preferably homemade
  • Sea salt and freshly ground black pepper to taste

Instructions
 

  • Make the brine: In a medium saucepan over high heat, combine the salt, brown sugar, peppercorns and 1 quart water. Bring to a boil and continue boiling, stirring until the salt and sugar are dissolved, about 3 minutes. Remove from the heat and transfer to a large bowl. Stir the ice water into the brine and make sure this mixture is cool before proceeding, otherwise add more ice.
  • Place the brining bag in a large bowl or pot and transfer the turkey to the bag. Pour in the brine into the bag with additional ice, if needed. Seal the bag securely! Refrigerate the turkey for 12 to 18 hours.
  • About an hour before cooking, remove the turkey from the brine, rinse thoroughly with cold water and pat dry with paper towels.
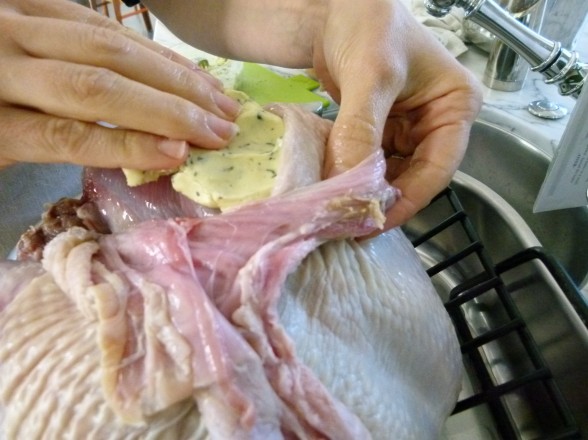
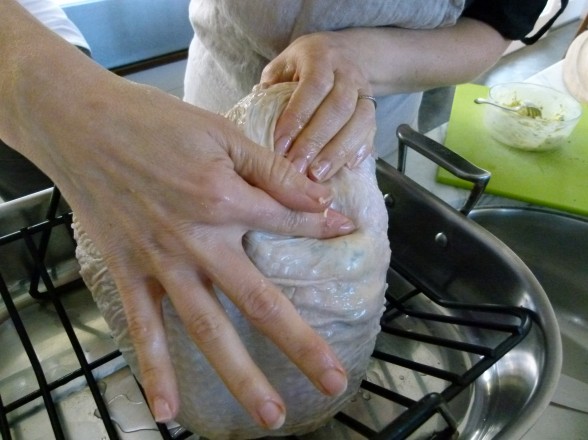
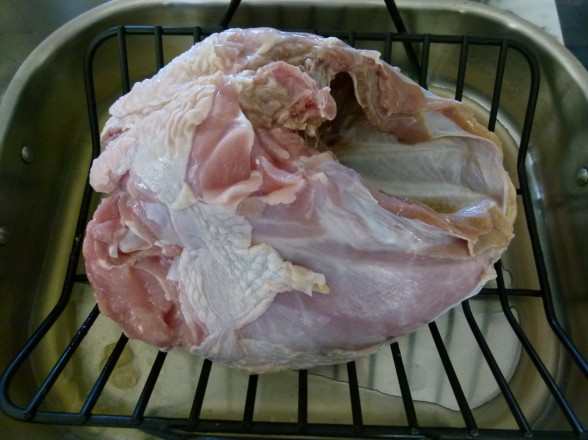
  • Preheat the oven to 425 degrees. Combine the thyme, black pepper and butter in a small bowl. Loosen the skin from the breast and open it to make a pocket. Spread the butter mixture directly on the meat. Rub a little all over the skin. Place the turkey breast-side down in a v-shaped rack in a roasting pan. Add the stock. Roast the turkey for 30 minutes.
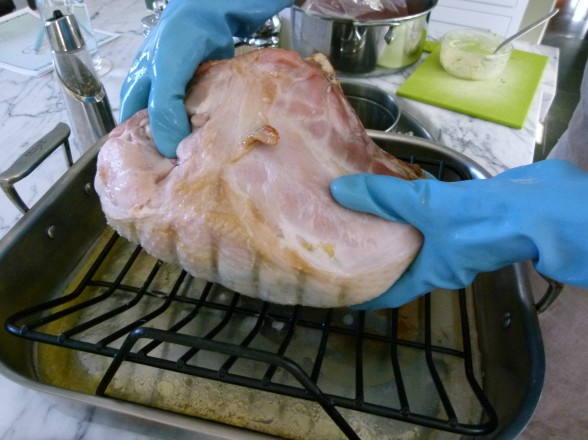
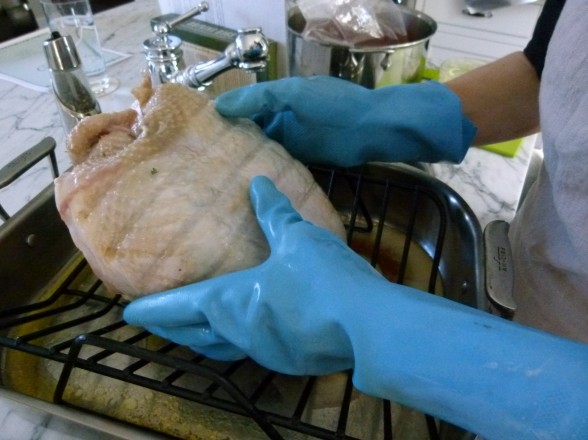
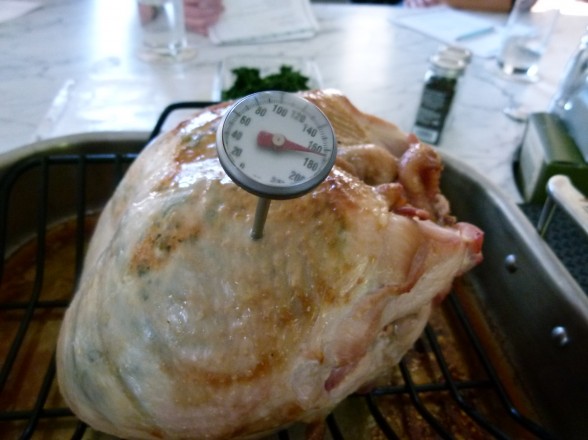
  • Reduce oven temperature to 325 degrees. Turn turkey breast-side up (I wear rubber gloves to flip) and tent with foil. Continue to roast until an instant read thermometer registers 160-165 degrees when inserted into the thickest part of the breast, about an additional 1 ½ to 2 hours, depending on the size of the turkey. The temperature of the meat is more important than how long the turkey is in the oven!
  • Remove from oven and keep covered with foil and allow to rest at room temperature at least 30 minutes. Carve and serve with pan juices or prepare gravy. Don't forget to save the carcass for making stock!
  • To make gravy: remove the turkey from the roasting pan, pour the pan drippings into a fat separator.
  • Pour the wine and the pan juices (that have been separated from the fat) back into the roasting pan, and place over medium heat. Bring to a boil and boil for 2-3 minutes, scraping the bottom of the pan with a wooden spoon to dislodge any brown bits. Strain into a bowl and set aside.
  • In a saucepan over medium heat, warm the reserved fat until it is bubbly. If you don't get 3-4 Tablespoons of fat from the drippings, add some olive oil. Add the flour and whisk rapidly to cook the flour.
  • Strain the mixture from the roasting pan into the saucepan and 2 cups of stock. Cook, while rapidly stirring, until smooth and thickened, 1-2 minutes. Add the remaining stock as needed to achieve desired consistency. Season to taste with salt and pepper.

Notes

Check out my video on how to make gravy and carve the breast at the bottom of this post!
Tried this recipe?Let us know how it was!


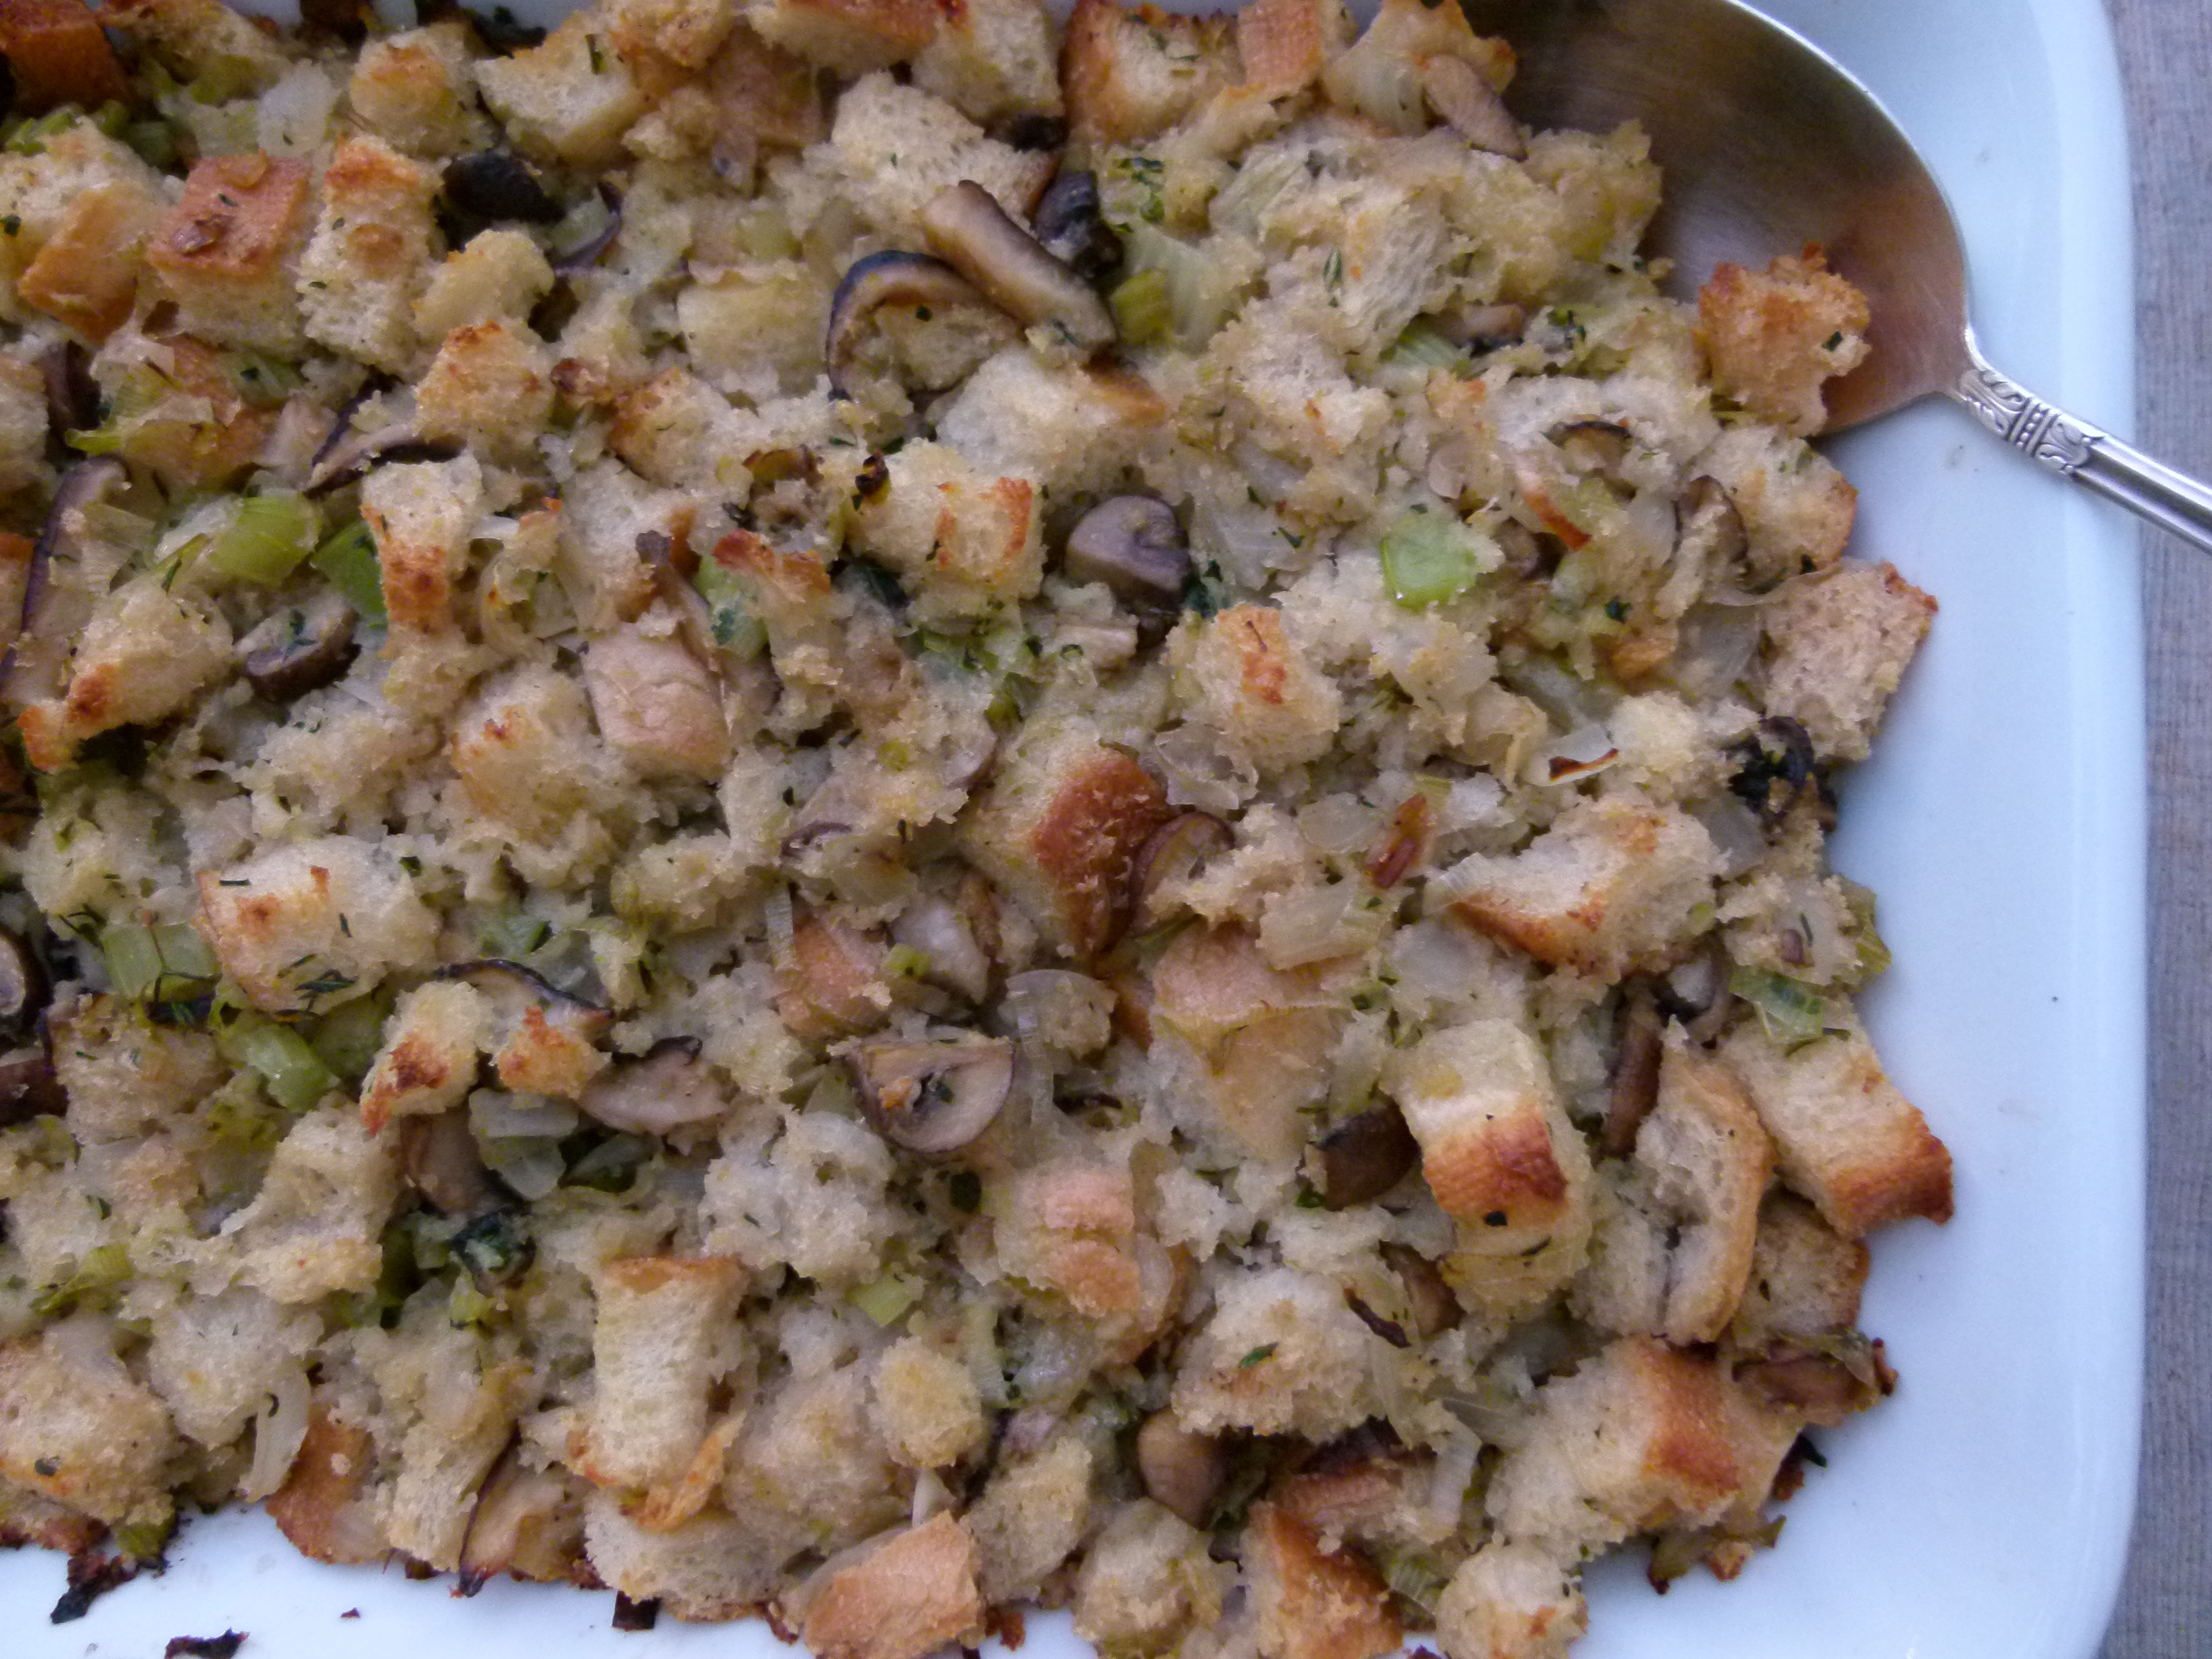
Mushroom and leek stuffing recipe

When I married my husband over 17 years ago (gasp!), I was more than excited to start hosting some of the holidays at our new home.  But I soon realized that my husband’s traditions were slightly different from the ones I grew up with, especially on Thanksgiving.  What?  No first course of pasta with marinara sauce?  Strange, I thought, but I could adapt!  My mother-in-law kindly shared with me the way things were done on the West Coast.  She liked to serve everyone a salad to start and plate the main dinner for each person in the kitchen.  Turkey and gravy, mashed potatoes and stuffing were all givens, and their stuffing of choice was Pepperidge Farm.  No problem!

My husband and I have hosted every Thanksgiving since 1996 and enjoy the comfort that develops when you do something over and over again.   I have since incorporated my own traditions like buffet – easier and much less waste – and soup to start.  About 6 years ago I decided to examine the ingredients on the seemingly innocuous bag of Pepperidge Farm stuffing.  Holy crap.  I couldn’t believe the garbage that went into breadcrumbs!  One thing I knew for certain was that Pepperidge Farm was uninvited to Thanksgiving…forever!

Actually, if it were up to me, I would drop stuffing from the menu altogether.  I really don’t get it.  With ALL the delicious food on the Thanksgiving table, many of the dishes starchy, we’re going to eat gussied up bread, a food we already overeat on every other day of the year??  I was trying to explain to my husband that mashed potatoes, sweet potatoes and butternut squash are all starches, as is the obligatory cornbread.  We should balance out the meal with additional vegetables, like Brussels sprouts!  “You’re taking this health food thing a little too far.  The stuffing stays!”

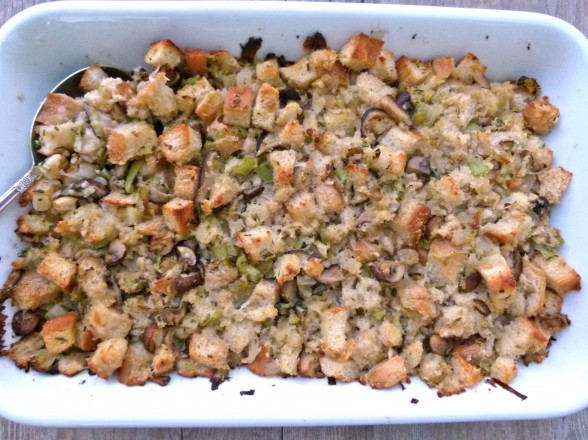
Although I like to think of myself as the dictator of my kitchen empire, the director of Thanksgiving, I’m really a democratic leader.  I figured my only option was to create a delicious, higher quality stuffing that looked like Pepperidge Farm and tasted enough like it, but even better.  So here’s my take on a good classic stuffing that’s not too gourmet, in fact tastes very close to our old preservative-laden standby.    I usually make two for our dinner, one with mushrooms to suit me and one without for my hubby.

I’ve tried this stuffing with whole grain breads like whole wheat or spelt, but truthfully it tastes a little “wheat-y.”  There was a fantastic bread I used to buy from Whole Foods called Miche, which was a sourdough bread made of a blend of whole wheat and white flours.  That was about as whole grain as my family could take on Thanksgiving.  Truth be told,  I prefer to go down in our family history as the benevolent one who said, “ let them eat stuffing!”

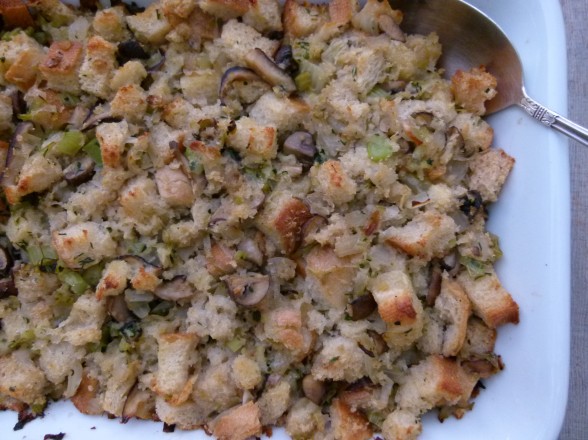
Mushroom and Leek Stuffing

Pamela
5 from 1 vote
Servings 8 -10 (although I make 2 for 24 people on Thanksgiving and it is plenty)

Ingredients
  

  • 1 ½ pounds rustic whole wheat or white bread hard crust removed
  • 6 Tablespoons unrefined cold-pressed extra-virgin olive oil
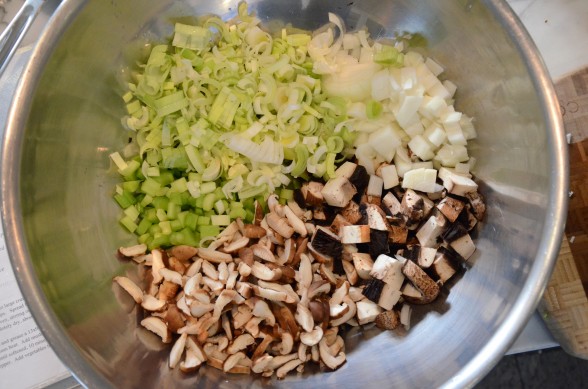
  • ½ pound shiitake mushrooms wiped clean, stems removed and discarded, caps sliced
  • ½ pound cremini mushrooms wiped clean, quartered
  • 2 stalks celery chopped
  • 1 large onion chopped
  • 2 leeks cleaned and sliced
  • 3 garlic cloves minced
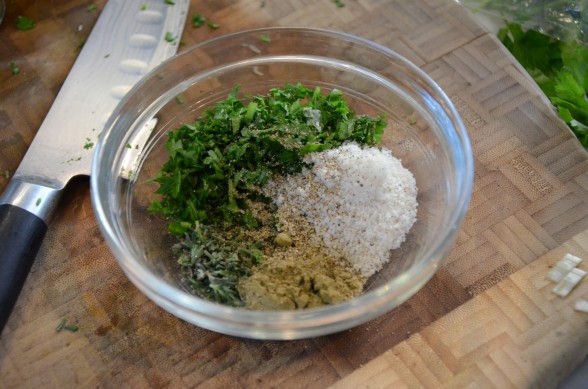
  • 1 ½ teaspoons fresh thyme chopped
  • 1 teaspoon dried sage or poultry seasoning or 2 teaspoons fresh sage chopped
  • 2 Tablespoons flat-leaf parsley chopped
  • 2 teaspoons sea salt or 3 teaspoons if using unsalted stock
  • ½ teaspoon black pepper
  • 3-4 cups chicken turkey or vegetable stock (depending on if you like it wet or dry)
  • 2 Tablespoons unsalted butter cut into small dice (optional)

Instructions
 

  • Preheat oven to 350 degrees.
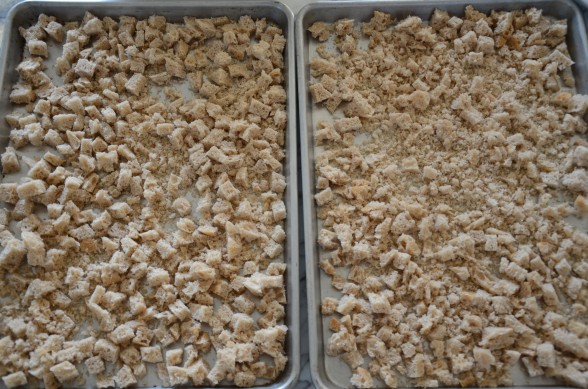
  • Place bread in a food processor and process into large crumbs or cut into ½-inch dice. (I like to do a combination.) You should have 10 cups. Spread bread over 2 large shallow baking pans and bake in upper and lower thirds of oven, stirring occasionally and switching position of pans halfway through baking, until completely dry, about 25 minutes. Transfer bread to a large bowl.
  • Increase oven temperature to 450 degrees and grease a 13x9-inch baking dish.
  • Heat olive oil in a large skillet over medium heat. Add mushrooms, celery, onion, leeks, and garlic, and sauté, stirring occasionally until softened, 10 minutes.
  • Stir in thyme, sage, parsley, salt and pepper. Add vegetables to bread, tossing to combine.
  • Pour chicken broth over the bread mixture, tossing to coat evenly.
  • Spread stuffing in a baking dish, dot with butter and cover tightly with foil. Bake in upper third of oven until heated through, about 20 minutes. Remove foil and bake stuffing until top is browned, 10 – 15 minutes more. Stuffing can also be baked in a well-greased 12-cup muffin tin.

Notes

Bread crumbs can be prepared several days in advance.
Vegetables can be chopped the day before.
Entire casserole can be prepared up to the point of baking the day before and refrigerated or frozen and then thawed and baked according to the directions.
Tried this recipe?Let us know how it was!


Sweet potato casserole recipe

baked sweet potato casserole | pamela salzman

There are a few recipes I make on Thanksgiving that I call “one-hit wonders.”  That is to say I don’t make them on any of the other 364 days in the year.   I’m no fan of stuffing, for example, so I keep the masses happy by making it on the holiday and then we forget about it until next year.  My Maple-Glazed Sweet Potato Gratin was in the same category for no other reason than it just seemed a little decadent to serve on a day that isn’t considered the biggest meal of the year.

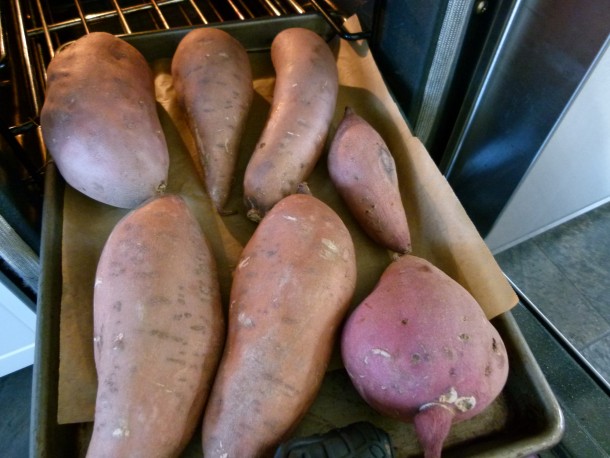
about to roast

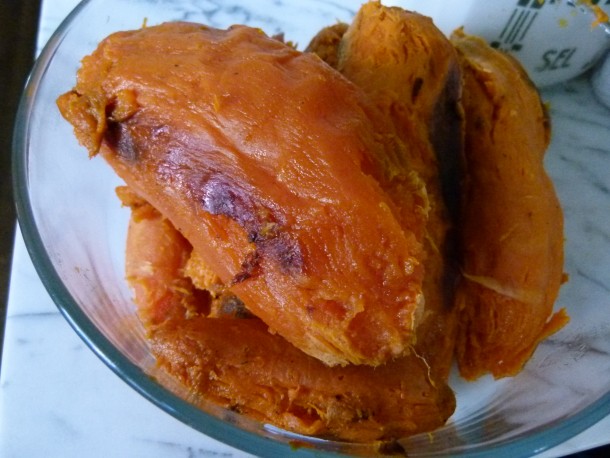
roasted and peeled sweet potatoes

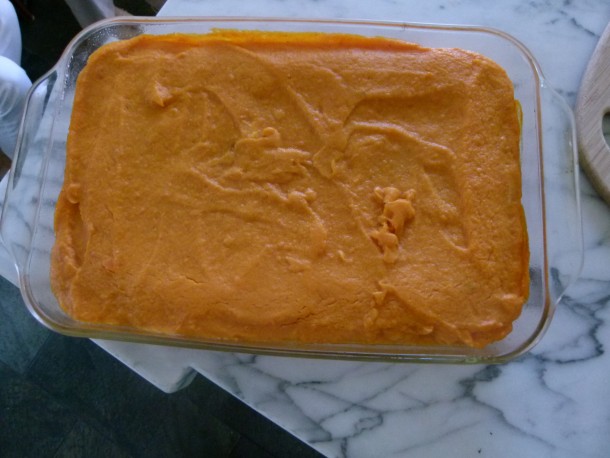
baked, covered for 40 minutes

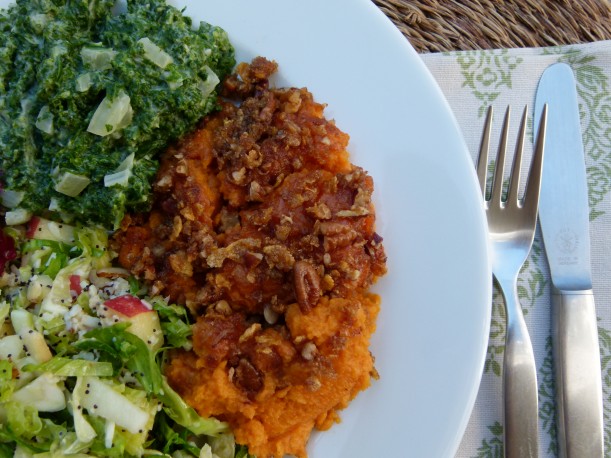
Just for fun, I recently tried a new sweet potato recipe which my kids absolutely flipped for.  Not only has this Sweet Potato Casserole bumped the former gratin out of the coveted spot, but my kids have begged me to make it multiple times since then.  My girls have even eaten it for breakfast and as an after-school snack.  I am crazy for sweet potatoes any which way and I am perfectly content with a nice big juicy one plain and simple.  So when recipes start adding cups of brown sugar with marshmallows or oatmeal cookie dough on top, I can’t take them seriously.  We’re going to try and keep things classy over here, ok?

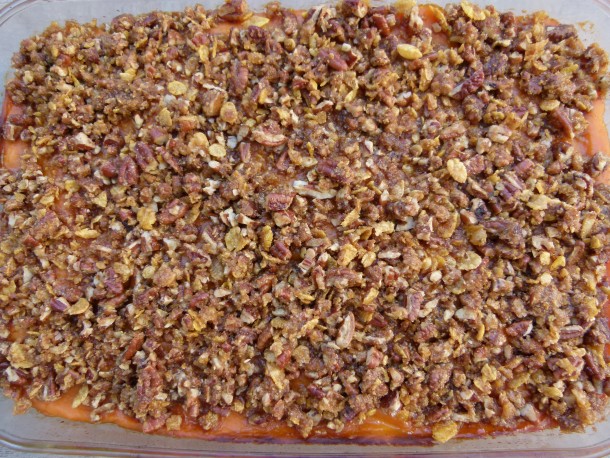
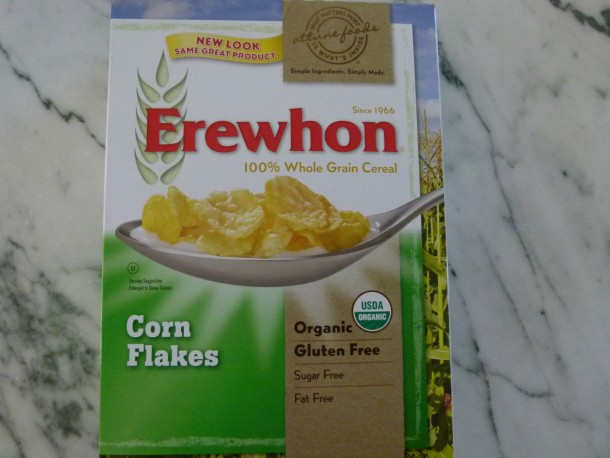
simple, no-sugar, organic corn flakes

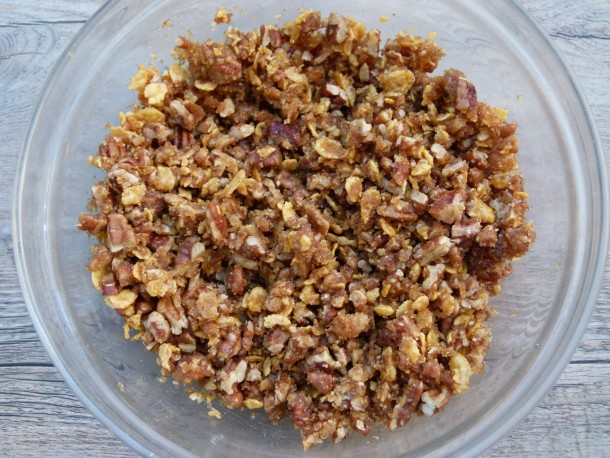
topping

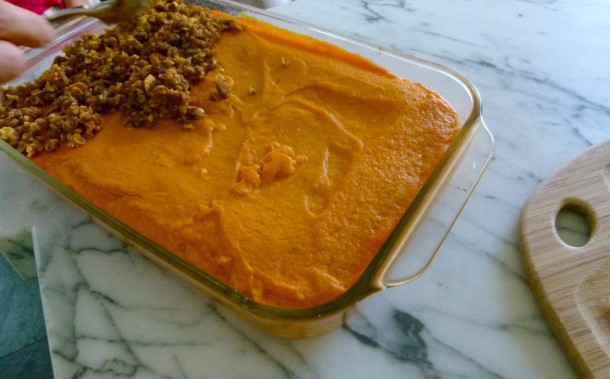
bake covered for 40 minutes, then add the topping

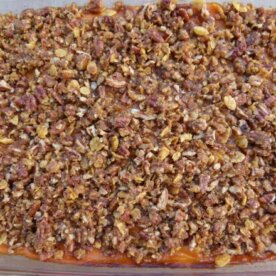
But there was something intriguing about this recipe from Food & Wine that I had to try.   Despite the pureed sweet potato base mixed with eggs, milk, butter and an obscene amount of sugar, I saw potential.  The topping is what really had me since I just love a contrast in textures.  I could already taste the silky puree with the light and crispy cinnamon-nutmeg flakes and nuts.  Even after I cleaned up this recipe by cutting the sugar by almost two-thirds, the casserole was still absolutely divine and a perfect complement to your Thanksgiving buffet.  It’s also super easy to  make if you have a food processor and can be done in advance (Thanksgiving magic words!)  By the way, I have also made this recipe dairy-free with success by using coconut oil instead of butter and unsweetened hemp milk instead of regular.  Since it’s already gluten-free, everyone’s happy!

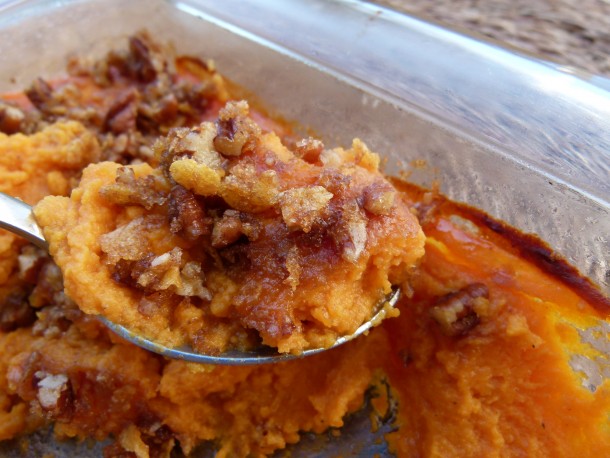
bite of casserole out of the oven

What?  Did you just call me “trashy” behind my back for using cereal in a Thanksgiving recipe?  Guilty.  Maybe I deserve it.  You know what I say?  Worth it!

Ah, Thanksgiving!

Sweet Potato Casserole

Pamela, adapted from Food & Wine
5 from 2 votes
Servings 8 -10 (on a normal day, but probably serves more like 14 on Thanksgiving if you have a lot of other side dishes)

Ingredients
  

  • 5 ½ pounds sweet potatoes such as garnet or jewel, scrubbed (these are often labeled "yams" at the market)
  • 1 ½ sticks unsalted butter or ¾ cup unrefined coconut oil melted, divided
  • 1 ½ teaspoons sea salt + a pinch
  • 1 ½ teaspoons ground nutmeg divided
  • 1 Tablespoon pure maple syrup
  • 1 cup whole milk or plain unsweetened hemp milk
  • 3 large eggs beaten
  • 1 cup pecan halves or pieces about 4 ounces
  • 1 cup cornflakes crushed
  • ½ teaspoon ground cinnamon
  • ½ cup maple sugar or brown sugar

Instructions
 

  • Preheat oven to 400 degrees. Place the sweet potatoes on a parchment-lined baking sheet and bake in the oven until tender, about an hour, but could be more depending on size. Or you can also boil peeled, cubed sweet potatoes in water for 15 minutes or until tender and drain, but I think roasting the sweet potatoes makes then sweeter.
  • Lower the oven temperature to 350 degrees. Butter a 13 x 9 inch baking dish.
  • When the sweet potatoes are cool enough to handle, peel and discard the skin and place potatoes in a food processor. Puree until smooth. Do this in batches if necessary.
  • Transfer the puree to a large bowl. Add half the butter (6 Tbs.), salt, 1 teaspoon nutmeg, maple syrup, and milk. Stir to combine and then stir in the eggs. Pour the mixture into the prepared baking dish and smooth the top with a spatula. Recipe can be made up to this point one day in advance and kept covered in the refrigerator. Cover with foil and bake 40 minutes.
  • Spread the pecans on a baking sheet and bake for 5 minutes, until lightly toasted. Transfer the pecans to a cutting board and coarsely chop. In a bowl, toss the pecans with the cornflakes, cinnamon and remaining 6 tablespoons of melted butter, ½ teaspoon nutmeg, maple or brown sugar and a pinch of salt.
  • Remove foil from casserole. Distribute small clumps of topping all over sweet potatoes. Bake, uncovered, for 40 minutes longer, until topping is golden and sizzling. Let casserole stand for 20 minutes before serving. ( I have also baked it covered for 30 minutes, uncovered for 30 and it still turned out great!)

Notes

You can bake this up to 4 hours in advance and serve it warm or at room temperature.
Tried this recipe?Let us know how it was!


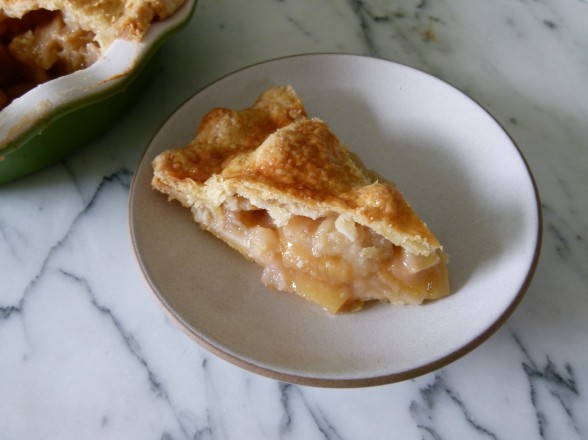
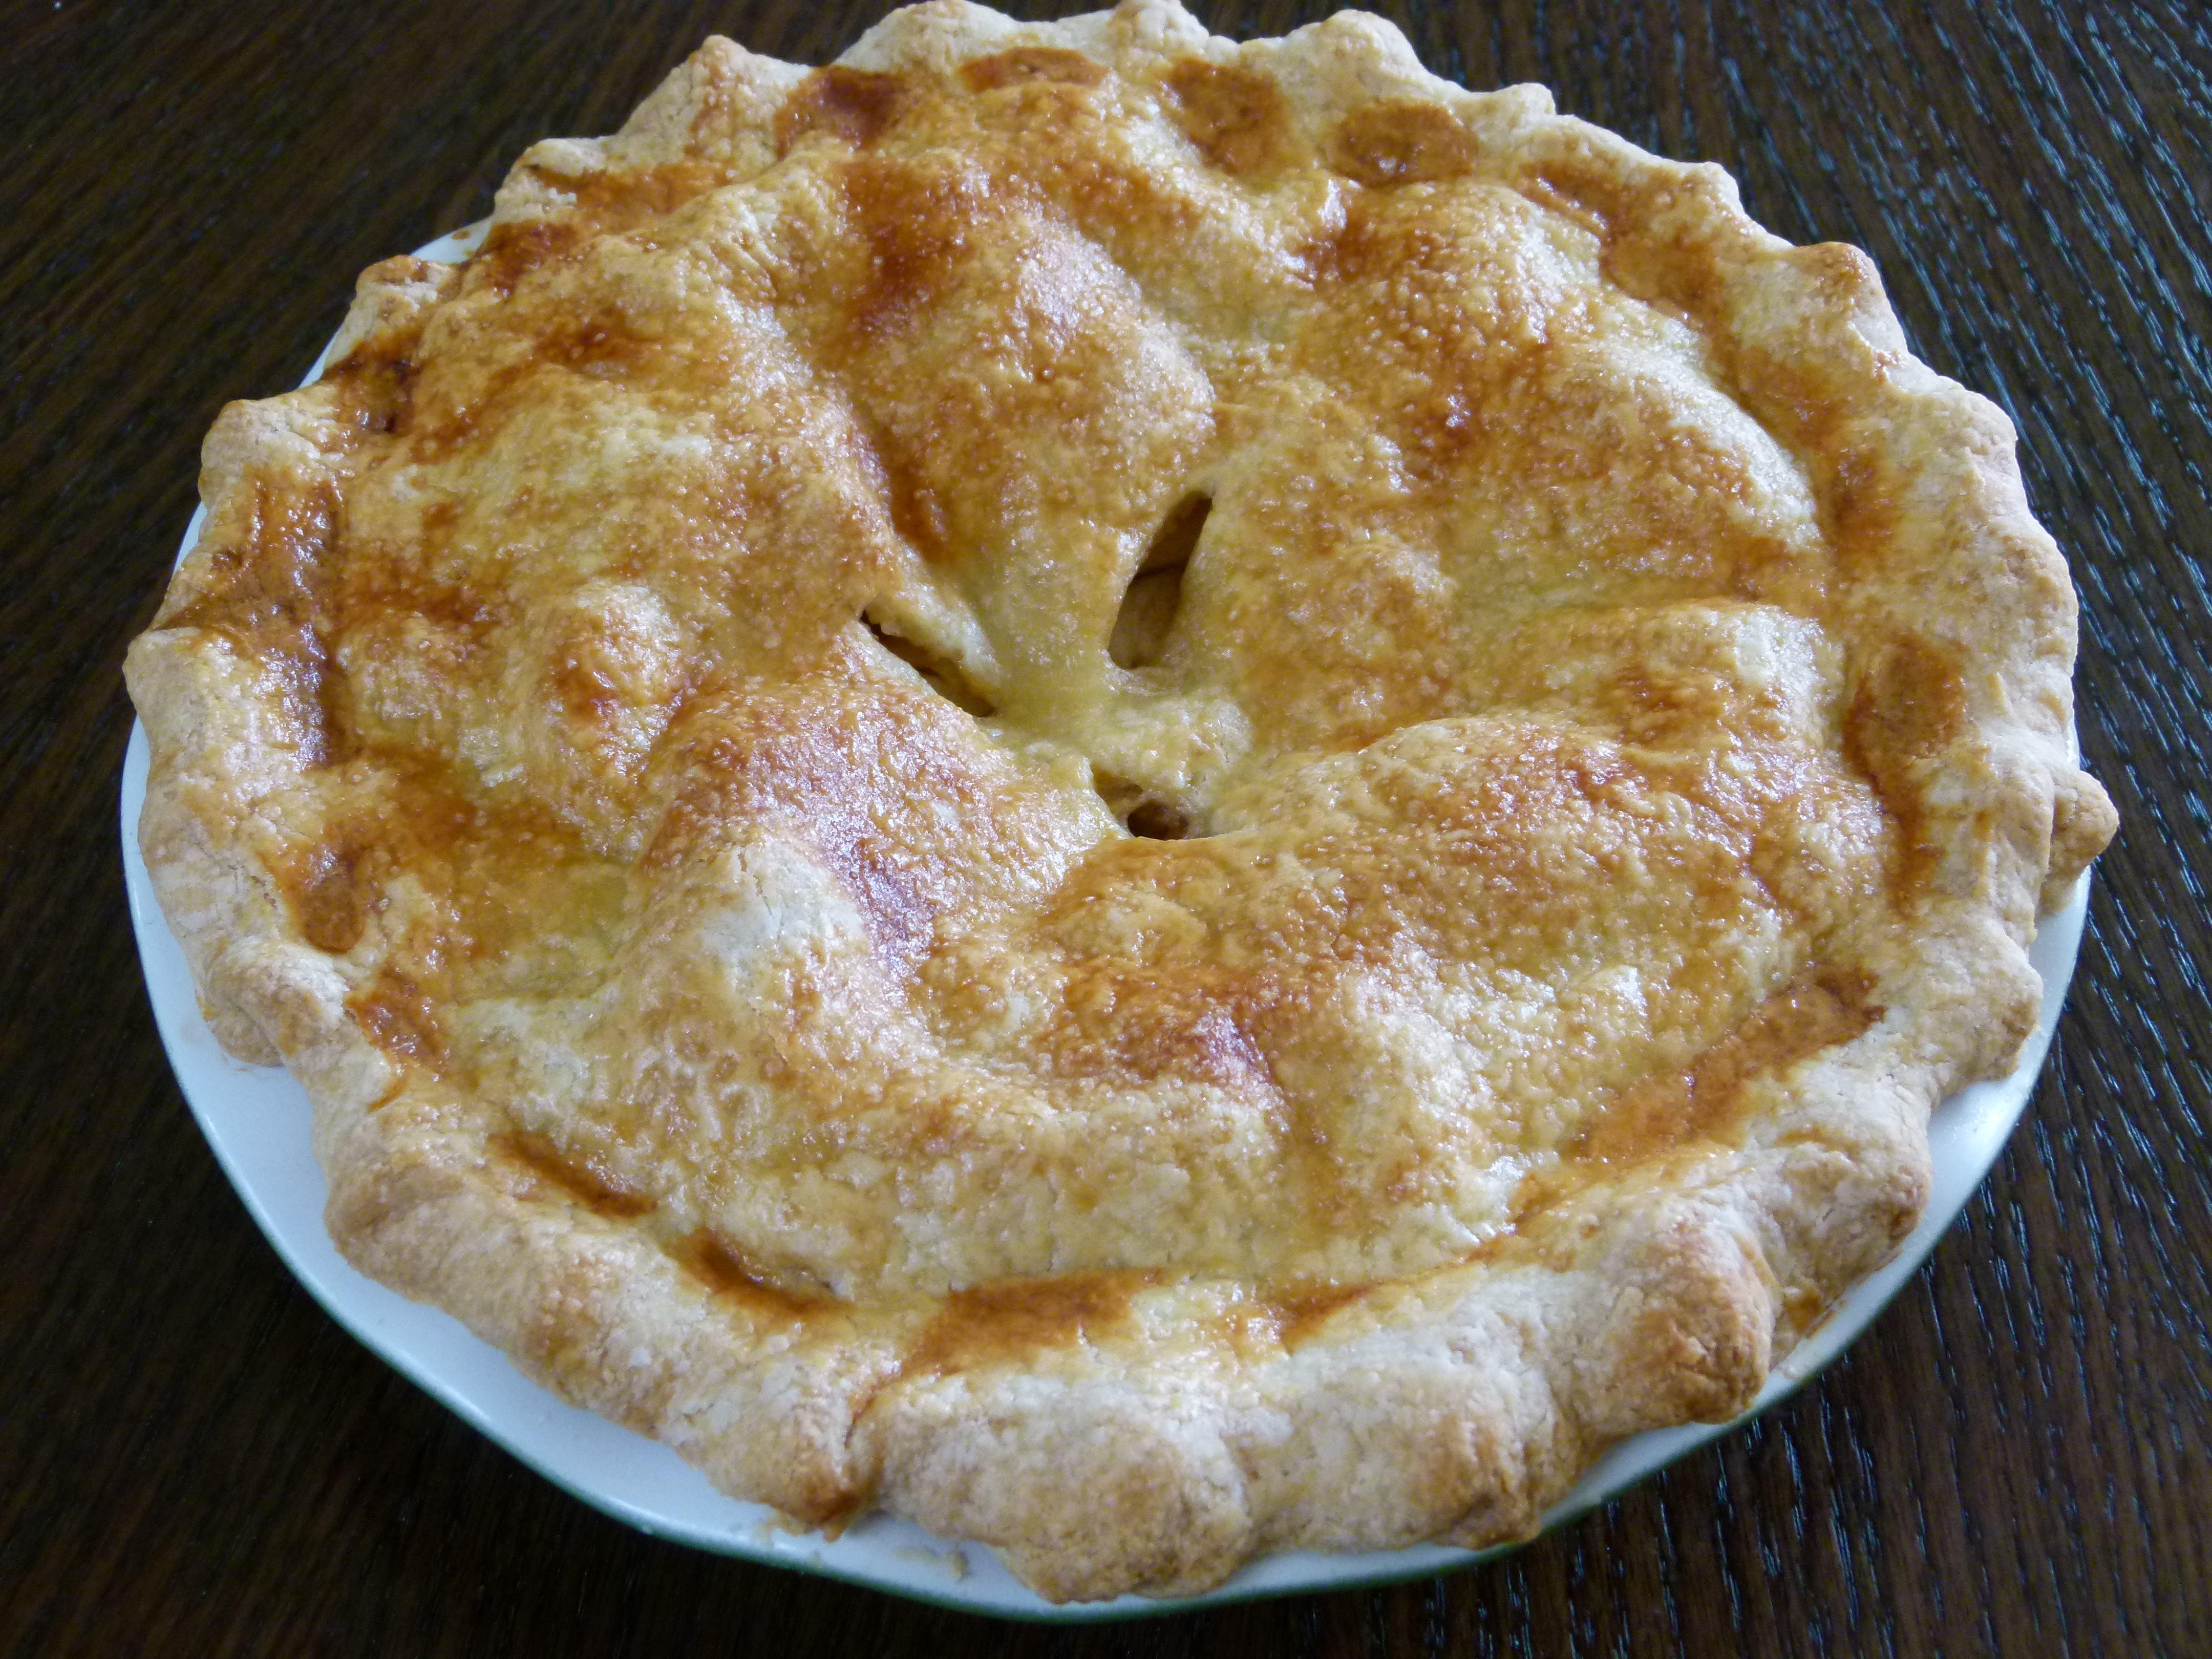
Perfect Apple Pie Recipe

I am teaching Apple Pie in my Thanksgiving classes this month and I thought I really should share the recipe with you too, my dear readers.  Perfect for Thanksgiving or if you’re hunkered down watching Election Day coverage tonight.  What is more American, classic and delicious in the fall than a homemade apple pie?  It just oozes love and hugs, don’t you think?  My boyfriend in college was so smitten when I made him an apple pie, I think it’s one of the reasons he asked me to marry him!  Still works!

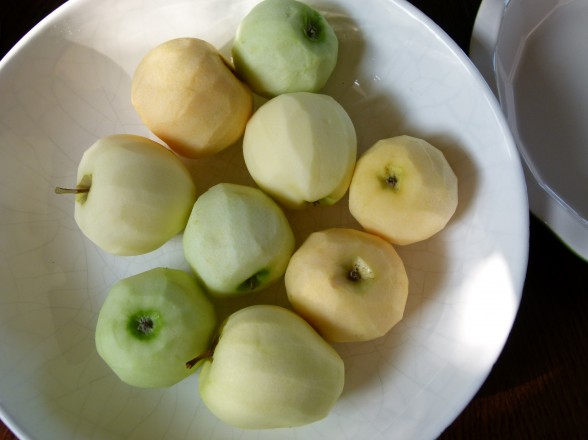
In addition to pumpkin pie, apple has been on my Thanksgiving table every year since I’ve been married.  I make it the way I like it, not too sweet and not overly spiced, so you really taste the apples.  At this time of year, there are so many varieties of apples with different flavors and textures, and everyone has his or her favorite.  But I think the secret to the best apple pie is using a few different types of apples. When I make apple pie, I like to choose a sweet, a tart and a soft variety.  The flavors are more complex and texture is fabulous.

Do plan ahead when making any pie, especially if you are making the crust from scratch, which I definitely think you should!  Pies take a good hour to bake and I think they benefit from cooling a bit out of the oven.  The juices settle and thicken up and I think apple pie tastes better warm, rather than piping hot, but I know some of you will disagree.

If you are looking to do some of the work in advance, you can make your crust a few days ahead and refrigerate it or a few months ahead and freeze it.  You can also combine your dry ingredients for the pie filling ahead and keep the mixture in a covered container in the pantry.  Unfortunately, you will need to peel and slice your apples just before filling your pie, but it’s a fun activity to do at the kitchen table with your child or friends.  I bake two apple pies on Thanksgiving morning, but I make sure they are out of the oven before the turkey needs to go in.  When the girls were younger, they would always help peel and slice the apples while we watched the Macy’s parade on television.  It’s a lovely memory of time together in the kitchen, but it’s just a memory since the girls haven’t woken up before 11:00 am on Thanksgiving in a few years.  Although I’ll admit, the smiles on their sleepy faces as I pull those pies out of the oven is still just as precious.

PERFECT APPLE PIE

MAKES 1 9-INCH DOUBLE-CRUST PIE


3 Tablespoons all-purpose flour (this gets used in the filling) + more for dusting countertop

1 recipe for double pie crust 

1 large egg yolk

1 Tablespoon heavy cream, half-and-half, or whole milk

1 pound tart apples, such as Granny Smith

1 pound sweet apples, such as Fuji

1 pound soft apples, such as Golden Delicious

2 Tablespoons fresh lemon juice

¼ cup organic cane sugar + extra for optional sprinkling on crust

1 teaspoon ground cinnamon

pinch ground nutmeg

¼ teaspoon sea salt

1 Tablespoon unsalted butter, cut into small pieces


  1. Roll one disk of pie dough on a lightly floured countertop, regularly checking to make sure disk is not sticking to counter.  Roll into a 12-inch round.  Fit pastry into a 9-inch pie plate.  Roll second disk in the same manner.  Transfer to a baking sheet and refrigerate pie shell and 12-inch round until ready to fill pie.
  2. Preheat oven to 400 degrees.  In a small bowl, whisk together egg yolk and cream.
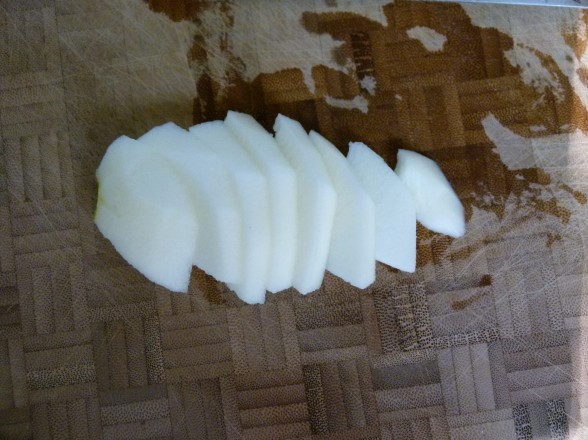
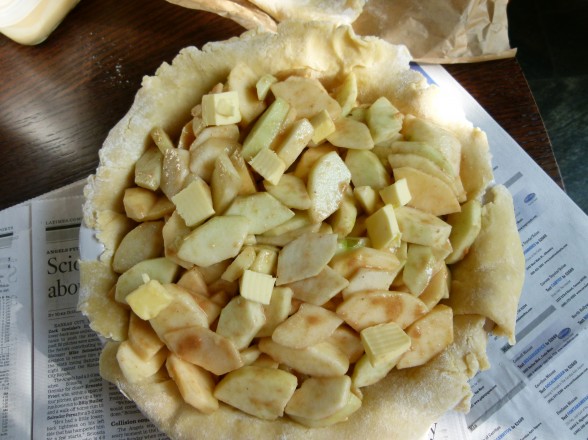
  3. Peel, core and slice apples crosswise into ¼-inch slices.  Transfer to a large bowl and mix in lemon juice, sugar, flour, cinnamon, nutmeg and salt.  Combine well.  Arrange apple mixture in pie shell and dot with butter.
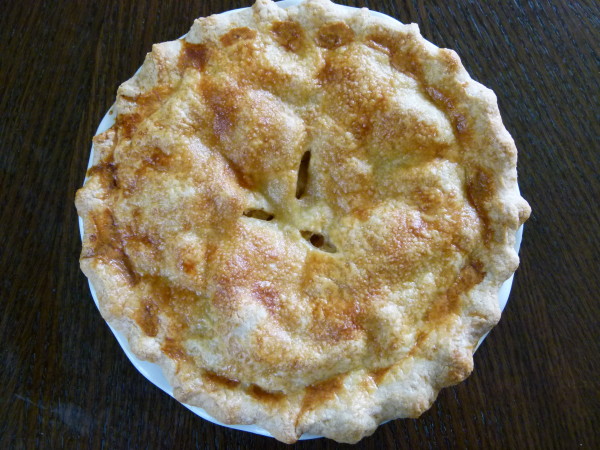
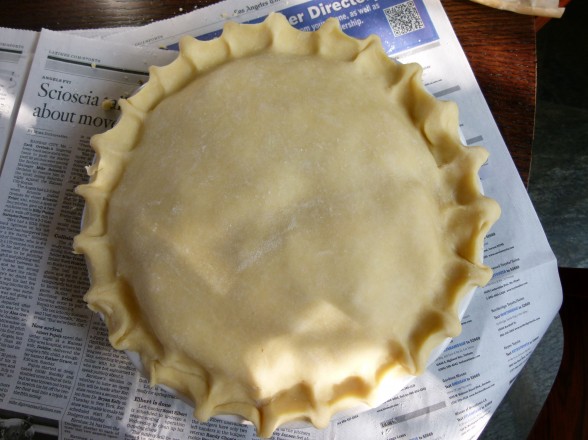
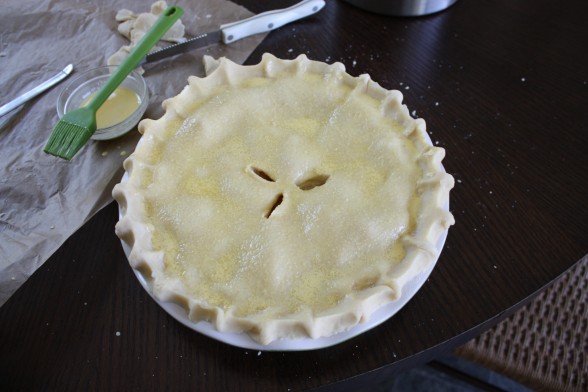
  4. Place the rolled out disk on top of the apples and press down gently.  Press together the dough at the rim of the pie plate to seal.  Tuck top dough under bottom dough and crimp around the edge as you like.  Brush the top of the pie with the egg wash and sprinkle with sugar, if desired.  Cut three slits into the top center of the pie crust to allow steam to escape.  If pie dough is feeling very soft, place pie in the freezer until firm.
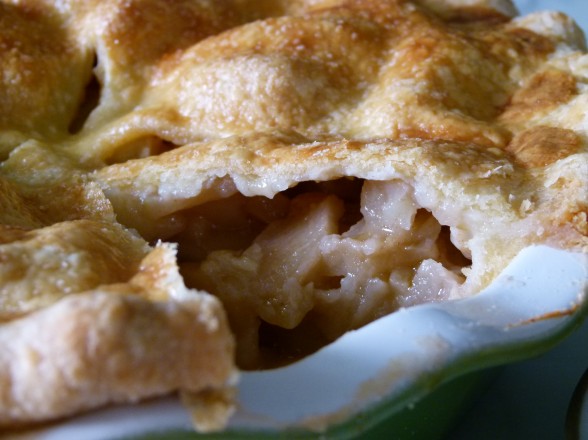
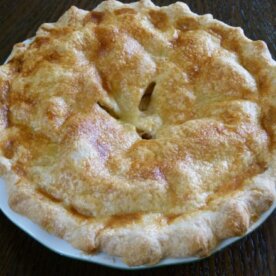
  5. Place pie on a baking sheet.  Bake 20 minutes.  Reduce oven temperature to 350 degrees.  Continue baking until the crust is golden and the juices are bubbling and have thickened, about 40-50 minutes more.  Transfer to a cooling rack to cool.   Pie can be kept at room temperature for up to 2 days.


How To Make Pie Crust

I am a total sucker for seasonal fruit desserts, and pies are no exception, especially in the summer and fall.  But we know each other well enough by now to know that I’m not a big dessert pusher.  I think overdoing sugar and refined foods like white flour can really compromise your health.  But,  during the holidays when the apples, pears and pumpkins are at their peak, I rationalize it all by adding a hefty dose of love to my pies!

What is nice about seasonal fruit desserts is that the fruit should be naturally sweet enough that we don’t need to add too many sweeteners to make them taste fabulous.  Typically, I use 4-6 Tablespoons of sweetener in a whole pie which can serve 8-10 people, and I don’t think that’s over the top.  Many cakes call for 2 cups of sugar just to provide you with a reference point.

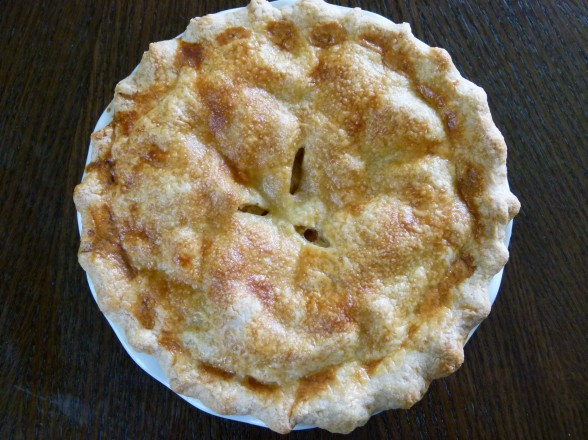
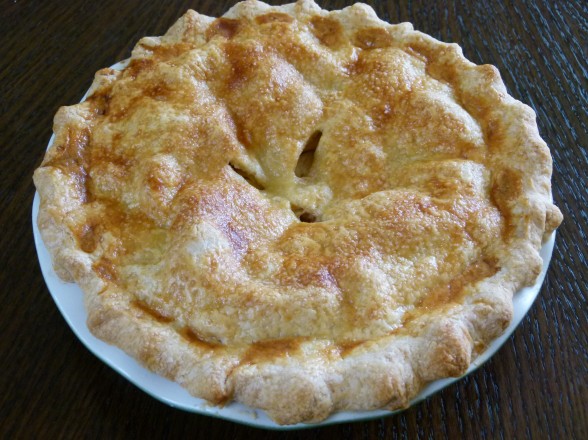
Looking on the bright side, I love how “homemade” pies are.  The fruit is peeled and cut by hand, and if you make your own crust, that too is rolled and shaped by your loving hands.  In fact, I think pies look better and more special when they have that imperfect crimping and uneven glaze – a telltale sign that this came out of my kitchen.

Many people have told me that making pie crust looks intimidating.  But if you’ve ever made and rolled out cookie dough, it’s actually easier than that!  Even though I have a pie recipe posted on the site, I thought it would be helpful to include a step-by-step post for how to make pie crust.  Here are a few tips to help:

  • Necessary tools  You don’t need much, but a food processor or a pastry blender are very helpful.  If you have neither, I have used 2 knives with success.  On the other hand, besides an empty win bottle in a pinch, I haven’t found a good substitute for a rolling pin, which you’ll need to roll out the dough.
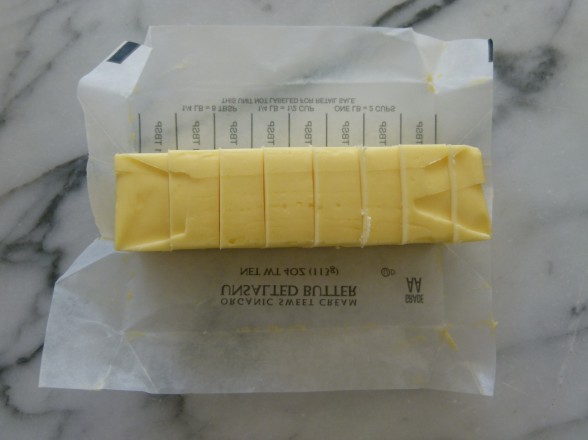
  • Cold Keeping everything cold is half the battle in making excellent dough.  If the butter warms up, it can make your dough too soft and it can melt on you.  Butter can be cut ahead and put back in the fridge.  Even your flour can be refrigerated.  And it is essential that the water you add is ice cold.  Some people like to make their pies in the morning, before the kitchen heats up.  And keeping this tip in mind, if you have to take a break from making your crust, or if your pie is ready to go in the oven but it seems a little soft and sticky, place everything into the refrigerator to firm it all up.
  • Butter  I know there are many people who can argue that a combination of butter and shortening or butter and lard make the tenderest, flakiest pie crusts, but you couldn’t pay me to eat Crisco or hydrogenated oils and I don’t have access to organic lard from grass-fed cows, so that’s not an option.  Organic butter is a natural, whole food and I’m ok with it in moderation.
  • Flour  Here’s the problem.  I hardly ever use white flour.  It’s refined and processed and basically a dead food with no nutrition.   I love using whole wheat pastry flour or white whole wheat flours whenever I can in place of white flour, but not in pastry dough.  Whole grain flours tend to result in a much drier, more crumbly dough which isn’t very easy to roll out.  It also tastes more “whole wheat-y” which my family doesn’t care for when they’re eating an apple pie.  If you must include some whole grain in your dessert, you can make the dough with half white and half whole wheat pastry flour.  I used to make half my pies like this for Thanksgiving and my sister-in-law and I were the only ones who would eat the wheat ones.  What’s the point of that?  Another option is to use white spelt flour, which is more water soluble than wheat flour, is a little more digestible and has a sweeter flavor.  White spelt flour makes very nice pastry.  If you just can’t go there, fruit crisp is always an option!
  • Water  Pie crust recipes should give you a range for how much water to use because it’s impossible for every cook to be working under the same conditions.  Moisture is something that will vary in the air, flour and butter that we use.  Always start with the lower range of water listed and increase as needed.
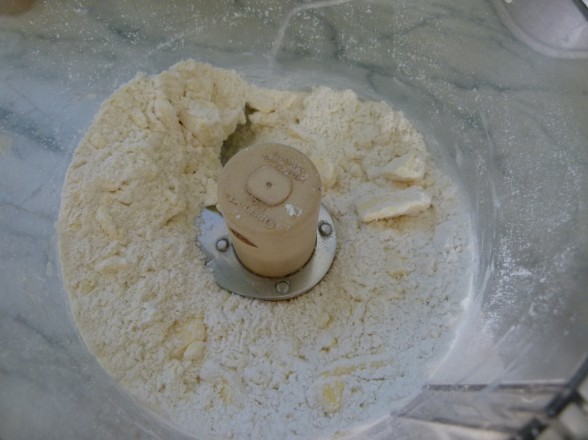
  • Don’t over mix  Pie crust is not like cake batter.  You actually do NOT want to completely blend the butter into the flour.  In fact, it is ideal if you have little pea-sized pieces of butter in your dough.   When the crust bakes in the oven, the heat will cause the moisture in the butter to steam up, creating the wonderful flakiness you want.
  • Give it a rest  This is a step you don’t want to skip since it accomplishes two important things.  Allowing your dough to chill out in the refrigerator helps the gluten in the dough relax so you don’t have tough pastry and it also firms up that butter again (see second tip above.)  30-60 minutes is enough time to do this, however you can absolutely refrigerate the dough for a couple of days or freeze it for a few months, if necessary.
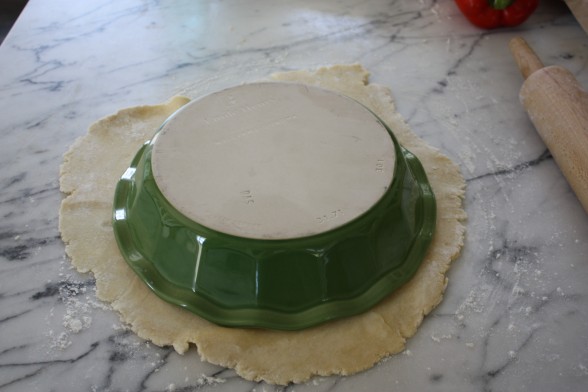
  • Rolling it out  If your dough has been in the refrigerator for more than an hour, you may need to let it sit on the countertop for 15 or 20 minutes so that it will be easy for you to roll out.  If the dough starts cracking, it’s likely because it’s too cold.  Lightly flour your countertop and your rolling pin and start rolling from the center out, regularly checking to make sure your dough can always move around on your countertop without sticking.  If you really have a hard time rolling out the dough, you can stick it between two pieces of plastic wrap and roll it out that way.  To know if you’ve rolled it out enough, invert the pie plate over the rolled out dough.  If you have a good two inches beyond the rim of the plate, you’re good to go.
  • Moving the dough to a pie plate It sounds trickier than it is.  I usually gently fold the dough in half and transfer it to a pie plate that way, but you can also roll the dough around the rolling pin and then unroll it onto the pie plate.  Fit it into the plate.
  • Blind baking Sometimes a recipe will tell you to prebake the pie crust before filling it.  This is common with liquidy fillings such as custard or pumpkin, or if you cook the filling separately and you won’t be putting the pie in the oven.  With the crust inside a pie plate, prick the crust all over the place with a fork.  Place a piece of parchment paper on top of the crust and fill the parchment with pie weights or dried beans (the beans won’t be edible after you bake them, though.  Just keep them for the next pie.  I’ve been using the same dried beans since college –swear!)  This prevents the crust from puffing up.
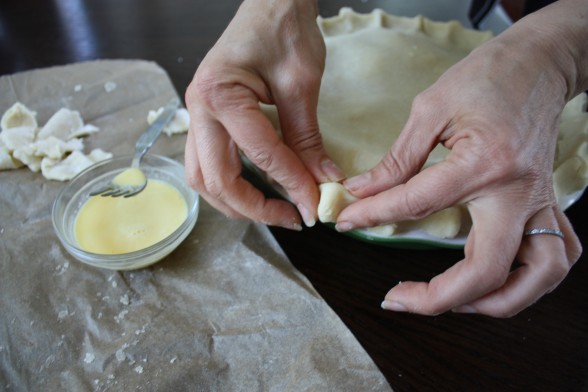
  • Finshing  It doesn’t have to be perfect.  Do your best and have fun.  I seal the top and bottom crusts together and use my thumbs and pointer fingers from both hands to pinch the dough.  Or an easier method is use the tines of a fork and press the crust all along the rim of the plate.  Lastly I cut a couple slits in the center of the top crust so steam can escape and you won’t have a watery pie.  Glazing with an egg wash makes the pie look beautiful, but if egg is out of the question, you can use a little cream.

Although I have made many pies in my day, I still love learning how to do things better.  Please share your favorite tips and tricks for making pie crusts and pies.  I’d also love to hear what desserts you are all making for Thanksgiving!!!!


Pie Crust

Pamela
5 from 1 vote

Ingredients
  

  • 2 ½ cups all-purpose flour or white spelt flour
  • 1 teaspoon cane sugar
  • 1 teaspoon sea salt
  • 2 sticks unsalted butter cut into pieces
  • 5-8 Tablespoons ice water

Instructions
 

  • Place the flour, sugar and salt in the bowl of a food processor fitted with the metal blade and pulse a couple times until blended.
  • Add the butter to the flour and pulse until the mixture resembles small peas.
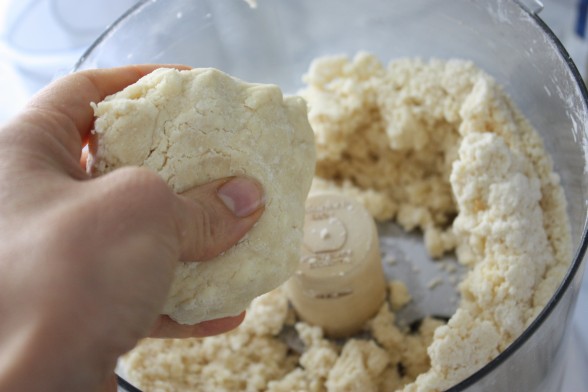
  • Pour 5 Tablespoons of ice water on top of the flour mixture and pulse about 10 times. Avoiding the blade, carefully grab a small handful of dough and squeeze together. If the dough holds together without crumbling, it’s ready to be formed into a disc. If it’s too dry, pulse in another few teaspoons of ice water until dough holds together.
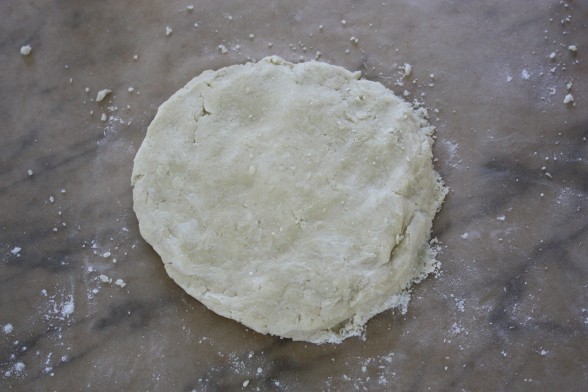
  • Transfer dough to a piece of parchment and bring dough together to form a ball. Divide in half and shape into two disks. Wrap each disk in parchment and refrigerate at least 30 minutes at which point it will be ready to roll out. Or you can keep the dough refrigerated for 2-3 days, or in the freezer, well wrapped for 2-3 months.
Tried this recipe?Let us know how it was!

Trail Mix Cookies Recipe

Having teenagers is a double-edged sword.  On the one hand, it’s kind of cool that my girls are old enough to have adult conversations and share clothes with me.  On the other hand, it bums me out that they prefer to be with their friends over their parents.  I don’t take it personally, of course.  But if all goes according to plan, Daughter #1 will be going to college in two years and her younger sister two years after that which means I don’t have a lot of time left with them in the house.  This is one reason I encourage them to invite their friends to hang out at our house or spend the night as much as possible.  Not only does it make the house more lively, but I know what they’re up to and sometimes I’ll even overhear some good gossip.  Just recently did I figure out how to make my home the place to be.  It’s called FOOD.

Teenagers are always hungry.  No, I take that back.  They’re always “STAR-ving.”  They don’t even know what the word means.  My daughters complain that they’re starving if they haven’t eaten in two hours.  My point is that if you want to have the house that the kids want to hang out in, other than breaking the law and supplying alcohol (not recommended), you need to have some good eats.  I don’t think my house is considered to have the “best” food by any means.  There are no Cheetos, no soda and no microwave popcorn.  But I do always have tons of fresh fruit, leftovers from dinner, the makings of a quesadilla and lots of homemade cookie dough in the freezer, especially in the fall when the kids are back in school.

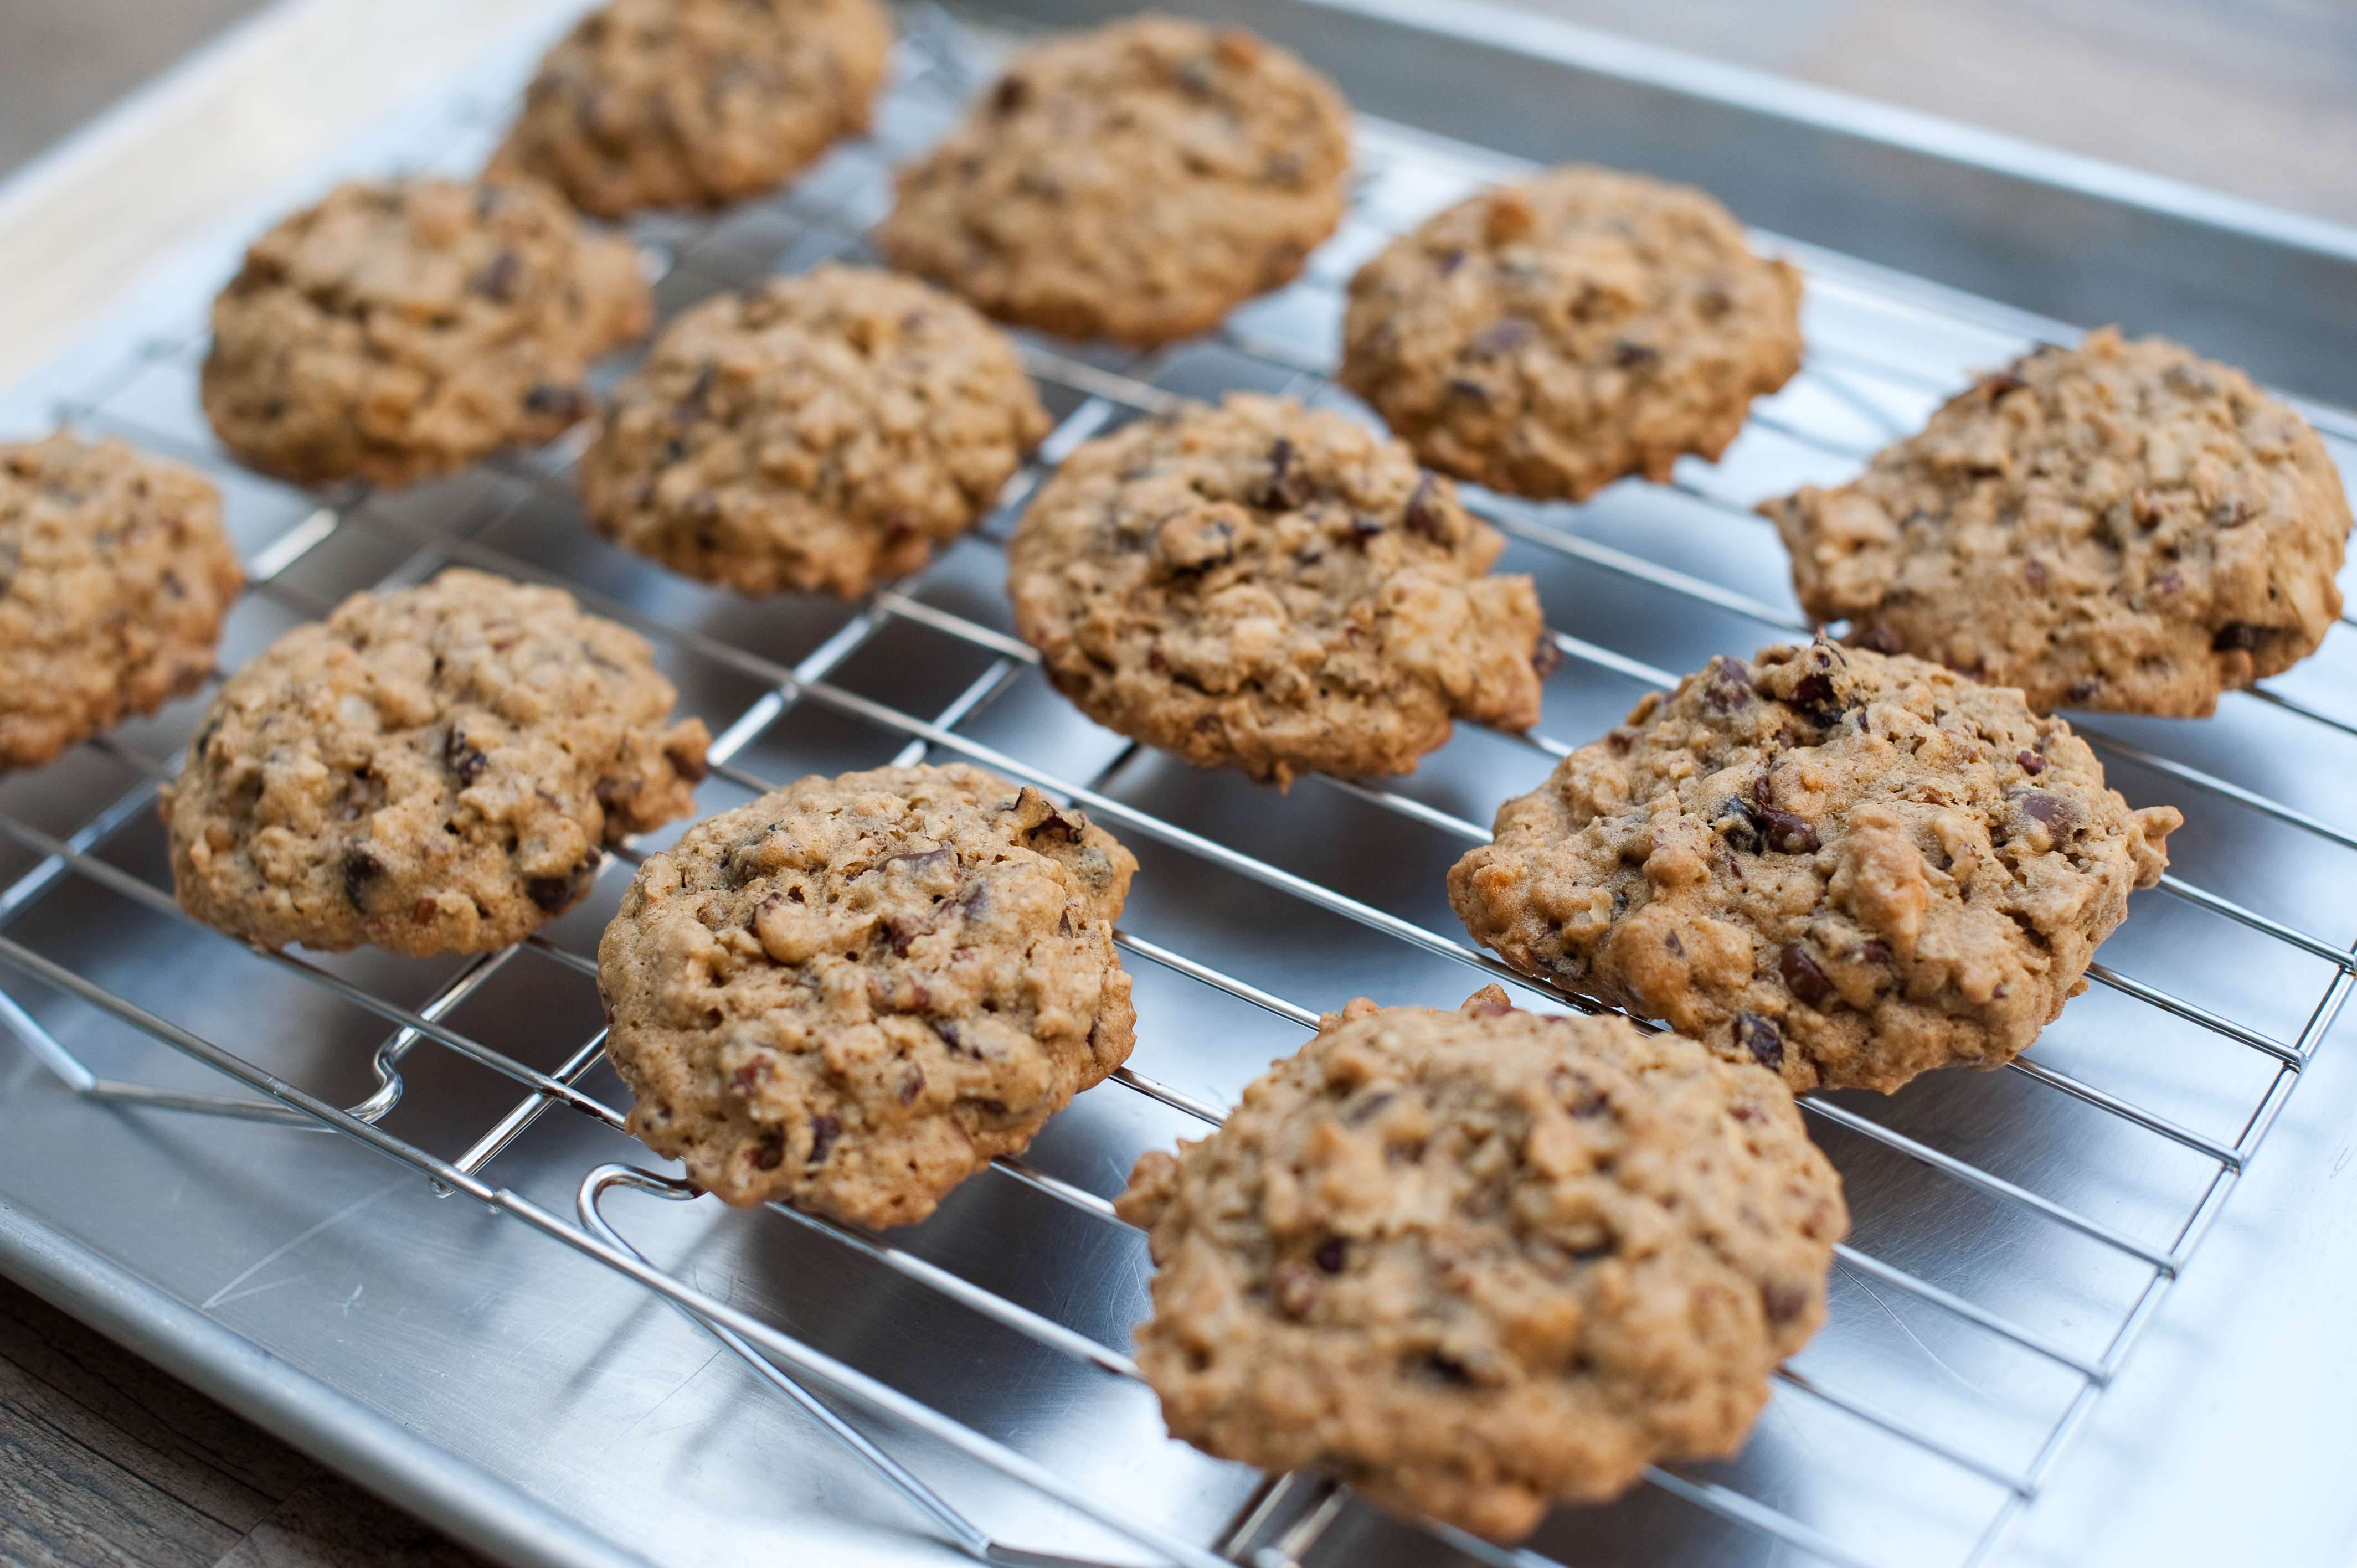
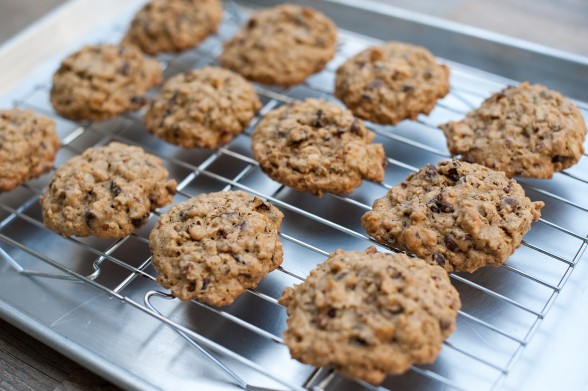
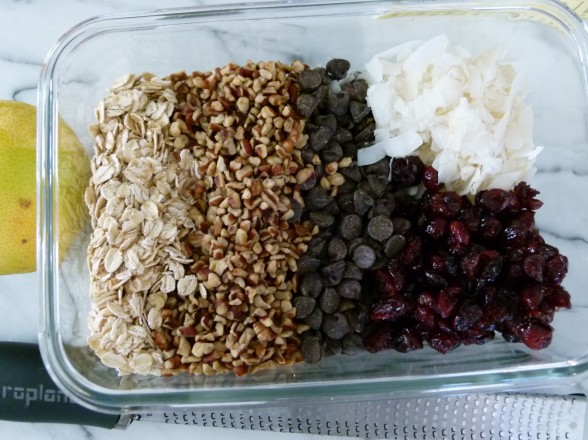
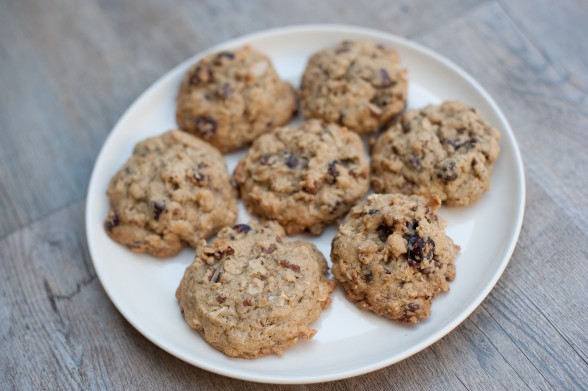
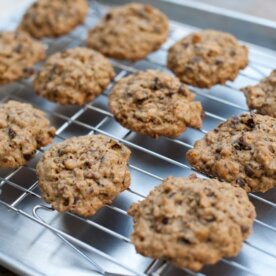
These Trail Mix cookies are a new favorite around here.  They’re like oatmeal chocolate chip cookies PLUS.  There are so many goodies in the cookies, it feels like you’re eating a handful of trail mix held together with some oatmeal cookie batter.  In fact, you could use trail mix in this recipe, hence the name.  I’m not sure I’ve made this recipe the same way twice since I’ll often use it as an excuse to clean out the bottom of my nut and dried fruit jars.  Before you get excited about a cookie that sounds like it might be healthful, it’s still a cookie, just maybe a higher quality one.  If you want a cookie that you can eat for breakfast, make these.  This recipe uses whole wheat pastry flour, rolled oats, flakes of unsweetened coconut, and chocolate chips.  My kids love pecans, so I generally use them here, but if I have a handful of walnuts or macadamia nuts, those can go in too.  Same idea with dried fruit — use whatever you’ve got.  The key with these cookies though, is to make sure you don’t decide to just eliminate an entire ingredient without coming up with a substitution.  All the “stuff” helps give your cookies structure and without it, your cookies will go a tad flat.  If you can’t eat nuts, I have used sunflower seeds with success, or you can just add 1/2 cup extra of chocolate chips, dried fruit and coconut to make up for the 1 1/2 cups of nuts.  What I did struggle with was the sugar in the cookies. The quantity is quite a bit less than you would find in a comparable cookie, but I didn’t have as much success substituting coconut sugar or maple syrup for the white and brown sugars.  At the end of the day, it’s still a cookie which we should enjoy in moderation.

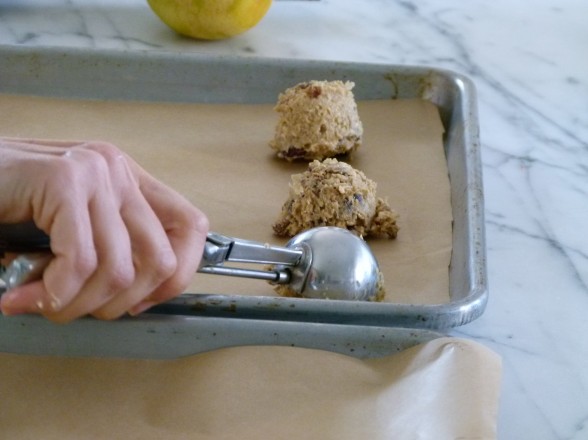
If you like to be prepared for weekday school lunches or unexpected playdates, it’s always nice to have some cookie dough on hand.  You can make this batter and keep it refrigerated for a week, baking off as many cookies as you like at any given time.  I also like to scoop the dough onto baking sheets with my ice cream scooper, freeze them raw (the same way you would freeze fruit), and when they are frozen solid, gather them up and put them in a container to freeze for a rainy day or the next sleepover.  And from the empty containers I generally see in the morning, I have also observed that teenagers are at their most STARVING in the middle of the night.

Trail Mix Cookies

Pamela, inspired by epicurious via Smitten Kitchen

Ingredients
  

  • 8 Tablespoons 1 stick unsalted butter, at room temperature
  • ½ cup natural cane sugar or coconut sugar
  • 2/3 cup brown sugar or coconut sugar
  • 1 teaspoon pure vanilla extract
  • 2 large eggs
  • 1 ½ cups whole wheat pastry flour
  • 1 teaspoon baking soda
  • 1 teaspoon sea salt
  • ½ teaspoon ground cinnamon
  • ¼ teaspoon ground nutmeg
  • 1/8 teaspoon ground cloves
  • 1 cup rolled oats either old-fashioned or quick-cooking
  • 1 ½ cups chopped pecans or walnuts or macadamia nuts
  • 1 cup chocolate chips
  • ½ cup unsweetened dried coconut flakes (or use extra pecans)
  • ½ cup dried fruit such as cranberries (or use extra chocolate chips)
  • Or use 3 ½ cups trail mix instead of above add-ins; chop nuts
  • ½ teaspoon freshly grated orange zest optional

Instructions
 

  • Preheat oven to 350 degrees. Line a large cookie sheet with parchment paper or a Silpat.
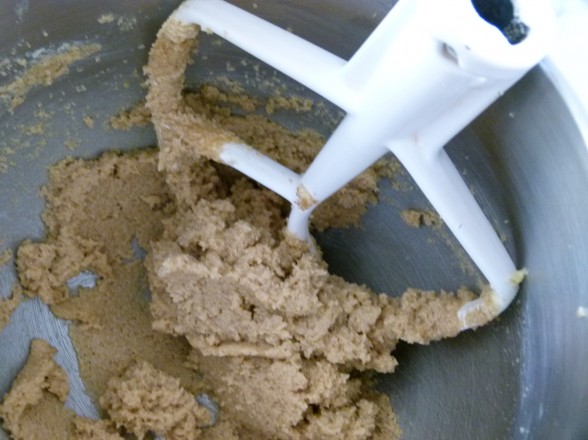
  • In the bowl of an electric mixer, cream the butter and sugars together until light and fluffy, about 4 minutes. Add the vanilla and 1 egg at a time until well incorporated.
  • In a separate bowl, mix together flour, baking soda, salt and spices. Add half the dry mix to the butter with the mixer on low speed. After the flour has been incorporated, add the remaining flour mixture and stir together.
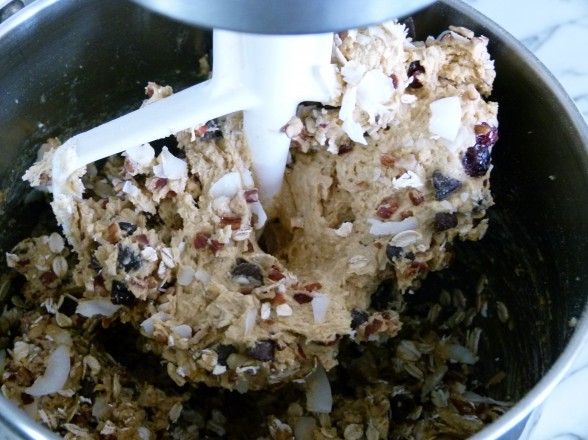
  • Stir in the remaining ingredients.
  • Drop the dough by heaping tablespoons onto the cookie sheet and bake until golden, 12-15 minutes. (If you bake the dough directly from the fridge, add 3-5 minutes.)
  • Remove from the oven and cool cookies for 2 minutes before transferring to a cooling rack.
Tried this recipe?Let us know how it was!

Zucchini bread pancakes recipe

A few years ago, someone suggested I teach a class with a breakfast menu.  At first I didn’t think it was such a good idea because breakfast seems kind of easy, at least too easy to be taught in a cooking class.  In our house the rotations is oatmeal or muesli, scrambled eggs, smoothies, yogurt and granola, pancakes and leftovers from last night’s dinner.  But the more I thought about it, I realized there was a nice variety of fun, delicious and healthful recipes I could share.  Because I do believe breakfast is nutritionally the most important meal of the day, especially for children, I knew these recipes needed to provide sustenance, long-lasting energy and stable blood sugar.  My first breakfast class was a great success and I have continued the tradition every June (arbitrary selection of month) since then.

I tend to follow a similar formula each June based on what my family and I love to eat for breakfast, both on the weekdays and weekend.  I always teach a smoothie, muffin, egg-based dish and a pancake recipe.  When I was growing up, pancakes were for Saturday mornings when Mom had time and no one was rushing off to work or school.  I too love lingering over a plate of pancakes on the weekends, but by making the batter the night before and teaching my older girls how to cook their own, we enjoy them on a school mornings, as well.  If you’re thinking it’s a little boring to eat plain old pancakes twice a week, I would agree with you!  We add lots of different things to our pancakes while they’re cooking and the kids each seem to have their own favorite combo, such as fresh raspberries and mini-chocolate chips or diced banana and pecans.

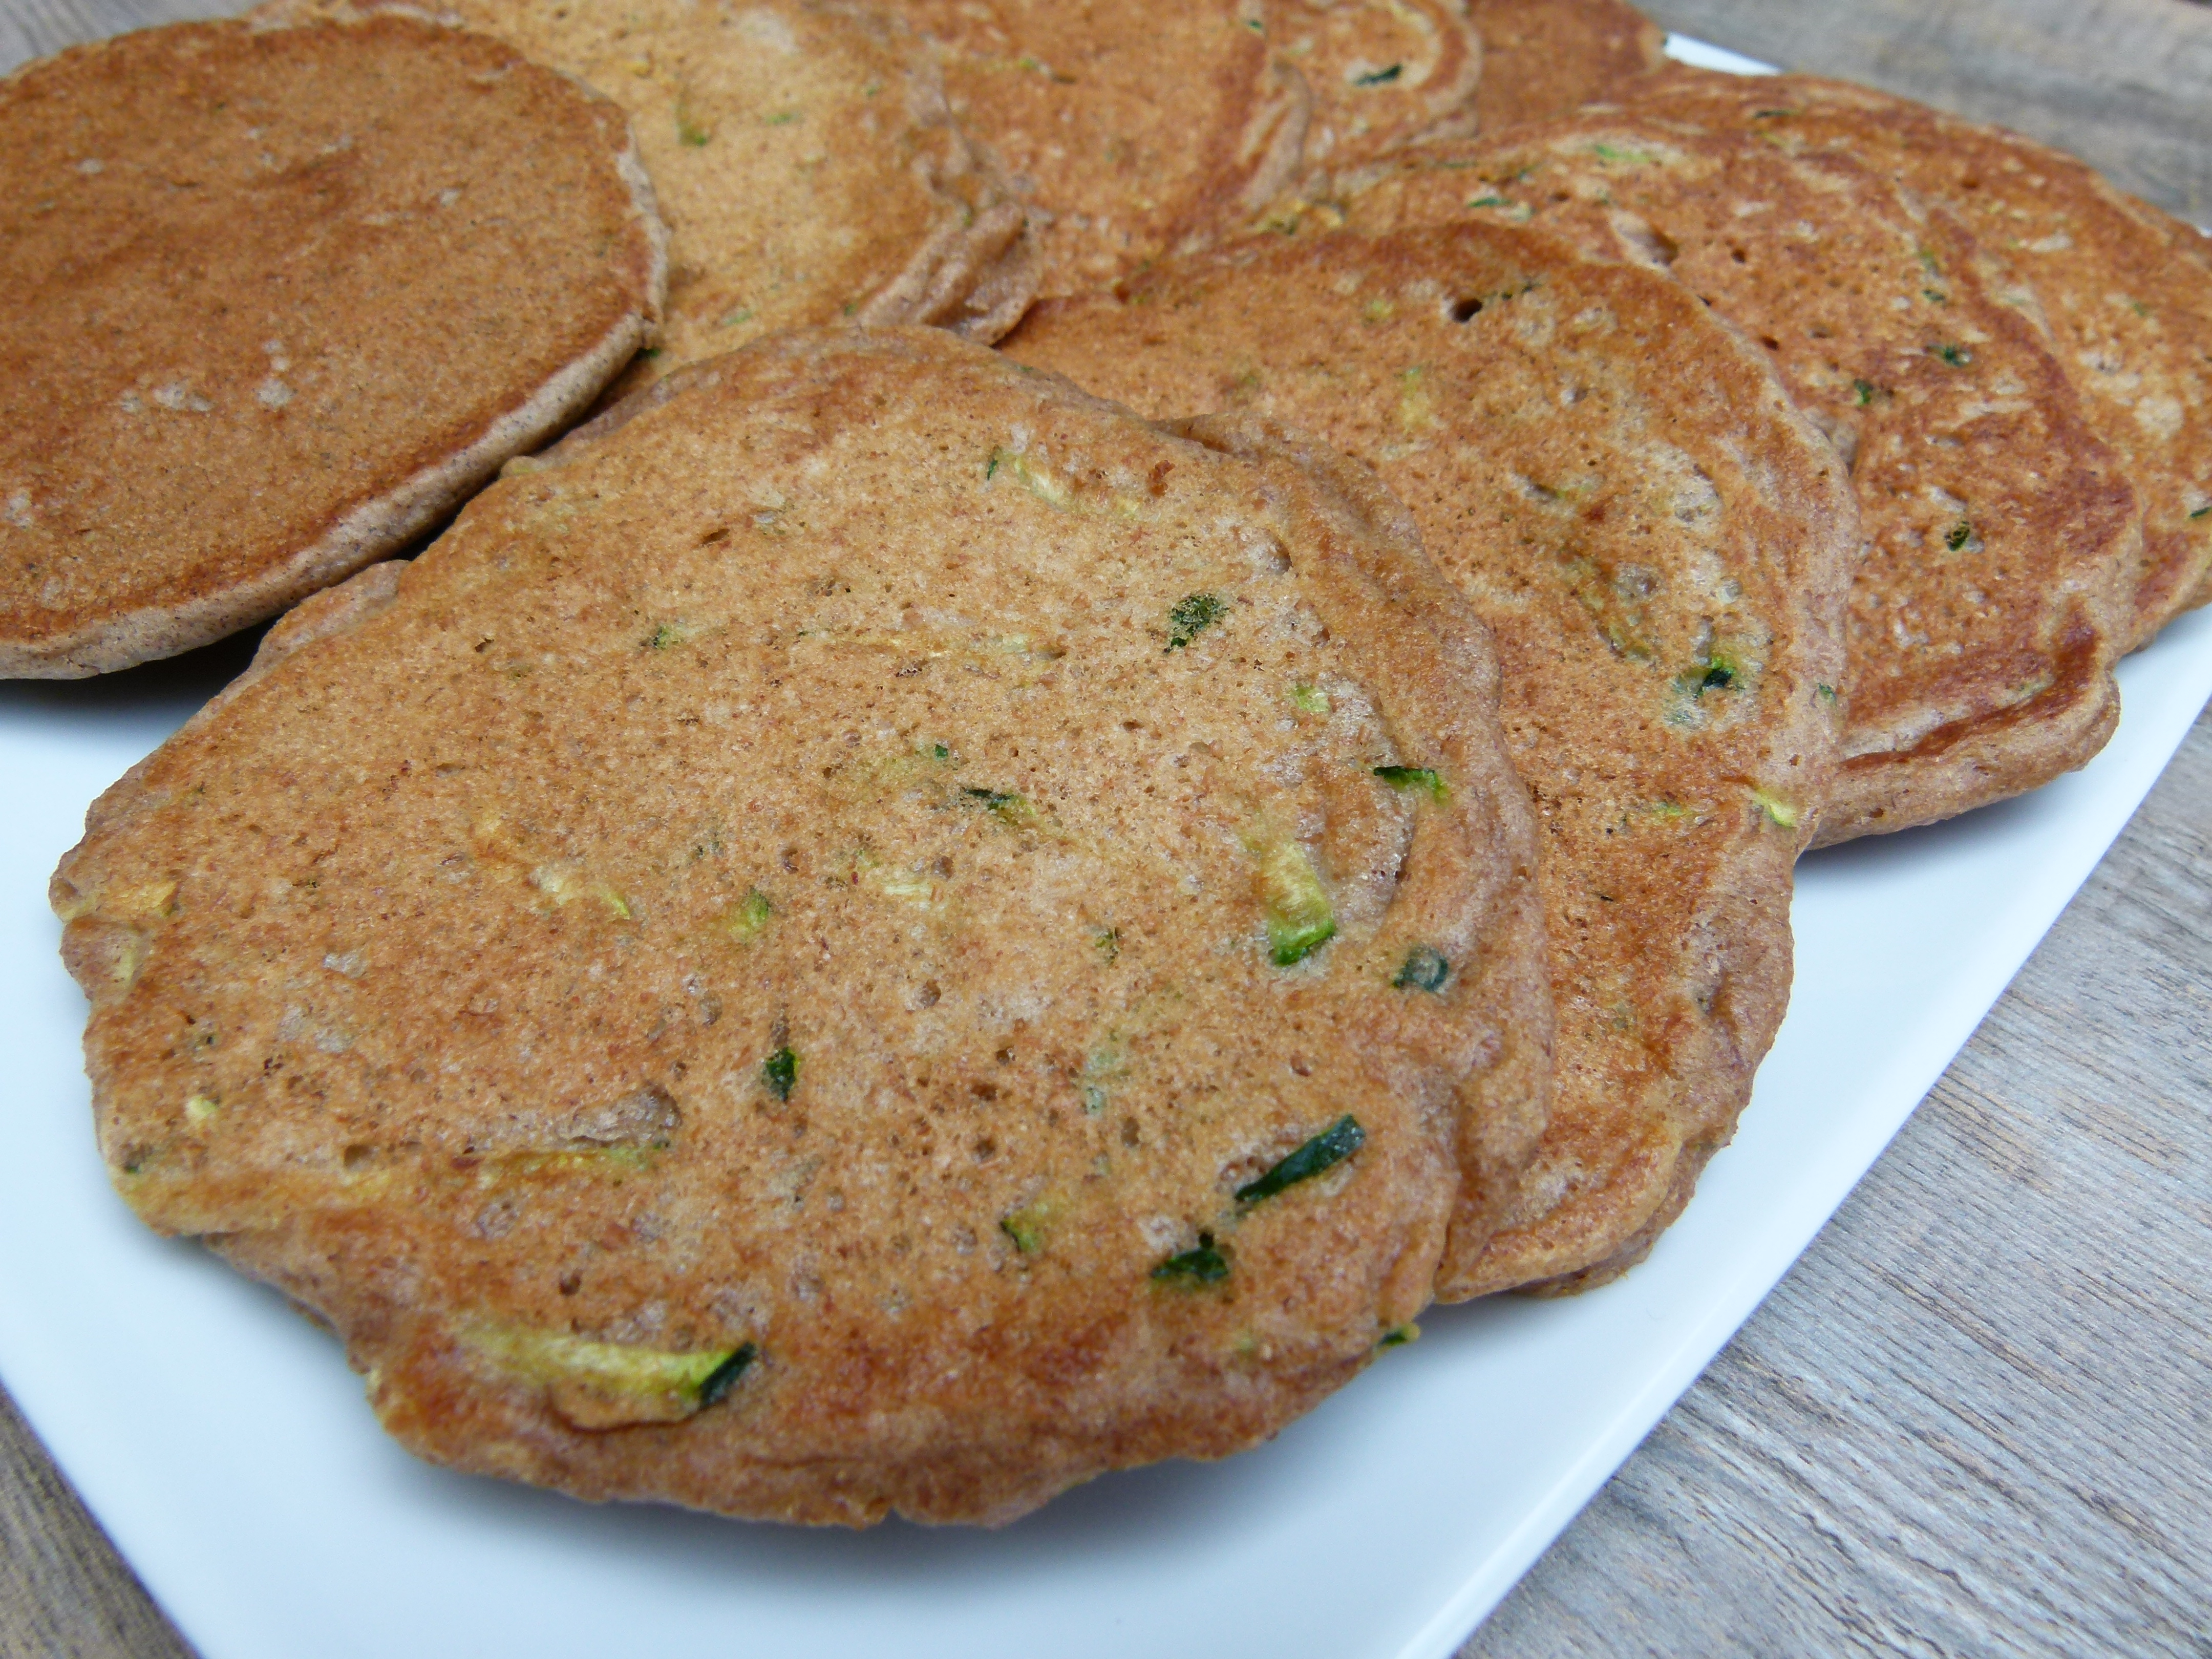
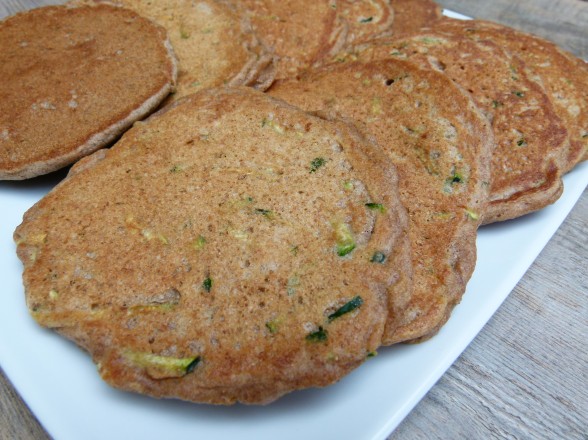
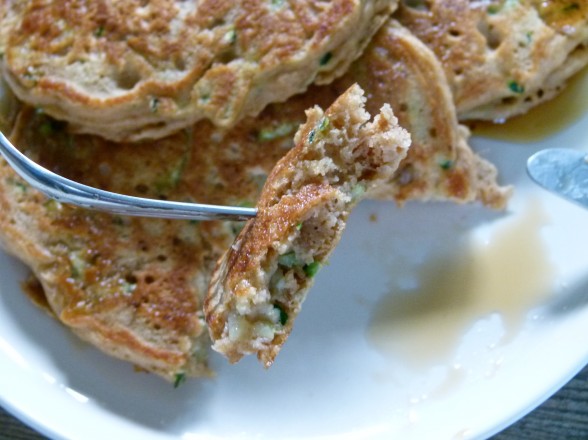
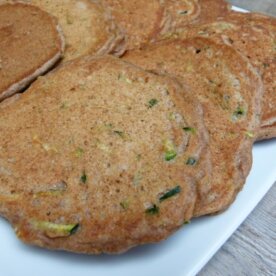
But for my breakfast classes, I needed to debut more than just buttermilk pancakes with a different fruit each time.  I’ve posted most of my favorites by now, including oatmeal pancakes and pumpkin pancakes.  Both are really delicious!  After seeing a recipe by fellow Foodily tastemakerJoy the Baker, for carrot cake pancakes, I had an idea to make pancakes with the same flavors in zucchini bread.  To me, zucchini bread really isn’t about the zucchini, which I think is a little tasteless but does add nice moisture to muffins and quick breads.  I’m mostly in it for the sweet spiciness of cinnamon and nutmeg, perhaps combined with a few nuggets of walnuts.  What’s not to love?  And zucchini bread pancakes could be made with almost no added sweetener — so great!

These pancakes made it on the menu this past June and I think they were a big hit.  I made them successfully with several different flours, including whole wheat pastry, whole spelt, and sprouted whole wheat.  The latter two flours tend to create a thicker batter, so I used a bit less of those, but they made for a nice hearty pancake.  Whole wheat pastry flour is very light, almost mimicking white flour, but still has all the fiber and bran of whole wheat, which it is.  We also played around with adding pecans, blueberries or the oft-requested chocolate chips, but personally I love them completely plain with either a thin drizzle of maple syrup or a dollop of whole yogurt.  Such a delicious breakfast for the long weekend as well as for a first day of school.  I hope you all enjoy a fantastic Labor Day!

Zucchini Bread Pancakes

Pamela

Ingredients
  

  • 1 ¾ cups sprouted wheat flour or 2 cups whole wheat pastry white whole wheat or whole spelt flour (or a combo)*
  • 1 teaspoon aluminum-free baking powder
  • 1 teaspoon aluminum-free baking soda
  • 1 teaspoon fine sea salt
  • 1 Tablespoon ground cinnamon
  • scant ¼ teaspoon ground nutmeg
  • 2 cups buttermilk**
  • 2 large eggs
  • 1 teaspoon pure vanilla extract
  • 1 Tablespoon 100% pure maple syrup
  • 3 Tablespoons unsalted butter melted
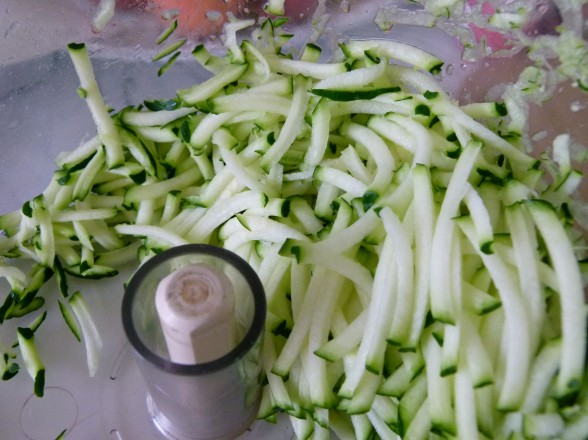
  • 2 cups shredded zucchini
  • Melted unrefined coconut oil or unsalted butter for brushing the griddle

Instructions
 

  • Preheat a griddle to 400 degrees or medium heat.
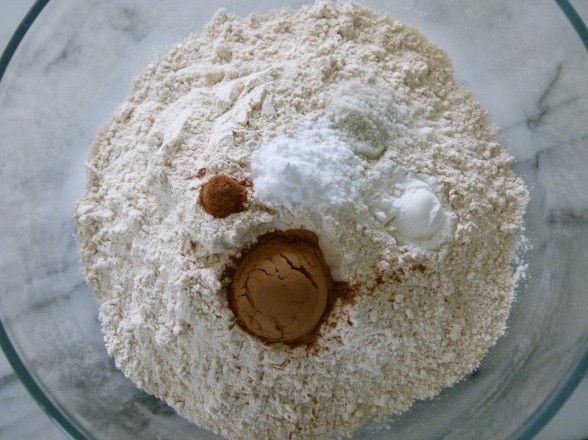
  • Combine the flour, baking powder, baking soda, salt and spices in a large mixing bowl.
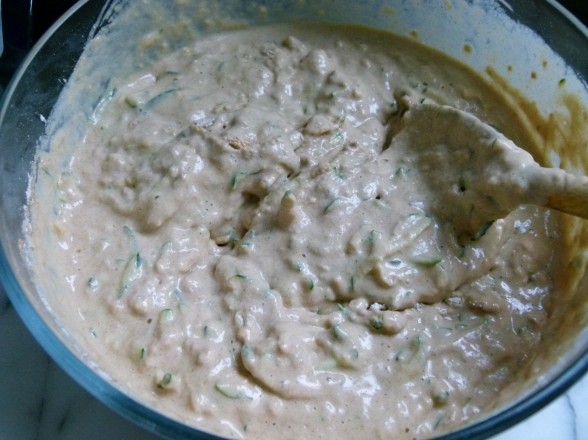
  • In a medium bowl or 4-6 cup measuring cup, whisk together the buttermilk, eggs, vanilla, maple syrup and melted butter until well blended. (A blender can do this easily, too.) Fold in shredded zucchini.
  • Pour the wet mixture into the dry ingredients and stir until just combined.
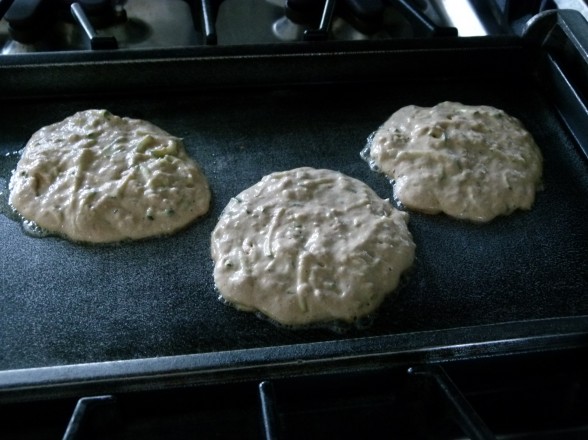
  • Brush the griddle with coconut oil and spoon about ¼ cup of batter onto the griddle. Add blueberries, chocolate chips, diced banana or chopped walnuts to the surface, if desired. When bubbles start to form on the surface of the pancake and the edges become slightly dry, flip it over and cook until done. Maintain the heat on medium-low or 400 degrees.

Notes

*Gluten-free: substitute 1 cup buckwheat flour and 1 cup brown rice flour for the wheat flour. Or you can use GF oat flour, too, such as ¾ cup oat flour, ¾ cup buckwheat flour and ½ cup brown rice flour.
**No buttermilk? Sub half unsweetened yogurt and half whole milk. Or use 2 cups milk, omit the baking soda and use 2 teaspoons baking powder instead.
Tried this recipe?Let us know how it was!

Homemade graham crackers recipe

There are some things that I just don’t think are worth making from scratch (like puff pastry) and then there are some things I can’t believe can be made from scratch and taste good, like graham crackers.  Wait, not just “good,” but amazing!   Who doesn’t remember eating graham crackers as a child?  But you always got them out of a box, right?  Not anymore.  Be prepared to have your life changed!

Even though my mom didn’t allow many over-the-top sweets in the house, graham crackers sometimes made the cut.  Whereas Ho-Ho’s and Twinkies were definitely taboo, graham crackers seemed relatively benign and not overly sugary.  My mom bought Honeymaid, which we used to smear with peanut butter or cream cheese or just dunk in milk.  My kids would like to do the same, but I rarely buy packaged cookies.  First of all, I think that homemade always beats store-bought.  And it’s hard to find treats made with unrefined ingredients and without lots of scary chemicals.

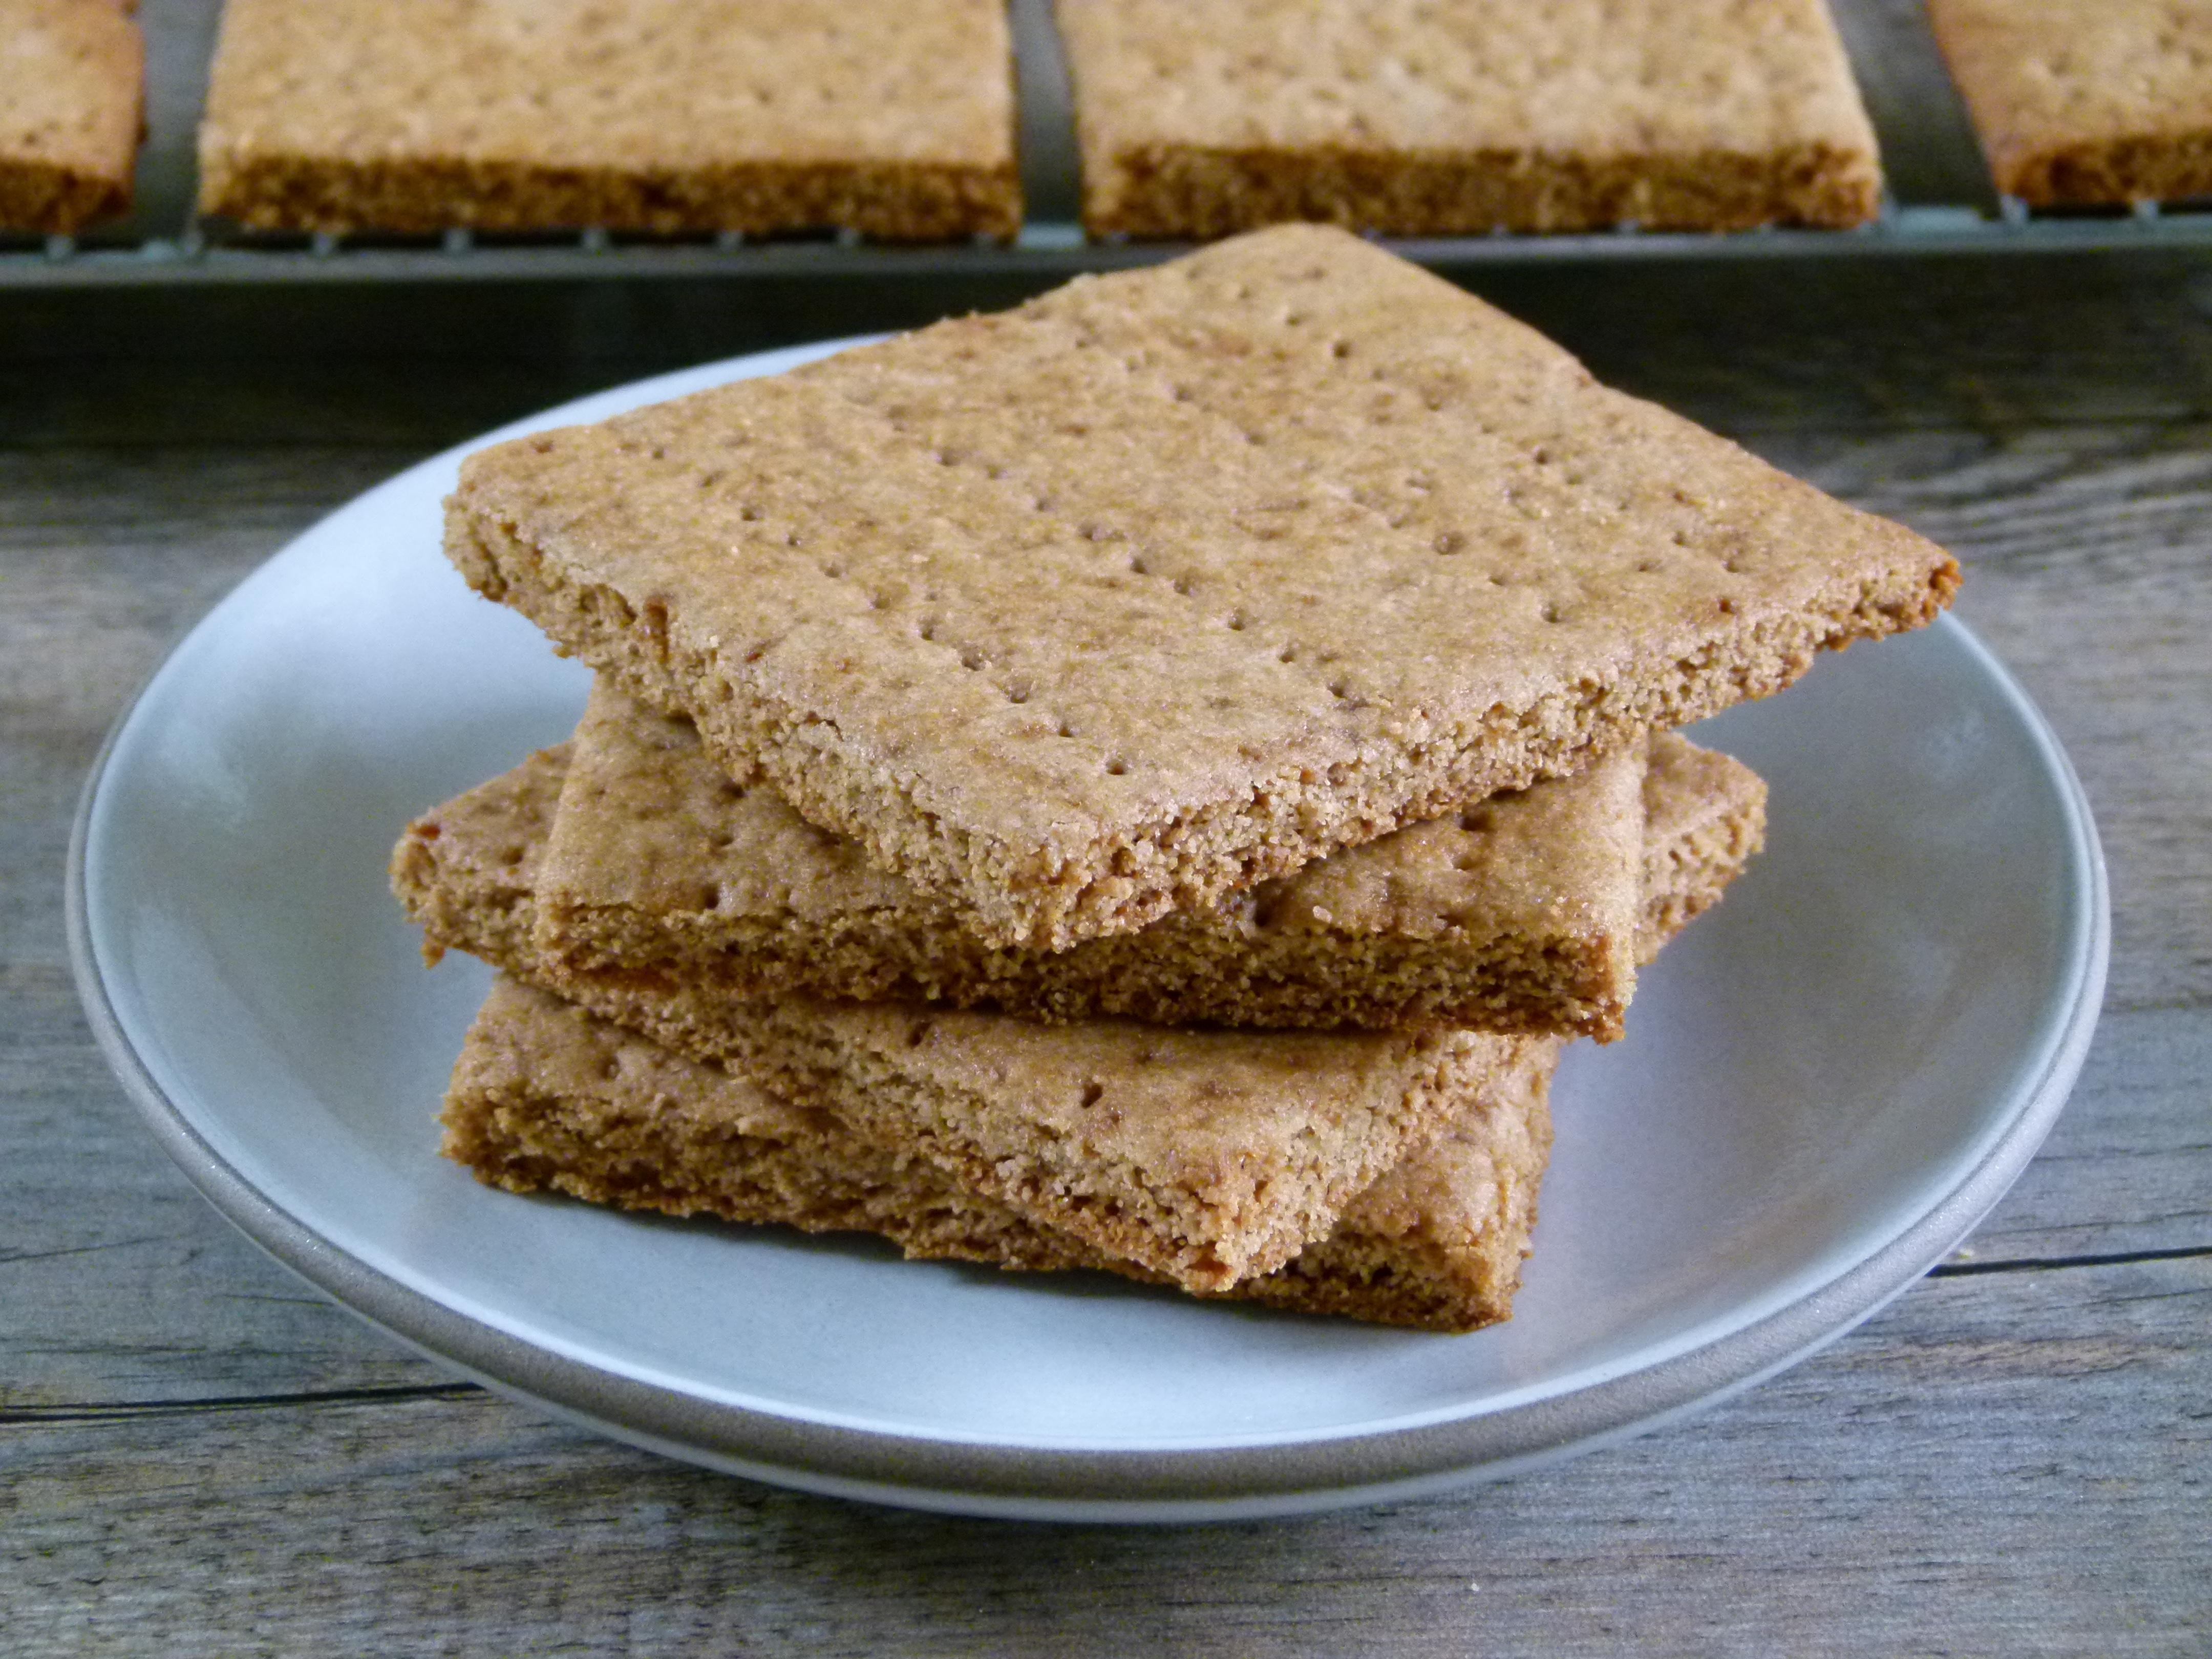
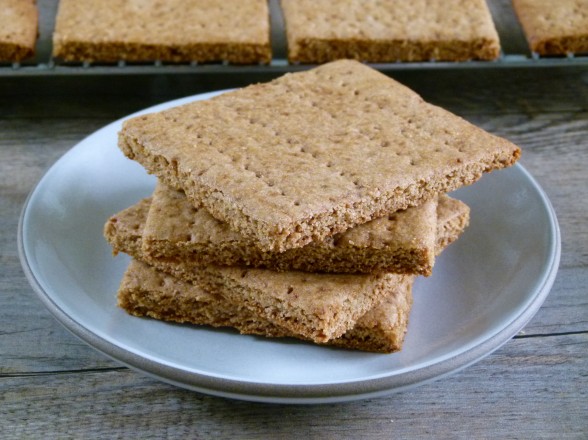
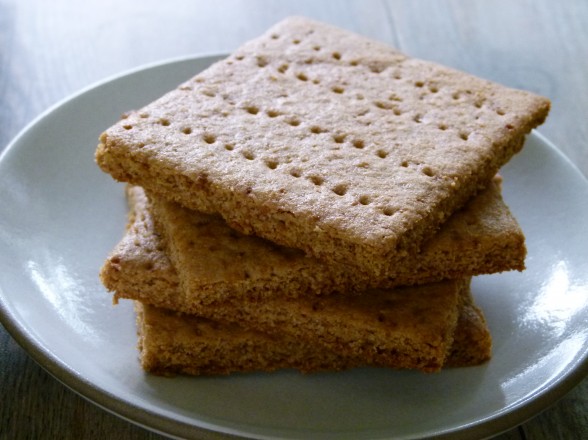
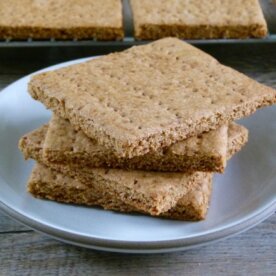
Last June and July my summer intern Hannah and I went graham cracker crazy, making a new batch or two every week.  I finally settled on this recipe here which my friend Cheryl helped me with.  These graham crackers have just the right amount of sweetness, which makes them a perfect snack for your little guys and for s’mores.  I like using a combination of whole spelt or wheat flour and brown rice flour.  Rice flour is very light and has a grittiness that I think is ideal for graham crackers.  If you don’t have it, just use all spelt or wheat flour and they will still be delicious.  But I think the key with graham crackers is to ask yourself how perfect you want them to look. I so admire people who have the patience for making things look like they popped out of Martha Stewart Living because I don’t.  I will admit, I did my best with the batch I photographed for this post, but normally I leave my ruler in the drawer.  If you are giving these as a gift, using them for s’mores, or offering them to a large group of children, you may want the crackers to be as uniformly sized as possible so it might be worth the effort to measure out the dough and where you cut your lines.

This recipe is otherwise crazy simple,  but makes a great impression.  Last summer my go-to dessert for entertaining was a s’mores bar with these homemade graham crackers which Mr. Picky helped me bake on more than one occasion.  To me, having my kids helping me in the kitchen is the best part of making your favorite treats from scratch.   I also love that you can put into them what you want.  All organic ingredients?  No problem!  Half the sugar of their traditional counterparts?  Go for it!  Lots and lots of love?  Always!

Homemade Graham Crackers

Pamela, adapted from several sources, but mostly influenced by Nancy Silverton's recipe (from 101cookbooks.com) and Heavenlyhomemakers.com
5 from 1 vote

Ingredients
  

  • 1 ¼ cups whole wheat whole wheat pastry, white whole wheat or spelt flour
  • 1 ¼ cups brown rice flour or just use all wheat/spelt flour
  • ½ cup coconut palm sugar sucanat or brown sugar
  • 1 teaspoon baking soda
  • 1 teaspoon ground cinnamon
  • ½ teaspoon sea salt
  • ½ cup 1 stick unsalted butter, cold and cut into pieces
  • ¼ cup honey
  • ¼ cup milk non-dairy milk or water
  • 1 teaspoon pure vanilla extract

Instructions
 

  • Preheat oven to 350 degrees.
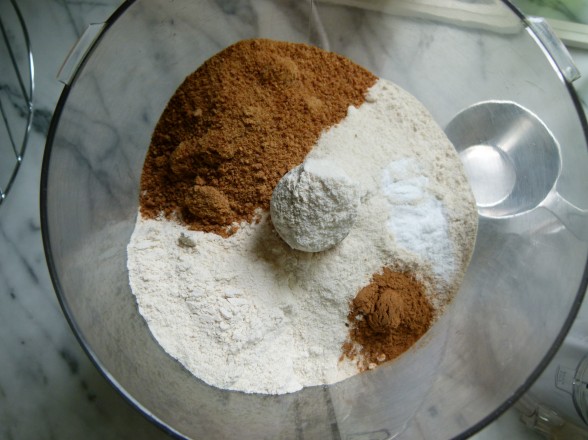
  • In the bowl of a food processor or mixer, pulse or stir the dry ingredients until combined.
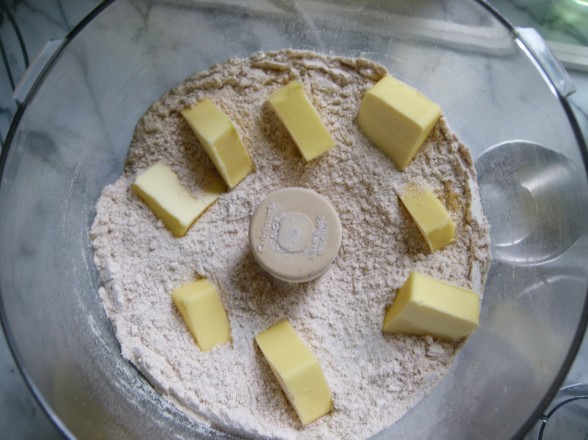
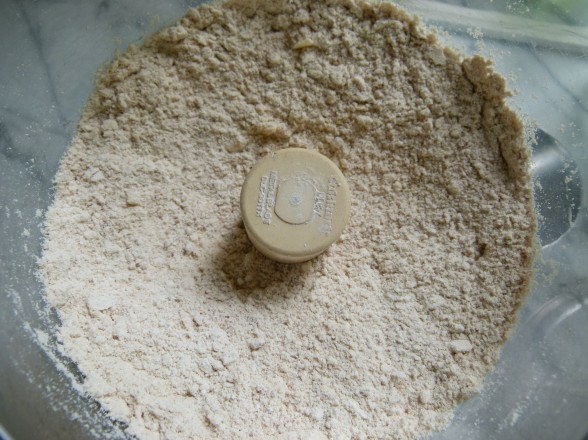
  • Add the butter pieces to the dry mixture and pulse or process until it looks like coarse meal.
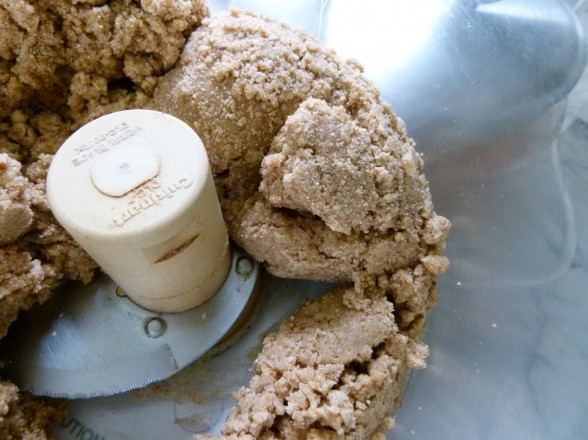
  • Add the honey, water, and vanilla and process until a ball of dough comes together. Pull the ball of dough out of the food processor and cut it in half. It is a very soft dough. But if it’s super sticky or if your kitchen is warm, refrigerate the dough 30 minutes.
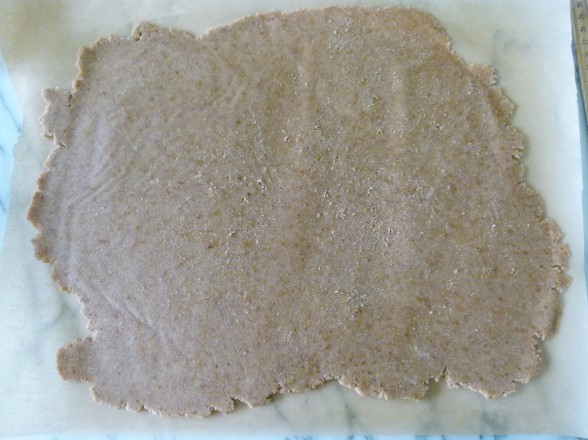
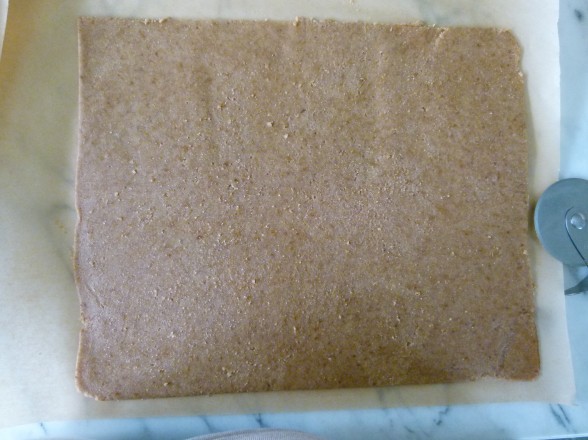
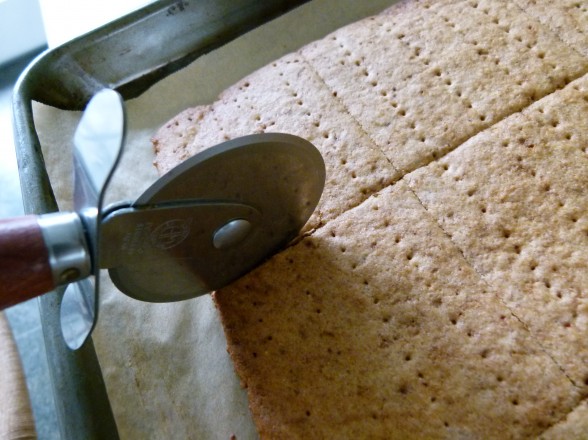
  • Roll out one ball of dough between two sheets of parchment paper to a 10 x 12” rectangle or about 1/8” thick. Remove the top sheet of parchment and slide the bottom sheet of parchment with the rolled out dough to a baking sheet. With a pizza wheel or a sharp knife, cut the dough into rectangles. If desired, prick the dough with the tines of a fork to create the classic graham cracker “dots.” Repeat with second ball of dough.
  • Bake for 18-22 minutes or until the edges are starting to turn brown. Remove from oven and cut crackers again along the same lines with a pizza wheel or knife. Allow to cool on the pans for about 2 minutes. Separate crackers from each other and cool on racks. If some crackers seem a little thicker than others, put them back in the warm oven with the heat OFF for 10 more minutes and up to an hour. This will dry them out a bit and ensure that they will be crispy.
  • Cool completely and store in an airtight container.

Notes
To make gluten-free graham crackers, use 2 ½ cups all-purpose gluten-free flour blend, such as King Arthur plus ½ teaspoon of xanthan gum in place of the wheat and rice flours.
Tried this recipe?Let us know how it was!