Coconut rice recipe

Coconut Rice | Pamela Salzman

Coconut Rice | Pamela Salzman

Before I started teaching so much, I used to do lots of pantry makeovers and kitchen re-organizations for other people.  Recently, I was helping my friend Jenni organize her pantry and I was completely envious of how it turned out.  It was like perfectly-labeled-Weck-jar-bliss.  Sigh.  I’m ashamed to say my own pantry is less than photo-worthy, which should not be the case.  So last week I finally became motivated to tackle my own pantry and turn it into a beauty queen instead of a wanna-be.  Perhaps I’ll blog about it when I’m done (I hope you’re patient).

My first step was determining how many containers I would need for the multitude of dried fruits, nuts, seeds and grains I have accumulated.  What blew me away was the number of different varieties of rice I have — 10!  When I thought about it, though, it makes perfect sense since each type that I have really does have a purpose.  I use arborio rice for risotto and sushi rice for (obviously) sushi.   I prefer the flavor of brown rice, but I love the convenience of white rice, so I have several varieties in both white and brown.

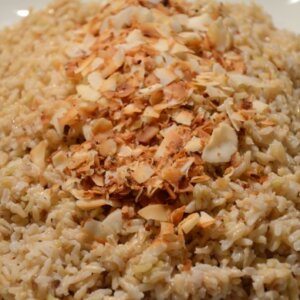
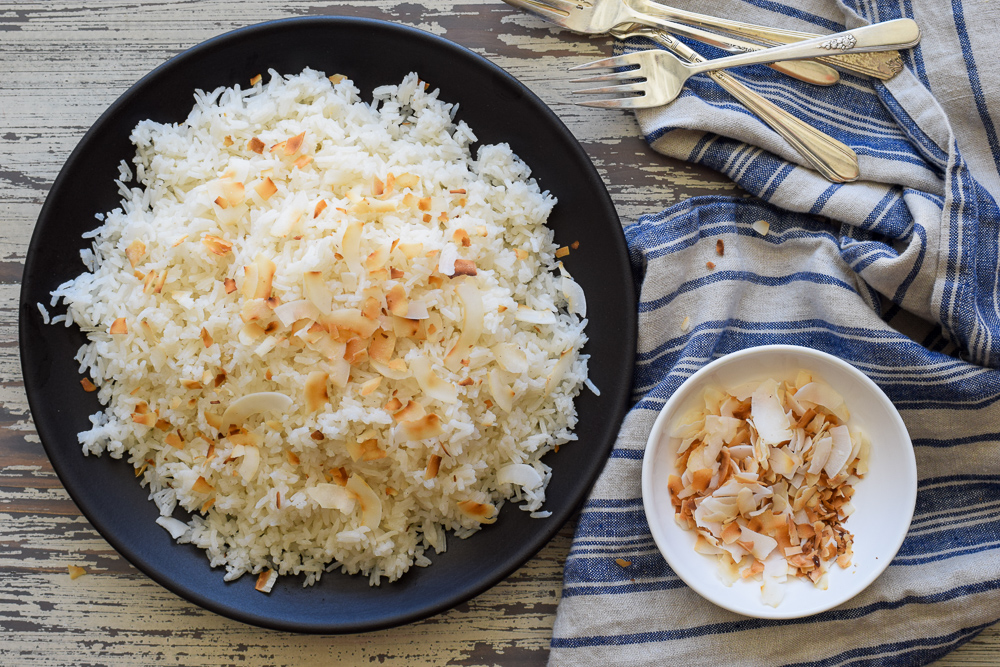
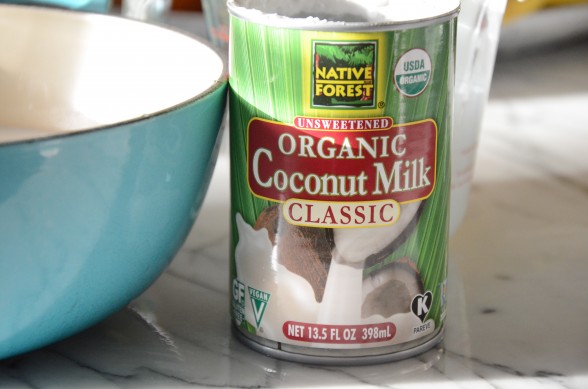
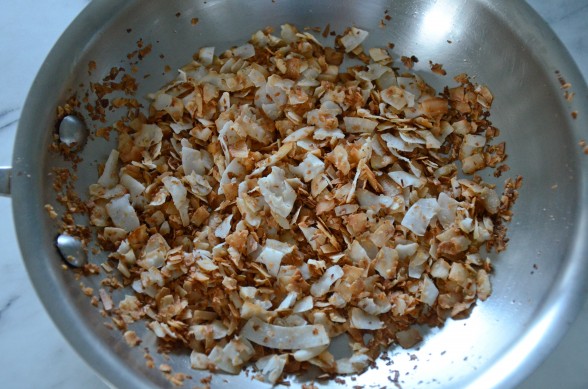
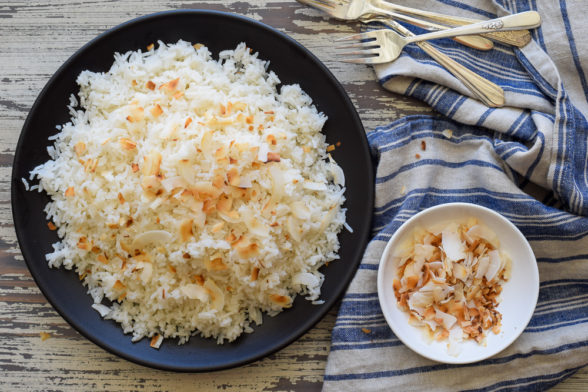
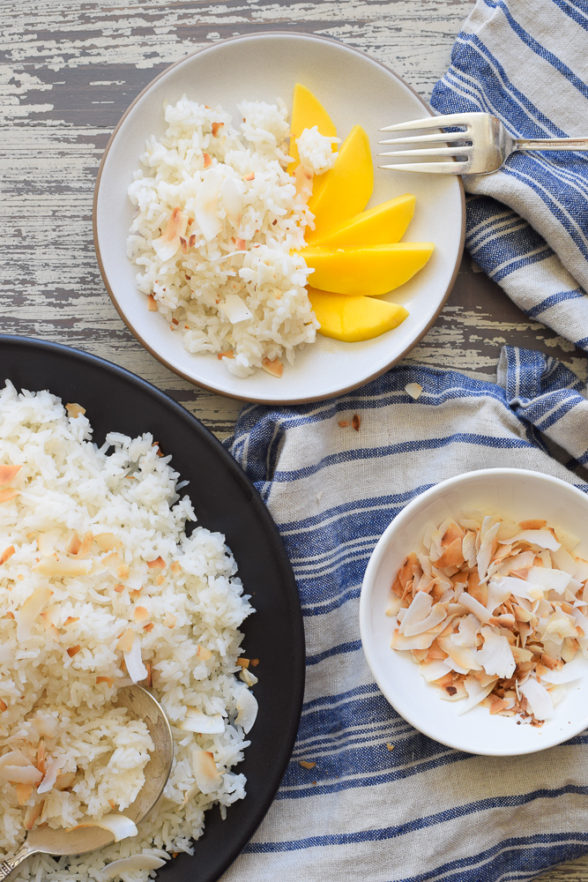
More importantly, my family loves rice in all forms, so I cook it often.  After finding not one, but two bags of brown jasmine rice, I decided to make coconut rice for dinner.  Coconut rice is one of my go-to stand-bys which I love to pair with anything spicy, gingery or saucy, like chicken curry or maple-soy salmon.  To cook the rice I use both water and coconut milk, which is incredibly rich and adds a lovely silkiness to the rice, as well as a subtle sweetness.  Plus coconut milk has lots of health benefits to boot.  I use Native Forest organic coconut milk because it’s the only one I have found that is BPA-free.  You can use any kind of long-grain rice, but I tend to use fragrant jasmine and basmati, either white or brown.  Don’t forget my kids’ favorite part — the toasted unsweetened coconut.  It makes the rice almost meaty, and more substantial.  I love the big flaked coconut, but if I can’t find it in my jumble of a pantry, I’ll use the thinner, shredded variety.  Wait — two more jars.  Check!

Coconut Rice | Pamela Salzman

Coconut Rice

Pamela
Servings 6

Ingredients
  

  • 1 ½ cups long grain rice such as jasmine or basmati (white or brown)
  • 1 ½ cups water
  • 1 ¼ cup coconut milk shake can before opening
  • ¾ teaspoon sea salt
  • ½ cup flaked or shredded unsweetened coconut

Instructions
 

  • Rinse rice to remove excess starchiness (you can soak it, too if you’re into that). Combine rice, water, coconut milk and salt in a medium saucepan with a tight-fitting lid.
  • Bring to a boil, lower heat to a simmer and cover with lid. Cook until liquid is absorbed, about 20 minutes for white rice or 50 minutes for brown rice. Remove from the heat and allow to sit, covered for 10 minutes.
  • Place coconut flakes in a medium skillet over medium-low heat and toast until golden. Don’t walk away from the pan. The coconut can burn easily!
  • Transfer rice to a serving bowl and top with toasted coconut.

Notes

You can add diced, fresh mango or freshly grated ginger to the rice, too.
Tried this recipe?Let us know how it was!


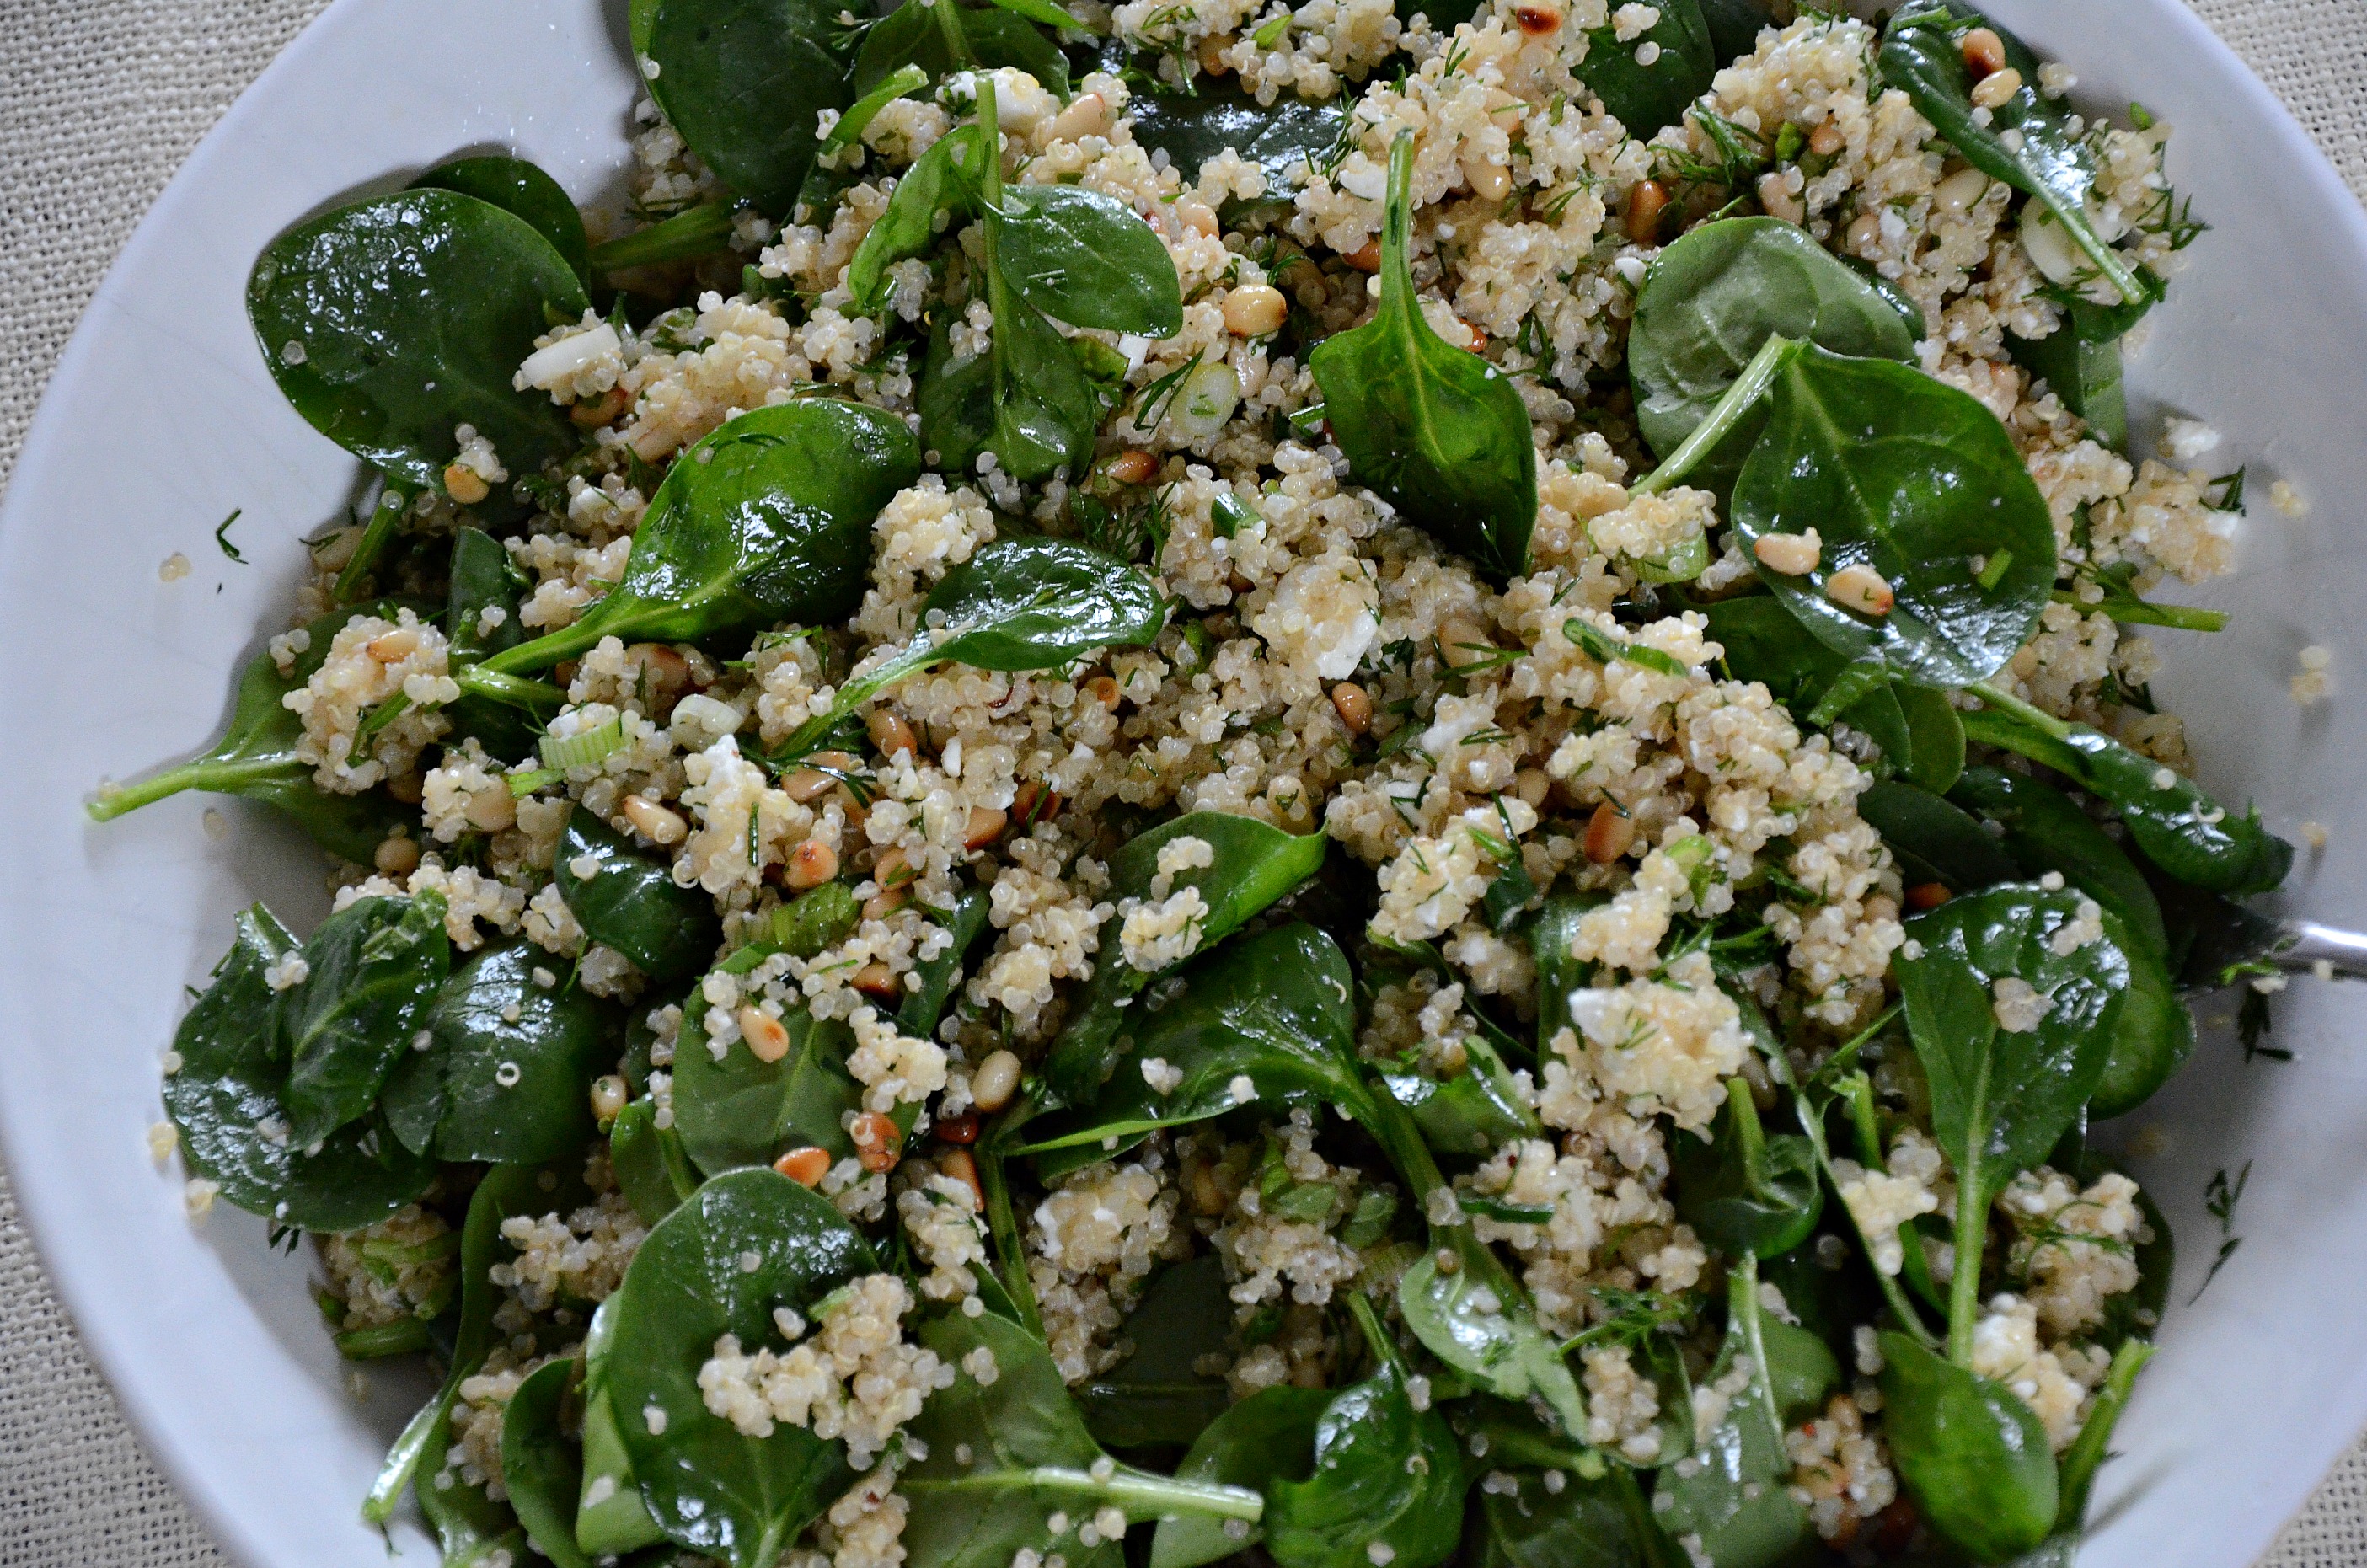
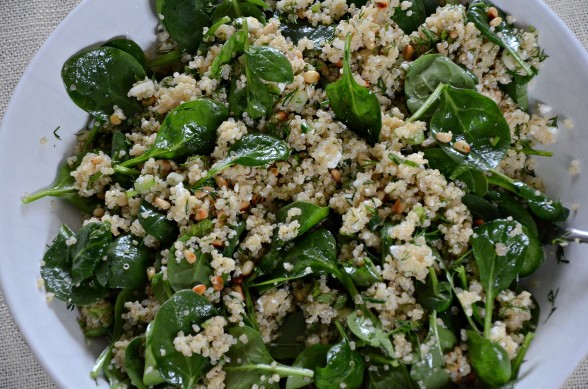
Spinach and Quinoa Salad with Feta and Dill

I know it’s still February, but I think a spring bug bit me.  The new strawberries, asparagus, sugar snap peas and artichokes were calling my name last weekend at the farmer’s market and I felt myself thinking ahead to the next season. Just noticing that the sun is setting later and later is making me giddy.  Yesterday I was working at home and felt inspired to make one of my favorite quinoa dishes with baby spinach, fresh dill and mint.  It was like a bowl of fresh air.

This salad is based on the ingredients in spanakopita, the very rich and tasty Greek pie made from layers of phyllo dough (and butter), stuffed with cheese, spinach and herbs.  My friend John gave me his mother, Libby’s heavenly recipe for spanakopita which I have been making for at least 10 years now, but not quite as often as I used to since loads of dairy, processed wheat and fat aren’t friendly to a certain someone.  So these days spanakopita makes an appearance only once a year at our Yom Kippur break-the-fast dinner.  Don’t feel sorry for me too fast.

Since I still crave those flavors, I came up with a lighter and fresher way to enjoy them.  Hence this salad was born.   Would you think I was lying if I told you I like this quinoa just as much, maybe more than spanakopita?  Of course, I acknowledge this is still a salad and not a flaky, buttery hot mess of three kinds of cheese bound by chopped spinach.  But I do like this quinoa better!!  I like that it’s fresh, zingy and makes me feel energized instead of weighed down.  Quinoa has that effect on me.  It’s gluten-free and full of high quality protein, fiber and healthful minerals.  For something so nutritious, it is also bouncy and light.  Plus I can prepare this salad in a faction of the time it takes me to butter 20 sheets of phyllo dough.

My girls came home from school yesterday and polished off what was left in the serving bowl.  I was hoping to ask Mr. Picky to try one bite.  In the past, he has only been willing to eat the spinach leaves after he wiped them clean with his napkin.  But lately I’ve noticed he has been a little more tolerant of quinoa, not minding if a spoonful or two gets mixed in with some kale salad or sugar snap peas.  This is part of the slow and steady process to which I have committed.

For those of you with actual dietary restrictions or aversions, this is an incredibly flexible recipe.  Vegans and dairy-free people can omit the feta and add some kalamata olives for a salty bite.  I know there are mint-haters out there (really? very hard to believe!), so feel free to leave that out, especially since Libby’s recipe calls for only dill.  And for those of you who would rather not use pine nuts, I have also used sliced almonds or roasted pistachios before with success.  I love quinoa with a little crunch.  This salad is the perfect lunch or light dinner on its own, but I have also served this with dozens of different sides including roasted carrots and beets, grilled zucchini,  sauteed green beans with shallots or minted snap peas.  Can you say “Spring It On?!”


Spinach and Quinoa Salad with Feta and Dill

Pamela
5 from 5 votes
Servings 4 -6

Ingredients
  

  • 1 cup uncooked quinoa RINSED (see Step 1)
  • Sea salt
  • ½ cup pine nuts toasted (optional)
  • 2 scallions thinly sliced or 1 garlic clove, minced
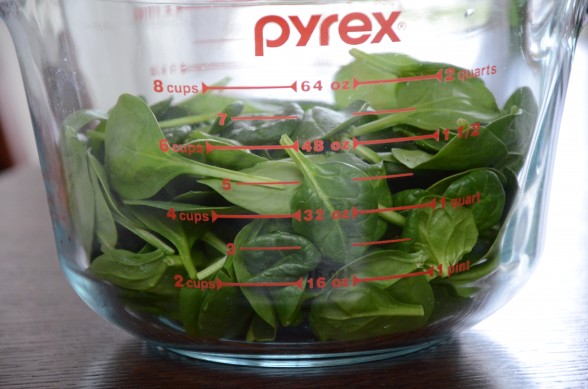
  • 6 cups lightly packed baby spinach leaves 3 ounces
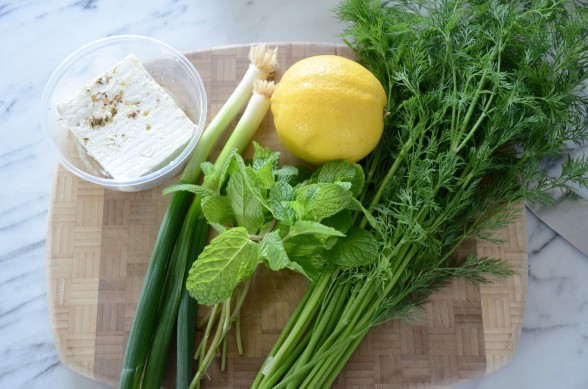
  • ½ cup chopped fresh dill
  • ¼ cup chopped fresh mint optional
  • ¼ cup freshly squeezed lemon juice
  • ¼ cup unrefined cold-pressed extra-virgin olive oil
  • 6 ounces feta preferably made from goat or sheep’s milk
  • ½ teaspoon sea salt
  • Freshly ground black pepper to taste.

Instructions
 

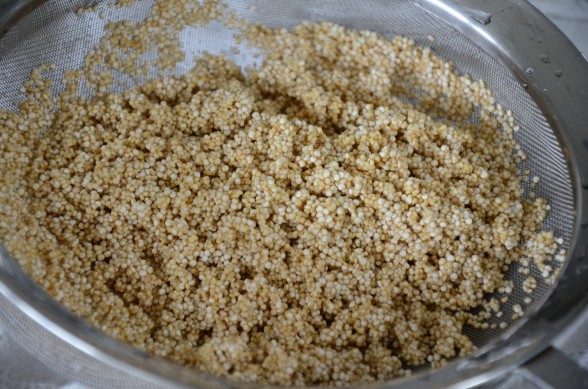
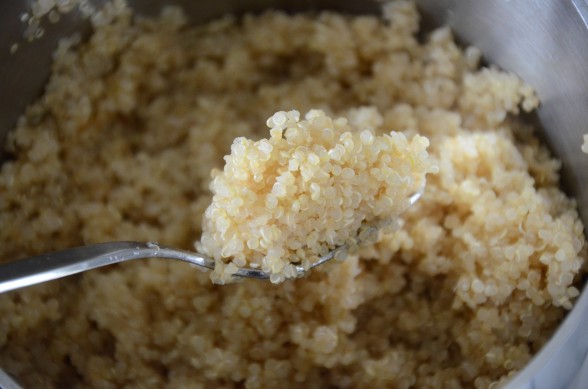
  • Rinse quinoa in a bowl with water or place quinoa in a fine mesh sieve and rinse under cold water until water runs clear. Drain and transfer to a medium saucepan with a pinch of sea salt and 1 ¾ cups of water. Bring to a boil, cover and lower heat to a simmer. Cook until water is absorbed, about 15 minutes. Let sit, covered for 10 minutes. Quinoa can remain in the pot until ready to combine with other salad ingredients or transfer to a serving bowl and fluff with a fork. Allow quinoa to cool slightly.
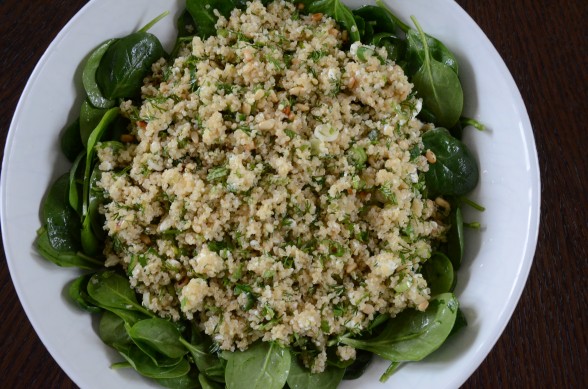
  • To the quinoa add remaining ingredients and toss to combine. * Or you can place the spinach on a serving platter and toss with 1 Tablespoon of the lemon juice and 1 Tablespoon of the olive oil. Combine quinoa with remaining ingredients and mound on top of the spinach leaves. Taste for salt and pepper and adjust seasoning, if necessary. Serve warm or at room temperature.

Notes

Other additions can include Kalamata olives, halved cherry tomatoes, diced cucumbers, and/or fresh corn kernels.
Tried this recipe?Let us know how it was!


Ginger and honey-glazed carrots

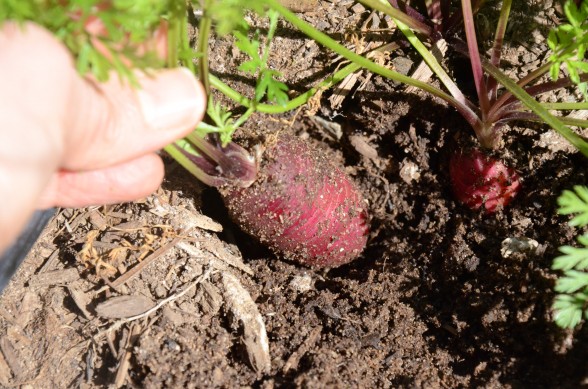
This is always the time of year that I appreciate living in California.  Whereas the ground in my parents’ New York garden is still frozen, I am pulling carrots out of mine.  Joy!  I planted a new variety this year called Purple Dragon and they are really something special.  Purple skins with an orange interior — what kid wouldn’t think that’s cool?  I always ask Mr. Picky to help me in the garden since that is supposed to be a strategy to help encourage your little ones to try new foods.  Not sure it’s working on my son, but my daughters both eventually became excellent eaters, so we’ll keep planting.

I have always felt that carrots are underrated.  They are quite nutrient-dense, especially in beta-carotene, a powerful antioxidant and anti-cancer compound which the body converts to Vitamin A.  Carrots are known for building healthy eyes and skin.  In fact, the beta-carotene in carrots can help protect your skin against sun damage.  But don’t forget to eat your carrots with a little high-quality fat to help you absorb all that valuable (and fat-soluble) beta-carotene.  So if you’re going to eat raw carrots as a snack, dip them into some hummus or a homemade vinaigrette.  Yum!

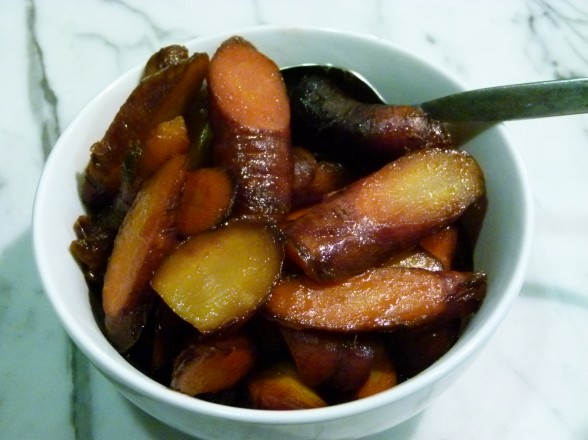
I’ve mentioned before that grated carrot salad is my absolute favorite way to eat carrots, but Ginger and Honey-Glazed Carrots is a close second.  Braising the carrots with honey, ginger, butter (or coconut oil) and a touch of water brings out this amazing caramel-y sweetness that you never knew existed.  I know how much we all love to roast vegetables with olive oil, but heating olive oil over 350 degrees for such a lengthy period of time oxidizes the oil and creates free radicals.  Not a big deal every now and then, but it’s nice to have some other tried and true methods to prep your vegetables that won’t damage your oil.

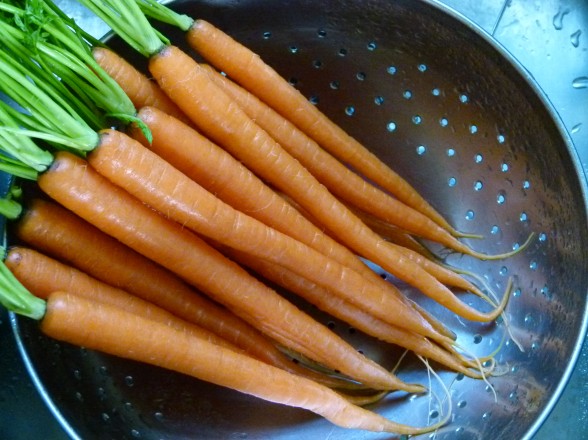
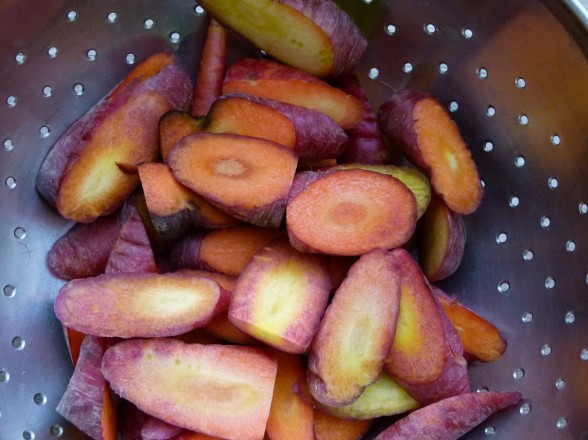
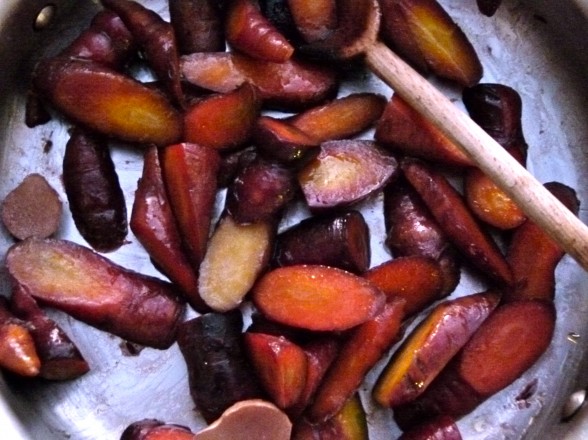
You definitely don’t have to use purple carrots in this recipe.   I’ve been making and loving Ginger and Honey-Glazed Carrots for years with the more familiar orange variety, as shown in most of the photos here.  Sometimes I buy thin carrots (see the 1st, 3rd and 5th photos) and cook them whole, which I think is so pretty.  But otherwise the larger carrots do just fine if I slice them thickly on the diagonal.  Heirloom carrots come in several fun colors besides purple.  I’ve seen yellow and white, as well.  But don’t peel the purple ones since the inside is orange (snore.)

Several of you have asked me for menu ideas when I post a recipe.  I’ll try to remember to offer a few suggestions going forward.  I’ve made these carrots twice in the past two weeks and everyone devoured them.  Once I served them with Spice-Rubbed Salmon and Coconut Basmati Rice (recipe coming soon), and the next time with Roasted Chicken, Potatoes and Fennel.  These carrots are really versatile and can go with many different entrees and side dishes, but I don’t normally serve them with another sweet dish.  Or you can just stand over the stove like I did with my daughter and eat them straight out of the pan with sweet honey carrot deliciousness dripping down our chins.


Ginger and Honey-Glazed Carrots

Pamela
4 from 1 vote
Servings 5 -6

Ingredients
  

  • 1 ½ pounds carrots tops removed and peeled if necessary (or 1 ¼ lbs. without tops)
  • 1-2 Tablespoons unsalted butter or unrefined coconut oil or more if you like it very glazy like I do
  • ½ cup water
  • 2 ¼- inch slices of ginger
  • 1 Tablespoon raw honey vegans can use Grade A maple syrup
  • ½ teaspoon sea salt

Instructions
 

  • If the carrots are very small and thin, leave them whole. Otherwise, cut the carrots on the diagonal into approximately 1 ½-inch slices.
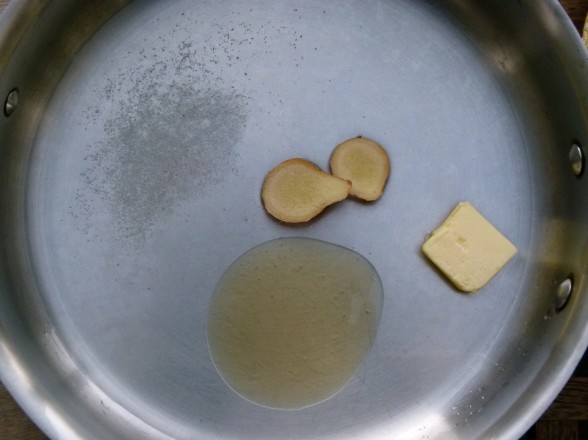
  • In a 10-inch skillet with a lid, such as a straight-sided skillet or braising pan, add the butter, water, ginger, honey and salt. Turn the heat to high and stir to combine. When the mixture comes to a boil, add the carrots and turn heat to low. Cover and simmer for 5-10 minutes (5 minutes for thin carrots, 10 minutes for thick wedges)
  • Remove the lid and simmer until all the liquid has reduced to a glaze and carrots are tender, approximately 10 more minutes. Remove ginger and serve warm or at room temperature.
Tried this recipe?Let us know how it was!


Miso soup recipe

I think the reason I started cooking at such a young age is because I love to eat good food.  My mother was and is a terrific cook, but she didn’t have time or the interest to really experiment in the kitchen, especially outside the Italian food comfort zone that she was in.  So when I was in the mood for something that my mom didn’t know how to make, I would grab a stack of her cookbooks and a couple years worth of Gourmet Magazine and flip through until I found what I was looking for.  I could get lost for hours reading recipes and then coming up with my plan.  How much easier we have it now with the internet, although I can still get lost for hours on cooking websites!

One of the simple pleasures in life for me is finding out that something I love to eat in a restaurant is incredibly simple to make at home.  We don’t eat out very much, but the kids love their annual birthday dinner at Benihana and I look forward to sushi out with my girlfriends every now and then.  When I am at a Japanese restaurant, I love starting my meal with a comforting bowl of miso soup.  You may remember from my post on Creamy Miso-Ginger Dressing how beneficial unpasteurized miso is to the digestive system as well as being a wonderful detoxifier.  Of course, I love the salty savoriness of it, too!  Many years ago I decided to figure out how to make miso soup with the preconception that it would be difficult.  For goodness sake, it’s about as easy as boiling water.  In fact, when I taught this miso soup recipe in a class a few years ago, more than one person remarked that it was easier than cooking pasta (and better for you, too!)

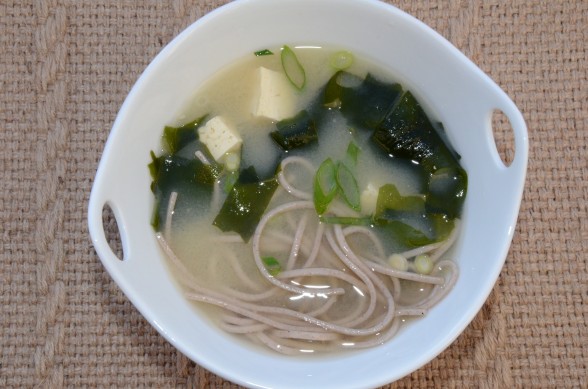
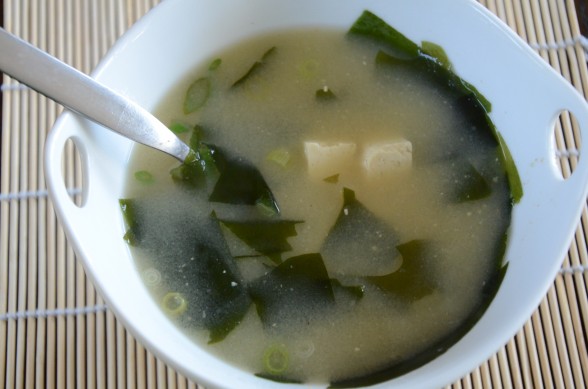
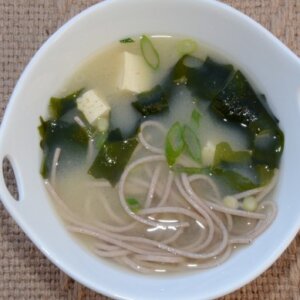
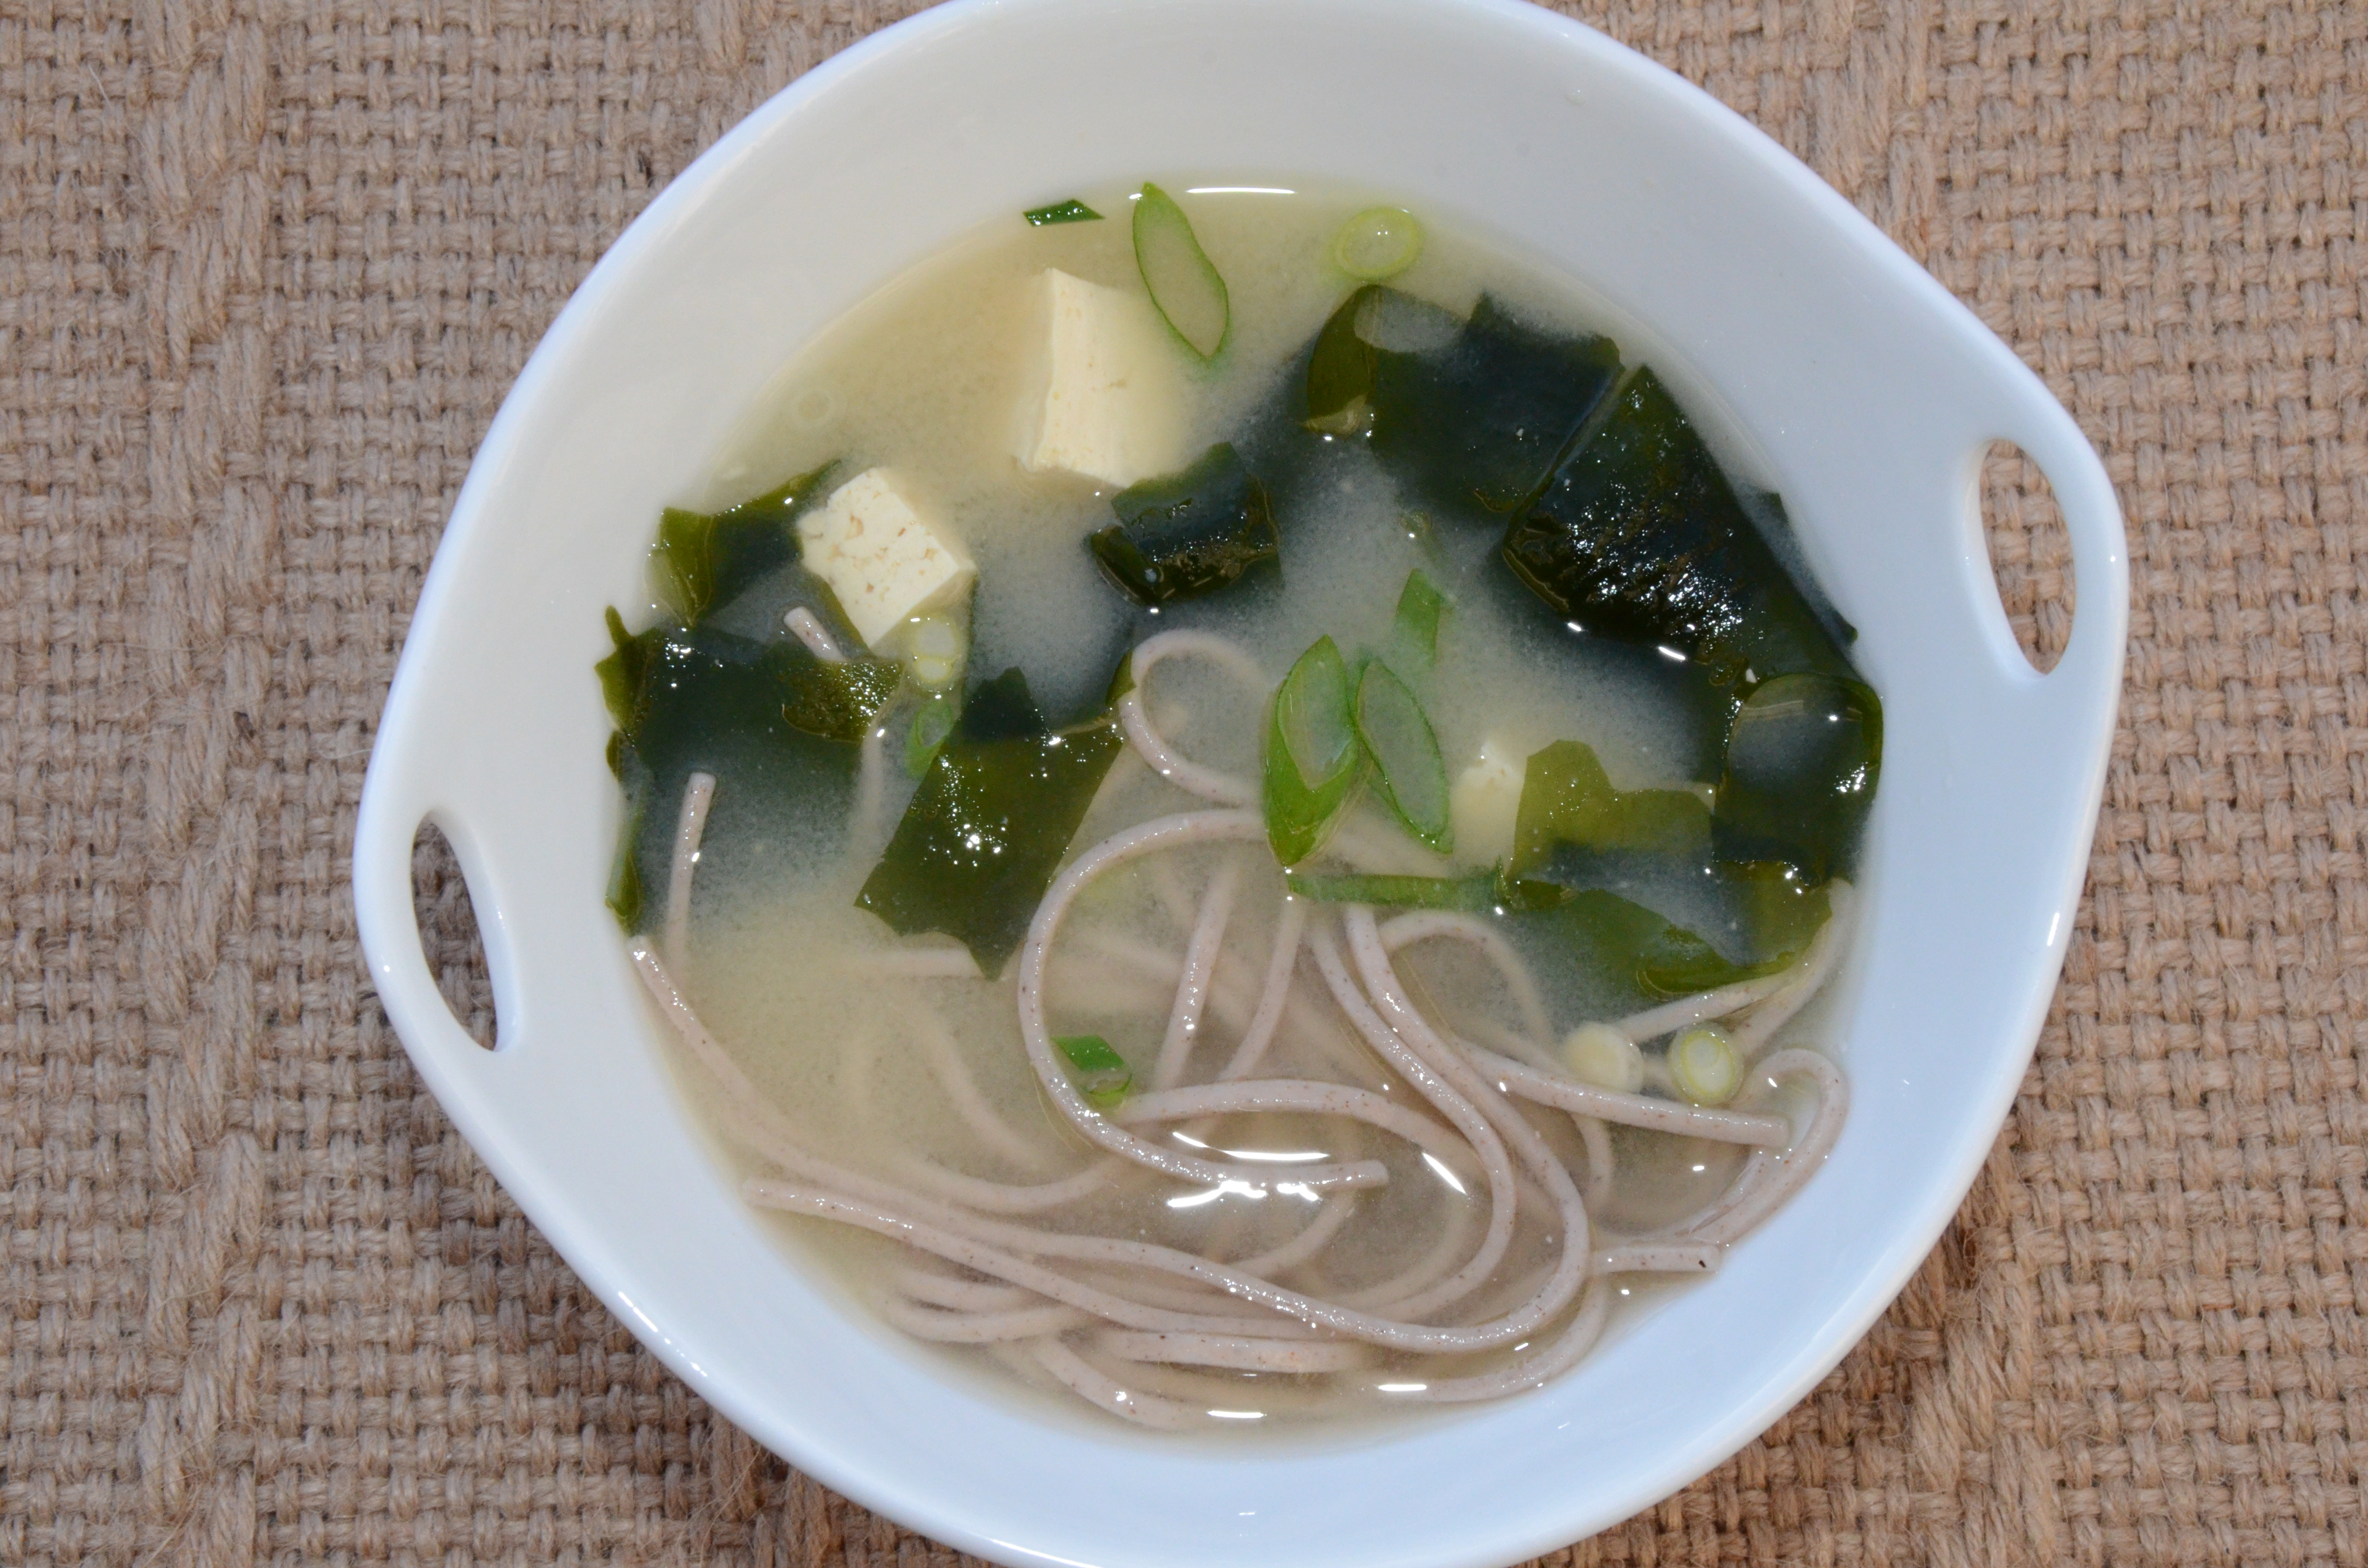
I typically make miso soup the way you would find it in a Japanese restaurant in the US, except for the canned fried onion crisps.  What’s up with that?  Do they add those to miso soup in Japan?  Somehow I’m doubting it.  Regardless, I always add wakame, which is an amazingly nutritious sea vegetable that you need to try if you haven’t.  It’s so high in minerals and incredibly alkalizing — go get some!  I love the wakame flakes by Eden since they rehydrate in minutes and there’s no chopping involved.  If I have tofu in the fridge, I’ll add that and perhaps some thinly sliced green onion.  The day I photographed this soup, Mr. Picky asked for soba noodles, so I tossed a few into his bowl.  Steamy Kitchen has a version with shiitake mushrooms and sliced boy choy that looks great.  Like me, she enjoys soup for breakfast!

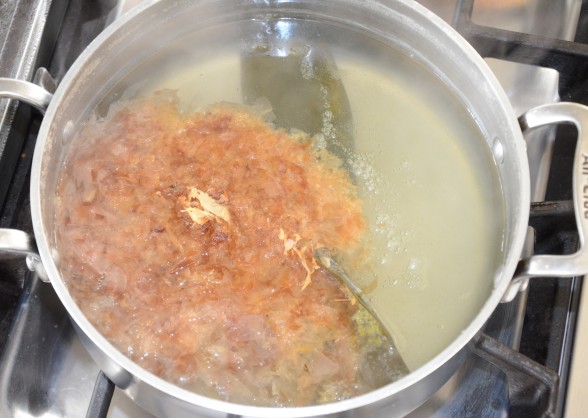
Some of the ingredients may seem exotic or hard to find, but I assure you no good natural food store worth their sea salt doesn’t carry unpasteurized miso and a good selection of sea vegetables.  In fact, I found everything at my local Whole Foods.  The only ingredient that may throw some of you, especially my vegetarian and vegan friends is the bonito flakes, which are made from a type of mackerel that has been steamed, dried and shaved into flakes.  It adds a really cool smoky, hearty undertone to the soup.  But if it’s not your thing, I would add a drop of shoyu or simmer the stock with some dried shiitakes to make up for omitting the bonito.  No matter how you prepare it, this just might be the easiest and most healthful bowl of soup you never thought you could make.

Miso Soup

Pamela
Servings 4

Ingredients
  

  • 4 ¼ cups of water
  • 1 6-inch piece kombu (dried kelp)
  • 1 cup dried bonito flakes optional, but delicious
  • ½ cup rehydrated wakame soak according to package directions and chop, if necessary
  • 6 ounces firm non-GMO tofu drained and cut into ½-inch cubes
  • 4 Tablespoons organic and unpasteurized miso I use white. But check labels if you need the miso to be gluten-free.
  • ¼ cup thinly sliced scallion greens
  • Shoyu or tamari to taste if desired

Instructions
 

  • Make the dashi (broth): In a medium saucepan over medium-high heat, bring the water and kombu to a boil. Remove the pan from heat and add the bonito flakes. Cover the pan and allow to steep for 5 minutes.
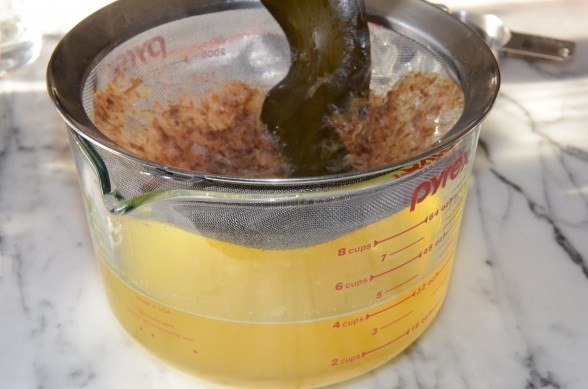
  • Strain stock through a fine mesh sieve or a cheesecloth-lined colander into a large bowl or another saucepan. If you are not using the stock immediately, allow to cool uncovered and then refrigerate it, covered for up to a week.
  • Transfer all but ½ cup of stock back to the original saucepan and add tofu and wakame, if using, and heat until hot.
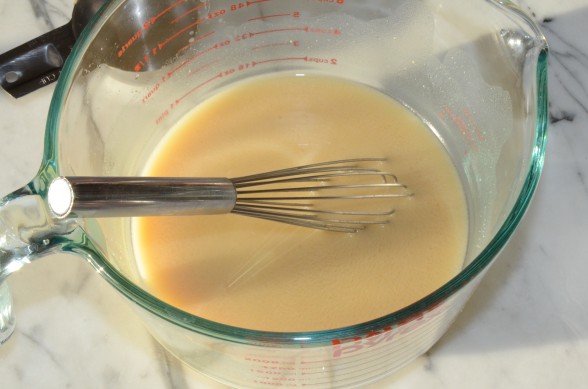
  • Whisk miso into the reserved ½ cup of stock until smooth. If you think you will consume all of the soup now, stir all of the miso mixture to the heated stock and serve immediately. Otherwise, add a spoonful of the miso mixture to each individual bowl and ladle hot stock on top. You can add noodles to each individual bowl, if you like.

Notes

Miso is a live food. In order to preserve its beneficial enzymes, do not boil it.
Tried this recipe?Let us know how it was!

Simple steps for a more healthful home


For many years, my friends Laura Forbes Carlin and her sister Allison Forbes have inspired me to think about my home as a vehicle for self-transformation through their blog, Inspired Everyday Living, as well as their books and apps.   I asked Laura and Allison if they would share with my readers and me some easy tips to help create a more natural, health-supportive environment in our homes.  I especially love their “recipes” for DIY cleaning products!


Laura and Allison:

“If you’re like us, you do your best to take care of your health. We certainly try to eat well by choosing healthy, organic foods and we exercise as much as possible. And for many, being healthy usually stops with eating right and exercising. Creating a healthy home isn’t something most people consider, but it can be equally as important.

Our homes are like our third skin—our actual skin being first and clothes being second. What we have in our homes, how we clean them, and how we decorate are all decisions that affect our health on a daily basis. We need to take care of our homes just as we do our bodies. For example, inhaling fumes from common household cleaning products that contain toxic chemicals can be just as bad for you as eating fruits and vegetables that were sprayed with pesticides. We like to say that what we put in our homes can be just as important as what we put in our mouths!

A Dozen (Plus One) Simple Steps for a More Healthful Home:

1. Ventilate your home. Many of the products we use to clean and the materials we use to decorate and build contain toxic chemicals that off-gas and pollute the air we breathe. A study by the Environmental Protection Agency found that pollution inside a home could be two to five times higher than outside the home, even in large, industrialized cities. Opening windows creates a way for chemicals released from common household items to exit and fresh air to enter.

2. Use an air filter. Add HEPA/carbon filter to your heating, ventilation and air conditioning system, or placing standing filters in room where you spend a lot of time, such as bedrooms, to filter the air in your home. A HEPA filter will capture dust and other airborne particulates and Carbon will capture volatile organic compounds (VOCS).

3. Take off your shoes. Shoes track in dirt and pesticides from outside on to our floors. Remove your shoes before entering your home. Avoid using pesticides and insecticides in your own home and yard.

4. Choose a non- toxic dry cleaner, avoid dry cleaning or at least unwrap and air out your dry cleaning before putting it in a bedroom closet.

5. Avoid placing electronics in bedrooms. Limit your cell phone use. Also switch from cordless phones to landlines. Avoid placing computers, televisions, washing machines or other electrical devices in or near bedrooms. All of these things generate electric and magnetic fields, which can potentially cause healthy problems. Research is still ongoing, but it seems wise to avoid the risk

6. Limit your use of plastics for food and drinks. Some plastics leach harmful chemicals into our food and drinks. Use glass storage containers for food and stainless steel cookware and drinking bottles. Additionally, avoid heating food or liquids in plastic.

7. Choose non- toxic and natural materials to finish and furnish your home. Many paints and finishes we use to decorate give off toxic fumes known as volatile organic compounds (VOCs), which can be harmful. These chemicals can remain in the air even after the paint is dry. Low or No VOC paints are a healthier alternative to this problem. Invest in natural materials such as solid wood, untreated cotton, linen, wool, etc… Pressed wood, like particleboard or MDF, contains chemicals like formaldehyde that can off gas. You will spend almost a third of your life in bed, so a healthy, chemical-free bed is a good place to start. Next time you buy new bedding, look for organic, untreated cotton sheets, untreated wool pillows and a wool or latex mattress.

8. As often as possible choose organic pesticide-free food and filter your drinking water. Although water quality varies depending on where you live, tap water can contain a host of contaminants including chlorine, lead and organic material. Install filters in your kitchen for drinking water and in your shower for water used to bathe.

9. Use non-toxic body care products. Our skin is our largest organ and whatever we apply to our skin we absorb. Avoid chemical anti bacterial soaps- find soaps that are antibacterial from a natural source such as lavender.

10. Keep your home as dust-free as possible. Use a vacuum with a HEPA (high-efficiency particulate air) filter to capture airborne particles. Not only is dust an allergen, but chemicals tend to bind to dust.

11. Sunlight. Sunlight can uplift our spirits. It is also an effective way to cleanse linens and blankets killing dust mites. So open curtains and blinds during the day to let sunlight into your home and hang carpets, sheets and blankets in the sun occasionally.

12. An Organizational System. Stress negatively affects our health and lack of organization and clutter can contribute to stress. Create a peaceful sanctuary at home by getting organized and eliminating clutter.
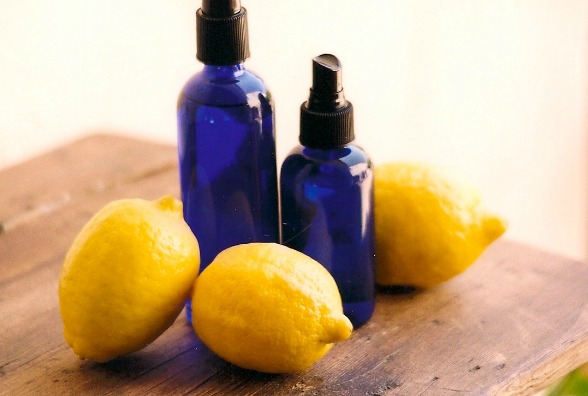
Plus one:

Conventional household cleaning products contain harsh chemicals including ammonia and phenol, which can irritate your skin and lungs, and cause headaches. These products are also one of the leading causes of indoor air pollution. So instead of cleaning your home, you’re actually polluting the air you breathe!

Next time you walk into a room that has recently been cleaned with conventional cleaning products notice how your body reacts. If you take a deep breath do you cough or sneeze? Does the room smell fresh or does it smell more like chemicals? Although for years we associated that chemical smell with cleanliness, once we switched to all natural cleaning products, we could never go back.

Most natural cleaning products are biodegradable, nontoxic, chlorine-free, and petroleum-free – all good for the planet, but also very good for you. To avoid exposing yourself to hazardous pollutants, look for non-toxic, environmentally safe household cleaning products, which clean while being gentler on your body. Natural cleaning products are now widely available in stores, but you can also make your own!
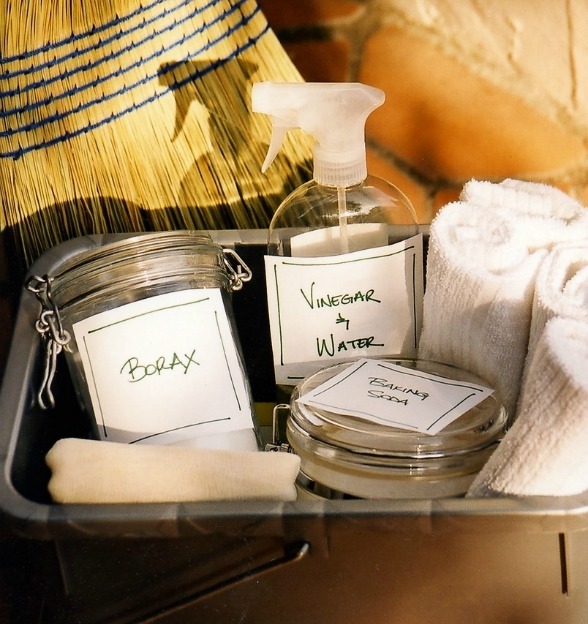
Recipe for making your own cleaning products:

Windows: Mix 1/4 cup white vinegar with 2 cups water in a spray bottle. Shake before use.

Wood surfaces and floors: Mix 1/4 cup white vinegar to a gallon of water with a few drops of lemon essential oil.

Scouring powder: Sprinkle baking soda on surface and scrub with a damp sponge.

Air Freshener: Open the windows! Opening windows lets fresh air enter and stagnant, polluted air exit. But if you also want a little extra boost try essential oils mixed with water in a spray can. Use about one cup of water with 10 drops of essential oils. Shake before use.

Laundry spot remover: Soak stains in white vinegar and warm water. The more stubborn the stain, the more vinegar you should use.

Cleaning with all natural ingredients makes the process so much more enjoyable and healthier! Once you experience the wonderful fresh scents of all natural cleaning products, you’ll never associate that chemical odor with “clean” again!”


If you have any “recipes” for DIY cleaning products or favorite tips for creating a more natural home, please share!
“Special occasion” chicken pot pie and other ideas for a delicious Valentine’s Day

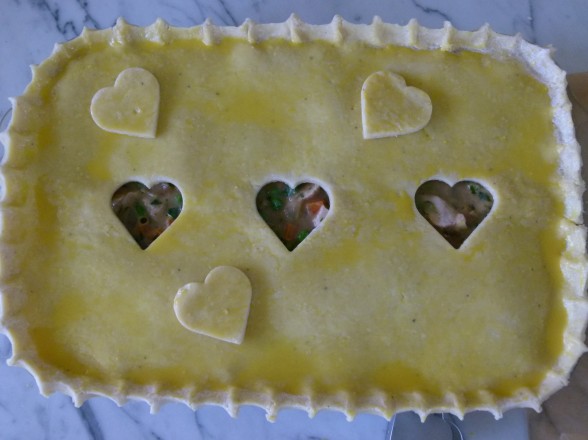
Chicken pot pie is one of my family’s favorite meals and this recipe, adapted from The Loaves and Fishes Cookbook, is the best one I’ve ever tried.  Pot pie falls in my “10%,” that is 90% of the time I try to eat as whole and clean as possible, and the other 10% is what it is.  For the last 15 or so years, I have made pot pie once a year and when I do, my son always asks me, “is it a special occasion?”  Many years ago, my younger daughter and I hosted a mother-daughter Valentine’s Day dinner at our home and we made a few of these pot pies with hearts cut out of the crust.  Since then, we decided to make this our family’s Valentine’s Day tradition.


Chicken Pot Pie is really comfort food at it’s best.  It’s a perfect winter dinner and I’ve never met a chicken-eating child (even Mr. Picky) or adult that didn’t think this particular recipe was just delicious.  Most pot pies are a blend of chunks of chicken meat and vegetables in a savory, tasty mixture and topped with a crust of sorts.  Usually I make a savory pastry crust, but in a pinch I have made a drop biscuit batter and topped the casserole with that.  Even though this recipe is pretty perfect as is, I think you can have equal success with leftover turkey, adding in different vegetables such as parsnips or turnips, or using store-bought pastry crust or puff pastry.

Pot pie is definitely not something you can decide at 6:00 pm that you would like to make for dinner and expect to sit down at 6:30.  But even if you are typically out of the house  in the few hours before dinner, there is no reason to be discouraged from making this recipe on a weeknight.  You just need to plan ahead and follow a few of these tips:

  • You can use pre-cooked chicken from a rostisserie or whole roasted chicken and shred the meat the day before.
  • You can chop your carrots and onions the day before or make the entire filling the day before and pour it into your casserole dish and refrigerate it, covered until you’re ready to bake.
  • You can make your pie crust a few days before.  Allow it to sit out of the refrigerator for about 20 minutes before rolling it out.  Or you can roll out the whole thing, lay it on parchment or plastic wrap and fold it in quarters to store it in the fridge.
  • Pot pie freezes very nicely, well wrapped.  It is best to thaw it for 24 hours in the refrigerator before baking.
  • If you use store-bought crust, defrost the crust before laying it on the casserole.
  • Puff pastry is also an easy way to cover the casserole.  Follow the directions on the box.
  • You can also use drop biscuits to cover instead of a crust.
I actually debated whether or not to post Chicken Pot Pie at all since it is not completely consistent with both the way I eat and the kind of food I teach in my classes.  But what I do try to encourage is cooking from scratch and with love and eating together as much as possible.  And I think we can agree that there’s as much to gain from those habits as there is from vitamins and antioxidants.
 
 
Chicken Pot Pie not your thing?  Here are some other ideas for making everyone feel a little extra love on Valentine’s Day:
 
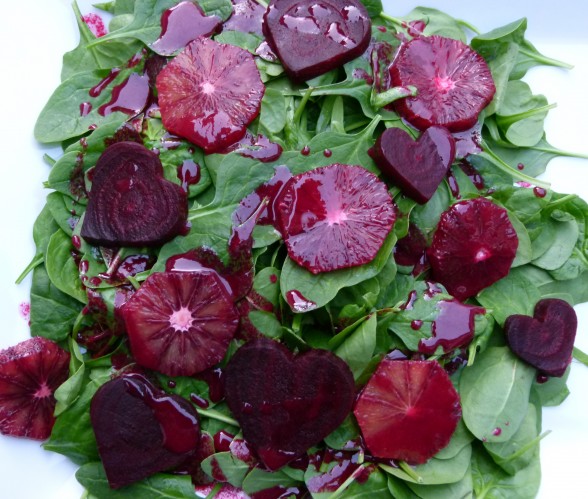
  • Check out the recipe for Salmon with Roasted Beets and Blood Oranges.  You can make the recipe as is, or you can slice the cooked beets into 1/4-inch slices and cut out hearts with a heart-shaped cookie cutter.  Heart-shaped beets are an adorable addition to any salad.  See next idea for what to do with the leftover beet scraps.
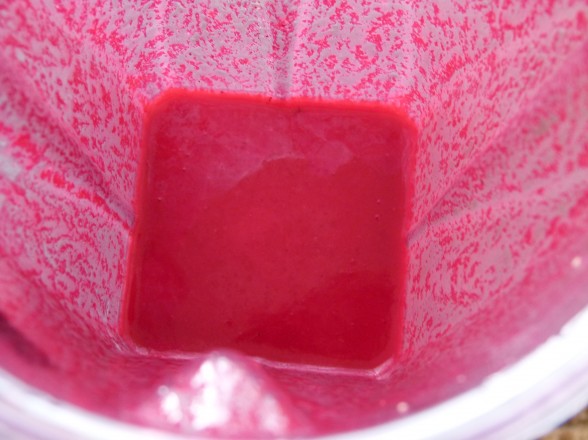
  • For a shocking, hot pink vinaigrette, place 1/4 cup of chopped, cooked beet pieces in a blender with your favorite vinaigrette ingredients and process until completely blended.  Pick up some cooked beets from the supermarket salad bar to save time.  In this picture I used Everyday Salad Dressing #2, but stirred in the shallots after the vinaigrette was completely blended with the beets.  My kids freaked for it!
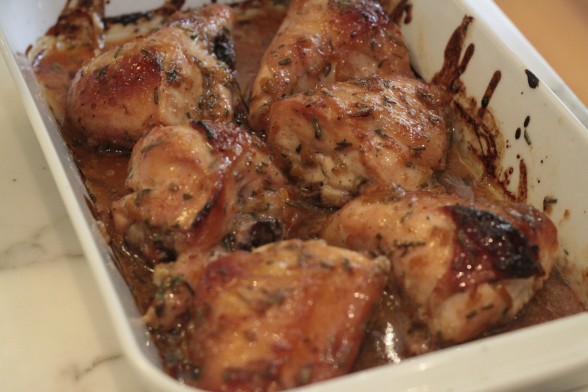
  • Orange and Rosemary-Glazed Chicken — Easy, delicious and fool-proof.  Serve with a rice pilaf with dried cranberries and a green vegetable like broccoli or spinach.
  • Fish in parchment — Season halibut with salt and pepper.  Add a dollop of pesto or slivered basil leaves and some halved cherry tomatoes.  Serve with Lemon and Cumin-Scented Quinoa or roasted potatoes and sauteed kale or roasted cauliflower.
  • Spice-Rubbed Wild Salmon served with baked sweet potato wedges and steamed asparagus with that fun pink vinaigrette.
  • Whole Roasted Chicken — comfort food at its simplest.  Serve with roasted root vegetables and green salad.
  • Chicken Paillard — serve with roasted cherry tomatoes instead of fresh.
  • Pantry Pasta with meatballs and a green salad
  • Chicken Noodle Soup with pasta hearts — cook lasagne noodles and cut out hearts with cookie cutter.  Add to soup.
  • Raspberry Sauce — Make a simple syrup by combining 1/3 cup water and 1/4 cup sucanat, coconut palm sugar or natural cane sugar in a small saucepan over medium heat.  Stir the mixture until sugar is dissolved.  Place 5 ounces (about 1 cup) frozen raspberries and simple syrup in blender.  Blend until smooth.  Strain if you don’t like seeds.  I like to serve the sauce with fresh raspberries on top of heart-shaped French toast, pancakes or ice cream.  Heart-shaped pancakes are not realistic for more than two people.  Heart-shaped French toast is great for a larger brood.
  • Cut a heart out of a piece of bread for sandwiches or toast.  Toast the hearts and use as croutons.
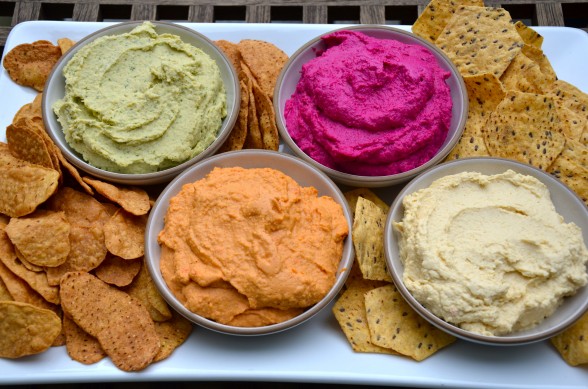
  • Hot pink hummus with heart-shaped chips — check here for how to make baked tortilla chips, but use a heart-shaped cookie cutter instead of cutting the tortillas into wedges.  Same basic steps to make pita chips.
  • Chocolate Fondue — Set a heat-proof bowl over a pan of simmering water.  Add 12 ounces of chopped dark, bittersweet or semisweet chocolate and 3/4 cup heavy cream.  Whisk until chocolate is melted.   Serve with fresh strawberries, apple wedges, or chunks of banana.  Always a hit for minimal effort!
  • Chocolate Chip Oatmeal Cookies — makes a great Valentine gift!

Do you have any favorite Valentine foods?  Please share!
 

"Special Occasion" Chicken Pot Pie

Pamela, adapted from The Loaves and Fishes Cookbook (the original recipe called for 1 1/2 sticks of butter and 3/4 cup flour in the filling, but I reduced it and the filling isn't quite as thick as the original, but still excellent)
5 from 1 vote
Servings 8

Ingredients
  

  • PASTRY
  • 2 cups unbleached all-purpose flour
  • ½ teaspoon sea salt
  • ¼ teaspoon freshly ground black pepper
  • 12 Tablespoons 1 ½ sticks unsalted butter, cut into pieces
  • 1 Tablespoon fresh lemon juice
  • ¼ cup ice water
  • FILLING
  • 3 pounds boneless skinless chicken breasts (or equivalent amount of cooked chicken, shredded or chopped into bite-size pieces)
  • ½ cup 1 stick unsalted butter
  • 2 medium onions peeled and chopped
  • 3 carrots peeled and diced
  • ½ cup unbleached all-purpose flour
  • 1 ½ teaspoons sea salt
  • 1 teaspoon paprika
  • 4 cups chicken stock
  • 1 teaspoon Worcestershire sauce
  • 1 10- ounce package frozen peas thawed
  • ½ cup chopped fresh parsley
  • 1 egg yolk
  • 1 Tablespoons heavy cream or whole milk

Instructions
 

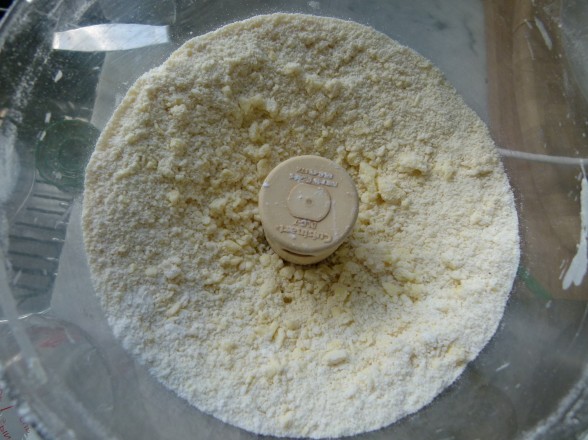
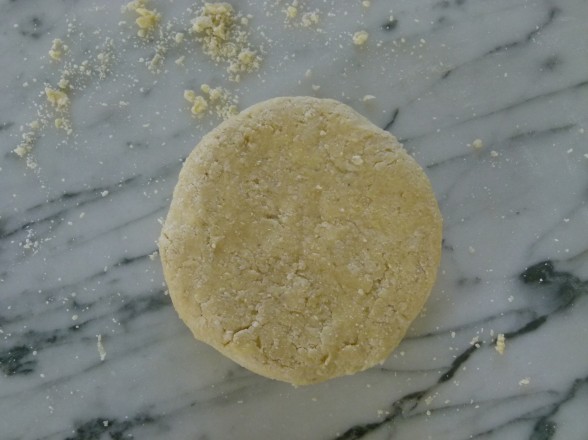
  • To make the pastry, place the flour, salt, pepper and butter in the bowl of a food processor fitted with the metal blade. Pulse 5 times. Add the lemon juice and water and turn on the machine for 3 seconds. Using your hands, scrape the dough onto a floured surface and work it together into a smooth ball. Cover with parchment paper or plastic wrap and chill for 30 minutes.
  • Preheat the oven to 375 degrees.
  • To cook chicken: bring a large pot of water to a boil and add chicken breasts. Simmer for 7-8 minutes. Drain. Save the pot for later use. When chicken is cool enough to handle, cut into bite-size pieces and add back to pot. It is fine if the chicken is not cooked all the way through. Set aside.
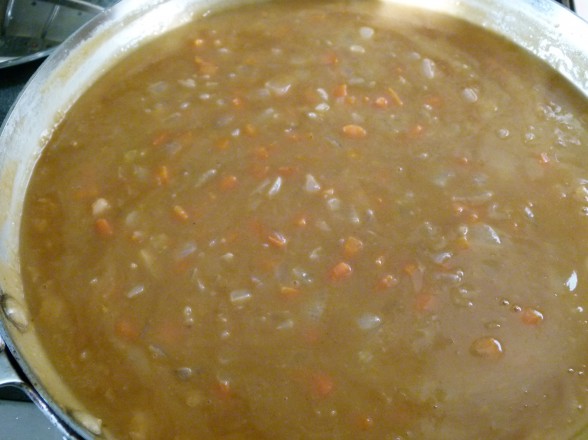
  • Heat butter in a large skillet over medium heat. Add onion and carrot and sauté until onion is translucent. Add the flour and sauté for 3 minutes over medium-low heat, stirring constantly. Add the salt and paprika. Mix well. Add the chicken stock gradually while stirring and bring to a boil. Stir in the Worcestershire sauce. Taste the mixture for seasoning and add extra salt and pepper if needed.
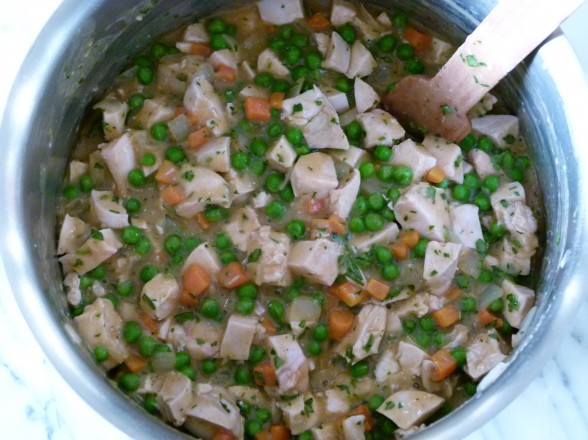
  • Add peas, parsley and onion-carrot mixture to chicken in the pot and combine well. Transfer to a 13 x 9–inch casserole dish.
  • Roll out the pastry dough 1-inch larger than the area of the casserole dish. Cut hearts from the dough with cookie cutter, if desired, otherwise make a few small slits in the dough for steam to escape. Place the dough on top of the filling and crimp the edges.
  • Beat the egg yolk with the cream and brush the top of the pastry with the mixture. Place dish on top of a baking sheet and bake for 50-60 minutes or until golden brown.

Notes

You can cut this recipe in half and bake it in an 8 x 8-inch pan. You can also make individual pot pies in oven-proof bowls or large ramekins.
Tried this recipe?Let us know how it was!


Easy-Peasy Chocolate Tofu Pudding

We used to celebrate Valentine’s Day a little differently than we do now.  It was also the one holiday of the year where I was off the hook.  My husband took care of the dinner reservation and the flowers, and all I had to do was wash my hair and get dressed up.  But it’s not as easy for both of us to get out of the house on a weeknight now that we have kids ranging in age from 8 to 15.  The book reports, sports practices, and a pre-6:00 am alarm the next morning just aren’t conducive to a relaxing evening out.  So these days I am happier making a cozy Valentine’s dinner at home for my family.  But what can make this feel like it’s not just any old night is… dessert!

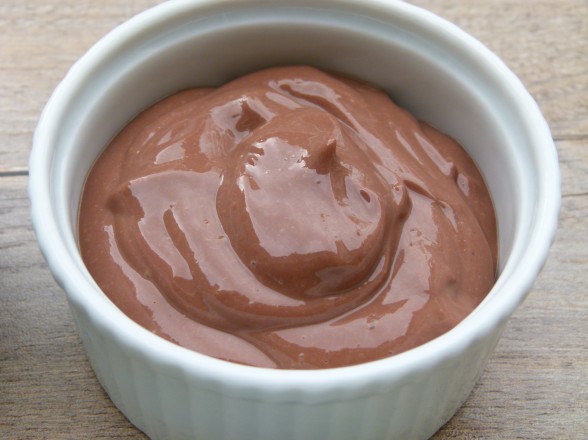
Before you think I’ve lost my marbles, let me just tell you chocolate pudding made from tofu is nothing new.  Dairy-free and egg-free people, as well as vegans have been making it for years.  And you know what?  It’s delicious and uber-simple to make!  I was skeptical the first time I heard about using tofu in a dessert, but I also didn’t realize there were two different kinds of tofu.  There’s one kind that stays firm when you stir fry it or bake it, and there’s silken tofu which is rather gelatinous and very soft.  Silken tofu is used quite effectively to add creaminess in dairy-free desserts or salad dressings in place of cream cheese, sour cream and egg yolks, for example.  I’m still on the fence about tofu since I much prefer to consume soy in its more healthful, fermented form, which tofu is not.  But I also don’t promote a lot of pasteurized cow dairy (not easy for most people to digest.)  I’m guessing a little tofu every now and then won’t harm you.  However since tofu is made from soy and soy is one of the top four genetically-modified foods in this country (along with corn, canola and cottonseed), I do make a point of choosing organic or non-GMO tofu.

In my area I can’t find fresh tofu, which I hear is great, so normally my preferred brand is Wildwood Organics “Sprouted Tofu.”  The soybeans have been soaked and sprouted before being turned into tofu, resulting in a more digestible food.  But I did a side-by-side taste test in my free time and the Mori-Nu tofu that you see pictured here tasted more neutral than Wildwood so that’s the one I would recommend for this recipe.  And even though this is as “instant” as pudding gets, I do think it tastes better if it sits in the fridge for at least an hour, if you can wait that long.  I promised my kids that I would include their opinion in my post and let you know that they think the serving size is too small.  I disagree, but if you would like a more substantial serving, you can double the recipe to serve 6.  Instead, I prefer to keep the serving size as is and bring out some fun toppings (always a fan of the topping bar!) like fresh berries, finely chopped or sliced nuts, raw cacao nibs, finely shredded coconut or freshly whipped cream.  Dessert should be for special occasions and what’s more special than Valentine’s dinner with the ones you love?

More ideas for Valentine’s dinner and dessert coming soon!


Easy-Peasy Chocolate Tofu Pudding

Pamela
5 from 1 vote
Servings 4

Ingredients
  

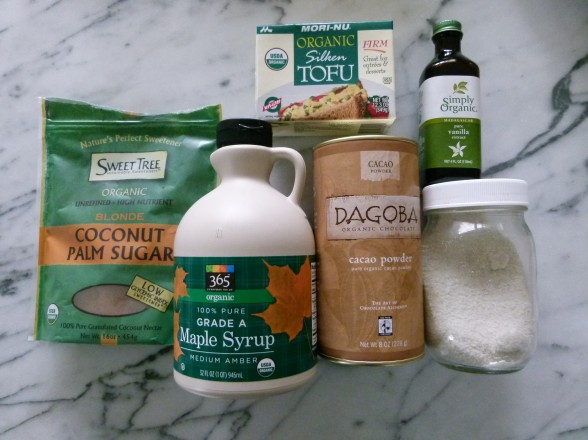
  • 12 ounces organic silken tofu such as Mori-Nu
  • ¼ cup unsweetened cocoa powder
  • ¼ cup coconut palm sugar or natural cane sugar
  • 3 Tablespoons 100% pure maple syrup
  • 1 teaspoon pure vanilla extract
  • pinch of sea salt

Instructions
 

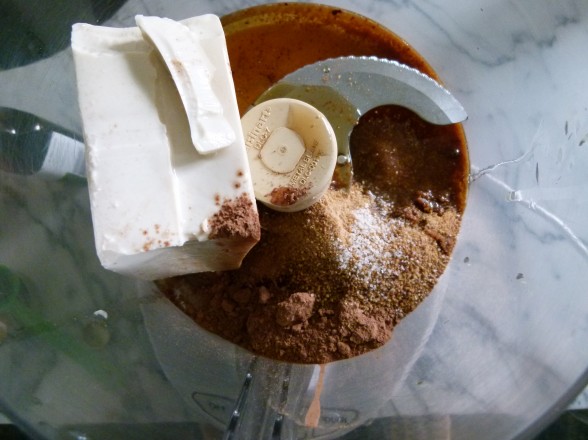
  • Blend all ingredients in a food processor until smooth and creamy. Transfer to individual ramekins or small bowls. Refrigerate for at least two hours for best flavor.
Tried this recipe?Let us know how it was!


Chicken and Avocado Soup

Even though I’m a big football fan and I love a good game (especially when my team wins), when it’s over, it’s over.  Whether the outcome of the game is favorable or unfavorable, life goes on and so do I.  So football is finished until next year, but eating happens multiple times a day everyday.  And today I am much more focused on what to do with Super Bowl leftovers!

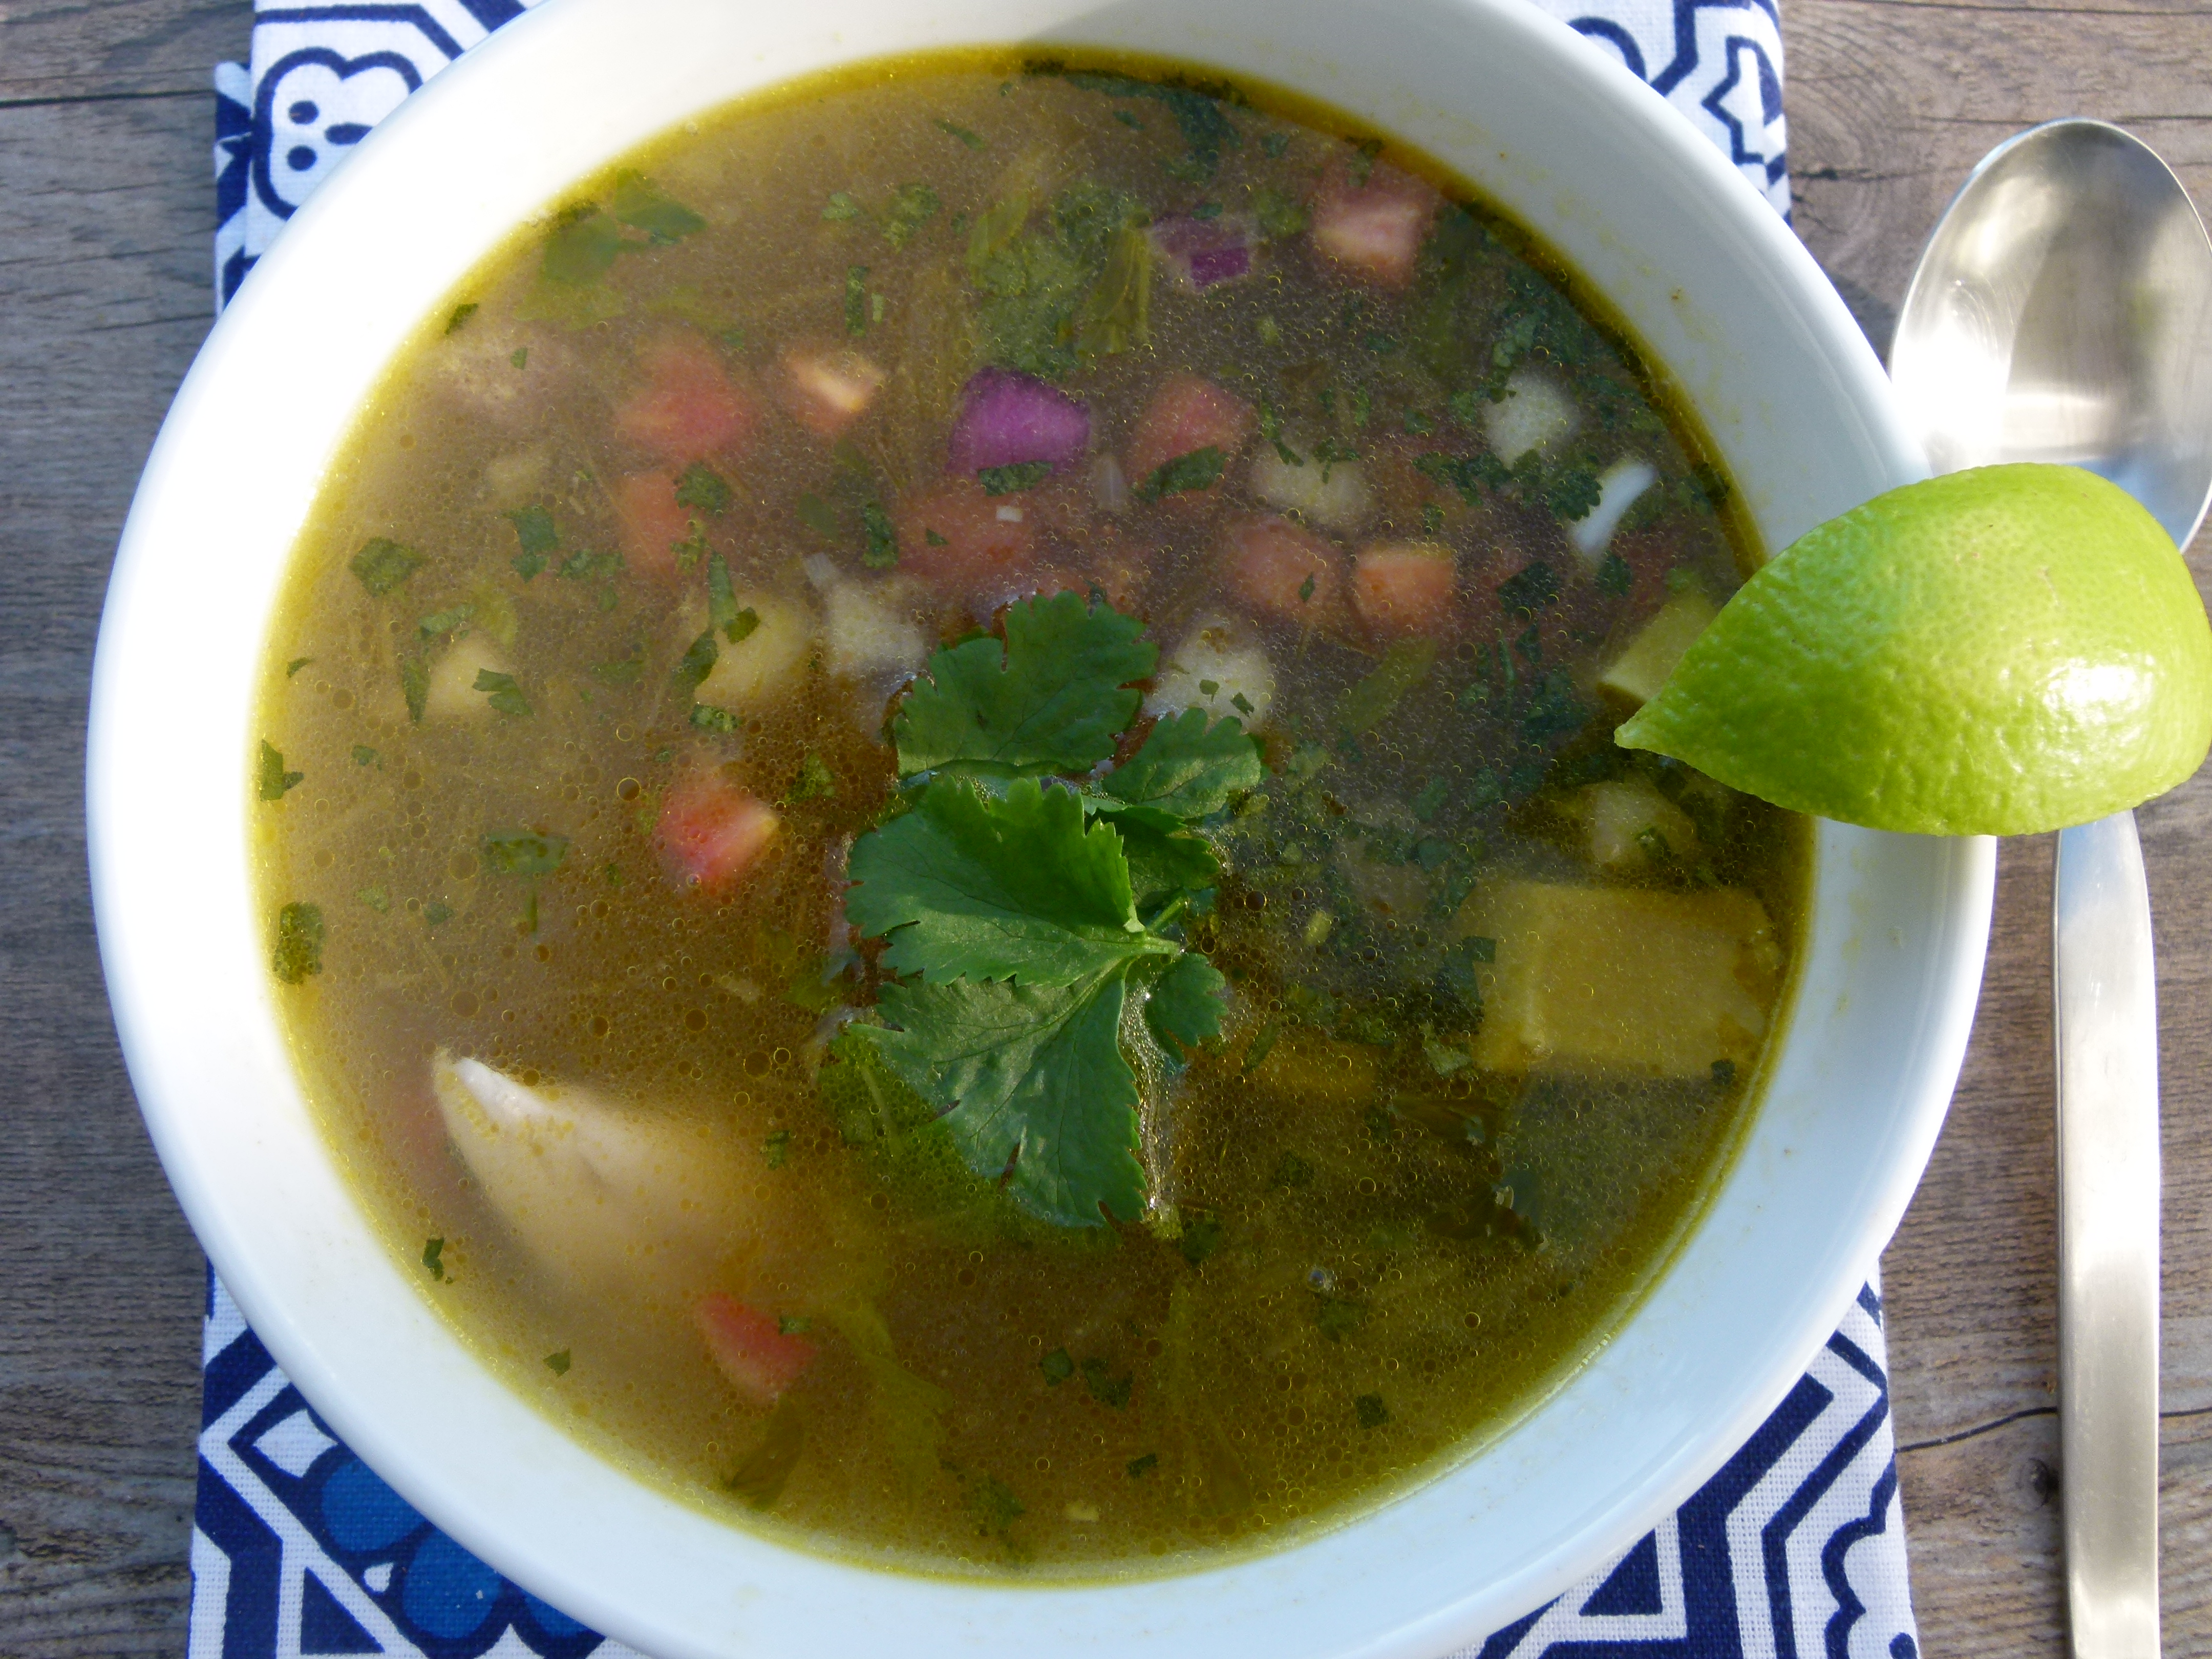
Quinoa cornbread became breakfast.  Chili went into thermoses for lunch.  And topping bar items can make their way into frittatas, quesadillas or soup for dinner.  This particular soup was not my brain child, but as often happens in my life, my kids leave the house and are amazed by what they’re “missing.”  A while back my mother-in-law took them to Cafe Rio, a “fast casual dining establishment,” and they went bonkers for the Tortilla Soup.  It’s is a brothy and flavorful chicken stock-based soup with some vegetables and whatever add-ins you choose.  Whereas the younger two kids asked me if we could go there for dinner some night and have it again, my older daughter knew me better than that and suggested I try to copy the soup at home.  Great idea!

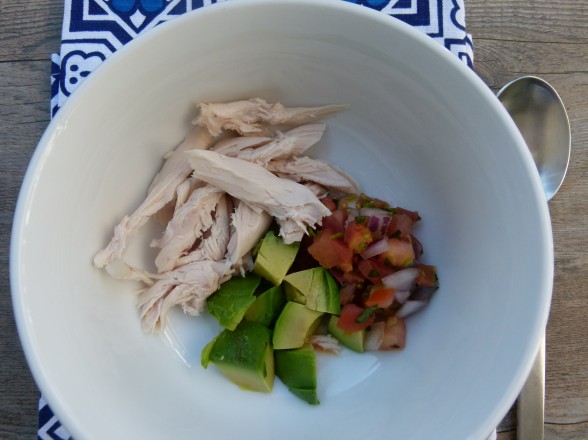
So one day my friend Cheryl and I went on a secret reconnaissance mission to the local Cafe Rio to check out the famous soup and see exactly how they do this thing.  Truthfully, their method is pretty genius and it’s the perfect soup to make at home for a family or a group.  The server adds into a cup your choice of chicken, guacamole, salsa, cheese, cilantro, and tortillas, and then ladles a flavorful chicken soup on top.  Yep, that’s it.  And except for being unbelievably salty, the soup was rather tasty.   You know how much I love a do-it-yourself situation (less work for me!)  Can you picture how easy this is if you have cooked chicken and salsa already made?  This comes together in minutes, I tell you, and everyone makes it the way they want.  You want it to be vegetarian?  No problem!  Just sub a great vegetable stock for the chicken stock and add in some pinto beans for protein.

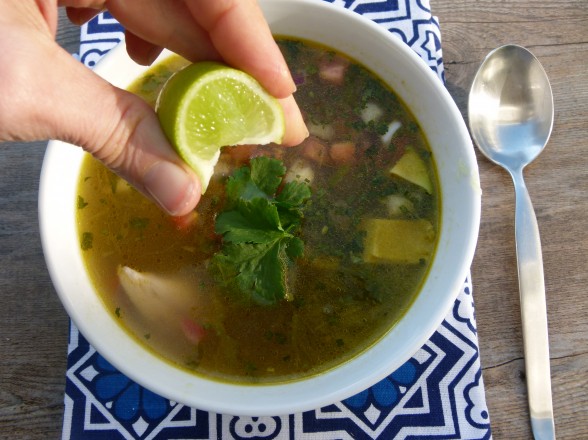
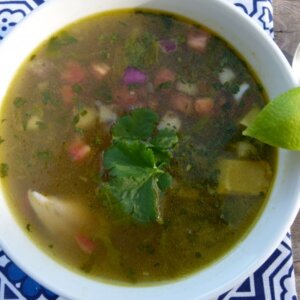
Even though my intent was to copy Cafe Rio’s soup, I ended up making a couple of my own tweaks, such as using chopped avocado instead of guacamole (but definitely use the guac if you have it) and adding a squeeze of lime at the end.  I used poached chicken the day I took these photos and give you directions for that in the recipe, but I have used leftover grilled chicken or the meat from a whole roasted chicken, too.  And sometimes I add quinoa to mine if I’m not in the mood for chicken, and I love that, too.  But the method behind this soup is giving me all sorts of ideas for how to use up some tasty leftovers.  If you make the soup base as directed here, I have chopped up leftover enchiladas and added them for an “enchilada soup,” but I bet you could add in taco meat and some tortillas for a “taco soup.”  I’m excited by the possibilities, plus I think I just made my meal plan for the week!


Chicken and Avocado Soup

Pamela
5 from 1 vote
Servings 6

Ingredients
  

  • 1 or 2 large bone-in skin-on chicken breast halves (depending on how much chicken you want in your soup)
  • ½ large onion peeled
  • 1 Tablespoon additive-free kosher salt such as Diamond Crystal
  • A few peppercorns crushed
  • A few garlic cloves crushed
  • 2 Tablespoons unrefined cold pressed, extra virgin olive oil
  • ½ large onion diced
  • 3-4 scallions thinly sliced
  • 3 medium carrots diced
  • 2 stalks celery diced
  • 1 jalapeno seeded (if you don’t want too much heat) and diced (optional)
  • 1 clove garlic finely chopped
  • 1 teaspoon ground cumin
  • 8 cups chicken stock preferably homemade
  • 2 teaspoons sea salt double this if you use unsalted stock
  • freshly ground black pepper to taste
  • ½ cup pico de gallo fresh tomato salsa
  • 1-2 avocados peeled and cut into chunks or guacamole
  • 1 lime cut into 6 wedges (my favorite part!)
  • Other possible add-ins: tortilla chips chopped cilantro, shredded cheese

Instructions
 

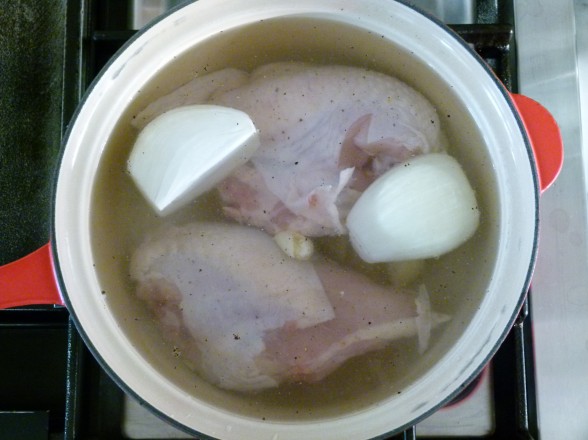
  • Poach the chicken: Place the chicken breast, onion half (halved again), salt, pepper and garlic into a medium saucepan. Add enough cold water to cover the chicken. Bring to a boil over high heat and lower heat to a simmer. Simmer chicken for 25 minutes. Remove from heat and allow chicken to sit in the liquid until cool enough to handle.
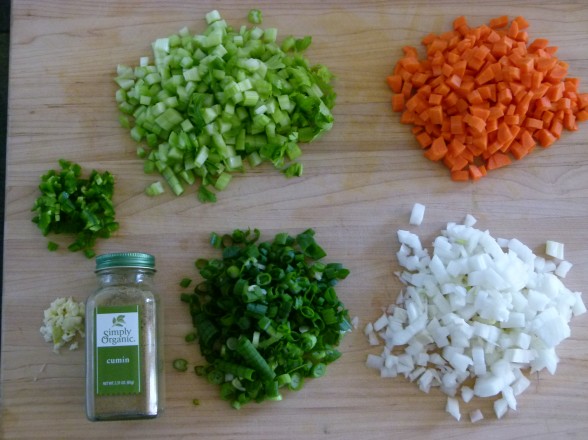
  • In a large pot, warm the oil over medium heat. Add the chopped onion, scallions, carrots, celery and jalapeno. Sauté until onions are tender, about 5 minutes. Add garlic and cumin and cook for 1 minute.
  • Add the chicken stock, salt and pepper and bring to a boil. Lower heat and simmer until carrots are tender, about 4-5 minutes.
  • Pull chicken from liquid and remove skin and bones. Shred chicken into bite-size pieces. You can divide chicken amongst the 6 individual bowls or add it all to the pot.
  • Put a heaping spoonful of pico de gallo and avocado chunks/guacamole in each individual bowl and ladle soup on top. Squeeze lime on top and sprinkle with corn tortilla chips and fresh cilantro, if desired.
Tried this recipe?Let us know how it was!