Kale, mushroom and brown rice bake recipe
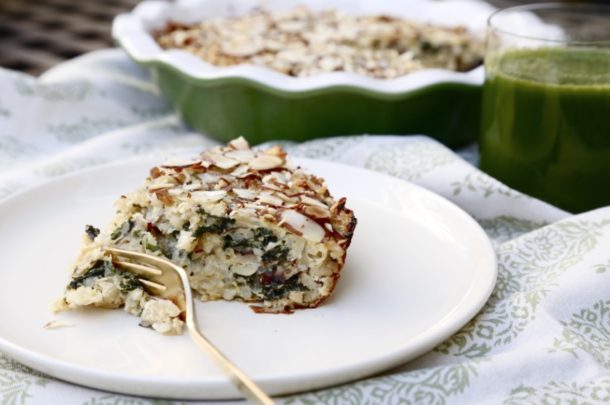
Kale, Mushroom and Brown Rice Bake | Pamela Salzman
Photography by Reagan Brooks

Daughter #1 is my 15-year-old who used to turn her nose at her plate if food groups were touching.  So you can imagine how very satisfying it was for me when she sighed, “I could eat Kale, Mushroom and Brown Rice Bake every day.”   Sigh.  Actually, both my daughters are crazy about this rice and veggie quasi-frittata and I am thrilled to cook them something so healthful and substantial for breakfast, lunch or dinner.  At the moment, the girls are on a brown rice bake kick and I’ve had to make it three times in the last two weeks!
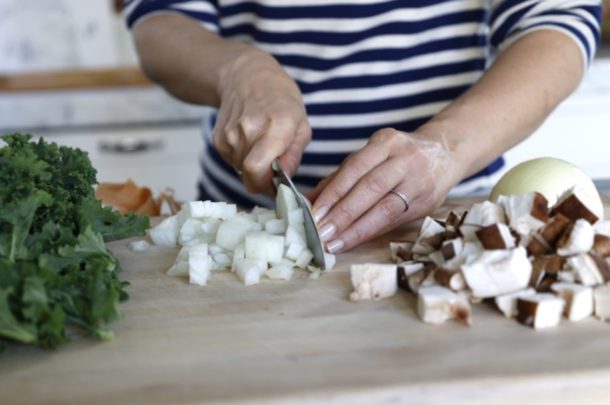
Kale, Mushroom and Brown Rice Bake | Pamela Salzman

With teenage daughters usually comes a little drama, even first thing in the morning.  It usually involves someone borrowing someone else’s clothes without asking or someone posting a picture on Instagram of the other one sleeping with her mouth open.  But who knew that even breakfast food could fuel more than just hungry bodies?  Yesterday morning there was only 1 piece of brown rice bake leftover from the day before and Daughter #2 was the first one in the kitchen.    You know what they say about the early bird….  Daughter #1 was not the early bird yesterday, nor is she any day for that matter, but apparently she dreamt all night of brown rice bake instead of the boys from One Direction.  Do you know where this is going?  I watched it unfold in slow motion as #1 opened the refrigerator looking for the breakfast of her dreams while #2 savored another forkful of the last of the rice bake.  I knew what was next.  “Where’s the rice bake?”  No response was really necessary as my glance shot over to her sister who looked hesitant and terrified as she finished the last bite.  Hell hath no fury like a hungry teenage girl robbed of her rice bake.  No further details necessary.
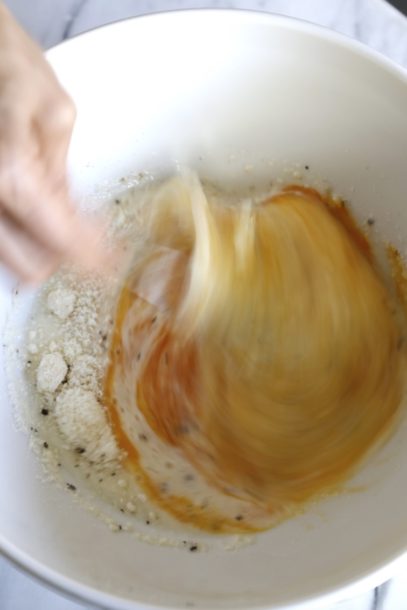
Kale, Mushroom and Brown Rice Bake | Pamela Salzman                    Kale, Mushroom and Brown Rice Bake | Pamela Salzman

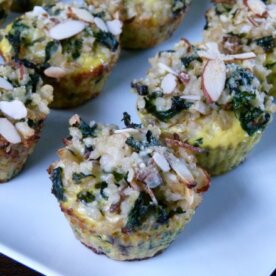
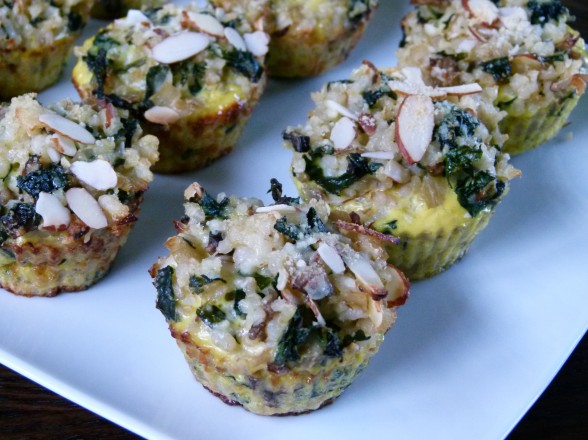
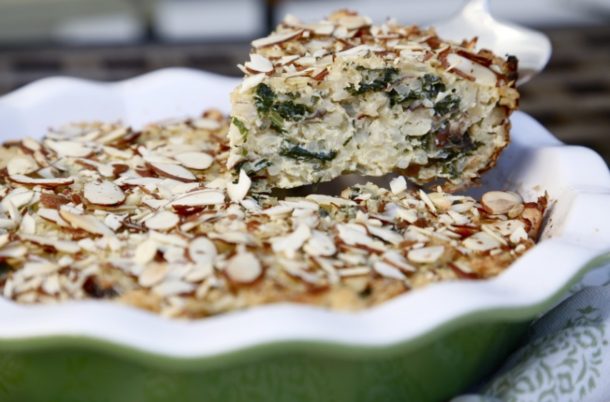
What’s the point of airing my family’s dirty laundry?  Oh merely just to share how much we love Brown Rice Bake and to encourage you to make it!  Although most of us (except for Mr. Picky) love frittatas, this is less eggy and more rice and vegetables bound with just enough egg to hold it all together.  The rice and (optional) sliced almonds give every bite great texture.  It’s super satisfying for any meal and a great way to use up leftover cooked brown rice and whatever vegetables you have lying around.  Think of this recipe as merely a roadmap to deliciousness – there is more than one way to get there.  Spinach, broccoli, leeks, asparagus, zucchini – all perfect here.
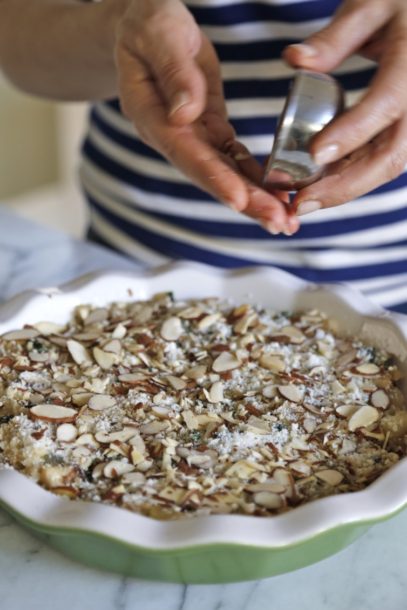
Kale, Mushroom and Brown Rice Bake | Pamela Salzman

I felt bad that Daughter #1 was disappointed yesterday so last night I sautéed all my vegetables and pre-measured the rice, cheese, salt and almonds, so all I had to do this morning was crack some eggs and measure a bit of milk.   I was so excited to surprise my lovely daughter with a new brown rice bake when she woke up this morning.  It’s noon and I’m still waiting for her to wake up.  Just praying there’s some rice bake left when she does…..
Kale, Mushroom and Brown Rice Bake | Pamela Salzman


Kale, Mushroom and Brown Rice Bake

Pamela, inspired by Eating Well and So Good & Tasty
5 from 1 vote
Servings 4 -6 or makes 12 individual "muffins"

Ingredients
  

  • 2 Tablespoons unrefined extra-virgin olive oil or ghee
  • 4 ounces mushrooms such as shiitake*, chopped
  • 1 onion finely chopped
  • 3 large kale leaves stemmed and chopped (or more if you like)
  • Sea salt
  • 1 garlic clove minced
  • 2 cups cooked brown rice or barley, farro or spelt
  • 5 Tablespoons sliced almonds divided
  • ½ cup grated Parmesan or Pecorino cheese divided
  • 4 large eggs
  • ¼ teaspoon pepper
  • ¼ cup whole milk or unsweetened hemp milk

Instructions
 

  • Preheat oven to 375 degrees and grease an 8x8 or 9-inch round baking dish. You can also use a 12-cup muffin tin, greased or lined with silicone liners.
  • In a large skillet heat the oil/ghee over medium heat. Sauté the mushrooms, onions, kale and a pinch of salt for about 3-5 minutes or until just beginning to soften.
  • Add in the garlic. Continue cooking until everything is softened and the mushrooms are golden, about another 3 minutes.
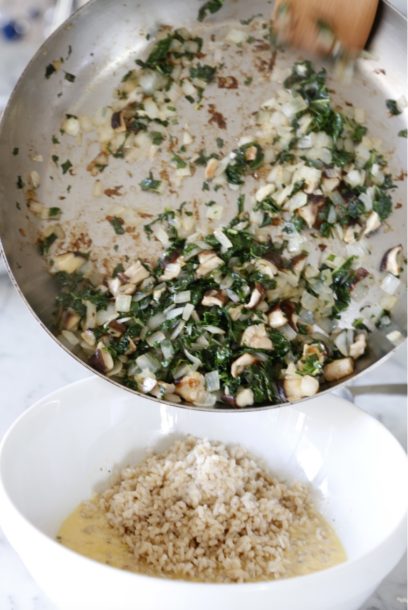
  • Place the rice in a large bowl. Stir in the mushroom mixture, ¼ cup almonds, and half the Parmesan cheese.
  • In a medium bowl, whisk the eggs, milk, ½ teaspoon salt and pepper. Fold the eggs into the rice mixture, then pour into your prepared baking dish. Sprinkle with the reserved half of cheese and 1 Tablespoon of sliced almonds.
  • Bake for about 30 minutes or until set.

Notes

*To clean mushrooms, wipe with a damp paper towel. For shiitakes, slice off stems and discard.
Tried this recipe?Let us know how it was!


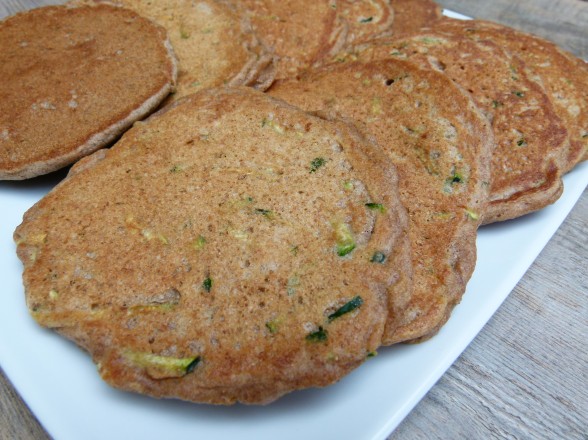
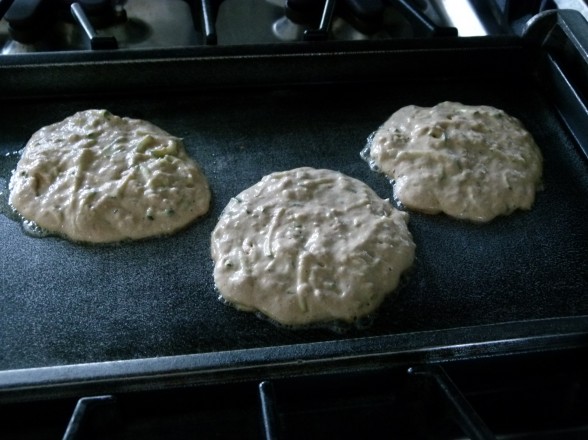
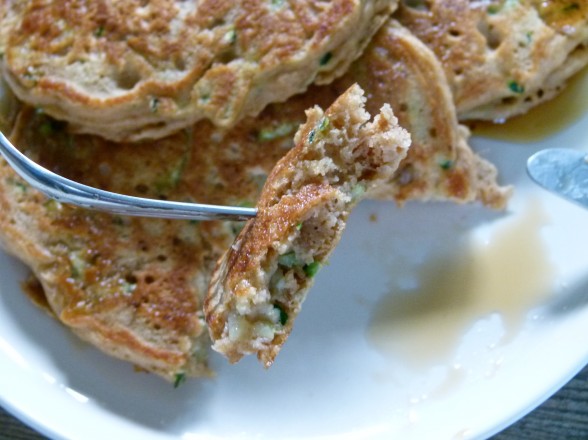
Zucchini bread pancakes recipe

A few years ago, someone suggested I teach a class with a breakfast menu.  At first I didn’t think it was such a good idea because breakfast seems kind of easy, at least too easy to be taught in a cooking class.  In our house the rotations is oatmeal or muesli, scrambled eggs, smoothies, yogurt and granola, pancakes and leftovers from last night’s dinner.  But the more I thought about it, I realized there was a nice variety of fun, delicious and healthful recipes I could share.  Because I do believe breakfast is nutritionally the most important meal of the day, especially for children, I knew these recipes needed to provide sustenance, long-lasting energy and stable blood sugar.  My first breakfast class was a great success and I have continued the tradition every June (arbitrary selection of month) since then.

I tend to follow a similar formula each June based on what my family and I love to eat for breakfast, both on the weekdays and weekend.  I always teach a smoothie, muffin, egg-based dish and a pancake recipe.  When I was growing up, pancakes were for Saturday mornings when Mom had time and no one was rushing off to work or school.  I too love lingering over a plate of pancakes on the weekends, but by making the batter the night before and teaching my older girls how to cook their own, we enjoy them on a school mornings, as well.  If you’re thinking it’s a little boring to eat plain old pancakes twice a week, I would agree with you!  We add lots of different things to our pancakes while they’re cooking and the kids each seem to have their own favorite combo, such as fresh raspberries and mini-chocolate chips or diced banana and pecans.

But for my breakfast classes, I needed to debut more than just buttermilk pancakes with a different fruit each time.  I’ve posted most of my favorites by now, including oatmeal pancakes and pumpkin pancakes.  Both are really delicious!  After seeing a recipe by fellow Foodily tastemakerJoy the Baker, for carrot cake pancakes, I had an idea to make pancakes with the same flavors in zucchini bread.  To me, zucchini bread really isn’t about the zucchini, which I think is a little tasteless but does add nice moisture to muffins and quick breads.  I’m mostly in it for the sweet spiciness of cinnamon and nutmeg, perhaps combined with a few nuggets of walnuts.  What’s not to love?  And zucchini bread pancakes could be made with almost no added sweetener — so great!

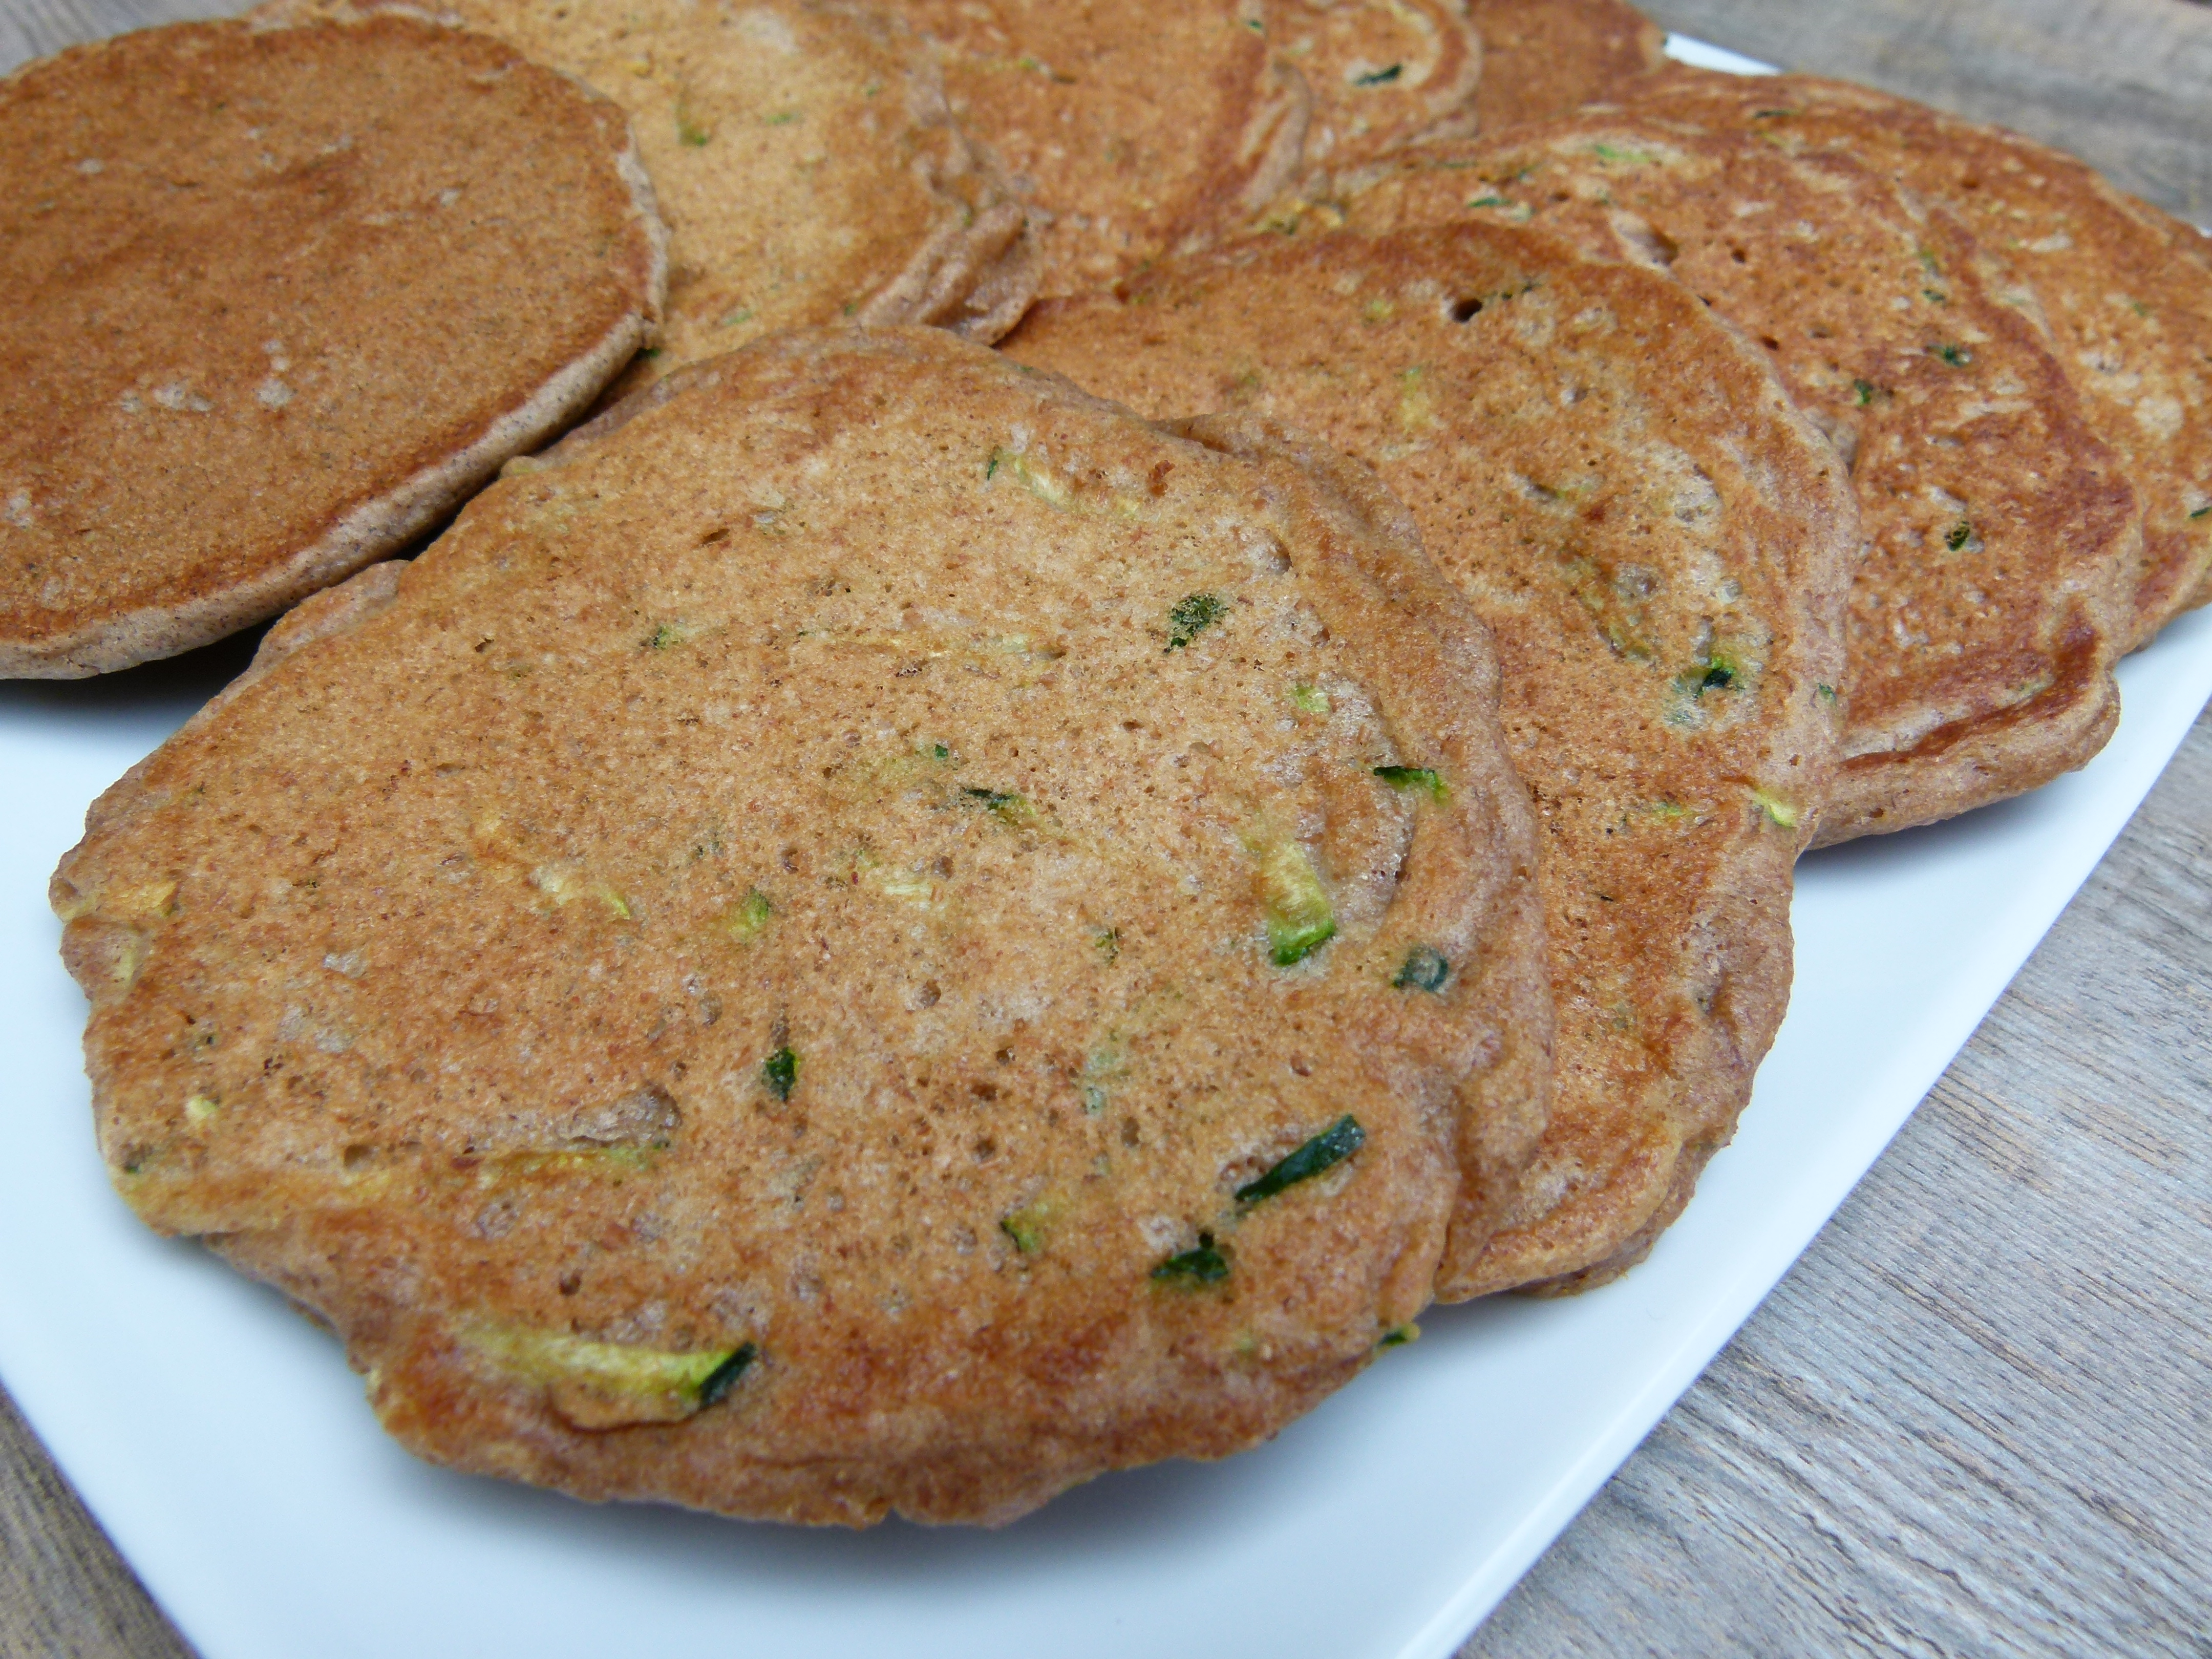
These pancakes made it on the menu this past June and I think they were a big hit.  I made them successfully with several different flours, including whole wheat pastry, whole spelt, and sprouted whole wheat.  The latter two flours tend to create a thicker batter, so I used a bit less of those, but they made for a nice hearty pancake.  Whole wheat pastry flour is very light, almost mimicking white flour, but still has all the fiber and bran of whole wheat, which it is.  We also played around with adding pecans, blueberries or the oft-requested chocolate chips, but personally I love them completely plain with either a thin drizzle of maple syrup or a dollop of whole yogurt.  Such a delicious breakfast for the long weekend as well as for a first day of school.  I hope you all enjoy a fantastic Labor Day!

Zucchini Bread Pancakes

Pamela

Ingredients
  

  • 1 ¾ cups sprouted wheat flour or 2 cups whole wheat pastry white whole wheat or whole spelt flour (or a combo)*
  • 1 teaspoon aluminum-free baking powder
  • 1 teaspoon aluminum-free baking soda
  • 1 teaspoon fine sea salt
  • 1 Tablespoon ground cinnamon
  • scant ¼ teaspoon ground nutmeg
  • 2 cups buttermilk**
  • 2 large eggs
  • 1 teaspoon pure vanilla extract
  • 1 Tablespoon 100% pure maple syrup
  • 3 Tablespoons unsalted butter melted
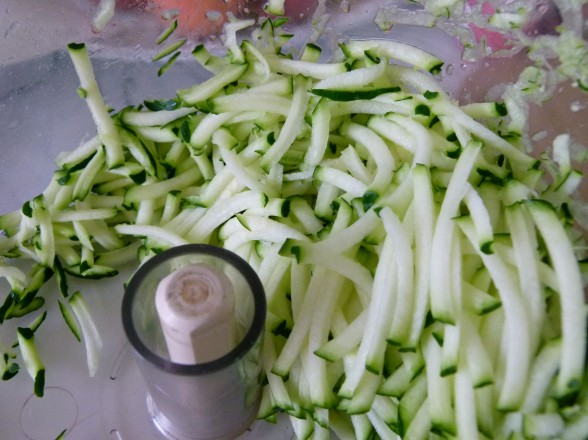
  • 2 cups shredded zucchini
  • Melted unrefined coconut oil or unsalted butter for brushing the griddle

Instructions
 

  • Preheat a griddle to 400 degrees or medium heat.
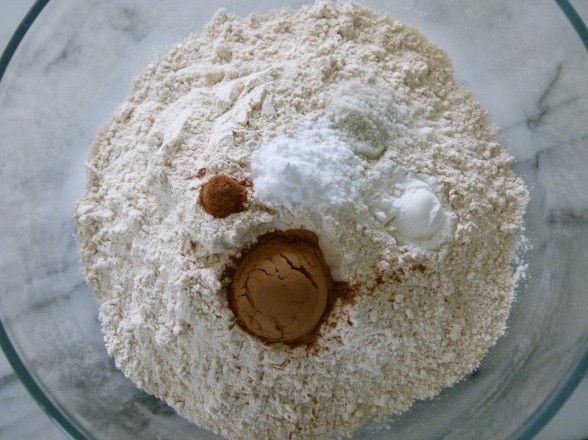
  • Combine the flour, baking powder, baking soda, salt and spices in a large mixing bowl.
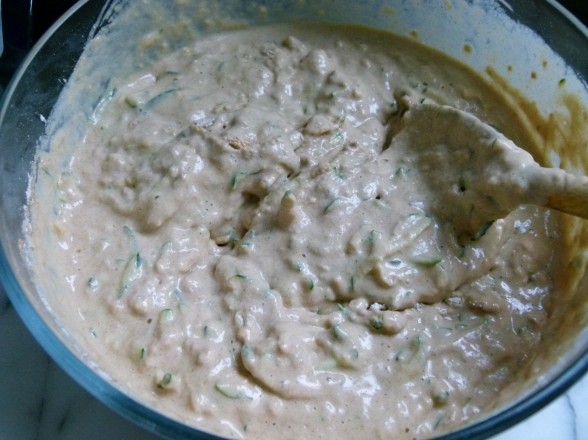
  • In a medium bowl or 4-6 cup measuring cup, whisk together the buttermilk, eggs, vanilla, maple syrup and melted butter until well blended. (A blender can do this easily, too.) Fold in shredded zucchini.
  • Pour the wet mixture into the dry ingredients and stir until just combined.
  • Brush the griddle with coconut oil and spoon about ¼ cup of batter onto the griddle. Add blueberries, chocolate chips, diced banana or chopped walnuts to the surface, if desired. When bubbles start to form on the surface of the pancake and the edges become slightly dry, flip it over and cook until done. Maintain the heat on medium-low or 400 degrees.

Notes

*Gluten-free: substitute 1 cup buckwheat flour and 1 cup brown rice flour for the wheat flour. Or you can use GF oat flour, too, such as ¾ cup oat flour, ¾ cup buckwheat flour and ½ cup brown rice flour.
**No buttermilk? Sub half unsweetened yogurt and half whole milk. Or use 2 cups milk, omit the baking soda and use 2 teaspoons baking powder instead.
Tried this recipe?Let us know how it was!

Summer garden frittata recipe

While I was away last week, my husband thought it would be a great idea to refinish the cabinets in the kitchen.  No wait, we might as well do all the cabinets in the entire house, he thought to himself.  Why do those four words generally end up as a bad idea?  Why do people think that a small project might as well be a big project?  We had a simple plan.  Mr. Picky and I would go back East to bring Daughter #1 to camp while my husband brought Daughter #2 to camp and we would come back a week later and my house would look like nothing had ever happened except that my kitchen cabinets would look pretty and fresh instead of beaten up because I’ve taught a hundred cooking classes in my kitchen.

Guess what?  This is what my kitchen still looks like!  And so does the rest of my house until who knows when.  So yours truly is in a bit of a funk because she didn’t get to make and photograph the sure-to-be-adorable and tasty raspberry-blueberry-yogurt popsicles she wanted to post today for Fourth of July.  Pouty face.  And yours truly has been eating take-out since she returned home from Long Island on Friday night.  Verrry pouty face.  I’ll get to the frittata in a minute.  What I’d like to discuss is takeout.  I definitely struggle with finding places to eat when I do need to eat out.  Fresh, organic, seasonal prepared food is not as common as you would think, even in Manhattan Beach, California. So I’ve been to Le Pain Quotidien for breakfast two days in a row and Veggie Grill for lunch two days in a row and Whole Foods for one meal.  And here’s what I’ve got to say — holy $$$$$! friends.  How do people eat out all the time?  It’s downright unaffordable.  Not only that, it’s beyond difficult for everyone to agree on what to eat.  Dinner should not be a democratic decision!  Seriously, the last few days have totally reinforced what I have said about cooking at home being easier, cheaper and always more healthful.

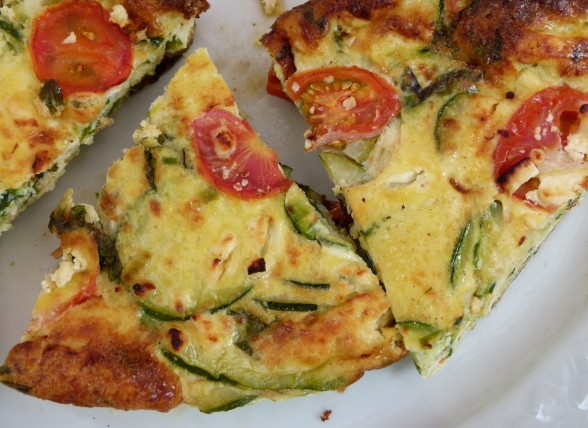
Now let’s get to the frittata, which I photographed at my house two weeks ago and again at my parents’ house last week (two different frittatas, naturally.)  I was going to post this recipe next week, but like I said, my husband thought it would be nice to surprise me.  Pouty face.  In any event, a frittata recipe fits in perfectly with my anti-takeout sentiment.  Eggs, and therefore frittatas, are an incredibly versatile and high-quality source of inexpensive protein.  They are also very easy to make on the fly with whatever you’ve got in your kitchen/garden.

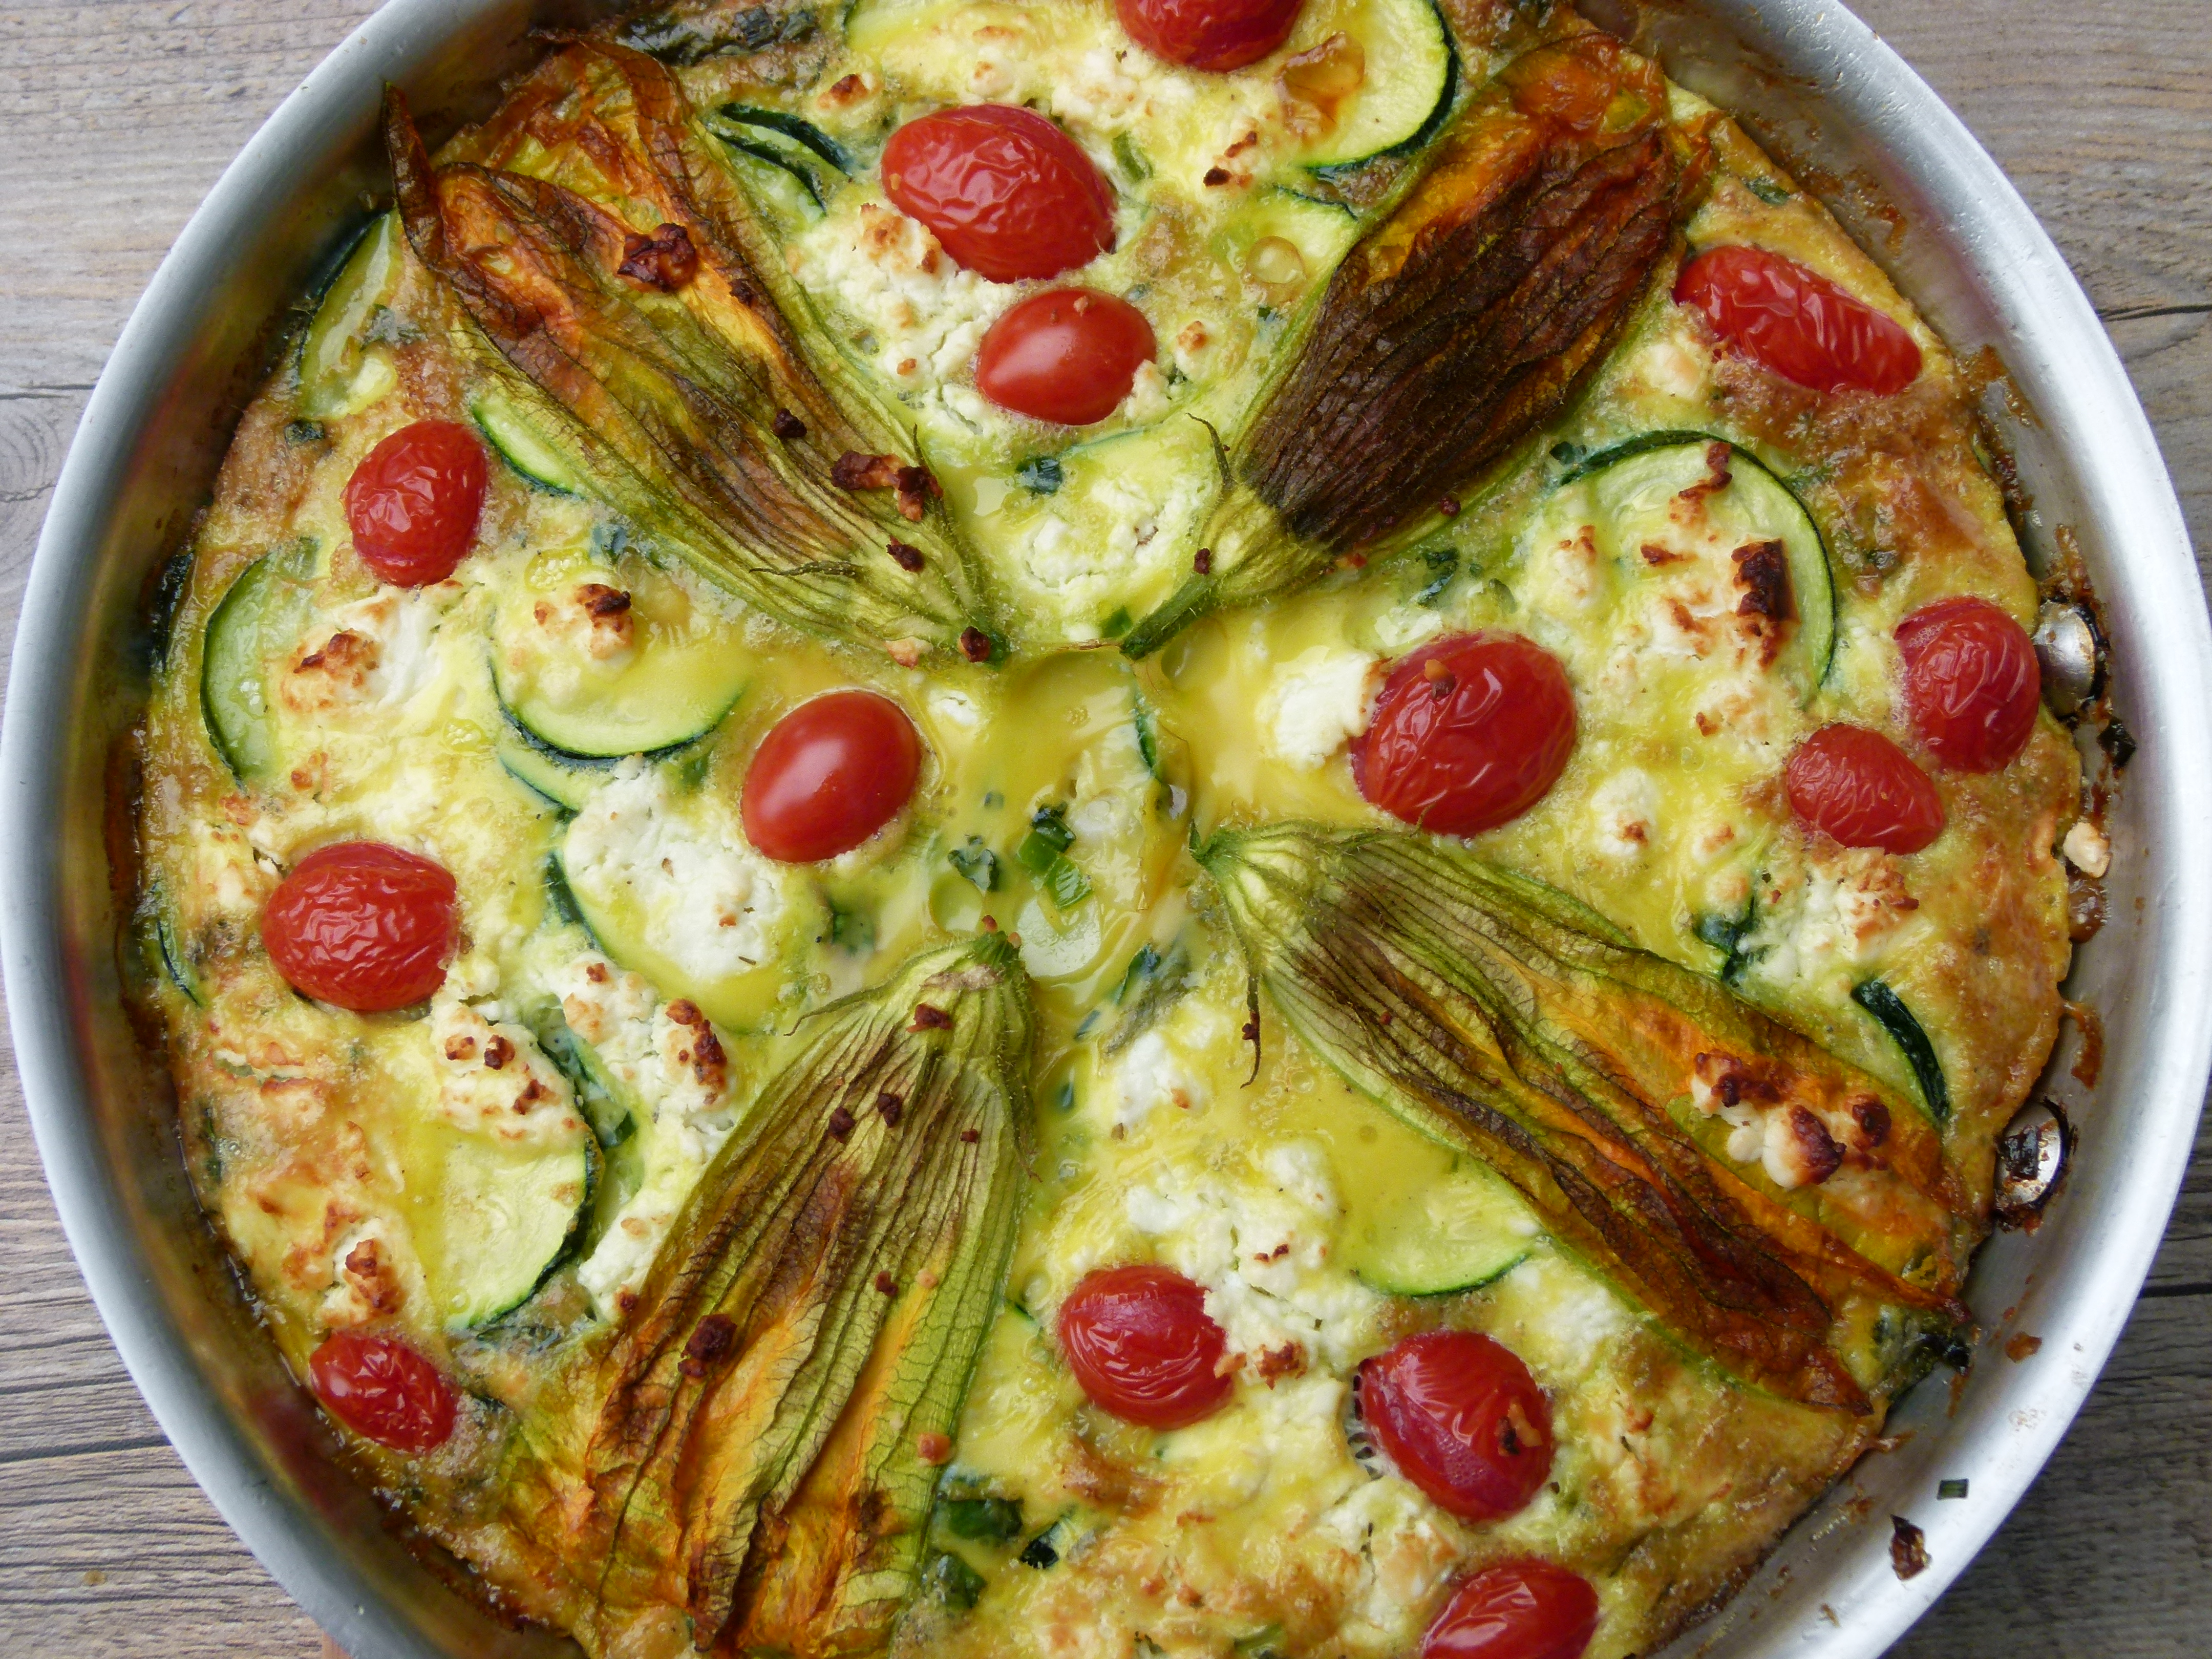
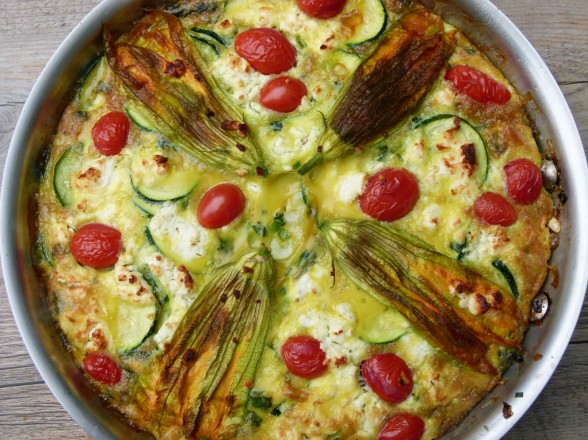
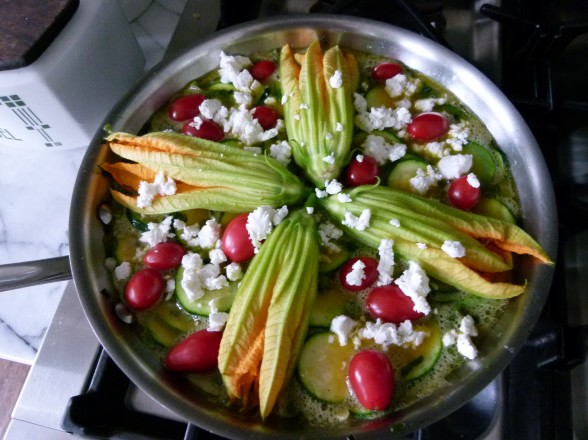
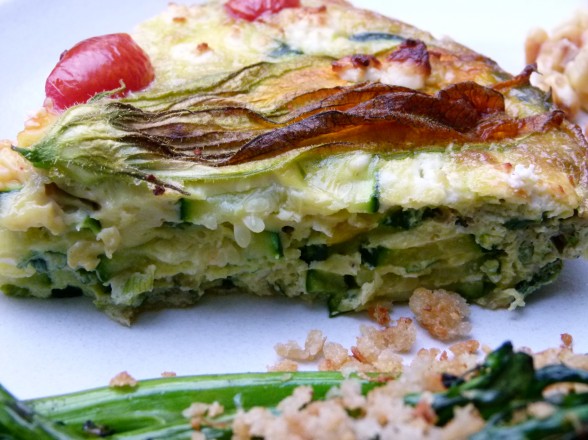
I prepare frittatas all year long varying the ingredients based on what’s in season.  Click here for a delicious swiss chard frittata recipe.  A few weeks ago, when I saw zucchini blossoms at our farmers’ market with beautiful, tender zucchini, I knew I had to make what I call “Summer Garden Frittata.”  It’s the frittata I make most often in the summer and it’s really about celebrating whatever my garden or market has to offer.  My family inhaled these last week.  You certainly don’t need to use zucchini blossoms, especially if you can’t find them, but I think they’re so pretty and they have a nice, subtle flavor.  The blossoms without a zucchini attached are the male flowers which basically just sit around the plant doing absolutely nothing while the female blossoms actually produce zucchini.  Why not put those males to good use?  I’m here to tell you that if you don’t find something for them to do, you never know what kind of trouble they’ll create for you.

Summer Garden Frittata

Pamela
Servings 6 (although when I'm hungry, I could eat a fourth of this frittata)

Ingredients
  

  • 2 Tablespoons unrefined cold-pressed extra-virgin olive oil + additional
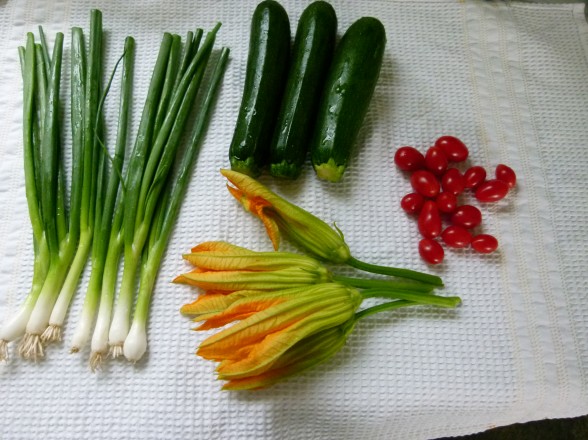
  • 1 bunch scallions trimmed and sliced
  • 3 cloves garlic sliced thinly
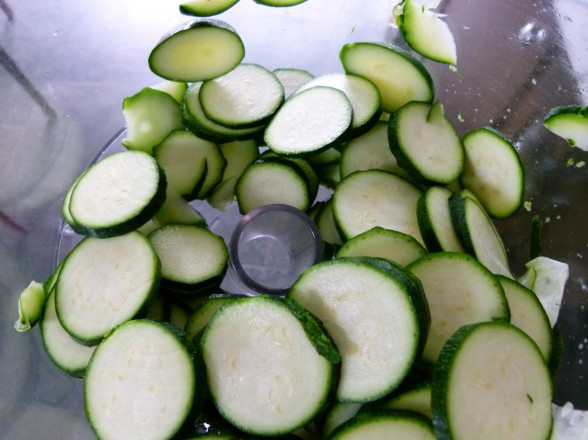
  • 3 medium zucchini about 1 pound, ends trimmed and sliced thinly by hand or by the slicing disk of the food processor
  • Fine grain sea salt
  • Freshly ground black pepper
  • 8 large eggs
  • ¼ cup chopped fresh basil leaves
  • ½ cup ricotta cheese or goat cheese or feta optional, but I used feta in the photographs
  • 5-6 zucchini blossoms optional, I used 4 large ones
  • ½ cup cherry tomatoes or 2 Roma tomatoes sliced

Instructions
 

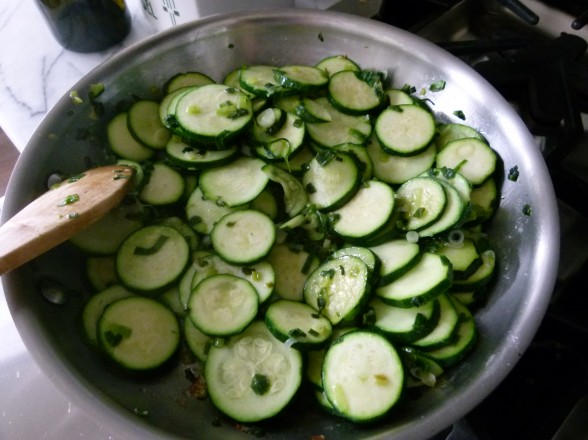
  • Preheat oven to 375 degrees. In a 10-inch skillet, warm the olive oil. Sauté the scallions until softened. Add the garlic and cook for 1 minute. Add the zucchini slices and a generous pinch of salt and sauté until tender, about 6 minutes.
  • In a large mixing bowl, beat the eggs, basil, 1 teaspoon salt, and a few grinds of black pepper. Stir the cooked zucchini mixture into the eggs and combine well.
  • Place the skillet back over medium heat and add a little extra oil if the pan seems dry. Pour the egg and zucchini mixture into the pan. Arrange the zucchini blossoms on the surface of the frittata or chop and scatter on top. Dollop tablespoonfuls of the ricotta and the cherry tomatoes around the frittata. Transfer skillet to the oven and bake until firm, about 40 minutes.

Notes
Alternatively, bake in a larger skillet for less time for a thinner frittata.
Or, cook gently over medium-low heat, covered until slightly set on the bottom, 15-20 minutes. Transfer the skillet to the oven and broil until the top is slightly puffed and golden, about 3-5 minutes. Serve warm or room temperature.
Tried this recipe?Let us know how it was!


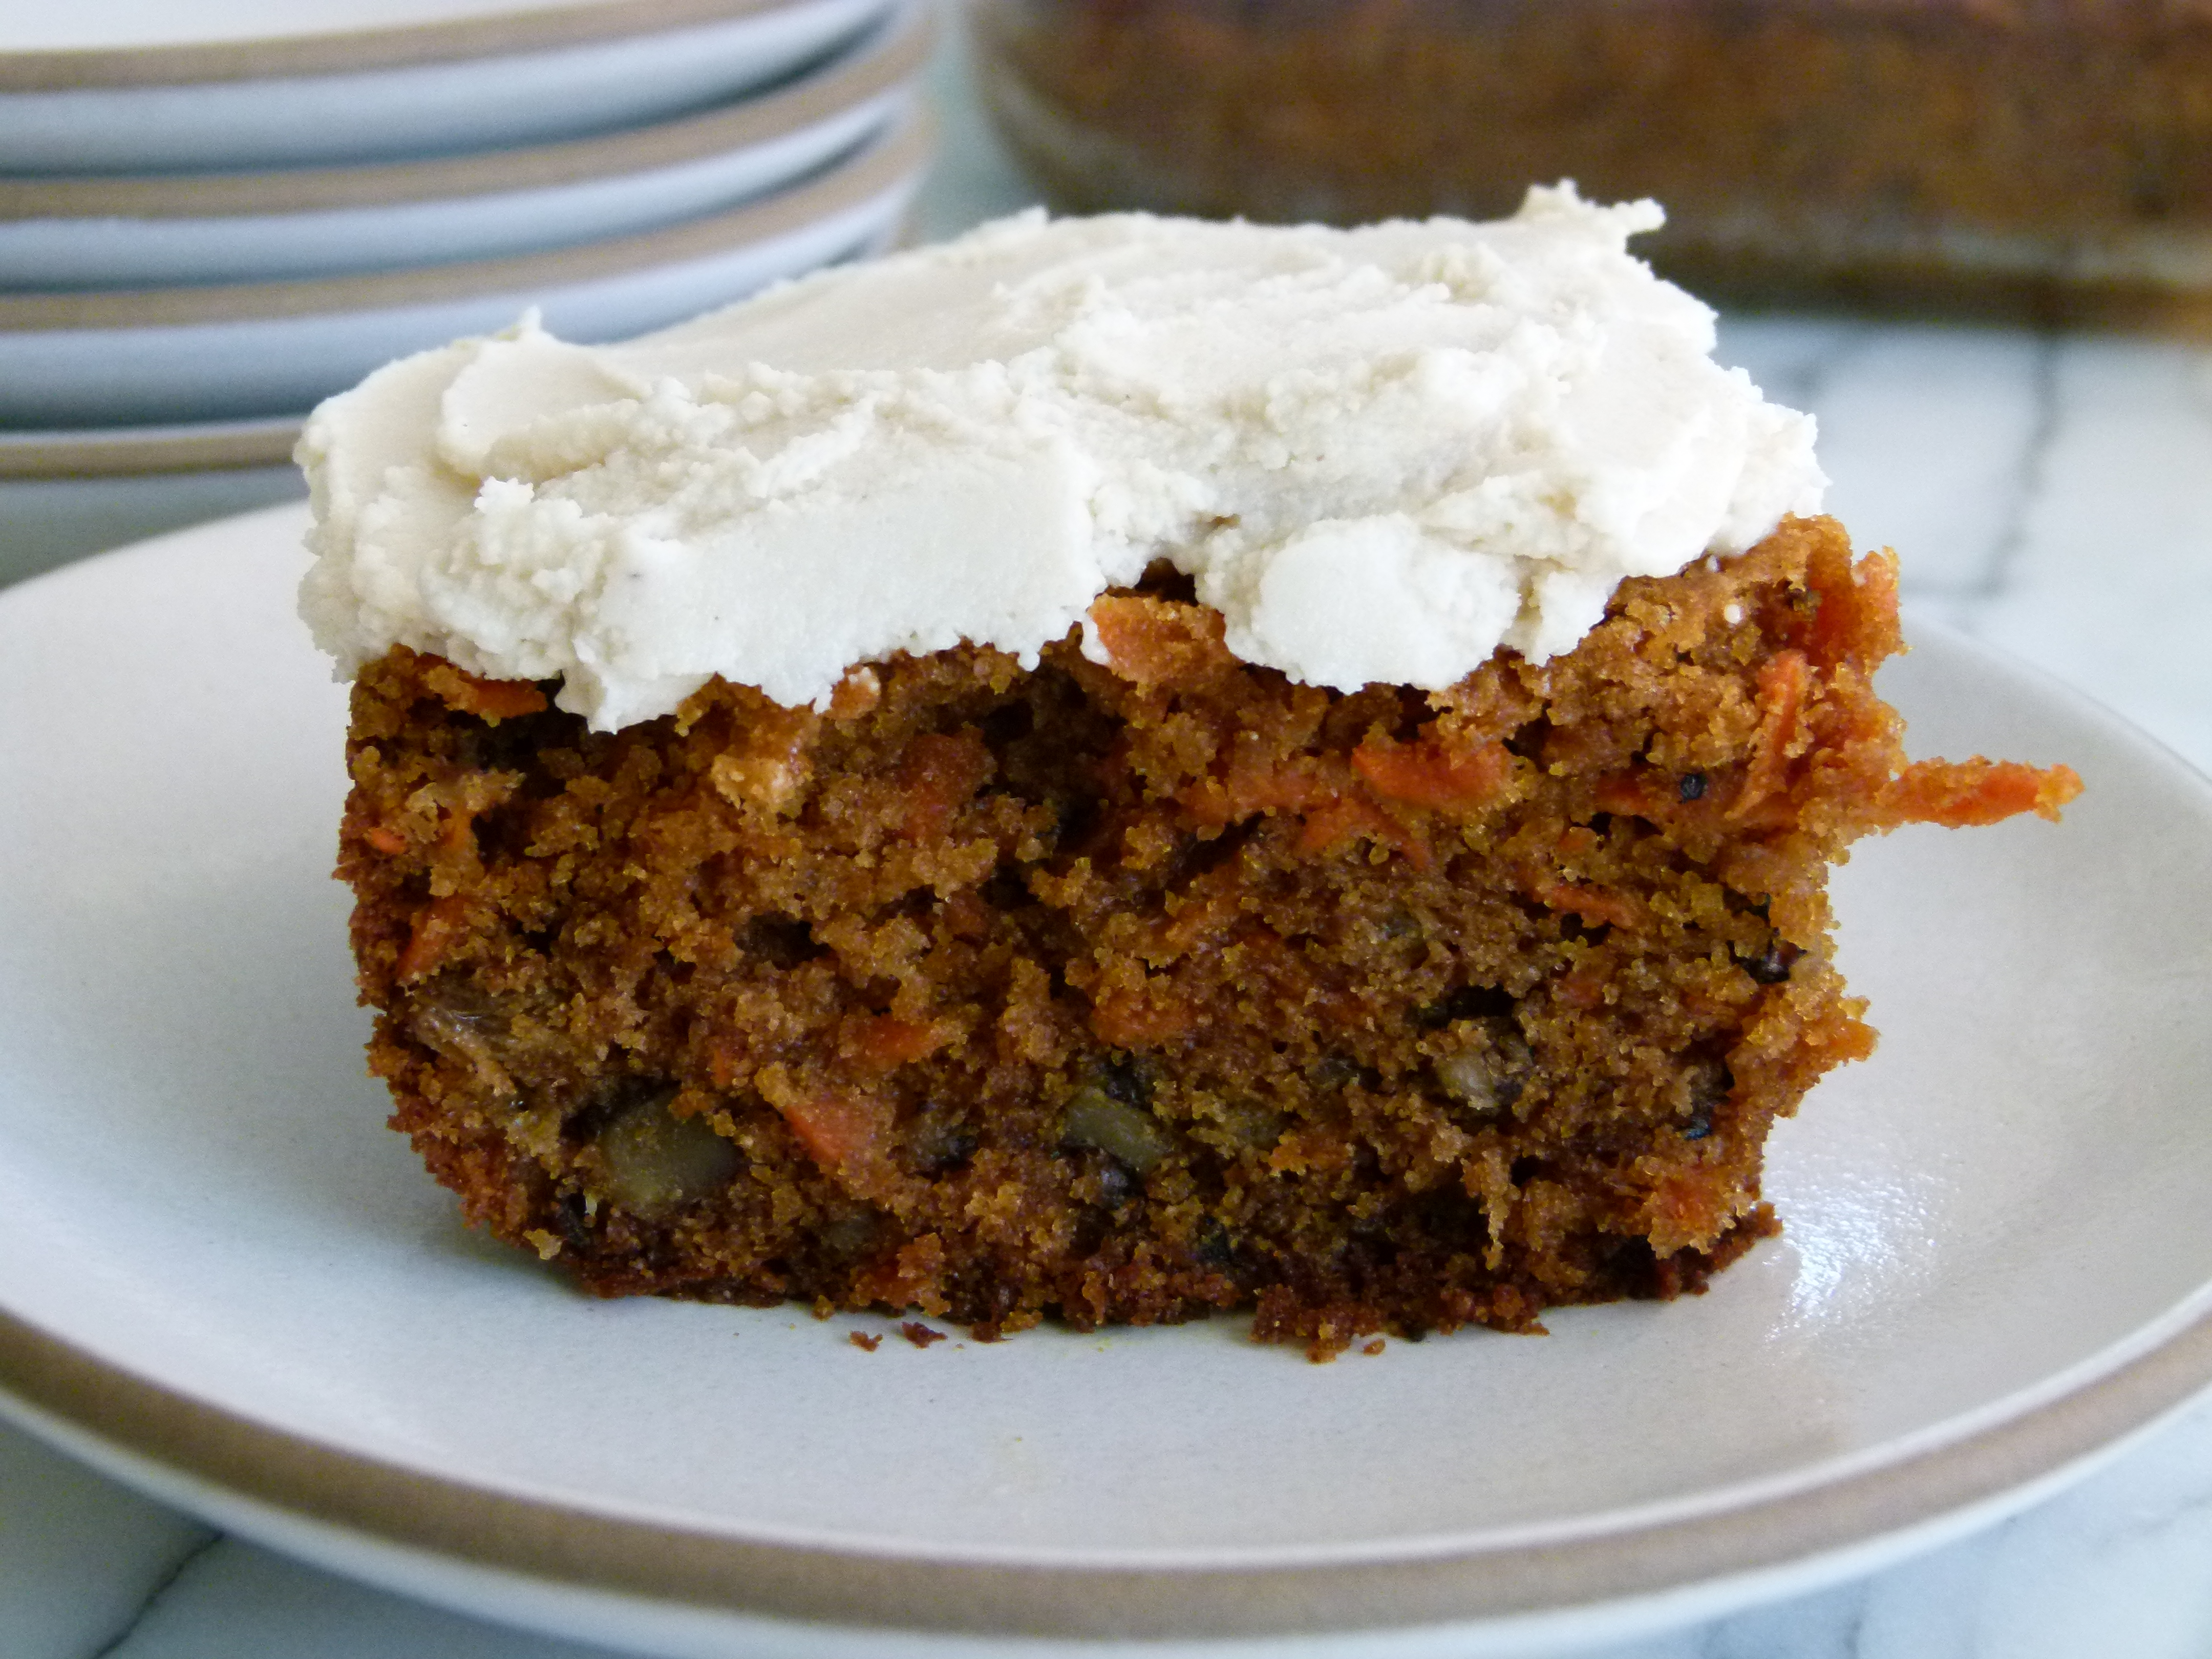
Whole Wheat Carrot Cake with Dairy-Free Frosting Recipe

I was married almost 17 years ago, so I guess it’s not crazy that my husband would have forgotten what flavor our wedding cake was.  I’m just surprised, because he was very involved in all decisions.  I know you’re thinking that it sounds sweet to have your fiance interested enough in your wedding to have a say in everything, but trust me, kind of annoying.  Regardless, we were talking about our wedding cake the other day and my husband remembers it as carrot cake, which it was certainly not.  Of course, there’s nothing wrong with carrot cake for a wedding cake, but ours was a simple white cake with chocolate chocolate-chip buttercream filling.

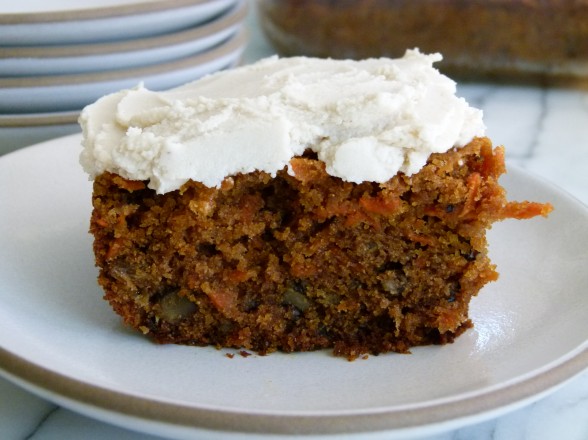
He probably thinks it was carrot cake because we both love it so much.  And we both agree that carrot cake should be moist and dense and chock full of carrots and raisins and walnuts.  I remember many a date when we shared a large slice of carrot cake for dessert.  You know the kind.  Two or three layers of sweet, nubby cake sandwiched between even sweeter, creamy, tangy icing.  Sounds great until you learn that a huge piece of bakery or restaurant carrot cake contains about a entire day’s worth of calories.  And don’t think they’re using natural sweeteners, friends.  If I were 22 again and doing two hours of step aerobics every day, I could probably get away with it.  But not no more!

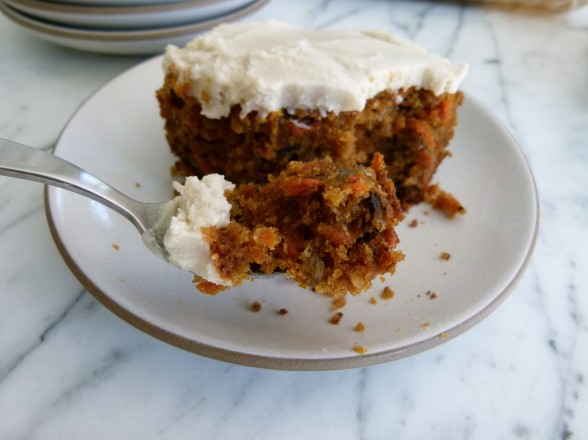
Fast forward two decades later when at least one of us is trying to consume desserts in moderation and bake them with less refined ingredients so we can make it to our 50th wedding anniversary and beyond.  Yes, that’s why I make carrot cake in a 13 x9-inch baking dish instead of as a layer cake.  I think it’s super delicious too, but for me at least, one square is plenty.  And before you think I’m no fun at all, don’t think I’m skimping on flavor here.  This carrot cake delivers the same sweet, spiced goodness that you would expect from the traditional.  Ok, maybe not the same sweetness.  When I got motivated to come up with a higher quality carrot cake, I went to my trusty Ina, who uses a whopping 2 cups of sugar in her cake.  Although in her defense, so does everyone else.  In my recipe I use coconut palm sugar and much less of it.  Listen, there’s a whole pound of carrots in this cake and carrots are sweet.  There are also raisins and even diced pineapple if you choose to use it.  And even if you don’t frost this cake, it’s plenty sweet.  Personally, I was happy as a clam with this cake unfrosted, but I knew my students would be expecting something more.  Of course I couldn’t go with a typical cream cheese frosting, because they don’t come to my kitchen for that.   So I am also offering you something very alternative, but perfectly yummy and thick and creamy and won’t make you sick to your stomach after you eat it.  And it’s vegan!

I’m thinking with Father’s Day coming up, this would be a fun dessert to make.  You can even do it in a muffin tin for individual cupcakes.  There are lots of ways you can adapt this recipe to make everyone happy.  Drop the pineapple if you wish.  Use pecans instead of walnuts.  Add some nutmeg or cloves.  Make Ina Garten’s cream cheese frosting if you don’t believe me that this one is great.  Just don’t ask me if you can make this cake without carrots because that question was already asked in my class last month and my answer is “no.”  Instead you have my blessing to go make the white butter cake with chocolate chocolate-chip buttercream filling that you really want.

Whole Wheat Carrot Cake with Dairy-Free Frosting

Pamela, adapted from Ina Garten

Ingredients
  

  • 1 ¼ cups coconut palm sugar or granulated sugar
  • 1 ¼-1 ½ cups unrefined oil I use melted coconut oil, but olive or high-oleic safflower is fine, too
  • 3 extra-large eggs at room temperature
  • 1 teaspoon pure vanilla extract
  • 2 ½ cups plus 1 Tablespoon whole wheat pastry flour divided
  • 1 Tablespoon ground cinnamon
  • 2 teaspoons baking soda
  • 1 ½ teaspoons sea salt
  • 1 cup unsulphured golden raisins or dark raisins if you prefer
  • 1 cup walnuts chopped
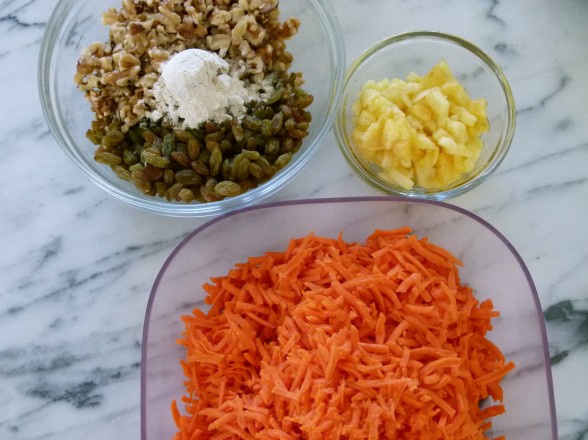
  • 1 pound carrots shredded (about 4 cups)
  • ½ cup fresh pineapple finely chopped (or frozen, thawed)
  • Raw Cashew Frosting optional

Instructions
 

  • Preheat the oven to 350 degrees. Grease the bottom and sides of a 13”x 9” pan.
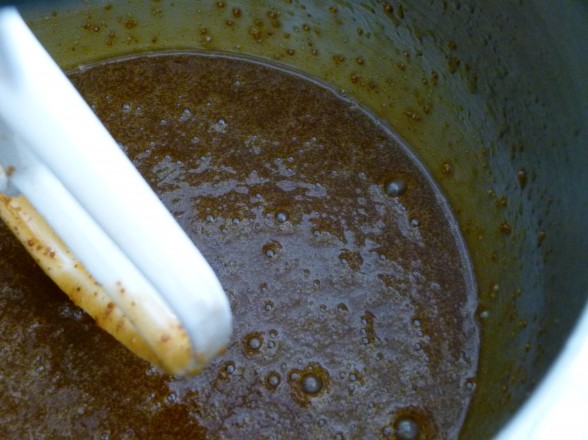
  • Beat the sugar, oil and eggs together in the bowl of an electric mixer fitted with the paddle attachment until thick and sugar has dissolved a bit. Add the vanilla and stir to combine.
  • In another bowl, whisk together 2 ½ cups flour, cinnamon, baking soda, and salt.
  • Add the dry ingredients to the wet ingredients. In a small bowl, combine the raisins and walnuts with 1 Tablespoon of flour and add to batter. Fold in the carrots and pineapple and mix well.
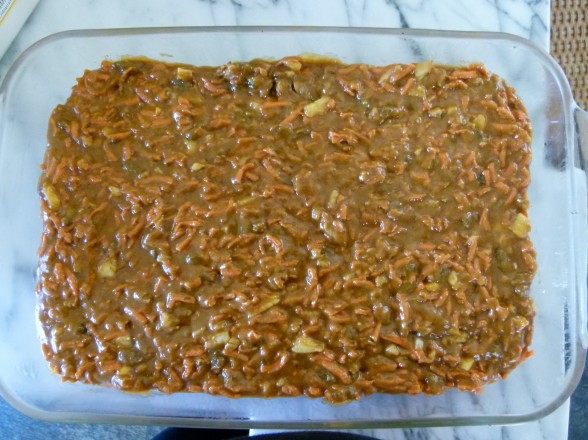
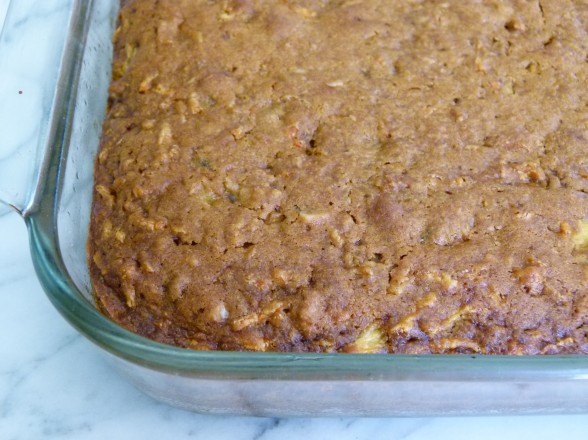
  • Pour batter into pan. It should be super thick. Bake for 45–55 minutes, or until a toothpick comes out clean. Allow cake to cool completely in pan over a wire wrack.

Notes
If you like things very sweet, you can increase the sugar to 1 1/2 cups and the recipe will work fine. I also give a range for the oil. Use 1 1/4 cup if you plan to eat it all the same day it's made and if you like a lighter cake. Use 1 1/2 cups if you like it a little heavier and if you want it to cake to stay moist for several days. I used 1 1/2 cups in these photos and 1 1/4 cups in my classes.
Raw Cashew Frosting:

This is a lovely, just-sweet-enough frosting which you can use for lots of cakes and cupcakes. It is dairy-free and if you use maple or agave, it is also vegan. You cannot substitute another oil for the coconut oil, since that’s what helps the frosting become firm and spreadable once it has been refrigerated. I use Grade A maple syrup here, which is less mapley than Grade B.
2 cups raw cashews, soaked in water for at least 5 hours
½ cup unsweetened almond milk or water (water is just as good)
¼ cup unrefined coconut oil, melted
3 Tablespoons raw honey, Grade A maple syrup or agave
¾ teaspoon pure vanilla extract
pinch or 2 of fine grain sea salt
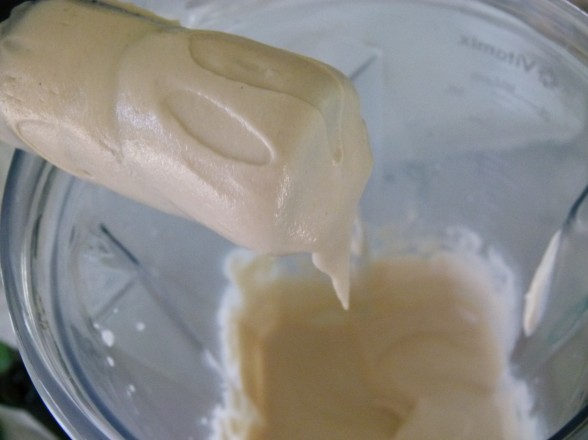
Process all ingredients in a food processor, scraping down the sides if necessary, until perfectly smooth. This can take 5-6 minutes. Or use a high powered blender like a Vitamix for about 45 seconds. Refrigerate to allow it to firm up enough to a spreadable consistency. Keep refrigerated until ready to use.
Tried this recipe?Let us know how it was!


Gluten-Free Oatmeal Pancake Recipe

gluten-free buckwheat pancakes | pamela salzman

I have two things on my mind this week — eating anything that was forbidden during Passover (like grains) and being mindful of our consumption of limited resources with Earth Day coming up on April 22nd.   “How will she ever revert this to a pancake recipe?” you ask.  Stay with me, peeps.

Passover, which occurred last week,  is a mighty 8-day abstinence from eating all grains, except wheat turned into matzoh.  Giving up bread, pasta and most starches isn’t such a big deal to me, but my hubby and the kids start groaning after about Day 3.  “How much loooooonger?”  “How come we can’t have rice?  Jack’s family eats rice during Passover.”  “What??!!  It ends on Saturday night?  I thought it ended on Friday!”  And so on and so forth.  Same spiel every year.  Yawn.  So on sundown of the 8th day, my people were freed from bondage, ordered pizza and ravaged it like contestants on “Survivor.”   As for me, I will admit, I was missing oatmeal for breakfast.   Sunday morning I made an extra-large batch thinking everyone craved it as much as I did.  Wrong!  Everyone was craving bagels.    That brings me to my other thought for the week which is being efficient with resources and limiting waste.  I needed a creative way to use that leftover oatmeal!

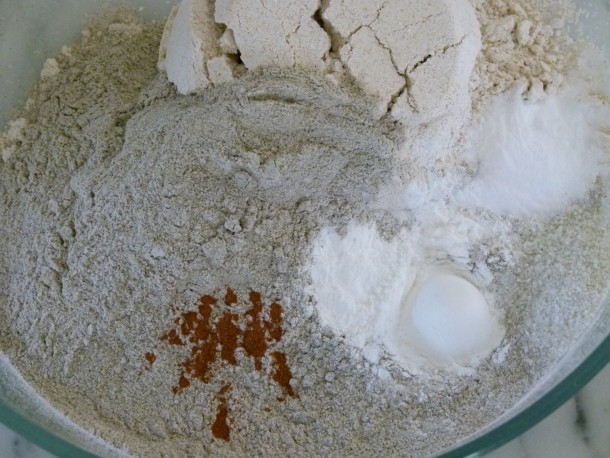
dry ingredients

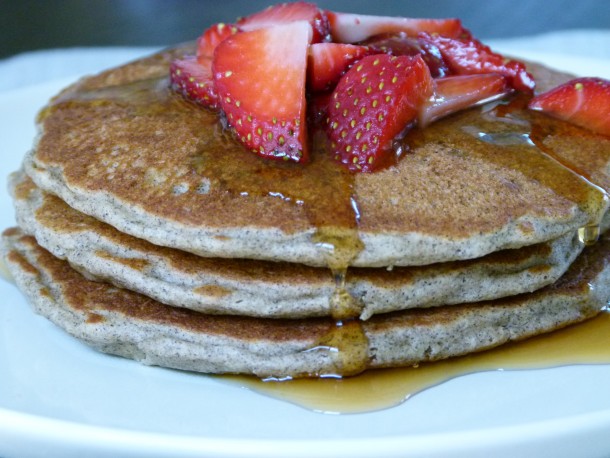
By now you know I am serious about pancakes.  I make them twice per week, very often varying the flours or even adding pumpkin and spices to the mix.  I love that everyone has fun customizing his or her own with fruit, nuts or chocolate chips.  Yesterday I made a a lovely batch of oatmeal pancakes with some of the leftovers from Sunday’s excess.  I added a good cup’s worth of steel cut oatmeal to gluten-free oat flour and buckwheat flour, which gave the pancakes these fantastic tiny little chewy bites.  I am a big fan of texture and whole grain flavors, so I adore these pancakes.  If you’ve never tried buckwheat flour, it has a great wholesome earthiness, but it does lend an odd, grey color to the batter.  By the way, buckwheat has no wheat in it and isn’t even related to wheat.  In fact, it is a relative of the rhubarb family, which is why it’s gluten-free.

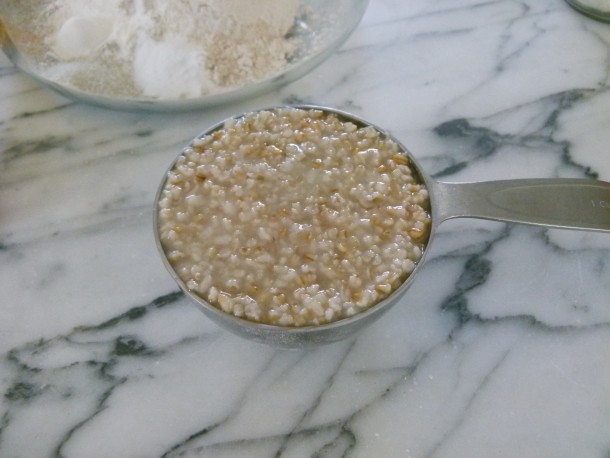
leftover steel cut oats


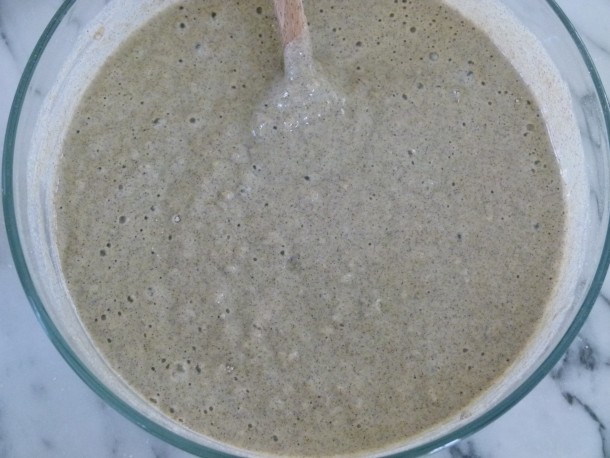
gluten-free oatmeal pancake batter |pamela salzman

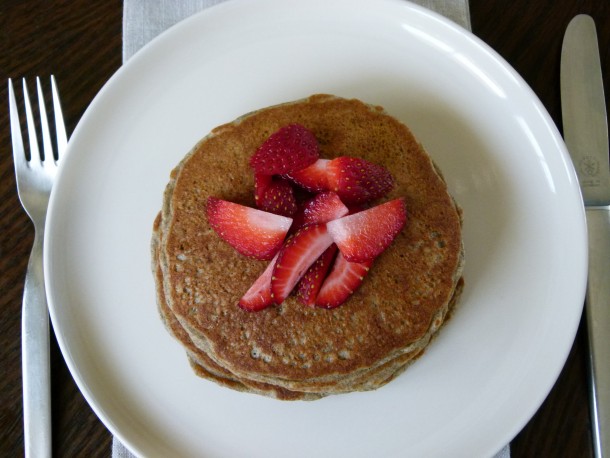
Oat flour is quite simple to make yourself if you don’t feel like buying it.  Just process rolled oats in the food processor until powdery.  That’s it!  If you need or want the oat flour to be gluten-free, you must buy oats/oat flour that is labeled as such, because otherwise it can contain trace amounts of gluten.  If you’re like my husband and are wondering how they take the gluten out of oats, they don’t really.  Botanically oats should not contain gluten, but they do share crop space with gluten-containing grains and often they are processed in facilities which also process wheat and barley, for example.  So the oats can pick up gluten that way.  But if you prefer, feel free to use my standard whole wheat pastry flour for the oat and buckwheat flours.  It just won’t be gluten-free and it will taste more like my traditional buttermilk pancakes, but with a little chew from the oats.  I tend to adorn these pancakes with the same yummies that I would add to a bowl of oatmeal — diced bananas, chopped walnuts, and the like.  But strawberries are incredible and plentiful right now, so we all included them yesterday and my husband tossed in his standard handful of blueberries.  Mr. Picky eats these pancakes just fine, but did declare my “normal” pancakes are his first choice.

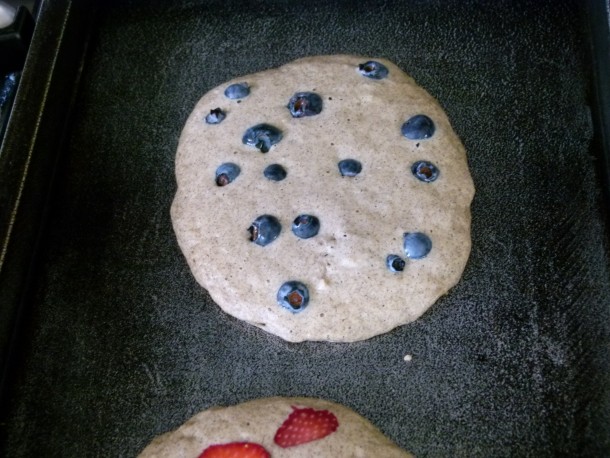
add fruit to pancakes before flipping | pamela salzman

Extra pancake batter?  We won’t waste it!!  It will stay good in the refrigerator for a few days and can be used to make fresh pancakes later in the week.  If you use buckwheat flour, don’t be put off by the gumminess of the batter.  It’s very normal and still turns out perfect pancakes.  You can also make all the pancakes at once and freeze them for another day.  I like to put a piece of parchment paper in between each piece so they don’t stick together.  Another idea is to use the pancakes instead of bread for a sandwich or a roll-up.  Any other creative ideas for using up oatmeal or pancakes??

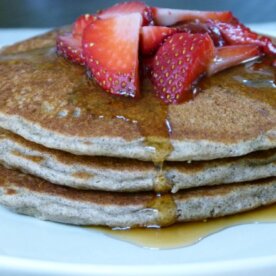
 gluten-free oatmeal pancakes | pamela salzman

Gluten-Free Oatmeal Pancakes

Pamela
Servings 6

Ingredients
  

  • 1 cup oat flour
  • 1 cup buckwheat flour or substitute whole wheat pastry flour for all or part of the oat and buckwheat flours
  • 1 teaspoon fine sea salt
  • 2 teaspoons aluminum-free baking powder
  • 1 teaspoon aluminum-free baking soda
  • pinch ground cinnamon optional
  • 2 cups buttermilk*
  • 2 large eggs
  • 1 teaspoon pure vanilla extract
  • 1 Tablespoon 100% pure maple syrup
  • 1 cup COOKED oatmeal preferably steel-cut
  • 4 Tablespoons unsalted butter melted
  • Melted unrefined coconut oil for brushing the griddle

Instructions
 

  • Preheat a griddle to 400 degrees or medium heat. (Not all built-in griddles are the same. 350 degrees may be fine for you.)
  • Combine the flour, salt, baking powder, baking soda and cinnamon in a large mixing bowl.
  • In a medium bowl or 4-6 cup measuring cup, whisk together the buttermilk, eggs, vanilla, maple syrup, melted butter and oatmeal until well blended. (Or combine all wet ingredients in a blender and add to dry mix with oatmeal.)
  • Pour the wet mixture into the dry ingredients and stir until just combined.
  • Brush the griddle with coconut oil and spoon about ¼ cup of batter onto the griddle. Add blueberries, chocolate chips or diced banana to the surface, if desired. When bubbles start to form on the surface of the pancake and the edges become slightly dry, flip it over and cook until done. Maintain the heat on medium-low or 400 degrees.

Notes
*No buttermilk? Sub half unsweetened yogurt and half whole milk. Or use 2 cups milk, omit the baking soda and use 1 Tablespoon baking powder instead.
Tried this recipe?Let us know how it was!

Egg Salad Recipe and Other Things You Can Do with Hard Boiled Eggs

I’m thrilled to have my mother and my 4-year-old niece visiting me this week from New York.  We’re having a great time catching up on magazines, tivo’d shows and of course, cooking.  After she read my post the other day about hard boiled eggs, she said, “so I used to overcook my eggs?”  I speak the truth on this blog and I asked my mother if she remembered the telltale green ring around her yolks.  She remembered.  We reminisced about always eating egg salad sandwiches for lunch the day after Easter, and for old times’ sake I thought it would be fun to make them with my mom again.

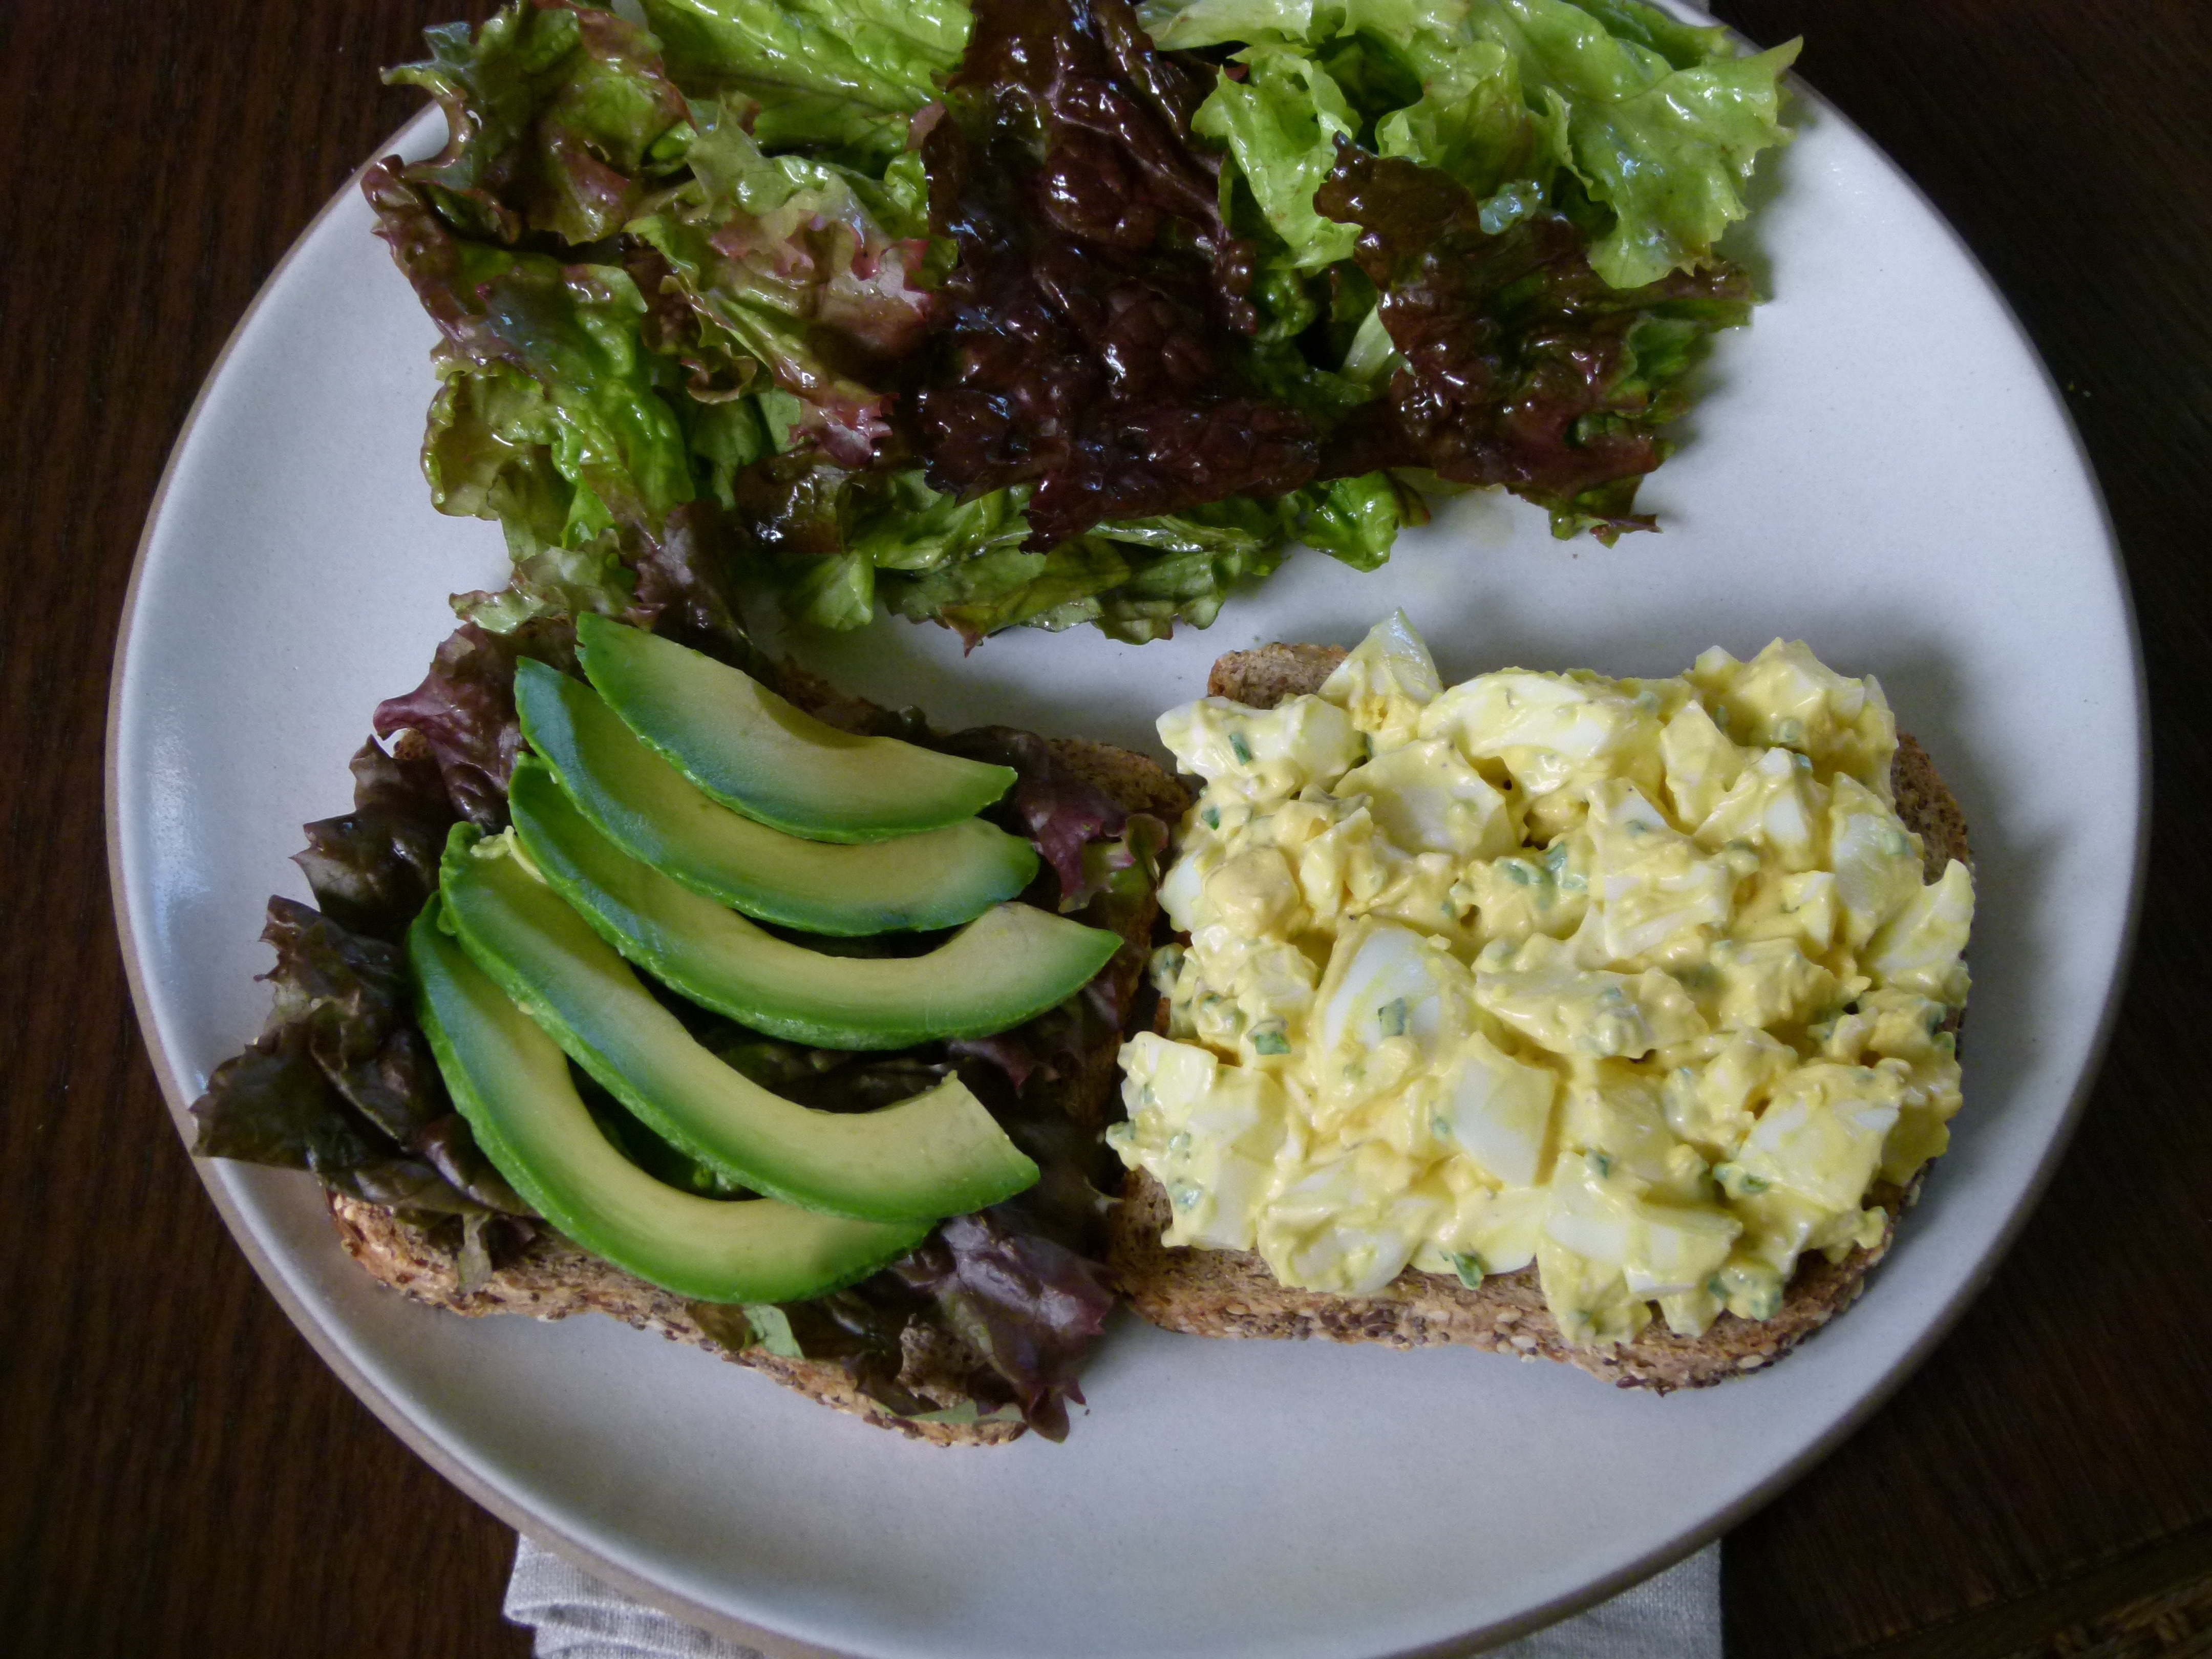
The two of us had a little egg salad cook-off with my mom making the version I grew up with, which is no more than chopped up hard boiled eggs combined with mayonnaise, relish and a pinch of salt.  Always delicious and that little bit of sweetness from the relish makes this egg salad kid friendly, unless you’re Mr. Picky who thinks egg salad is one of the “scariest” foods out there.  2 plain hard boiled eggs for Mr. Picky, please!  I whipped up my favorite version of egg salad which is loosely based on a recipe from my heroine, Alice Waters and her fabulous book, The Art of Simple Food.  My more grown-up egg salad may taste more sophisticated than the old version, but I assure you it is just as simple, absolutely delicious, and still kid-friendly (for kids that would actually eat egg salad.)  And look, Mom, no green ring!

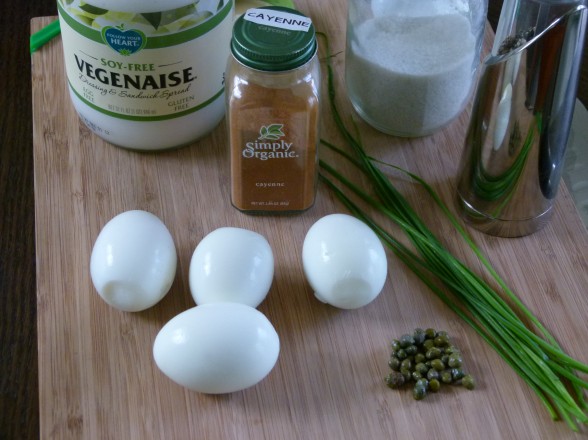
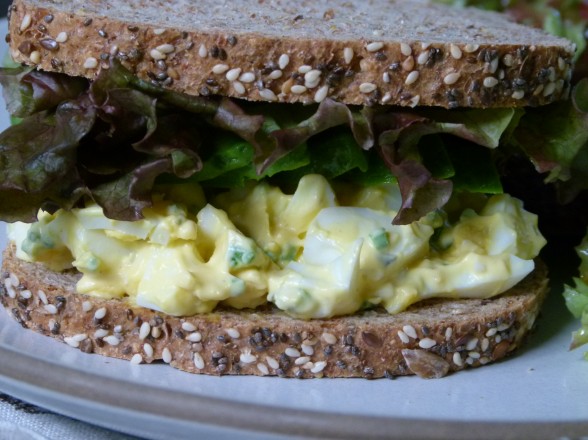
Hard boiled eggs are rather bland and the texture is soft, so I like balancing all that out with a little salty bite from some capers, some mild onion flavor from either fresh chives, shallots or green onions, and the smallest dash of cayenne for some kick.  I don’t see how people can eat egg salad on squishy, bland white bread, and not just because white bread is tasteless and devoid of nutrients (maybe I should tell you how I really feel.)  Egg salad just pairs so well with some texture and flavor, like from a nice hearty sprouted seed bread or other earthy, flavorful bread — always toasted.  After enjoying this tasty sandwich with my mom the other day, I asked myself why I never make egg salad.  It was such a simple and satisfying lunch with a side green salad.  Daughter #1 gave the egg salad a try and became a convert, although with mouth half-full announced she liked it just fine, but wouldn’t be taking any egg salad too school for lunch — “I don’t want egg aroma in my backpack all day, thanks.”  Whatever.

If you are in Mr. Picky’s camp and think egg salad is too scary or if you went all out, decorated a bazillion eggs and need something more than just an egg salad recipe, here are some other yummy ideas:

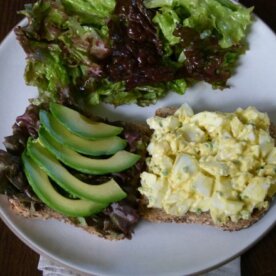
  • Sliced on top of toast with smoked salmon or sliced avocado.
  • Deviled eggs — I think this recipe for Caesar Salad Deviled Eggs at Smitten Kitchen looks interesting.
  • Nicoise Salad — a composed salad of potatoes, green beans, tomatoes, tuna and hard boiled eggs.
  • Cobb Salad — here’s a more healthful version by Ellie Krieger.
  • In a filling for empanadas.  I love my recipe which uses mixed greens, to which you can add a chopped hard boiled egg or two.
  • Pan Bagnat — a sandwich with sliced hard boiled eggs, tuna, tomatoes, onions.  Check out Alton Brown’s recipe here.
  • Chopped over steamed or roasted asparagus.  Then drizzle with one of my favorite everyday salad dressings.

Do you have any great ways to eat hard boiled eggs?  I’d love to know!

Egg Salad

Pamela, adapted from The Art of Simple Food
3.50 from 2 votes
Ingredients
  

  • 4 hard boiled eggs peeled
  • 3-4 Tablespoons mayonnaise I like soy-free Vegenaise
  • 1 heaping teaspoon of capers drained and chopped
  • 1 Tablespoon chopped chives my favorite, scallions or shallots
  • tiny pinch of sea salt or to taste
  • a few grinds of freshly ground pepper
  • a dash or two of cayenne pepper doesn’t make it spicy, just better

Instructions
 

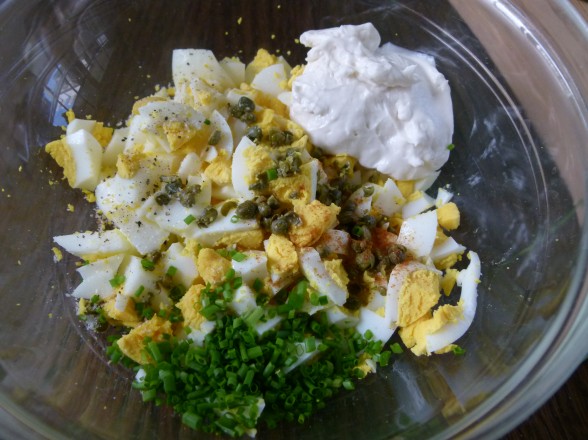
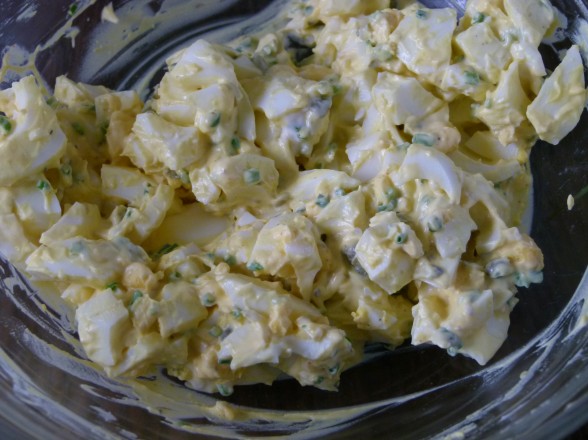
  • Coarsely chop the eggs and place in a bowl. Add remaining ingredients and combine well. Taste for seasoning.
  • Serve on toasted whole grain bread with greens like watercress or your favorite lettuce. I always love a little avocado, too!

Notes

Other delicious additions to the egg salad: diced celery, Dijon mustard, fresh parsley
My Mom’s Egg Salad
4 hard boiled eggs, chopped
3-4 Tablespoons mayonnaise
2 Tablespoons sweet relish
pinch of salt
Mix everything to combine well.
Tried this recipe?Let us know how it was!


How to Make Perfect Hard-Boiled Eggs: Foolproof Every Time

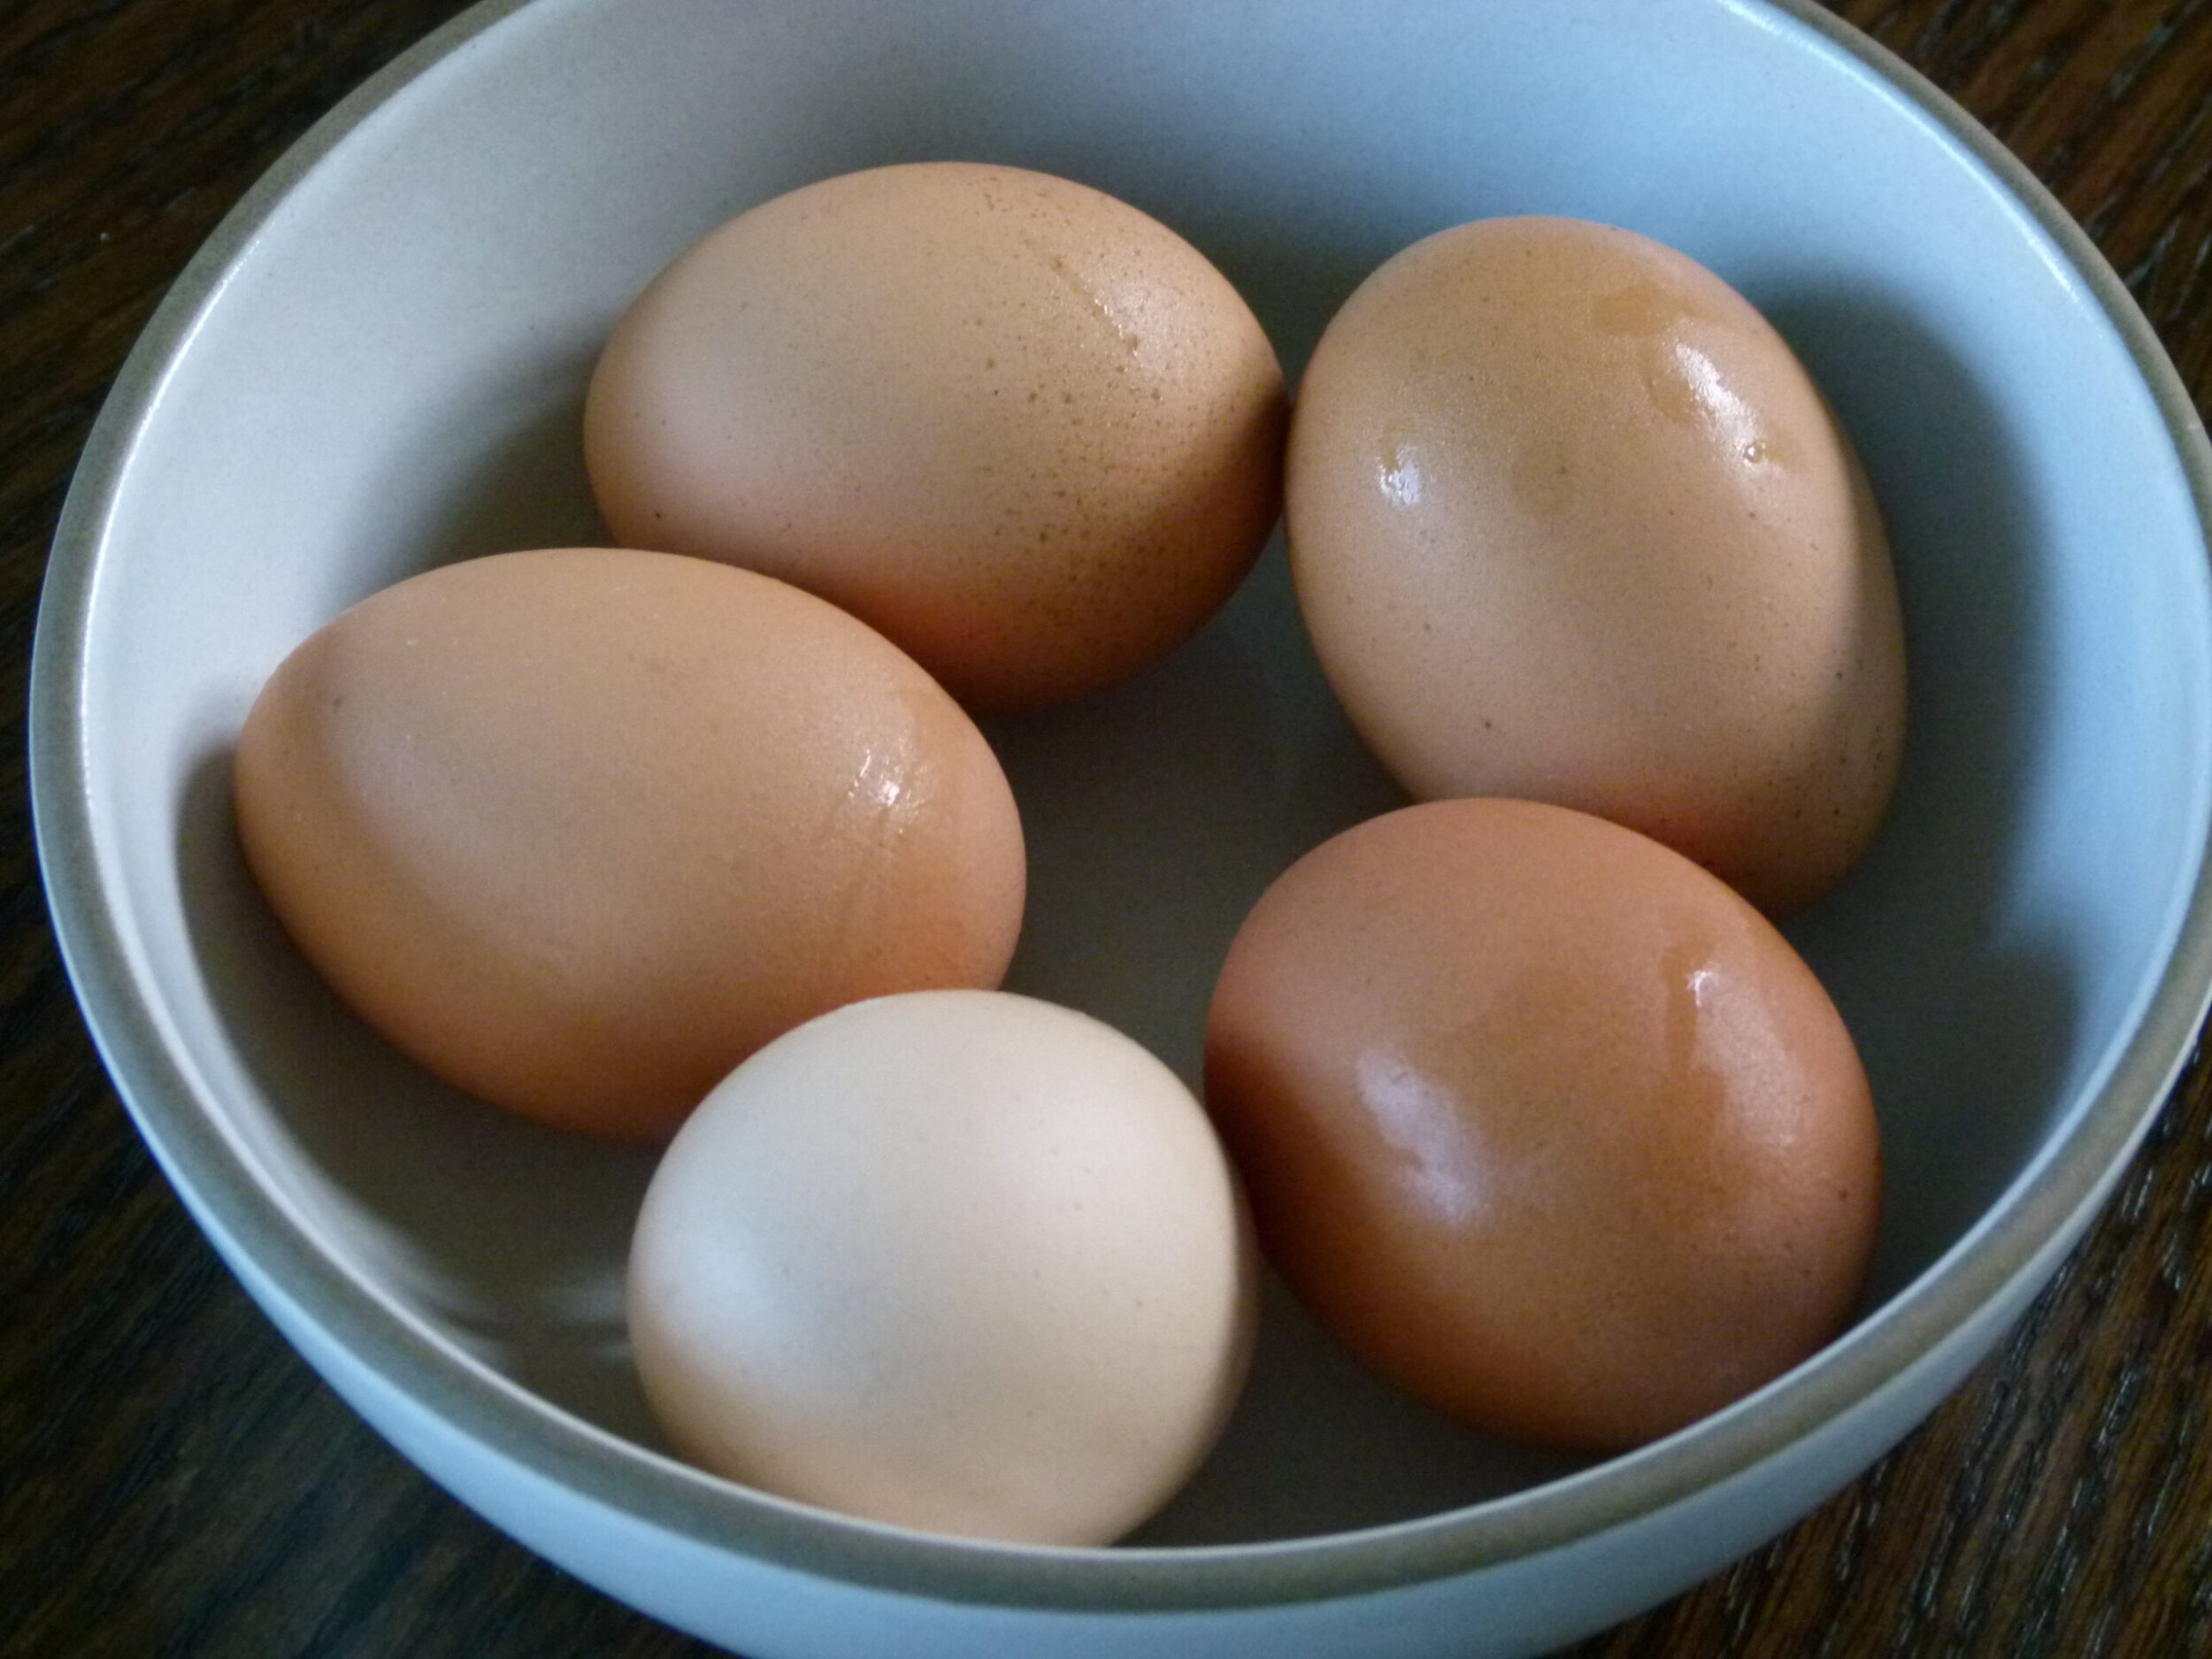
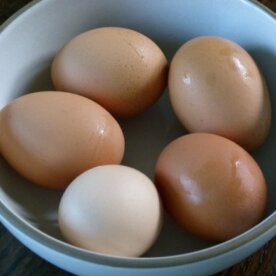
5 eggs resting in a bowl

Hard-boiled eggs are a kitchen essential, whether you’re prepping for a holiday, looking for a protein-packed snack, or making an egg salad. With a few simple tips, you can make perfect hard-boiled eggs with bright yellow yolks and easy-peel eggs every time. 

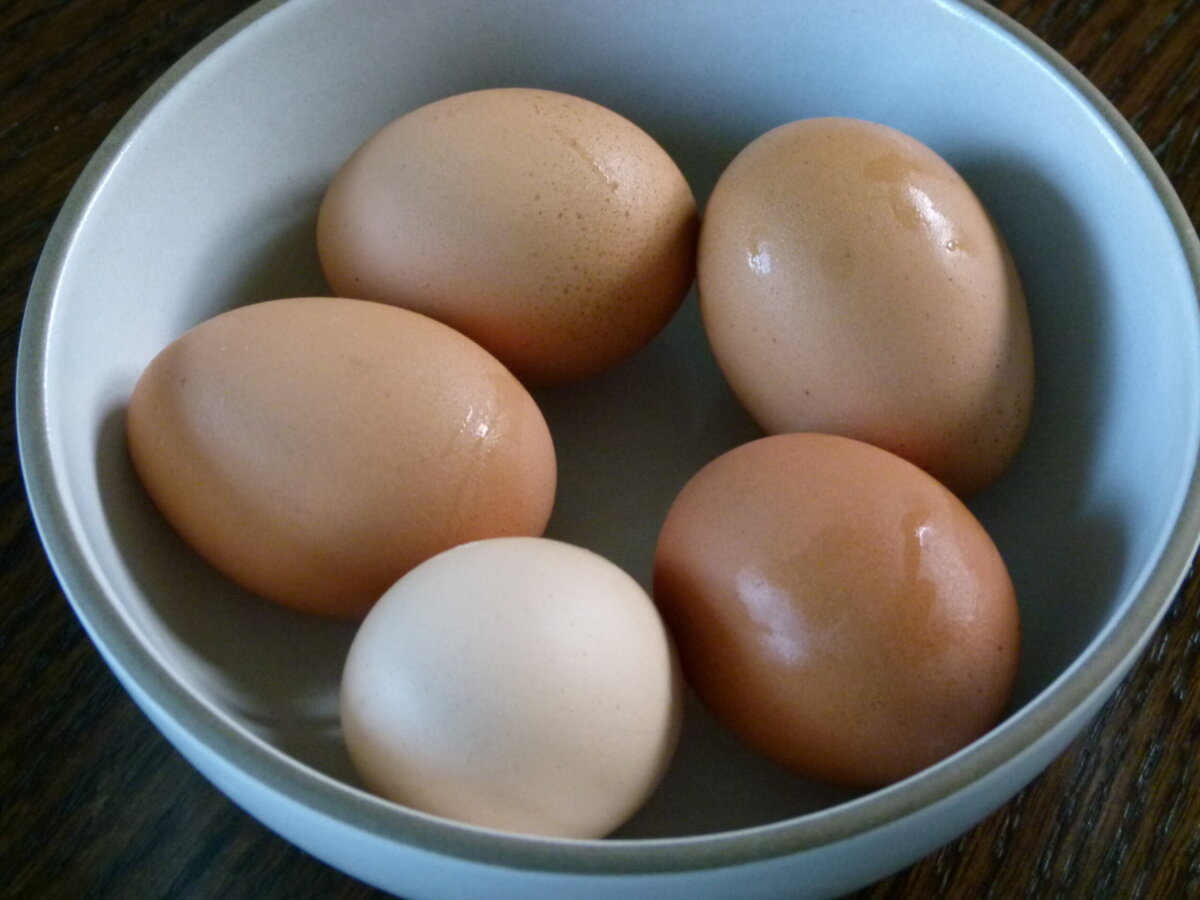
5 eggs resting in a bowl

Why You'll Love This Simple Recipe

Many of you might be preparing to boil eggs for Easter or Passover. Growing up, dyeing Easter eggs was a tradition in our house, though my sisters and I always wished for more than just 4 eggs each! We never wasted food, so 12 eggs was the right balance. 


Eggs are an affordable, protein-rich food, and research now shows we don’t need to worry about the cholesterol in them. Most of the fat in eggs is unsaturated, and the yolk’s phospholipids even help reduce cholesterol absorption.


Making the perfect hard-boiled egg is so simple, yet it’s one of those kitchen skills that can elevate so many meals. With this method, you’ll have consistently cooked eggs every time, and peeling them will be a breeze. Plus, they add so much to a variety of dishes like this breakfast salad or this lobster cobb salad. 

Give this a try and let me know how it goes—I promise, once you master it, you’ll never go back to guessing how long to boil eggs again!

Ingredient Notes

You don’t need any fancy equipment or special ingredients to make perfect eggs! This foolproof method is my favorite way to make them and has served me well for many years! 


  • Eggs (brown eggs or white eggs-as many as you’d like to cook)
  • Cold water
  • Ice (optional, for the ice bath)

Step-by-Step Instructions

Watch this “how to make perfect hard boiled eggs” video if you want to watch me make these in action. 

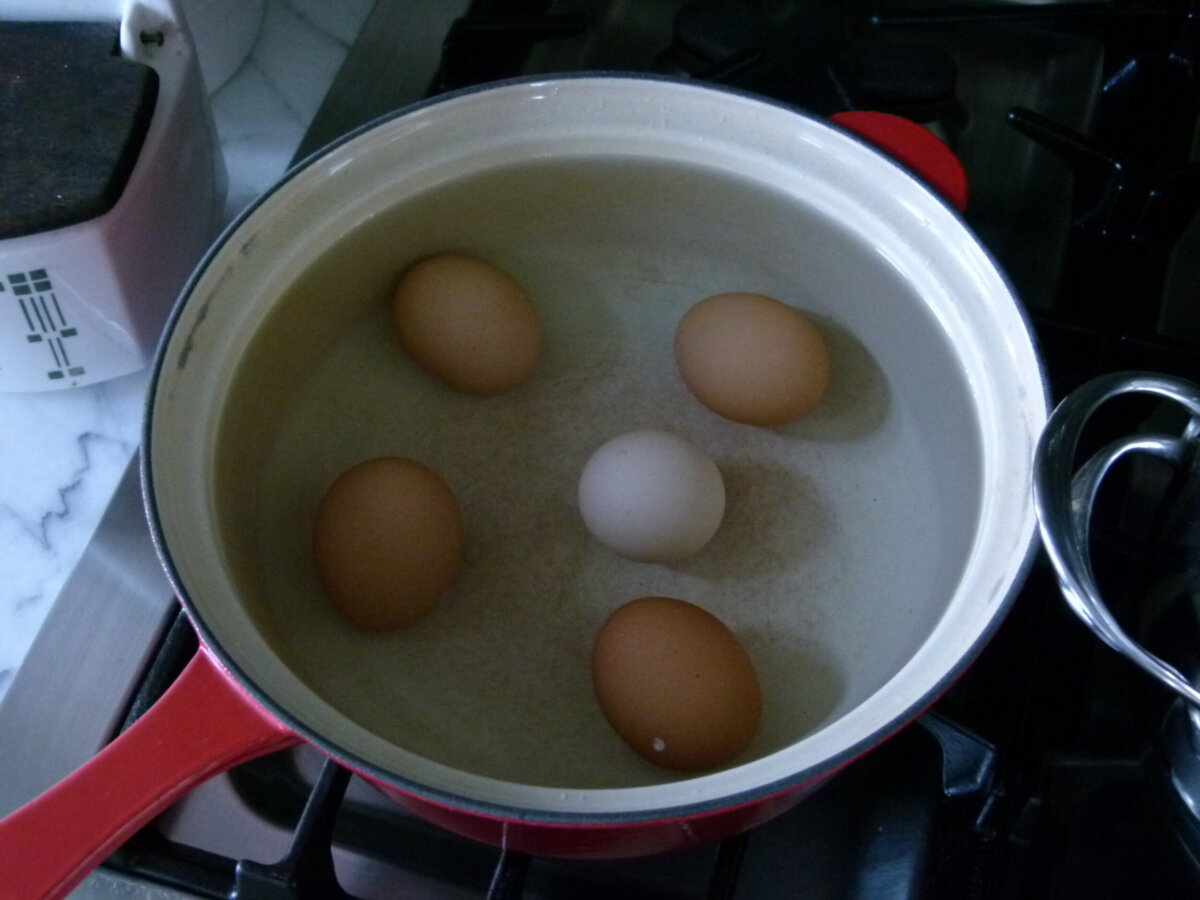
eggs resting in a pot of water

1. Start with Cold Water
Place eggs in a saucepan or a large pot in a single layer. Pour enough cold water to cover the eggs by about 1 to 2 inches. Starting with cold water ensures the eggs heat gradually and prevents cracking.

2. Bring the Water to a Boil
Cover the pot and set it over high heat. Bring the water to a rolling boil. Be sure to keep an eye on it, as it can go from simmering to boiling quickly!

3. Turn Off the Heat and Let Sit
As soon as the water boils, turn off the heat but keep the pot covered. Let the eggs sit in the hot water for 10 minutes. This allows the eggs to gently cook without becoming overdone, ensuring tender whites and bright yellow yolks.

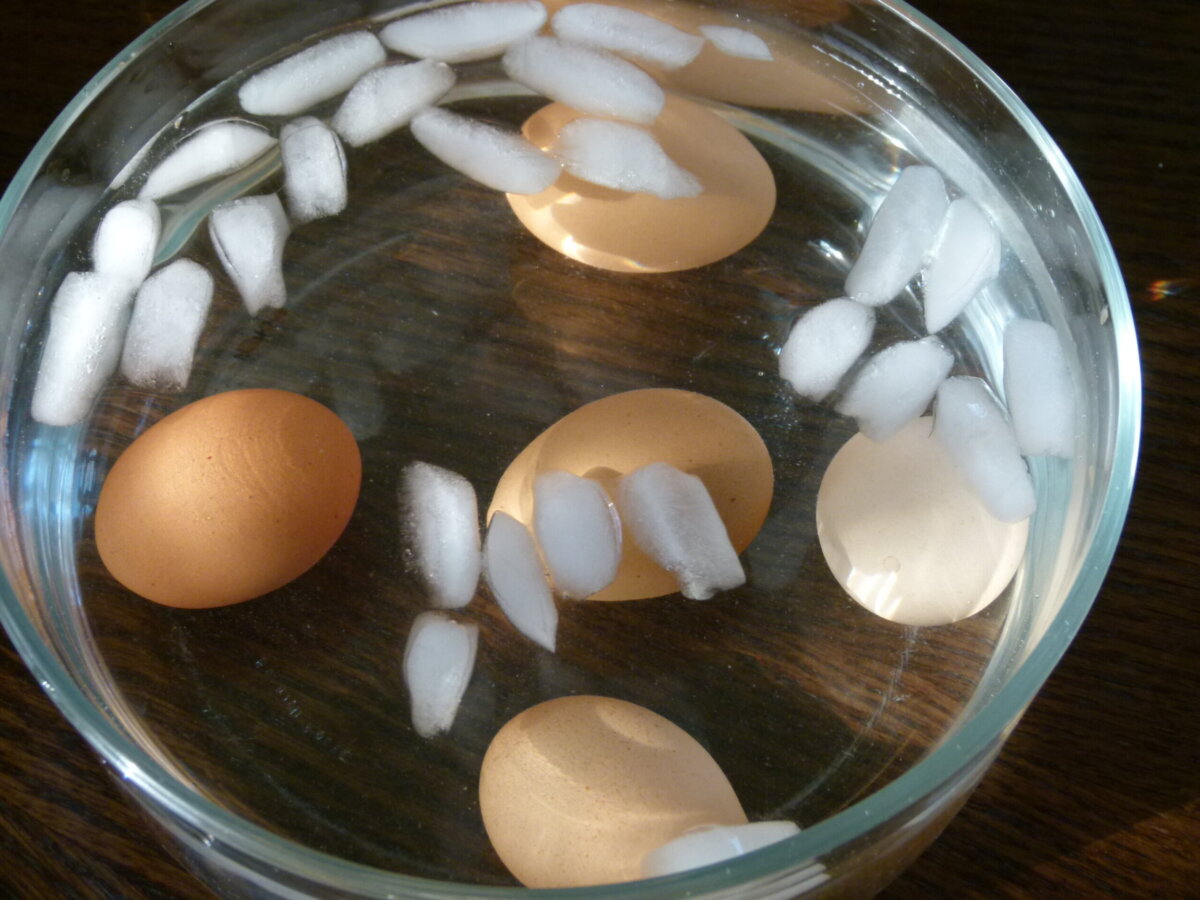
perfect hard boiled eggs in an ice bath to stop cooking

4. Transfer to Cold Water
After 10 minutes, carefully remove the eggs from the boiling water with a slotted spoon and transfer them to an ice water bath (a large bowl of ice water) or rinse them under very cold running water for a couple of minutes. This step stops the cooking process and makes peeling easier.

5. Peel and Enjoy!
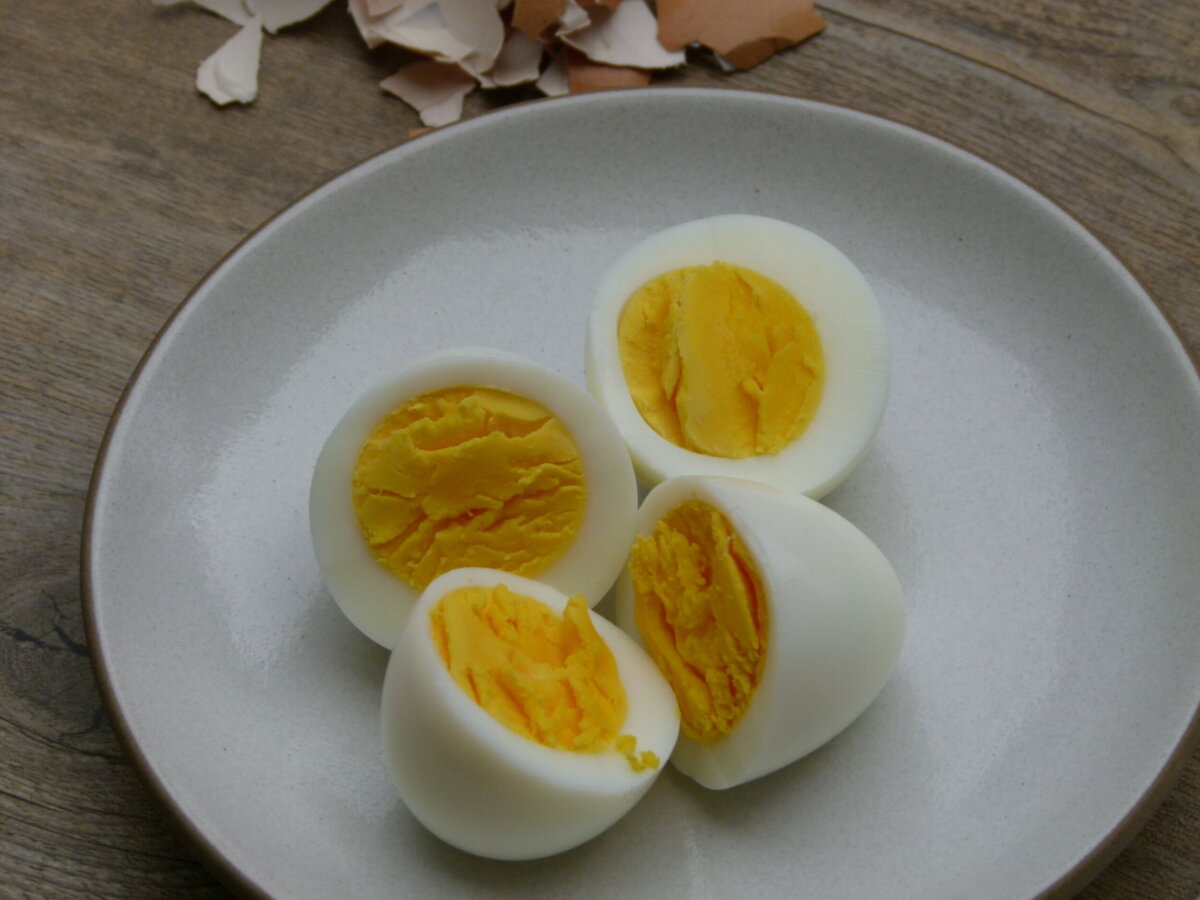
Once the eggs have cooled for a few minutes, peel them and enjoy! Whether you’re slicing them for potato salad or enjoying them with a sprinkle of salt and pepper, you will have perfect hard boiled eggs every time.

Recipe Tips

  • Use older eggs: Fresh eggs are harder to peel. For best results, buy eggs a few days before you plan to boil them for easier peeling.  If this isn’t possible, add a half teaspoon of baking soda to a quart of water to make the cooking water more alkaline.  Also, allow the eggs to firm up in the refrigerator before peeling.

  • Let the eggs chill: Consider leaving the eggs in the ice bath for at least 10-15 minutes. This helps with peeling and ensures they stop cooking.

Storage Tips

  • In the fridge: Unpeeled hard-boiled eggs can be stored in the refrigerator for up to 1 week. Keep them in an airtight container or the carton to prevent them from absorbing fridge odors.

  • Peeled eggs: If you’ve already peeled them, store them in a container with a damp paper towel to keep them moist. Peeled eggs are best eaten within 2-3 days.

cooked eggs peeled and cut to show the yolks

Fun Ways to Use Hard-Boiled Eggs

Hard-boiled eggs are such a versatile food. You can slice them up to top salads, mash them for egg salad sandwiches, or turn them into deviled eggs for a delicious appetizer. Another favorite is adding them to a grain bowl for an extra boost of protein or serving them alongside some avocado toast. Here are some other options:

  • Sliced on top of toast with smoked salmon or sliced avocado.

  • Deviled eggs — I think this recipe for Caesar Salad Deviled Eggs at Smitten Kitchen looks interesting.

  • Nicoise Salad — a composed salad of potatoes, green beans, tomatoes, tuna and hard boiled eggs.

  • Make my Lobster Cobb Salad.

  • In a filling for empanadas.  I love my recipe which uses mixed greens, to which you can add a chopped hard boiled egg or two.

  • Pan Bagnat — a sandwich with sliced hard boiled eggs, tuna, tomatoes, onions.  Check out Alton Brown’s recipe here.

  • Chopped over steamed or roasted asparagus.  Then drizzle with one of my favorite everyday salad dressings.

Recipe FAQs

1. How do I make eggs easier to peel?
Using older eggs (around a week old) makes peeling easier because the egg white shrinks slightly away from the shell as it ages. Also, the cold water bath after cooking helps loosen the shell from the egg.

2. Can I cook more than one egg at a time?
Absolutely! You can cook as many eggs as you like using this method. Just make sure the eggs are in a single layer at the bottom of the pot, and there’s enough water to cover them.

3. Why do my yolks turn green?
That green ring around the yolk happens when eggs are overcooked. The method I shared ensures perfectly cooked yolks that stay bright and yellow!

4. What if I don’t have ice for the ice bath?
No problem! If you don’t have ice on hand, just run the eggs under cold water for a couple of minutes to stop the cooking process.


5. How long should I cook them if I want a soft-boiled egg?
For soft boiled eggs, follow the same method but reduce the sitting time to 6-7 minutes for runny yolks and 8-9 minutes for jammy eggs.

More Delicious Recipes

If you give this easy recipe a try, snap a pic and tag @pamelasalzman so I can see your beautiful creations. I also really appreciate readers taking the time to leave a star rating and review! I have started a weekly Monday newsletter with tips, musings, new recipes not published here, fun new finds, and more. Subscribe for free here.

For more delicious recipes and to learn how to be a better cook, check out my monthly online cooking classes. I have been teaching people for 15 years how to cook healthy food that their families love!  Join me!

How To Make Perfect Hard Boiled Eggs

Pamela
Hard-boiled eggs are a kitchen essential, whether you’re prepping for a holiday, looking for a protein-packed snack, or making an egg salad. With a few simple tips, you can make perfect hard-boiled eggs with bright yellow yolks and easy-peel eggs every time. 
Prep Time 2 minutes
Cook Time 10 minutes
Ice Bath Time 10 minutes
Total Time 22 minutes
Course Appetizer, Breakfast, Side Dish
Cuisine American

Ingredients
  

  • Eggs

Instructions
 

  • Place the eggs in a pot that’s big enough so the eggs won’t crash into each other. Fill the pot with enough cold water to cover eggs by an inch.
  • Put heat on medium-high and bring the water to a full boil. Cover the pot, turn off the heat and set a timer for 10 minutes.
  • In the meantime, prepare a bowl of ice water to accommodate the eggs. When the timer goes off, transfer the eggs from the pot to the ice water bath with a slotted spoon. Or drain them in a colander and run them under cold water if you’d like to eat them immediately.
  • Store them in the refrigerator for up to 5 days.

Notes

  • Use older eggs: Fresh eggs are harder to peel. For best results, buy eggs a few days before you plan to boil them for easier peeling.  If this isn’t possible, add a half teaspoon of baking soda to a quart of water to make the cooking water more alkaline.  Also, allow the eggs to firm up in the refrigerator before peeling.
  • Let the eggs chill: Consider leaving the eggs in the ice bath for at least 10-15 minutes. This helps with peeling and ensures they stop cooking.
  • Storage: Unpeeled hard-boiled eggs can be stored in the refrigerator for up to 1 week. Keep them in an airtight container or the carton to prevent them from absorbing fridge odors.
    • Peeled eggs: If you’ve already peeled them, store them in a container with a damp paper towel to keep them moist. Peeled eggs are best eaten within 2-3 days.
Tried this recipe?Let us know how it was!

This post may contain affiliate links

Cornbread (with quinoa!) Recipe

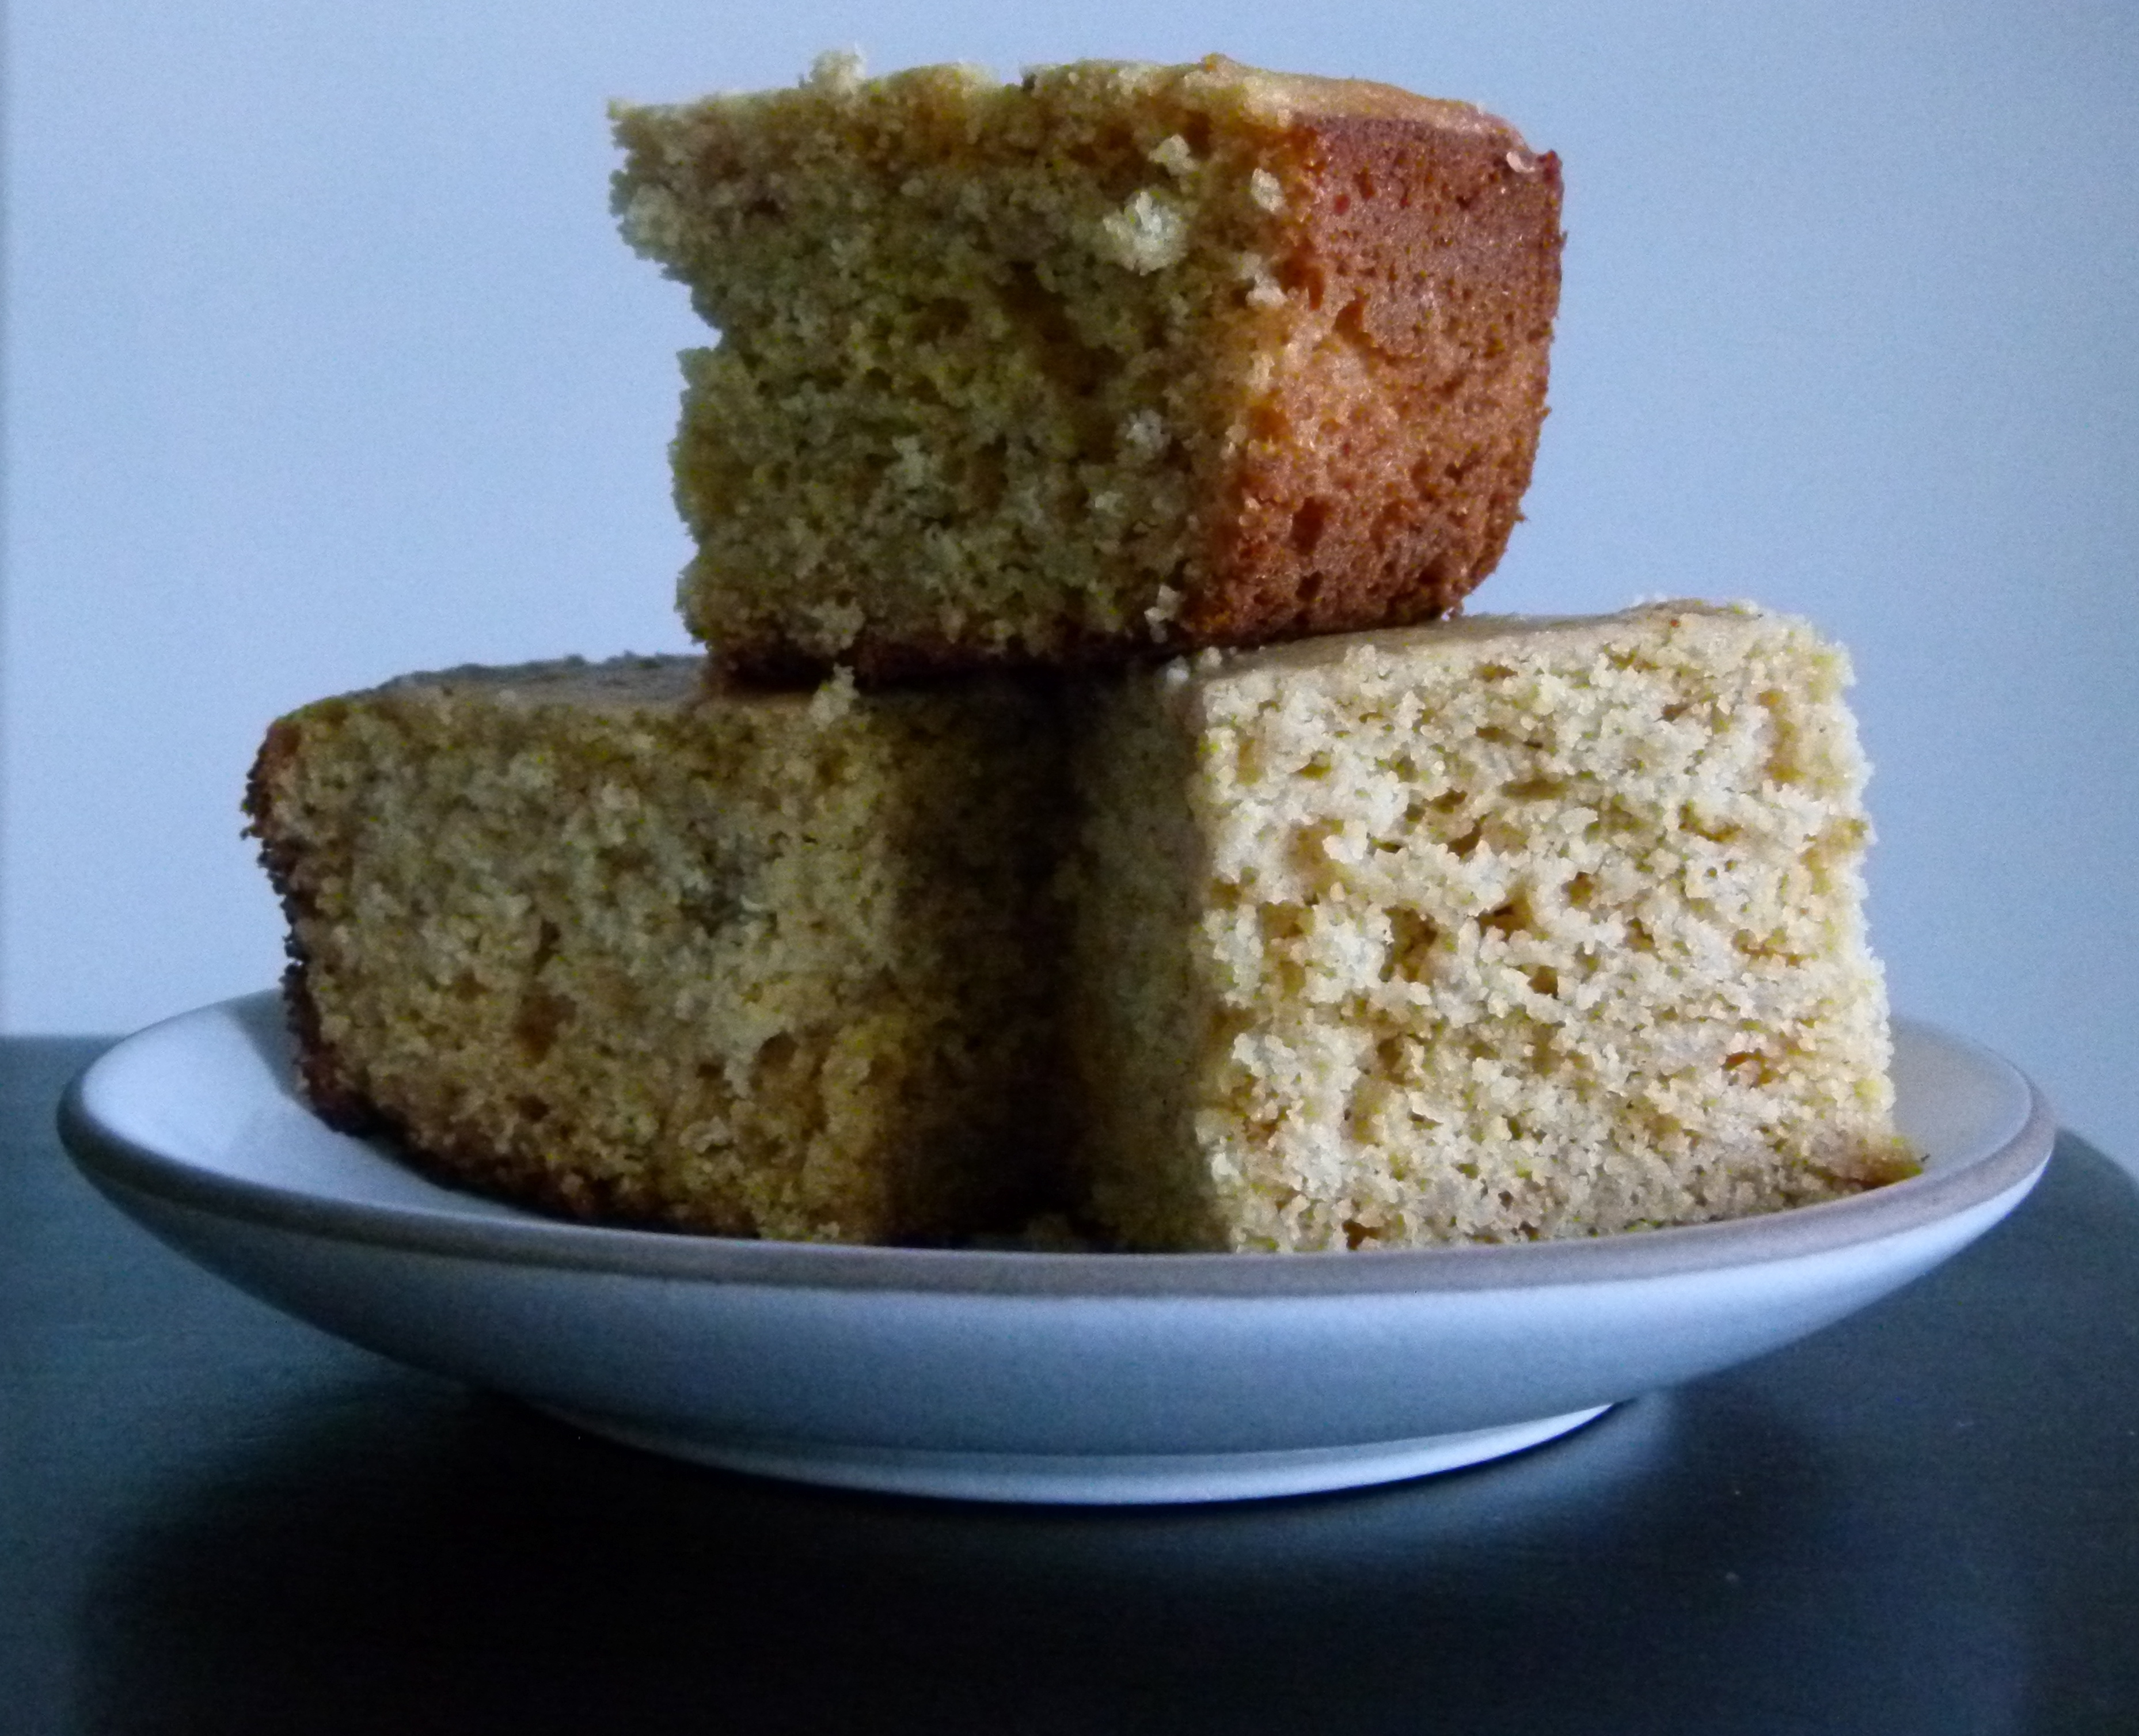
Let me just start out with a disclaimer — I am not from the South.  I am a Yankee, which means I like my cornbread with half cornmeal and half flour and a drop of sweet and that’s that.  If you are a true Southerner and wouldn’t dream of adding honey or sugar or maple syrup to your cornbread, I hope we can still be friends.  I didn’t grow up eating it and I have no recipe that was passed down from my grandmother.  But my husband and my kids love cornbread, especially at certain times of the year and I love preparing them good food that makes them happy.

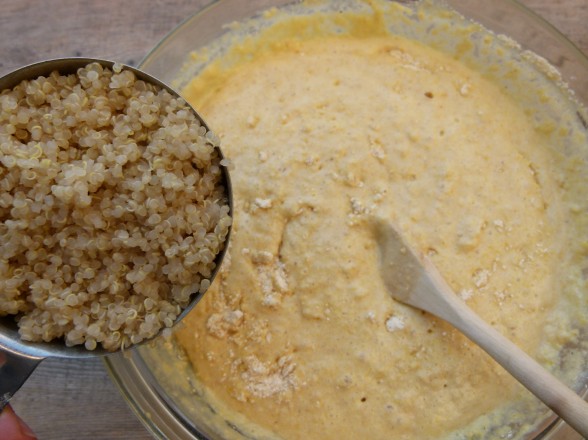
After I posted my Thanksgiving menu a few months ago, I had many inquiries about my cornbread recipe, so I figured I would share it just before the Super Bowl when you might be whipping up a big pot of chili.  Even if you’re not eating something that goes well with cornbread, you will be delighted with this quick bread just by itself.  My husband loves to split a wedge of the bread, toast it and slather it with a little more butter or honey or strawberry preserves for a nice treat.  I typically like a barely sweet cornbread, which this is if you use 4 Tablespoons of honey.  You can adjust the sweetness level according to your preference, but the best part about this bread is how moist and corny it is (even after several days.)     I’m not sure anyone in my family knows that I add cooked quinoa to the batter.  And it’s not because I’m the kind of person that sneaks healthful food into recipes and doesn’t say anything.  I’m not clever enough for that.  But I do try to use food efficiently and one day I had a bit of quinoa left in the fridge and since quinoa and corn go really well together, I decided to add it to the corn bread batter.  You don’t notice it at all, except that I think the quinoa adds a nice moistness to the bread and a great boost of protein.

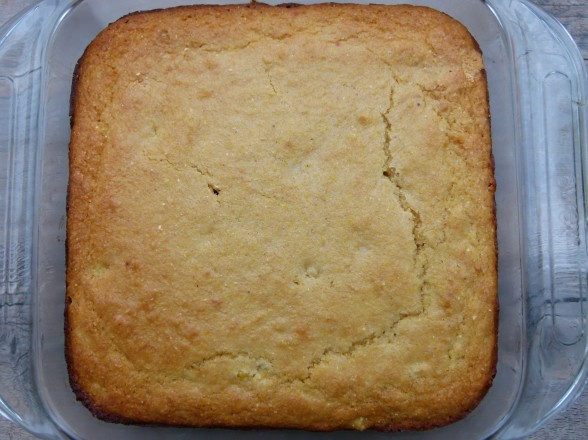
I’ve made this cornbread so many times with different combinations of ingredients based on whom I am feeding or what is available to me in the pantry and it has never disappointed.  Although I’ve learned something about how certain foods affect the end result.  Dairy, such as milk and butter, result in a slightly more golden color to the finished bread.  Coconut oil leaves a slightly sweet, subtly tropical aftertaste.  The whole spelt flour is slightly coarser than whole wheat pastry, and made the bread feel a little more “whole grain.”  If you use olive oil, you can taste it if the bread is still warm, but not after it has cooled a bit, but that will also depend on the kind of olive oil you use.  Take this as a foundation recipe and have fun with it.  Drop the honey and add diced cooked bacon, finely chopped jalapenos, or shredded cheese.  Or prepare as is with some vanilla extract and blueberries or raspberries for a sweet treat.

Are you entertaining for the Super Bowl?  I would love to hear what you’re making.  I am making guacamole and baked chips, but I’ll also serve it with jicama.  I’ll make a giant pot of Vegetable Chili tomorrow and reheat on Sunday.  I am also doing a Baked Potato Bar with lots of toppings (what in the world is easier to make than a baked potato?)  I actually love a baked potato topped with chili!  A big chopped salad and cornbread for sure!  Daughter #1 told me she’s in charge of desserts.  I’m nervous.  Other fun foods for the big game can be Roasted Vegetable and Black Bean Enchiladas (especially the casserole version), a Taco or Fajita bar, Cilantro-Lime Slaw or a make-your-own sandwich bar with grilled chicken.  I know my family in NY will be making some form of baked pasta, meatballs, sausage and peppers.  Know your audience, I guess!

If you have leftover guacamole and/or salsa after the game, save it for a great soup recipe on Monday.   Have fun!

Cornbread (with quinoa!)

Pamela
5 from 2 votes

Ingredients
  

  • 1 cup whole wheat pastry flour or whole spelt flour or your favorite GF baking mix
  • 1 cup yellow cornmeal preferably stone-ground*
  • 2 teaspoons aluminum-free baking powder
  • ½ teaspoon aluminum-free baking soda
  • ½ teaspoon fine grain sea salt
  • 1 cup buttermilk**
  • ½ cup melted unsalted butter 1 stick or coconut oil or olive oil
  • 2 large eggs***
  • 4-6 Tablespoons honey or Grade A maple syrup I use 4 Tbs.
  • 1 cup COOKED quinoa optional
  • 1 cup fresh or frozen corn kernels optional

Instructions
 

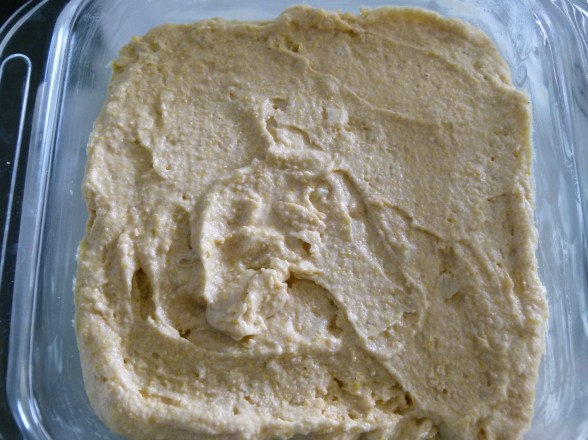
  • Preheat the oven to 375 degrees. Line a 12-cup muffin pan with paper liners or grease an 8 x 8-inch baking dish (I usually dip a pastry brush in the melted butter I’m using in the recipe and grease the pan that way.)
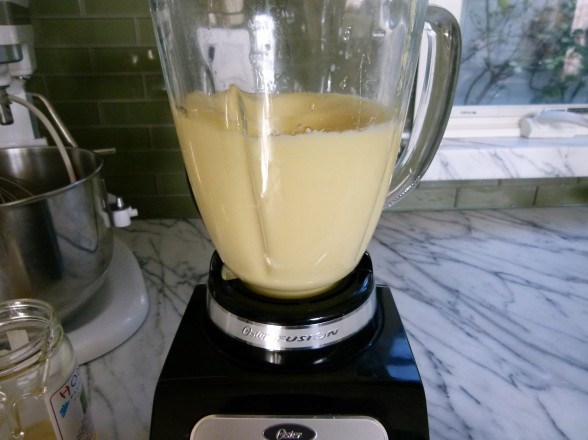
  • In a large bowl, whisk together the flour, cornmeal, baking powder, baking soda and salt. In a medium bowl or a blender, combine buttermilk, melted butter, eggs and honey until well blended. Pour wet ingredients into dry ingredients and stir until just combined. Stir in the corn kernels. Using an ice cream scooper, divide the batter into the muffin pan or pour it into the prepared pan.
  • Bake the muffins for 15-18 minutes, or until the tops are golden and a toothpick inserted in the center of a muffin comes out clean. Or bake the cornbread in the 8 x 8 pan for 30-35 minutes. Cool for 5 minutes on a wire rack before removing muffins from the pan.

Notes

*If you like a more tender, less grainy cornbread, increase flour by ½ cup and decrease cornmeal by ½ cup.
**Or ½ cup whole unsweetened yogurt + ½ cup milk of choice. Or 1 cup dairy-free milk + 1 Tablespoon lemon juice or apple cider vinegar
***Or 2 Tablespoons ground flax meal mixed with 6 Tablespoons warm water. Allow to sit 10-15 minutes. And then allow batter to sit 5-10 minutes before baking.
****To cook quinoa: Rinse quinoa and then cook 1 cup quinoa in 1 ¾ cups boiling water covered for 15 minutes. Remove from heat and allow to sit for 10 minutes, covered. Makes about 3 cups cooked quinoa.
Tried this recipe?Let us know how it was!