Spinach and feta strata

You know I’m a fan of the do-ahead breakfast for busy (and early) weekday mornings.  But holidays and weekend brunches are also the perfect time to prepare a fabulous breakfast the night before.  On Christmas morning, the kids love to come down in their pj’s and see what Santa left for them and I don’t want to be stuck in the kitchen missing out on all the “oohs” and “ahhs.”  It’s also a great feeling to be able to relax after a late night of Christmas Eve revelry and still put a hot breakfast on the table for everyone.  Breakfast strata to the rescue!

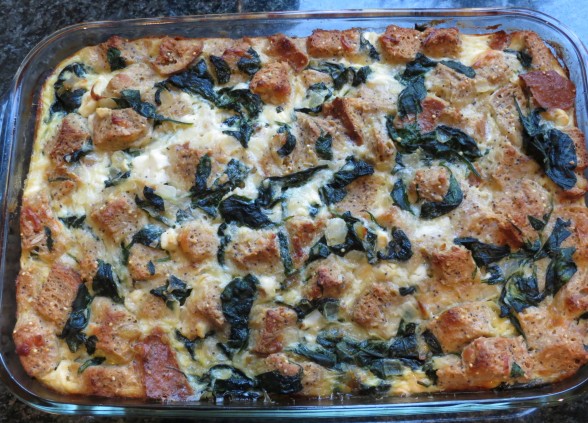
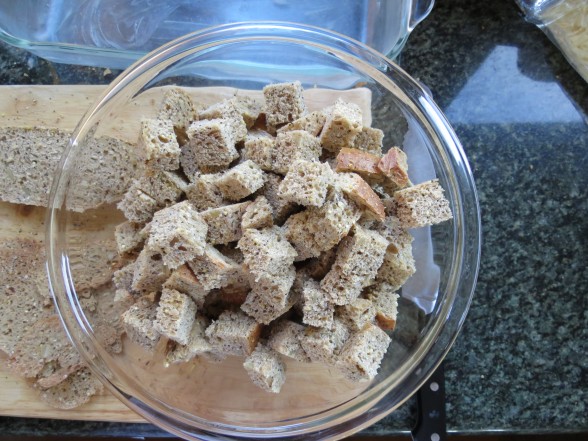
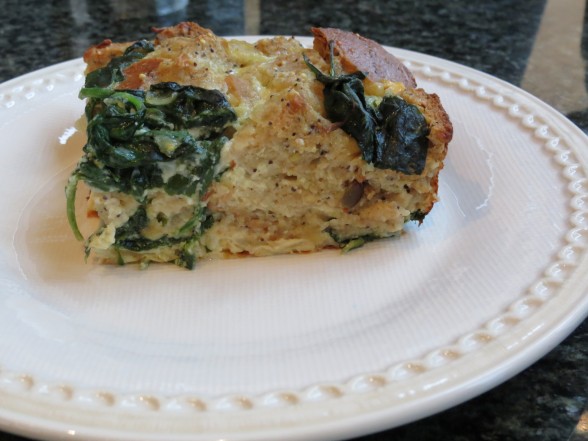
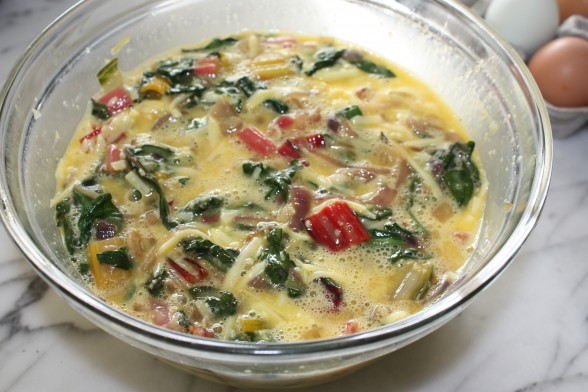
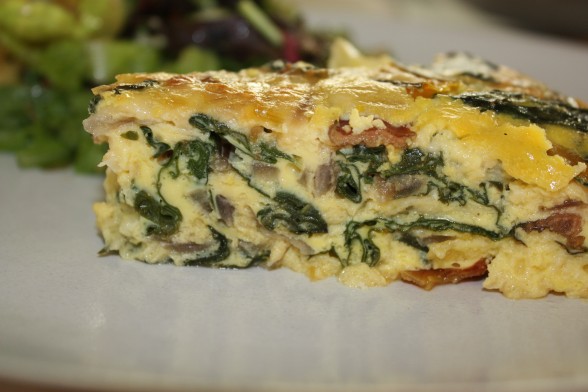
A strata is technically a layered casserole, which mine is not since I just mix everything together in a bowl and pour it into a casserole dish.  This recipe is more of a savory bread pudding to which I add lots of spinach and in the summertime, ripe tomatoes.  In my quest for efficiency in the kitchen, I love stratas for using up stale bread and leftover vegetables from last night’s dinner.  In these photos I used a multi-seeded bread, which is not the norm for me, but we loved it.  Usually I buy a whole spelt bread from Le Pain Quotidien or a rustic whole grain bread from Whole Foods.  As for vegetables, you can add anything you would put in a frittata.  No spinach?  No problem!  Take those roasted or sauteed vegetables from last night and add them here.   I’ve used broccoli, cauliflower, every leafy green there is, mushrooms, zucchini and cherry tomatoes.  A couple of pieces of cooked turkey bacon or sausage links sitting in the fridge?  They’re welcome in this strata.

I’ve made a gluten-free strata with gluten-free bread and I’ve also made it dairy-free with hemp milk and a cashew-based cheese.  Sadly, I haven’t figured out a substitute for the eggs for those with egg allergies.  Don’t be afraid to freeze this, either.  Provided you freeze the strata well-wrapped, it will taste exactly the same.  We had about 50 people over for brunch the morning after my daughter’s bat mitzvah, and I had made and frozen several stratas 2 weeks earlier.  It was such a gift to myself to just pop them in the oven the morning of and not to have to cook, especially since I couldn’t walk from dancing all night.  So whether you’ve been “partying” at the shopping mall for the last few weeks or you’re just cooked out, give yourself and your loved ones this one last gift.

Merry Christmas to all of you celebrating!

Spinach and Feta Strata
Author: 
Serves: 8 or you can make 16 mini-stratas in a muffin tin or ramekins
 
Ingredients
  • 2 Tablespoons unrefined, cold pressed, extra virgin olive oil
  • 1 large onion, diced
  • 10 ounces fresh spinach leaves
  • 8 large eggs
  • 2 ½ cups whole milk or plain, unsweetened hemp milk
  • 1 ¼ teaspoons sea salt
  • ½ teaspoon ground pepper
  • 6 ounces feta cheese, crumbled
  • 1 cup shredded mozzarella
  • 2 large tomatoes (when in season), seeded (if desired) and diced
  • 8 cups of whole wheat, spelt or sourdough bread, cut into 1-inch cubes (I used Whole Foods' "Seeduction" bread here)
  • Butter or olive oil for greasing baking dish
Instructions
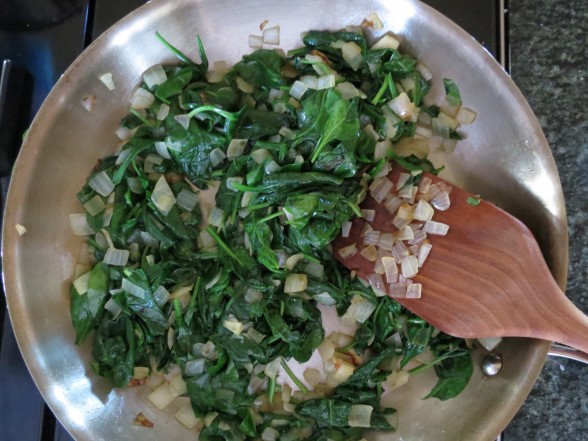
  1. Warm the olive oil in a large skillet over medium heat. Add the onion and sauté until tender, about 4-5 minutes. Add the spinach and cook until wilted, a few more minutes.
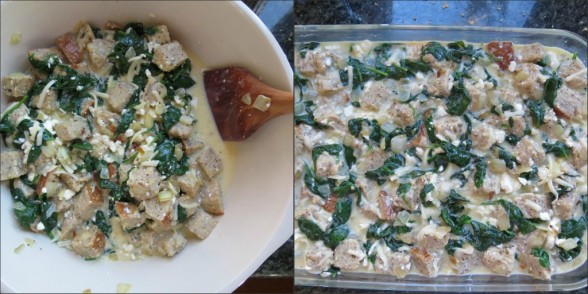
  2. In a large bowl, beat the eggs with the milk, sea salt and pepper. Stir in the cheeses, tomato (if using), bread and spinach-onion mixture.
  3. Lightly grease a 13 x 9 –inch baking dish and pour the strata mixture into the dish. Cover and refrigerate overnight.
  4. Preheat oven to 375 degrees. Uncover baking dish and bake for 45-55 minutes or until egg mixture is set and top is golden brown.
Notes
Can be frozen if wrapped tightly. Thaw in the refrigerator before baking. I’ve done it and you can’t tell at all that it’s been frozen.

MINI-STRATAS: grease 16 individual ramekins or muffin tins. First layer bread, then vegetables and cheese. Last, pour beaten eggs mixed with milk, salt and pepper on top. Bake for 25-30 minutes.


Zucchini-potato latkes

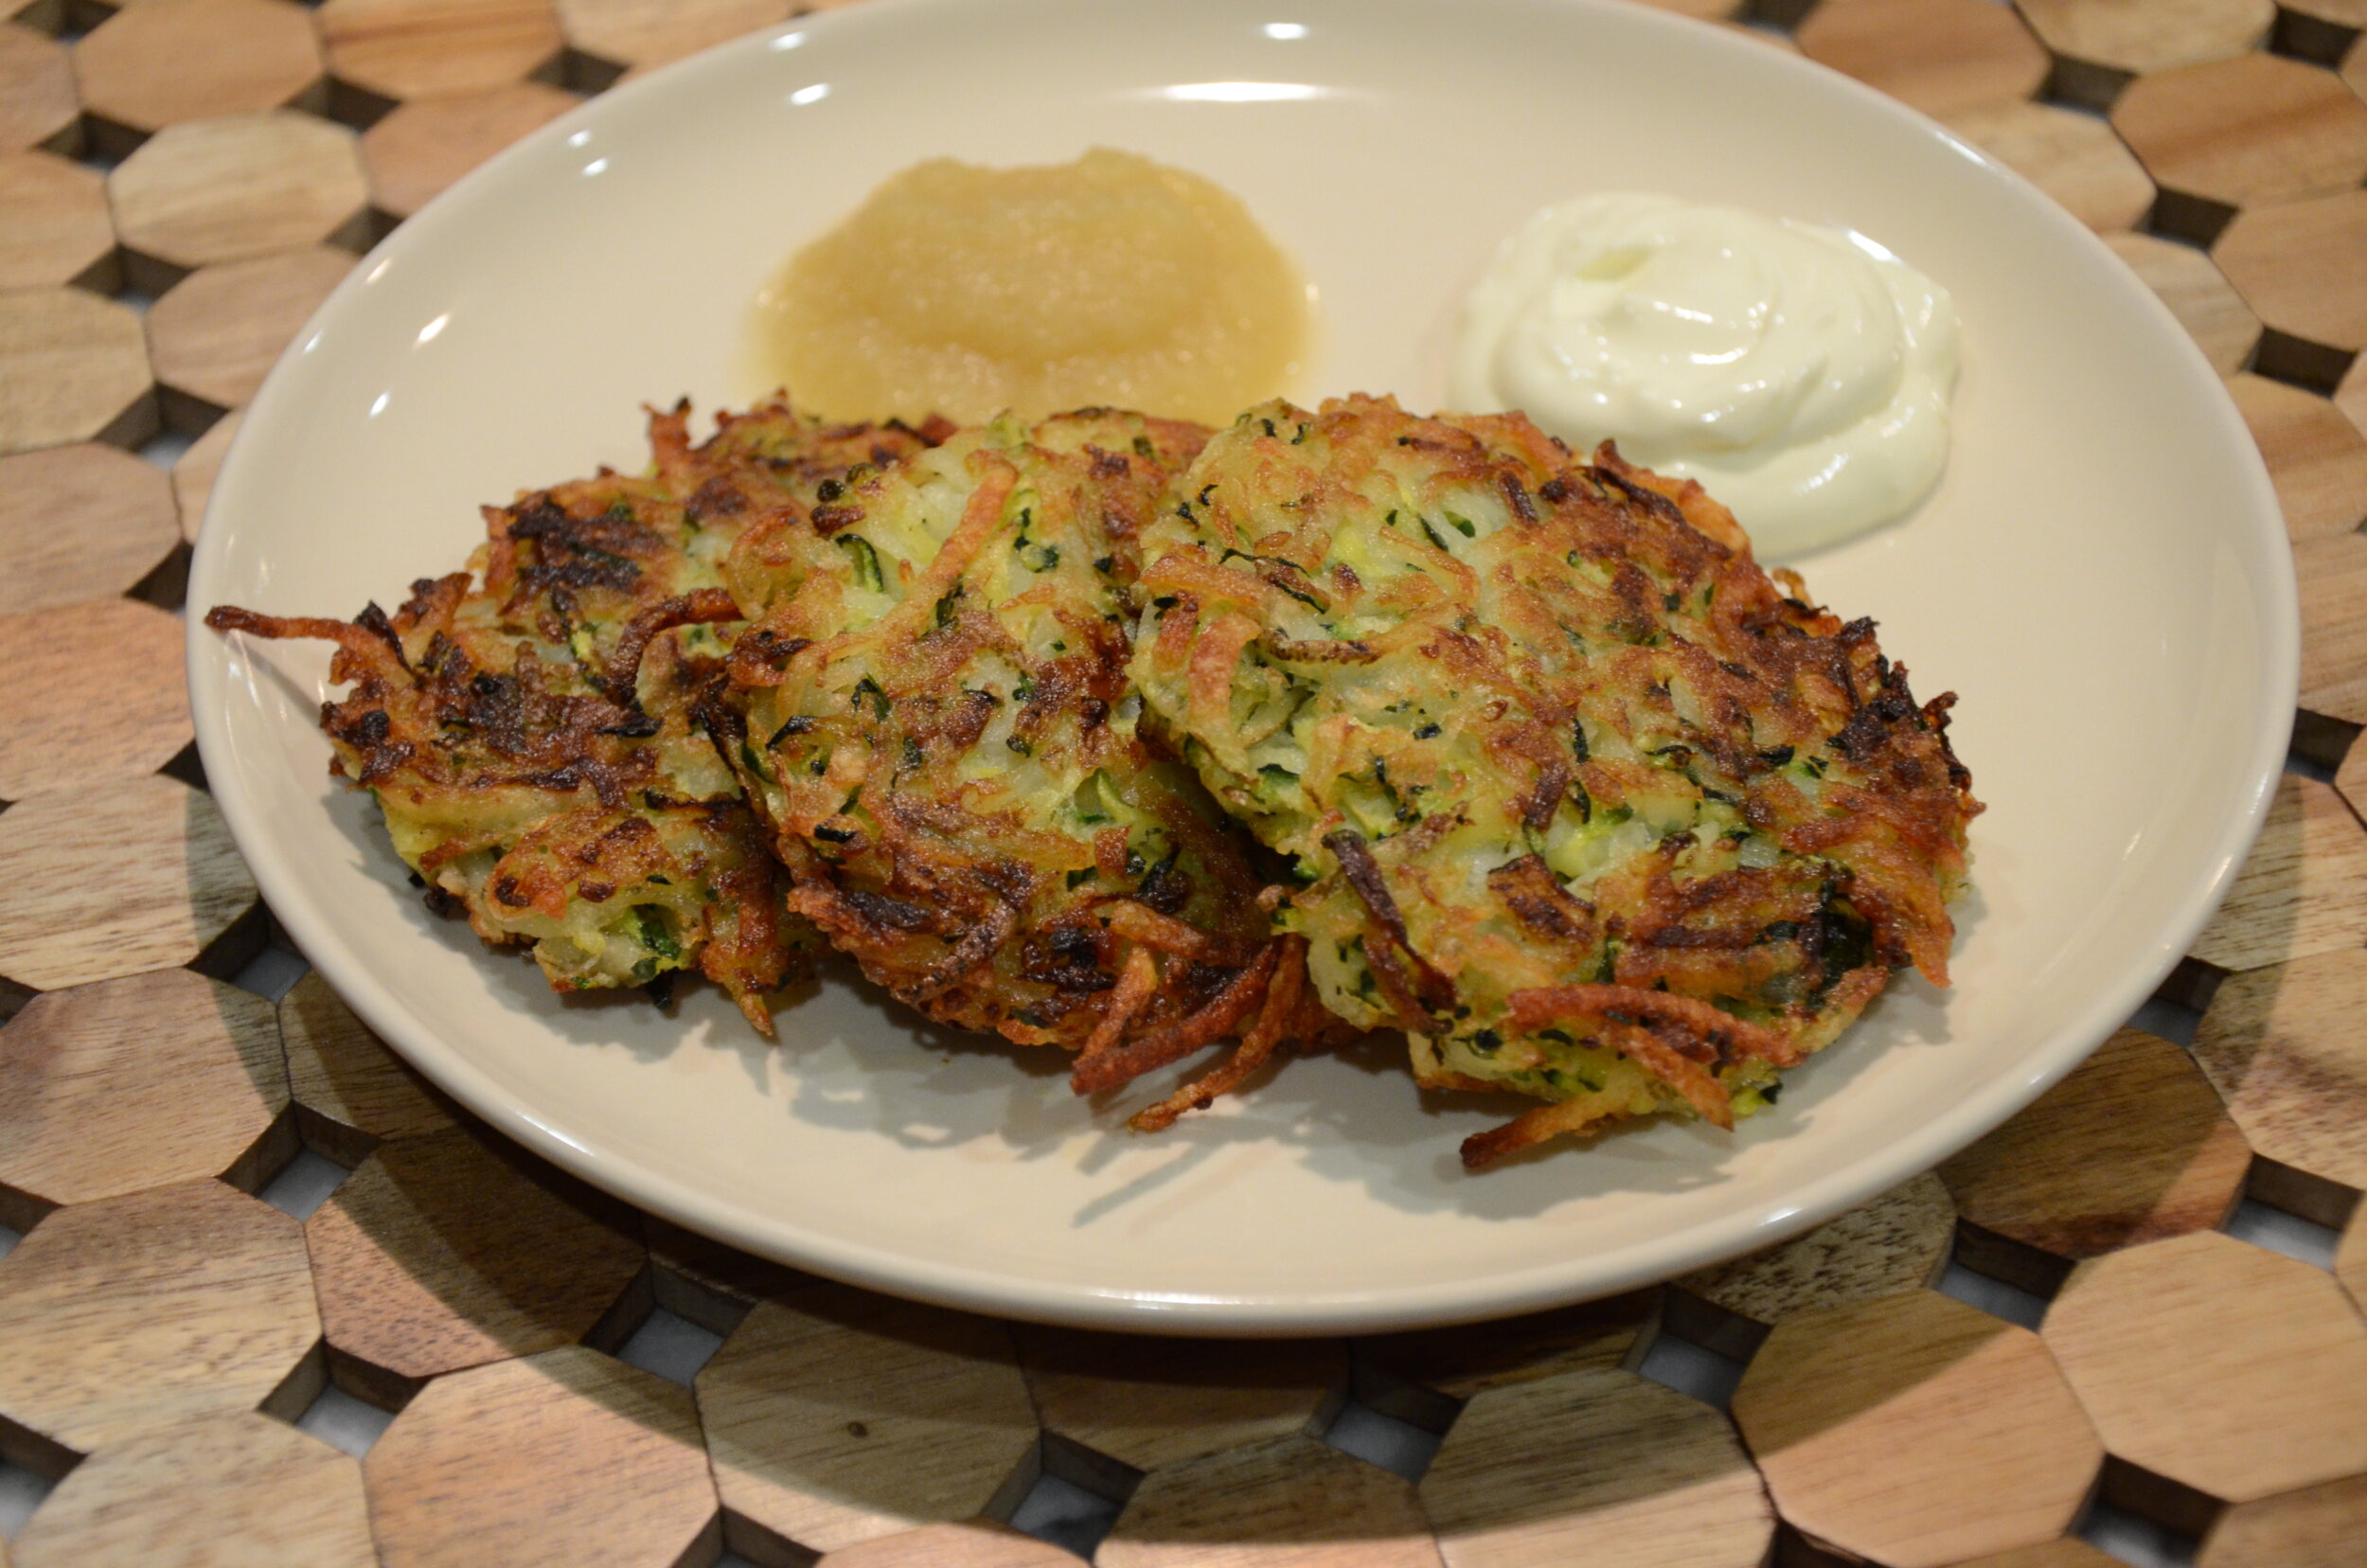
So what does a nice Italian girl from New York make for her nice Jewish husband for Hanukkah?  Zucchini-potato latkes, of course!  Believe me, you don’t have to celebrate Hanukkah to enjoy these little patties.  Grated potatoes mixed with a little onion and lots of fresh zucchini all fried to crispiness.  Mr. Picky has declared that this is the only way he’ll eat zucchini.  So be it.  But uh oh.  That fried bit does make latkes an “occasional” food, which is why we only indulge in them a mere once or twice a year.  Even though frying is a rather unhealthful way to cook, I’ll do it since the latkes are so much more tasty that way.

What’s funny about my education in latke-making is that I learned what I know from an unlikely source — my Puerto Rican mother-in-law, who also did not grow up Jewish.  Darn that woman can make the best latkes in the world!  Although she wouldn’t dare put in any zucchini or sweet potatoes in hers, I have accumulated some great tips from her that I will share here:

  • Russet or Idaho baking potatoes have the highest starch content and the lowest moisture content, which is good for making crispy latkes. But Yukon Gold (medium starch) work great, too.
  • Wear disposable gloves so your hands don’t smell like potatoes and onions for a day.
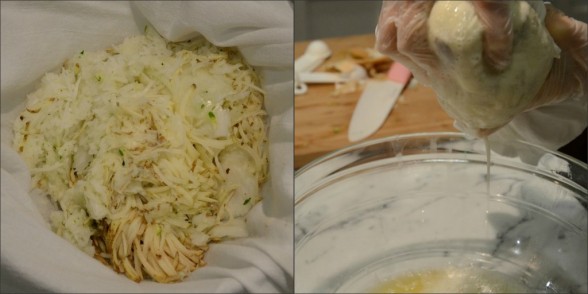
  • Squeeze out excess water from the potatoes — again helps to keep them crispy and keep them from falling apart.
  • Use the shredding disc on the food processor to make this job a breeze.  I also shred my onions (and zucchini), but my mother-in-law chops the onions and pulses them with the metal blade to avoid getting any big pieces.
  • Don’t make them too big.  The interiors won’t get fully cooked and they may not hold their shape well.
  • Fry them in an inch of oil — this helps to get all sides crispy so they don’t fall apart.  (I can’t bring myself to cook in that much oil and that’s one reason my mother-in-law’s latkes are better than mine.)
Whatever you celebrate, here’s hoping your holidays are happy!

5.0 from 2 reviews
Zucchini-Potato Latkes
Author: 
Serves: makes 30 2 ½ -inch latkes or 20 3-inch latkes
 
Ingredients
  • 2 pounds medium zucchini, about 6, ends trimmed
  • 1 ½ pounds Russet potatoes, about 2, peeled or unpeeled, and cut to fit a food processor
  • 2 medium yellow onions, peeled and quartered
  • 3 large eggs, lightly beaten
  • 1 Tablespoon sea salt
  • A few grinds of black pepper
  • ½ - ¾ cup panko bread crumbs or matzo meal
  • Olive oil for frying (or a refined peanut oil or grapeseed oil has a higher smoke point, although not exactly healthful)
Instructions
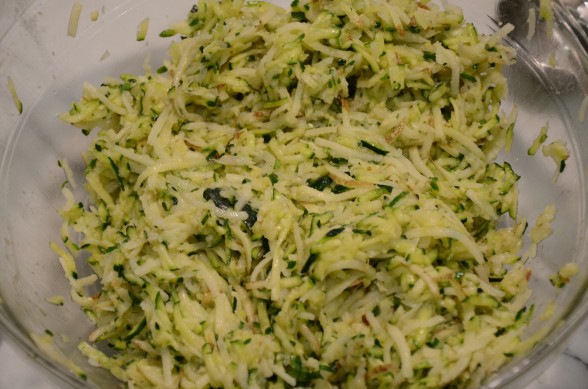
  1. Shred the zucchini in a food processor fitted with the shredding attachment and place in a colander over a large bowl (my preferred method.) Toss with 1 tablespoon kosher salt and allow to drain for 30 minutes. Call your kids to the kitchen so they can watch the next step. Place the zucchini in a kitchen towel and squeeze out as much liquid as possible. There's a ton! Do not add salt to the mixture again. Or shred the zucchini with the potatoes and onions. You will get out more moisture though if you salt them first.
  2. In the bowl of a food processor fitted with the shredding attachment, shred the potatoes and onions. Again, squeeze out as much liquid as humanly possible. Let the mixture rest for a minute and squeeze again.
  3. Place all the shredded vegetables in a large bowl. Add the eggs, salt (do not add if you salted the zucchini early), pepper and bread crumbs to the vegetables and combine well.
  4. Heat the oil (I use olive) in 2 large skillets until hot, but not smoking. An inch of oil will give you the best results.
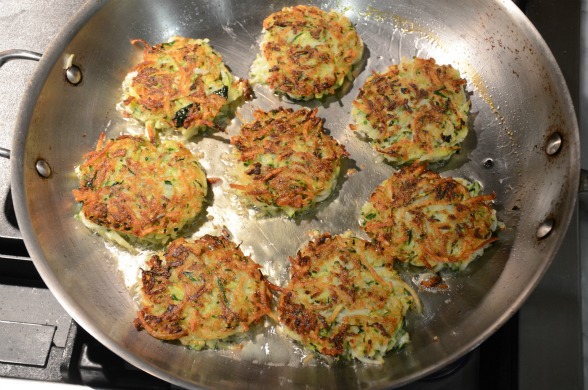
  5. Using about 2-3 tablespoons of the zucchini-potato mixture, form the latkes into 2 ½-inch pancakes. Flatten slightly and carefully place into the pan. When the edges are brown and crisp, turn them over and continue cooking until deep golden. I usually flatten them slightly in the pan when I flip.
  6. Lay paper towels on a cooling rack or brown paper bag. Transfer the latkes from the pan to the rack. Sprinkle with sea salt if desired. Serve immediately with applesauce or sour cream (if you must).
Notes
TO BAKE LATKES:

Preheat oven to 425 degrees. Brush a baking sheet with oil. Place formed (raw) latkes on baking sheet and brush tops with oil. Bake 10-15 minutes, or until undersides are golden. Flip latkes and bake another 10-15 minutes until golden on both sides. They won’t be as crispy as the traditional, but a good alternative if you don’t like to fry.

TO FREEZE AND REHEAT LATKES:

Cook, cool and freeze immediately. Reheat at 425 degrees for 10 minutes or until heated through.


Pumpkin pie


There are very few recipes that debuted on my first Thanksgiving menu 16 years ago that are still going strong today.  Roast turkey, cranberry sauce and mashed potatoes are staples year after year, as is a traditional pumpkin pie.  Despite all my rantings about how destructive sugar is to your health,  I honestly can’t imagine Thanksgiving without pumpkin pie.  I wouldn’t even care if no one liked it, I would still make two of them.  I remember the first pumpkin pie I ever made when I was in high school.  I followed the recipe on the can of Libby’s pumpkin puree and poured it into a store-bought pie crust.  Heaven.


Since then I have adjusted the recipe to be much more wholesome, and dare I say, much more delicious.  I traded in store-bought piecrust for homemade, canned pumpkin (bye-bye BPA) for freshly roasted (hello yummy rich pumpkin flavor), refined sugar for maple syrup (and much less of it), and canned evaporated milk for heavy cream.  Sure, heavy cream is rich in saturated fat, but I would rather eat a couple of spoonfuls of a high quality organic cream than canned milk.  Would you ever drink canned milk or feed it to your kids?  I didn’t think so.  I use organic raw cream when I can get it, or I buy a nonhomogenized, but pasteurized organic cream from Straus Family Creamery.  I have made a dairy-free version of this pie using coconut milk and it’s just as delicious (it does not taste like coconut, either.)  Of course there’s still lots of butter in the crust.  Last year, I made one pie with a white flour-based crust and another with a whole wheat pastry flour-based crust.  Only my sister-in-law and I liked the whole wheat one.  As my mother-in-law says, “You two like anything that you know is good for you.”  Partially true.  This year I will go back to all white flour pie crusts and the wholesomeness comes to an end right there.

Speaking of which, I am quite conscientious about consuming very little sugar during the year, but come Thanksgiving I feel like I have earned a piece of pie (or two) and I don’t feel bad about enjoying it.  The problem comes the next day when I’m looking for that sugar fix again at 4:00 in the afternoon.  And the next day.  And the day after that.  Guess what?  I’m not alone.  Thanksgiving starts not only the beginning of the holiday season, but a time when lots of people pack on a few extra pounds from overindulging too often.  I love celebrating just as much as the next person, but I definitely don’t love trying to lose weight (it’s not as easy as it used to be!)  I look forward to Thanksgiving dinner and dessert, especially after I’ve worked so hard to make it special and delicious, but this year I’m going to be a little more mindful the next day.  At least until Christmas.


Pumpkin Pie
Author: 
Serves: makes one 9-inch pie
 
Ingredients
  • Pie Crust:
  • 1 ¼ cups unbleached all-purpose white flour or spelt flour
  • ½ teaspoon fine sea salt
  • ½ cup (1stick) cold unsalted butter, cut into 8 pieces
  • 2-4 Tablespoons ice water
  • Filling:
  • ½ teaspoon fine sea salt
  • 1 teaspoon ground cinnamon
  • ½ teaspoon ground ginger
  • ¼ teaspoon ground cloves
  • pinch of ground nutmeg
  • 1 cup heavy cream or coconut milk (not light)
  • 1¾ cups fresh or canned pumpkin puree (1 15-ounce can)
  • 3 large eggs
  • 6 Tablespoons pure maple syrup or brown sugar
Instructions
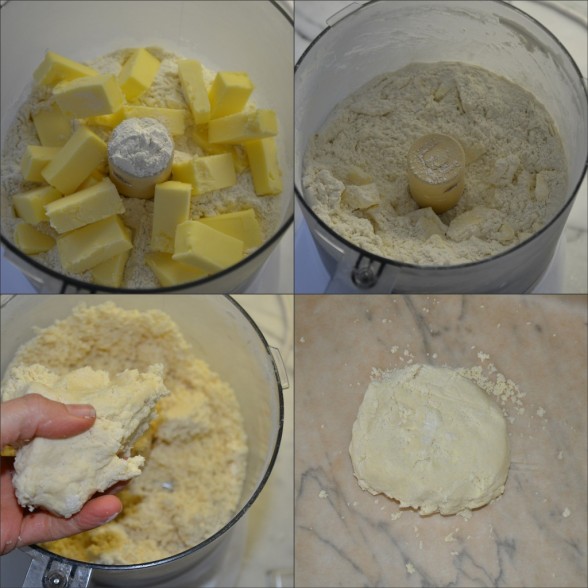
  1. Make the crust: Place the flour and salt in the bowl of a food processor fitted with the metal blade. Add the butter and pulse 10 times.
  2. Turn the food processor on and slowly pour in 2 Tablespoons ice water. Stop the machine and carefully (watch the blade!) grab a small handful of dough and squeeze it in your hand. If it holds together well, you’re done. If it’s crumbly, add another tablespoon of ice water and blend. The goal is that when you squeeze the mixture in your hand that it forms a moist, but not sticky ball of dough. Transfer the dough to a piece of parchment paper or plastic wrap and shape into a disc. Wrap well and refrigerate for at least 30 minutes.
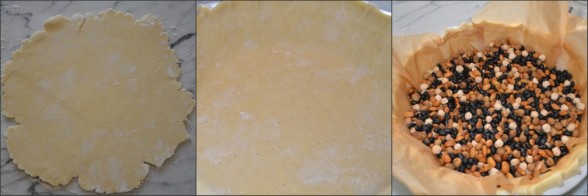
  3. Preheat the oven to 375 degrees. On a lightly floured work surface, flour a rolling pin and roll dough into a 12-inch round. While you’re rolling out the pastry, you should always be able to move it easily around the work surface without sticking. Add additional dustings of flour as needed. Fit the circle into a 9-inch pie plate and crimp edges. Refrigerate if it feels too soft.
  4. Prick the bottom of the crust all over with a fork. Line the crust with a piece of parchment (like the one the dough was wrapped in), and fill it with pie weights or dried beans (the ones in the photo I've had since college!). Bake until lightly golden around the edges, about 20 minutes. Remove parchment and weights. Return crust to the oven and bake for another 5 minutes until light golden all over. Cool completely on a wire rack (this can take up to an hour so you may want to turn the oven off.)
  5. Preheat the oven again to 375 degrees. In a small bowl, whisk together the salt and spices (if you are using brown sugar instead of syrup, add the sugar now.)
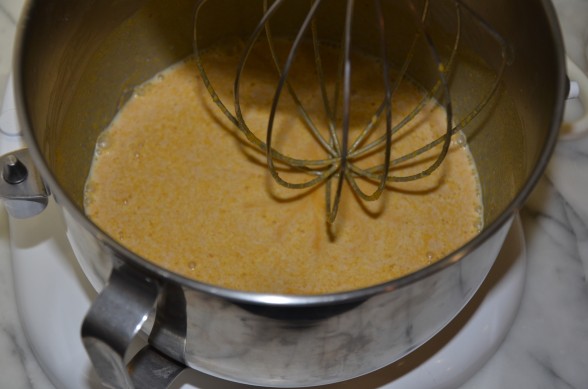
  6. In a large bowl or with a mixer, whisk together cream, pumpkin puree, eggs and maple syrup. Add spice mixture and combine thoroughly.
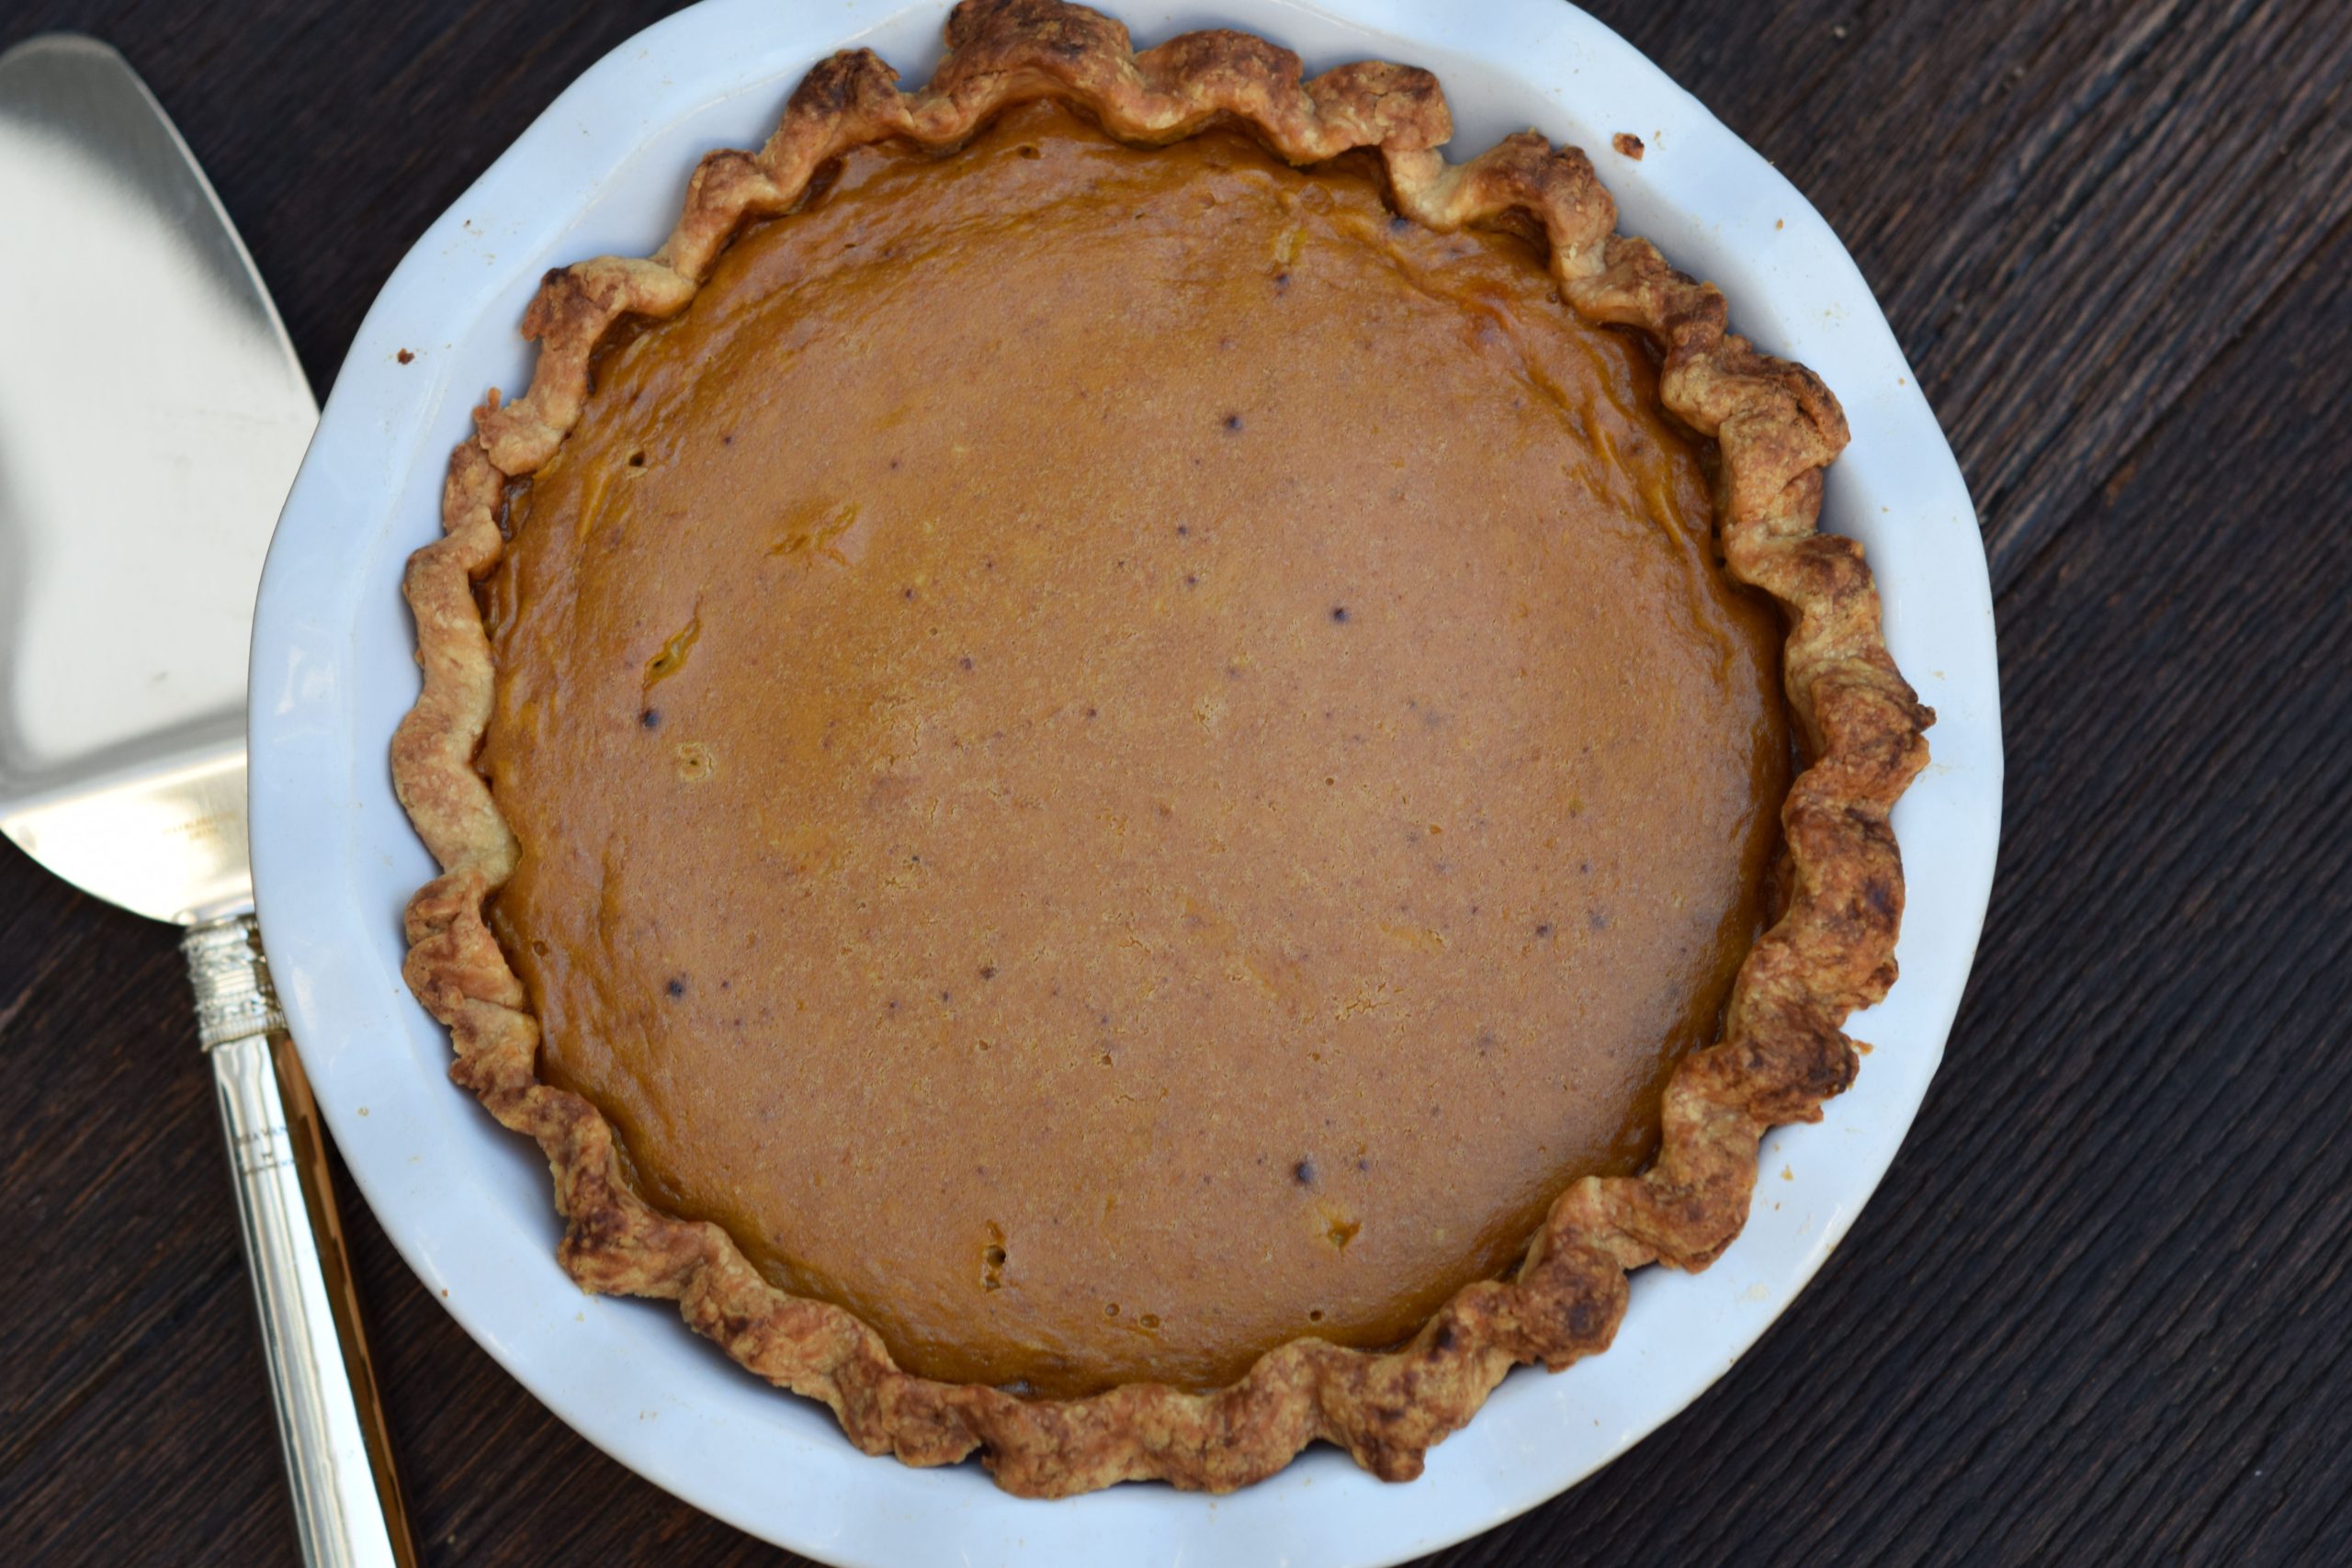
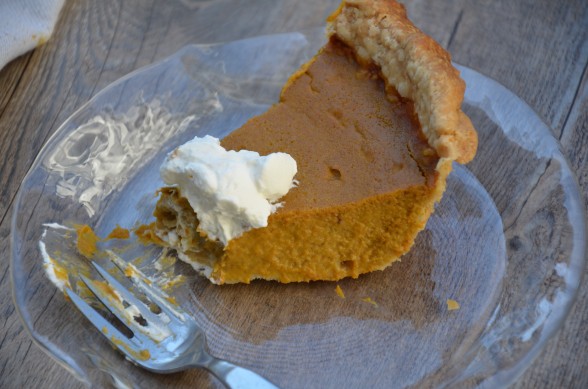
  7. Pour mixture into the cooled crust and bake until filling is set (it will jiggle like gelatin, but it will be a little soft in the center), about 50-60 minutes. The filling will firm up as it cools. This can be made the day before. I like to keep it refrigerated.

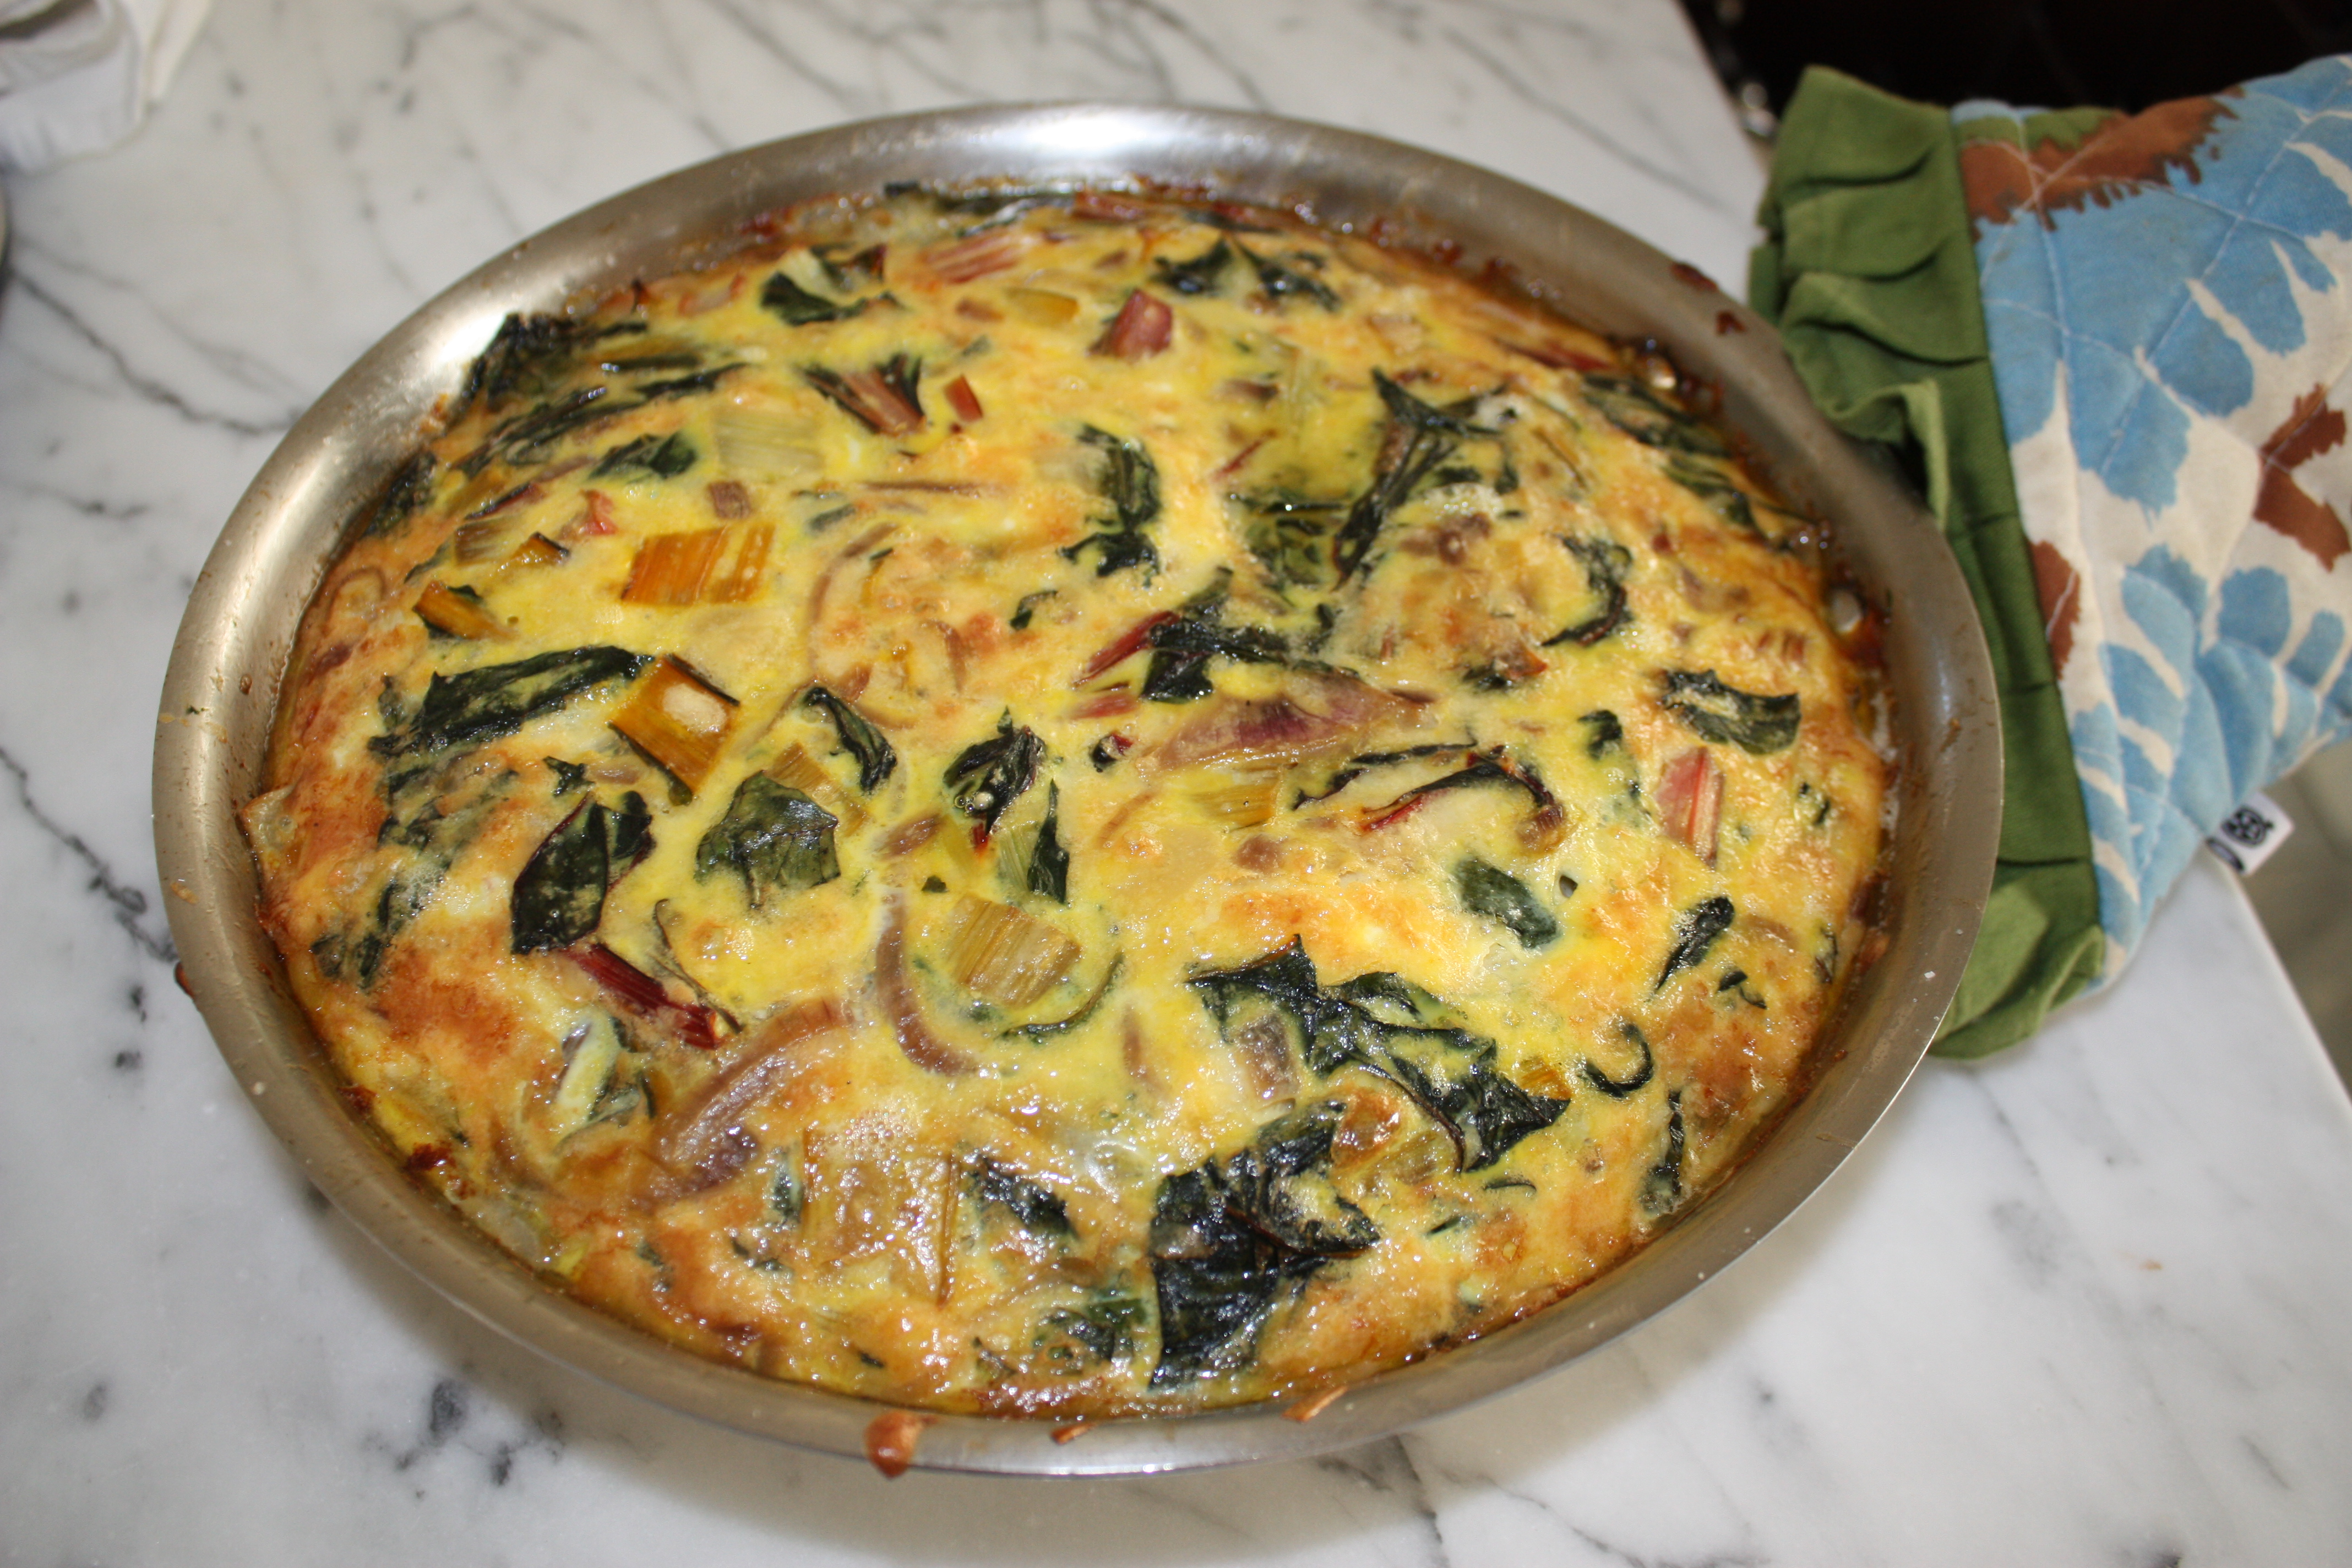
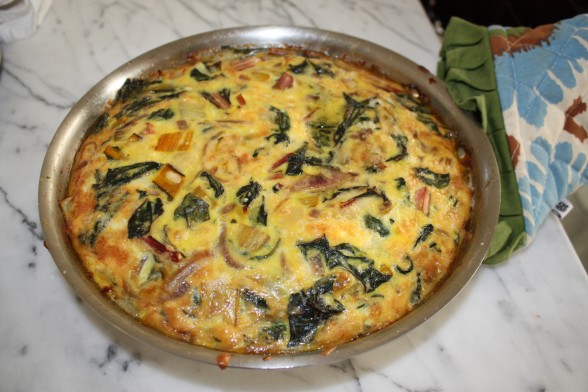
Swiss chard frittata recipe

Swiss Chard Frittata Recipe

The conversation went like this:  Daughter #1, “I don’t like eggs.”

Me, “Did you change your name to Sam-I-Am?  You do like eggs.”

Daughter #1, “You’re not funny.  No, I don’t.”  Me, “You like frittatas, so you like eggs.”

Daughter #1, “That’s different.”

Really?  Frittatas are basically baked omelets, usually with some vegetables and/or cheese mixed with the eggs.  Unlike many recipes where you can substitute an ingredient and still have the same basic dish, you can’t substitute anything for the eggs in a frittata because it wouldn’t be a frittata.  However, I really wasn’t going to argue with a 14 year-old about why frittatas are different from just eggs, because all I care about is that fact that she really does like them.

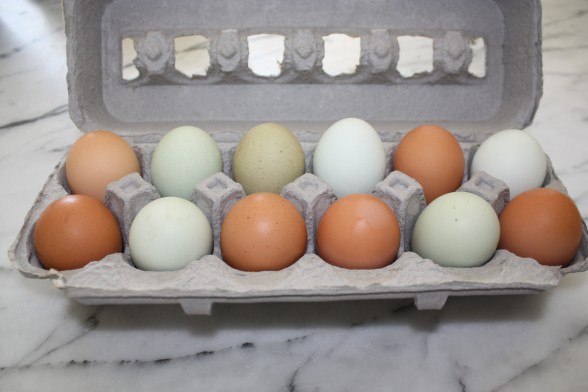
Eggs have been so misunderstood.  For a while there, people stopped eating eggs because it was thought the cholesterol in the yolks would cause high blood cholesterol.  Well guess what?  There’s now a strong consensus among the medical community that food containing dietary cholesterol does not have a significant impact on the blood cholesterol level of most healthy individuals.  The evidence points to saturated fat as the leading culprit, not dietary cholesterol, and eggs happen to be two-thirds unsaturated fat.  Furthermore, the yolks are rich in several important nutrients including choline (a B vitamin and key component of healthy brain cells, nerves and cell membranes), lutein (a phytonutrient which supports eye health) and iodine (important for healthy thyroid function).  Eggs are also a good source of inexpensive protein.  If you have been advised by your physician to cut back on egg yolks, get a new physician you can substitute two egg whites for every whole egg and do this for a few of the eggs.  Try to buy organic, free-range eggs whenever possible.

Frittatas are my friend.  They are versatile as a breakfast, lunch or dinner, especially during Lent.  I have even made mini-frittatas in greased muffin tins or as an hors d’oeuvre cut into bite-size pieces.  They can be served hot, room temperature, or cold.  I like them with a side salad or with a ladleful of warm tomato sauce.  The girls have taken them to school tucked inside a pita.  This frittata is one of my favorites.  It is packed with lovely Swiss chard, which is everywhere right now.  It is very typical of how I like to eat something rich like eggs, by balancing it with loads of vegetables.  I love the flavor from the raw Gruyere, but feel free to skip it if you’re dairy-free.  However, it’s only about an ounce of cheese per serving.  If I ever have any leftover turkey bacon from breakfast, I will dice that up and add it in.

Mr. Picky claims he likes neither eggs nor frittatas and I believe him, although I was THIS close to getting him to try the frittata in a warm corn tortilla, one of his favorite foods.  I’ll offer ketchup next time.  As for me, I can eat them in a house.  I can eat them with a mouse.  I can eat them here or there.  I can eat them anywhere.

5.0 from 3 reviews
Swiss Chard Frittata
Author: 
Serves: 4-6
 
Ingredients
  • 1 bunch Swiss chard
  • 2 Tablespoons cold-pressed extra-virgin olive oil or clarified butter
  • 1 medium onion, sliced thinly
  • 4 garlic cloves, chopped
  • 8 large free-range eggs
  • ⅓ pound grated gruyere, optional
  • Handful of grated Parmesan cheese
  • ¼ cup milk or water
  • Sea salt
  • Freshly ground pepper
Instructions
  1. Preheat the oven to 350 degrees.
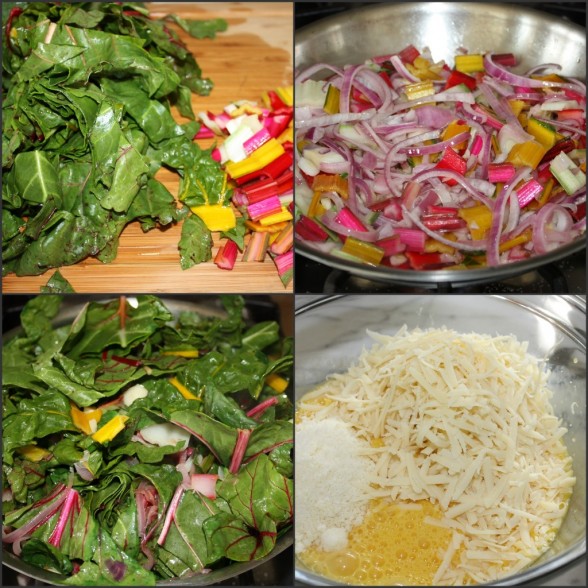
  2. Wash the Swiss chard but do not dry all the way and chop the stems off the leaves. Coarsely chop the stems and keep separate from the leaves. Coarsely chop the leaves.
  3. Heat olive oil or clarified butter in a 10-inch oven-proof pan. Cook the onions and chard stems over medium heat for about 5 minutes. Add garlic and cook for 1 minute. Add the chard leaves and season lightly with a pinch of sea salt and pepper and sauté until wilted.
  4. Whisk eggs together and add cheeses and milk. Stir in the chard mixture and blend well.
  5. Add extra oil or butter to the pan if it seems dry. Put the egg-chard mixture back in the pan and place in the oven for about 50 minutes until puffed and golden. (If you're making minis, spoon the mixture into greased muffin tins and bake for about 25-30 minutes or until puffed and golden.)
Notes
Variations: substitute lightly steamed broccoli or sautéed spinach for the chard;

Use sautéed onions and peppers with parboiled diced potatoes for a Spanish classic;

Can add 3 ounces of diced cooked turkey bacon and/or 1 c. ricotta cheese;

Can be served with a ladleful of warm tomato sauce.


Vegetable fried rice recipe

When parents struggle with “what to make for dinner,” one tip I like to offer is to find a dish that everyone likes to eat when you go out, and try to make it at home.  Fried rice, however, is a food that I thought I could never make at home.  I don’t know why it seemed to be out of my cooking league and only something the family could enjoy on the three annual birthday trips to Benihana.  But the last time we were there for Mr. Picky’s birthday, I watched in amazement at what it took for our chef to make fried rice — not a lot!  I could make this at home!  I took mental notes of what was used on the griddle — cold rice, beaten eggs, a few vegetables, soy sauce and a curious creamy spread our chef told me was “garlic butter.”  Hmmm…..

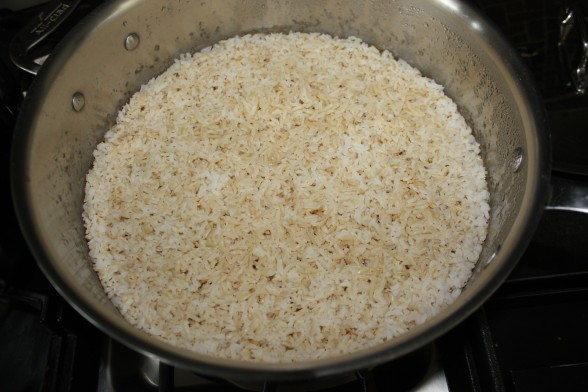
Before I gave this a go at home, I needed to check around a bit to see if there was anything else I needed to know.  It seems that fried rice is actually pretty straightforward provided you do one very important thing — use cold, cooked rice.  Warnings abounded wherever I turned — one can never, ever, possibly even consider making fried rice with fresh rice otherwise you will have a mushy, disastrous mess.  One thing you need to know about me is that I am a naysayer.  Oh, really?  Well I need to see it to believe it.  And I that’s how I learned….never to use fresh rice when making fried rice because I’m here to tell you that you will indeed have a mushy, disastrous mess.

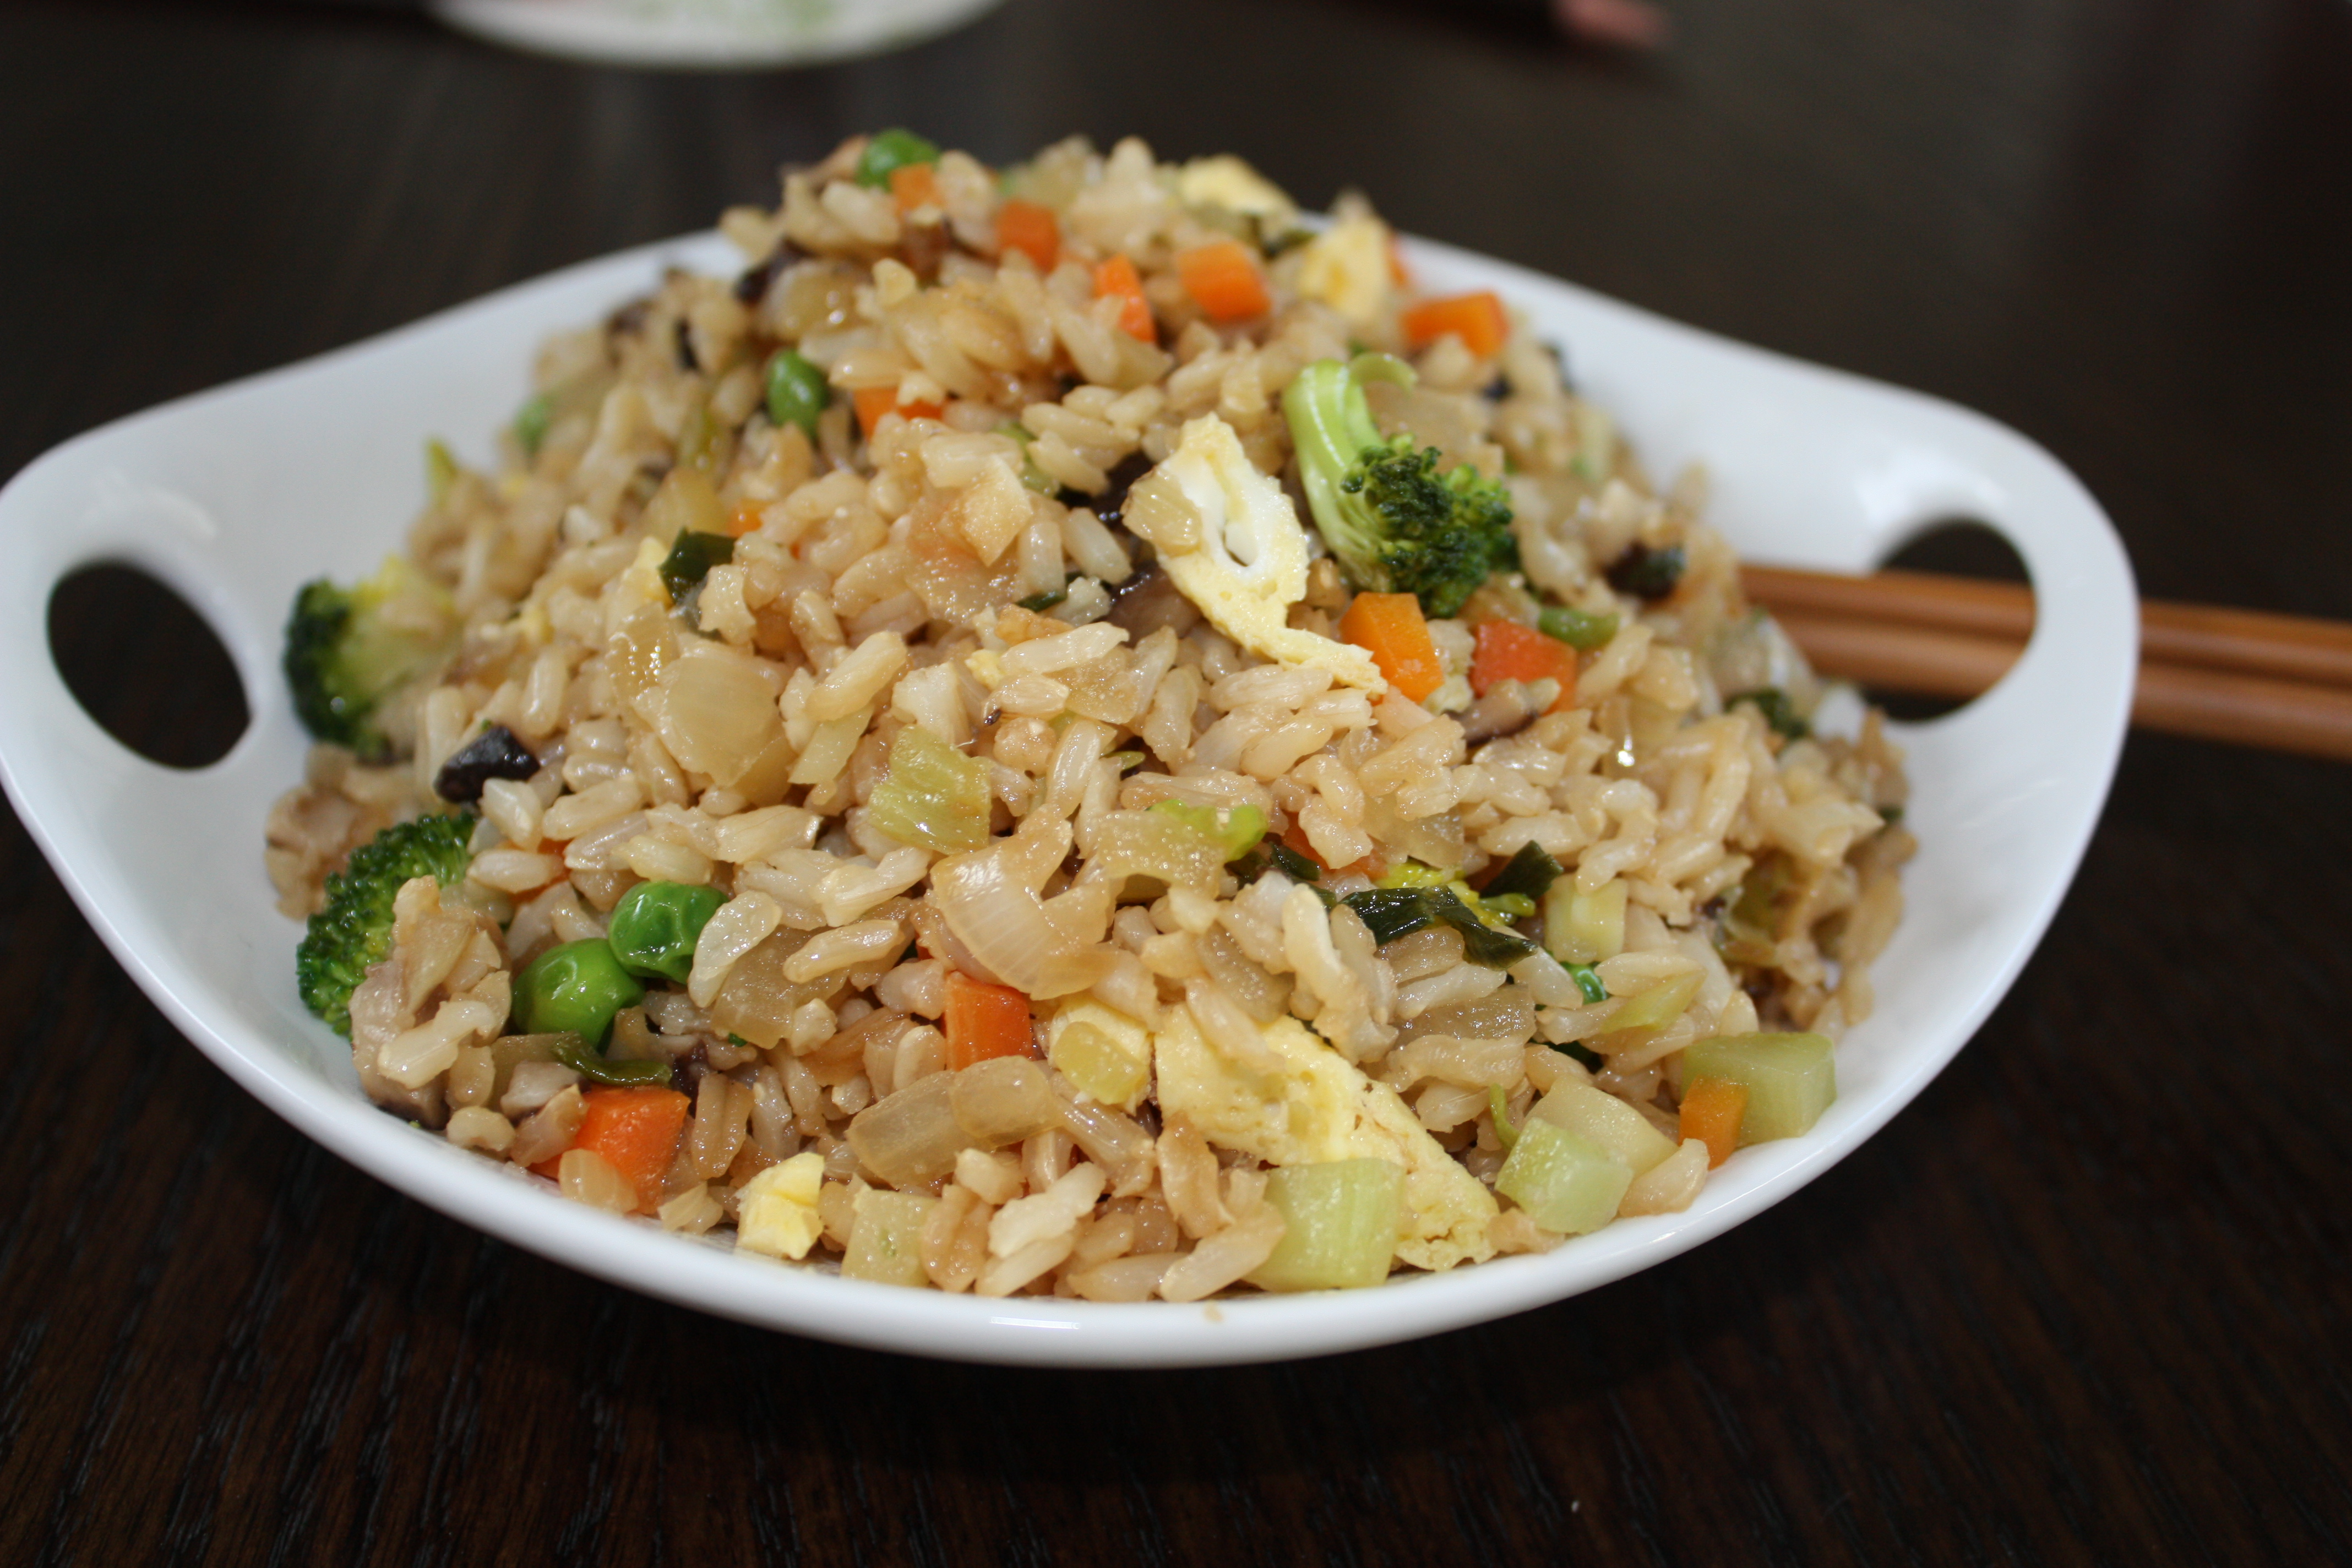
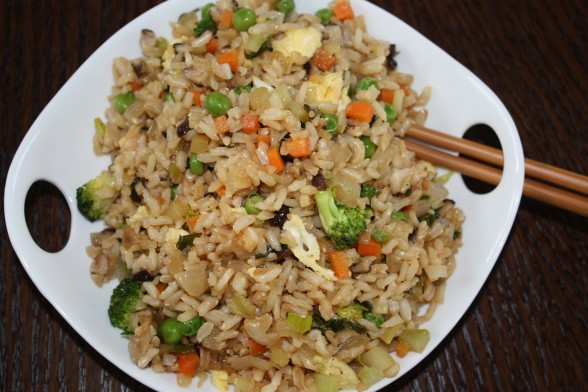
Fried rice is something that was invented in order to use up leftover rice and whatever bits of vegetables and meat you have from the night before.  It is eaten as a snack in China, never as a meal.  Don’t tell my kids, because they’re getting it as an entree.  When you add scrambled eggs, peas, shiitake mushrooms and broccoli to long-grain brown rice, you have yourself plenty of protein.  I often pack this the next day in a stainless thermos for the kids’ lunch and I have enjoyed it for breakfast as well.  It is actually the perfect little meal with protein, good carbs, and some fat for stable blood sugar and long-lasting energy.

Stir-frying anything requires all your chopping to be done in advance since things move so quickly.  You can get this out of the way as early as the night before, if you want.  If you have leftover rice and all your vegetables are prepped ahead, fried rice can be cooked in minutes.  Traditionally in China, the eggs are added with the rice so that the egg coats each grain of rice.  I do it a little differently since Mr. Picky doesn’t enjoy eggs yet.  I cook the beaten eggs in ghee (a clarified butter great for higher heat cooking) first and then remove them, chop them up and add them in at the end.  That way Mr. Picky can pick out all the egg easily.

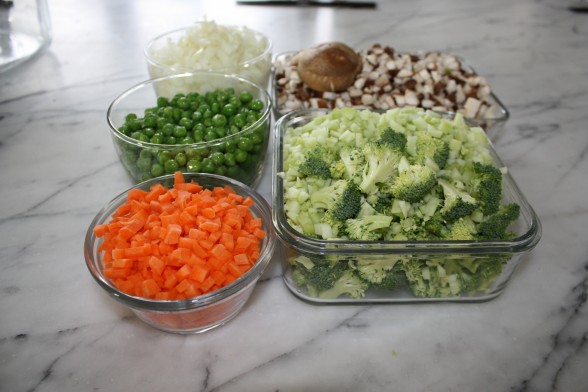
You can really add whatever vegetables you have on hand and you certainly don’t need to use as many as I do. (The vegetables above were used in fried rice I made for a class where the recipe was doubled.)  The key is to dice everything pretty small, about the size of peas, although the broccoli can be slightly larger.  That way you can stir-fry them in the wok or pan and you don’t need to blanche them in a separate saucepan.  I like washing dishes as much as Mr. Picky likes eggs.  If your picky eater won’t go for brown rice, he’ll never know it here.  The shoyu is going to change the color of the rice to brown anyway.  To make this gluten-free, substitute wheat-free tamari and you’re all set.  Vegans can drop the egg, use all sesame oil and still enjoy a high-protein dish.  Don’t forget — Chinese New Year begins on February 3rd!

5.0 from 1 reviews
Vegetable Fried Rice
Author: 
Serves: 6 as a side dish, 4 as a main
 
Ingredients
  • 2 Tablespoons ghee, divided
  • 2 large eggs, beaten
  • 1 Tablespoon toasted sesame oil, plus more for drizzling if desired
  • 1 teaspoon grated or minced peeled, fresh ginger
  • 2 garlic cloves, minced
  • 4 scallions, sliced thinly on the diagonal
  • Vegetables:
  • 1 carrot, diced
  • 1 onion, diced
  • ½ cup frozen peas, defrosted
  • Handful of shiitake mushrooms, stems removed; caps wiped clean and diced
  • 1 head broccoli, cut into very small florets and stems diced, about 2 cups
  • 4 cups COLD, COOKED brown rice, preferably long-grain
  • 2 Tablespoons shoyu or more to taste (I tend to go more)
  • Toasted sesame seeds for garnish (optional)
Instructions
  1. Heat a wok or large sauté pan over medium-high heat. Add 1 Tablespoon ghee. Scramble the eggs in the pan until cooked through. Transfer the eggs to a cutting board and set aside.
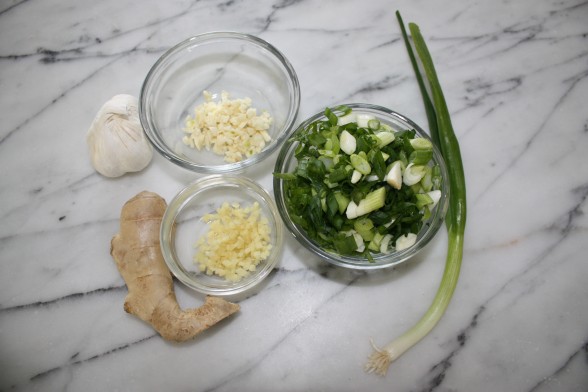
  2. Add 1 Tablespoon sesame oil and 1 Tablespoon ghee to the wok. Saute the ginger, garlic and scallions until fragrant, about 1 minute.
  3. Add the vegetables and sauté until softened. Add the rice and shoyu and toss everything around in the wok until heated through. Chop up the cooked eggs and stir into the rice. Taste for seasoning and add additional shoyu or sesame oil, if desired. Sprinkle with sesame seeds for fun!
Notes
If you are using leftover cooked vegetables or meat, dice them up and add with the rice.

I shared this recipe with Healthy Child, Healthy World!