How to Make Pita Chips


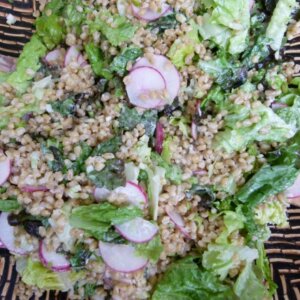
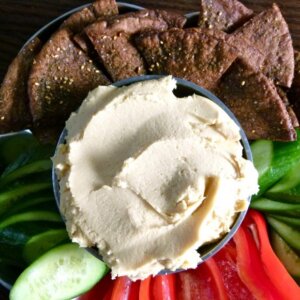
One of our favorite snacks is chips, whether it be tortilla or pita. We enjoy them alone or more often as a dipper for spreads like hummus, white bean dip, tapenade, or my favorite — “Greek Nachos”— which is pita chips and a whole mess of feta, yogurt, finely diced tomatoes, cucumber, olives, red onion, olive oil, lemon juice and oregano piled on top. That’s a good one for summer entertaining!

In general, I don’t love buying too many packaged snacks, though. They are very often processed, refined and contain ingredients I would never want to eat. This is especially true when it comes to fats and oils. I am not saying I don’t eat added fats, but more importantly I am picky about choosing higher quality ones. I have yet to find a food on a grocery shelf that uses unrefined olive or coconut oil. Further, when oil is heated over and over again at high temperatures, toxic trans fats and free radicals are created. Not good for you at all.

I certainly don’t have time to make all my own food from scratch, but some things are easier than others. Pita chips (although I’m not making my pita from scratch anymore) are just that — dead simple to make and just as (if not more) delicious than anything you can buy in a store. It really hadn’t occurred to me for many years to make pita chips at home until I actually paid attention to how much money I was spending on the packaged variety. That and I knew the ingredients couldn’t be as healthful as I would like, even the ones we were buying at the farmer’s market, which I found out later were deep fried. Ugh.

The technique I use on pita is the exact same method I use to make baked tortilla chips, both savory and sweet. Take your favorite pita bread (gluten-free folks can try this with brown rice tortillas — super delicious!) — here I used an organic whole wheat pita with no preservatives or scary additives — and split it so you have two thinner discs. I prefer a thinner chip, but you can keep the pita whole and get a thick chip, too. Brush both sides with olive oil, sprinkle with seasoning or just salt, cut into wedges and bake until crisp. Are you so excited thinking about all the fun flavors you can come up with? The possibilities are practically endless! You can add lemon zest to the olive oil, or sprinkle with sea salt and cumin. Garlic powder and paprika are great, too. You can even do a sweet version with cinnamon, sugar and butter or coconut oil. My favorite way to flavor these is with a Middle Eastern spice blend called Zahtar or Za’atar. It’s a delicious combination of dried thyme, sesame seeds and sumac, which is a dried berry (not the poisonous kind) with a tart, lemony flavor. Because Zahtar is a blend of spices and herbs, you might find some which contain ground hyssop leaves or oregano. I bought some on Amazon, but you can find it at a spice shop like Penzeys, Middle Eastern grocery stores, or from my friend Talia who brought me some from a recent trip to Israel. How sweet is she?


With Father’s Day coming up (um, hell-o? It’s tomorrow and I haven’t bought a gift yet!), as well as a whole season of entertaining in front of us, I thought it would be nice to have a pita chips recipe in your back pocket. This recipe will not come in handy however, when your husband tells you he volunteered an appetizer for Mr. Picky’s end-of-season football party. In 30 minutes. Awesome. Happy Father’s Day to all you amazing dads out there! We love and appreciate you every day of the year!

Pita Chips
Ingredients
- 4 6- inch pita pockets
- approximately 1/3 cup unrefined olive oil
- about 4 teaspoons of Zahtar
- sea salt to taste
Instructions
- Preheat oven to 350 degrees and line two baking sheets with unbleached parchment paper.
- Split the pita bread by inserting a thin knife into the side of the bread and cutting all around the circumference until you have two separate pieces. You can leave the pita bread whole and get thicker chips, but you’ll also have half the amount.
- Brush each pita round on both sides with oil. Sprinkle one side of each pita round with ½ teaspoon Zahtar. Cut into sixths.
- Arrange in one layer on prepared baking sheets and sprinkle with a couple pinches of sea salt
- Bake until crisp, about 15-20 minutes. Serve immediately or store in an airtight container for a few days.