Why Reusing is better than Recycling


I really try to be conscientious about living a sustainable life, but I’m not perfect. I ascribe to the Healthy Child, Healthy World motto that “no one can do everything, but everyone can do something.” So although I don’t do everything I know I “should” be doing to help save the world, I make better decisions now than I used to, whether it’s composting regularly, turning off lights in empty rooms or buying locally and seasonally. I guess I try to make choices that feel doable and meaningful to me.
One habit that has become old hat for us is recycling. Our local sanitation company provides us with a special bin to recycle lots of household items like newspaper, aluminum, plastic, and glass. Recycling these items may be better than tossing them in a landfill, but it still perpetuates a “throwaway mentality” and I don’t think it really forces us to focus on reducing consumption. “Why not just use another water bottle? I’ll recycle it.” In addition, it also requires a lot of resources and energy for a truck to come a pick up the recyclables, bring them to a facility, and then transformed into other usable materials. I think REUSING should be the new recycling. I bet you’re already taking reusable bags to the supermarket or farmer’s market to haul your groceries home. But do you take the same reusable bags to shop at the mall or book store? What about in the kitchen? My mom visited me recently and commented that I reuse many things that she recycles or throws away. I thought I would share some of these ideas here:
- Plastic produce bags — is there anything unusable about a plastic bag from the produce section from your supermarket? I bring them back to the grocery store and the farmer’s market and use them over and over again. If there was something wet in a bag, like lettuce, I just turn the bag inside out or let it dry over my kitchen faucet. I keep the dry bags knotted up in a basket in my garage so I can grab them on my way out. Depending on the cashier, sometimes my local grocery store will give me 10 cents credit for produce bags, too.

- Glass jars — Take your empty jar of coconut oil, nut butter, jelly, capers, honey (I could go on and on), wash it out and soak the label off. If the label is particularly stubborn, a little Goo Gone can help. I reuse glass jars for sooooooo many things. Here’s a small taste:
- Storing bulk items like seeds, nuts, dried fruit, and shredded coconut;
- Shaking and storing salad dressings. Also great for transporting dressings to a picnic or a pot luck;
- Storing fresh herbs;
- Giving friends leftovers, like soup;
- Giving a homemade food gift, like granola;
- Using as a rustic vase. My friend Jenni’s table always looks great with mix-and-match jars of flowers;
- Storing almond milk or fresh pressed juices;
- Storing kids’ collections like shells or sea glass;
- Storing odds and ends like nails or paper clips.

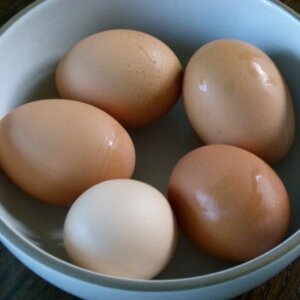
- Farmer’s market egg cartons — my local egg farmer loves it when I bring back his egg crates so he can reuse them;

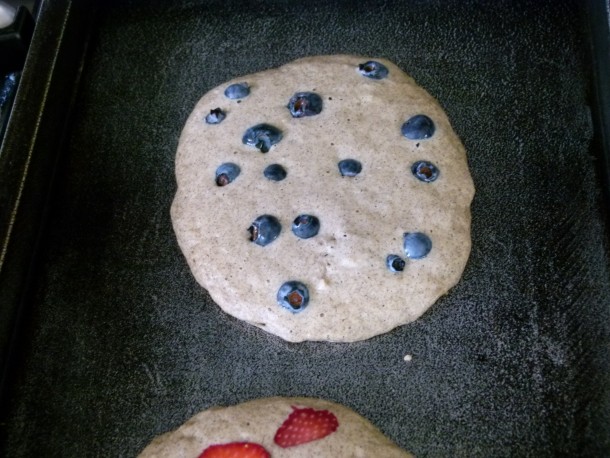
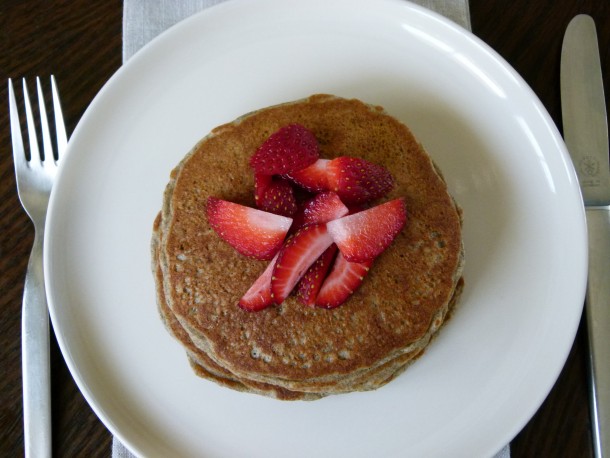
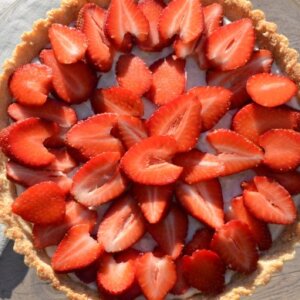
- Farmer’s market berry baskets and boxes — likewise, my local berry farmer happily takes back the plastic and cardboard baskets which he immediately fills up again with fresh berries;

- Glass spice jars — the labels from Simply Organic spice jars peel off really easily. We make our own cinnamon-sugar shakers, as well as shakers for flax meal, sugar and cocoa. I imagine these would be great for powdered sugar or if you toast and grind your own spices (how impressive!);

- Water — I wash herbs or berries in a large bowl of water and then pour that water into my outdoor potted plants. Same goes for water used to shock vegetables after blanching.
- Vegetable scraps — save carrot peels, asparagus ends, mushroom stems, leek tops, onion peels, celery leaves instead of composting to make fantastic vegetable stock.
Your trash might be someone else’s treasure. Ask your kids’ teachers or art teachers if they have use for your odd and ends. I would love to hear your ideas and learn ways you reuse!!