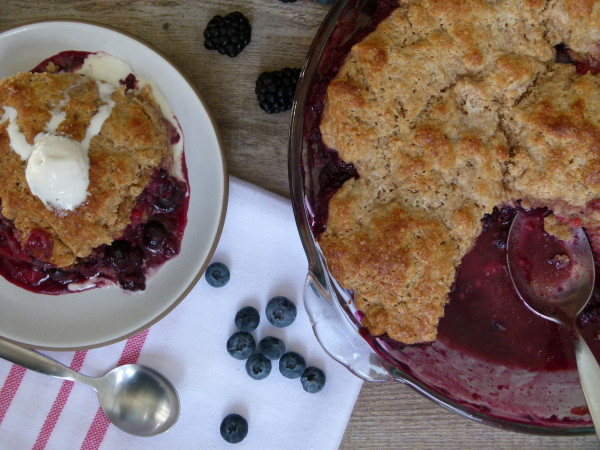
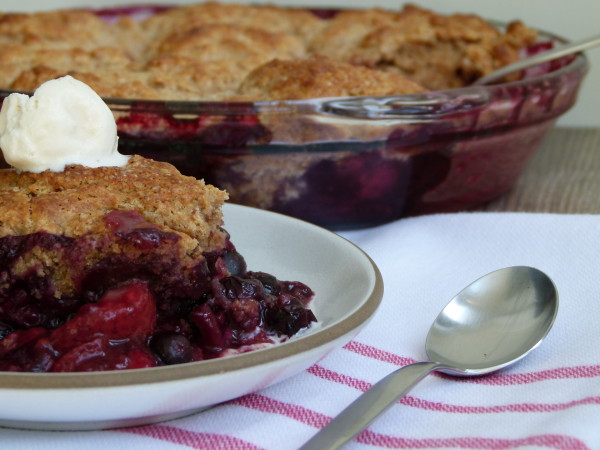
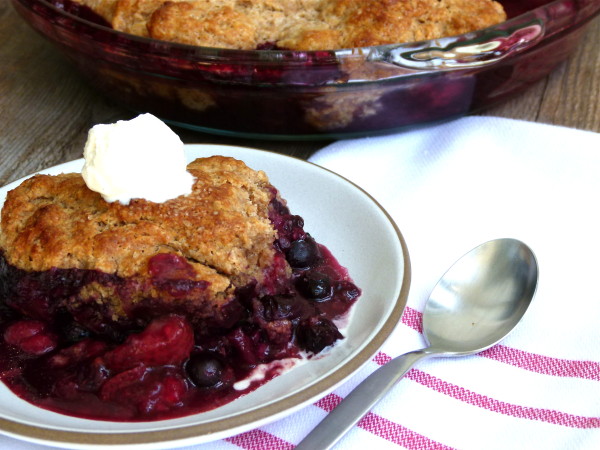
Apricot, cherry and almond crisp recipe
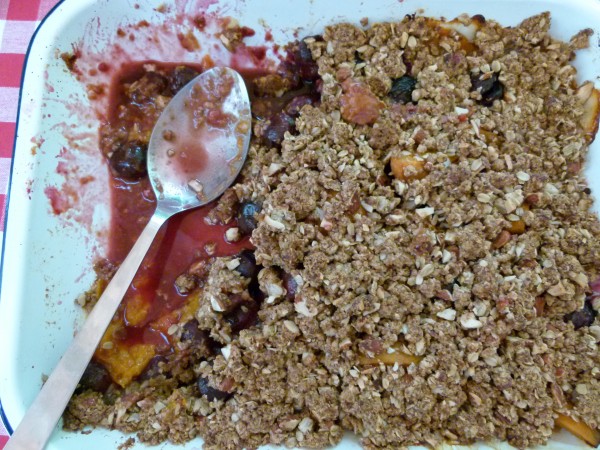
apricot, cherry and almond crisp by Pamela Salzman

I was racking my brains thinking of something to post today for July 4th that would be red, white, and blue.  But really I’m not nearly as creative as all the people I pin on Pinterest or fave on Foodily and I’ll be honest, I couldn’t come up with something you haven’t already seen.  Although for 5 minutes I thought was a genius — potato salad with red, white and blue potatoes!  Until I googled it and saw that this was not an original idea.
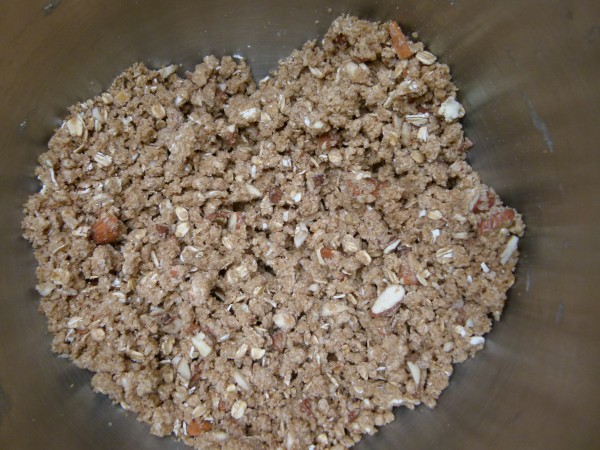
crisp topping

But then I was thinking that I don’t ever make anything red, white and blue for the 4th, so why the pressure?  Our friends Melissa and Adam usually invite us to their beach house for a party where they serve the most delicious Tex-Mex food.  Not ribs or barbecue or anything cut into the shape of stars.  But it’s all crazy delicious and everyone is so happy.  I often bring a dessert or appetizer.  Last year Melissa asked me for Peach and Blueberry Crisp.  It was so yummy, but not red, white, and blue and I didn’t hear anyone complain that I didn’t have spirit.
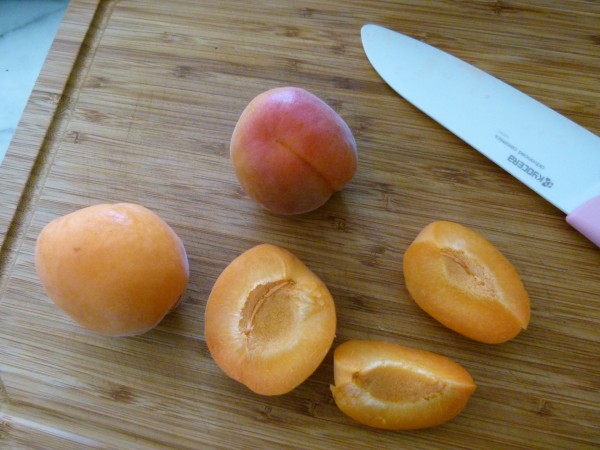
beautiful apricots

A few weeks ago, I taught a 4th of July menu for Jenni Kayne and her friends.  Jenni asked me for a fruit crisp and I knew she would love this one with apricots and cherries.  When I was prepping for the class that morning, I asked her if I should throw in blueberries to add some blue to the red, and she responded, “Only if they would make it better.”  She’s so right.  Of course.  Who cares if it’s red, white and blue?  You want to know what I said?  I said, “They won’t.  This crisp is so insanely delicious already.  Why mess with it?”  That’s really what I said.  This crisp is so darn good, I have dreams about it.  I made this same crisp for some friends a few weeks ago and I could swear I heard moaning.  In a good way, naturally.
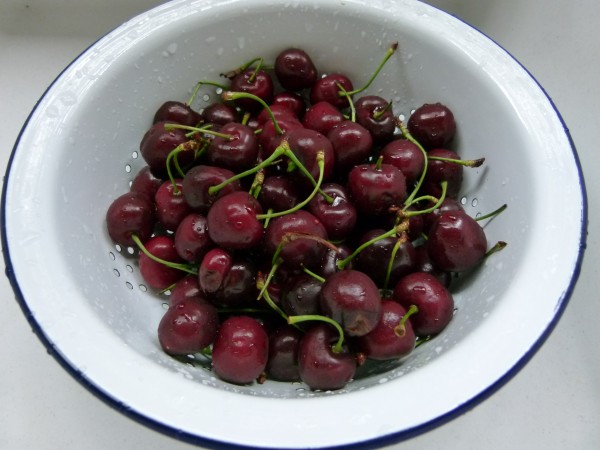
cherries!

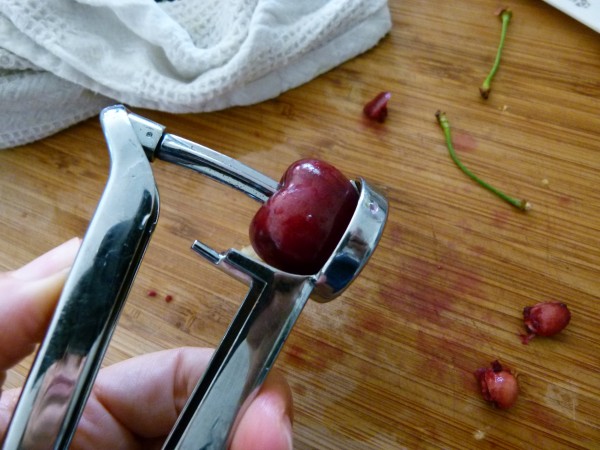
pitting cherries is easy with the right tool

I have a theory that fruits and vegetables that grow in the same season taste good together.  I saw cherries and apricots sitting next to each other at the farmers market and voilà!  A new crisp.  I also read somewhere that the Prunus family of stone fruits also includes almonds.  An almond looks like an apricot pit, don’t you think?  I find all of that to be so interesting….and delicious!  Now the addition of almonds did make this crisp better.  Of course, leave them out if you have an allergy or substitute something crunchy like sunflower seeds.  Crisps are so easy to adjust for allergies, in fact.  You can make the topping completely vegan by using coconut oil (more natural) or Earth Balance.  For a gluten-free crisp, I used half GF oat flour and half King Arthur Multi-purpose GF Flour (which is free from cornstarch unlike some other very popular GF flours, like Cup4Cup — sorry Thomas Keller.  Love your food, though!)  Rice flour works well, too.
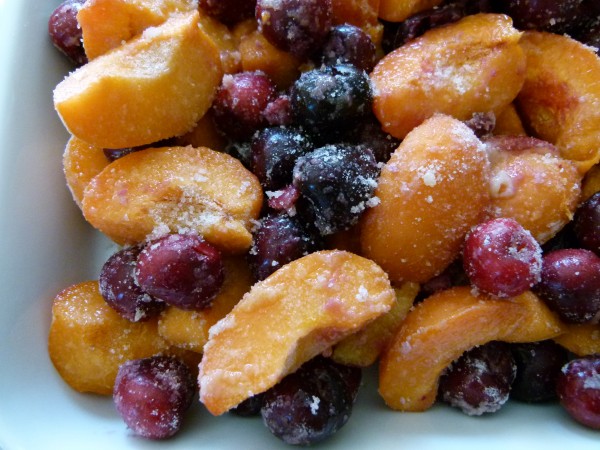
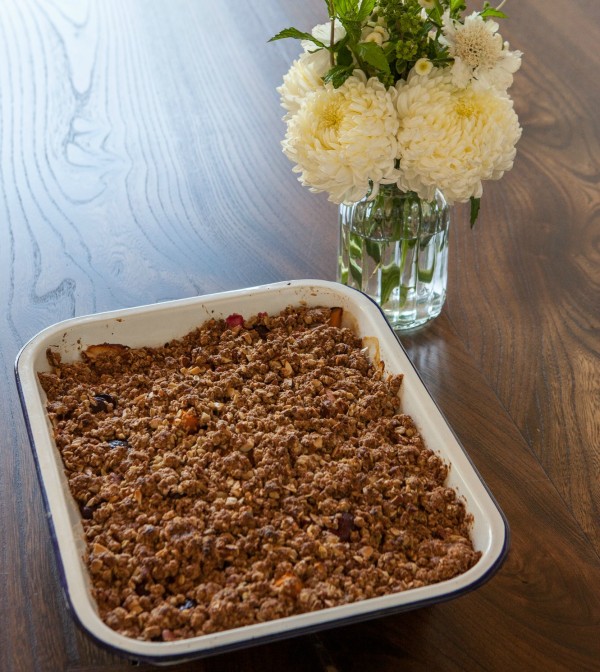
fruit ready to be topped

apricot, cherry and almond crisp | pamela salzman

I think you should make a fruit crisp for the holiday.  Absolutely everyone loves them.  There are no blue food dyes involved.  It’s mostly seasonal fruit.  They are sooooooo easy.  You can make your topping right now.  Yep.  In fact, you could have made it a month ago and frozen it.  You can make 10 times the recipe for crisp topping, freeze it and make a crisp every week for the rest of the summer and into Labor Day.  Or if you’re making a crisp for Thursday, make your topping today and keep it refrigerated.  Just sprinkle it on top of your prepared fruit and bake away.  No coming to room temp or any of that nonsense.  But if you just can’t make a dessert for the 4th that is missing one of the colors of our fair flag, then by all means add some blueberries or blackberries.  Or, dig deep and find your spirit of independence and make what you think you’ll love the most.  Hope you all have the best weekend!

apricot, cherry and almond crisp by Pamela Salzman

Apricot, Cherry and Almond Crisp

Pamela
Servings 6 -8

Ingredients
  

  • 1 1/3 pounds of ripe fresh apricots, pitted, quartered if large
  • 2/3 pound of dark sweet cherries, stemmed and pitted (I love my cherry pitter which I haven't seen anymore at Williams-Sonoma, but this one looks similar.)
  • ½ Tablespoon pure Grade A maple syrup or cane sugar
  • ½ Tablespoon flour whole wheat pastry or gluten-free flour
  • less than 1/8 teaspoon of almond extract
  • Topping:
  • ¾ cup coconut palm sugar or brown sugar
  • 1 cup flour whole wheat pastry or for GF a combo of GF oat flour and King Arthur Multipurpose GF Flour
  • ½ cup old fashioned rolled oats for GF, look for labeled GF oats
  • ½ cup chopped raw almonds
  • ¾ teaspoon ground cinnamon
  • pinch of ground nutmeg
  • ½ teaspoon sea salt
  • 8 Tablespoons cold unsalted butter or Earth Balance cut into 1-inch pieces or unrefined coconut oil

Instructions
 

  • Preheat an oven to 350 degrees.
  • Toss the fruit with syrup or sugar, flour and almond extract. Transfer to an 8- or 9-inch baking dish or pie plate.
  • Add all topping ingredients in the bowl of a mixer fitted with the paddle attachment. Blend until the mixture resembles small peas. This can also be done by hand with a pastry blender. Squeeze with your hands to create small clumps.
  • Arrange topping over fruit to cover.
  • Place baking dish on a cookie sheet and bake for about 45-50 minutes or until bubbly and topping is golden brown.
  • Serve warm or at room temperature with vanilla ice cream, if you like.

Notes

For the crisp in the photographs, I doubled all the ingredients and used a 13 x 9-inch pan.
Tried this recipe?Let us know how it was!

Raspberry chia seed jam

Raspberry Chia Jam by Pamela Salzman

Poor Mr. Picky was crying a little when I put him to bed last Sunday night.  I thought it was because his baseball team got walloped in their playoff game which then ended their season.  That wasn’t it.  I thought it might be because his pitching was lousy and he felt bad it.  Nope, apparently he had forgotten about his performance already.  Oh, wait.  It’s because I forgot to pick him up from religious school.   “No, Mom!  And who cares?  I only had to wait like 20 minutes.”  Bless his heart.  Then what’s the matter?  “The weekends are too shoooooort,” he sobbed and buried his face in his pillow.  Ahhhhh, you are quite right, Mr. Picky.  Quite right indeed.  That made me a little bummed out since I don’t think I felt time fly until I was much older than his 9 years.  Is life more fast-paced now than it used to be or does my family have too much going on?  I don’t know.  But I have good news, Mr. Picky — it’s a 3-day weekend!  Hooray!  And not only do we get an extra day of leisure, there are no practices or tournaments or stuff like that.  We’re on easy street.

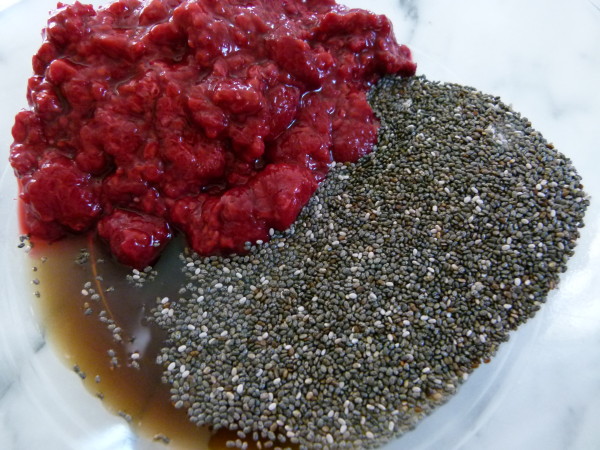
chia seeds, defrosted frozen raspberries and maple syrup

I remember when I was a stay-at-home mom, I used to think, “Oy, the weekend!”  Weekends were so much more work for me to coordinate the kids and naps and birthday parties and soccer games.  I loved Mondays!  Mama got some quiet time.  But now, it’s a different life and even though I love my work, I also love a little break from a 5:30 am alarm clock and not having to face LA traffic in the morning, which has anyone noticed gets WORSE every year?

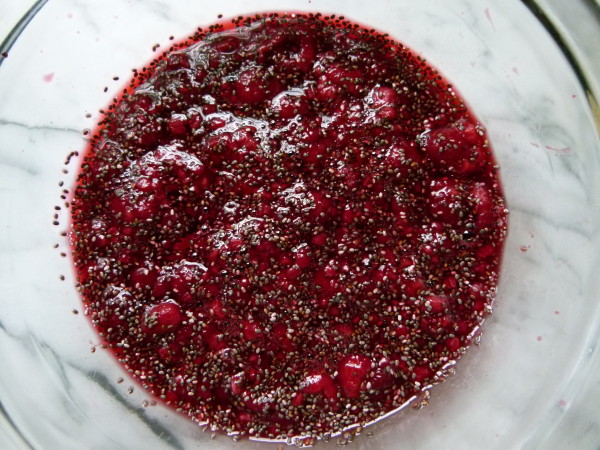
let those chia seeds do their magic!

I’ve mentioned before that I so look forward to leisurely breakfasts on the weekends and vacations.  I just made a double batch of this raspberry chia “jam” and I can’t stop day dreaming about all the ways I’m going to enjoy it this weekend!  I have never made “real” jam in my life because it just seems like a bit too much work and sugar.  But this is a raw jam that requires nothing more than a quick stir and some patience as it needs to sit a bit to thicken.  And it’s so much better for you than the cooked sugary kind!

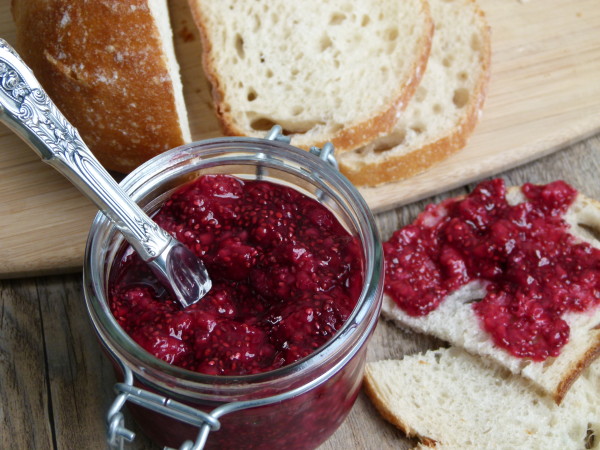
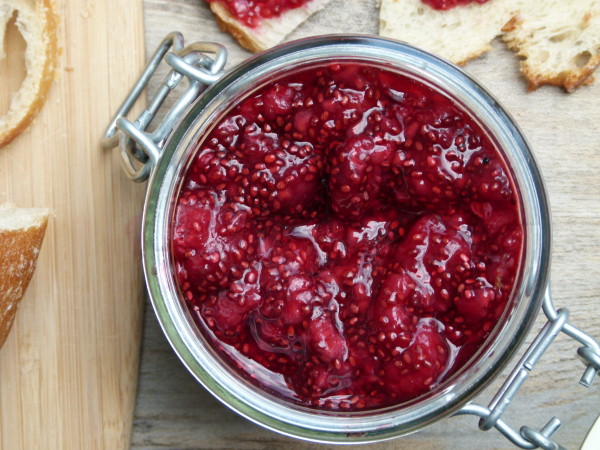
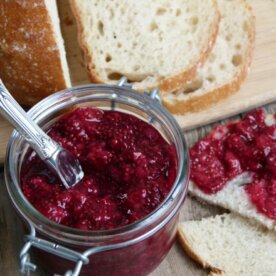
raspberry chia seed jam

The secret ingredient here is chia seed, which is such a little miracle food.  They’re naturally rich in Omega-3 fatty acids, which are super anti-inflammatory, as well as chock full of fiber and calcium.  When chia seeds come into contact with liquid, they become very gelatinous and thick.  So they make an awesome “pudding” when mixed with almond milk and help thicken up your morning smoothie.  They have no taste at all which makes them very easy to use.  They key is just knowing the right ratios of chia to liquid so your pudding or smoothie doesn’t get too thick or too thin and giving the chia seeds a little time to work their magic.

raspberry chia seed jam by Pamela Salzman

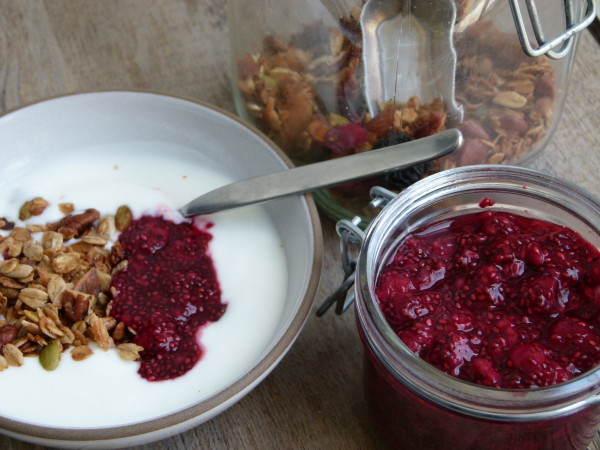
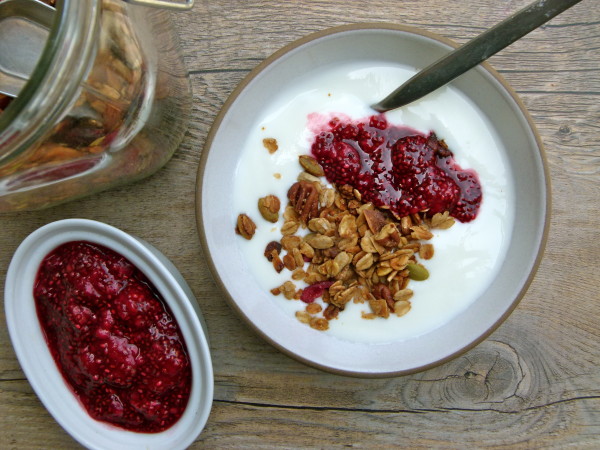
All you do here is defrost some frozen raspberries, which are good and mushy and already a little seedy, and mix with the chia seeds and a little maple syrup to sweeten.  Feel free to use a couple drops of stevia if you prefer.  After at least 6 hours in the fridge, you have a lovely, spreadable jam which is perfect for nut butter sandwiches (excuse the not-whole-grain bread here), pancakes or stirred into yogurt.  You could even do a yogurt-granola parfait with a layer of this raspberry -chia jam.  It’s always a nice idea to start your day off with a healthful breakfast during a holiday weekend, especially if you’re going to a BBQ later and you want to indulge a little.  Here’s hoping your Memorial weekend is a restful and restorative one!

raspberry chia seed jam by Pamela Salzman

Raspberry Chia Seed Jam

Pamela, adapted from eatgood4life.com
Servings 0 makes about 1 cup

Ingredients
  

  • 2 Tablespoons + 2 teaspoons chia seeds
  • 10 ounce package frozen organic raspberries thawed (drain the raspberries if you want a very thick jam)
  • 2 Tablespoons pure maple syrup or more to taste

Instructions
 

  • Place all the ingredients in a medium bowl. Stir to mix, making sure all the chia seeds have been moistened with the juice from the berries.
  • Cover and allow jam to thicken in the refrigerator for at least 6 hours. Lasts for 2-3 weeks in the refrigerator.
Tried this recipe?Let us know how it was!

Mixed berry cobbler recipe (slow cooker version, too!)

Mixed Berry Cobbler Recipe | Pamela Salzman

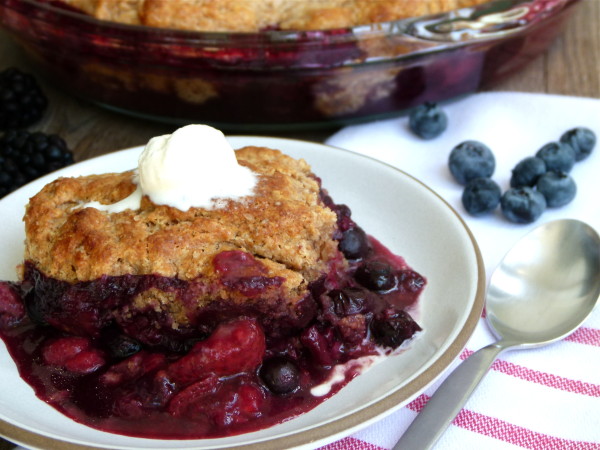
Do you know the difference between a crisp, a cobbler, a slump, a grunt and a brown betty?  I hear the terms used interchangeably, when of course, they’re not the same at all.  A cobbler has a biscuit topping, a crisp has a crunchy oat and sugar topping, a slump/grunt is like a cobbler, but it is finished on the stovetop so that the biscuits are steamed, rather than browned, and a brown betty is topped with buttered bread crumbs.  Just so we’re all on the same page.  And just so you don’t go ordering a cobbler at a restaurant thinking you are getting something with a buttery, crunchy, oat topping only to be served a bowl of cooked fruit with a biscuit on top.  I hate when that happens.

Mixed Berry Cobbler Recipe | Pamela Salzman

Mixed Berry Cobbler Recipe | Pamela Salzman

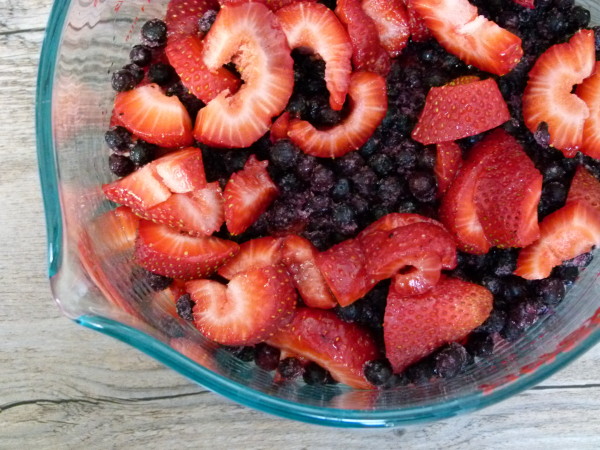
Not that a cobbler is bad.  Oh no, friends.  Cobblers are very, very good.  Especially when strawberries are in season and they are about as luscious as can be.  When strawberries debut at our local farmer’s markets, I feel like a bear coming out of hibernation, like I’m taking a breath of fresh air.  It’s spring!  Weeeee!  I can finally tell Mr. Picky, “Yes, it’s finally strawberry season!”  I swear I have been buying strawberries lately like they’re never coming back.  They’re in the kids’ lunches several times a week, in breakfast smoothies and acai bowls and chopped into pancakes.  I even did a crazy thing and added a little bit of chia seed and water to some mashed up strawberries and let it thicken into a raw jam/spread.  I thought it was really good.  Then I smeared some in between two slices of whole grain bread and made a stuffed strawberry French toast, if you will.  Really tasty!

Mixed Berry Cobbler | Pamela Salzman

I was feeling spunky last weekend and thought I would surprise everyone with a special dessert, which I knew had to have strawberries in it.  So I started pulling together my favorite cobbler with strawberries as well as whatever berries I had in the freezer.  I had this moment of genius when I thought, I bet I could do this in a slow cooker!  I bet no one in the world has ever done a cobbler in a slow cooker.  I am going to revolutionize the food world with this brilliant idea!  Of course, one quick search on Foodily and I saw that 20 other people/websites already came up with that same idea.  I hate when that happens.  Grumpy face.  Although one of the recipes called for a can of apple pie filling and a box of yellow cake mix.  I mean, is that even a recipe?   That is such a gross idea.  Don’t even think about trying it.

Mixed Berry Cobbler | Pamela Salzman

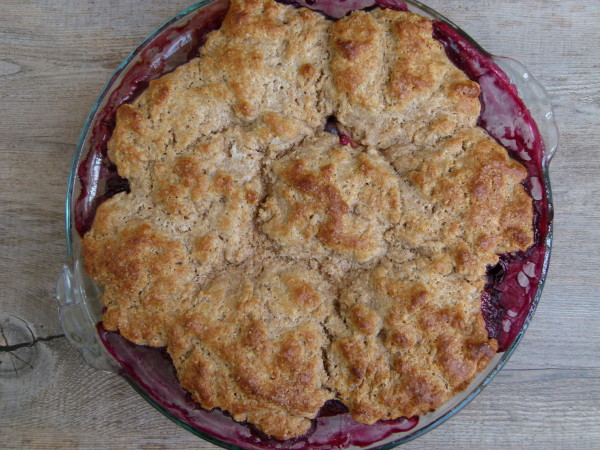
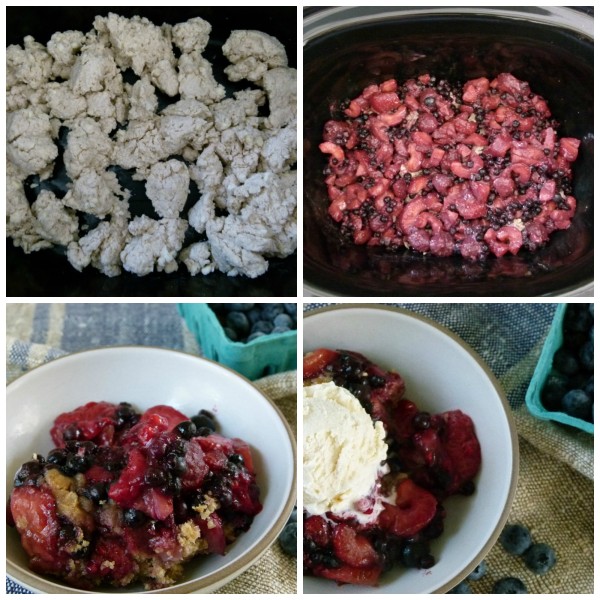
Why would you when you can have this wholesome, fresh, clean and YUMMY cobbler for just a little more effort?  I have two versions here, one baked in the oven and the other in the slow cooker.  The oven cobbler has a much prettier presentation, with the classic, nicely browned “cobbled” texture on top and baked in a dish you can actually bring to the table.  But it’s nice to know you can can use your slow cooker for more than just shredded meat.  I was thinking it would be great for the summer so you don’t have to turn your oven on to make a fruit dessert.  The look wasn’t quite as lovely since I spread the dough on the bottom of the insert and laid the fruit on top.  I wanted the fruit to stay intact and not get cooked into a pot of mush.  Which it did not.

Mixed Berry Cobbler | Pamela Salzman

Either way, the ingredients stay the same for both.  I have used whole spelt flour, whole wheat pastry and white whole wheat all with success.  I know that you can use  gluten-free flour like Kind Arthur with a little added xanthan gum and achieve an equally tasty result.  If you’ve made cobbler before, you might think my recipe doesn’t have enough sweetener.  But I promise, give this a go and you’ll be surprised how much you enjoy tasting the actual fruit and not just sugar.  Of course, a little ice cream on top doesn’t taste bad.  Or, I look forward to leftovers the next morning with a dollop of sheep’s yogurt.  Unless someone ate it all and left me none when I couldn’t stop dreaming about it all night.  Ooooh, I hate when that happens!

Mixed Berry Cobbler | Pamela Salzman

Mixed Berry Cobbler | Pamela Salzman

Mixed Berry Cobbler | Pamela Salzman

Mixed Berry Cobbler

Pamela
5 from 1 vote
Servings 6 -8

Ingredients
  

  • 6 cups mixed fresh berries or frozen, thawed
  • ¼ cup coconut palm sugar organic cane sugar or brown sugar
  • 3 Tablespoons flour such as spelt or your favorite GF flour such as rice flour
  • 1 teaspoon lemon zest not packed
  • 1 ½ cups whole spelt flour whole whet pastry, white whole wheat flour or all-purpose flour OR King Arthur Multi-purpose GF Flour + 1 tsp. xanthan gum
  • 2 teaspoons aluminum-free baking powder
  • ½ teaspoon baking soda
  • 2 Tablespoons pure maple syrup OR organic cane sugar if you use maple syrup, add to buttermilk; if you use sugar, add to flour
  • ¼ teaspoon fine grain sea salt
  • 6 Tablespoons cold unsalted butter or organic Earth Balance cut in small pieces + more for greasing baking dish
  • ¾ cup buttermilk or unsweetened non-dairy milk + 1 Tbs. apple cider vinegar
  • 1 Tablespoon unsalted butter or organic Earth Balance melted or 1 Tablespoon buttermilk*
  • 1 teaspoon sugar optional

Instructions
 

  • Preheat oven to 400 degrees. Grease a 9–or 10-inch square shallow baking dish or pie plate.
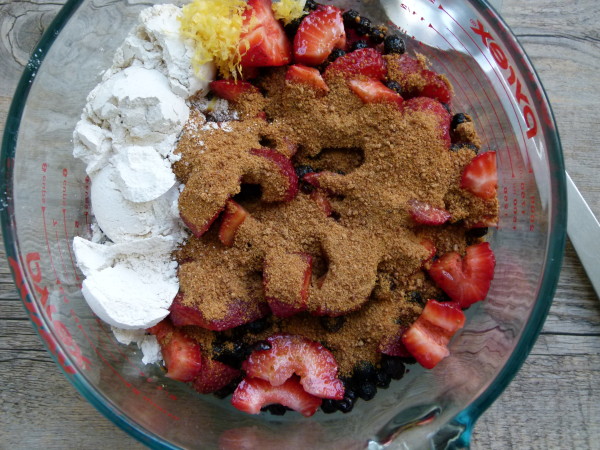
  • In a medium bowl, gently toss the berries with 3 Tbs. flour, ¼ cup sugar and zest. Transfer berries into the prepared pan. Set aside and reserve the bowl.
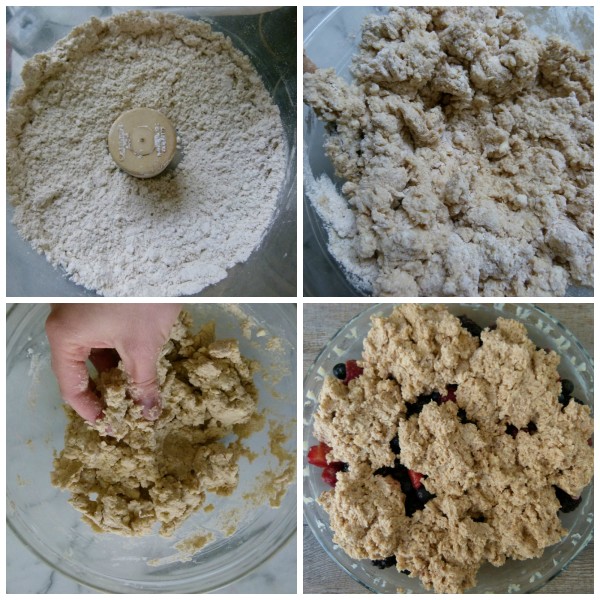
  • To make the cobbler topping, blend the 1 ½ cups flour, baking powder, baking soda, 2 Tbs. sugar (if using), salt and butter with your fingertips or a pastry blender or pulse in a food processor just until most of the mixture resembles coarse meal. Transfer to the same bowl used to mix the berries and stir in the buttermilk and maple syrup (if using) until well combined.
  • Using your fingertips, rub the buttermilk mixture until it begins to clump together. Take a heaping spoonful of dough and place it on top of the berries. Don’t cover the berries completely. Brush with melted butter or buttermilk and sprinkle with sugar, if desired. Place the dish on a baking sheet and bake for 40 minutes or until the fruit is bubbling and the top is golden and cooked through.

Notes

*For a golden glaze, brush the biscuits with melted butter. For a more brown crust, brush them with buttermilk.
You can use either maple syrup or cane sugar (not both) in the cobbler topping. Pick one sweetener! Please read the directions carefully since the maple syrup is added with the buttermilk and the cane sugar is added to the dry ingredients.
To increase the recipe to serve 12, multiply all ingredients by 1 ½ and use a 13 x 9–inch baking dish. Bake for an additional 5 minutes.
To Make in the Slow Cooker:
Follow all directions for cobbler in the oven except dollop the cobbler topping on the bottom of the slow cooker insert and  pour the fruit mixture on top.  Cover and cook on LOW for 1 ½ to 2 hours, or until biscuit mixture is cooked through.  The time will depend on how wide your slow cooker is.
Tried this recipe?Let us know how it was!

Gluten-Free, Vegan Pear-Cranberry Tart Recipe

Why do so many people go on cleanses on January 2nd?  One word — SUGAR.  It starts on Halloween with an innocent bite of an Almond Joy and keeps coming until New Years Day with that “one last piece” of cake since the big diet will start tomorrow.  I’m the first to admit that although I may be pretty disciplined during the year, a few sweet indulgences here and there during the holidays throw me off for weeks.  Damn!  One of these years I’m just going to say “no, thank you” over and over in November and December because I really am much happier when sugar and I go our separate ways.  I am especially going to reject any food with the word “slutty” in front of it.  Or at least I need to stick to more natural desserts that don’t make me feel like I’m going to hell.

I know what you’re thinking.  It’s fun to give in.  It’s the holidays.  What about everything in moderation?  If you say so.  As for me, sugar is out to get me.   It makes me feel horrible afterwards, saps my energy, ruins my skin, and leaves me craving nourishment, among other things.  The worst part is I go back for that same punishment that next day!

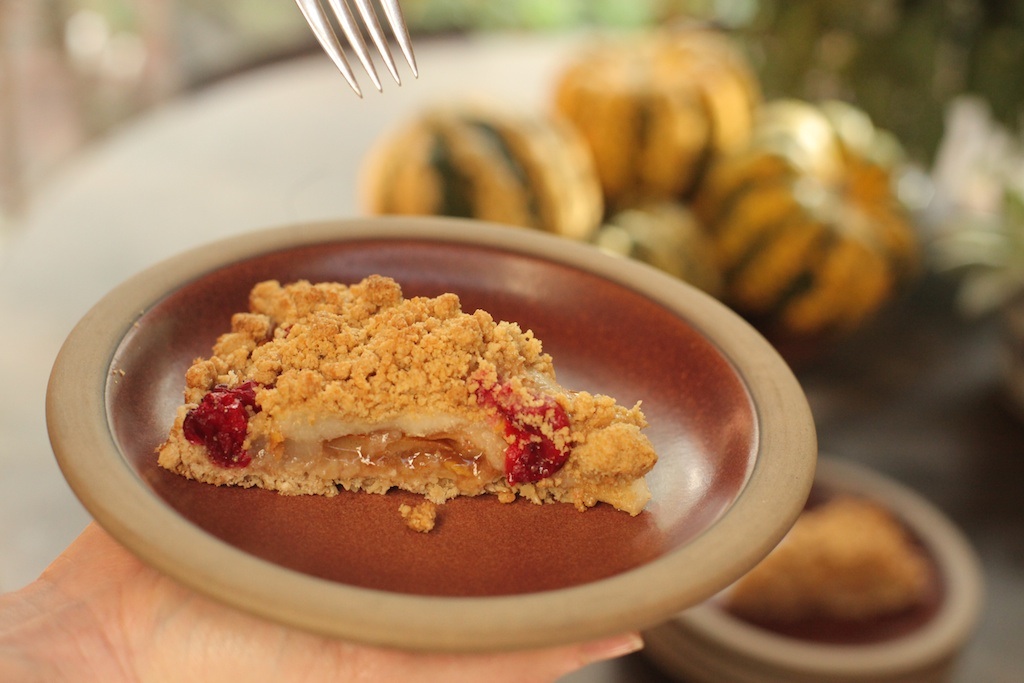
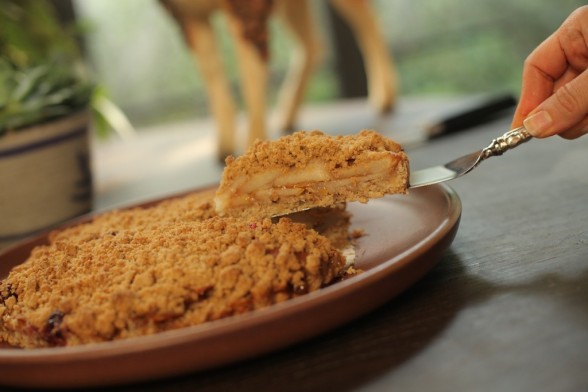
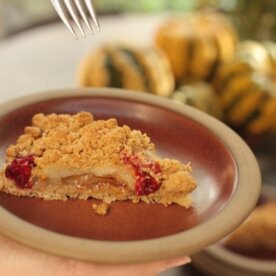
I know it seems hypocritical that I started this post whining about sugar and now I’m encouraging you to make dessert.  HOWEVER, there are desserts out there that deserve a little more respect since they are made of higher quality ingredients that don’t leave you regretting what you’ve just eaten.  Like this Pear-Cranberry Tart!  When Jenni Kayne and The Chalkboard Mag asked me to create a vegan and gluten-free holiday menu which was also healthful, the dessert was what I figured would be the challenge.  But I have to say, this turned out great and may be one of my favorite desserts to date.  It’s seasonal, beautiful and just plain delicious.  The tart is sweet, but in a fresh and clean way that doesn’t make you feel like you just got a sugar injection.  And I love the contrast of the soft pears with the nubby crust and crumbly topping. Whereas this looks impressive, it’s really quite easy.  The press-in crust is the perfect answer for those who don’t feel comfortable making and rolling out pastry dough.  Plus it’s the perfect dessert for the holidays since you can prep much of it in advance (see my notes at the bottom of the recipe.)

Don’t let the gluten-free and vegan label throw you off.  Sometimes people, including my darling husband, rush to judgment about “alternative” desserts without giving them a chance.  But sure enough, my kids all loved it, although Mr. Picky picked out the “sour” cranberries.  No problem, send those over here.  I think you could even eat it with a dollop of whole yogurt and call it breakfast.  I did.  And I didn’t have any regrets in the morning.

Gluten-Free, Vegan Pear-Cranberry Tart

Pamela, inspired by Peter Berley’s Apple Tart in The Modern Vegetarian Kitchen
Servings 10

Ingredients
  

  • Crust:
  • 1 cup rolled oats look for gluten-free oats, such as Bob's Red Mill
  • 2/3 cup oat or whole spelt flour look for gluten-free oat flour, such as Bob's Red Mill; spelt flour is not gluten-free
  • ½ cup walnuts
  • ¼ cup pure maple syrup
  • ¼ cup unrefined coconut oil melted
  • ½ teaspoon sea salt
  • Filling:
  • 3 firm but ripe pears, cored and sliced into 1/8th-inch wedges
  • 1 handful fresh cranberries
  • 2 Tablespoons maple sugar or brown sugar
  • 2 Tablespoons pure maple syrup I use Grade A for a more subtle flavor
  • 1 Tablespoon arrowroot powder
  • 1 teaspoon freshly squeezed lemon juice
  • ½ teaspoon ground cinnamon
  • Topping:
  • 1 cup oat or whole spelt flour look for gluten-free oat flour, such as Bob's Red Mill; spelt flour is not gluten-free.
  • 1/3 cup maple sugar or brown sugar
  • ½ teaspoon aluminum-free baking powder
  • pinch of sea salt omit if using Miyoko's vegan butter or Earth Balance
  • 4 Tablespoons cold Miyoko's vegan butter organic Earth Balance, unsalted butter or unrefined coconut oil, cut into pieces (butter is not vegan; Miyoko's, Earth Balance and butter give a better result than coconut oil, but coconut oil works just fine.)

Instructions
 

  • Preheat oven to 350 degrees. Lightly grease a 9-inch tart pan with a removable bottom. If your tart pan tends to leak when baking, you should also line the bottom with unbleached parchment paper.
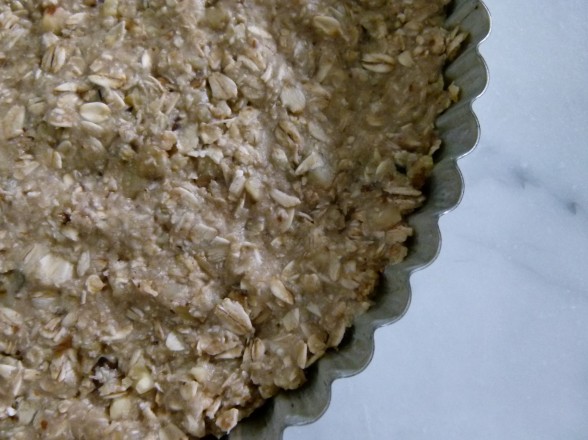
  • Place all crust ingredients in the bowl of a food processor fitted with a metal blade and pulse until nuts are finely chopped. Press crust evenly on the bottom of the pan and into the rim. Freeze crust while you assemble the filling.
  • In a large bowl gently combine filling ingredients and set aside.
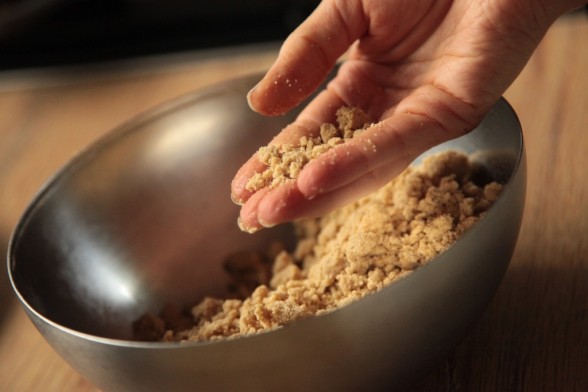
  • In another bowl, squeeze topping ingredients together with your fingers until the mixture looks well combined, pebbly and no longer dry or dusty.
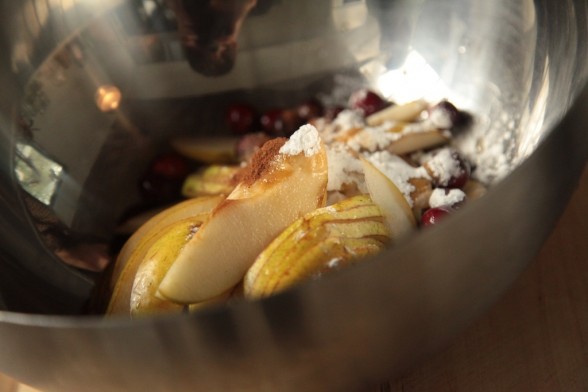
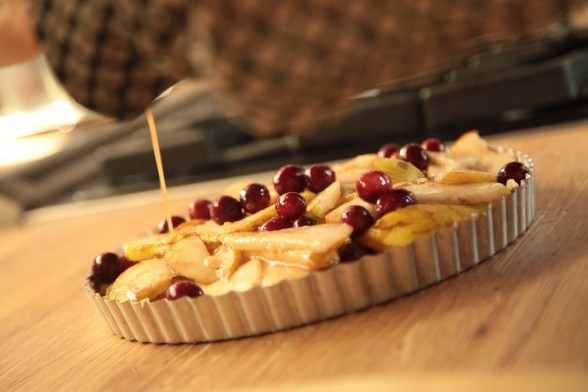
  • Remove tart pan from freezer and layer the pears and cranberries on top of the crust. Pour any juices from the bowl on top of the fruit. Spread the crumb topping over the fruit.
  • Place tart on a baking sheet and bake for 40 minutes or until filling is bubbling and topping is lightly browned. Allow tart to cool slightly before serving. Best eaten the same day it’s made, but if you have leftovers, store in the refrigerator. Do ahead: you can make the crust up to a day ahead and keep it tightly covered in the refrigerator. You can also make the topping a up to 3 days ahead and keep that in a tightly covered container in the refrigerator.
Tried this recipe?Let us know how it was!

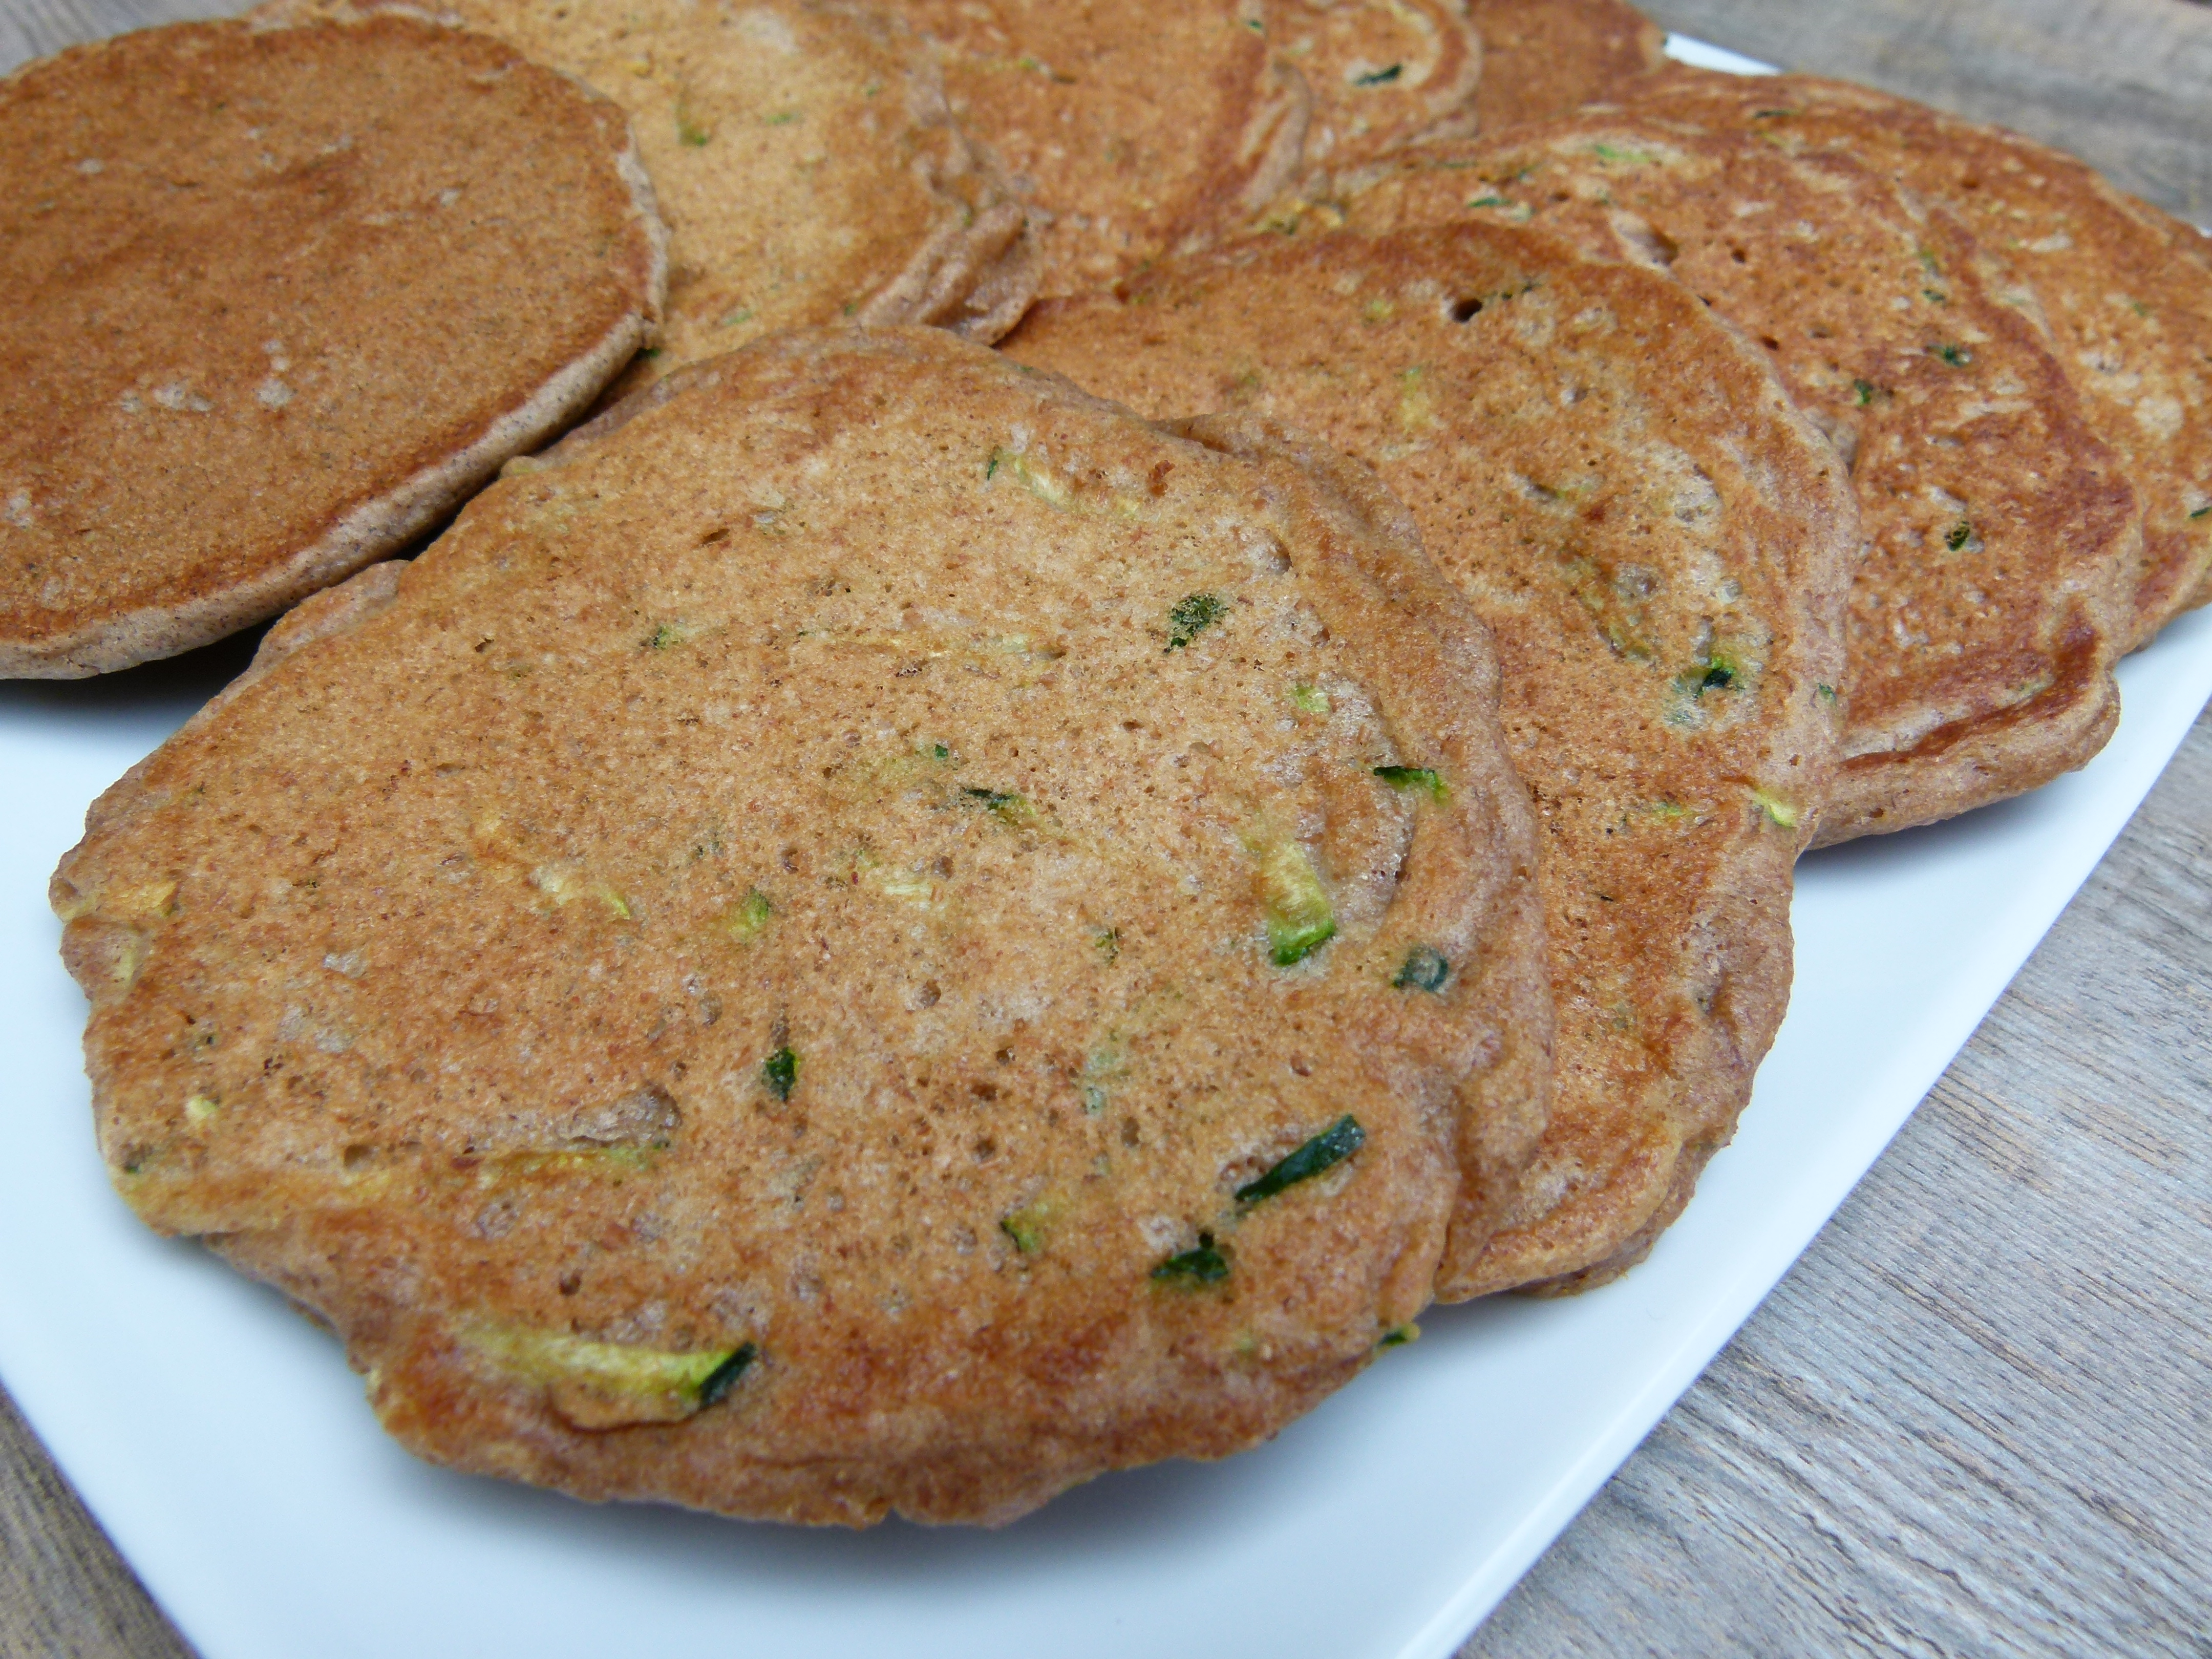
Zucchini bread pancakes recipe

A few years ago, someone suggested I teach a class with a breakfast menu.  At first I didn’t think it was such a good idea because breakfast seems kind of easy, at least too easy to be taught in a cooking class.  In our house the rotations is oatmeal or muesli, scrambled eggs, smoothies, yogurt and granola, pancakes and leftovers from last night’s dinner.  But the more I thought about it, I realized there was a nice variety of fun, delicious and healthful recipes I could share.  Because I do believe breakfast is nutritionally the most important meal of the day, especially for children, I knew these recipes needed to provide sustenance, long-lasting energy and stable blood sugar.  My first breakfast class was a great success and I have continued the tradition every June (arbitrary selection of month) since then.

I tend to follow a similar formula each June based on what my family and I love to eat for breakfast, both on the weekdays and weekend.  I always teach a smoothie, muffin, egg-based dish and a pancake recipe.  When I was growing up, pancakes were for Saturday mornings when Mom had time and no one was rushing off to work or school.  I too love lingering over a plate of pancakes on the weekends, but by making the batter the night before and teaching my older girls how to cook their own, we enjoy them on a school mornings, as well.  If you’re thinking it’s a little boring to eat plain old pancakes twice a week, I would agree with you!  We add lots of different things to our pancakes while they’re cooking and the kids each seem to have their own favorite combo, such as fresh raspberries and mini-chocolate chips or diced banana and pecans.

But for my breakfast classes, I needed to debut more than just buttermilk pancakes with a different fruit each time.  I’ve posted most of my favorites by now, including oatmeal pancakes and pumpkin pancakes.  Both are really delicious!  After seeing a recipe by fellow Foodily tastemaker, Joy the Baker, for carrot cake pancakes, I had an idea to make pancakes with the same flavors in zucchini bread.  To me, zucchini bread really isn’t about the zucchini, which I think is a little tasteless but does add nice moisture to muffins and quick breads.  I’m mostly in it for the sweet spiciness of cinnamon and nutmeg, perhaps combined with a few nuggets of walnuts.  What’s not to love?  And zucchini bread pancakes could be made with almost no added sweetener — so great!

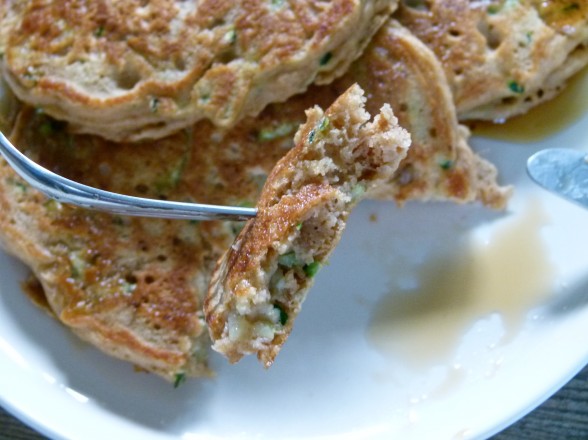
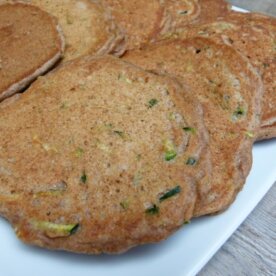
These pancakes made it on the menu this past June and I think they were a big hit.  I made them successfully with several different flours, including whole wheat pastry, whole spelt, and sprouted whole wheat.  The latter two flours tend to create a thicker batter, so I used a bit less of those, but they made for a nice hearty pancake.  Whole wheat pastry flour is very light, almost mimicking white flour, but still has all the fiber and bran of whole wheat, which it is.  We also played around with adding pecans, blueberries or the oft-requested chocolate chips, but personally I love them completely plain with either a thin drizzle of maple syrup or a dollop of whole yogurt.  Such a delicious breakfast for the long weekend as well as for a first day of school.  I hope you all enjoy a fantastic Labor Day!

Zucchini Bread Pancakes

Pamela
Servings 0 makes about 12 4-inch pancakes

Ingredients
  

  • 1 ¾ cups sprouted wheat flour or 2 cups whole wheat pastry white whole wheat or whole spelt flour (or a combo)*
  • 1 teaspoon aluminum-free baking powder
  • 1 teaspoon aluminum-free baking soda
  • 1 teaspoon fine sea salt
  • 1 Tablespoon ground cinnamon
  • scant ¼ teaspoon ground nutmeg
  • 2 cups buttermilk**
  • 2 large eggs
  • 1 teaspoon pure vanilla extract
  • 1 Tablespoon 100% pure maple syrup
  • 3 Tablespoons unsalted butter melted
  • 2 cups shredded zucchini
  • Melted unrefined coconut oil or unsalted butter for brushing the griddle

Instructions
 

  • Preheat a griddle to 400 degrees or medium heat.
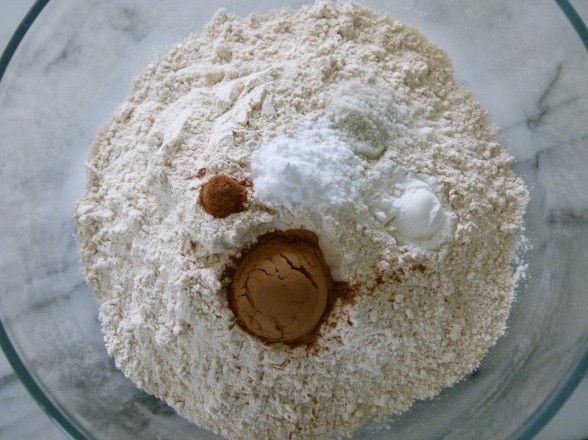
  • Combine the flour, baking powder, baking soda, salt and spices in a large mixing bowl.
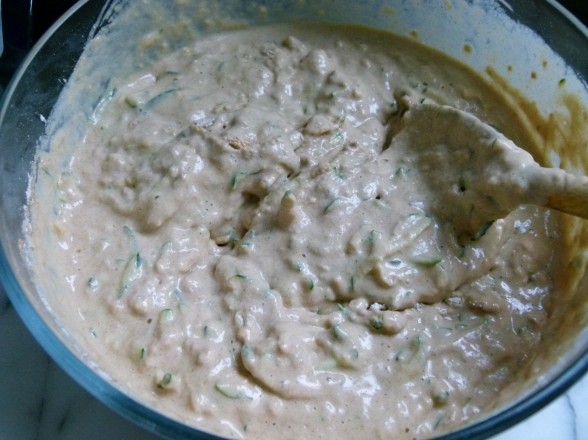
  • In a medium bowl or 4-6 cup measuring cup, whisk together the buttermilk, eggs, vanilla, maple syrup and melted butter until well blended. (A blender can do this easily, too.) Fold in shredded zucchini.
  • Pour the wet mixture into the dry ingredients and stir until just combined.
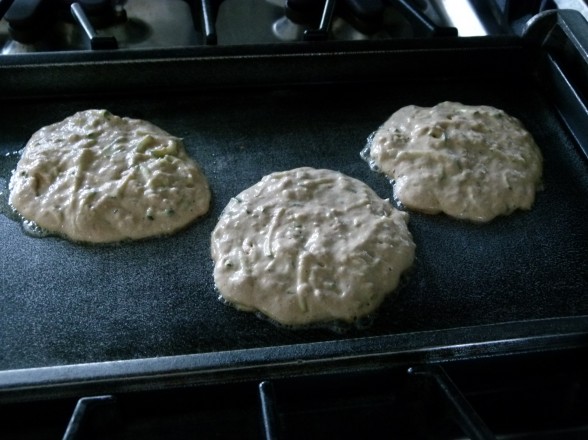
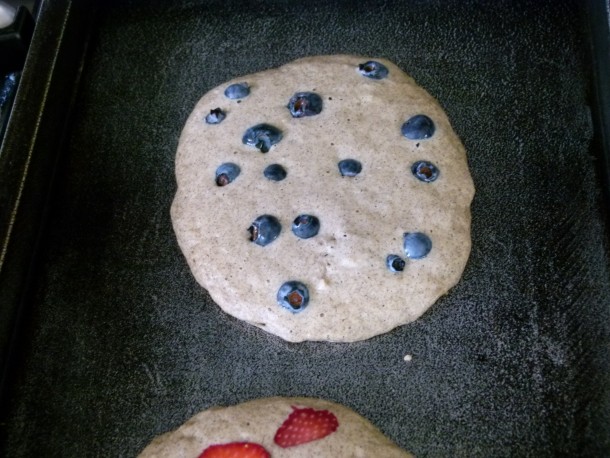
  • Brush the griddle with coconut oil and spoon about ¼ cup of batter onto the griddle. Add blueberries, chocolate chips, diced banana or chopped walnuts to the surface, if desired. When bubbles start to form on the surface of the pancake and the edges become slightly dry, flip it over and cook until done. Maintain the heat on medium-low or 400 degrees.

Notes

*Gluten-free: substitute 1 cup buckwheat flour and 1 cup brown rice flour for the wheat flour. Or you can use GF oat flour, too, such as ¾ cup oat flour, ¾ cup buckwheat flour and ½ cup brown rice flour.
**No buttermilk? Sub half unsweetened yogurt and half whole milk. Or use 2 cups milk, omit the baking soda and use 2 teaspoons baking powder instead.
Tried this recipe?Let us know how it was!

Gluten-Free Oatmeal Pancake Recipe

gluten-free buckwheat pancakes | pamela salzman

I have two things on my mind this week — eating anything that was forbidden during Passover (like grains) and being mindful of our consumption of limited resources with Earth Day coming up on April 22nd.   “How will she ever revert this to a pancake recipe?” you ask.  Stay with me, peeps.

Passover, which occurred last week,  is a mighty 8-day abstinence from eating all grains, except wheat turned into matzoh.  Giving up bread, pasta and most starches isn’t such a big deal to me, but my hubby and the kids start groaning after about Day 3.  “How much loooooonger?”  “How come we can’t have rice?  Jack’s family eats rice during Passover.”  “What??!!  It ends on Saturday night?  I thought it ended on Friday!”  And so on and so forth.  Same spiel every year.  Yawn.  So on sundown of the 8th day, my people were freed from bondage, ordered pizza and ravaged it like contestants on “Survivor.”   As for me, I will admit, I was missing oatmeal for breakfast.   Sunday morning I made an extra-large batch thinking everyone craved it as much as I did.  Wrong!  Everyone was craving bagels.    That brings me to my other thought for the week which is being efficient with resources and limiting waste.  I needed a creative way to use that leftover oatmeal!

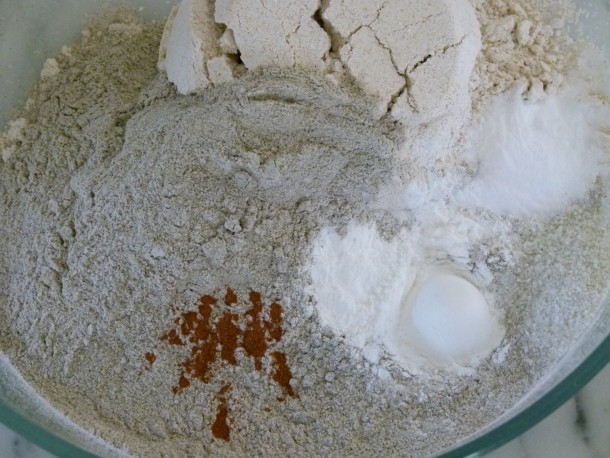
dry ingredients

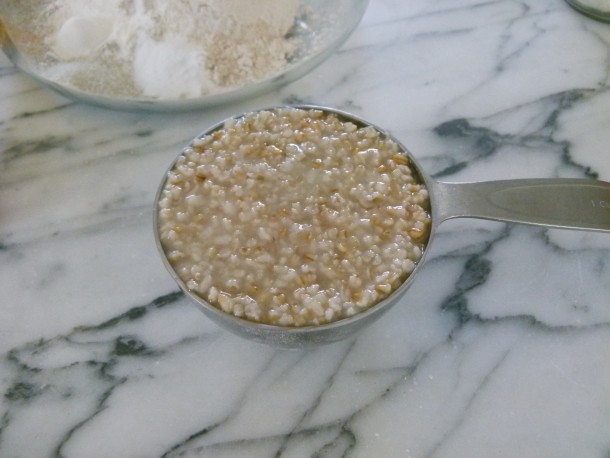
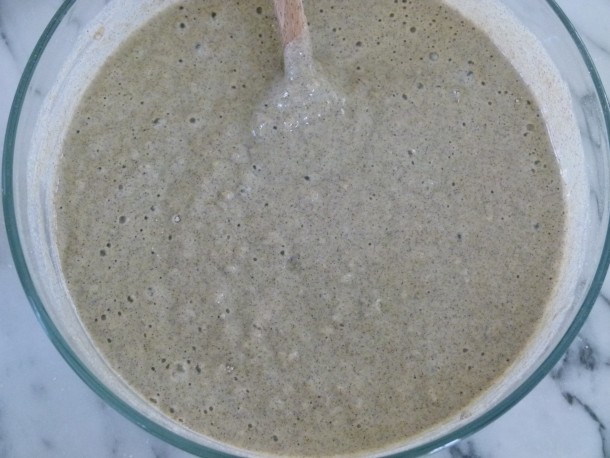
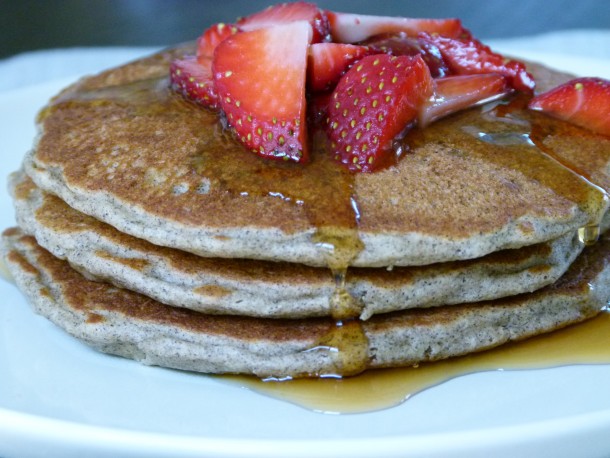
By now you know I am serious about pancakes.  I make them twice per week, very often varying the flours or even adding pumpkin and spices to the mix.  I love that everyone has fun customizing his or her own with fruit, nuts or chocolate chips.  Yesterday I made a a lovely batch of oatmeal pancakes with some of the leftovers from Sunday’s excess.  I added a good cup’s worth of steel cut oatmeal to gluten-free oat flour and buckwheat flour, which gave the pancakes these fantastic tiny little chewy bites.  I am a big fan of texture and whole grain flavors, so I adore these pancakes.  If you’ve never tried buckwheat flour, it has a great wholesome earthiness, but it does lend an odd, grey color to the batter.  By the way, buckwheat has no wheat in it and isn’t even related to wheat.  In fact, it is a relative of the rhubarb family, which is why it’s gluten-free.

leftover steel cut oats


gluten-free oatmeal pancake batter |pamela salzman

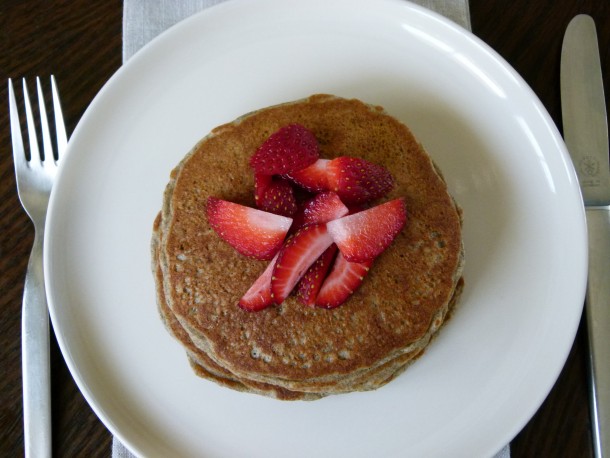
Oat flour is quite simple to make yourself if you don’t feel like buying it.  Just process rolled oats in the food processor until powdery.  That’s it!  If you need or want the oat flour to be gluten-free, you must buy oats/oat flour that is labeled as such, because otherwise it can contain trace amounts of gluten.  If you’re like my husband and are wondering how they take the gluten out of oats, they don’t really.  Botanically oats should not contain gluten, but they do share crop space with gluten-containing grains and often they are processed in facilities which also process wheat and barley, for example.  So the oats can pick up gluten that way.  But if you prefer, feel free to use my standard whole wheat pastry flour for the oat and buckwheat flours.  It just won’t be gluten-free and it will taste more like my traditional buttermilk pancakes, but with a little chew from the oats.  I tend to adorn these pancakes with the same yummies that I would add to a bowl of oatmeal — diced bananas, chopped walnuts, and the like.  But strawberries are incredible and plentiful right now, so we all included them yesterday and my husband tossed in his standard handful of blueberries.  Mr. Picky eats these pancakes just fine, but did declare my “normal” pancakes are his first choice.
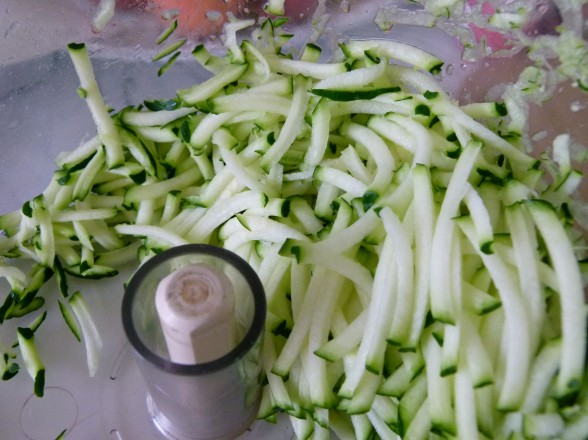
add fruit to pancakes before flipping | pamela salzman

Extra pancake batter?  We won’t waste it!!  It will stay good in the refrigerator for a few days and can be used to make fresh pancakes later in the week.  If you use buckwheat flour, don’t be put off by the gumminess of the batter.  It’s very normal and still turns out perfect pancakes.  You can also make all the pancakes at once and freeze them for another day.  I like to put a piece of parchment paper in between each piece so they don’t stick together.  Another idea is to use the pancakes instead of bread for a sandwich or a roll-up.  Any other creative ideas for using up oatmeal or pancakes??

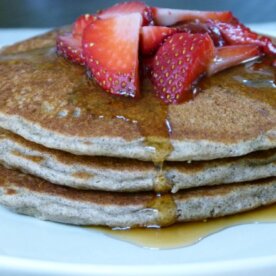
 gluten-free oatmeal pancakes | pamela salzman

Gluten-Free Oatmeal Pancakes

Pamela
Servings 6

Ingredients
  

  • 1 cup oat flour
  • 1 cup buckwheat flour or substitute whole wheat pastry flour for all or part of the oat and buckwheat flours
  • 1 teaspoon fine sea salt
  • 2 teaspoons aluminum-free baking powder
  • 1 teaspoon aluminum-free baking soda
  • pinch ground cinnamon optional
  • 2 cups buttermilk*
  • 2 large eggs
  • 1 teaspoon pure vanilla extract
  • 1 Tablespoon 100% pure maple syrup
  • 1 cup COOKED oatmeal preferably steel-cut
  • 4 Tablespoons unsalted butter melted
  • Melted unrefined coconut oil for brushing the griddle

Instructions
 

  • Preheat a griddle to 400 degrees or medium heat. (Not all built-in griddles are the same. 350 degrees may be fine for you.)
  • Combine the flour, salt, baking powder, baking soda and cinnamon in a large mixing bowl.
  • In a medium bowl or 4-6 cup measuring cup, whisk together the buttermilk, eggs, vanilla, maple syrup, melted butter and oatmeal until well blended. (Or combine all wet ingredients in a blender and add to dry mix with oatmeal.)
  • Pour the wet mixture into the dry ingredients and stir until just combined.
  • Brush the griddle with coconut oil and spoon about ¼ cup of batter onto the griddle. Add blueberries, chocolate chips or diced banana to the surface, if desired. When bubbles start to form on the surface of the pancake and the edges become slightly dry, flip it over and cook until done. Maintain the heat on medium-low or 400 degrees.

Notes

*No buttermilk? Sub half unsweetened yogurt and half whole milk. Or use 2 cups milk, omit the baking soda and use 1 Tablespoon baking powder instead.
Tried this recipe?Let us know how it was!

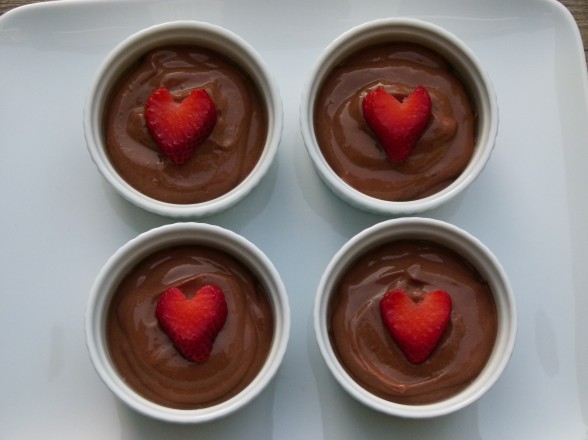
Easy-Peasy Chocolate Tofu Pudding

We used to celebrate Valentine’s Day a little differently than we do now.  It was also the one holiday of the year where I was off the hook.  My husband took care of the dinner reservation and the flowers, and all I had to do was wash my hair and get dressed up.  But it’s not as easy for both of us to get out of the house on a weeknight now that we have kids ranging in age from 8 to 15.  The book reports, sports practices, and a pre-6:00 am alarm the next morning just aren’t conducive to a relaxing evening out.  So these days I am happier making a cozy Valentine’s dinner at home for my family.  But what can make this feel like it’s not just any old night is… dessert!

Before you think I’ve lost my marbles, let me just tell you chocolate pudding made from tofu is nothing new.  Dairy-free and egg-free people, as well as vegans have been making it for years.  And you know what?  It’s delicious and uber-simple to make!  I was skeptical the first time I heard about using tofu in a dessert, but I also didn’t realize there were two different kinds of tofu.  There’s one kind that stays firm when you stir fry it or bake it, and there’s silken tofu which is rather gelatinous and very soft.  Silken tofu is used quite effectively to add creaminess in dairy-free desserts or salad dressings in place of cream cheese, sour cream and egg yolks, for example.  I’m still on the fence about tofu since I much prefer to consume soy in its more healthful, fermented form, which tofu is not.  But I also don’t promote a lot of pasteurized cow dairy (not easy for most people to digest.)  I’m guessing a little tofu every now and then won’t harm you.  However since tofu is made from soy and soy is one of the top four genetically-modified foods in this country (along with corn, canola and cottonseed), I do make a point of choosing organic or non-GMO tofu.

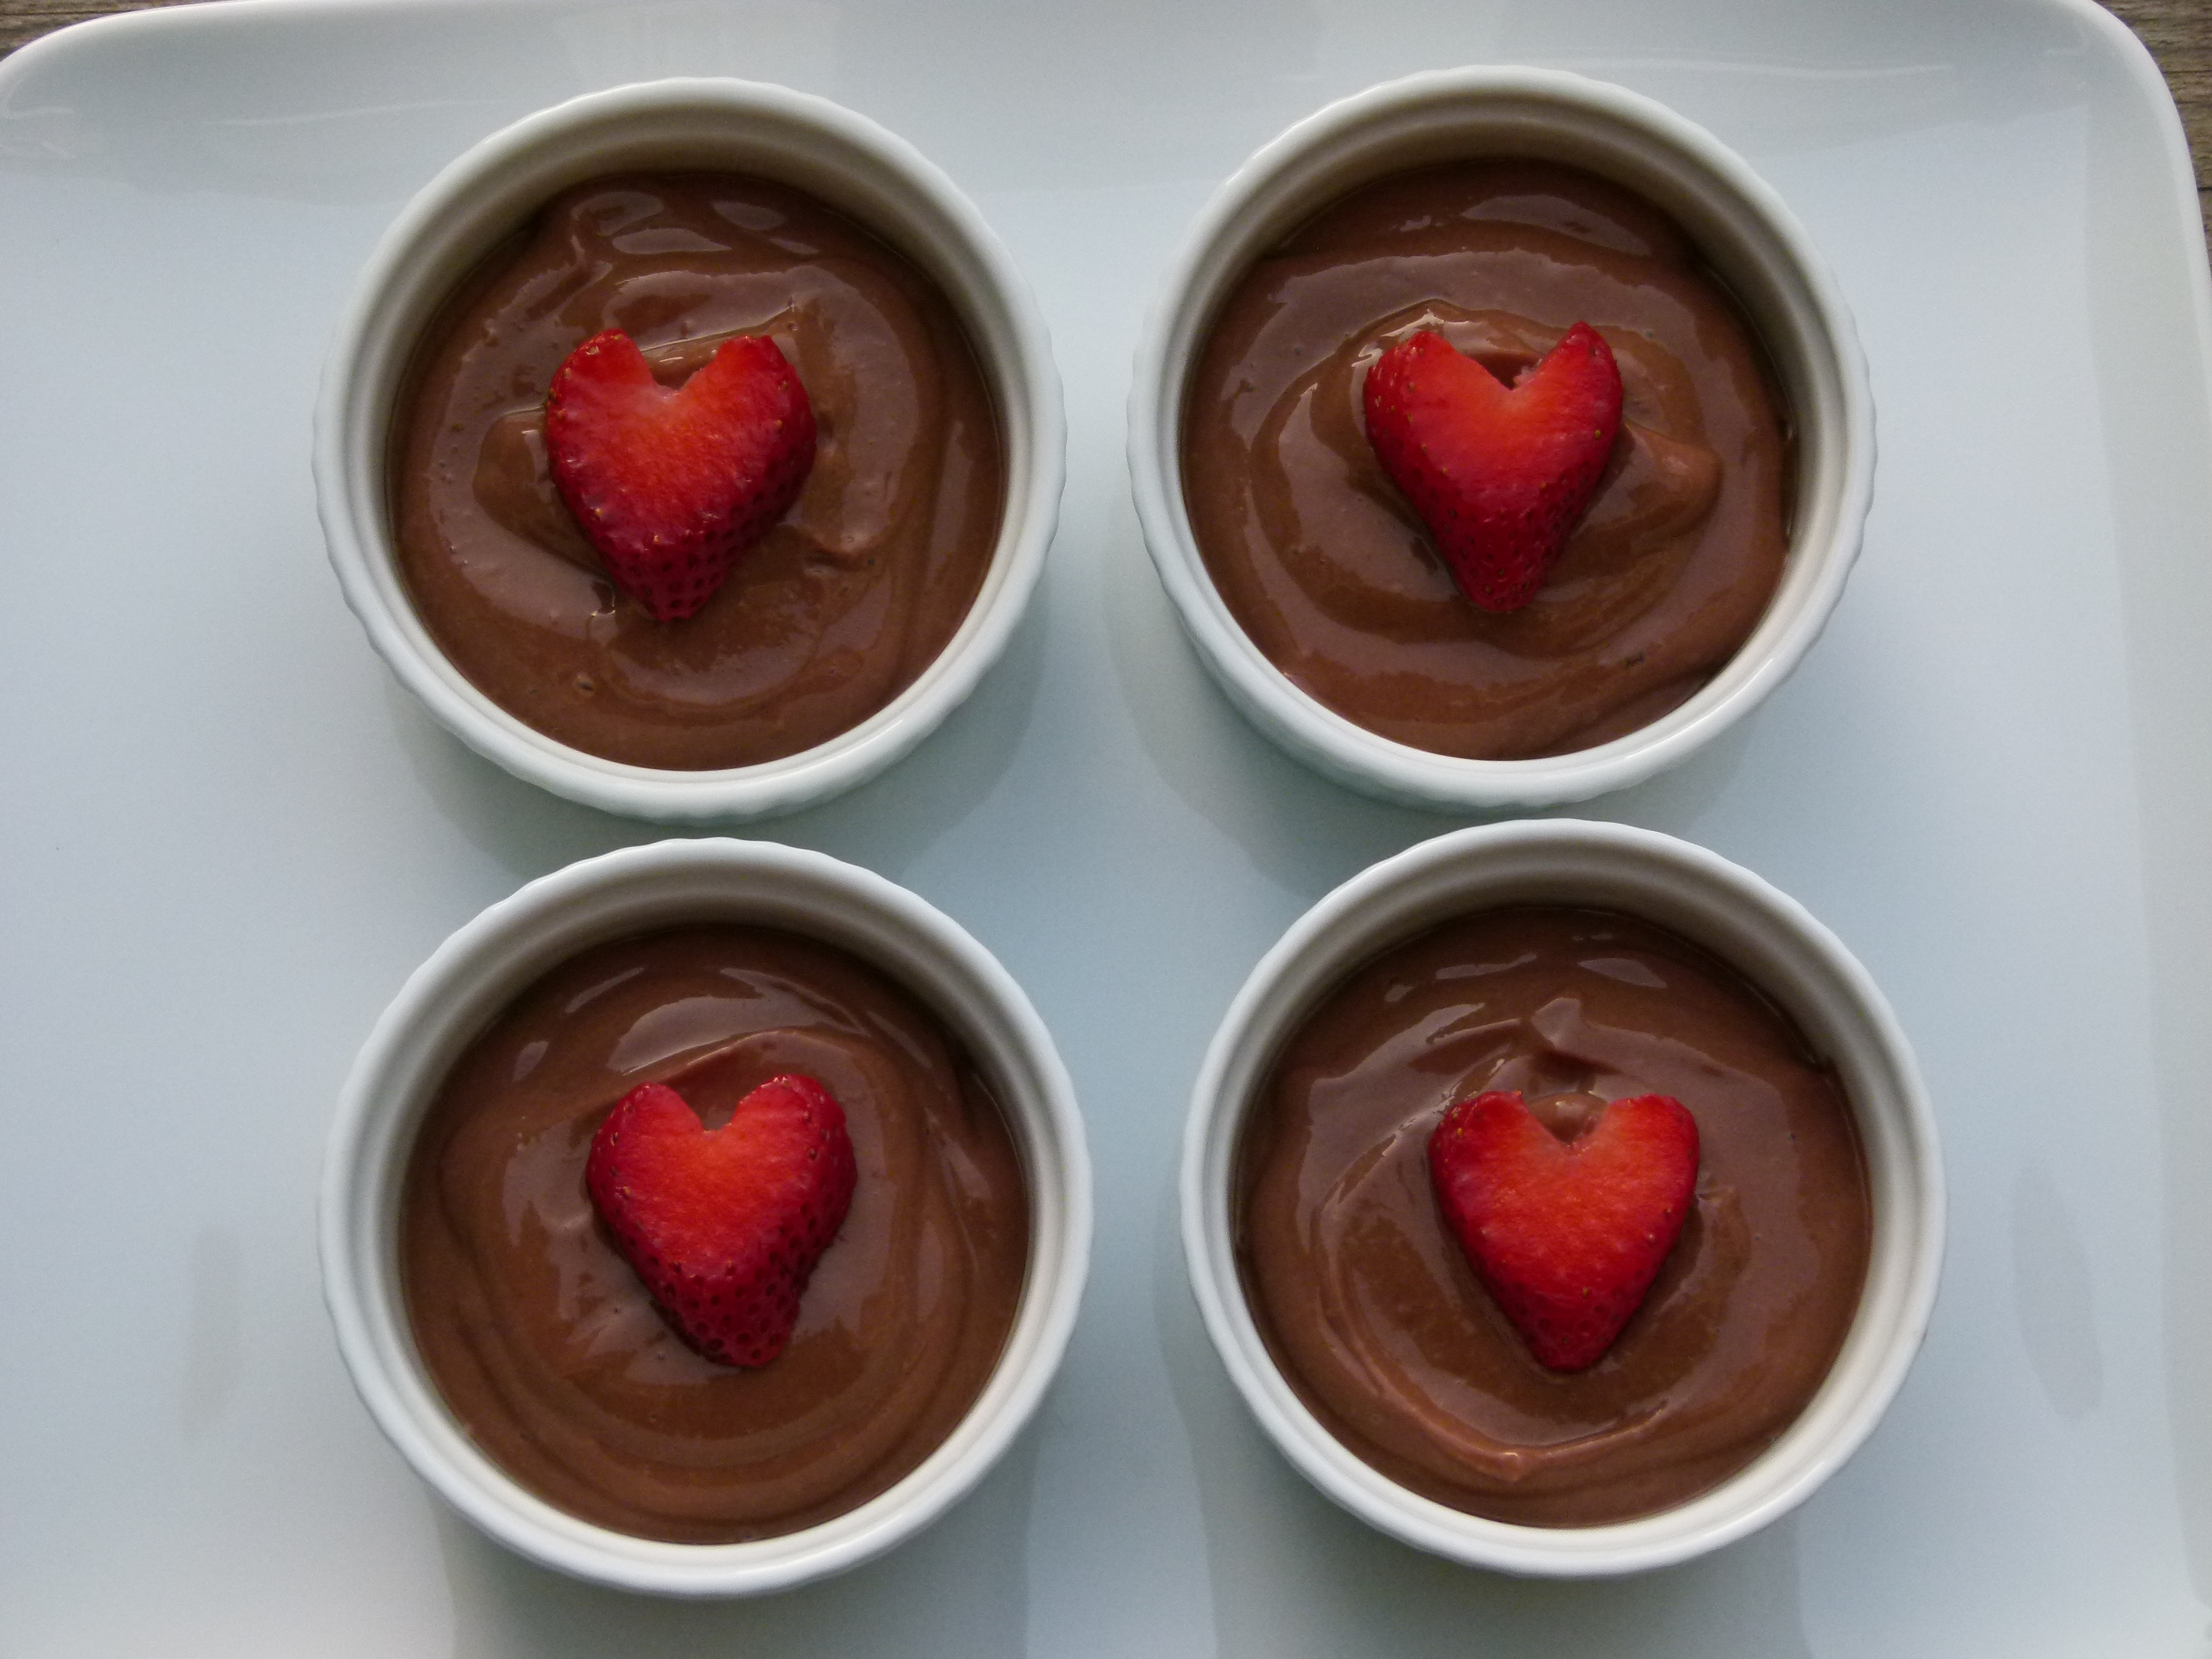
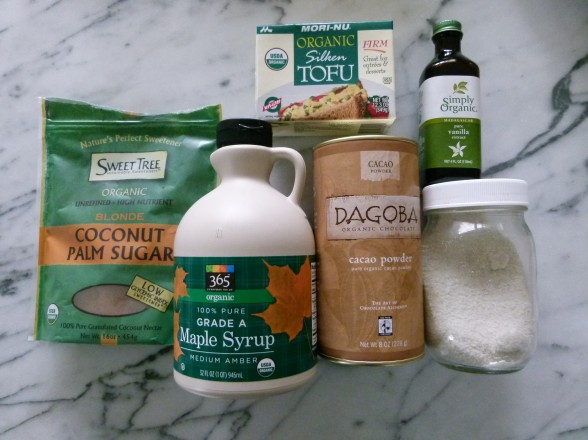
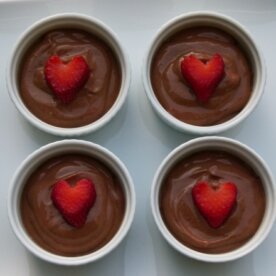
In my area I can’t find fresh tofu, which I hear is great, so normally my preferred brand is Wildwood Organics “Sprouted Tofu.”  The soybeans have been soaked and sprouted before being turned into tofu, resulting in a more digestible food.  But I did a side-by-side taste test in my free time and the Mori-Nu tofu that you see pictured here tasted more neutral than Wildwood so that’s the one I would recommend for this recipe.  And even though this is as “instant” as pudding gets, I do think it tastes better if it sits in the fridge for at least an hour, if you can wait that long.  I promised my kids that I would include their opinion in my post and let you know that they think the serving size is too small.  I disagree, but if you would like a more substantial serving, you can double the recipe to serve 6.  Instead, I prefer to keep the serving size as is and bring out some fun toppings (always a fan of the topping bar!) like fresh berries, finely chopped or sliced nuts, raw cacao nibs, finely shredded coconut or freshly whipped cream.  Dessert should be for special occasions and what’s more special than Valentine’s dinner with the ones you love?

More ideas for Valentine’s dinner and dessert coming soon!


Easy-Peasy Chocolate Tofu Pudding

Pamela
5 from 1 vote
Servings 4

Ingredients
  

  • 12 ounces organic silken tofu such as Mori-Nu
  • ¼ cup unsweetened cocoa powder
  • ¼ cup coconut palm sugar or natural cane sugar
  • 3 Tablespoons 100% pure maple syrup
  • 1 teaspoon pure vanilla extract
  • pinch of sea salt

Instructions
 

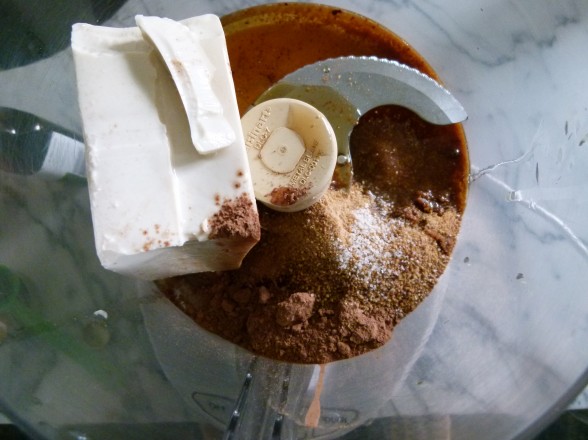
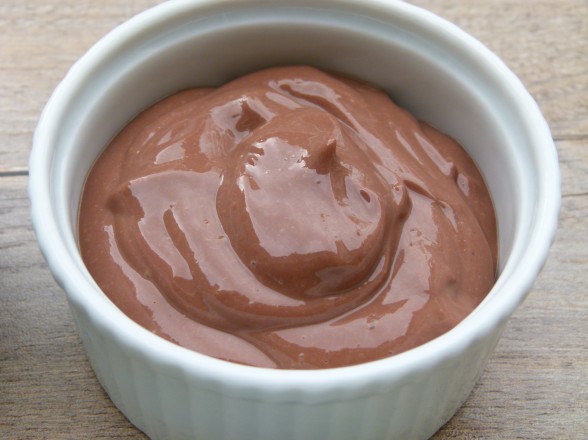
  • Blend all ingredients in a food processor until smooth and creamy. Transfer to individual ramekins or small bowls. Refrigerate for at least two hours for best flavor.
Tried this recipe?Let us know how it was!


Roasted cinnamon pears with dark chocolate sauce

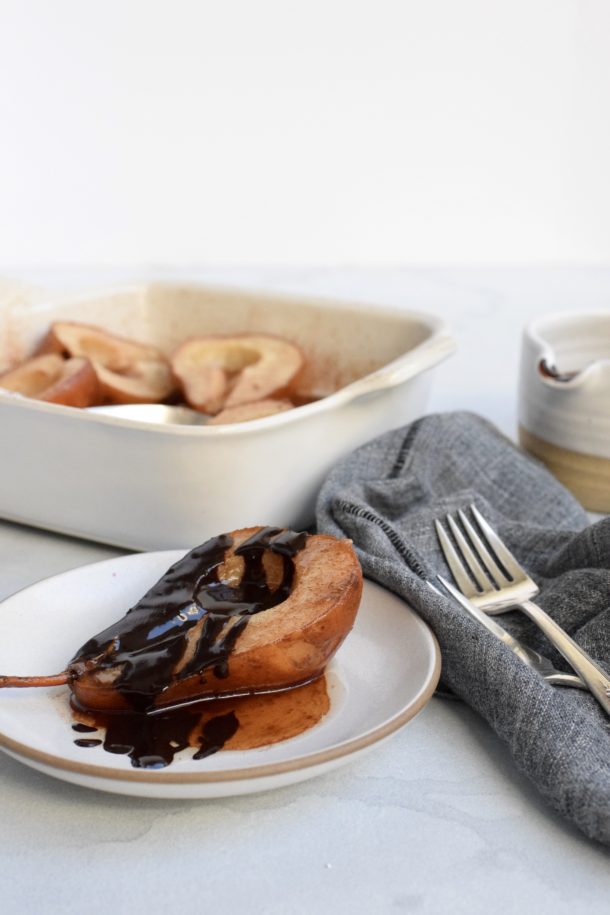
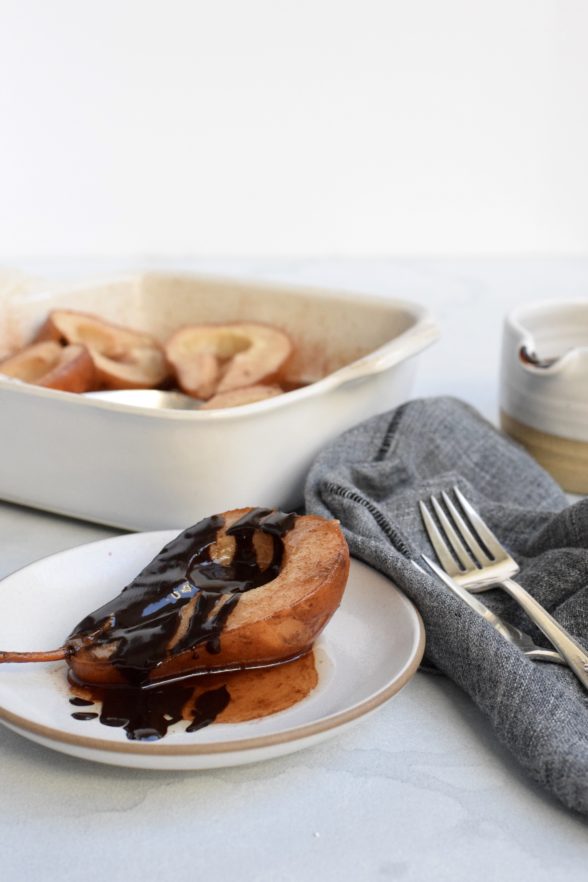
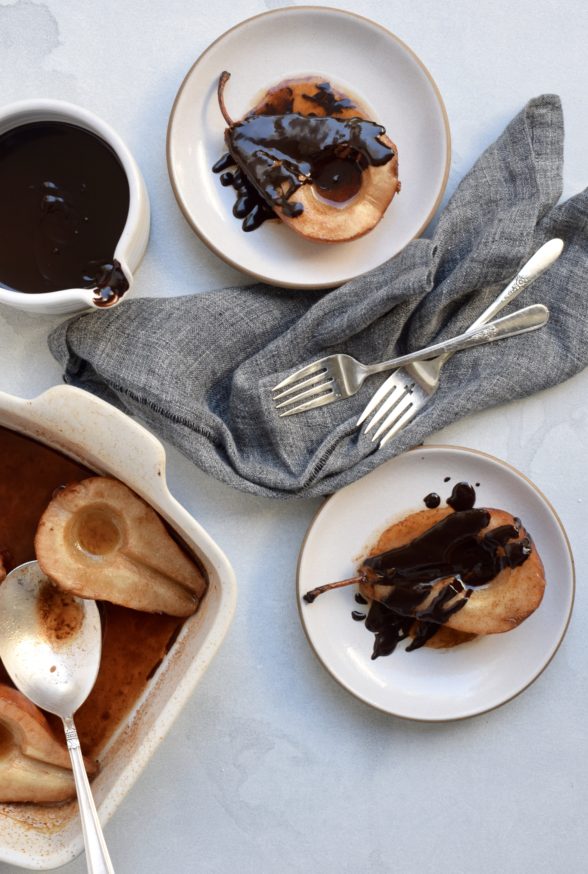
Cinnamon Roasted Pears with Dark Chocolate Sauce | Pamela Salzman

Cinnamon Roasted Pears with Dark Chocolate Sauce | Pamela Salzman

If you’re like most people, you’re probably thinking you’ve got one last hurrah before the parties come to an end and the decorations go back in storage.  A final splurge before you return to your normal routine.  One last dance with the devil before resuming your life of miso and greens.  If you’ve been messing around with too much sugar this holiday season, there’s no point beating yourself up over it.  Hopefully it was worth it, but hopefully it doesn’t send you down that slippery slope of daily dessert.  I’ve got one last treat for you, but nothing you need to feel guilty about.  In fact, these roasted pears just might rock your new year’s eve.

Why don’t pears get more attention?  There are so many delicious varieties and the fragrance of a perfectly ripe pear is completely intoxicating.  Plus, I think they are sooooo beautiful.  I love pear crisps, pear upside-down cake or just simply sauteed pears on top of waffles or pancakes.  But the pear dessert I make most often is simply roasted with a rich dark chocolate sauce or plain vanilla ice cream.  I’ve tried poached pears before, but the flavor is not quite as intense as roasted.  The best part is that these are easy enough to whip together as a last minute sophisticated dessert for a dinner party or just a cozy night at home in front of the fire playing Bananagrams

I love when the sweet end to a meal isn’t loaded with sugar and refined ingredients.  I especially feel that way about fruit desserts, which should taste like fruit and not just sweet.  These roasted pears are certainly fabulous enough to serve without the dark chocolate sauce, but good gracious, the sauce is just heaven.  It’s good to have a perfect chocolate sauce recipe in your back pocket since it can dress up everything from plain berries to ice cream to a simple cake.  Mr. Picky suggested he might even try Swiss chard if he could put this chocolate sauce on it.  I just might let him.  If dark chocolate isn’t sweet enough for your lovelies, you can use semi-sweet or milk chocolate instead.  But just keep in mind, the darker the chocolate the higher the percentage of cacao and the lower the sugar.
Cinnamon Roasted Pears with Dark Chocolate Sauce | Pamela Salzman


What will be your grand finale for 2011?  Whatever is it is, I hope it’s delicious.  Wishing you a happy and healthy 2012!

Cinnamon Roasted Pears with Dark Chocolate Sauce | Pamela Salzman

Roasted Cinnamon Pears with Dark Chocolate Sauce

Pamela
Servings 0 serves 6 (in the photos, I doubled the ingredients)

Ingredients
  

  • 1/3 cup pure Grade A maple syrup
  • 1/3 cup unsweetened apple juice
  • 3 Tablespoons unsalted butter
  • 1 teaspoon ground cinnamon
  • 3 firm but ripe pears, such as Bosc or Bartlett
  • ¼ cup heavy cream
  • ¼ cup whole milk
  • 2 Tablespoons natural cane sugar or maple sugar
  • 1 Tablespoon unsalted butter
  • 4 ounces dark or bittersweet chocolate coarsely chopped
  • ½ teaspoon pure vanilla extract
  • sliced almonds or chopped pecans for garnish optional

Instructions
 

  • Preheat oven to 400 degrees.
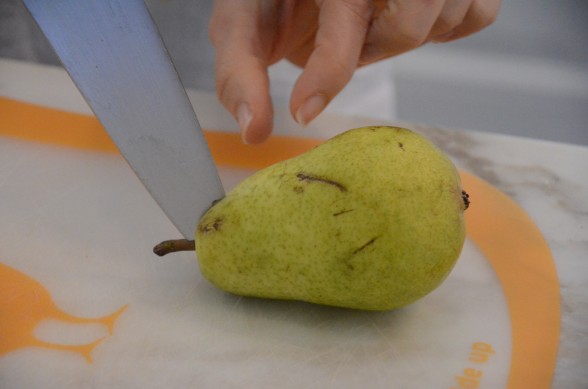
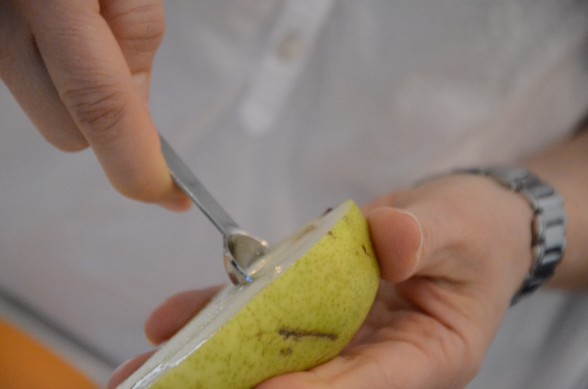
  • Cut the pears in half through the stem, if possible. I take a knife and start an inch above the stem and slice through the stem, so both halves get a piece of stem – looks pretty! Then take the knife and slice the pear all the way in half, following the original cut. Remove the core with a round metal measuring spoon. Arrange the pears cut side up in an 8 or 9-inch square glass or ceramic baking dish.
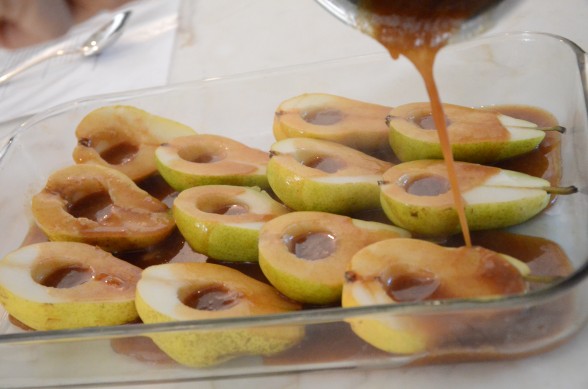
  • In a small saucepan over medium low heat, whisk together maple syrup, apple juice, butter and cinnamon until butter is melted.
  • Pour the sauce over the pears. Bake for about 30 minutes, or until the pears are tender. Baste occasionally with the pan juices.
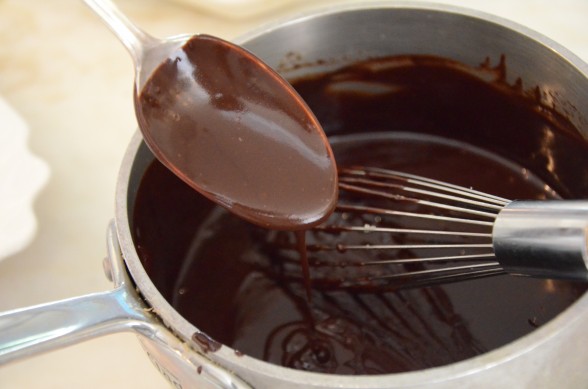
  • In a small saucepan over medium heat, warm together cream, milk, sugar and butter. Stir to dissolve sugar. Turn heat off and add chocolate and vanilla. Stir until chocolate is melted and sauce is smooth.
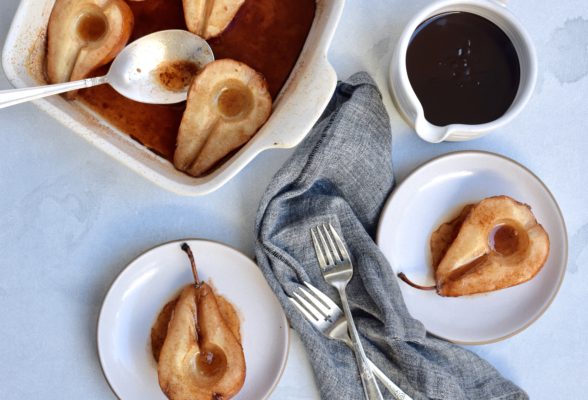
  • Serve 1 pear half per person. Drizzle with chocolate sauce and garnish with sliced almonds or chopped pecans, if desired. Any remaining pear basting liquid is delicious over French toast or pancakes.
Tried this recipe?Let us know how it was!