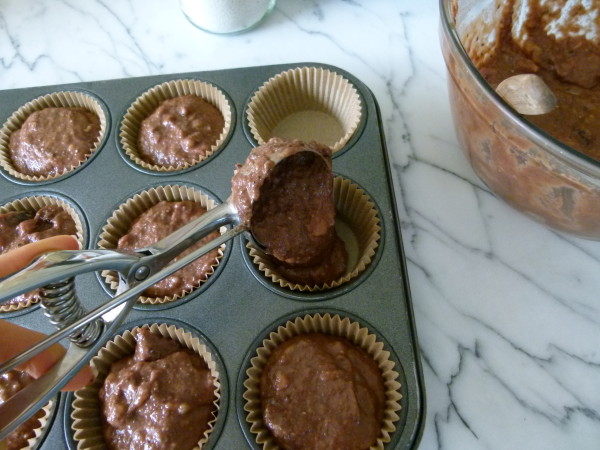
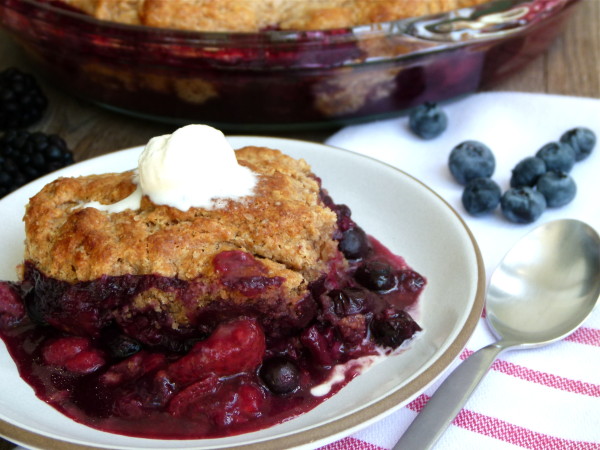
Mixed berry cobbler recipe (slow cooker version, too!)

Do you know the difference between a crisp, a cobbler, a slump, a grunt and a brown betty? I hear the terms used interchangeably, when of course, they’re not the same at all. A cobbler has a biscuit topping, a crisp has a crunchy oat and sugar topping, a slump/grunt is like a cobbler, but it is finished on the stovetop so that the biscuits are steamed, rather than browned, and a brown betty is topped with buttered bread crumbs. Just so we’re all on the same page. And just so you don’t go ordering a cobbler at a restaurant thinking you are getting something with a buttery, crunchy, oat topping only to be served a bowl of cooked fruit with a biscuit on top. I hate when that happens.

Not that a cobbler is bad. Oh no, friends. Cobblers are very, very good. Especially when strawberries are in season and they are about as luscious as can be. When strawberries debut at our local farmer’s markets, I feel like a bear coming out of hibernation, like I’m taking a breath of fresh air. It’s spring! Weeeee! I can finally tell Mr. Picky, “Yes, it’s finally strawberry season!” I swear I have been buying strawberries lately like they’re never coming back. They’re in the kids’ lunches several times a week, in breakfast smoothies and acai bowls and chopped into pancakes. I even did a crazy thing and added a little bit of chia seed and water to some mashed up strawberries and let it thicken into a raw jam/spread. I thought it was really good. Then I smeared some in between two slices of whole grain bread and made a stuffed strawberry French toast, if you will. Really tasty!
I was feeling spunky last weekend and thought I would surprise everyone with a special dessert, which I knew had to have strawberries in it. So I started pulling together my favorite cobbler with strawberries as well as whatever berries I had in the freezer. I had this moment of genius when I thought, I bet I could do this in a slow cooker! I bet no one in the world has ever done a cobbler in a slow cooker. I am going to revolutionize the food world with this brilliant idea! Of course, one quick search on Foodily and I saw that 20 other people/websites already came up with that same idea. I hate when that happens. Grumpy face. Although one of the recipes called for a can of apple pie filling and a box of yellow cake mix. I mean, is that even a recipe? That is such a gross idea. Don’t even think about trying it.
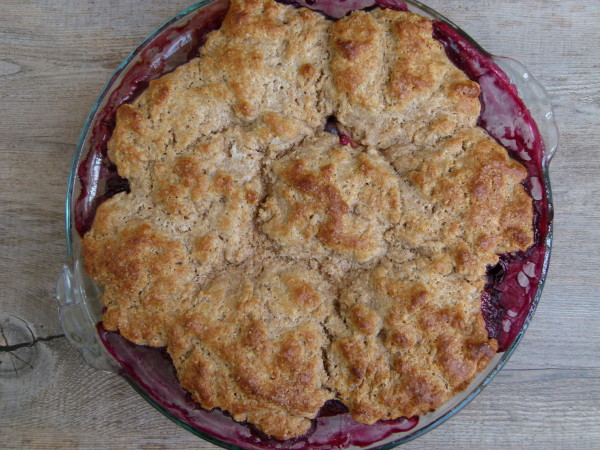
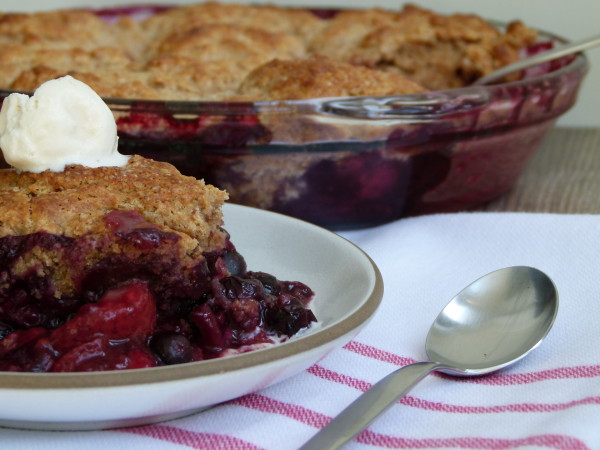
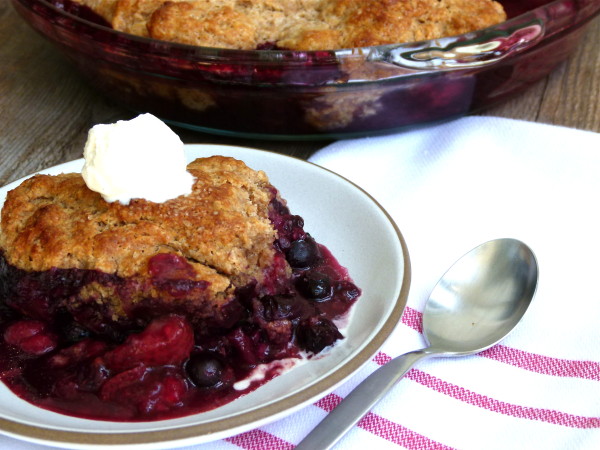
Why would you when you can have this wholesome, fresh, clean and YUMMY cobbler for just a little more effort? I have two versions here, one baked in the oven and the other in the slow cooker. The oven cobbler has a much prettier presentation, with the classic, nicely browned “cobbled” texture on top and baked in a dish you can actually bring to the table. But it’s nice to know you can can use your slow cooker for more than just shredded meat. I was thinking it would be great for the summer so you don’t have to turn your oven on to make a fruit dessert. The look wasn’t quite as lovely since I spread the dough on the bottom of the insert and laid the fruit on top. I wanted the fruit to stay intact and not get cooked into a pot of mush. Which it did not.

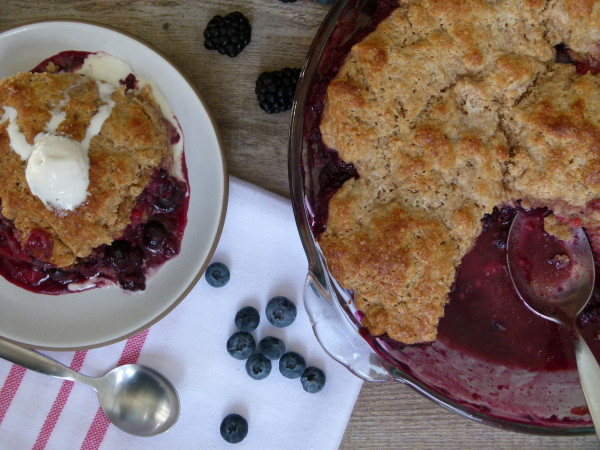
Either way, the ingredients stay the same for both. I have used whole spelt flour, whole wheat pastry and white whole wheat all with success. I know that you can use gluten-free flour like Kind Arthur with a little added xanthan gum and achieve an equally tasty result. If you’ve made cobbler before, you might think my recipe doesn’t have enough sweetener. But I promise, give this a go and you’ll be surprised how much you enjoy tasting the actual fruit and not just sugar. Of course, a little ice cream on top doesn’t taste bad. Or, I look forward to leftovers the next morning with a dollop of sheep’s yogurt. Unless someone ate it all and left me none when I couldn’t stop dreaming about it all night. Ooooh, I hate when that happens!
Mixed Berry Cobbler
Ingredients
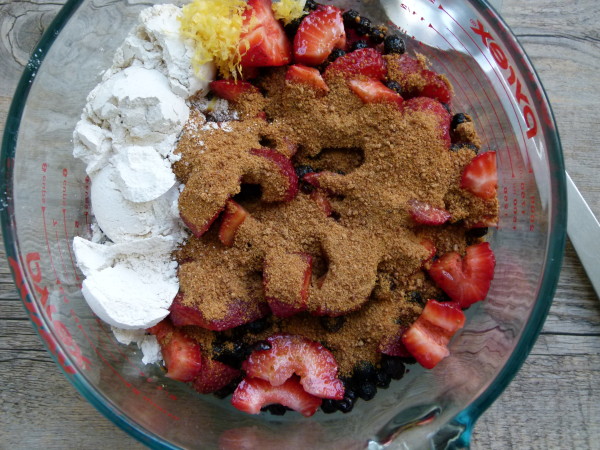
- 6 cups mixed fresh berries or frozen, thawed
- ¼ cup coconut palm sugar organic cane sugar or brown sugar
- 3 Tablespoons flour such as spelt or your favorite GF flour such as rice flour
- 1 teaspoon lemon zest not packed
- 1 ½ cups whole spelt flour whole whet pastry, white whole wheat flour or all-purpose flour OR King Arthur Multi-purpose GF Flour + 1 tsp. xanthan gum
- 2 teaspoons aluminum-free baking powder
- ½ teaspoon baking soda
- 2 Tablespoons pure maple syrup OR organic cane sugar if you use maple syrup, add to buttermilk; if you use sugar, add to flour
- ¼ teaspoon fine grain sea salt
- 6 Tablespoons cold unsalted butter or organic Earth Balance cut in small pieces + more for greasing baking dish
- ¾ cup buttermilk or unsweetened non-dairy milk + 1 Tbs. apple cider vinegar
- 1 Tablespoon unsalted butter or organic Earth Balance melted or 1 Tablespoon buttermilk*
- 1 teaspoon sugar optional
Instructions
- Preheat oven to 400 degrees. Grease a 9–or 10-inch square shallow baking dish or pie plate.
- In a medium bowl, gently toss the berries with 3 Tbs. flour, ¼ cup sugar and zest. Transfer berries into the prepared pan. Set aside and reserve the bowl.
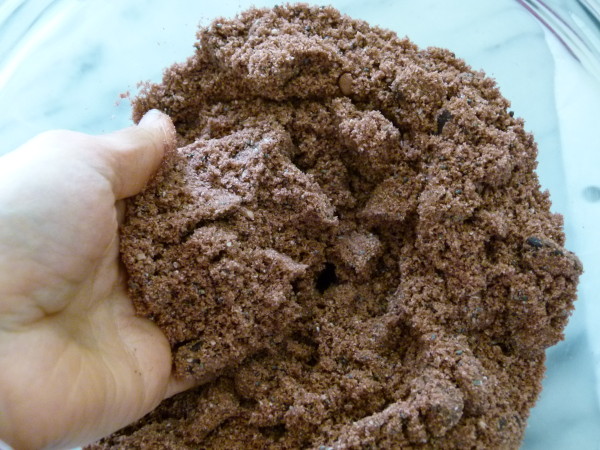
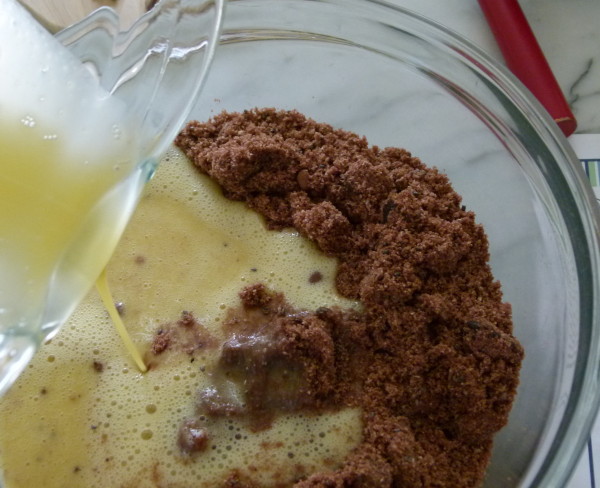
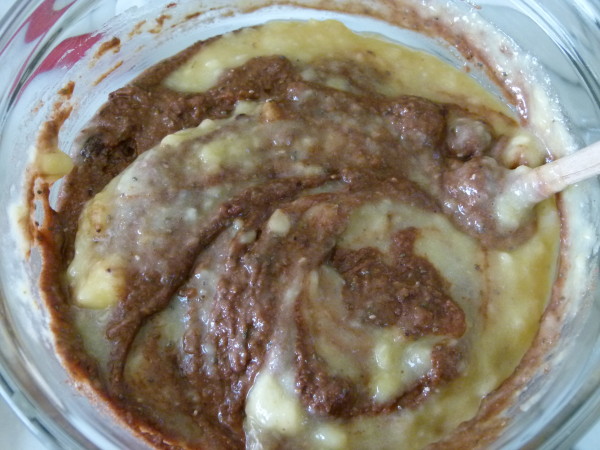
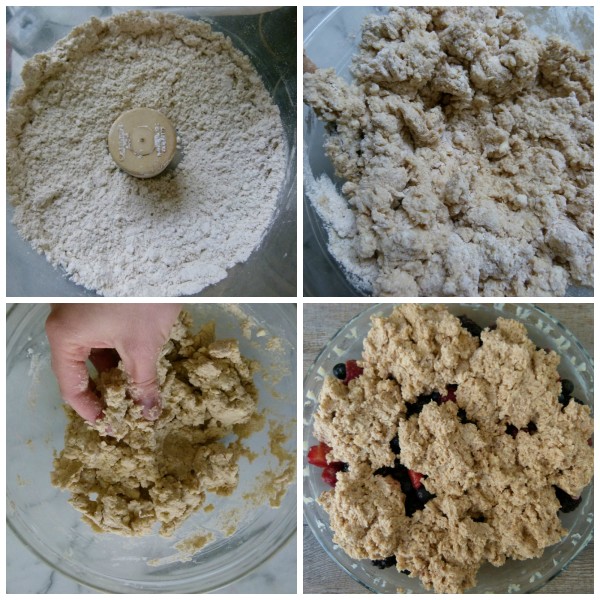
- To make the cobbler topping, blend the 1 ½ cups flour, baking powder, baking soda, 2 Tbs. sugar (if using), salt and butter with your fingertips or a pastry blender or pulse in a food processor just until most of the mixture resembles coarse meal. Transfer to the same bowl used to mix the berries and stir in the buttermilk and maple syrup (if using) until well combined.
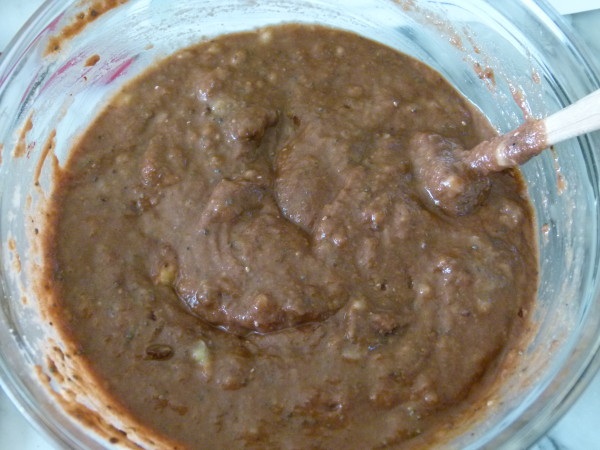
- Using your fingertips, rub the buttermilk mixture until it begins to clump together. Take a heaping spoonful of dough and place it on top of the berries. Don’t cover the berries completely. Brush with melted butter or buttermilk and sprinkle with sugar, if desired. Place the dish on a baking sheet and bake for 40 minutes or until the fruit is bubbling and the top is golden and cooked through.
Notes
Follow all directions for cobbler in the oven except dollop the cobbler topping on the bottom of the slow cooker insert and pour the fruit mixture on top. Cover and cook on LOW for 1 ½ to 2 hours, or until biscuit mixture is cooked through. The time will depend on how wide your slow cooker is.