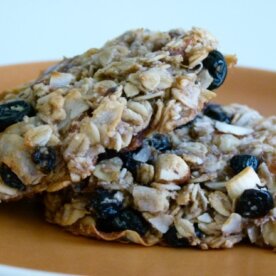
Beet Green Crisps Recipe
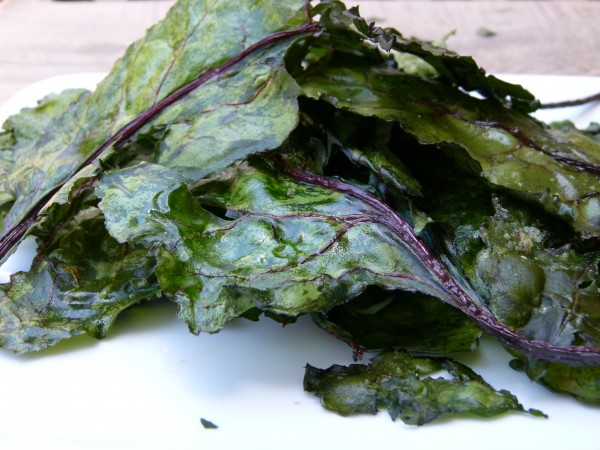
Beet Green Crisps by Pamela Salzman

Daughter #1 is lucky enough to be attending a great high school summer program at an East Coast university for the next 6 weeks.  My daughter, Mr. Picky, and I are currently en route to get her there and settled before he and I spend a week on Long Island with my family.  Because Daughter #1 had finals up until yesterday afternoon, there was no packing done until…last night.  So not my style to do things at the last minute, but I needed to supervise what went into that bag.  I love the idea of letting the kids take responsibility for themselves, but there is a certain amount of guidance that I needed to impose offer in this situation.  Clothing that looks like something I use to mop the floor should stay home.  Outfits can most definitely be repeated during a 6-week time period.    Not every single pair of underwear that one owns needs to be packed.  Repeat after me, “I can do laundry.”
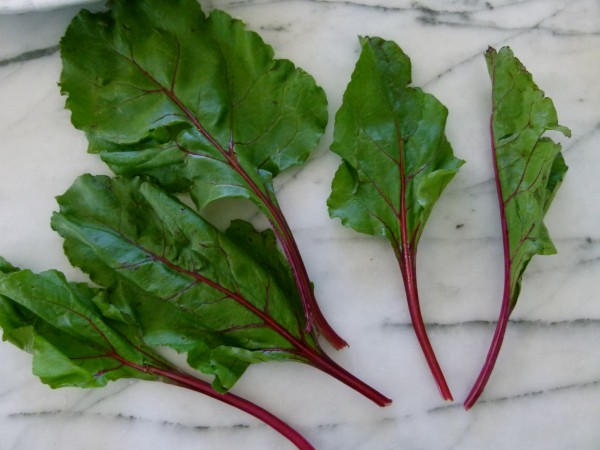
fresh beet greens

It’s a huge contrast to when I will prepare Mr. Picky for 2 weeks at sleepaway camp next month.  Most of the clothes we pack him will come back unworn.  And even though he showers every day at home, I doubt he will shower at camp more than twice.  “The lake gets me clean, Mom.”  Whereas my daughter brought a separate carry-on bag just for toiletries, including her straightening iron, hair dryer and several brushes, Mr. Picky packs a toothbrush and toothpaste and a body wash that doubles as shampoo, which, like I said, he probably won’t use.
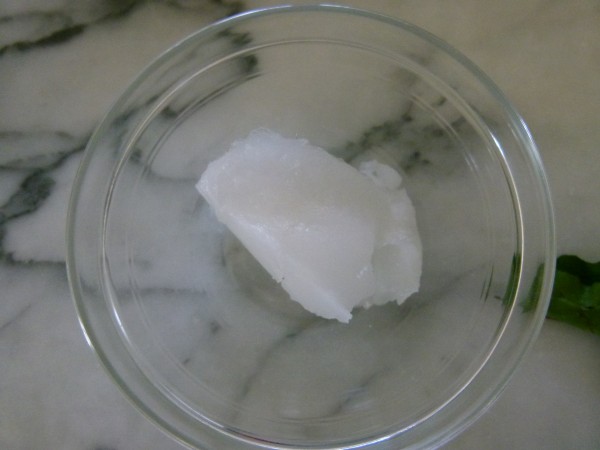
unrefined coconut oil in a heat-proof bowl which I stick in the oven while it's preheating

Both scenarios make me chuckle and say something about each of them.  I was thinking about that late last night when I finally got around to packing for myself.  It seriously took me 15 minutes to pull my personal items together for my week at my parents’ house.  I need very little as I keep some basics there and I do laundry regularly.  But I do spend A LOT of time packing food.


First there’s the food I bring to my parents’ house, like homemade granola, dried persimmons from the farmers market for my dad, truly raw almonds and my nut milk bag so I can make almond milk, and a few ginormous lemons from my tree just to show off a little, among other things.  And then there’s food to eat on the airplane because I just cannot deal with boxed “snack packs.”  Cannot deal.
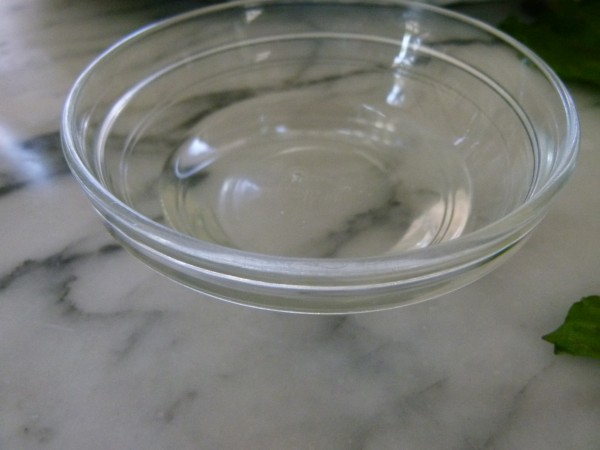
melted coconut oil

I always pack a lot for long flights because I am a total crankypants if I get hungry.  So I swear I spent more time yesterday prepping for a hot breakfast at home, as well as lunch and snacks on the plane than I did packing for all three of us combined.  No joke!  I made pancake batter and fresh blueberry sauce for breakfast.  Then I put together containers of raw veggies and cut fruit, sushi rice and edamame for Mr. Picky, quinoa, roasted vegetables and salad dressing for my daughter and myself, as well as trail mix and these awesome beet green crisps.
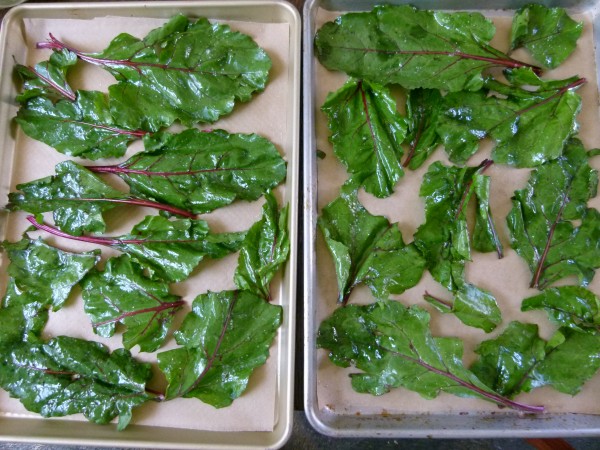
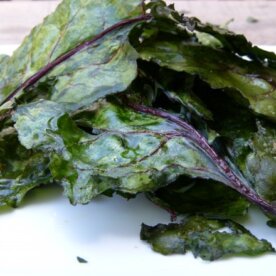
beet greens before cooking

Can you believe it took me all this time to get to the fact that this post is about beet green crisps?  Anywaaaaaay, I was having lunch at my friend Marta’s last week after I had a Panchakarma treatment which I promise to tell you about soon.  Lunch was dal, basmati rice, roasted beets, green beans and these crispy greens which I thought were Swiss chard.   You’ve heard of kale chips, so think that but with Swiss chard leaves instead of kale.  SO AWESOME!!!!!  Light and crispy with a little sea salt and not quite as strongly flavored as kale.  Addictive.  I couldn’t stop thinking about them.  Then it hit me that the leaves were much smaller than Swiss chard and she had made beets for lunch, so they were obviously beet greens.  By the way, beets and Swiss chard are related and the leaves from both taste very similar.  I use them interchangeably, but normally if I buy a bunch of beets, the greens aren’t enough to make a side dish for all of us for dinner.  I just found my new favorite way to use them!
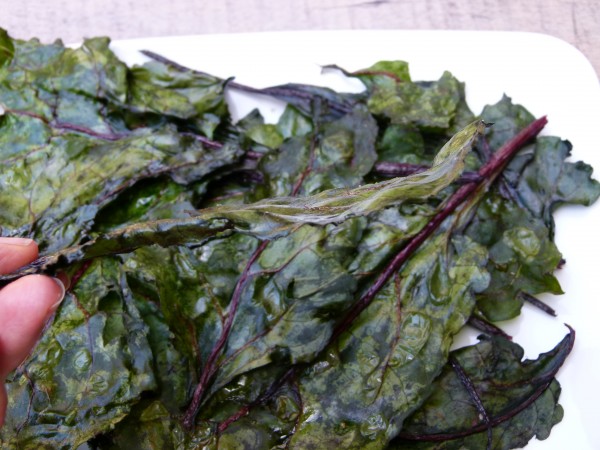
Beet Green Crisps by Pamela Salzman

You know you should be eating more dark green leafy vegetables, as they are among the most healing foods on the planet.  This is a great way to enjoy your greens and these crisps would have made the perfect snack for traveling if I literally had not eaten the entire platter after I photographed them.  Literally the entire platter.
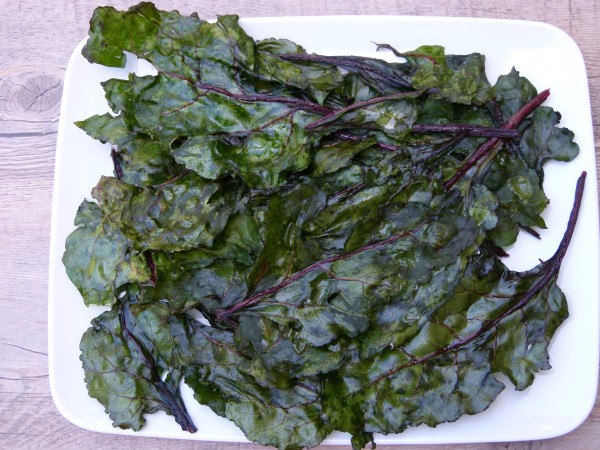
Beet Green Crisps by Pamela Salzman

Beet Green Crisps

Pamela
Servings 0

Ingredients
  

  • 1 bunch fresh beet greens washed and dried well
  • unrefined coconut oil melted or olive oil for coating the greens
  • fine sea salt to taste

Instructions
 

  • Preheat the oven to 350 degrees.  Line 2 baking sheets with unbleached parchment paper.
  • You can trim the stems off the leaves and just roast the leaves if you want.  I did a mix of both.  The stems become very tender, but not crispy.  Place the greens in a large mixing bowl and drizzle with a little coconut oil.  You only need enough to lightly coat the leaves.  Rub a little coconut oil on both sides of the leaves and arrange the greens in one layer on the prepared baking sheets.  Sprinkle with a little salt.  Be conservative with the salt since beet greens are high in natural sodium.
  • Bake for 5 minutes and then turn the leaves over and bake for another 5 minutes or until dry and crispy.  Oven temperatures vary wildly, so if your oven runs hot, you may want to check the greens after 3 minutes.  They won’t taste good if they’re burned!
Tried this recipe?Let us know how it was!
 

Chocolate Banana Almond Flour Muffins with Chia Seeds Recipe (Gluten-free & Passover Friendly)

Chocolate Banana Chia Seed Muffins with Almond Flour | Pamela Salzman

There’s a new (but not really new) diet in town which everyone is talking about called the Paleolithic Diet or Paleo, for short.  Sometimes it’s referred to as the Caveman or Hunter-Gatherer Diet and it focuses on the foods humans ate pre-industrial agriculture.  The idea is that our bodies recognize certain foods and haven’t evolved to recognize other newer foods so we should stick to what was eaten during the Paleolithic time to be healthy and fit.  The diet allows lean grass-fed and pastured meats, eggs, nuts and seeds, fruits and vegetables, coconut, avocado and healthy fats.  Easy, right?  But the diet does not allow anything processed or refined (like sugar, flour, packaged food), or any grains (wheat, rice, barley, etc.), legumes (beans, lentils), dairy, potatoes or processed oils.  I am not encouraging or discouraging this diet, which I think has its pros and cons, but merely giving a quick explanation since I’ve received a few questions about it recently.

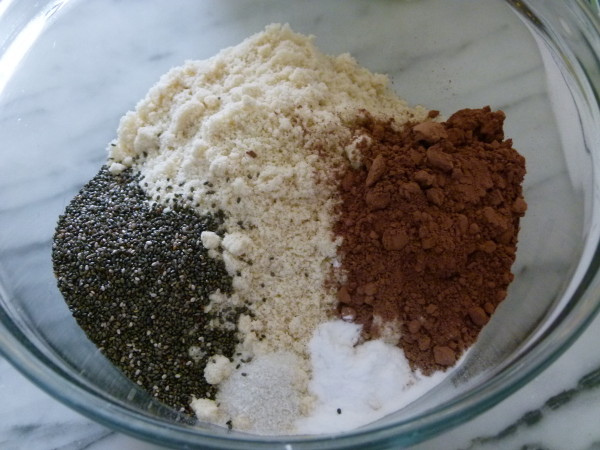
all the dry ingredients

As I have noticed more and more people limiting gluten and grains, I have also noticed the increased popularity and use of almond flour, which is finely milled blanched almonds.  Almonds, like all nuts and seeds, are gluten-free, low in carbohydrates and high in protein.  Whereas nuts and seeds, generally speaking, can be slightly acid-forming, almonds are alkalizing.

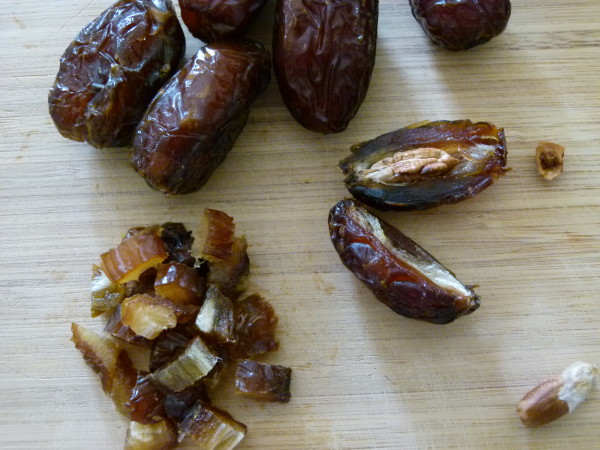
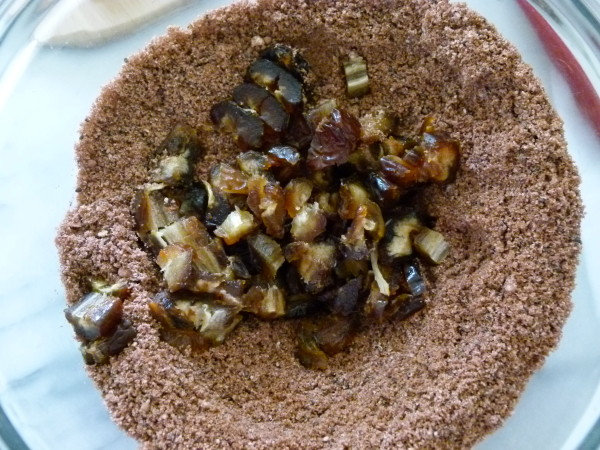
I love Medjool dates!  Dice them when they're cold -- much easier.

A few years ago I found Elana Amsterdam’s great gluten-free website, www.elanaspantry.com, which I think started the almond flour revolution.  Elana has since turned paleo, and all her newer recipes follow those guidelines.  It’s really because of her website that I was inspired to experiment with almond flour and although I have had mixed results, overall I think it’s awesome once I figured out how to work with it.  I think it’s great to add some variety to our diet and I love getting some extra protein into Mr. Picky.  Almond flour also comes in handy around Passover, 8 days of no grains or legumes, except Matzoh which can start to get a tad boring after a few days.

Add dates to combined dry ingredients

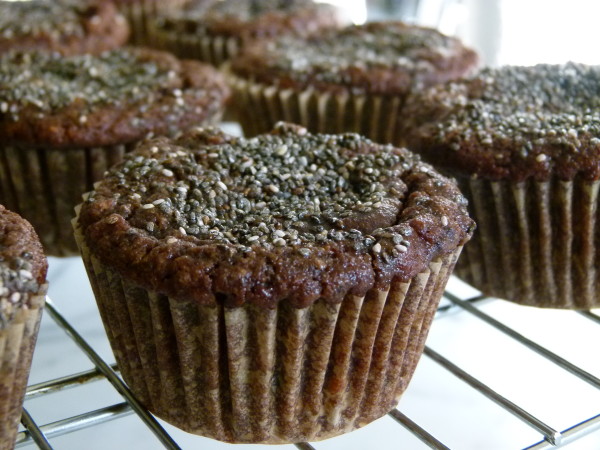
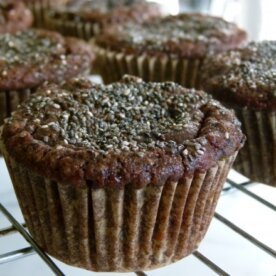
I had a really delicious Chocolate Banana Chia Seed muffin at Le Pain Quotidian last year or the year before and I was intent on duplicating it.   The muffin was moist with the perfect amount of sweetness and I loved the crunch from the chia seeds.  They were kind enough to tell me the ingredients (although not the exact recipe) and I made a tasty version at home with whole wheat pastry flour and maple syrup.  The kids thought they were great!  When I tried using almond flour in place of the wheat flour, we all went crazy for them.  The almond flour version of the muffin was the best — super moist, chocolaty and a little denser, but in a good way.  Now when I make these muffins, I always use almond flour!

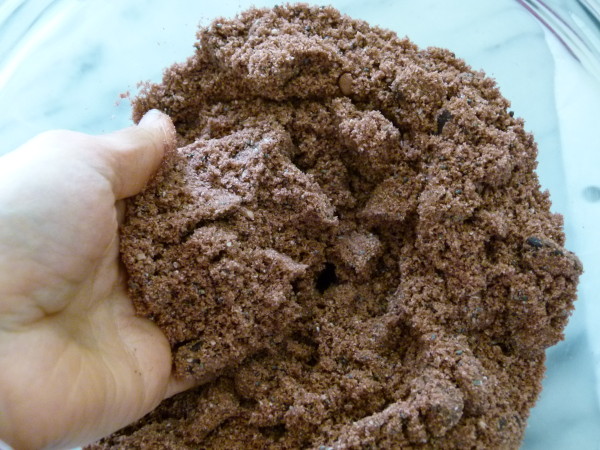
it's good to break up the date pieces

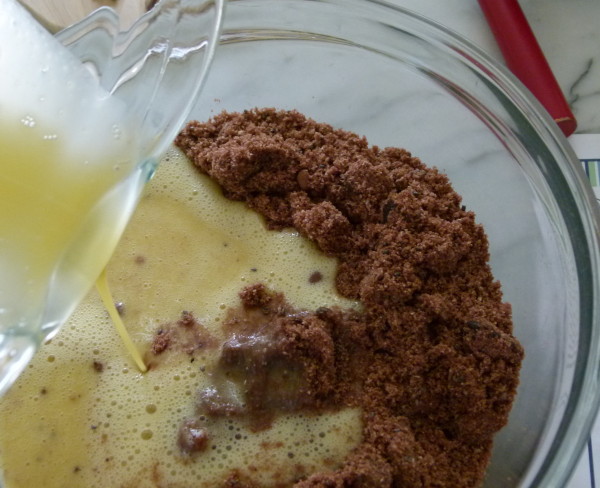
pour in the wet mixture

Before you start substituting almond flour one-for-one for wheat flour, stop right there.  It isn’t a perfect substitution.  Almond flour has no gluten, but does contain way more fat than wheat flour so there are a few adjustments to be made.  I would stop by Elana’s Pantry for a quick lesson on how almond flour works.  I also have found that specifically labeled “almond flour” is better than “almond meal” (like Bob’s Red Mill.)  Per Elana, I started buying almond flour from Honeyville Grain, which has a very good, fresh product and a very reasonable shipping fee ($4.50 flat rate.

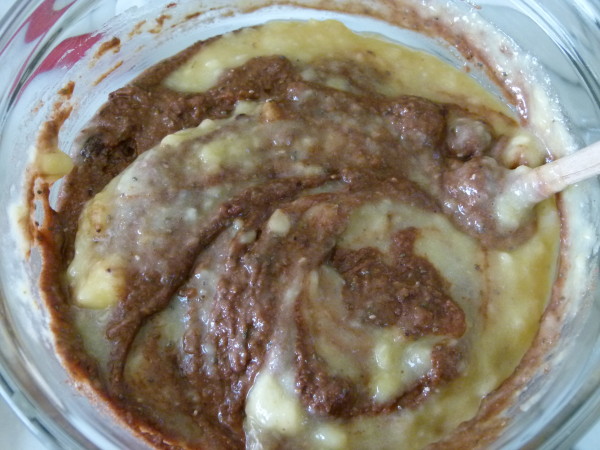
fold in the mashed banana

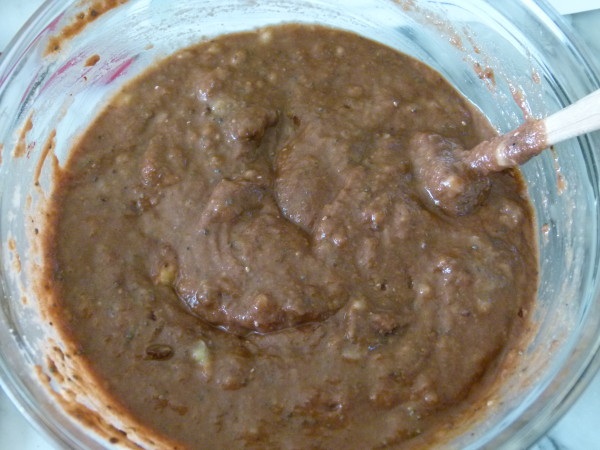
batter with the mashed bananas

These muffins are not technically Paleo due to the yogurt, although if you can find an unsweetened almond milk yogurt, that would work here.  Or you can try making these without the yogurt and just add 1 teaspoon of apple cider vinegar, although I have never done it and can’t guarantee the results.  I’m really posting these as a great gluten-free, Happy Passover muffin, although I make these all year.  In fact I made these recently and Daughter #2 had a few friends over and they inhaled half the batch in 2 minutes.  (I’m telling you, if you want the kids to hang out at your house, you need FOOD.)  To make this more of a dessert, you can certainly substitute chocolate chips for the diced dates.  The chia seeds are fun and obviously nutritious, but there’s less than 1 teaspoon per muffin so it’s not a dealbreaker if you want to omit them.

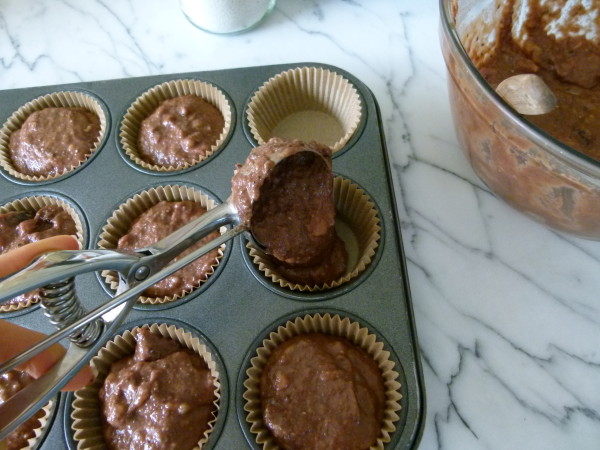
using an ice cream scoop makes this easy

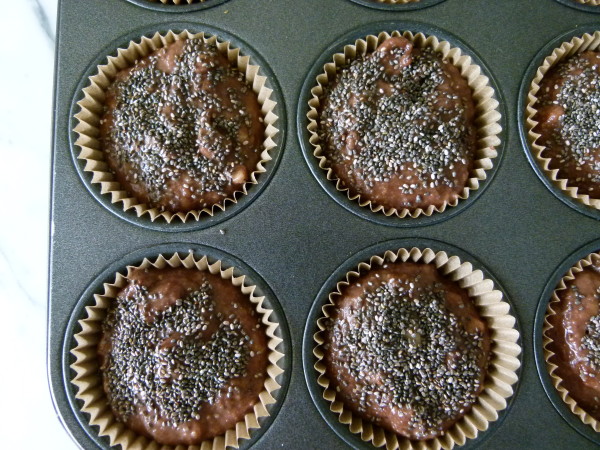
ready for the oven

As always, I love hearing about your experiments in the kitchen and would especially be interested to know about your experience with almond flour or your favorite Passover treats.  Once again, I’m on dessert duty for Passover and I’m getting busy right now.  This weekend I will be making loads of Macaroons, both plain and dipped in chocolate, the Lemon Ice Torte which I have been making since 1991, and a raw cashew “cheesecake” which I will have to share another time.  There is also a recipe on my site for a (vegan) Coconut Tart with Strawberries which is perfect for Passover and Easter.  Lots of delicious options!

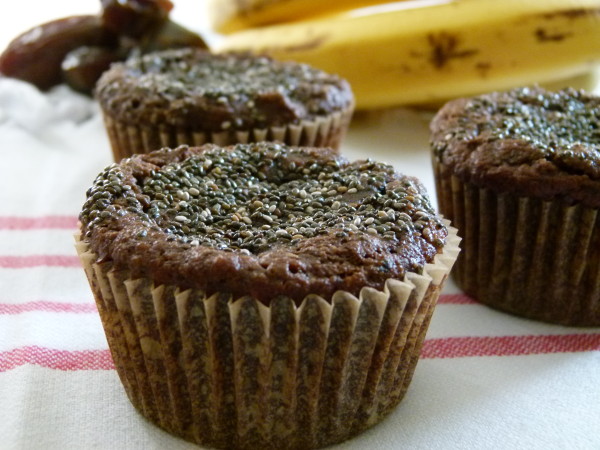
also delicious warm out of the oven!

Chocolate Banana Almond Flour Muffins with Chia Seeds

Pamela, inspired by Le Pain Quotidien
Servings 0 makes 12 muffins

Ingredients
  

  • 1 ¾ cups blanched almond flour not almond meal – I use Honeyville
  • ¼ cup unsweetened cocoa powder
  • 1 teaspoon baking soda
  • ½ teaspoon fine grain sea salt
  • 2 Tablespoons of chia seeds + 1 Tablespoon for muffin tops
  • ½ cup diced pitted dates about 7 dates (easier to dice when they’re cold) (optional, or ½ cup chocolate chips)
  • 4 Tablespoons melted unrefined coconut oil
  • 4 Tablespoons whole unsweetened yogurt
  • 1/3 cup 100% pure maple syrup or honey
  • 2 large eggs
  • 1 teaspoon pure vanilla extract
  • 3 medium very ripe bananas mashed

Instructions
 

  • Preheat oven to 350 degrees.  Line a 12-cup muffin pan with unbleached parchment liners.
  • In a large bowl, whisk together almond flour, cocoa powder, baking soda, salt and 2 Tablespoons chia seeds.  Add dates and break up pieces so they don’t stick together.
  • In a blender, combine coconut oil, yogurt, maple syrup, eggs, and vanilla.
  • Pour wet mixture into bowl with dry ingredients and stir until just combined.  Fold in mashed bananas.
  • Divide the batter into the prepared pan.  (An ice cream scoop makes this job easy.)  Bake for about 30-35 minutes or until a toothpick inserted into a muffin comes out  clean.
Tried this recipe?Let us know how it was!


Sweet potato casserole recipe

baked sweet potato casserole | pamela salzman

There are a few recipes I make on Thanksgiving that I call “one-hit wonders.”  That is to say I don’t make them on any of the other 364 days in the year.   I’m no fan of stuffing, for example, so I keep the masses happy by making it on the holiday and then we forget about it until next year.  My Maple-Glazed Sweet Potato Gratin was in the same category for no other reason than it just seemed a little decadent to serve on a day that isn’t considered the biggest meal of the year.

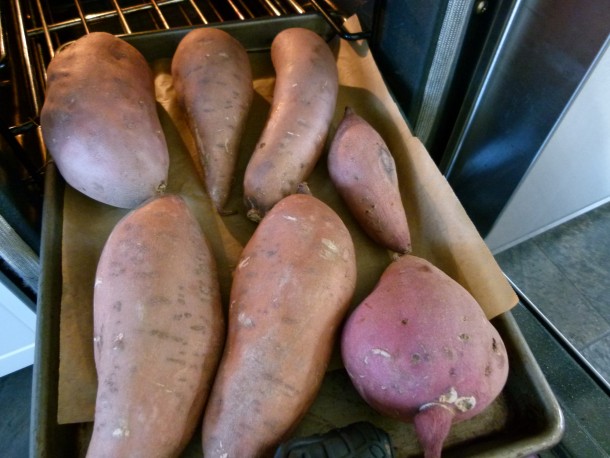
about to roast

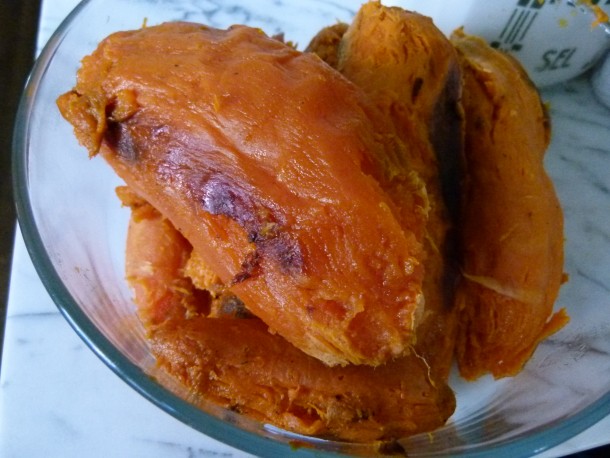
roasted and peeled sweet potatoes

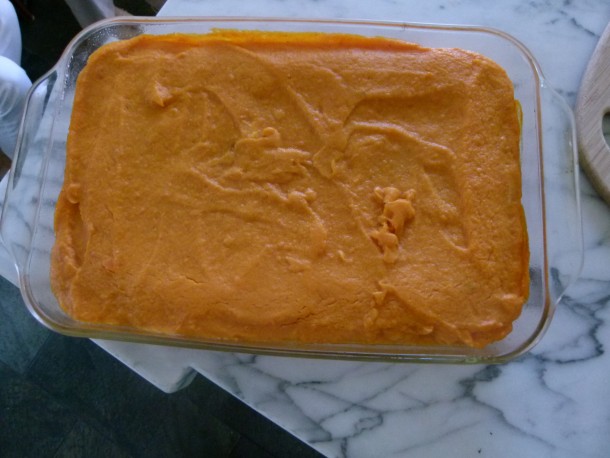
baked, covered for 40 minutes

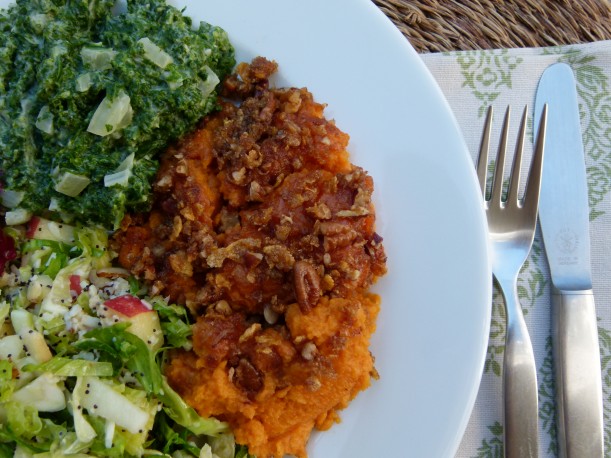
Just for fun, I recently tried a new sweet potato recipe which my kids absolutely flipped for.  Not only has this Sweet Potato Casserole bumped the former gratin out of the coveted spot, but my kids have begged me to make it multiple times since then.  My girls have even eaten it for breakfast and as an after-school snack.  I am crazy for sweet potatoes any which way and I am perfectly content with a nice big juicy one plain and simple.  So when recipes start adding cups of brown sugar with marshmallows or oatmeal cookie dough on top, I can’t take them seriously.  We’re going to try and keep things classy over here, ok?

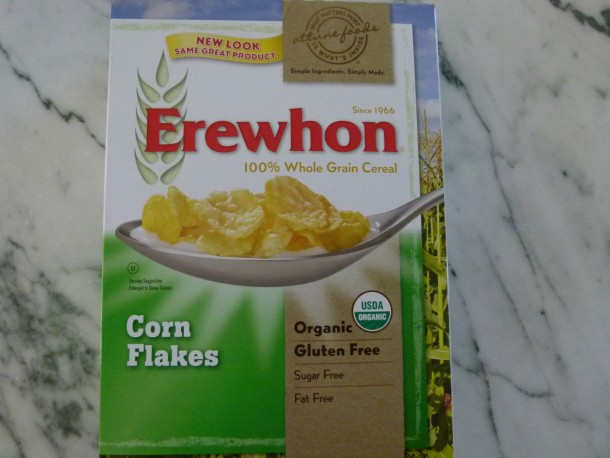
simple, no-sugar, organic corn flakes

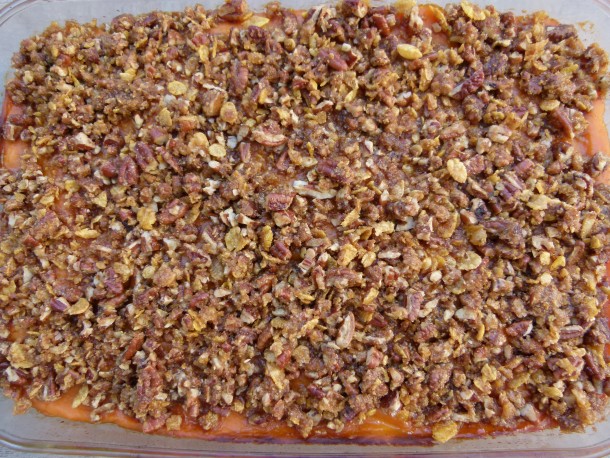
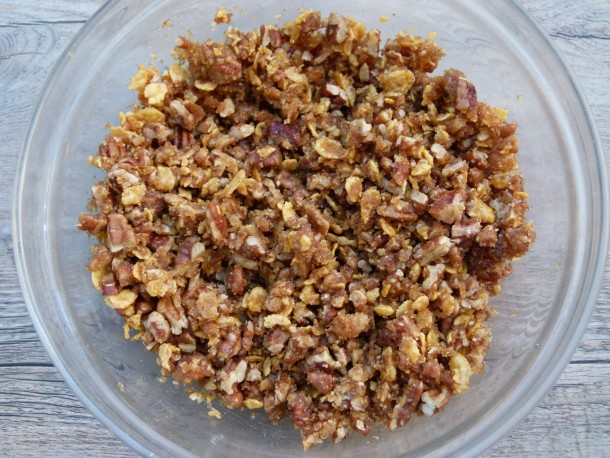
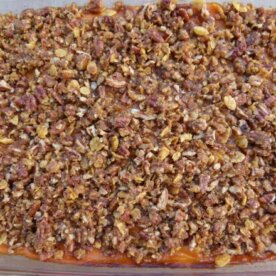
topping

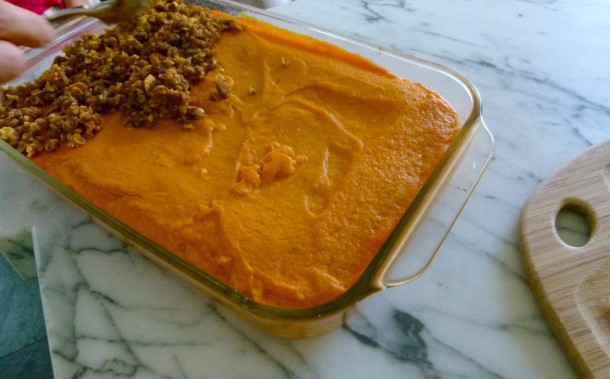
bake covered for 40 minutes, then add the topping

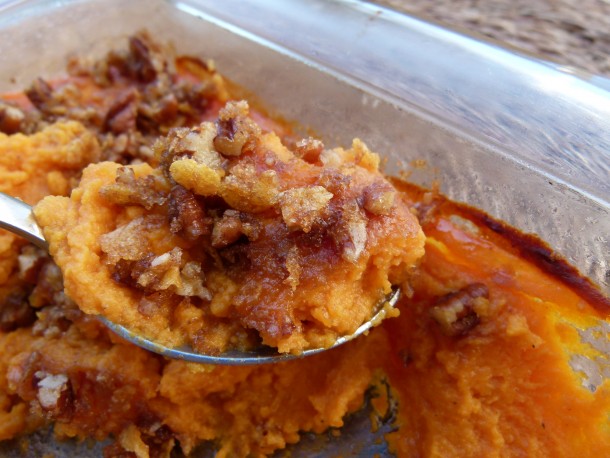
But there was something intriguing about this recipe from Food & Wine that I had to try.   Despite the pureed sweet potato base mixed with eggs, milk, butter and an obscene amount of sugar, I saw potential.  The topping is what really had me since I just love a contrast in textures.  I could already taste the silky puree with the light and crispy cinnamon-nutmeg flakes and nuts.  Even after I cleaned up this recipe by cutting the sugar by almost two-thirds, the casserole was still absolutely divine and a perfect complement to your Thanksgiving buffet.  It’s also super easy to  make if you have a food processor and can be done in advance (Thanksgiving magic words!)  By the way, I have also made this recipe dairy-free with success by using coconut oil instead of butter and unsweetened hemp milk instead of regular.  Since it’s already gluten-free, everyone’s happy!

bite of casserole out of the oven

What?  Did you just call me “trashy” behind my back for using cereal in a Thanksgiving recipe?  Guilty.  Maybe I deserve it.  You know what I say?  Worth it!

Ah, Thanksgiving!

Sweet Potato Casserole

Pamela, adapted from Food & Wine
5 from 2 votes
Servings 8 -10 (on a normal day, but probably serves more like 14 on Thanksgiving if you have a lot of other side dishes)

Ingredients
  

  • 5 ½ pounds sweet potatoes such as garnet or jewel, scrubbed (these are often labeled "yams" at the market)
  • 1 ½ sticks unsalted butter or ¾ cup unrefined coconut oil melted, divided
  • 1 ½ teaspoons sea salt + a pinch
  • 1 ½ teaspoons ground nutmeg divided
  • 1 Tablespoon pure maple syrup
  • 1 cup whole milk or plain unsweetened hemp milk
  • 3 large eggs beaten
  • 1 cup pecan halves or pieces about 4 ounces
  • 1 cup cornflakes crushed
  • ½ teaspoon ground cinnamon
  • ½ cup maple sugar or brown sugar

Instructions
 

  • Preheat oven to 400 degrees. Place the sweet potatoes on a parchment-lined baking sheet and bake in the oven until tender, about an hour, but could be more depending on size. Or you can also boil peeled, cubed sweet potatoes in water for 15 minutes or until tender and drain, but I think roasting the sweet potatoes makes then sweeter.
  • Lower the oven temperature to 350 degrees. Butter a 13 x 9 inch baking dish.
  • When the sweet potatoes are cool enough to handle, peel and discard the skin and place potatoes in a food processor. Puree until smooth. Do this in batches if necessary.
  • Transfer the puree to a large bowl. Add half the butter (6 Tbs.), salt, 1 teaspoon nutmeg, maple syrup, and milk. Stir to combine and then stir in the eggs. Pour the mixture into the prepared baking dish and smooth the top with a spatula. Recipe can be made up to this point one day in advance and kept covered in the refrigerator. Cover with foil and bake 40 minutes.
  • Spread the pecans on a baking sheet and bake for 5 minutes, until lightly toasted. Transfer the pecans to a cutting board and coarsely chop. In a bowl, toss the pecans with the cornflakes, cinnamon and remaining 6 tablespoons of melted butter, ½ teaspoon nutmeg, maple or brown sugar and a pinch of salt.
  • Remove foil from casserole. Distribute small clumps of topping all over sweet potatoes. Bake, uncovered, for 40 minutes longer, until topping is golden and sizzling. Let casserole stand for 20 minutes before serving. ( I have also baked it covered for 30 minutes, uncovered for 30 and it still turned out great!)

Notes

You can bake this up to 4 hours in advance and serve it warm or at room temperature.
Tried this recipe?Let us know how it was!


Grilled banana s’mores recipe

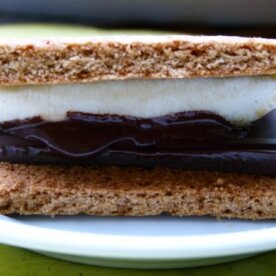
I had my first s’more on a girl scout camping trip when I was 12 and I thought it was genius.  I loved that crispy graham cracker paired with a smooshy, slightly burnt marshmallow and the way the chocolate just started to melt a little.  Do-it-yourself desserts are just so fun to put together too, especially when you’re with friends.  I remember sitting around the campfire with the other girls trying to get the perfect golden toastiness on our marshmallows without actually setting them on fire and then giggling as we snuck an extra square of chocolate, because why the heck wouldn’t we?

I think s’mores have a way of bringing out the kid in all of us, so they are always a welcome dessert in the summer when we have other families over for dinner.  Set your s’mores bar with homemade graham crackers and your family and friends will be like, “no you didn’t!”  I certainly don’t have to tell you how to put together a s’more, but I thought I would share a fun twist on a classic.

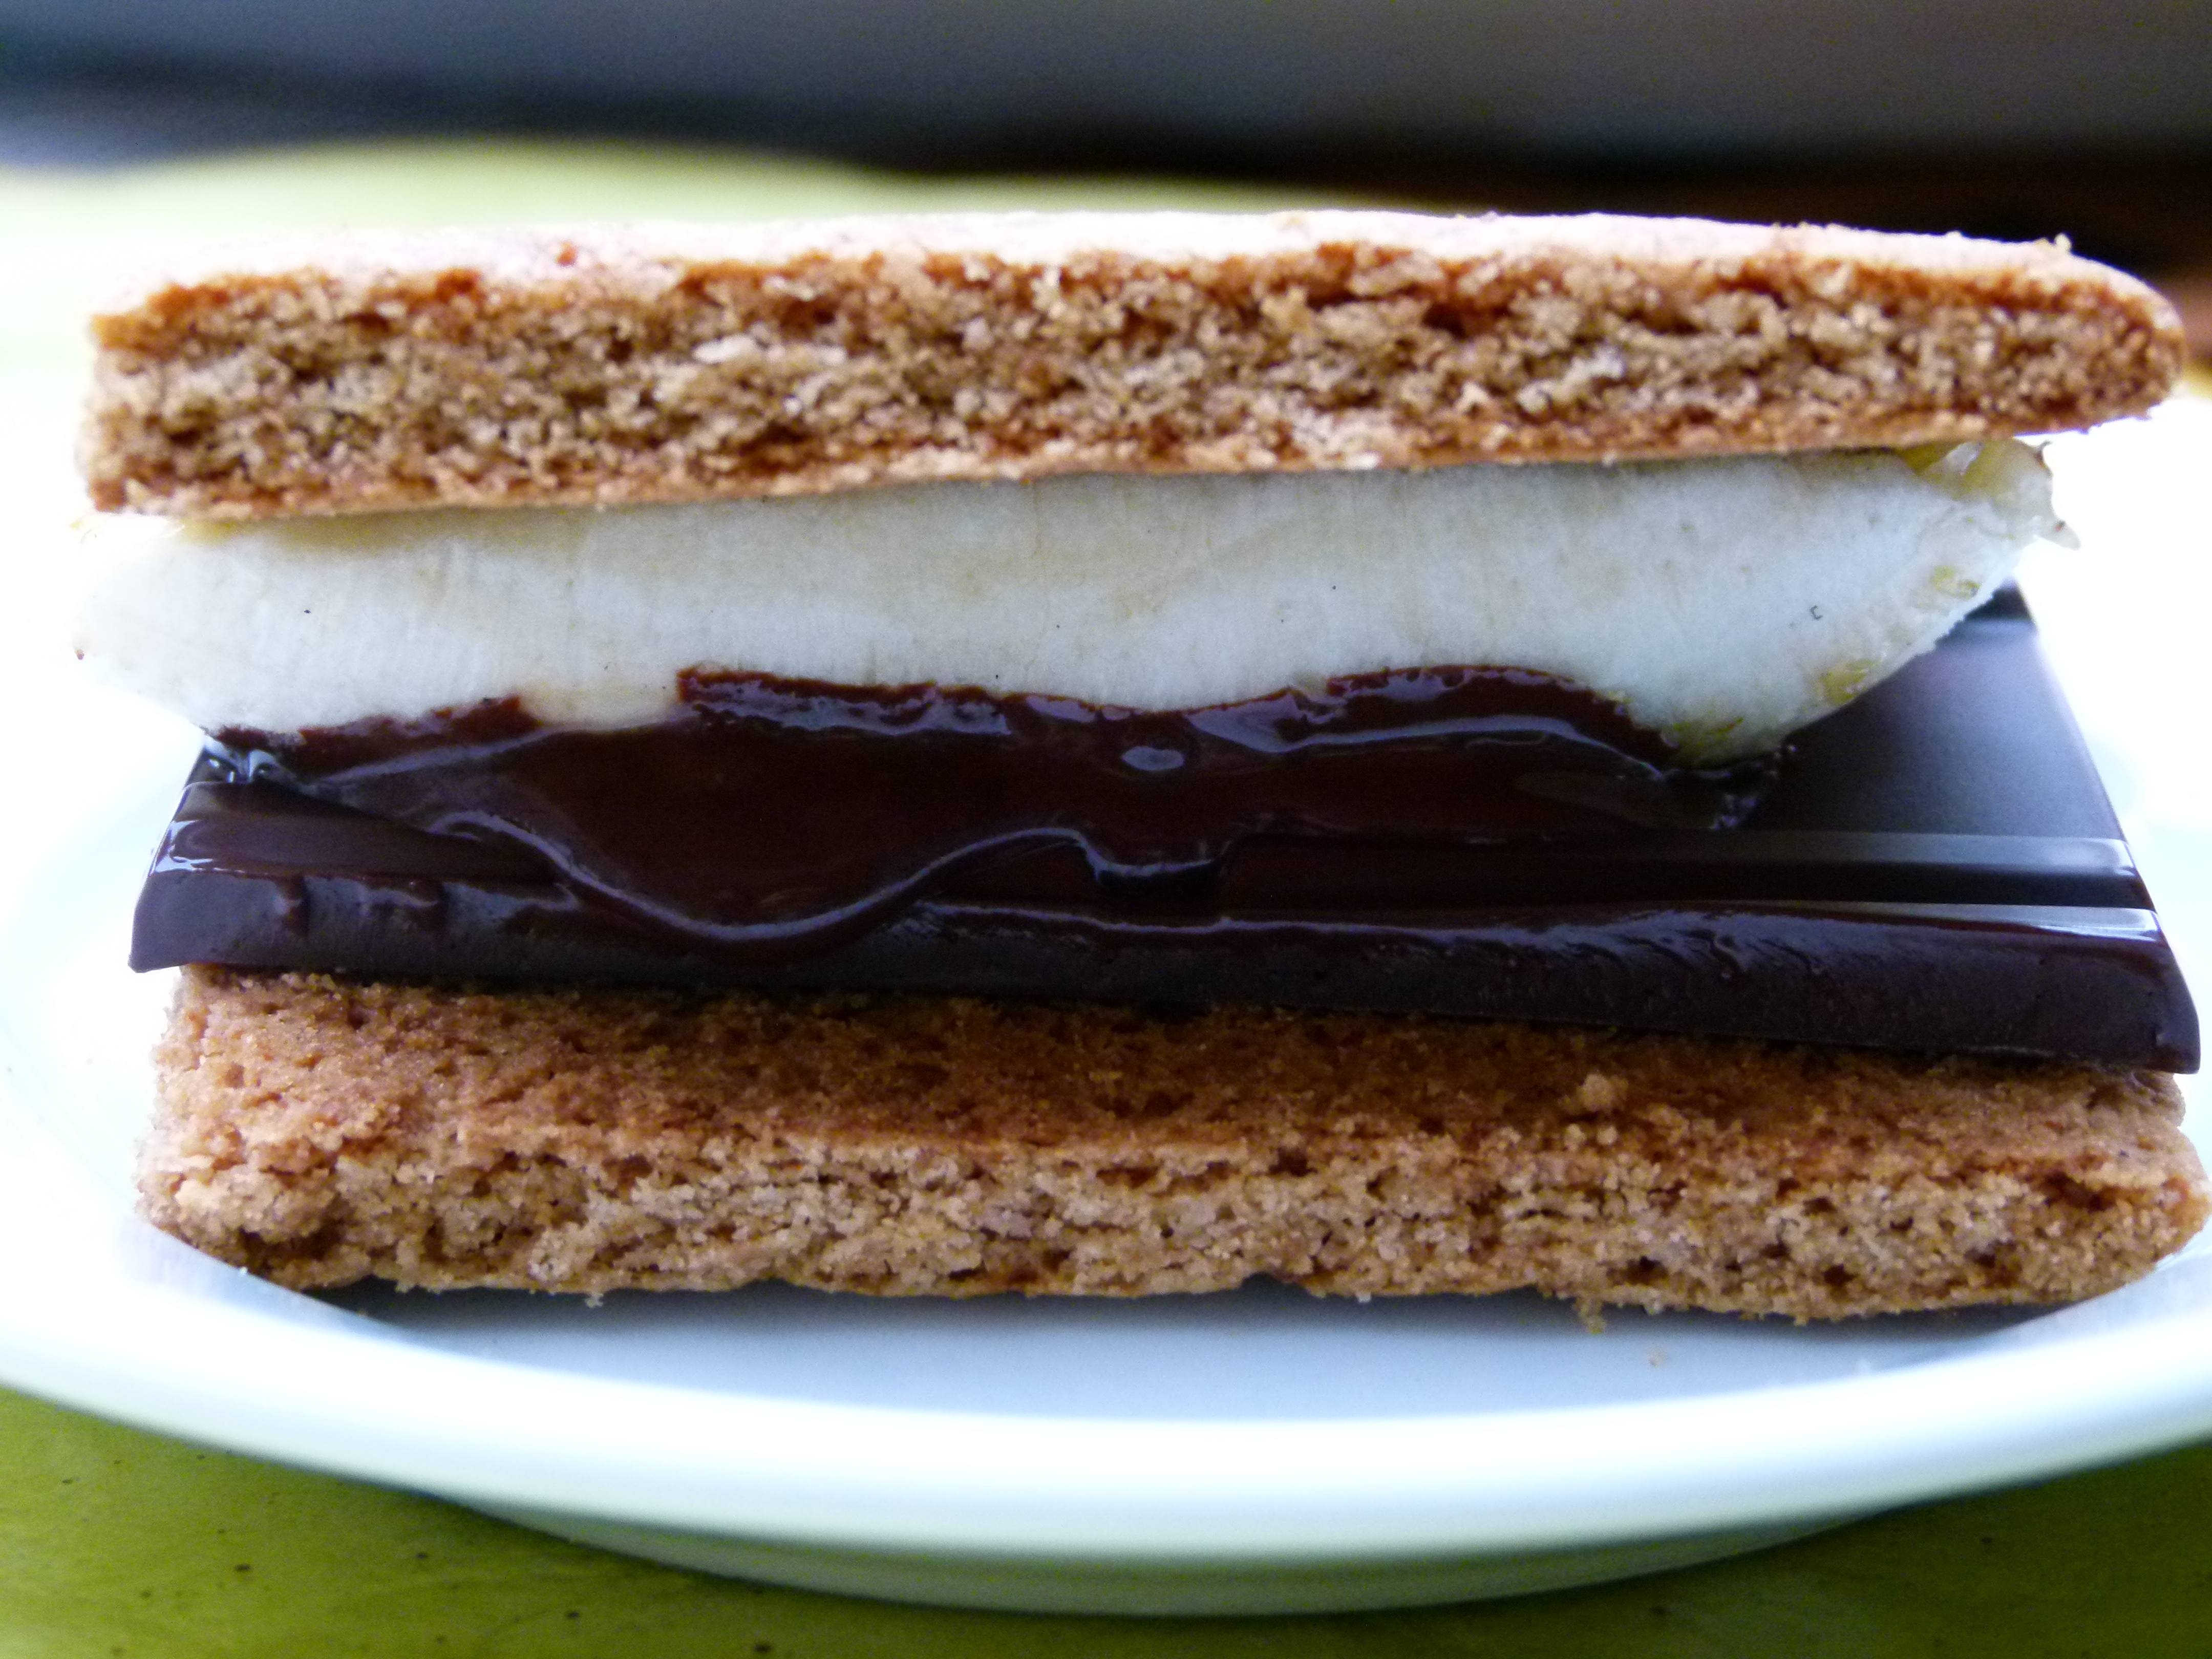
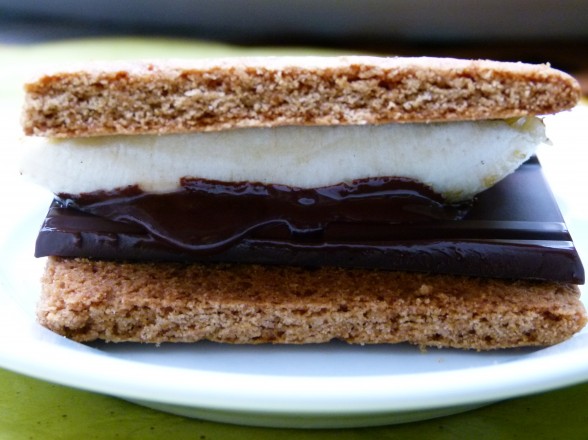
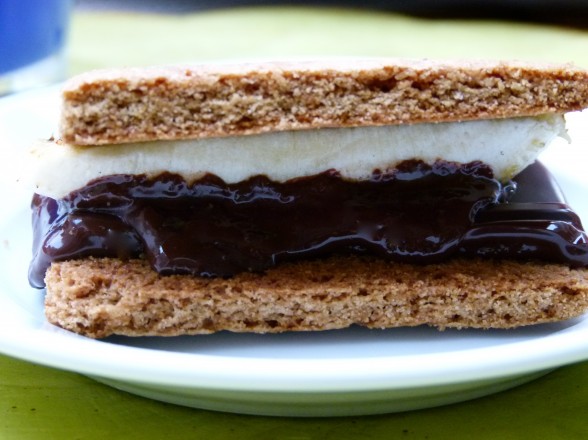
Since I think marshmallows border on toxicity (I can be fun, really!), that was my target in creating a more healthful s’more.  Basically, I grill firm, but ripe and speckled bananas and use those in place of the marshmallows.  You still get something sweet, something soft and something that tastes amazing with chocolate and graham crackers.  The point of grilling them is just to get them warm enough so they melt the chocolate a little bit, so watch out for chocolate dripping down your chin.  With all the fun, new chocolates out there, I think it would be amazing to put out some interesting ones for people to use.  Picture a grilled banana s’more paired with caramel and sea salt chocolate or one laced with hot pepper or bits of lavender.  Did I have you at “grilled?”

Grilled Banana S'mores

Pamela
Servings 0 makes 12

Ingredients
  

  • 24 graham crackers I used 3 x 3 ½ inch homemade
  • 3 3.5- ounce thin bars of chocolate thin is better so that it can melt a little
  • oil for brushing the grill such as coconut or olive oil
  • 2 large or 3 medium firm but ripe bananas

Instructions
 

  • Preheat the grill to medium.
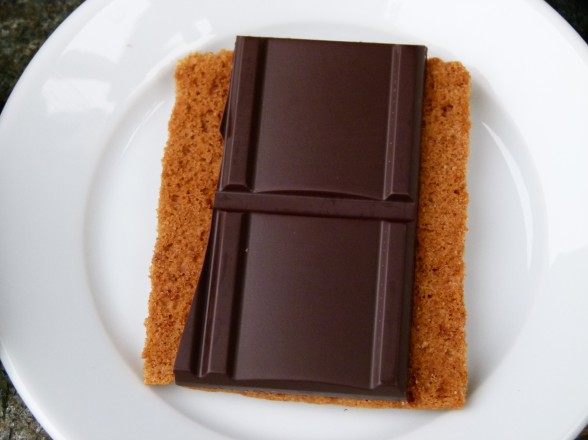
  • Arrange 12 graham crackers on a platter and top with a 1-ounce piece of chocolate or a piece large enough to fit.
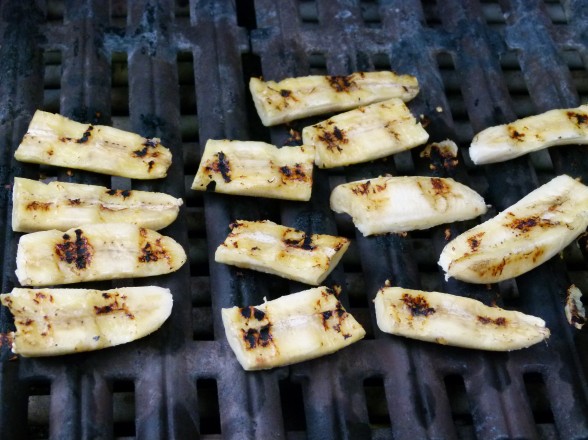
  • Peel the bananas and slice in half crosswise. If the bananas are large, you can cut them in thirds. Then slice each piece lengthwise. Brush the grill with oil and grill bananas 2-3 minutes on each side until warm. The goal is just to get them warm so that they melt the chocolate slightly. You can also arrange the bananas on a baking sheet and broil them for a couple minutes until warm and toasty.
  • Top each piece of chocolate with a banana slice and then with a graham cracker. Serve immediately.

Notes

Another option is to make s’mores sandwiches with raw bananas, wrap each individually with parchment and foil and place on the grill over medium heat until chocolate is slightly melted.
Or you can forgo the square of chocolate and spread with chocolate nut butter. Delish!
Tried this recipe?Let us know how it was!


Whole Wheat Carrot Cake with Dairy-Free Frosting Recipe

I was married almost 17 years ago, so I guess it’s not crazy that my husband would have forgotten what flavor our wedding cake was.  I’m just surprised, because he was very involved in all decisions.  I know you’re thinking that it sounds sweet to have your fiance interested enough in your wedding to have a say in everything, but trust me, kind of annoying.  Regardless, we were talking about our wedding cake the other day and my husband remembers it as carrot cake, which it was certainly not.  Of course, there’s nothing wrong with carrot cake for a wedding cake, but ours was a simple white cake with chocolate chocolate-chip buttercream filling.

He probably thinks it was carrot cake because we both love it so much.  And we both agree that carrot cake should be moist and dense and chock full of carrots and raisins and walnuts.  I remember many a date when we shared a large slice of carrot cake for dessert.  You know the kind.  Two or three layers of sweet, nubby cake sandwiched between even sweeter, creamy, tangy icing.  Sounds great until you learn that a huge piece of bakery or restaurant carrot cake contains about a entire day’s worth of calories.  And don’t think they’re using natural sweeteners, friends.  If I were 22 again and doing two hours of step aerobics every day, I could probably get away with it.  But not no more!

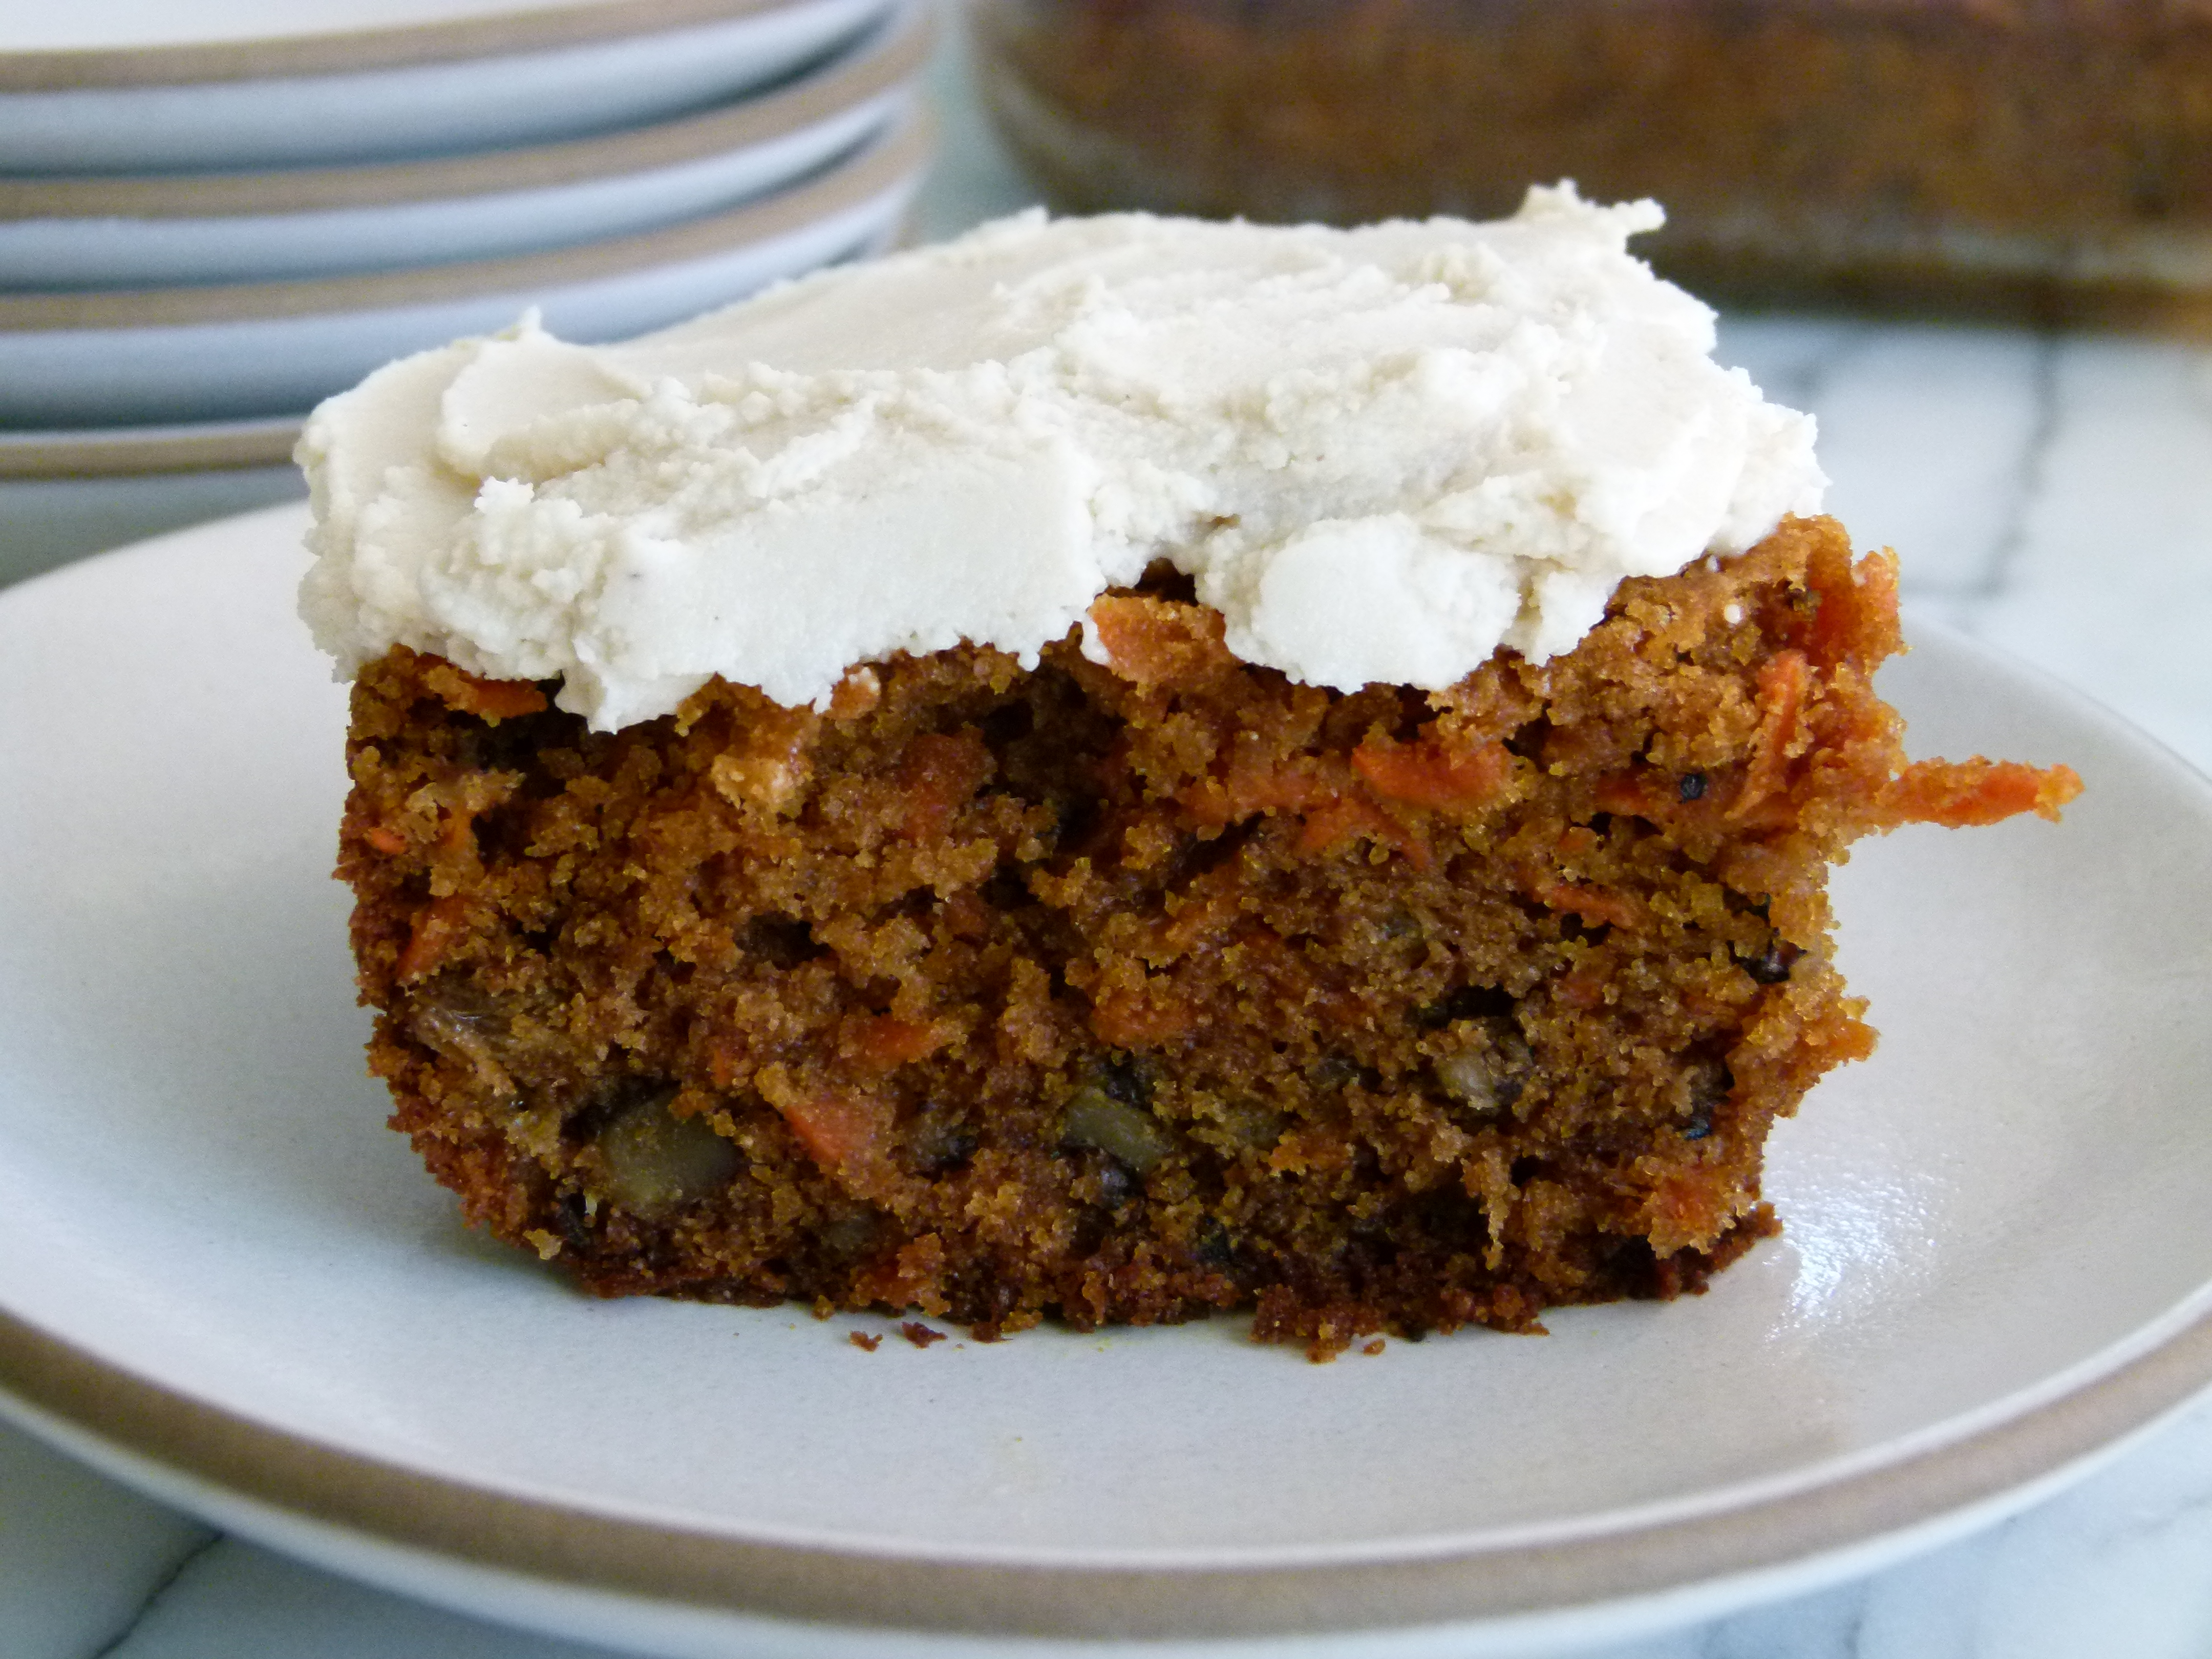
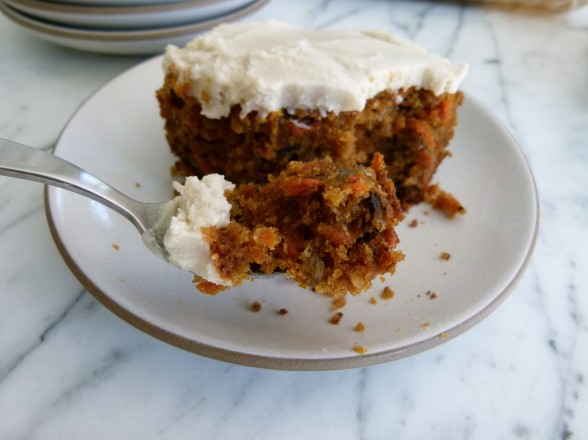
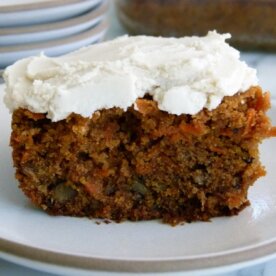
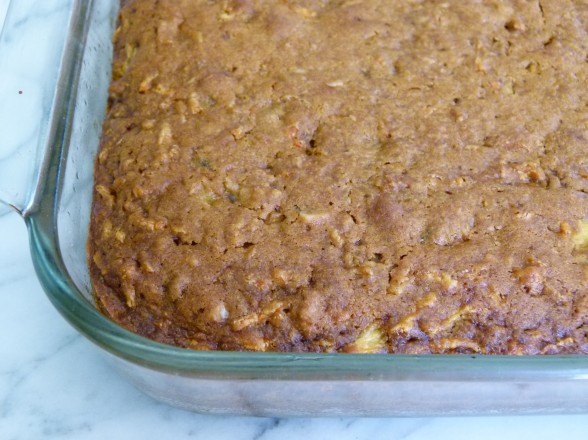
Fast forward two decades later when at least one of us is trying to consume desserts in moderation and bake them with less refined ingredients so we can make it to our 50th wedding anniversary and beyond.  Yes, that’s why I make carrot cake in a 13 x9-inch baking dish instead of as a layer cake.  I think it’s super delicious too, but for me at least, one square is plenty.  And before you think I’m no fun at all, don’t think I’m skimping on flavor here.  This carrot cake delivers the same sweet, spiced goodness that you would expect from the traditional.  Ok, maybe not the same sweetness.  When I got motivated to come up with a higher quality carrot cake, I went to my trusty Ina, who uses a whopping 2 cups of sugar in her cake.  Although in her defense, so does everyone else.  In my recipe I use coconut palm sugar and much less of it.  Listen, there’s a whole pound of carrots in this cake and carrots are sweet.  There are also raisins and even diced pineapple if you choose to use it.  And even if you don’t frost this cake, it’s plenty sweet.  Personally, I was happy as a clam with this cake unfrosted, but I knew my students would be expecting something more.  Of course I couldn’t go with a typical cream cheese frosting, because they don’t come to my kitchen for that.   So I am also offering you something very alternative, but perfectly yummy and thick and creamy and won’t make you sick to your stomach after you eat it.  And it’s vegan!

I’m thinking with Father’s Day coming up, this would be a fun dessert to make.  You can even do it in a muffin tin for individual cupcakes.  There are lots of ways you can adapt this recipe to make everyone happy.  Drop the pineapple if you wish.  Use pecans instead of walnuts.  Add some nutmeg or cloves.  Make Ina Garten’s cream cheese frosting if you don’t believe me that this one is great.  Just don’t ask me if you can make this cake without carrots because that question was already asked in my class last month and my answer is “no.”  Instead you have my blessing to go make the white butter cake with chocolate chocolate-chip buttercream filling that you really want.

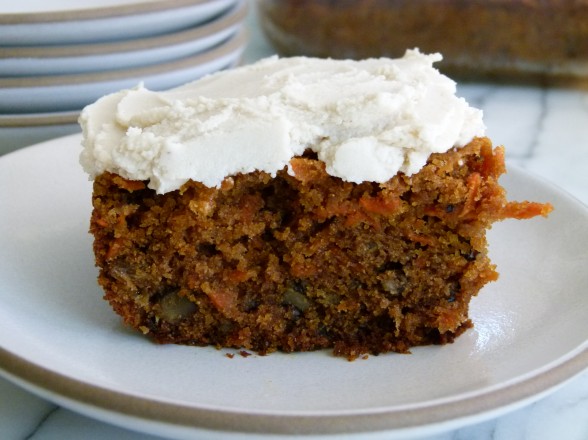
Whole Wheat Carrot Cake with Dairy-Free Frosting

Pamela, adapted from Ina Garten
Servings 0 makes a 13x9-inch or 2 9-inch round pans

Ingredients
  

  • 1 ¼ cups coconut palm sugar or granulated sugar
  • 1 ¼-1 ½ cups unrefined oil I use melted coconut oil, but olive or high-oleic safflower is fine, too
  • 3 extra-large eggs at room temperature
  • 1 teaspoon pure vanilla extract
  • 2 ½ cups plus 1 Tablespoon whole wheat pastry flour divided
  • 1 Tablespoon ground cinnamon
  • 2 teaspoons baking soda
  • 1 ½ teaspoons sea salt
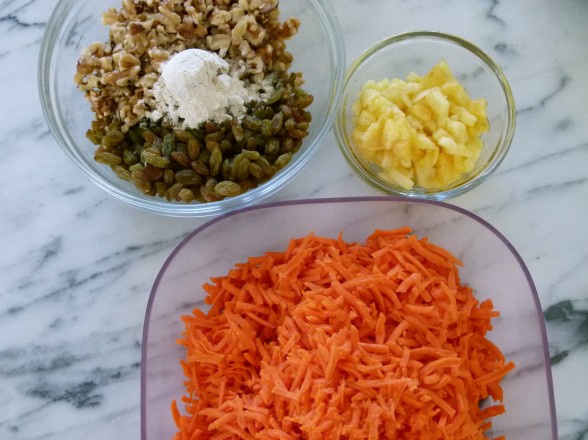
  • 1 cup unsulphured golden raisins or dark raisins if you prefer
  • 1 cup walnuts chopped
  • 1 pound carrots shredded (about 4 cups)
  • ½ cup fresh pineapple finely chopped (or frozen, thawed)
  • Raw Cashew Frosting optional

Instructions
 

  • Preheat the oven to 350 degrees. Grease the bottom and sides of a 13”x 9” pan.
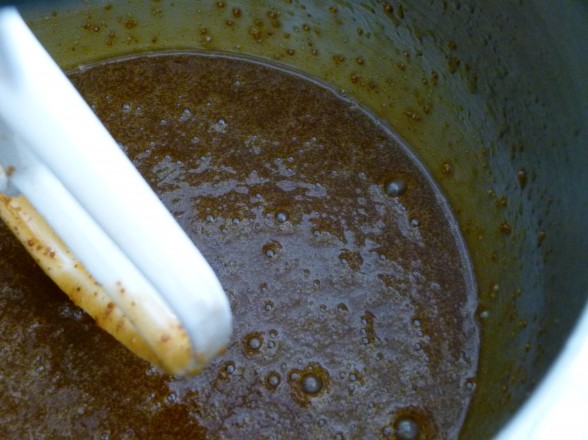
  • Beat the sugar, oil and eggs together in the bowl of an electric mixer fitted with the paddle attachment until thick and sugar has dissolved a bit. Add the vanilla and stir to combine.
  • In another bowl, whisk together 2 ½ cups flour, cinnamon, baking soda, and salt.
  • Add the dry ingredients to the wet ingredients. In a small bowl, combine the raisins and walnuts with 1 Tablespoon of flour and add to batter. Fold in the carrots and pineapple and mix well.
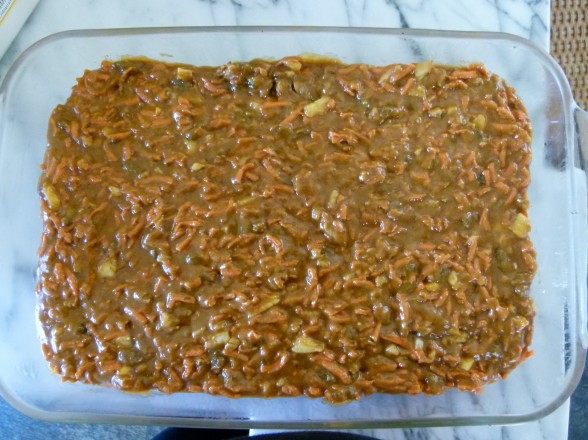
  • Pour batter into pan. It should be super thick. Bake for 45–55 minutes, or until a toothpick comes out clean. Allow cake to cool completely in pan over a wire wrack.

Notes

If you like things very sweet, you can increase the sugar to 1 1/2 cups and the recipe will work fine. I also give a range for the oil. Use 1 1/4 cup if you plan to eat it all the same day it's made and if you like a lighter cake. Use 1 1/2 cups if you like it a little heavier and if you want it to cake to stay moist for several days. I used 1 1/2 cups in these photos and 1 1/4 cups in my classes.
Raw Cashew Frosting:

This is a lovely, just-sweet-enough frosting which you can use for lots of cakes and cupcakes. It is dairy-free and if you use maple or agave, it is also vegan. You cannot substitute another oil for the coconut oil, since that’s what helps the frosting become firm and spreadable once it has been refrigerated. I use Grade A maple syrup here, which is less mapley than Grade B.
2 cups raw cashews, soaked in water for at least 5 hours
½ cup unsweetened almond milk or water (water is just as good)
¼ cup unrefined coconut oil, melted
3 Tablespoons raw honey, Grade A maple syrup or agave
¾ teaspoon pure vanilla extract
pinch or 2 of fine grain sea salt
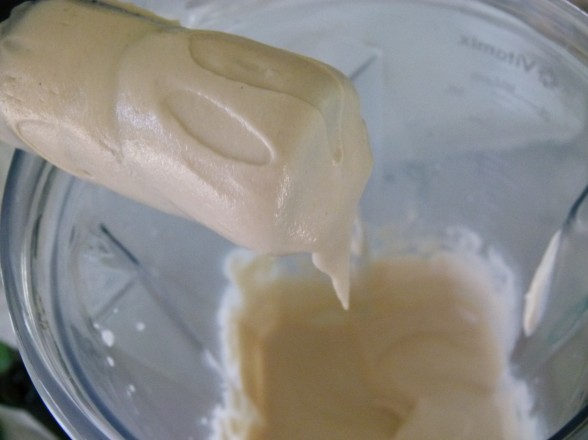
Process all ingredients in a food processor, scraping down the sides if necessary, until perfectly smooth. This can take 5-6 minutes. Or use a high powered blender like a Vitamix for about 45 seconds. Refrigerate to allow it to firm up enough to a spreadable consistency. Keep refrigerated until ready to use.
Tried this recipe?Let us know how it was!


No-Sugar, No-Egg, No-Flour Breakfast Cookie Recipe

Most people are not mind readers, so if you have a wish for the perfect Mother’s Day, you may need to drop a few hints.  I used to dream of a day where I could relax in my bed for a few extra minutes, maybe with the newspaper and a fresh cup of tea.  Then off to a rare workout or walk along the beach.  I would wish for a little extra time to do my hair before having a yummy and healthful brunch with my favorite people in the world, my husband and my kiddos.  Ha!  Sometimes we moms keep doing for others and feel guilty about taking time for ourselves.  You know what?  We run around at 90 miles an hour every day of the year, it’s OK to have one day where you get put on a pedestal and your loved ones spend the day worshipping you.

But I’ll admit, I’ve never been very good at asking for things.  Year after year, we would go out with my husband’s family for brunch to a crowded restaurant or hotel.  The men spent a lot of money for average food and lots of noise and this wasn’t dreamy to me.  Then two years ago my good friend Melissa told me that her Mother’s Day is spent at the home of her in-law’s and all the guys get together in the kitchen to make lunch for the ladies.  LIGHT BULB!  So last April, I made a few subtle suggestions and guess what?  My husband can take a hint!  He organized the troops to cook the loveliest lunch at our home.  Never mind that the kitchen looked like something exploded in there, I didn’t have to lift a finger and my hair looked great.

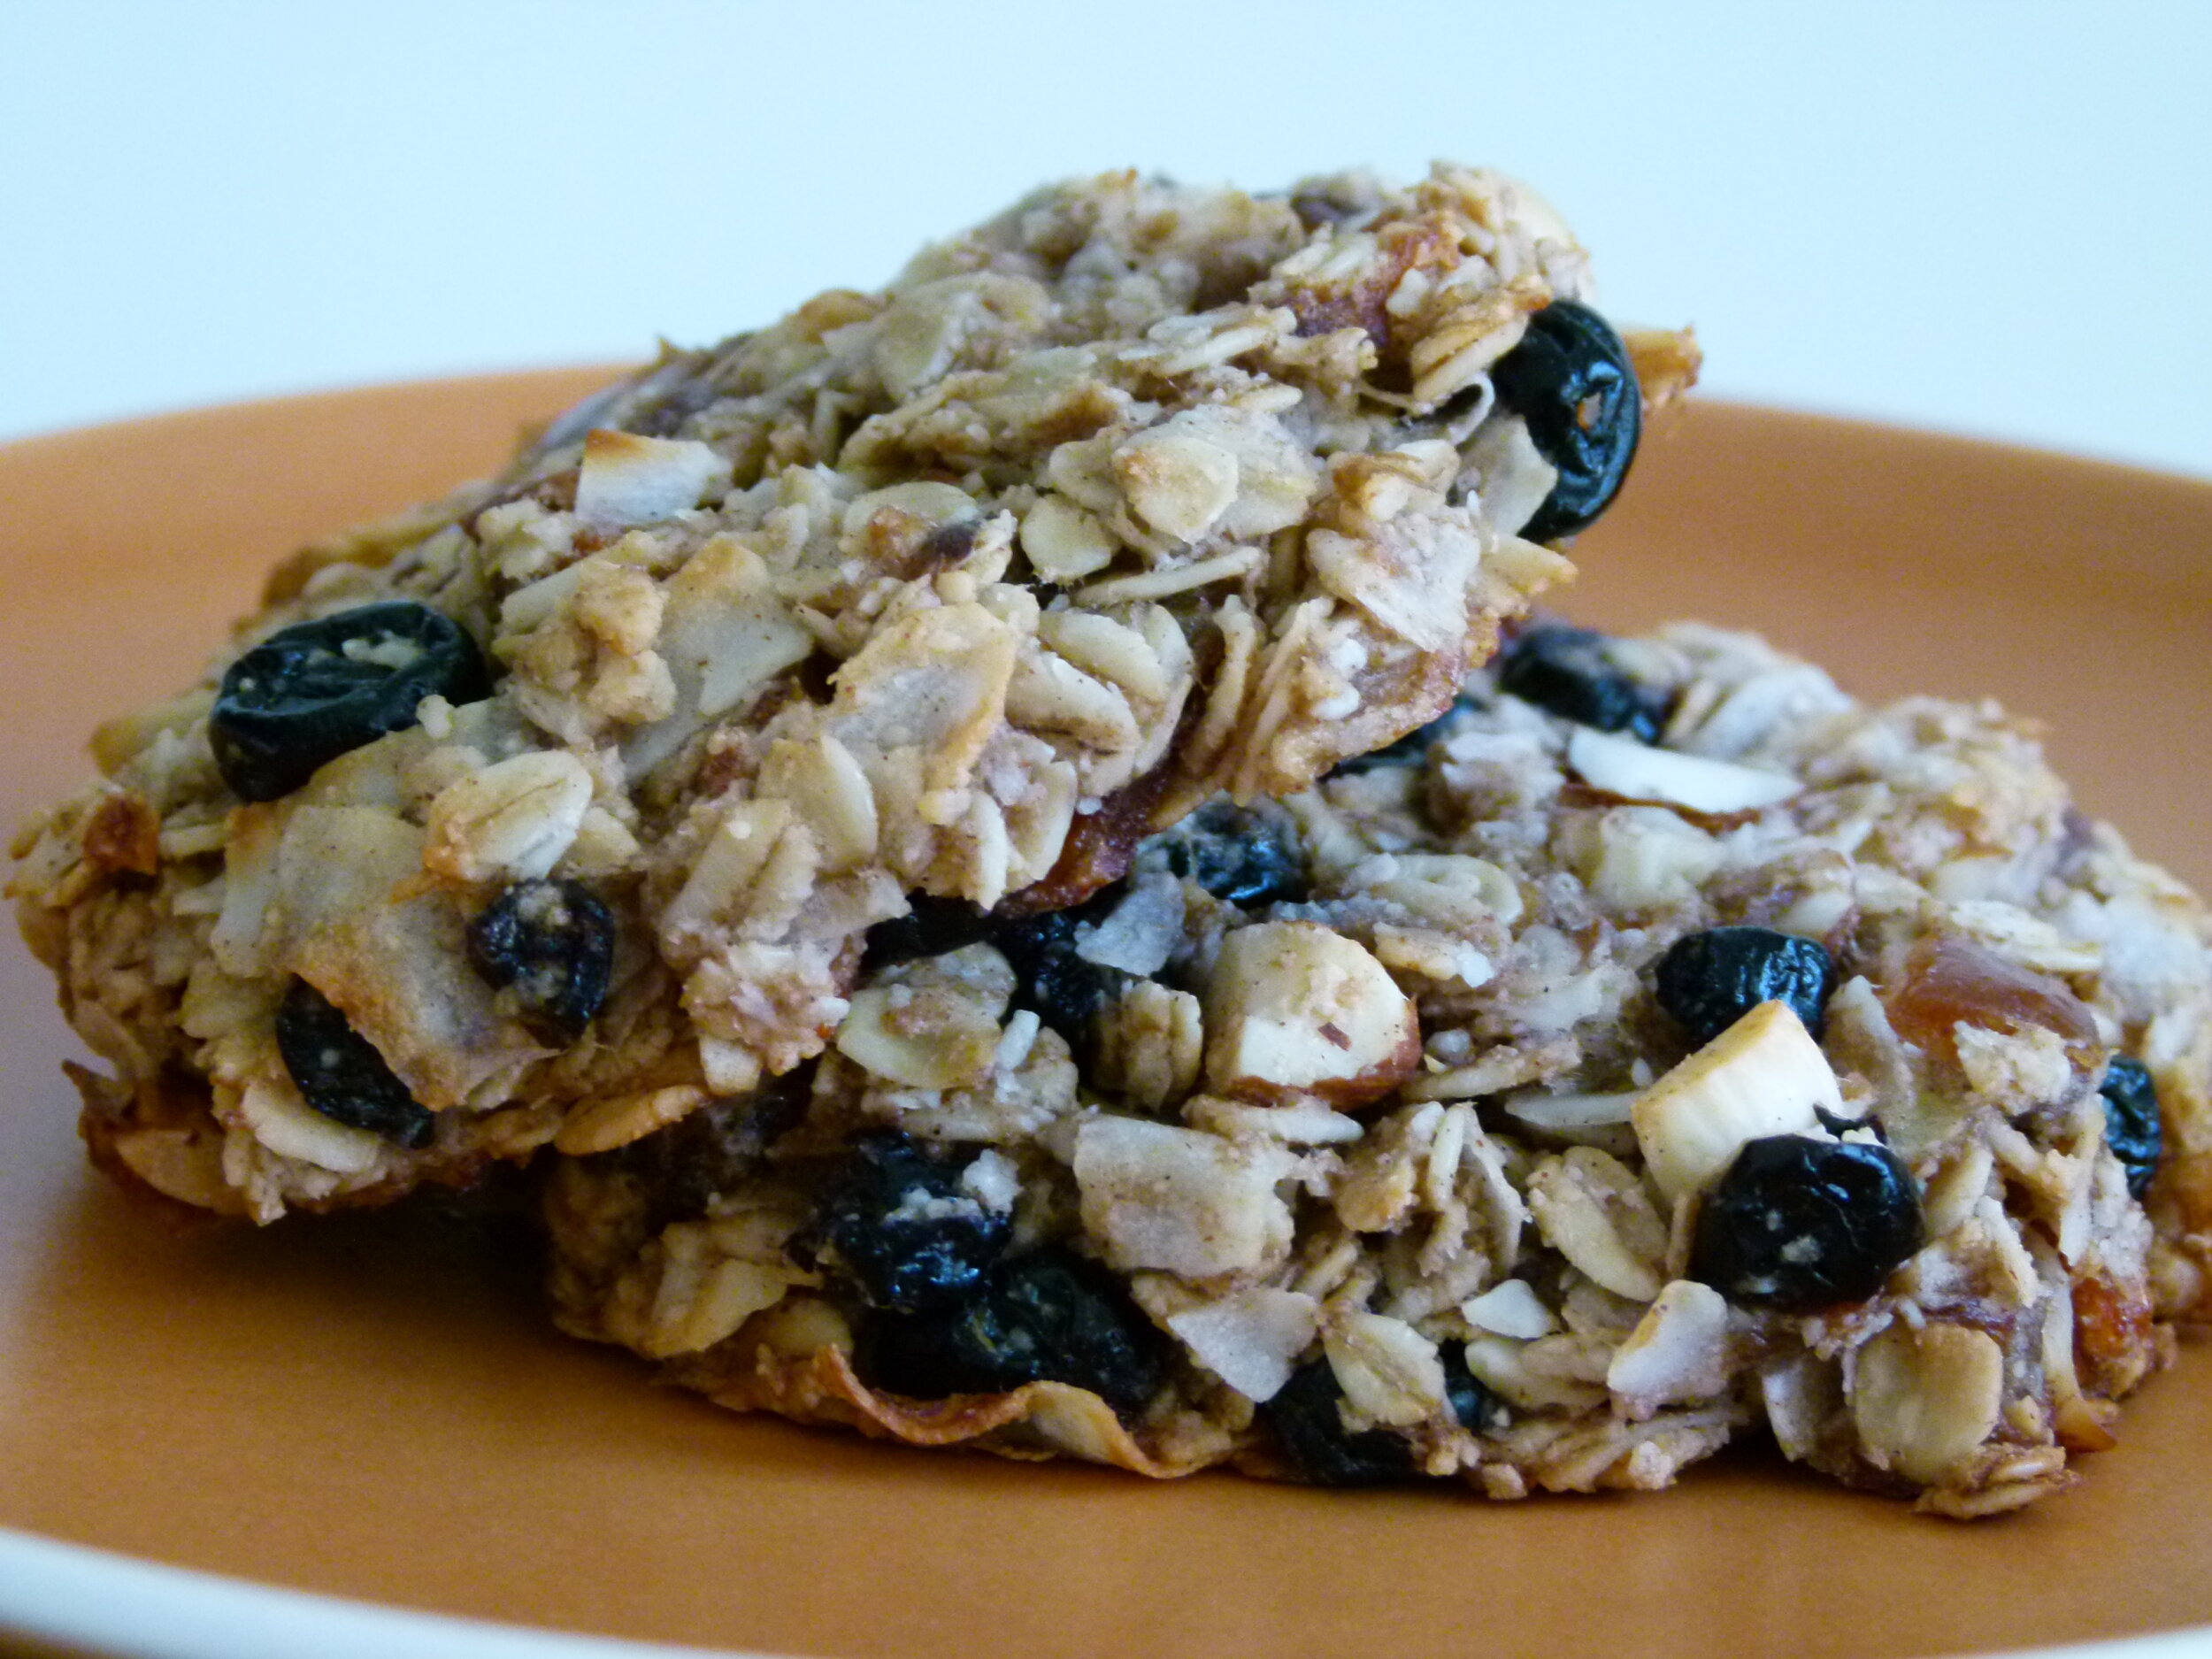
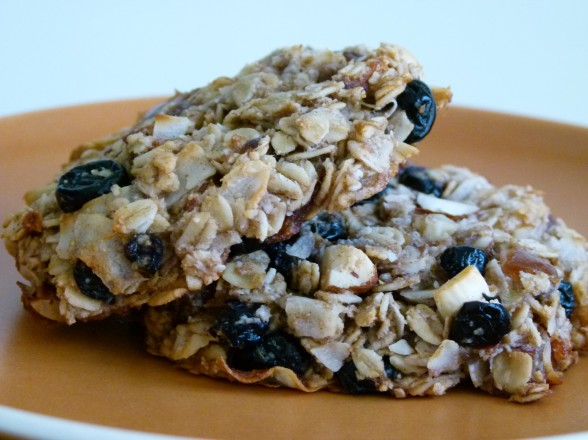
This year we’re doing the same thing and I am totally excited.  If this sounds good to you, but there isn’t enough advance warning for your family to mobilize, you can at least make a few suggestions for breakfast in bed…like these breakfast cookies!  You can whip them together the day before and suggest that they be delivered bedside on a silver platter with a coffee or tea and some fresh fruit.  A little bud vase with a beautiful flower would be nice too, but maybe we shouldn’t push it.  These “cookies” are like having your oatmeal and toppings in a tasty and neat little package, and it kind of feels like you’re eating a cookie.  Splurge!  But look at the ingredients — totally clean and won’t offset that workout you’re going to get in!

If breakfast cookies aren’t your thing (really?), here are a few other ideas to give your family a little help:

Happy Mother’s Day to all you beautiful women.  I wish I could jump through the computer to give you a big hug.  The world is a better place for all you do.

Breakfast Cookies

Pamela, inspired by Anja's Food 4 Thought
5 from 4 votes
Servings 0 makes 12-16

Ingredients
  

  • 1 ½ cups old-fashioned rolled oats
  • 1 cup unsweetened flaked coconut
  • ¼ cup almond meal or sesame seeds
  • 1 teaspoon ground cinnamon
  • ½ teaspoon fine grain sea salt
  • ½ cup chopped nuts I used walnuts and almonds, but pecans are great, too
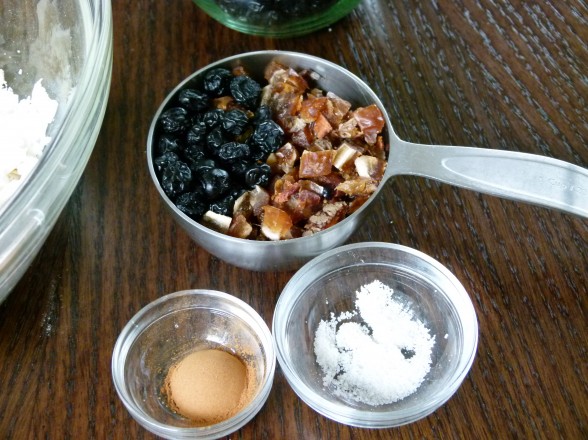
  • 1 cup unsulphured dried fruit chopped (I used dried dates and blueberries)
  • 3 ripe bananas or 1 cup of unsweetened applesauce
  • ¼ cup melted coconut oil
  • 1 teaspoon pure vanilla extract

Instructions
 

  • Preheat oven to 350 degrees. Line 2 baking sheets with unbleached parchment paper.
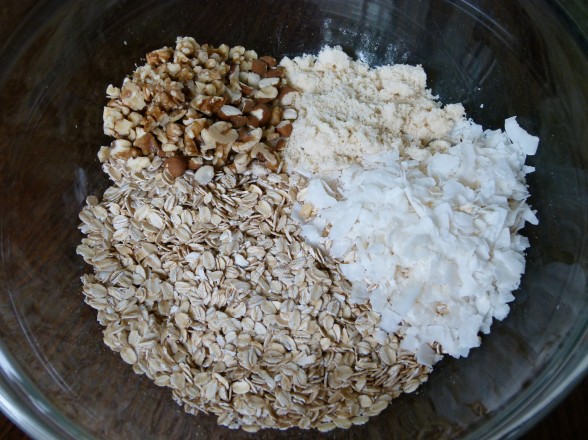
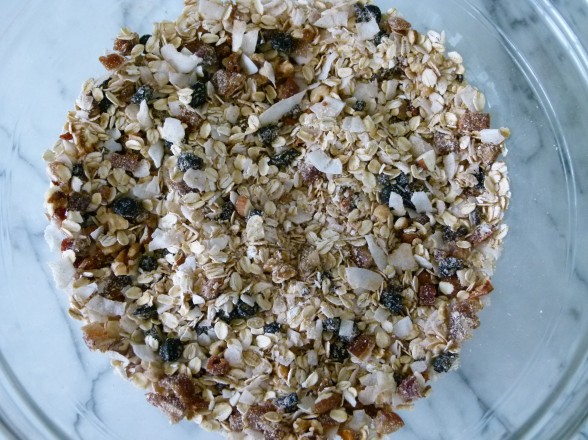
  • In a large bowl, combine rolled oats, coconut, almond meal, cinnamon and salt. Add the nuts and dried fruit combine with the mixture, breaking up the dried fruit so it doesn’t clump together (I use my hands to mix this.)
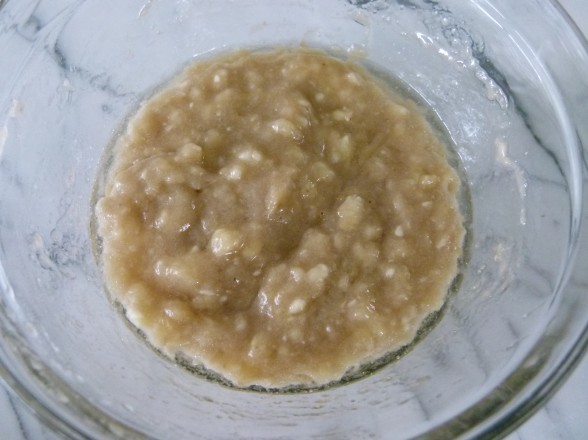
  • In a medium bowl, mash the bananas and stir in the oil and vanilla.
  • Add wet mixture to dry mixture and stir to combine.
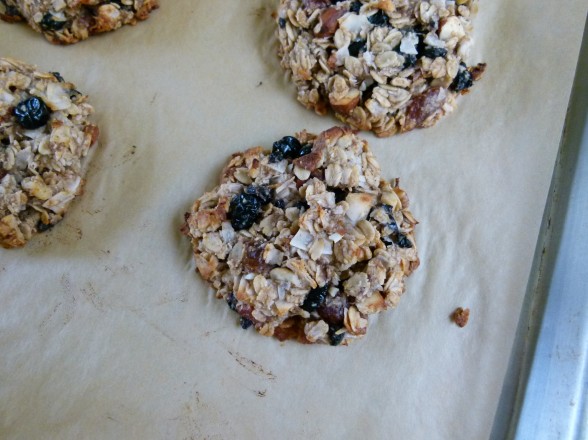
  • Take scoops of the batter either with a 1/3 cup or ¼ cup measuring cup and drop the batter onto the prepared baking sheets. Flatten with your hand to about ¾-inch thick. Bake for a about 20 minutes or until edges are golden brown. Transfer to a wire rack to cool. Store in the fridge after a few days or wrap and freeze.
Tried this recipe?Let us know how it was!