Individual warm peach pie pots recipe

I guess this is favorites week. In my last post, I went on and on about my obsession with summer tomatoes and today I am sharing my new favorite dessert which uses my favorite fruit bar none, peaches. Smiley face. Peaches make me happy and this season has not disappointed so far. We have had the best peaches this summer and although I may not have eaten one every single day like I have tomatoes, it has been close.
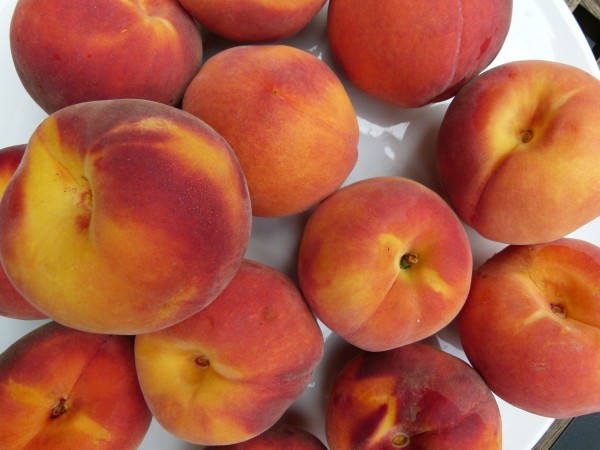
I could make a meal out of a big peach. Ok, not really. But everything else I eat afterwards just pales in comparison. I really love yellow peaches, which I find have a more intense, although more acidic flavor. The white ones are delicious, of course, and slightly more sweet but just not quite as flavorful. But trust me, I’ll eat either any day. I always buy organic peaches since conventionally grown ones are on the Environmental Working Group’s “Dirty Dozen” list of the most highly contaminated produce. I think it’s because the pesticides are able to permeate peaches’ thin skin thereby making it difficult to remove toxins by washing. Pesticides make me nervous.
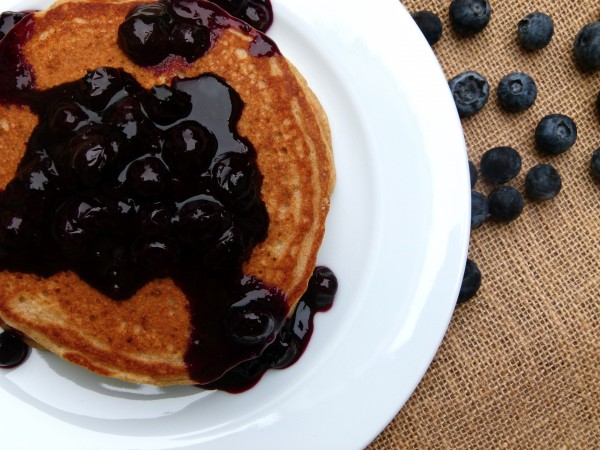
I have so many regular peach recipes, some that I’ve taught in my classes like peach pie, grilled vanilla peaches and this fabulous individual warm peach pie in a jar number I am writing about today. This month I will teach an arugula salad with farro and peaches that is my new favorite. Did you see that crazy delicious breakfast I posted on Facebook a month ago? Why aren’t we friends on Facebook? You’re missing out. I post something interesting there every single day! I digress. I used some leftovers from this recipe and put it on top of Bob’s Red Mill warm, creamy buckwheat porridge. People, I was like “shut the front door.” Best. Breakfast. Ever.
I have a dozen other peach recipes that I’m not posting here so let’s not even torture you with those. Let’s talk about these individual peach pie in a jar thingies that are the quickest, tastiest healthful dessert you can’t believe you haven’t ever made until now. I was inspired by a recipe I saw over at Roost, which is one of the prettiest blogs that mine will never look like. Sigh. Caitlin used apples, which I tried and thought turned out delish, but this peach version is crazy delish.
Too many of you have expressed intimidation about making a pie from scratch and I get it. Although for me, sometimes I just don’t have the time to prepare and bake a pie, especially if I’m entertaining and I am making a bunch of other things. Or maybe I have a craving for peach pie and I don’t want to tempt myself with an entire pie in the kitchen. I am weak, after all.
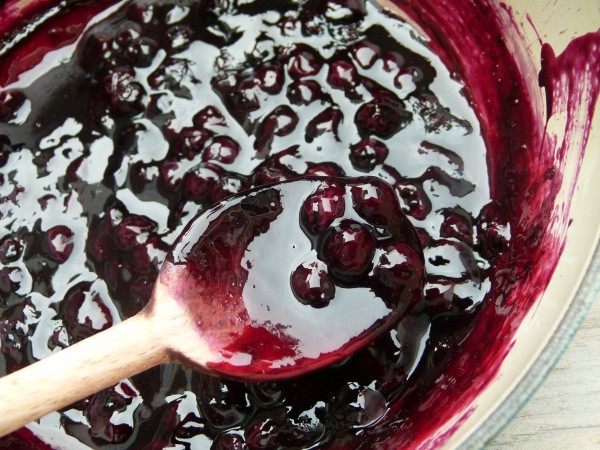
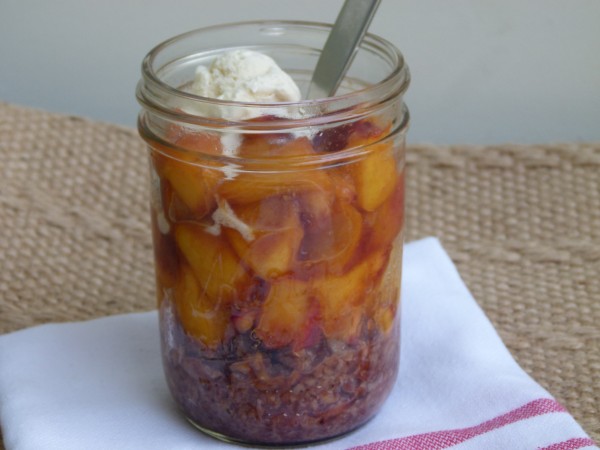
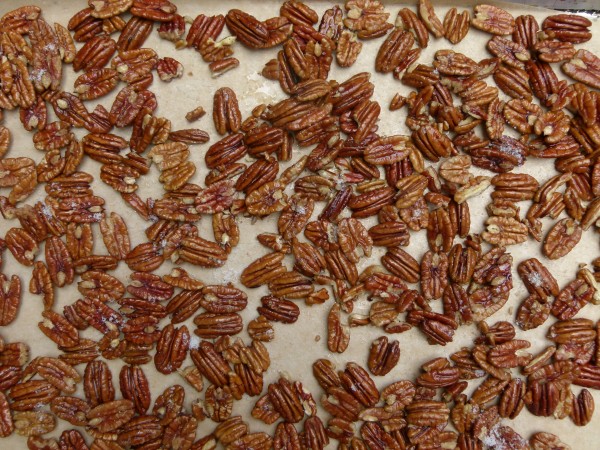
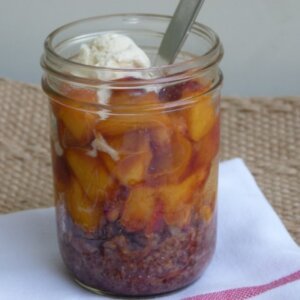
This is your answer. You make these amazing buttered, salted pecans which you then crumble up and put on the bottom of a cute glass jar, preferably with a wide opening at the top. Then you sauté some chopped peaches with a little honey, cinnamon, nutmeg and the tiniest amount of almond extract possible because like I’ve said before, almond extract makes peach and apricot desserts more peachy and apricot-y. But it has to be the teeniest amount otherwise, whoa. And then just when the peaches are warm, you spoon them on top of the pecans. I am totally serious. But see how not-at-all-bad-for-you this is?? See why I can eat this in the morning and at night? See why I was giving out small portions at my classes so there would be more for me? Weak, I tell you.
View this post on Instagram
Individual Warm Peach Pie Pots
Ingredients
- Butter Pecan Crust:
- 3 cups raw pecans
- 1 ½ Tablespoons unsalted butter or unrefined coconut oil
- ¾ teaspoon sea salt this is not a misprint
- Peach Pie Filling:
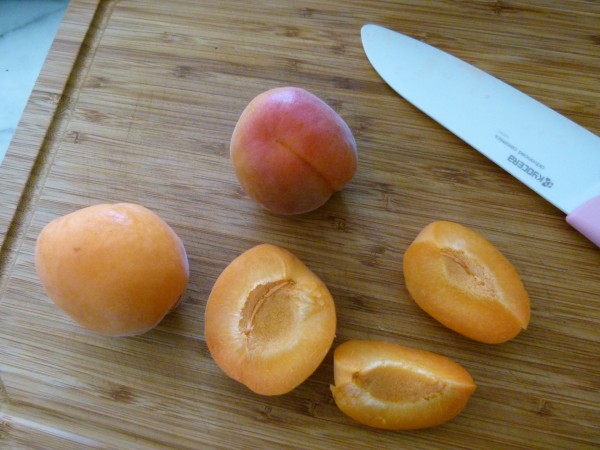
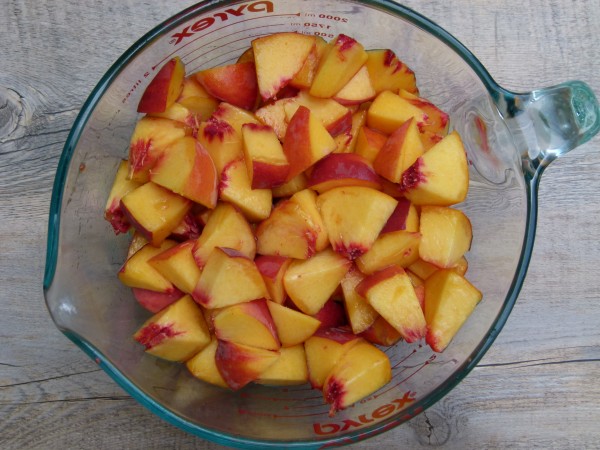
- 8 cups chopped peaches peeled or unpeeled, about 12 small-medium peaches
- 2 Tablespoons butter ghee or unrefined coconut oil
- 2 Tablespoons honey just eyeball it since it’s such a pain to measure
- 1/8 teaspoon almond extract
- 1 teaspoon ground cinnamon
- pinch of ground nutmeg
- ¼ cup almond flour if necessary to thicken juices
Instructions
- Have ready 6 clean ½ pint or pint jars.
- To make the crust, preheat the oven to 375 degrees and line a small sheet pan with parchment paper. Melt the butter in a small (1-2 quart) saucepan, turn off the heat and add the pecans. Toss to coat.
- Pour the buttered pecans onto the sheet pan and sprinkle with ¾ teaspoon salt. Bake for 8-10 minutes. Watch closely so they don’t burn! Remove from oven and allow to cool completely.
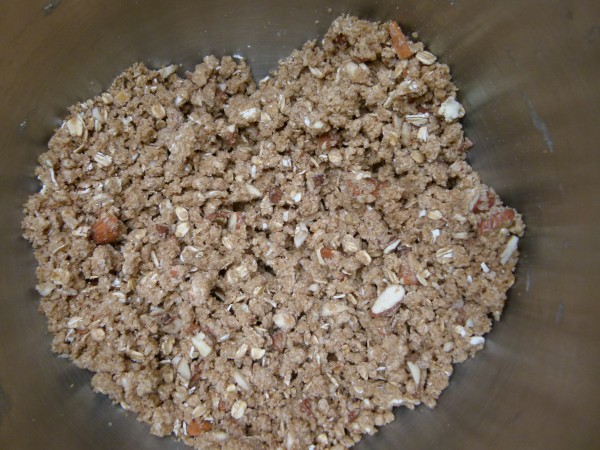
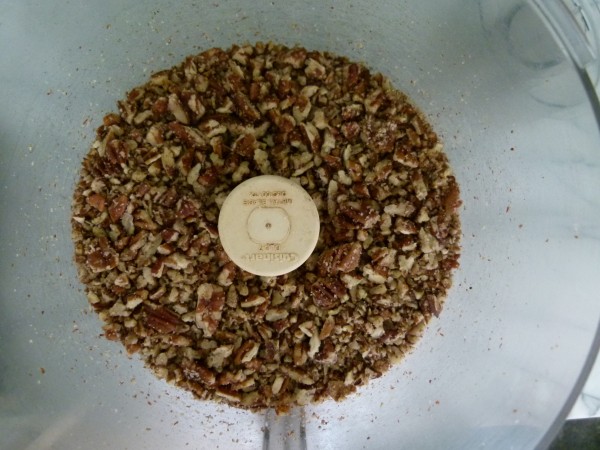
- Place the cooled pecans into a food processor and pulse a couple times to form a coarse crumbly mixture. Place a couple tablespoons of “crust” into the bottom of each jar and set aside.
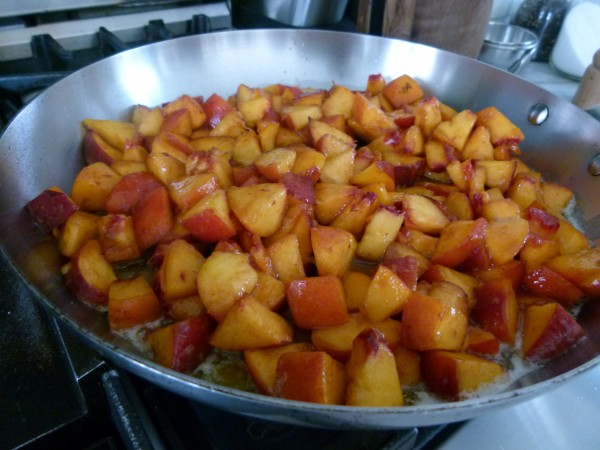
- To make the filling, in a large bowl, toss the peaches with the honey, extract, and spices. Melt the butter in a large skillet over medium heat. Add the peach mixture to the skillet and toss gently to heat through, 2-4 minutes.
- Turn off the heat and if the mixture is very liquidy, add the almond flour to the peaches and stir to combine.
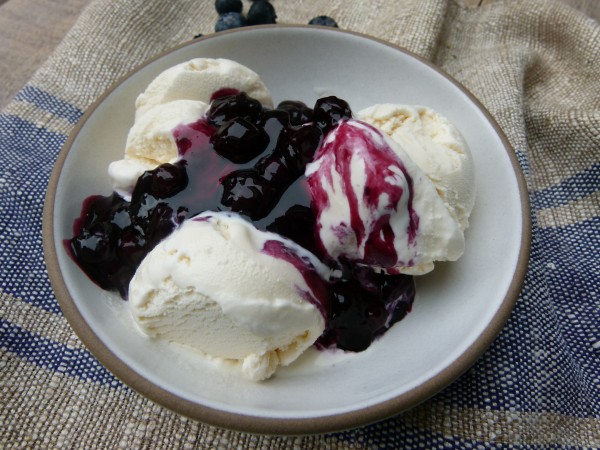
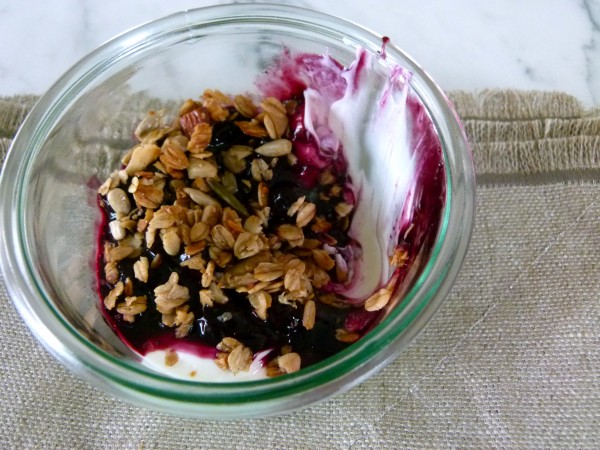
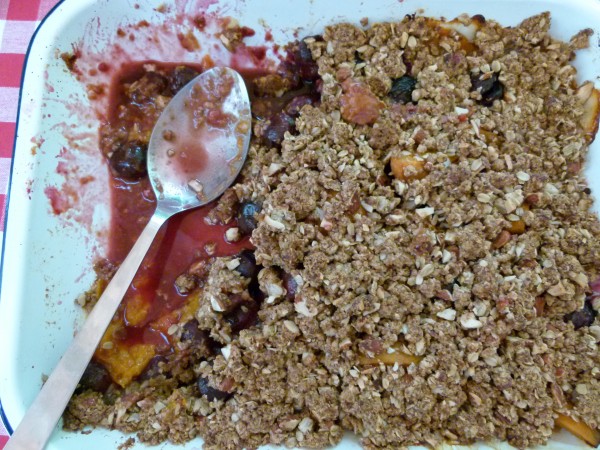
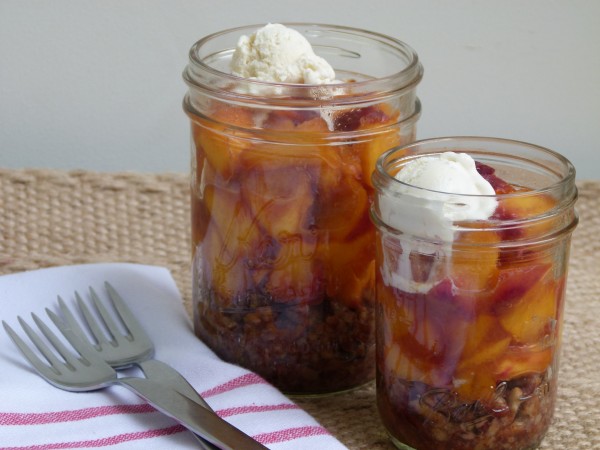
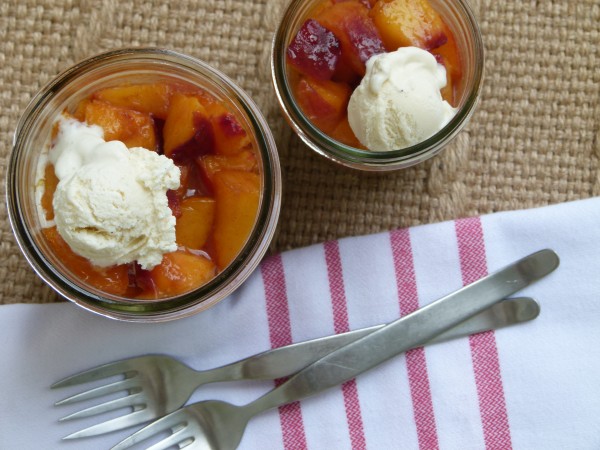
- Place several spoonfuls of the peach pie mixture on top of the pecan crust and top with crème fraiche, whipped cream, vanilla ice cream or whipped coconut cream. Also delicious for breakfast on warm porridge or with yogurt. Serve immediately!