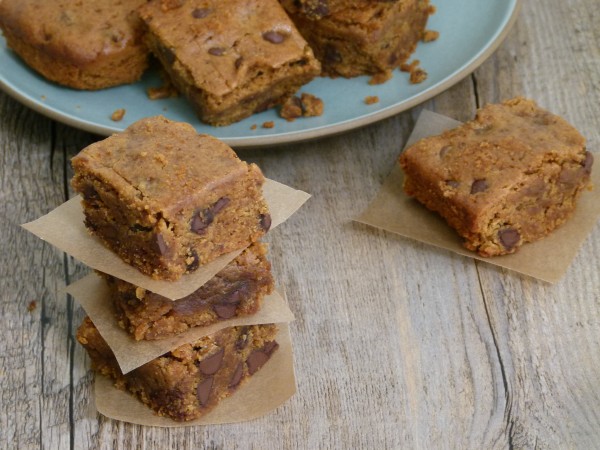
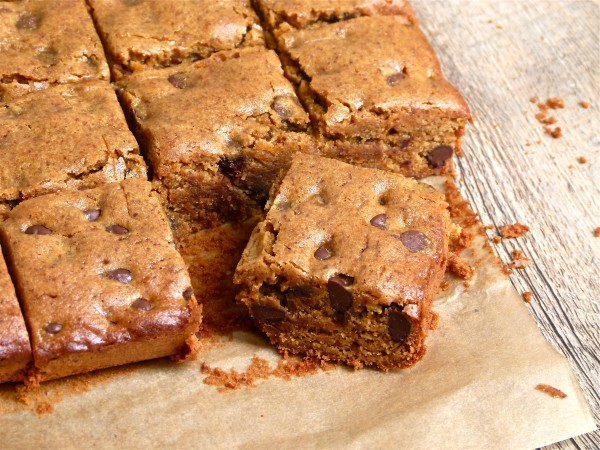
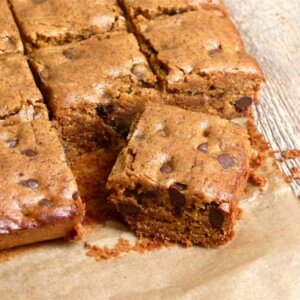
Almond Butter-Millet Blondies Recipe (gluten-free)

We have survived the first week and a half of school and an early Jewish holiday! I started this year right by having my girls order their own school supplies and Mr. Picky helped me out by writing out a list of lunch box-approved foods. Not sure we’ve expanded the repertoire since last year, but at least I don’t have to think too hard. I am also so glad I was inspired to bake and freeze a few treats before school started this year. Those are coming in very handy for lunchbox and after-school snacks. Plus it has been so hot here, I can’t imagine turning on my oven to bake banana bread right now!
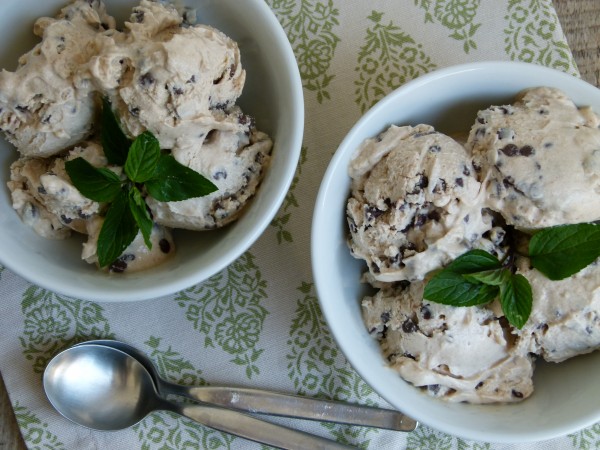
These Almond Butter-Millet Blondies are a new favorite around here. Don’t automatically say “my kids would never eat those!” Guess what? Your kids were probably at my house in the last 6 months and did eat these. Did I say, “Jimmy, would you like an almond butter-millet blondie?” What am I, a rookie? Of course, not. I ask the kids, “would you like a chocolate chip blondie?!” Only people that do not like chocolate ever say no.
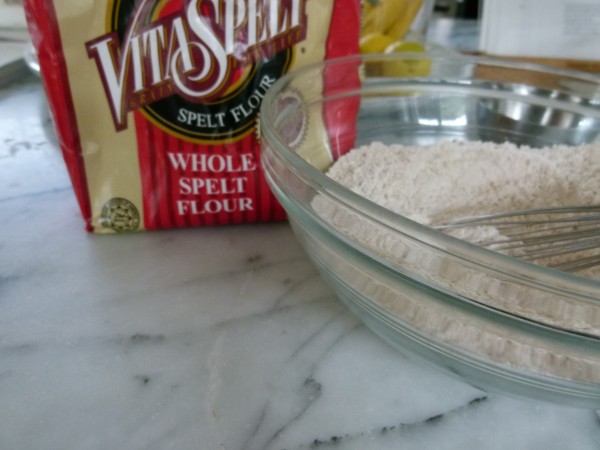
Blondies are similar to a non-chocolate brownie. They are less spongy and a little denser than cake. I love them right out of the fridge so you can really sink your teeth into them. Because blondies don’t have the same lift and airiness of a cake, I tried these with two gluten-free flours, millet and quinoa. Even if you’re not gluten-intolerant, it’s a great idea to not overdo wheat and other gluten-containing grains. Gluten is not only hard to digest, but acid-forming and pro-inflammatory.
The quinoa blondies were not a hit because they totally tasted like quinoa. I love quinoa, but not as much in dessert form. Millet is much blander and really has no flavor to fight with chocolate. My kids and I had no idea the millet blondies weren’t made with wheat flour. I also tried the recipe separately with peanut butter and almond butter and not only were they both delicious, the blondies kind of tasted the same, as in both tasted a bit like peanut butter. Even though I give my kids peanut butter now and then, it’s actually not a fantastic choice. The fats in peanut butter are very pro-inflammatory and if you don’t buy organic, you are also consuming a lot of pesticides and fungicides since peanuts are very heavily sprayed. Even organic peanuts have a tendency to develop a mold called aflotoxin. In moderation, fine, but almond butter is far and away a better, more healthful choice. Did you know almonds are the only alkalizing nut? And if you have a solid food processor, you can make your own almond butter!
These blondies are awesome the next day, which is so nice if you have to bring a dessert to a potluck. If you have leftovers more than a couple days, it’s best to keep them in the fridge. And if you have no self control like me, you may want to just keep out what you need for the day and freeze the rest. Happy baking!
Almond Butter-Millet Blondies
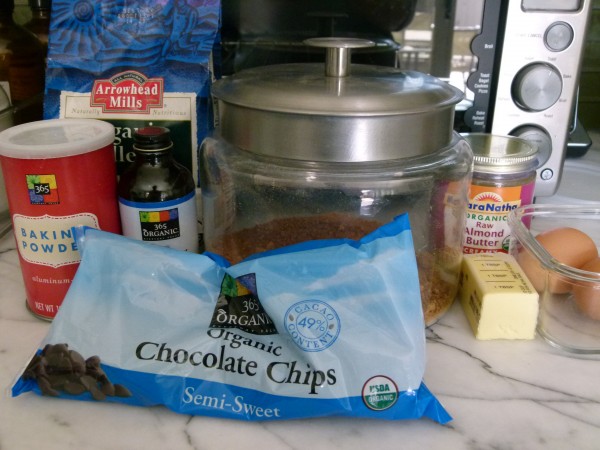
Ingredients
- ¼ cup 4 Tablespoons unsalted butter or organic Earth Balance, softened + additional for greasing pan
- ¾ cup creamy or crunchy almond butter or other natural nut butter
- 2 large eggs
- ¾ cup coconut palm sugar or brown sugar
- 1 teaspoon pure vanilla extract
- ¾ cup millet flour*
- 1 teaspoon aluminum-free baking powder
- ¼ teaspoon sea salt
- ¾ cup semisweet chocolate chips
Instructions
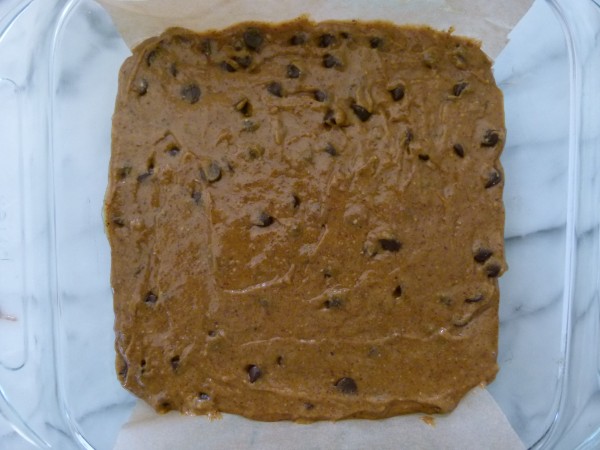
- Preheat oven to 350 degrees. Grease an 8-inch square baking pan with butter and line the bottom with parchment paper so that the bars are easy to take out.
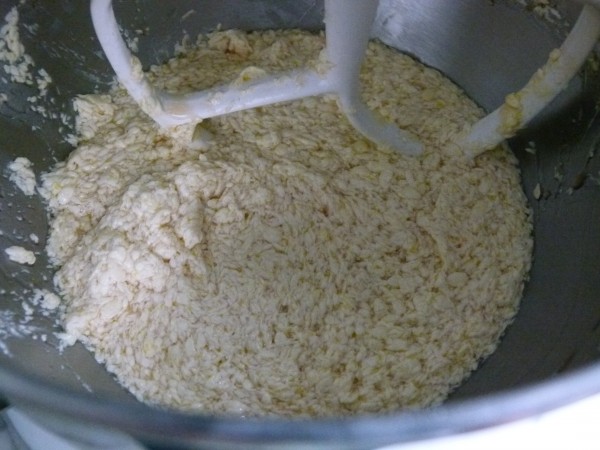
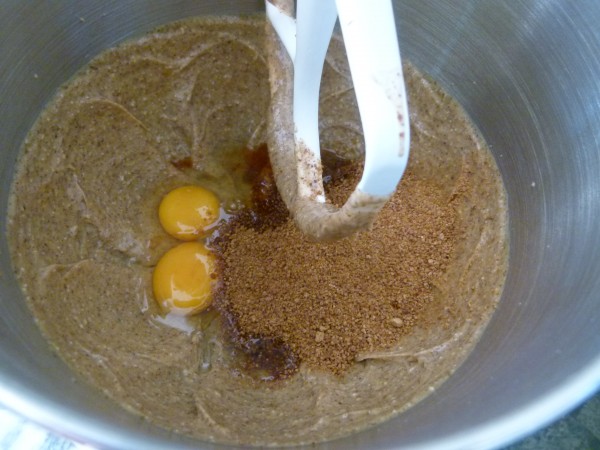
- Beat butter and almond butter in a mixing bowl with an electric mixer until creamy. Beat in eggs, coconut sugar and vanilla until smooth.
- In a small bowl, whisk together the millet flour, baking powder and salt. Mix the flour mixture into the wet ingredients until just combined. Stir in chocolate chips. Spread the batter evenly into the prepared pan.
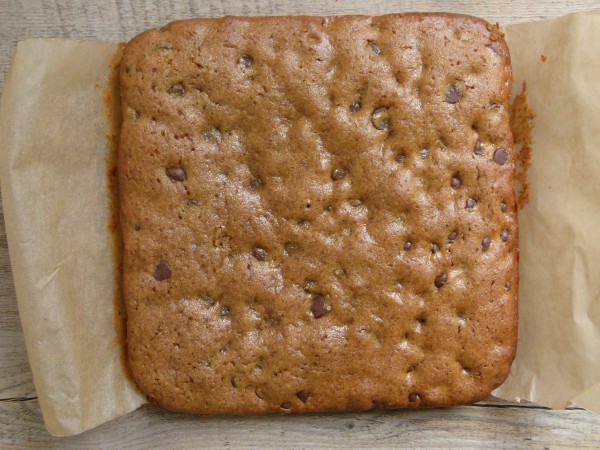
- Bake until a toothpick inserted into the center comes out with just a few moist crumbs on it, about 25 minutes. Let cool in the pan for at least 45 minutes before cutting into 16 squares. Leftovers can stored in the refrigerator for up to a week. These also freeze beautifully.