Skip to content
Get Pamela’s Monday Musings Newsletter! →
About
Recipes
Classes
Bootcamps
Bootcamp Portal Login
Shop
Contact
Newsletter
Online Class Login
Search
Home
›
almond butter
almond butter
Recipes
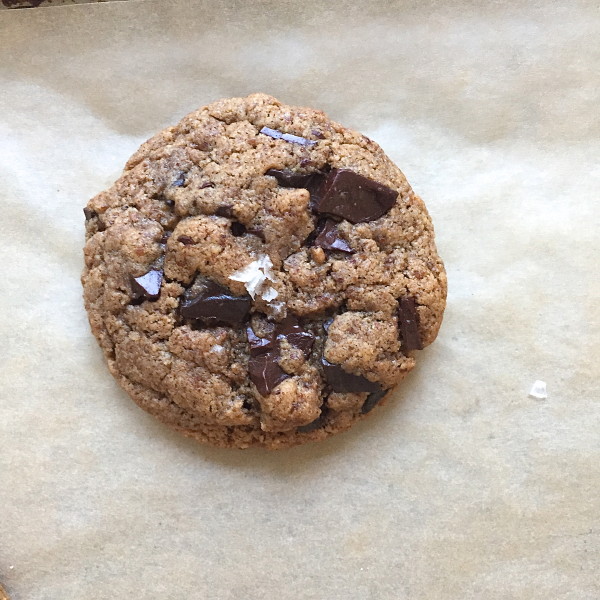
Salted Flourless Chocolate Chunk Cookies Recipe
Recipes
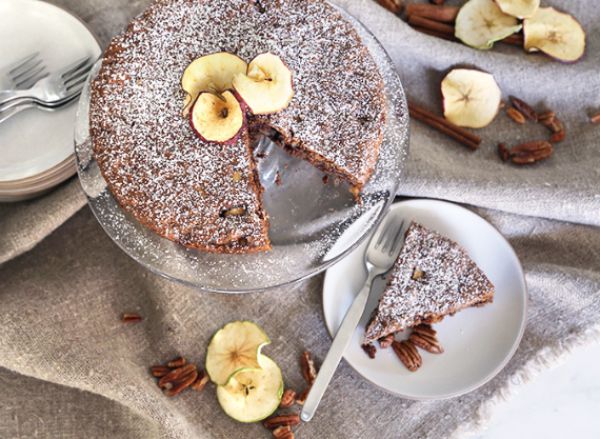
Grain-free Cinnamon Apple Cake Recipe
Recipes
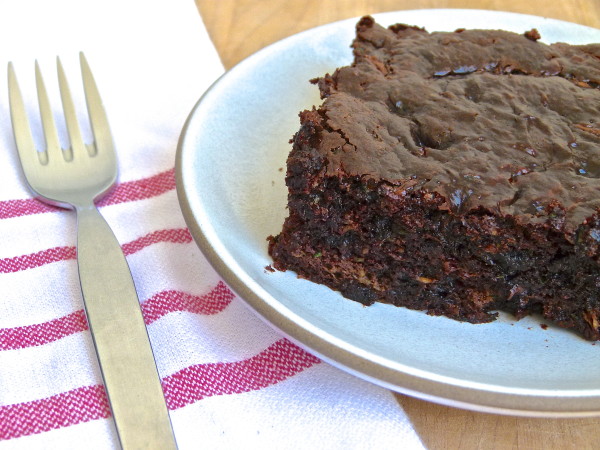
Grain-free Chocolate Zucchini Cake Recipe and VIDEO
Recipes
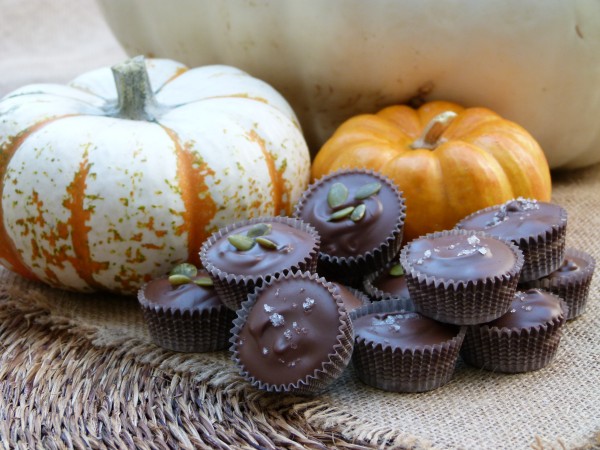
Homemade chocolate-peanut butter cups and almond butter cups recipe
Recipes
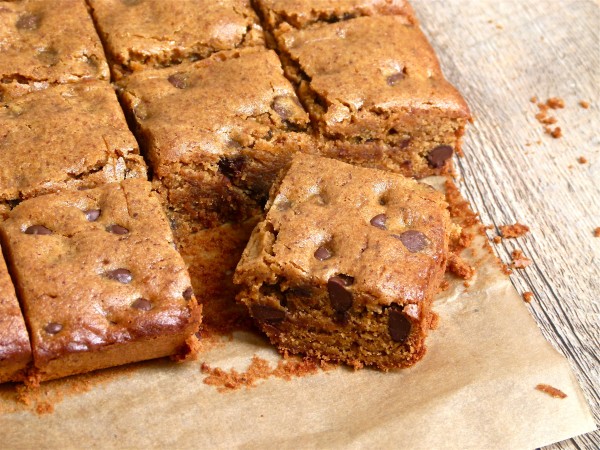
Almond Butter-Millet Blondies Recipe (gluten-free)
Recipes
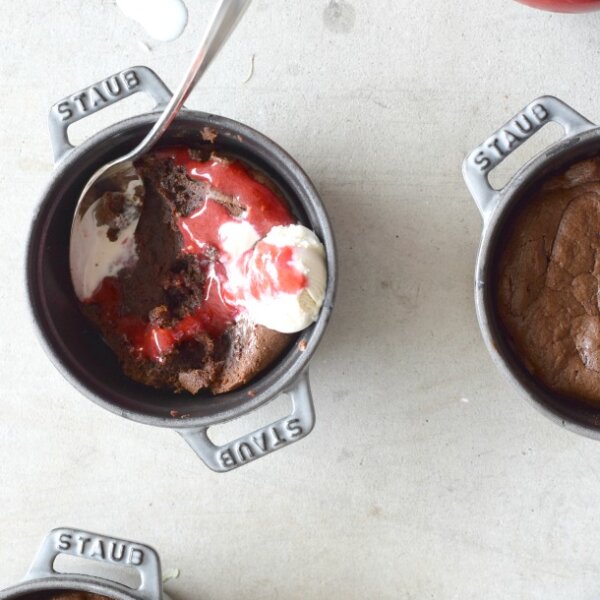
Mini flourless chocolate cakes recipe
Recipes
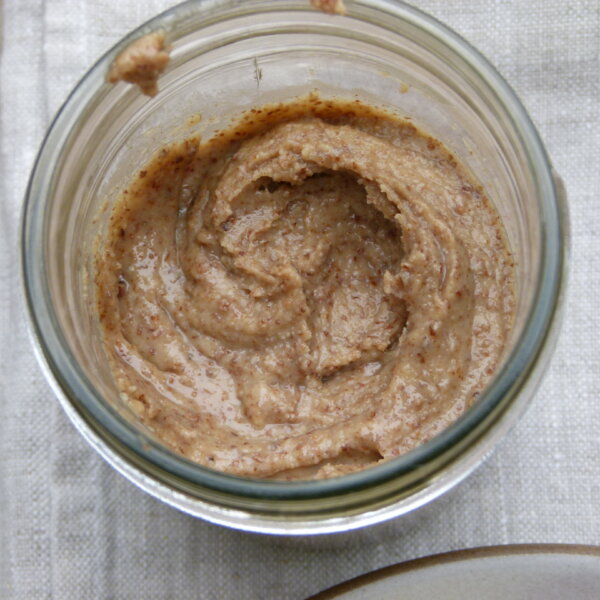
How to Make Almond Butter
Recipes
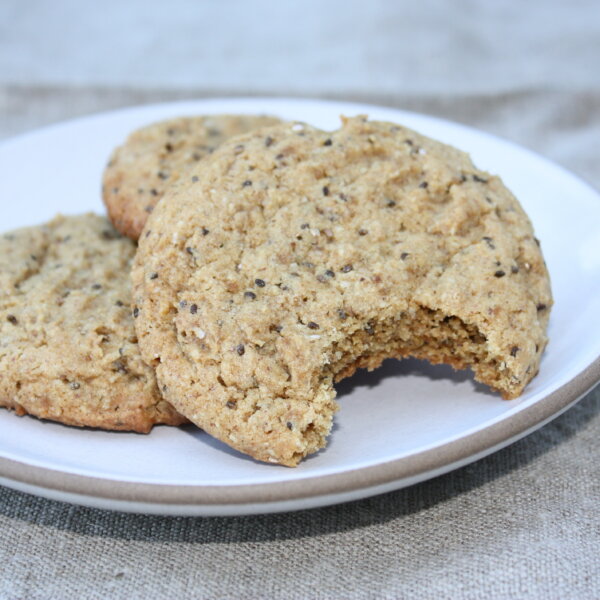
Almond butter and chia seed cookie recipe