Homemade graham crackers recipe

There are some things that I just don’t think are worth making from scratch (like puff pastry) and then there are some things I can’t believe can be made from scratch and taste good, like graham crackers.  Wait, not just “good,” but amazing!   Who doesn’t remember eating graham crackers as a child?  But you always got them out of a box, right?  Not anymore.  Be prepared to have your life changed!

Even though my mom didn’t allow many over-the-top sweets in the house, graham crackers sometimes made the cut.  Whereas Ho-Ho’s and Twinkies were definitely taboo, graham crackers seemed relatively benign and not overly sugary.  My mom bought Honeymaid, which we used to smear with peanut butter or cream cheese or just dunk in milk.  My kids would like to do the same, but I rarely buy packaged cookies.  First of all, I think that homemade always beats store-bought.  And it’s hard to find treats made with unrefined ingredients and without lots of scary chemicals.

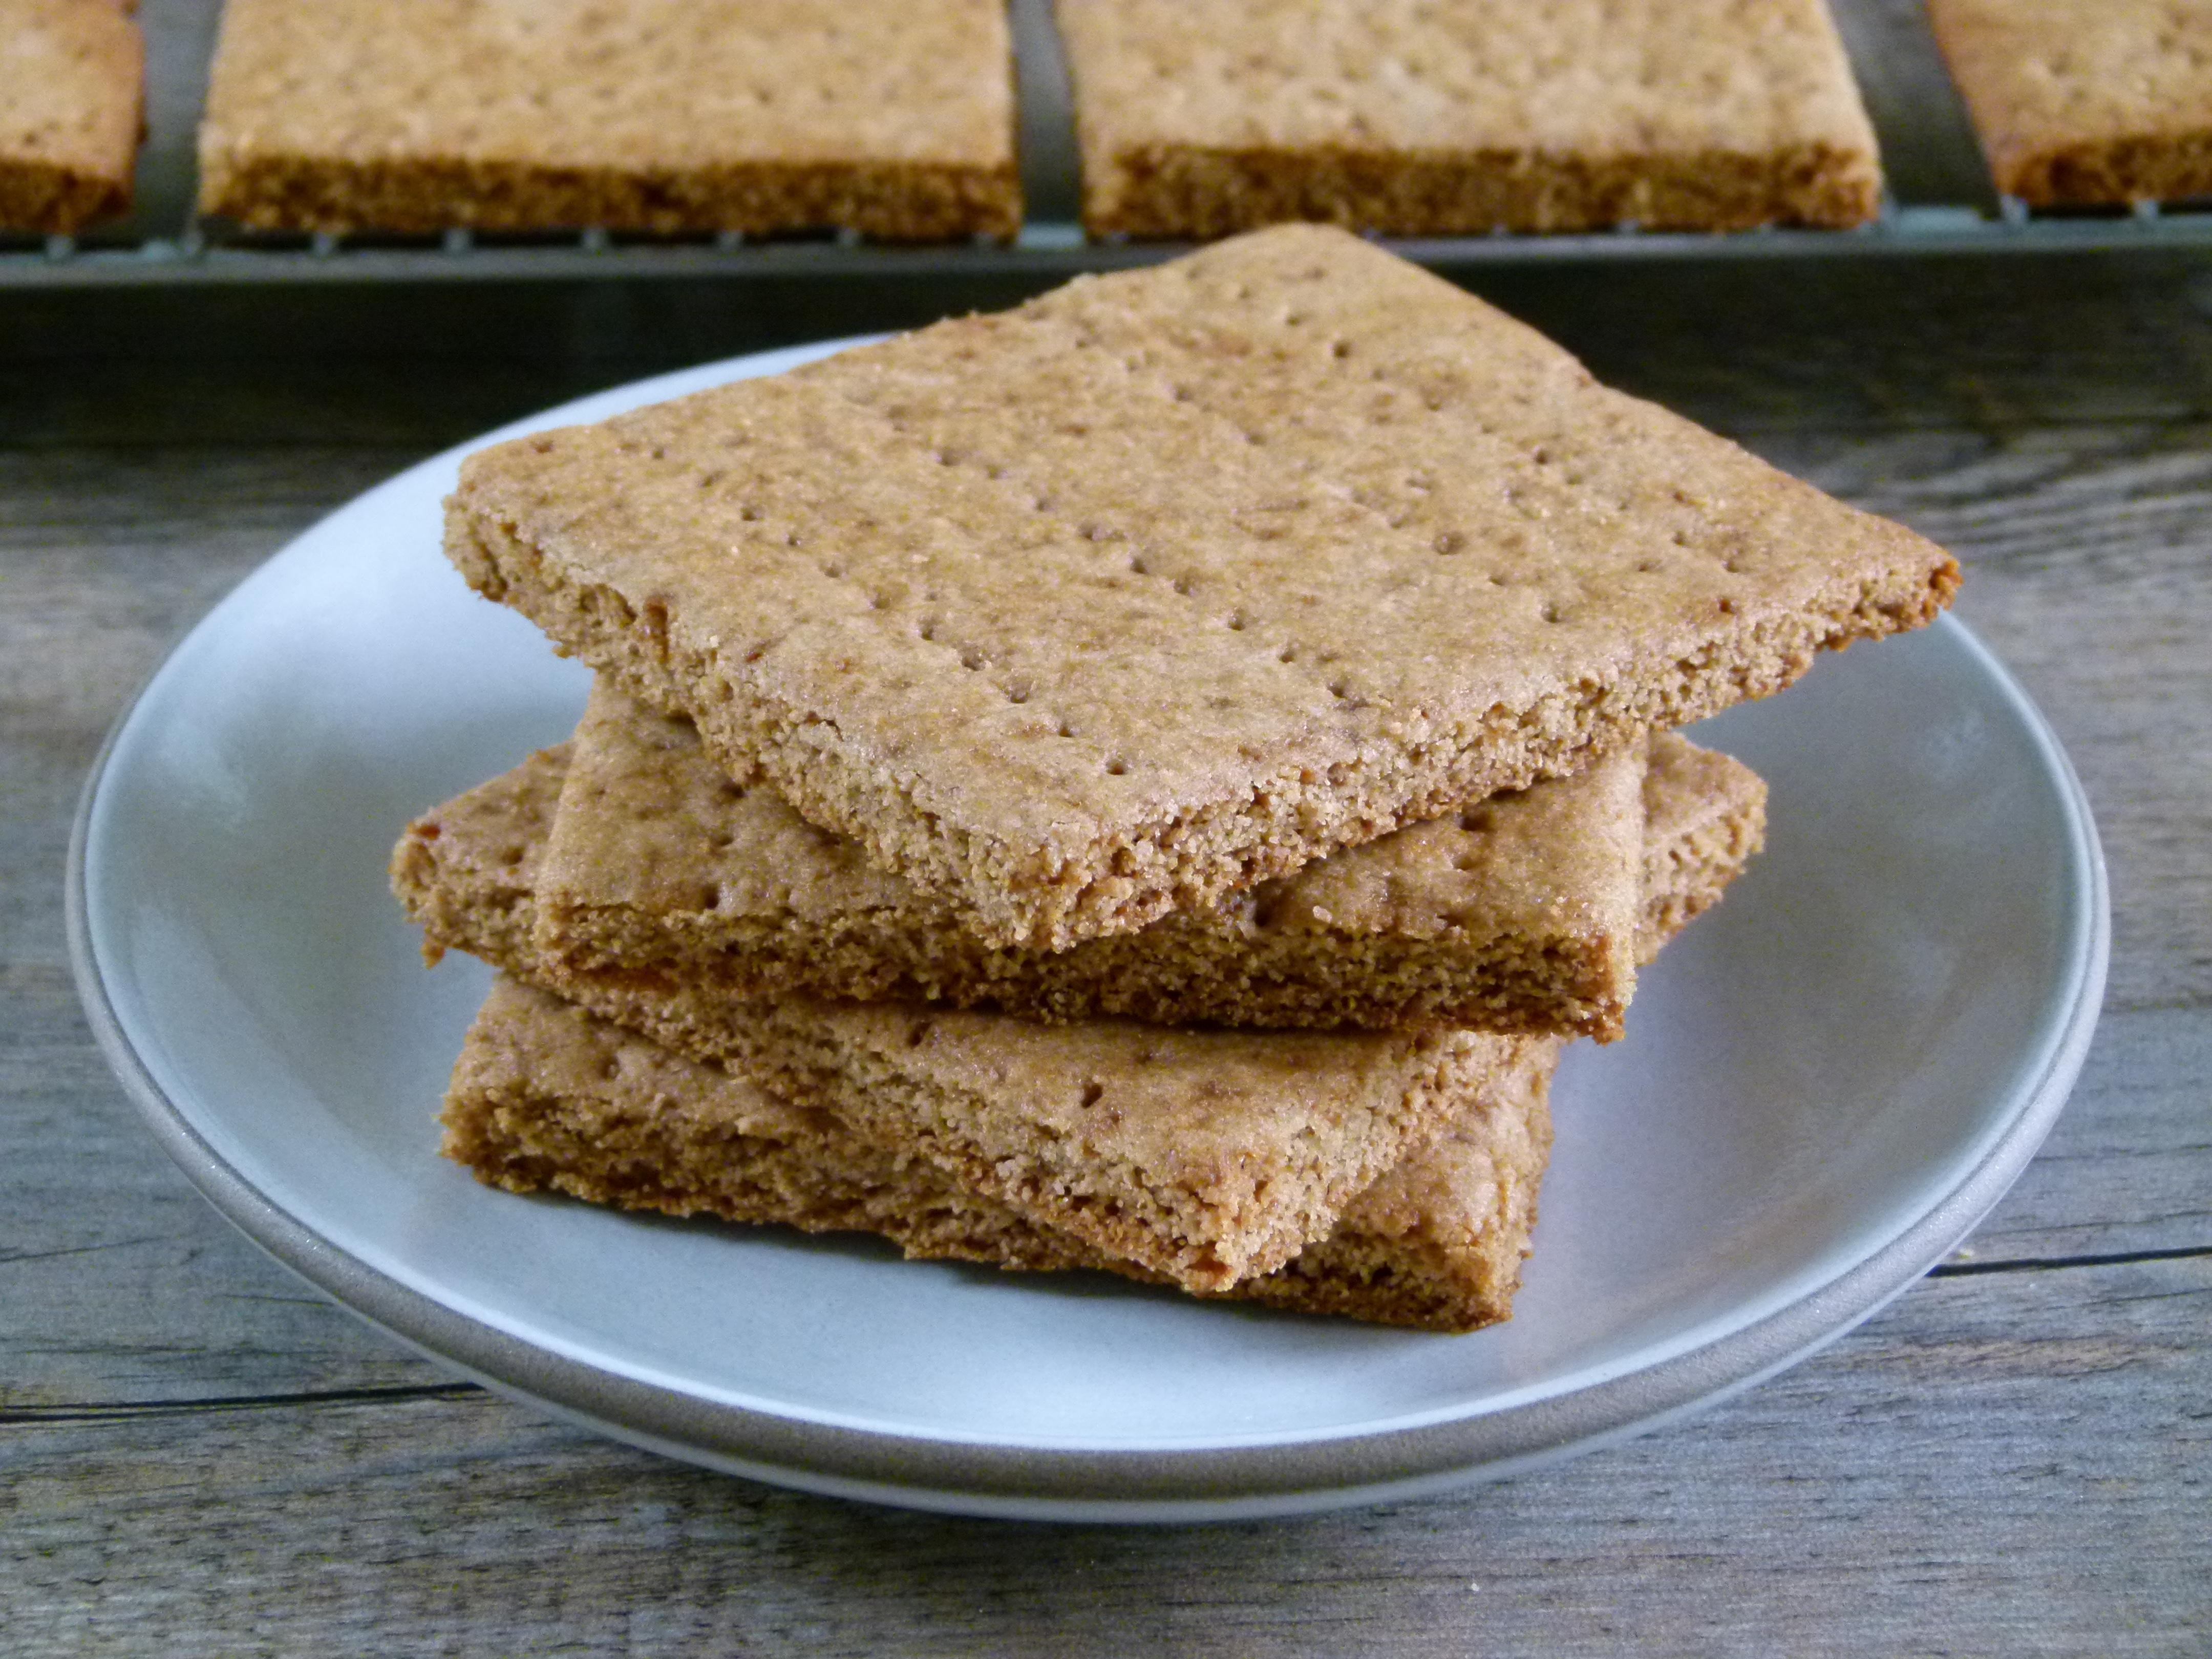
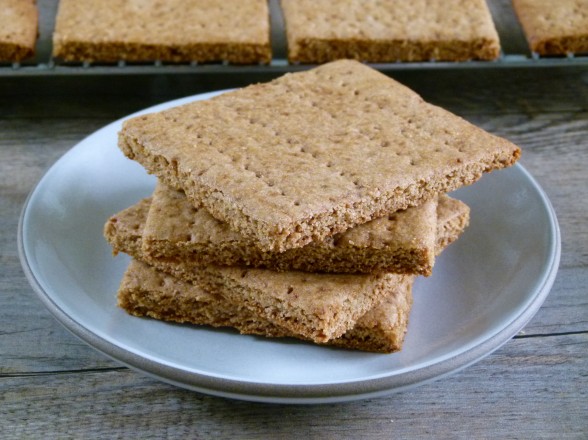
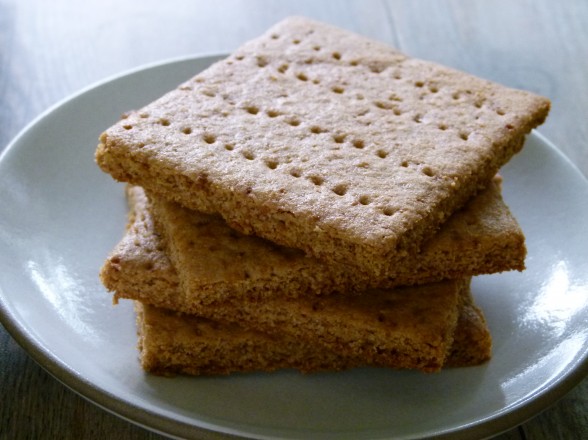
Last June and July my summer intern Hannah and I went graham cracker crazy, making a new batch or two every week.  I finally settled on this recipe here which my friend Cheryl helped me with.  These graham crackers have just the right amount of sweetness, which makes them a perfect snack for your little guys and for s’mores.  I like using a combination of whole spelt or wheat flour and brown rice flour.  Rice flour is very light and has a grittiness that I think is ideal for graham crackers.  If you don’t have it, just use all spelt or wheat flour and they will still be delicious.  But I think the key with graham crackers is to ask yourself how perfect you want them to look. I so admire people who have the patience for making things look like they popped out of Martha Stewart Living because I don’t.  I will admit, I did my best with the batch I photographed for this post, but normally I leave my ruler in the drawer.  If you are giving these as a gift, using them for s’mores, or offering them to a large group of children, you may want the crackers to be as uniformly sized as possible so it might be worth the effort to measure out the dough and where you cut your lines.

This recipe is otherwise crazy simple,  but makes a great impression.  Last summer my go-to dessert for entertaining was a s’mores bar with these homemade graham crackers which Mr. Picky helped me bake on more than one occasion.  To me, having my kids helping me in the kitchen is the best part of making your favorite treats from scratch.   I also love that you can put into them what you want.  All organic ingredients?  No problem!  Half the sugar of their traditional counterparts?  Go for it!  Lots and lots of love?  Always!

5.0 from 1 reviews
Homemade Graham Crackers
Author: 
Serves: makes 24 3 x 3½ -inch crackers
 
Ingredients
  • 1 ¼ cups whole wheat, whole wheat pastry, white whole wheat or spelt flour
  • 1 ¼ cups brown rice flour (or just use all wheat/spelt flour)
  • ½ cup coconut palm sugar, sucanat or brown sugar
  • 1 teaspoon baking soda
  • 1 teaspoon ground cinnamon
  • ½ teaspoon sea salt
  • ½ cup (1 stick) unsalted butter, cold and cut into pieces
  • ¼ cup honey
  • ¼ cup milk, non-dairy milk or water
  • 1 teaspoon pure vanilla extract
Instructions
  1. Preheat oven to 350 degrees.
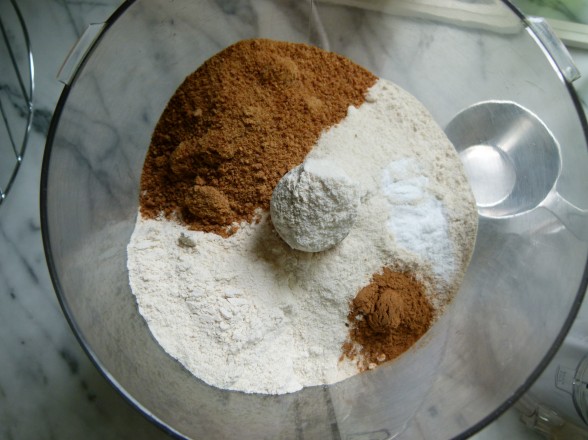
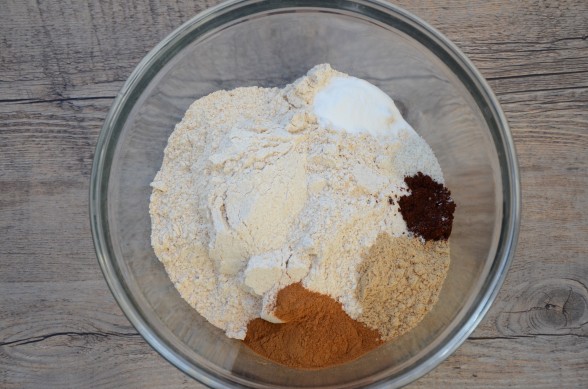
  2. In the bowl of a food processor or mixer, pulse or stir the dry ingredients until combined.
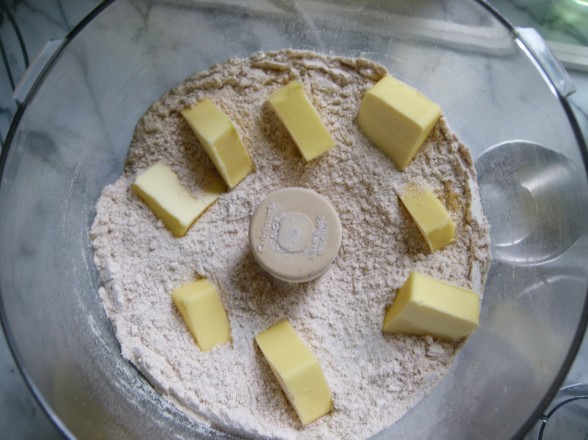
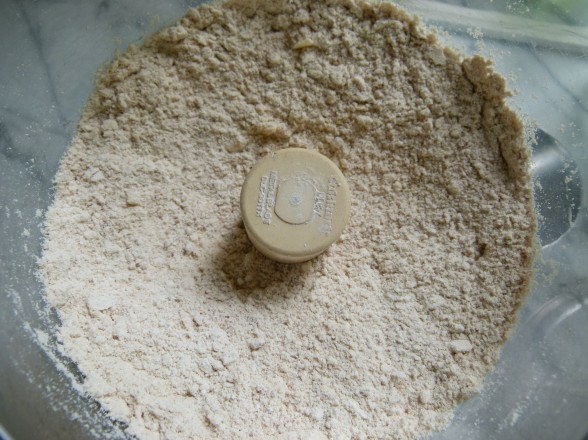
  3. Add the butter pieces to the dry mixture and pulse or process until it looks like coarse meal.
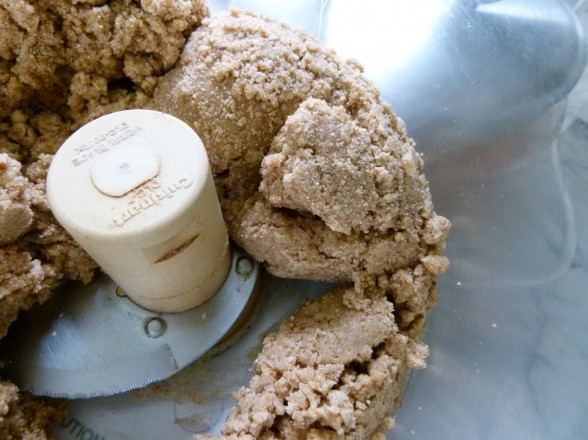
  4. Add the honey, water, and vanilla and process until a ball of dough comes together. Pull the ball of dough out of the food processor and cut it in half. It is a very soft dough. But if it’s super sticky or if your kitchen is warm, refrigerate the dough 30 minutes.
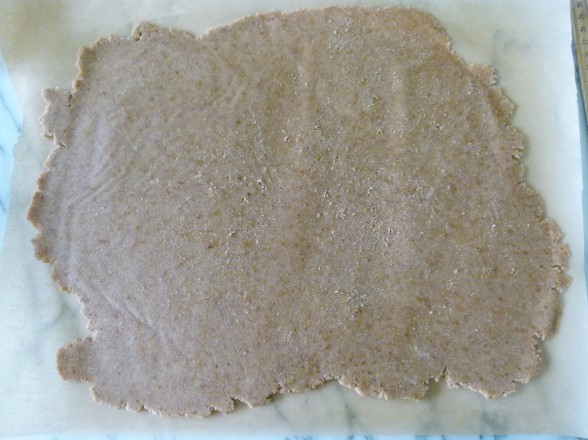
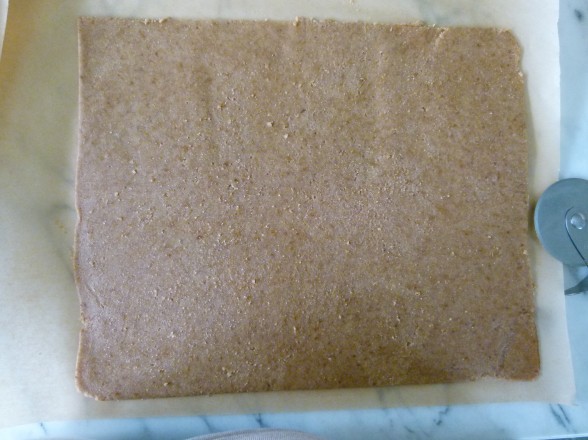
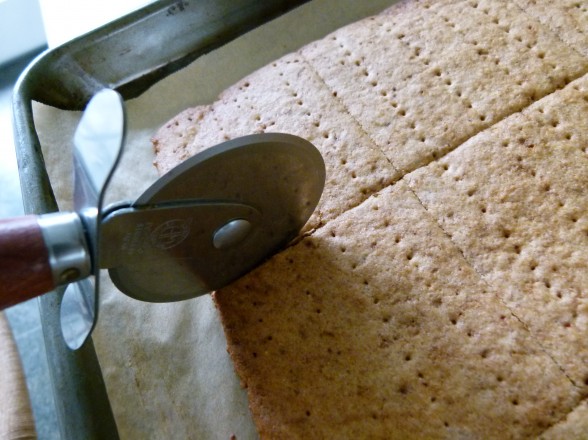
  5. Roll out one ball of dough between two sheets of parchment paper to a 10 x 12” rectangle or about ⅛” thick. Remove the top sheet of parchment and slide the bottom sheet of parchment with the rolled out dough to a baking sheet. With a pizza wheel or a sharp knife, cut the dough into rectangles. If desired, prick the dough with the tines of a fork to create the classic graham cracker “dots.” Repeat with second ball of dough.
  6. Bake for 18-22 minutes or until the edges are starting to turn brown. Remove from oven and cut crackers again along the same lines with a pizza wheel or knife. Allow to cool on the pans for about 2 minutes. Separate crackers from each other and cool on racks. If some crackers seem a little thicker than others, put them back in the warm oven with the heat OFF for 10 more minutes and up to an hour. This will dry them out a bit and ensure that they will be crispy.
  7. Cool completely and store in an airtight container.
Notes
To make gluten-free graham crackers, use 2 ½ cups all-purpose gluten-free flour blend, such as King Arthur plus ½ teaspoon of xanthan gum in place of the wheat and rice flours.


Peach and Blueberry Crisp Recipe

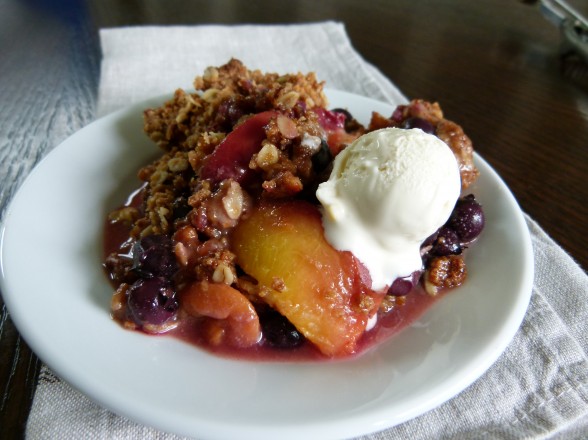
Were fruit crisps popular 30 and 40 years ago?  I can’t recall, but I feel like they started turning up everywhere about 20 years ago.  A fruit crisp was one of the first desserts I ever made on my own.  I think the recipe came from one of the Silver Palate cookbooks.  Remember those?  I am very certain it was an apple crisp with the classic oat and sugar crumby topping.  It was such an easy dessert, but so delicious and a total crowd pleaser.  What’s not to love?  It’s the ultimate comfort dessert.  Soft, sweet fruit with a crunchy, nubby topping that you would fight your best friend over.  Did you ever have a crisp warm out of the oven with a little scoop of vanilla ice cream on top?  If you have, then someone loves you!

I’ll tell you the truth, I use the same basic recipe for all my fruit crisps the whole year long.  I’m sure I could put a little more thought into it and start adding liqueur to the fruit or different spices.  I like Giada’s idea of using crumbled amaretti cookies in the crisp topping.  But we already love this the way it is.  Why mess around with deliciousness?

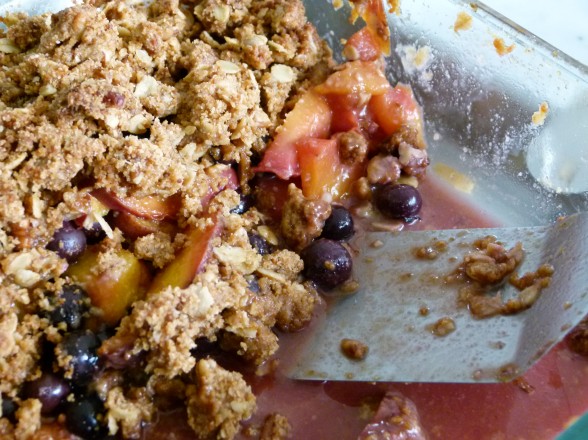
Today I’m bringing you a Peach and Blueberry Crisp because my favorite fruit desserts all start with a peach.  Did you catch my Stone Fruit Crostata last summer?  My husband, kids and I are all obsessed with peaches.  We have a couple of peach trees in the backyard that produce a whole lot of great peaches for two weeks in the summer and that’s when we grill them, add them to salads, make pies and crisps and even peach margaritas (for adults, of course)!  Outside of those two weeks, I rely on our farmer’s market, but a high point for us is going peach picking on Long Island when we visit my parents.  Have you ever had a just-picked peach, warm from the sun?  Put that on your to-do list.  It will just make you happy.

Believe me, I am completely content eating a perfect peach and not messing with it, but I also know there’s a time and place for a good, homemade dessert.  This Peach and Blueberry Crisp is one of my go-to’s during the summer.  I don’t make it too sweet, in fact my fruit dessert mantra is “it should taste like fruit, not just sweet.”  Most crisp recipes toss the fruit with extra sugar and flour, which I don’t think is necessary at all.  I used to make crisp toppings with brown sugar until I discovered coconut palm sugar which I think is a great unrefined sweetener.  If you can’t find it, brown sugar works completely fine.  One of the best things about crisps is that you can make the topping way ahead and keep it in the fridge for a few days or even the freezer for a few months.  Do you even understand the implications of this?  You can freeze a whole gigantic batch of crisp topping right now and have a dreamy dessert at your fingertips whenever you want.  That means an easy dessert for summer entertaining or simply put a handful of fresh fruit in a ramekin and top with a handful of topping and bake away for a yummy crisp for you and only you whenever you need a little love.  Now we’re talking.
 

5.0 from 6 reviews
Peach and Blueberry Crisp
Author: 
Serves: 8-ish
 
Ingredients
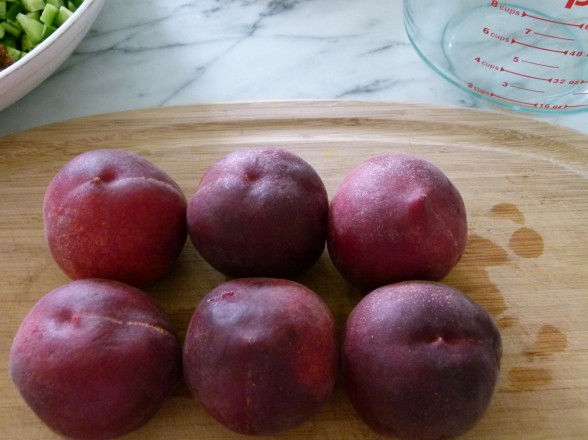
  • 6 medium peaches, pitted and sliced, about 4-5 cups (you can peel if you want)
  • 2 cups fresh or frozen blueberries
  • 1 cup whole grain flour, such as whole wheat pastry, white whole wheat or your favorite GF flour blend (I like Bob's Red Mill and King Arthur)
  • ¾ cup coconut palm sugar or brown sugar (coconut sugar is less refined)
  • ½ cup old-fashioned rolled oats (look for gluten-free oats if you gluten intolerant)
  • 1 teaspoon ground cinnamon
  • ½ cup chopped pecans (optional)
  • ½ teaspoon fine sea salt
  • 8 Tablespoons cold unsalted butter, cut into pieces
Instructions
  1. Preheat the oven to 350 degrees.
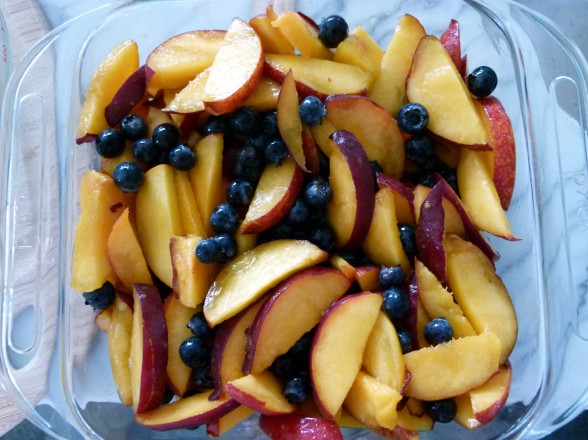
  2. Place all fruit in an 8- or 9-inch baking dish or pie plate. Toss to mix them up a bit.*
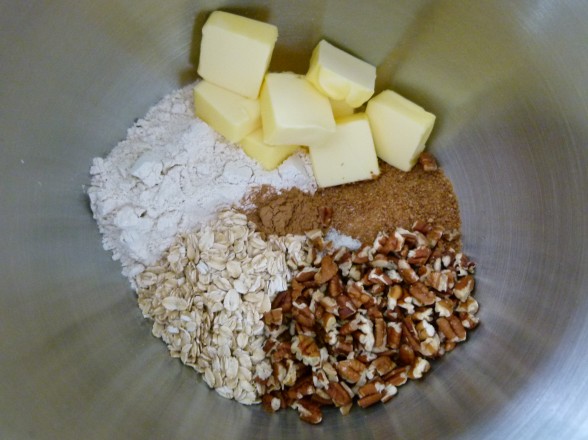
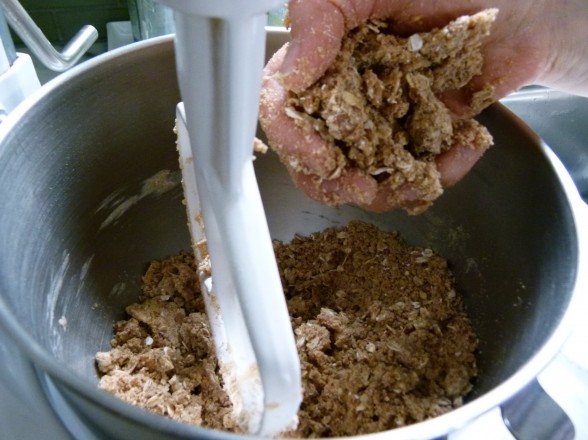
  3. Add all topping ingredients in the bowl of a mixer fitted with the paddle attachment. Blend until mixture resembles small peas. This can also be done by hand or with a pastry blender. Squeeze with your hands to create small clumps.
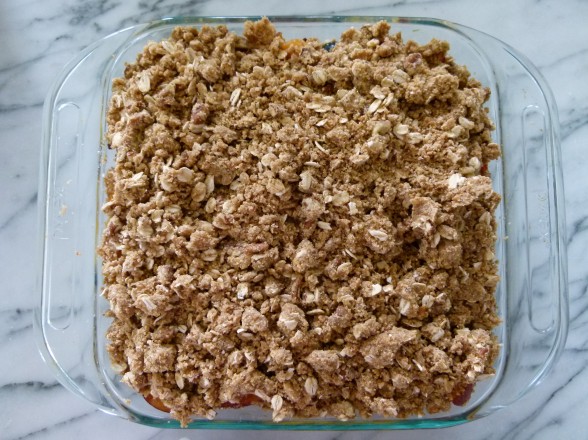
  4. Arrange topping over fruit to cover.
  5. Place baking dish on a cookie sheet and bake for about 45 minutes, or until bubbly and topping is golden brown.
Notes
*You can toss the fruit with a Tablespoon of sugar and a Tablespoon of flour to thicken the juices that develop, but it is not necessary unless your fruit is really juicy.

**Crisp topping can be made ahead and kept covered in the refrigerator for 3-4 days or frozen for up to 3 months.


Whole Wheat Carrot Cake with Dairy-Free Frosting Recipe

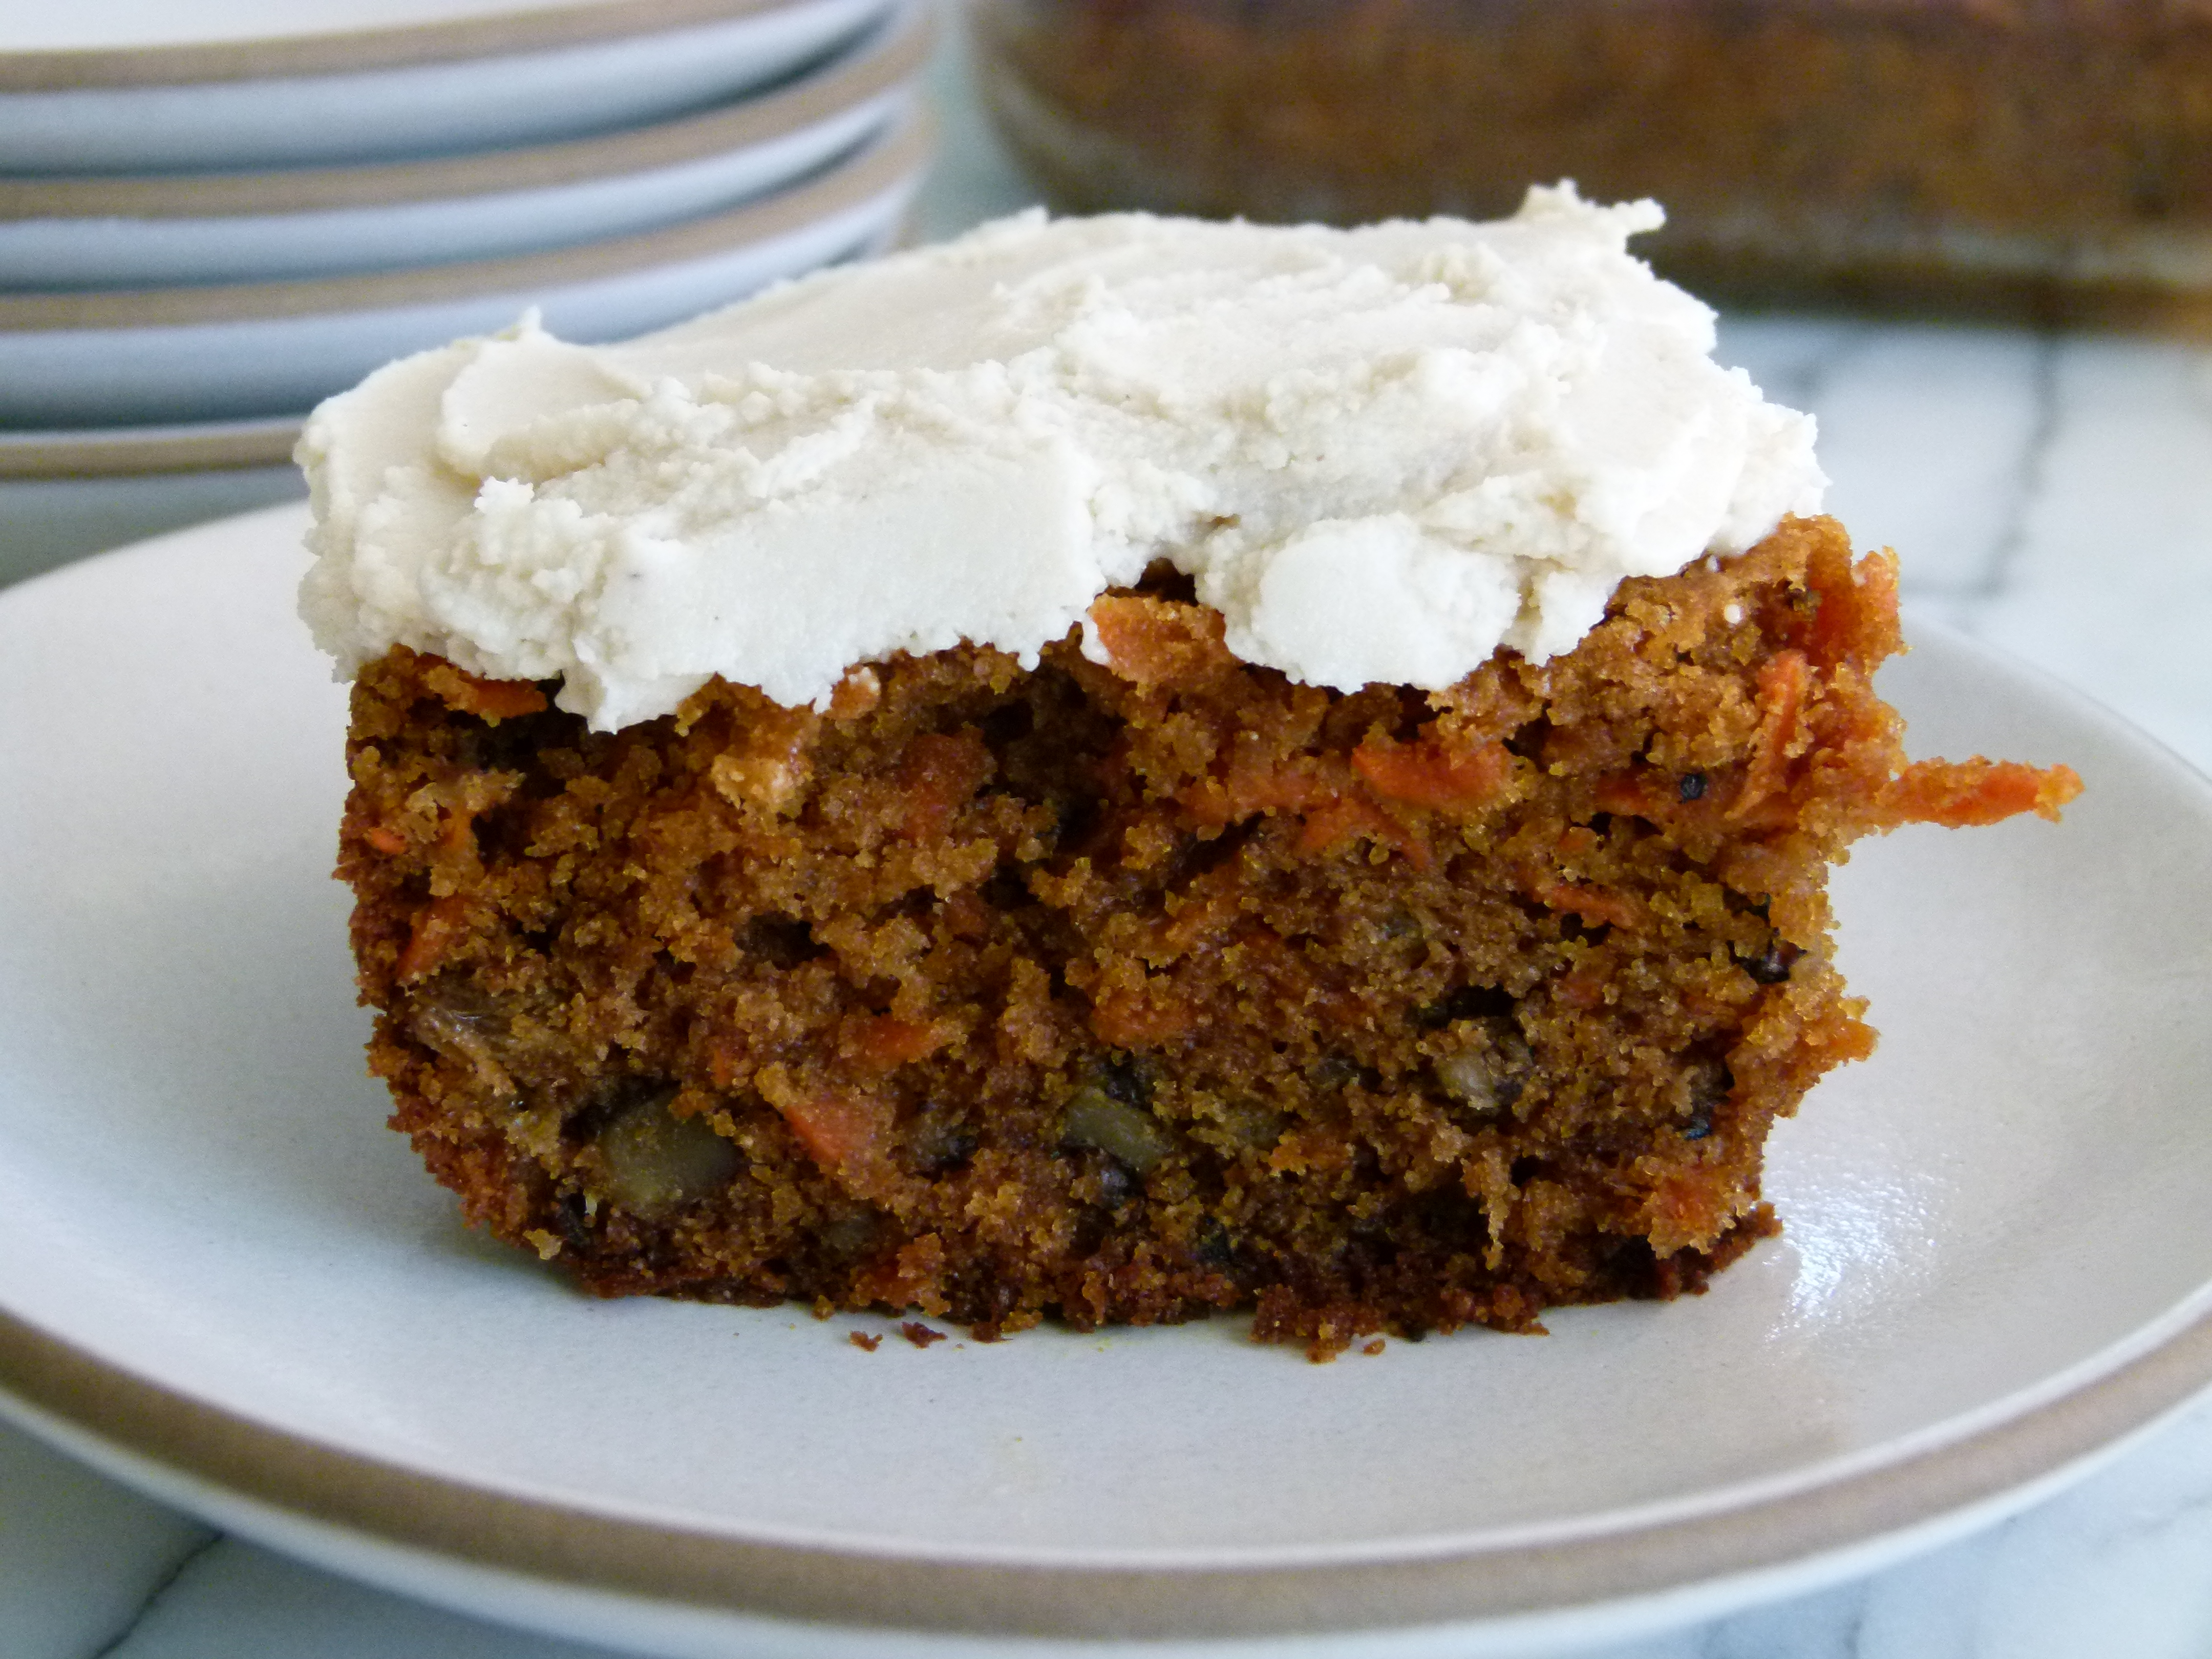
I was married almost 17 years ago, so I guess it’s not crazy that my husband would have forgotten what flavor our wedding cake was.  I’m just surprised, because he was very involved in all decisions.  I know you’re thinking that it sounds sweet to have your fiance interested enough in your wedding to have a say in everything, but trust me, kind of annoying.  Regardless, we were talking about our wedding cake the other day and my husband remembers it as carrot cake, which it was certainly not.  Of course, there’s nothing wrong with carrot cake for a wedding cake, but ours was a simple white cake with chocolate chocolate-chip buttercream filling.

He probably thinks it was carrot cake because we both love it so much.  And we both agree that carrot cake should be moist and dense and chock full of carrots and raisins and walnuts.  I remember many a date when we shared a large slice of carrot cake for dessert.  You know the kind.  Two or three layers of sweet, nubby cake sandwiched between even sweeter, creamy, tangy icing.  Sounds great until you learn that a huge piece of bakery or restaurant carrot cake contains about a entire day’s worth of calories.  And don’t think they’re using natural sweeteners, friends.  If I were 22 again and doing two hours of step aerobics every day, I could probably get away with it.  But not no more!

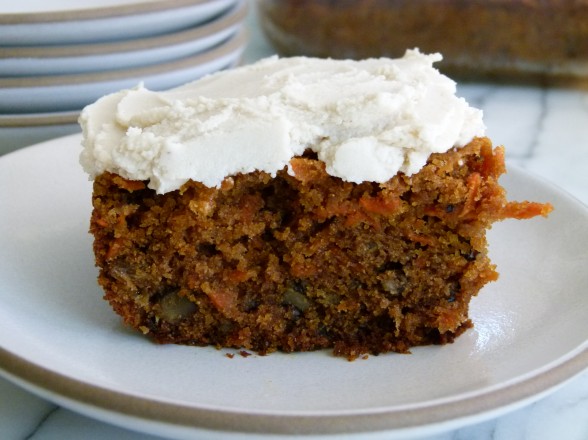
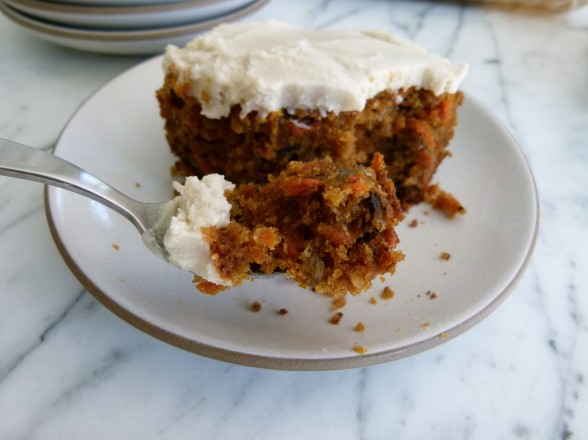
Fast forward two decades later when at least one of us is trying to consume desserts in moderation and bake them with less refined ingredients so we can make it to our 50th wedding anniversary and beyond.  Yes, that’s why I make carrot cake in a 13 x9-inch baking dish instead of as a layer cake.  I think it’s super delicious too, but for me at least, one square is plenty.  And before you think I’m no fun at all, don’t think I’m skimping on flavor here.  This carrot cake delivers the same sweet, spiced goodness that you would expect from the traditional.  Ok, maybe not the same sweetness.  When I got motivated to come up with a higher quality carrot cake, I went to my trusty Ina, who uses a whopping 2 cups of sugar in her cake.  Although in her defense, so does everyone else.  In my recipe I use coconut palm sugar and much less of it.  Listen, there’s a whole pound of carrots in this cake and carrots are sweet.  There are also raisins and even diced pineapple if you choose to use it.  And even if you don’t frost this cake, it’s plenty sweet.  Personally, I was happy as a clam with this cake unfrosted, but I knew my students would be expecting something more.  Of course I couldn’t go with a typical cream cheese frosting, because they don’t come to my kitchen for that.   So I am also offering you something very alternative, but perfectly yummy and thick and creamy and won’t make you sick to your stomach after you eat it.  And it’s vegan!

I’m thinking with Father’s Day coming up, this would be a fun dessert to make.  You can even do it in a muffin tin for individual cupcakes.  There are lots of ways you can adapt this recipe to make everyone happy.  Drop the pineapple if you wish.  Use pecans instead of walnuts.  Add some nutmeg or cloves.  Make Ina Garten’s cream cheese frosting if you don’t believe me that this one is great.  Just don’t ask me if you can make this cake without carrots because that question was already asked in my class last month and my answer is “no.”  Instead you have my blessing to go make the white butter cake with chocolate chocolate-chip buttercream filling that you really want.

Whole Wheat Carrot Cake with Dairy-Free Frosting
Author: 
Serves: makes a 13x9-inch or 2 9-inch round pans
 
Ingredients
  • 1 ¼ cups coconut palm sugar or granulated sugar
  • 1 ¼-1 ½ cups unrefined oil (I use melted coconut oil, but olive or high-oleic safflower is fine, too)
  • 3 extra-large eggs, at room temperature
  • 1 teaspoon pure vanilla extract
  • 2 ½ cups plus 1 Tablespoon whole wheat pastry flour, divided
  • 1 Tablespoon ground cinnamon
  • 2 teaspoons baking soda
  • 1 ½ teaspoons sea salt
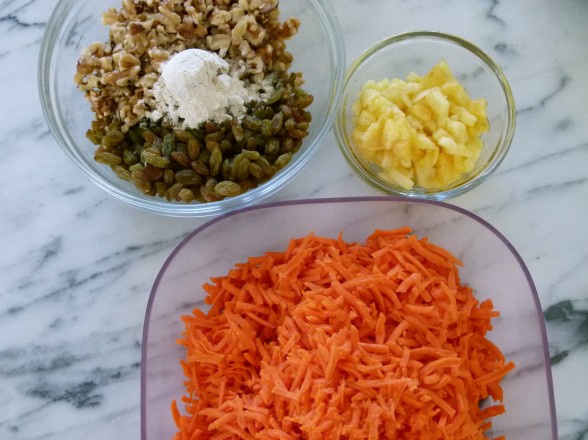
  • 1 cup unsulphured golden raisins (or dark raisins if you prefer)
  • 1 cup walnuts, chopped
  • 1 pound carrots, shredded (about 4 cups)
  • ½ cup fresh pineapple, finely chopped (or frozen, thawed)
  • Raw Cashew Frosting (optional)
Instructions
  1. Preheat the oven to 350 degrees. Grease the bottom and sides of a 13”x 9” pan.
  2. Beat the sugar, oil and eggs together in the bowl of an electric mixer fitted with the paddle attachment until thick and sugar has dissolved a bit. Add the vanilla and stir to combine.
  3. In another bowl, whisk together 2 ½ cups flour, cinnamon, baking soda, and salt.
  4. Add the dry ingredients to the wet ingredients. In a small bowl, combine the raisins and walnuts with 1 Tablespoon of flour and add to batter. Fold in the carrots and pineapple and mix well.
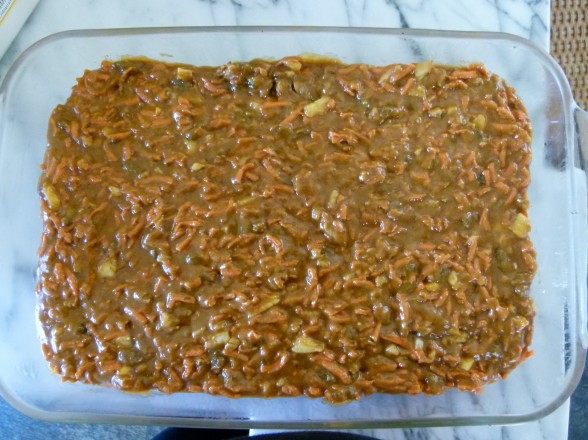
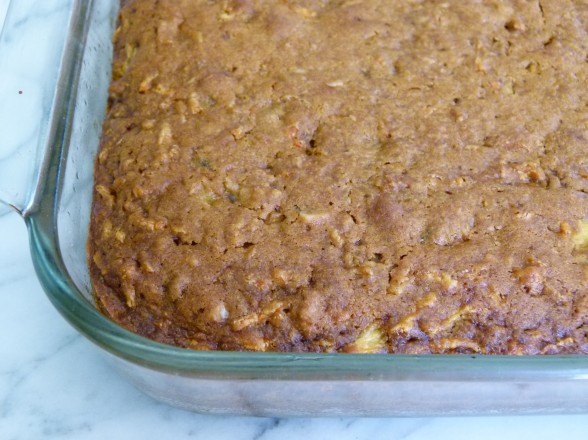
  5. Pour batter into pan. It should be super thick. Bake for 45–55 minutes, or until a toothpick comes out clean. Allow cake to cool completely in pan over a wire wrack.
Notes
If you like things very sweet, you can increase the sugar to 1½ cups and the recipe will work fine. I also give a range for the oil. Use 1¼ cup if you plan to eat it all the same day it's made and if you like a lighter cake. Use 1½ cups if you like it a little heavier and if you want it to cake to stay moist for several days. I used 1½ cups in these photos and 1¼ cups in my classes.

Raw Cashew Frosting:

This is a lovely, just-sweet-enough frosting which you can use for lots of cakes and cupcakes. It is dairy-free and if you use maple or agave, it is also vegan. You cannot substitute another oil for the coconut oil, since that’s what helps the frosting become firm and spreadable once it has been refrigerated. I use Grade A maple syrup here, which is less mapley than Grade B.

2 cups raw cashews, soaked in water for at least 5 hours

½ cup unsweetened almond milk or water (water is just as good)

¼ cup unrefined coconut oil, melted

3 Tablespoons raw honey, Grade A maple syrup or agave

¾ teaspoon pure vanilla extract

pinch or 2 of fine grain sea salt


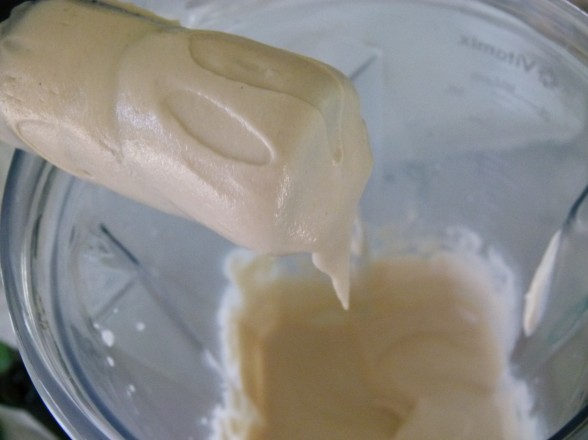
Process all ingredients in a food processor, scraping down the sides if necessary, until perfectly smooth. This can take 5-6 minutes. Or use a high powered blender like a Vitamix for about 45 seconds. Refrigerate to allow it to firm up enough to a spreadable consistency. Keep refrigerated until ready to use.


Roasted cinnamon pears with dark chocolate sauce

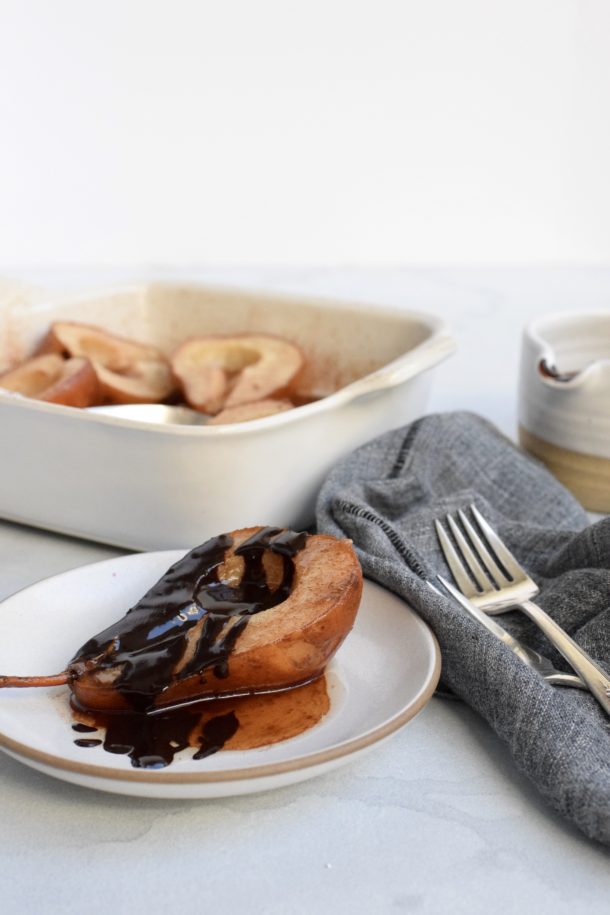
Cinnamon Roasted Pears with Dark Chocolate Sauce | Pamela Salzman

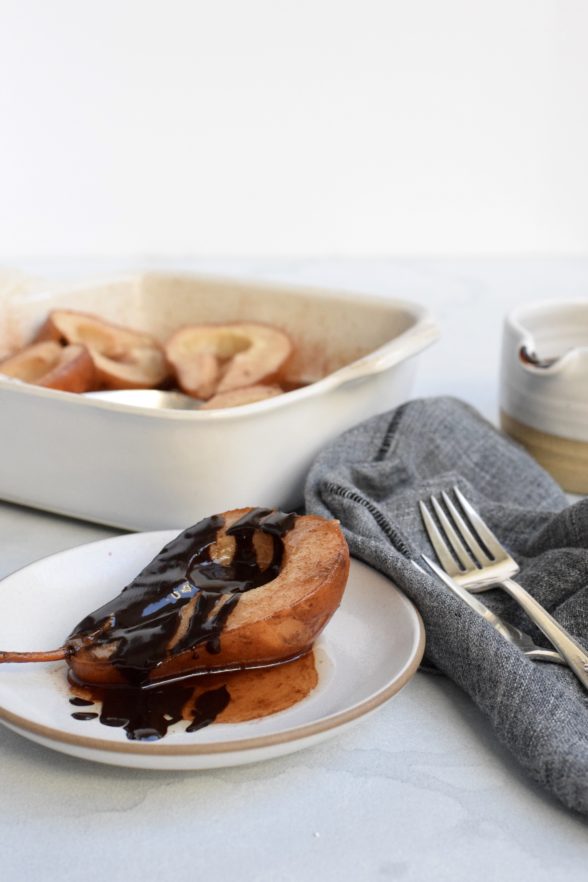
Cinnamon Roasted Pears with Dark Chocolate Sauce | Pamela Salzman

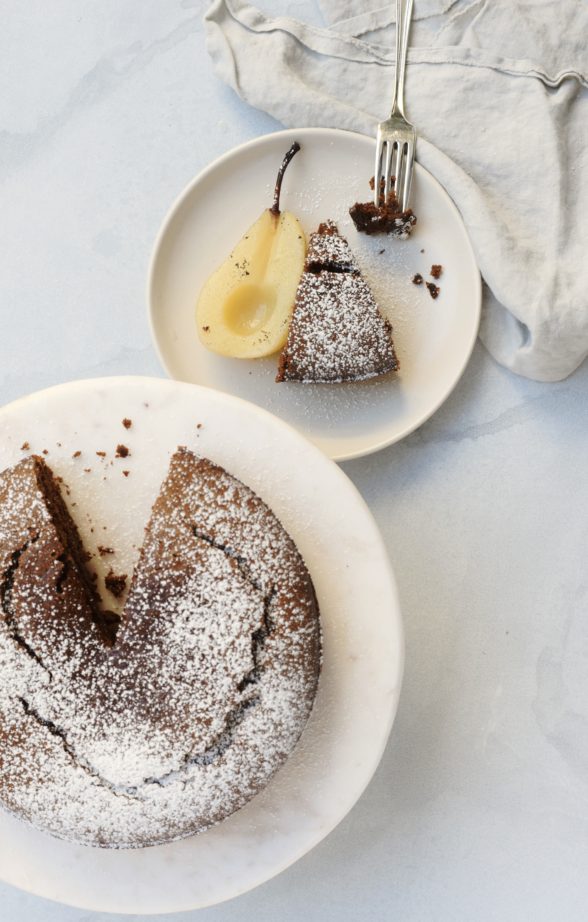
If you’re like most people, you’re probably thinking you’ve got one last hurrah before the parties come to an end and the decorations go back in storage.  A final splurge before you return to your normal routine.  One last dance with the devil before resuming your life of miso and greens.  If you’ve been messing around with too much sugar this holiday season, there’s no point beating yourself up over it.  Hopefully it was worth it, but hopefully it doesn’t send you down that slippery slope of daily dessert.  I’ve got one last treat for you, but nothing you need to feel guilty about.  In fact, these roasted pears just might rock your new year’s eve.

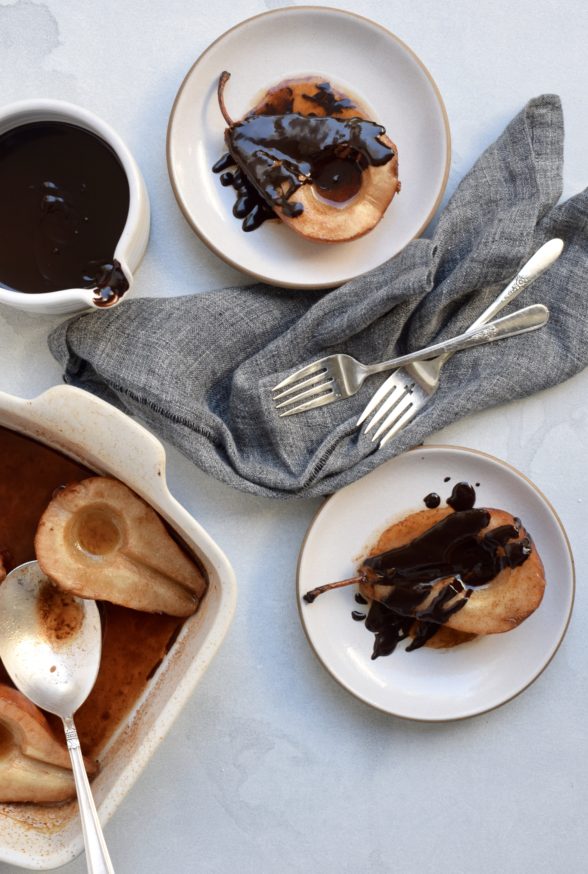
Why don’t pears get more attention?  There are so many delicious varieties and the fragrance of a perfectly ripe pear is completely intoxicating.  Plus, I think they are sooooo beautiful.  I love pear crisps, pear upside-down cake or just simply sauteed pears on top of waffles or pancakes.  But the pear dessert I make most often is simply roasted with a rich dark chocolate sauce or plain vanilla ice cream.  I’ve tried poached pears before, but the flavor is not quite as intense as roasted.  The best part is that these are easy enough to whip together as a last minute sophisticated dessert for a dinner party or just a cozy night at home in front of the fire playing Bananagrams

I love when the sweet end to a meal isn’t loaded with sugar and refined ingredients.  I especially feel that way about fruit desserts, which should taste like fruit and not just sweet.  These roasted pears are certainly fabulous enough to serve without the dark chocolate sauce, but good gracious, the sauce is just heaven.  It’s good to have a perfect chocolate sauce recipe in your back pocket since it can dress up everything from plain berries to ice cream to a simple cake.  Mr. Picky suggested he might even try Swiss chard if he could put this chocolate sauce on it.  I just might let him.  If dark chocolate isn’t sweet enough for your lovelies, you can use semi-sweet or milk chocolate instead.  But just keep in mind, the darker the chocolate the higher the percentage of cacao and the lower the sugar.

Cinnamon Roasted Pears with Dark Chocolate Sauce | Pamela Salzman


What will be your grand finale for 2011?  Whatever is it is, I hope it’s delicious.  Wishing you a happy and healthy 2012!

Cinnamon Roasted Pears with Dark Chocolate Sauce | Pamela Salzman

Roasted Cinnamon Pears with Dark Chocolate Sauce
Author: 
Serves: serves 6 (in the photos, I doubled the ingredients)
 
Ingredients
  • ⅓ cup pure Grade A maple syrup
  • ⅓ cup unsweetened apple juice
  • 3 Tablespoons unsalted butter
  • 1 teaspoon ground cinnamon
  • 3 firm, but ripe pears, such as Bosc or Bartlett
  • ¼ cup heavy cream
  • ¼ cup whole milk
  • 2 Tablespoons natural cane sugar or maple sugar
  • 1 Tablespoon unsalted butter
  • 4 ounces dark or bittersweet chocolate, coarsely chopped
  • ½ teaspoon pure vanilla extract
  • sliced almonds or chopped pecans for garnish (optional)
Instructions
  1. Preheat oven to 400 degrees.
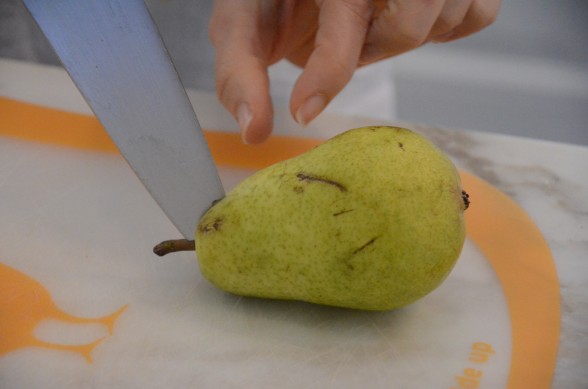
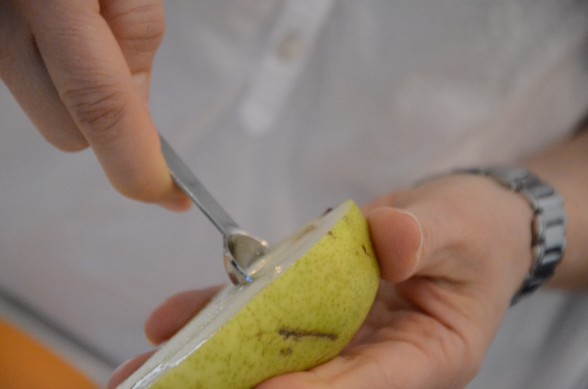
  2. Cut the pears in half through the stem, if possible. I take a knife and start an inch above the stem and slice through the stem, so both halves get a piece of stem – looks pretty! Then take the knife and slice the pear all the way in half, following the original cut. Remove the core with a round metal measuring spoon. Arrange the pears cut side up in an 8 or 9-inch square glass or ceramic baking dish.
  3. In a small saucepan over medium low heat, whisk together maple syrup, apple juice, butter and cinnamon until butter is melted.
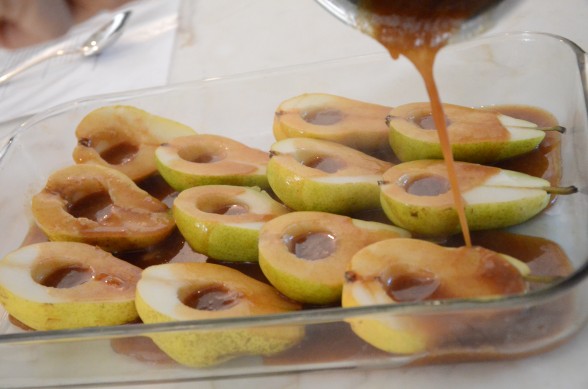
  4. Pour the sauce over the pears. Bake for about 30 minutes, or until the pears are tender. Baste occasionally with the pan juices.
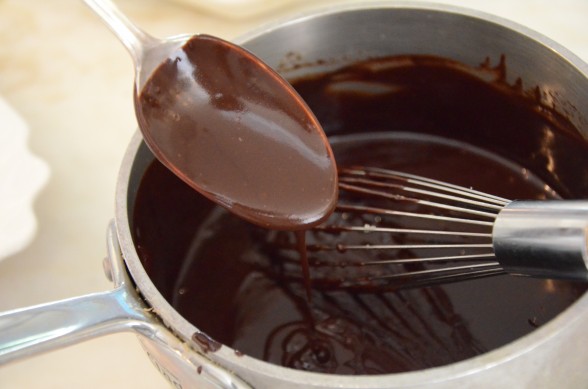
  5. In a small saucepan over medium heat, warm together cream, milk, sugar and butter. Stir to dissolve sugar. Turn heat off and add chocolate and vanilla. Stir until chocolate is melted and sauce is smooth.
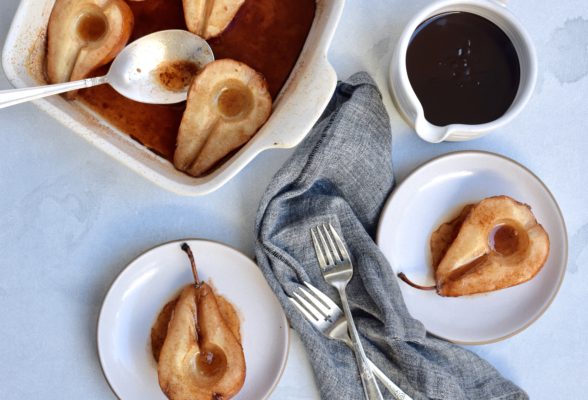
  6. Serve 1 pear half per person. Drizzle with chocolate sauce and garnish with sliced almonds or chopped pecans, if desired. Any remaining pear basting liquid is delicious over French toast or pancakes.

Vegan gingerbread recipe

Vegan Gingerbread | Pamela Salzman

Vegan Gingerbread | Pamela Salzman

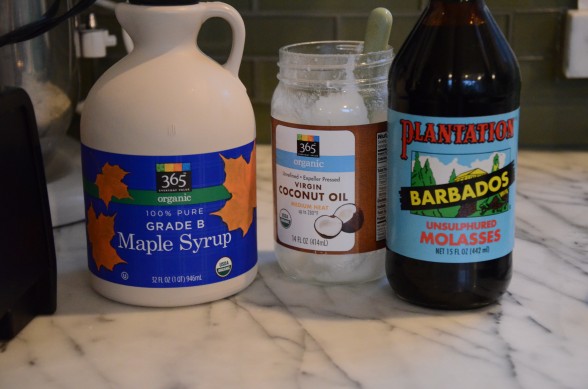
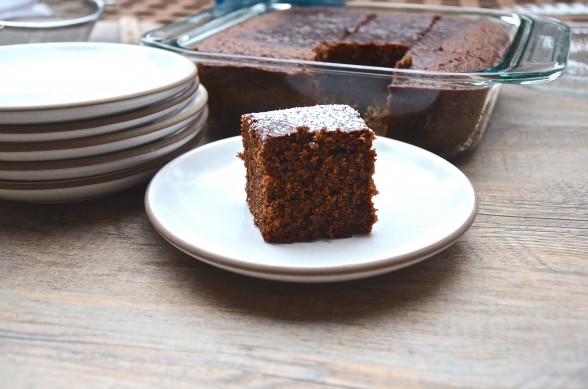
Nothing says “holiday” to me like the smell of gingerbread baking in the oven.  I am crazy about that combination of molasses and fragrant spices that are quintessential to gingerbread.  I have made lots of different baked goods with this characteristic flavor — gingerbread pancakes, waffles, cookies, biscotti, and of course, the classic gingerbread cake, my most favorite of all.  I even make a pan of gingerbread for Thanksgiving as my official signal that the holidays have begun.  But my feeling is if you’re going to make gingerbread, you really need to go for it.  I use a heavy hand with the spices, especially, you guessed it, GINGER.  This recipe, I have to admit, is DELICIOUS.  It’s exactly what I want it to be — high-quality ingredients like whole wheat pastry flour, coconut oil, maple syrup and molasses that come together to make a moist, dense, intensely flavorful cake.  Daughter #1 said to me recently, “who knew gingerbread could be this good?”  Love her.

Actually, my whole family loooves this cake, even Mr. Picky whom I have caught more than once in the last month in the pantry with the door closed sneaking extra gingerbread.  The cake always gets eaten rather quickly at our house.  In fact, I should really adapt the recipe to fit a much larger pan.  The only time my kids didn’t like this was when I used blackstrap molasses.  I wanted to see if they could taste the difference which they did and said, “no, thank you!”  Molasses is the by-product of refining sugar and is sold in grades according to how much it as been boiled.  “Blackstrap” molasses is the result of the last boiling and thus has the most intense flavor and the highest mineral content.  I figured this was a good thing, but molasses is rather bitter and blackstrap molasses is way too bitter for my kids.  So I gave up a little extra iron and potassium for “regular” unsulphured molasses that would taste good to them.

During the holidays, I’m in the business of making people happy, which in turn makes me happy.  And this gingerbread does both.  Enjoy!

vegan gingerbread recipe | pamela salzman

Vegan Gingerbread | Pamela Salzman

4.7 from 9 reviews
Vegan Gingerbread
Author: 
Serves: makes 18 muffins or 1 8x8-inch pan
 
Ingredients
  • ¾ cup unsulphured molasses (not blackstrap)
  • ¾ cup 100% pure maple syrup (Grade B is fine)
  • ½ cup unsweetened applesauce
  • ½ cup melted unrefined coconut oil or unsalted butter
  • 2 ½ cups whole wheat pastry flour or white whole wheat flour*
  • 1 ½ teaspoons baking soda
  • ½ teaspoon fine grain sea salt
  • 3 teaspoons (1 Tablespoon) ground ginger
  • 3 teaspoons (1 Tablespoon) ground cinnamon
  • ¾ teaspoon ground cloves
  • 1 cup hot water
  • 1 teaspoon powdered sugar for dusting (optional)
Instructions
  1. Preheat the oven to 350 degrees. Line a muffin tin with paper liners or grease and flour an 8-inch square baking dish.
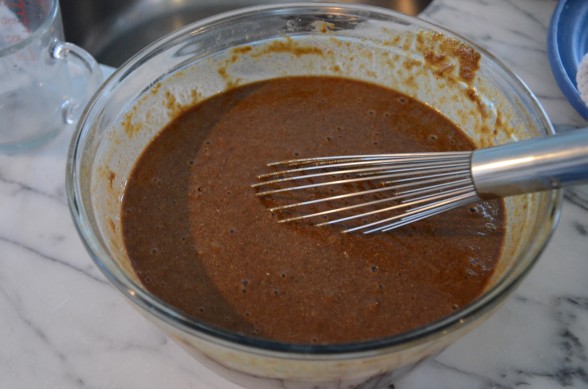
  2. In a blender, combine the molasses, maple syrup, applesauce and coconut oil. Blend until smooth.
  3. In a large bowl, sift together the flour, baking soda, sea salt and spices.
  4. Pour the wet ingredients into the dry and mix until just combined. Stir in the hot water. Pour into the prepared pan.
  5. Bake 20-25 minutes for muffins or 35-50 minutes (ovens vary wildly) for an 8-inch cake, until a cake tester inserted in the center comes out clean. Allow to cool before serving. Sift powdered sugar over cake, if desired.
Notes
*Gluten-free version, substitute the following for the 2 ½ cups of wheat flour:

1⅞ cups brown rice flour (measure 2 cups, then take out 2 Tablespoons)

7 Tablespoons potato starch (measure ½ cup, then take out 1 Tablespoon)

2 ½ Tablespoons tapioca flour

1 ¼ teaspoon xanthan gum

Pumpkin pie


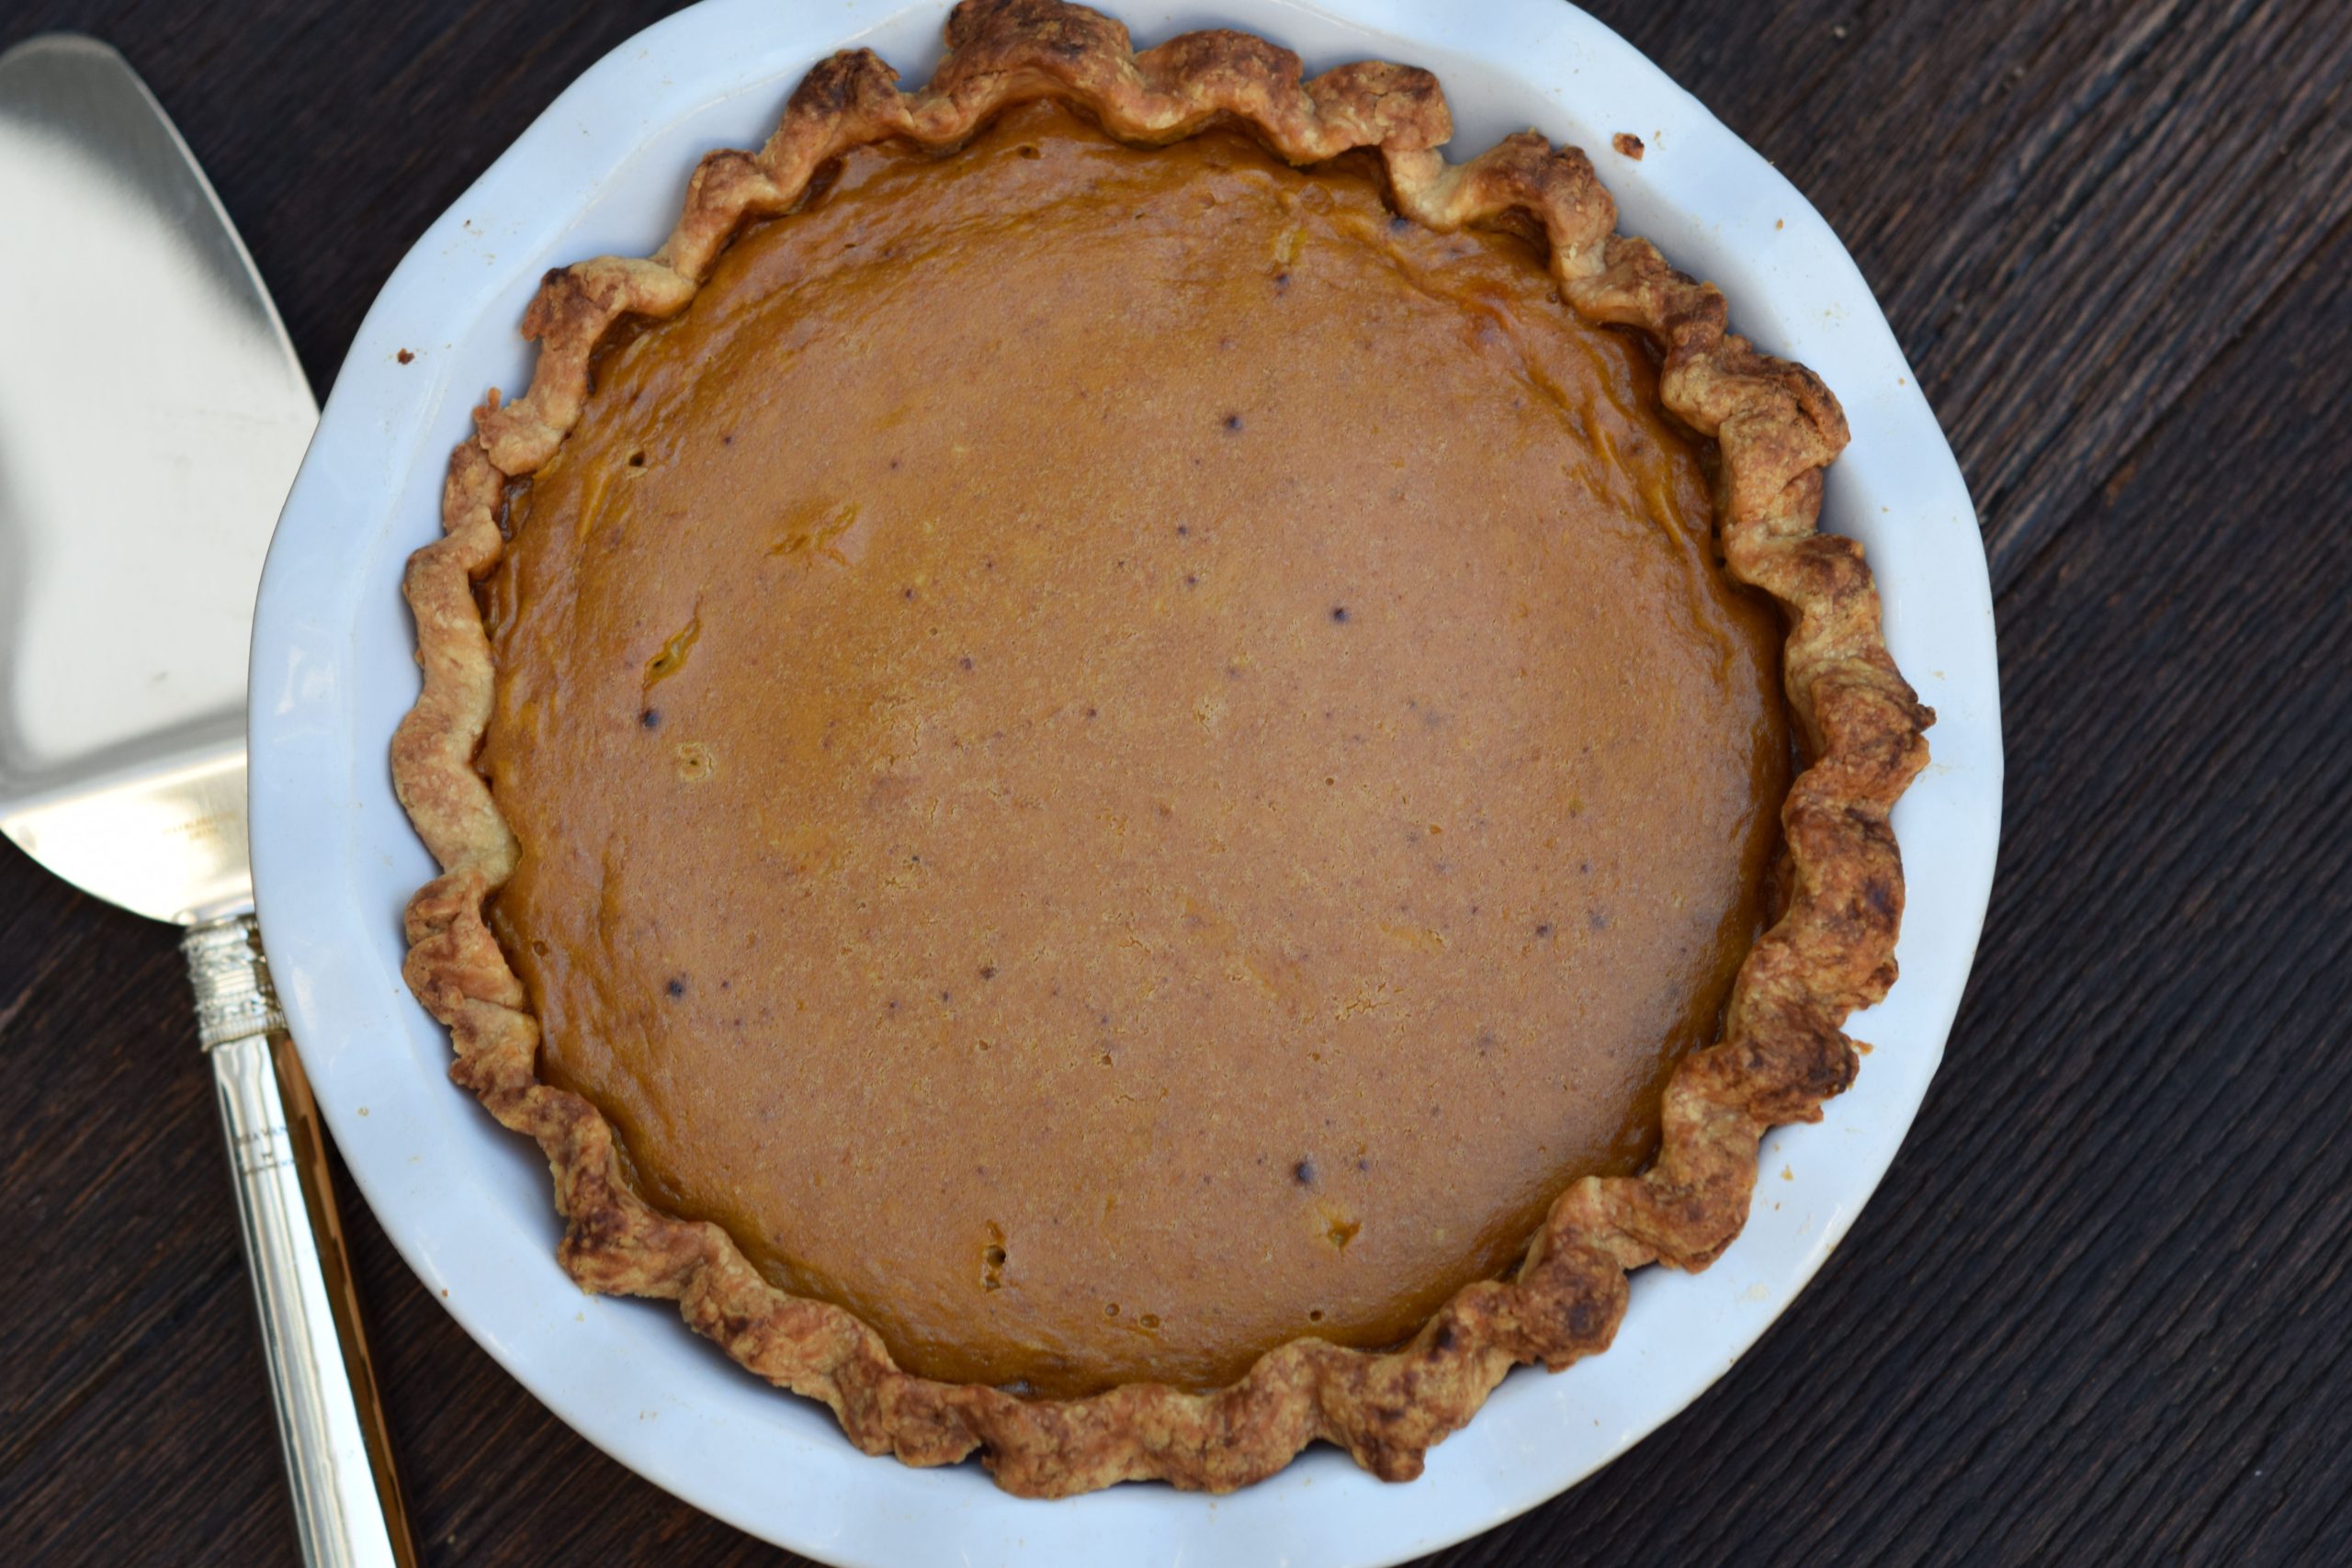
There are very few recipes that debuted on my first Thanksgiving menu 16 years ago that are still going strong today.  Roast turkey, cranberry sauce and mashed potatoes are staples year after year, as is a traditional pumpkin pie.  Despite all my rantings about how destructive sugar is to your health,  I honestly can’t imagine Thanksgiving without pumpkin pie.  I wouldn’t even care if no one liked it, I would still make two of them.  I remember the first pumpkin pie I ever made when I was in high school.  I followed the recipe on the can of Libby’s pumpkin puree and poured it into a store-bought pie crust.  Heaven.


Since then I have adjusted the recipe to be much more wholesome, and dare I say, much more delicious.  I traded in store-bought piecrust for homemade, canned pumpkin (bye-bye BPA) for freshly roasted (hello yummy rich pumpkin flavor), refined sugar for maple syrup (and much less of it), and canned evaporated milk for heavy cream.  Sure, heavy cream is rich in saturated fat, but I would rather eat a couple of spoonfuls of a high quality organic cream than canned milk.  Would you ever drink canned milk or feed it to your kids?  I didn’t think so.  I use organic raw cream when I can get it, or I buy a nonhomogenized, but pasteurized organic cream from Straus Family Creamery.  I have made a dairy-free version of this pie using coconut milk and it’s just as delicious (it does not taste like coconut, either.)  Of course there’s still lots of butter in the crust.  Last year, I made one pie with a white flour-based crust and another with a whole wheat pastry flour-based crust.  Only my sister-in-law and I liked the whole wheat one.  As my mother-in-law says, “You two like anything that you know is good for you.”  Partially true.  This year I will go back to all white flour pie crusts and the wholesomeness comes to an end right there.

Speaking of which, I am quite conscientious about consuming very little sugar during the year, but come Thanksgiving I feel like I have earned a piece of pie (or two) and I don’t feel bad about enjoying it.  The problem comes the next day when I’m looking for that sugar fix again at 4:00 in the afternoon.  And the next day.  And the day after that.  Guess what?  I’m not alone.  Thanksgiving starts not only the beginning of the holiday season, but a time when lots of people pack on a few extra pounds from overindulging too often.  I love celebrating just as much as the next person, but I definitely don’t love trying to lose weight (it’s not as easy as it used to be!)  I look forward to Thanksgiving dinner and dessert, especially after I’ve worked so hard to make it special and delicious, but this year I’m going to be a little more mindful the next day.  At least until Christmas.


Pumpkin Pie
Author: 
Serves: makes one 9-inch pie
 
Ingredients
  • Pie Crust:
  • 1 ¼ cups unbleached all-purpose white flour or spelt flour
  • ½ teaspoon fine sea salt
  • ½ cup (1stick) cold unsalted butter, cut into 8 pieces
  • 2-4 Tablespoons ice water
  • Filling:
  • ½ teaspoon fine sea salt
  • 1 teaspoon ground cinnamon
  • ½ teaspoon ground ginger
  • ¼ teaspoon ground cloves
  • pinch of ground nutmeg
  • 1 cup heavy cream or coconut milk (not light)
  • 1¾ cups fresh or canned pumpkin puree (1 15-ounce can)
  • 3 large eggs
  • 6 Tablespoons pure maple syrup or brown sugar
Instructions
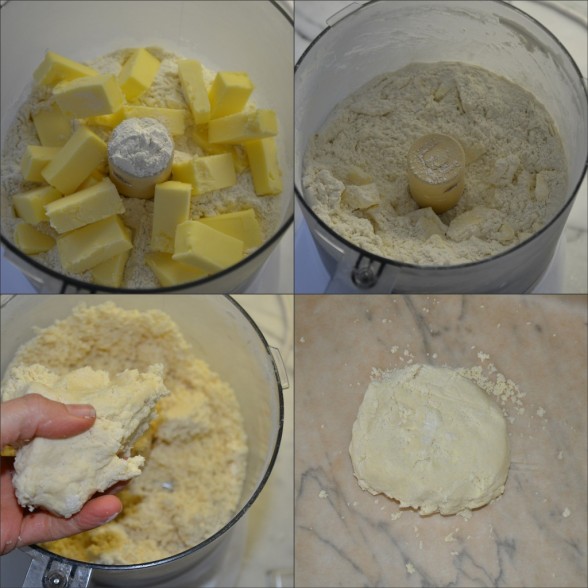
  1. Make the crust: Place the flour and salt in the bowl of a food processor fitted with the metal blade. Add the butter and pulse 10 times.
  2. Turn the food processor on and slowly pour in 2 Tablespoons ice water. Stop the machine and carefully (watch the blade!) grab a small handful of dough and squeeze it in your hand. If it holds together well, you’re done. If it’s crumbly, add another tablespoon of ice water and blend. The goal is that when you squeeze the mixture in your hand that it forms a moist, but not sticky ball of dough. Transfer the dough to a piece of parchment paper or plastic wrap and shape into a disc. Wrap well and refrigerate for at least 30 minutes.
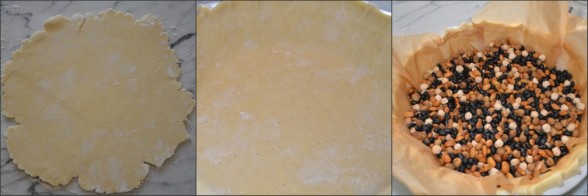
  3. Preheat the oven to 375 degrees. On a lightly floured work surface, flour a rolling pin and roll dough into a 12-inch round. While you’re rolling out the pastry, you should always be able to move it easily around the work surface without sticking. Add additional dustings of flour as needed. Fit the circle into a 9-inch pie plate and crimp edges. Refrigerate if it feels too soft.
  4. Prick the bottom of the crust all over with a fork. Line the crust with a piece of parchment (like the one the dough was wrapped in), and fill it with pie weights or dried beans (the ones in the photo I've had since college!). Bake until lightly golden around the edges, about 20 minutes. Remove parchment and weights. Return crust to the oven and bake for another 5 minutes until light golden all over. Cool completely on a wire rack (this can take up to an hour so you may want to turn the oven off.)
  5. Preheat the oven again to 375 degrees. In a small bowl, whisk together the salt and spices (if you are using brown sugar instead of syrup, add the sugar now.)
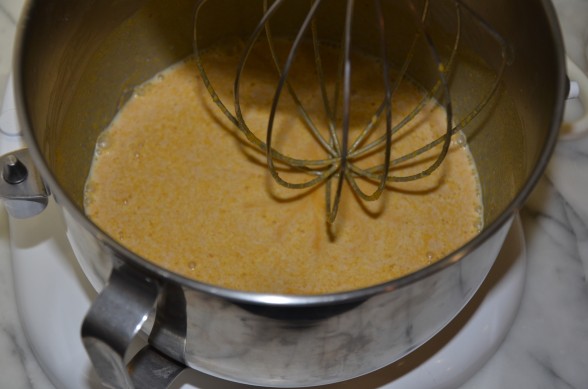
  6. In a large bowl or with a mixer, whisk together cream, pumpkin puree, eggs and maple syrup. Add spice mixture and combine thoroughly.
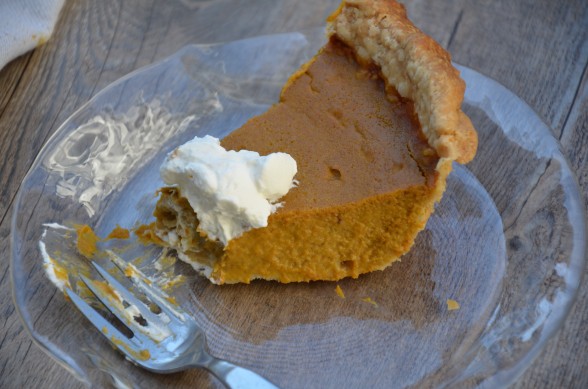
  7. Pour mixture into the cooled crust and bake until filling is set (it will jiggle like gelatin, but it will be a little soft in the center), about 50-60 minutes. The filling will firm up as it cools. This can be made the day before. I like to keep it refrigerated.

Pumpkin pancakes with sauteed apples

Now that my daughters are teenagers (sigh), I encourage them to invite their girlfriends to have sleepovers at our house on the weekends.  I don’t always get my wish, but I do like having them home so I can keep an eye on everyone and then I don’t worry so much.  Not only that, but the girls’ friends give me more gossip than they do, and enquiring moms want to know!  Last weekend, my husband and Mr. Picky were away on a guy’s trip and I had 6 girls keeping me company.  I used to dread sleepovers because there would always be one early bird that would wake everyone up at 5:00 am and then you had a Miss Cranky Pants to deal with the rest of the day.  Let me tell you, some sleep mechanism kicks in when the kids hit middle school and then you can’t wake them before noon if your life depended on it.

Last Sunday, I was able to get in a workout and shower before I heard the first signs of life at 10:30 am.  Still foggy and misty out, I wanted to make a cozy breakfast for everyone.  I had cooked some fresh pumpkin puree the day before with pumpkin pancakes in mind — my absolute favorite!  Before I even got started, the 13-year-olds were mumbling something about not being hungry.  I would not be discouraged.  I noticed two sad-looking Golden Delicious apples on the counter that I knew no one would ever eat.   I decided to peel and slice those and gently saute them in a little butter while I preheated the griddle and assembled the pancake batter.

This is just a twist on the classic buttermilk pancake recipe that is a weekly staple in our house.  The pumpkin puree adds a beautiful copper color to the batter as well as a little Beta-carotene.  And then all those fantastic warming spices add the flavor that says Fall!  If you have pumpkin pie spice, I’m sure that would work fine here, too.  Just like my standard pancake recipe, you can make this batter the night before.  I have taught my girls how to cook their own pancakes, so very often I will leave the batter on the counter for them to cook with their friends at whatever time they saunter downstairs and I’m free to get my day going.

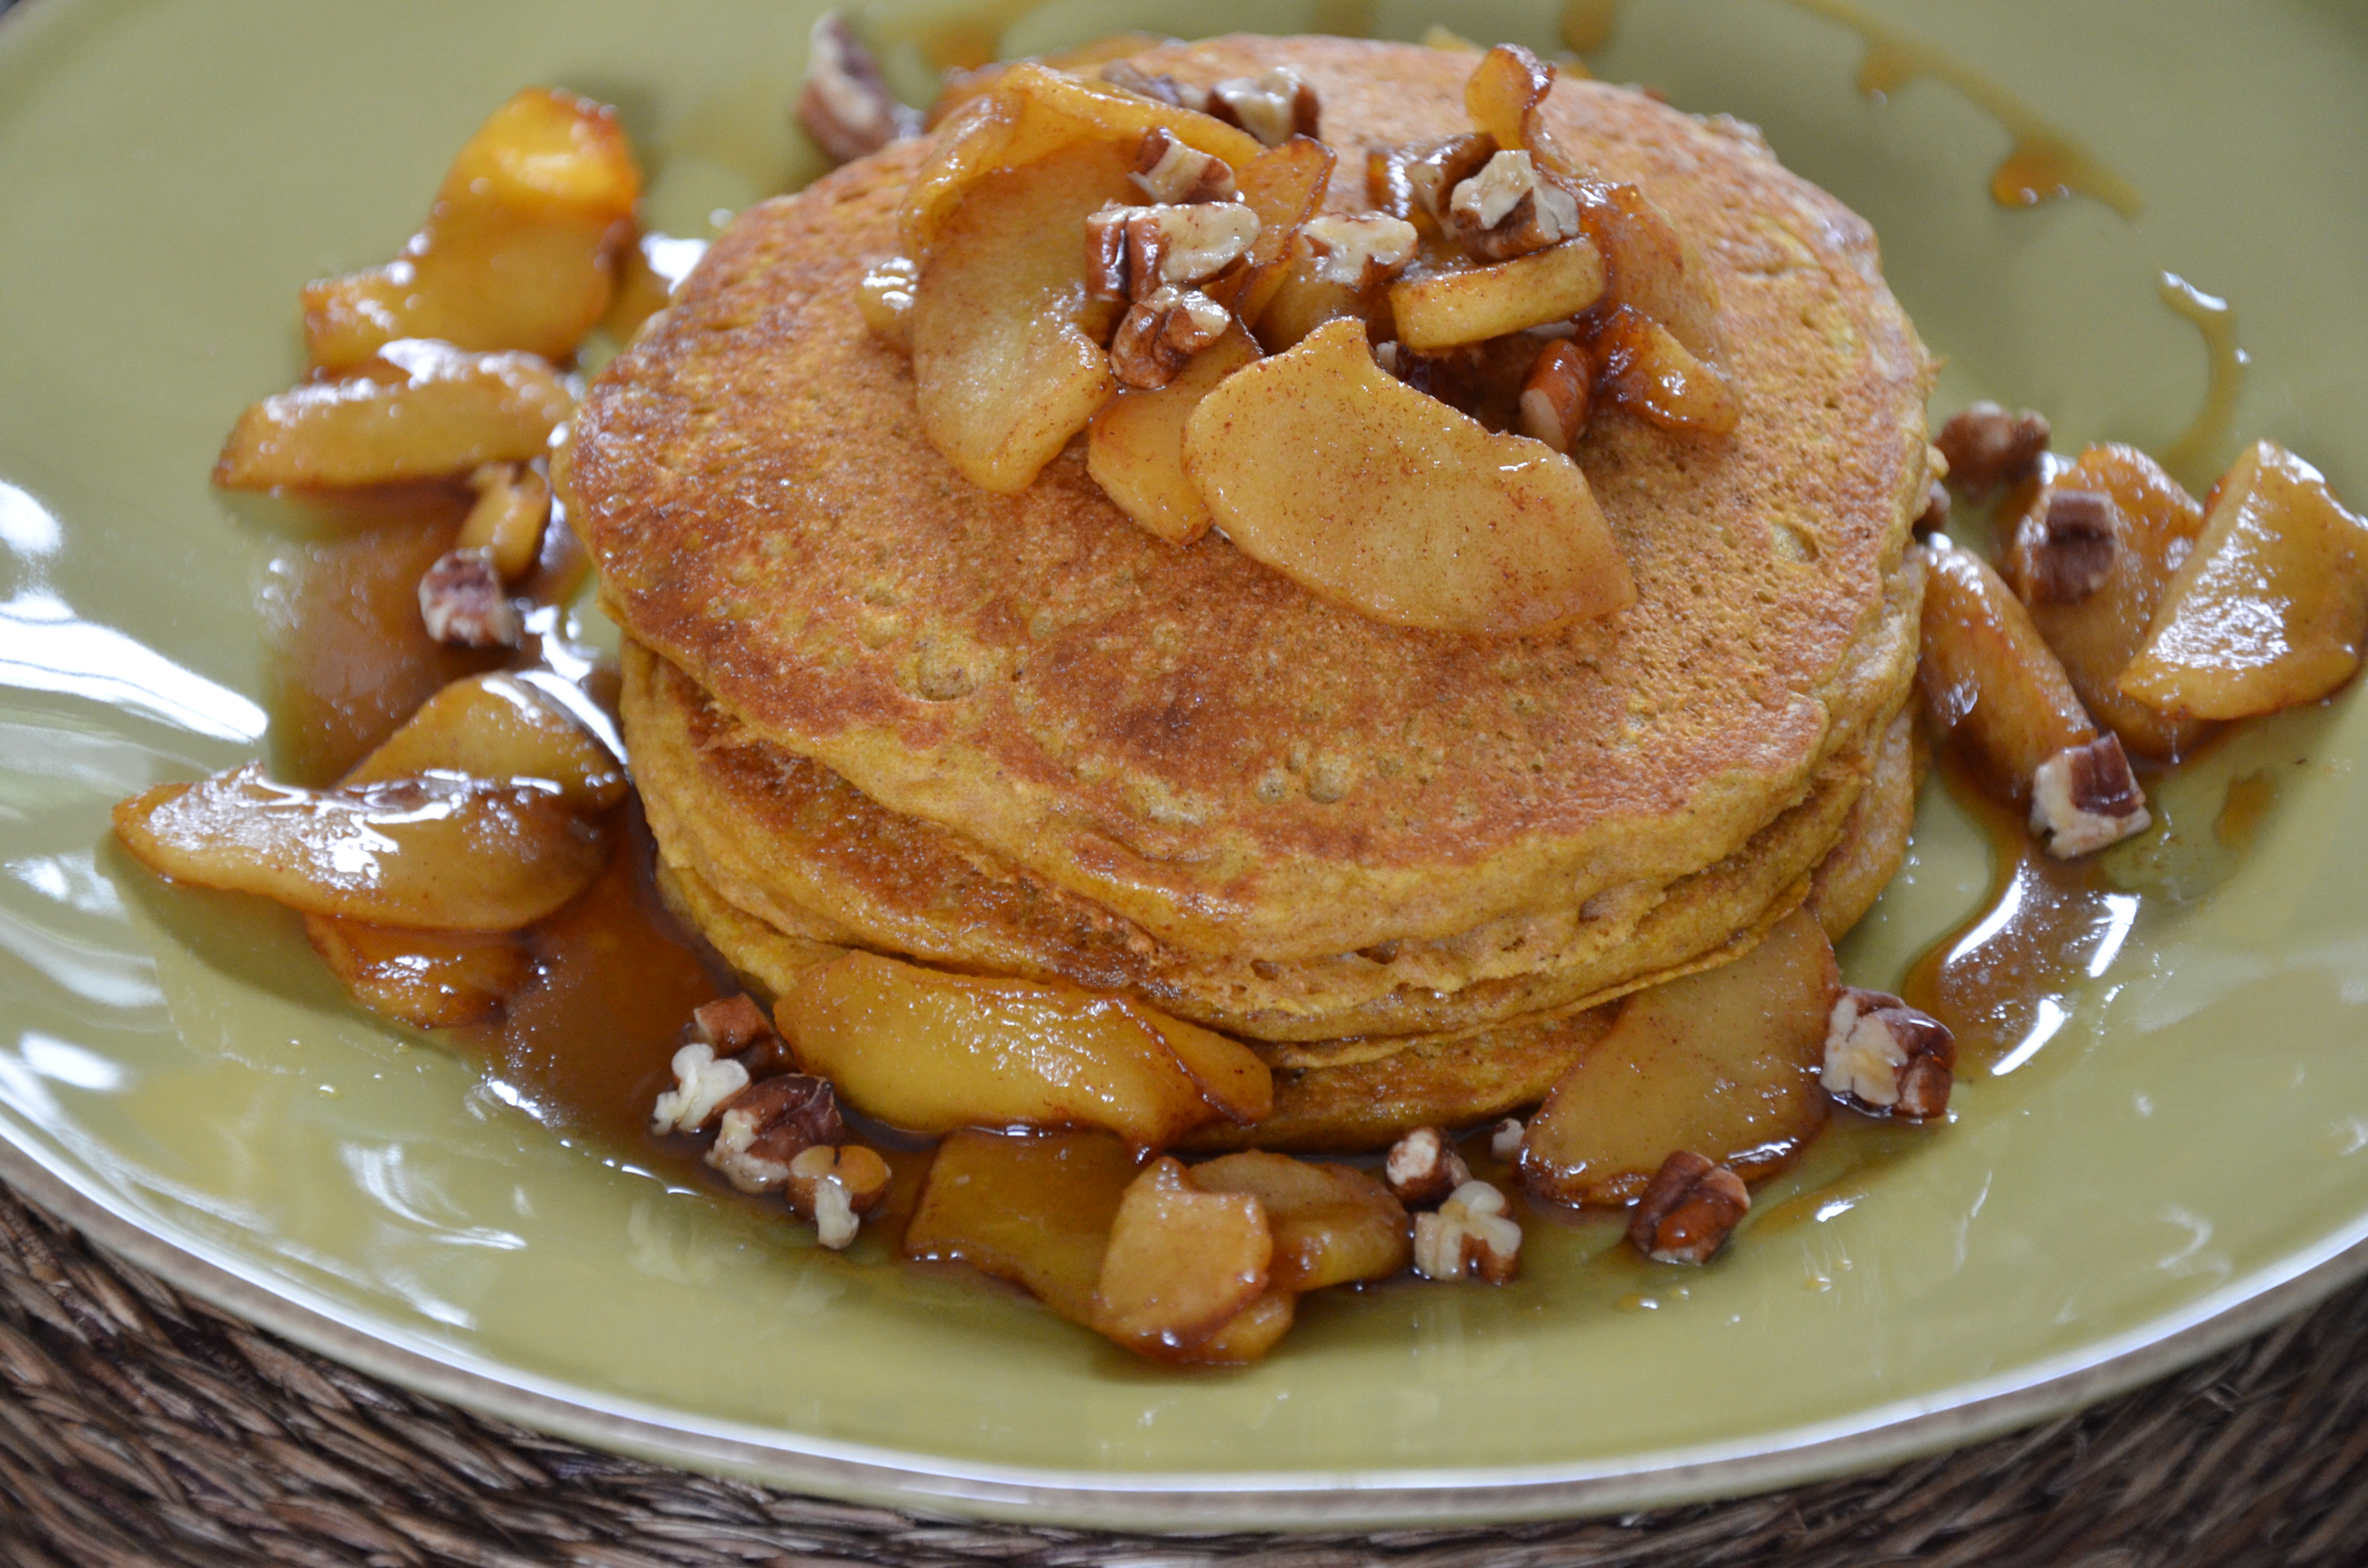
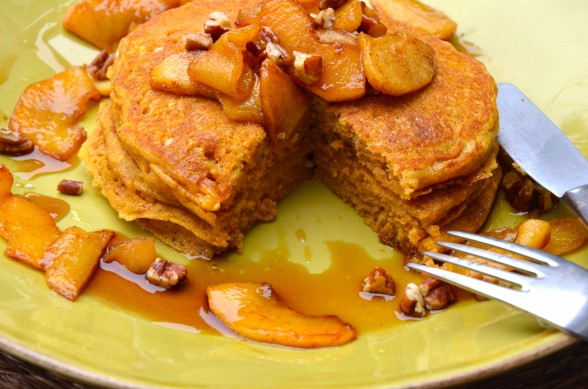
I normally just serve these pancakes with a little maple syrup or with this incredible apple cider syrup we picked up at a roadside farm in the Hamptons this summer.  The girls like to add chopped pecans to the pancakes when they’re cooking on the griddle, but the sauteed apples were a special treat and ridiculously simple to make.  When they were tender I drizzled on them the tiniest amount of syrup and a dash of cinnamon.  Crazy good!  I made a plate to photograph and then said to the girls, “Look how pretty this is.”  Their eyes bugged out and someone said, “Yum!  Like that actually looks good.”  Actually??  Like, whatever.

Pumpkin Pancakes with Sauteed Apples
Author: 
Serves: 4-5
 
Ingredients
  • 1 ½ cups whole wheat pastry flour*
  • 1 ½ teaspoons aluminum-free baking powder
  • 1 teaspoon aluminum-free baking soda
  • 1 teaspoon fine sea salt
  • 1 teaspoon ground cinnamon
  • ½ teaspoon ground ginger
  • ¼ teaspoon ground nutmeg
  • pinch of ground cloves
  • 1 ½ cups buttermilk**
  • 2 large eggs
  • ½ cup fresh or canned pumpkin puree (NOT pumpkin pie filling)
  • 1 Tablespoon pure maple syrup
  • 3 Tablespoons unsalted butter, melted
  • Coconut oil for brushing the griddle
  • Sauteed apples as accompaniment, optional:
  • 2-3 apples, peeled, cored and sliced
  • 2 Tablespoons unsalted butter or coconut oil
  • 1 teaspoon maple syrup
  • a dash of cinnamon
Instructions
  1. Preheat a griddle to 400 degrees or medium heat. (On some stovetops, 350 or 375 degrees is fine.)
  2. If you are making the sautéed apples, heat a large skillet over medium heat. Melt the butter and add the apples. Lower the heat slightly and gently sauté until tender, about 10 minutes. Drizzle with 1 teaspoon maple syrup and a dash of cinnamon and toss to combine. Remove from heat.
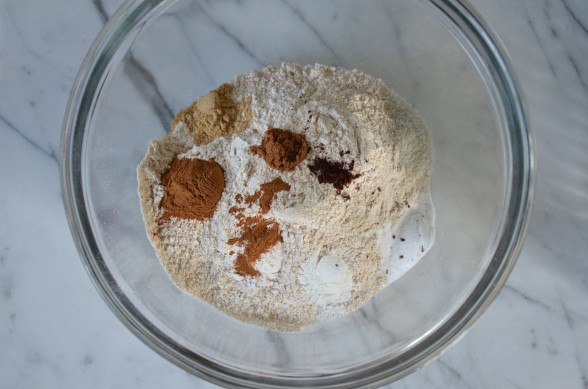
  3. Combine the flour, baking powder, baking soda, salt and spices in a large mixing bowl.
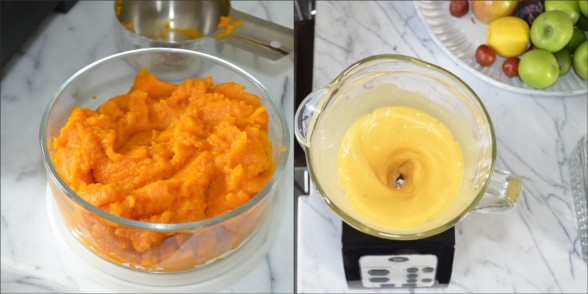
  4. In a blender or medium mixing bowl, combine the buttermilk, eggs, pumpkin puree, maple syrup and melted butter until well blended.
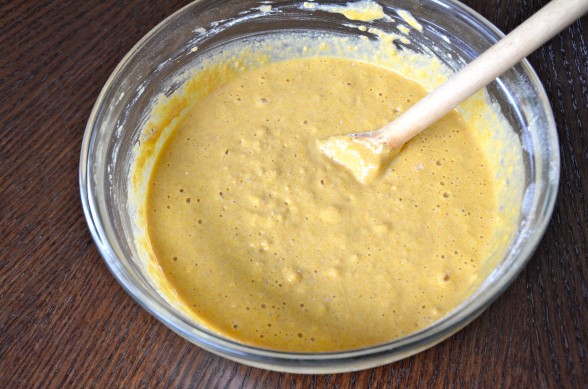
  5. Pour the wet mixture into the dry ingredients and stir until just combined.
  6. Brush the griddle with coconut oil and spoon about ¼ cup of batter onto the griddle. Add chopped pecans or walnuts to the surface, if desired. When bubbles start to form on the surface of the pancake and the edges turn slightly dry, flip it over and cook until done. Serve warm with sautéed apples or maple syrup.
Notes
To make the pancakes gluten-free, substitute 1 ½ cups of Bob’s Red Mill All-Purpose Gluten-Free Baking Mix + 1 ¼ teaspoons of xanthan gum or substitute ¾ cup brown rice or GF oat flour and ¾ cup buckwheat flour.

**You can also substitute half yogurt and half regular milk for the buttermilk. Or, use 1 ½ cups milk, omit the baking soda, and use 2 teaspoons baking powder instead.


Healthy Granola Bars Recipe

Healthy Granola Bar

Has school started in your neck of the woods?  We’re back at it this week.  I get a little bummed when the kids go back to school.  I’ve really enjoyed spending more time with them and summer is so much less stressful, especially for my high schooler.  That and, despite what you might think, I don’t love making lunches at 6:30 am everyday, as well as trying to keep a substantial supply of well-balanced snacks for the kids and their friends.  You know I love to cook and it’s a major priority for me to feed myself and the kids well, but it’s definitely a challenging task which I know many of you try to tackle most days, too.

The fact is I don’t actually make all of the kids’ snacks, because I really don’t have that kind of time.   But there are a few that I can make quickly, easily and that are more delicious (and healthful) than what you can buy in a store.  I hope to post my guidelines next week for choosing a healthful snack, but making sure there’s some protein in there is super important, otherwise you run the risk of a blood sugar rollercoaster.  One snack that I guessed wouldn’t be too tricky to figure out was granola bars.  Last summer I tested granola bar recipes for about two months and had the tight jeans to prove it.  I wouldn’t call it a low-calorie snack mostly due to the nuts and seeds, but I if the kids need something to tide them over until dinnertime or get them through soccer practice, goldfish and a fruit roll-up aren’t going to cut it.  I am always going to look for something like these bars, which are made from real ingredients, contain protein and fiber and a minimal amount of sugar, plus a little love from Mom.

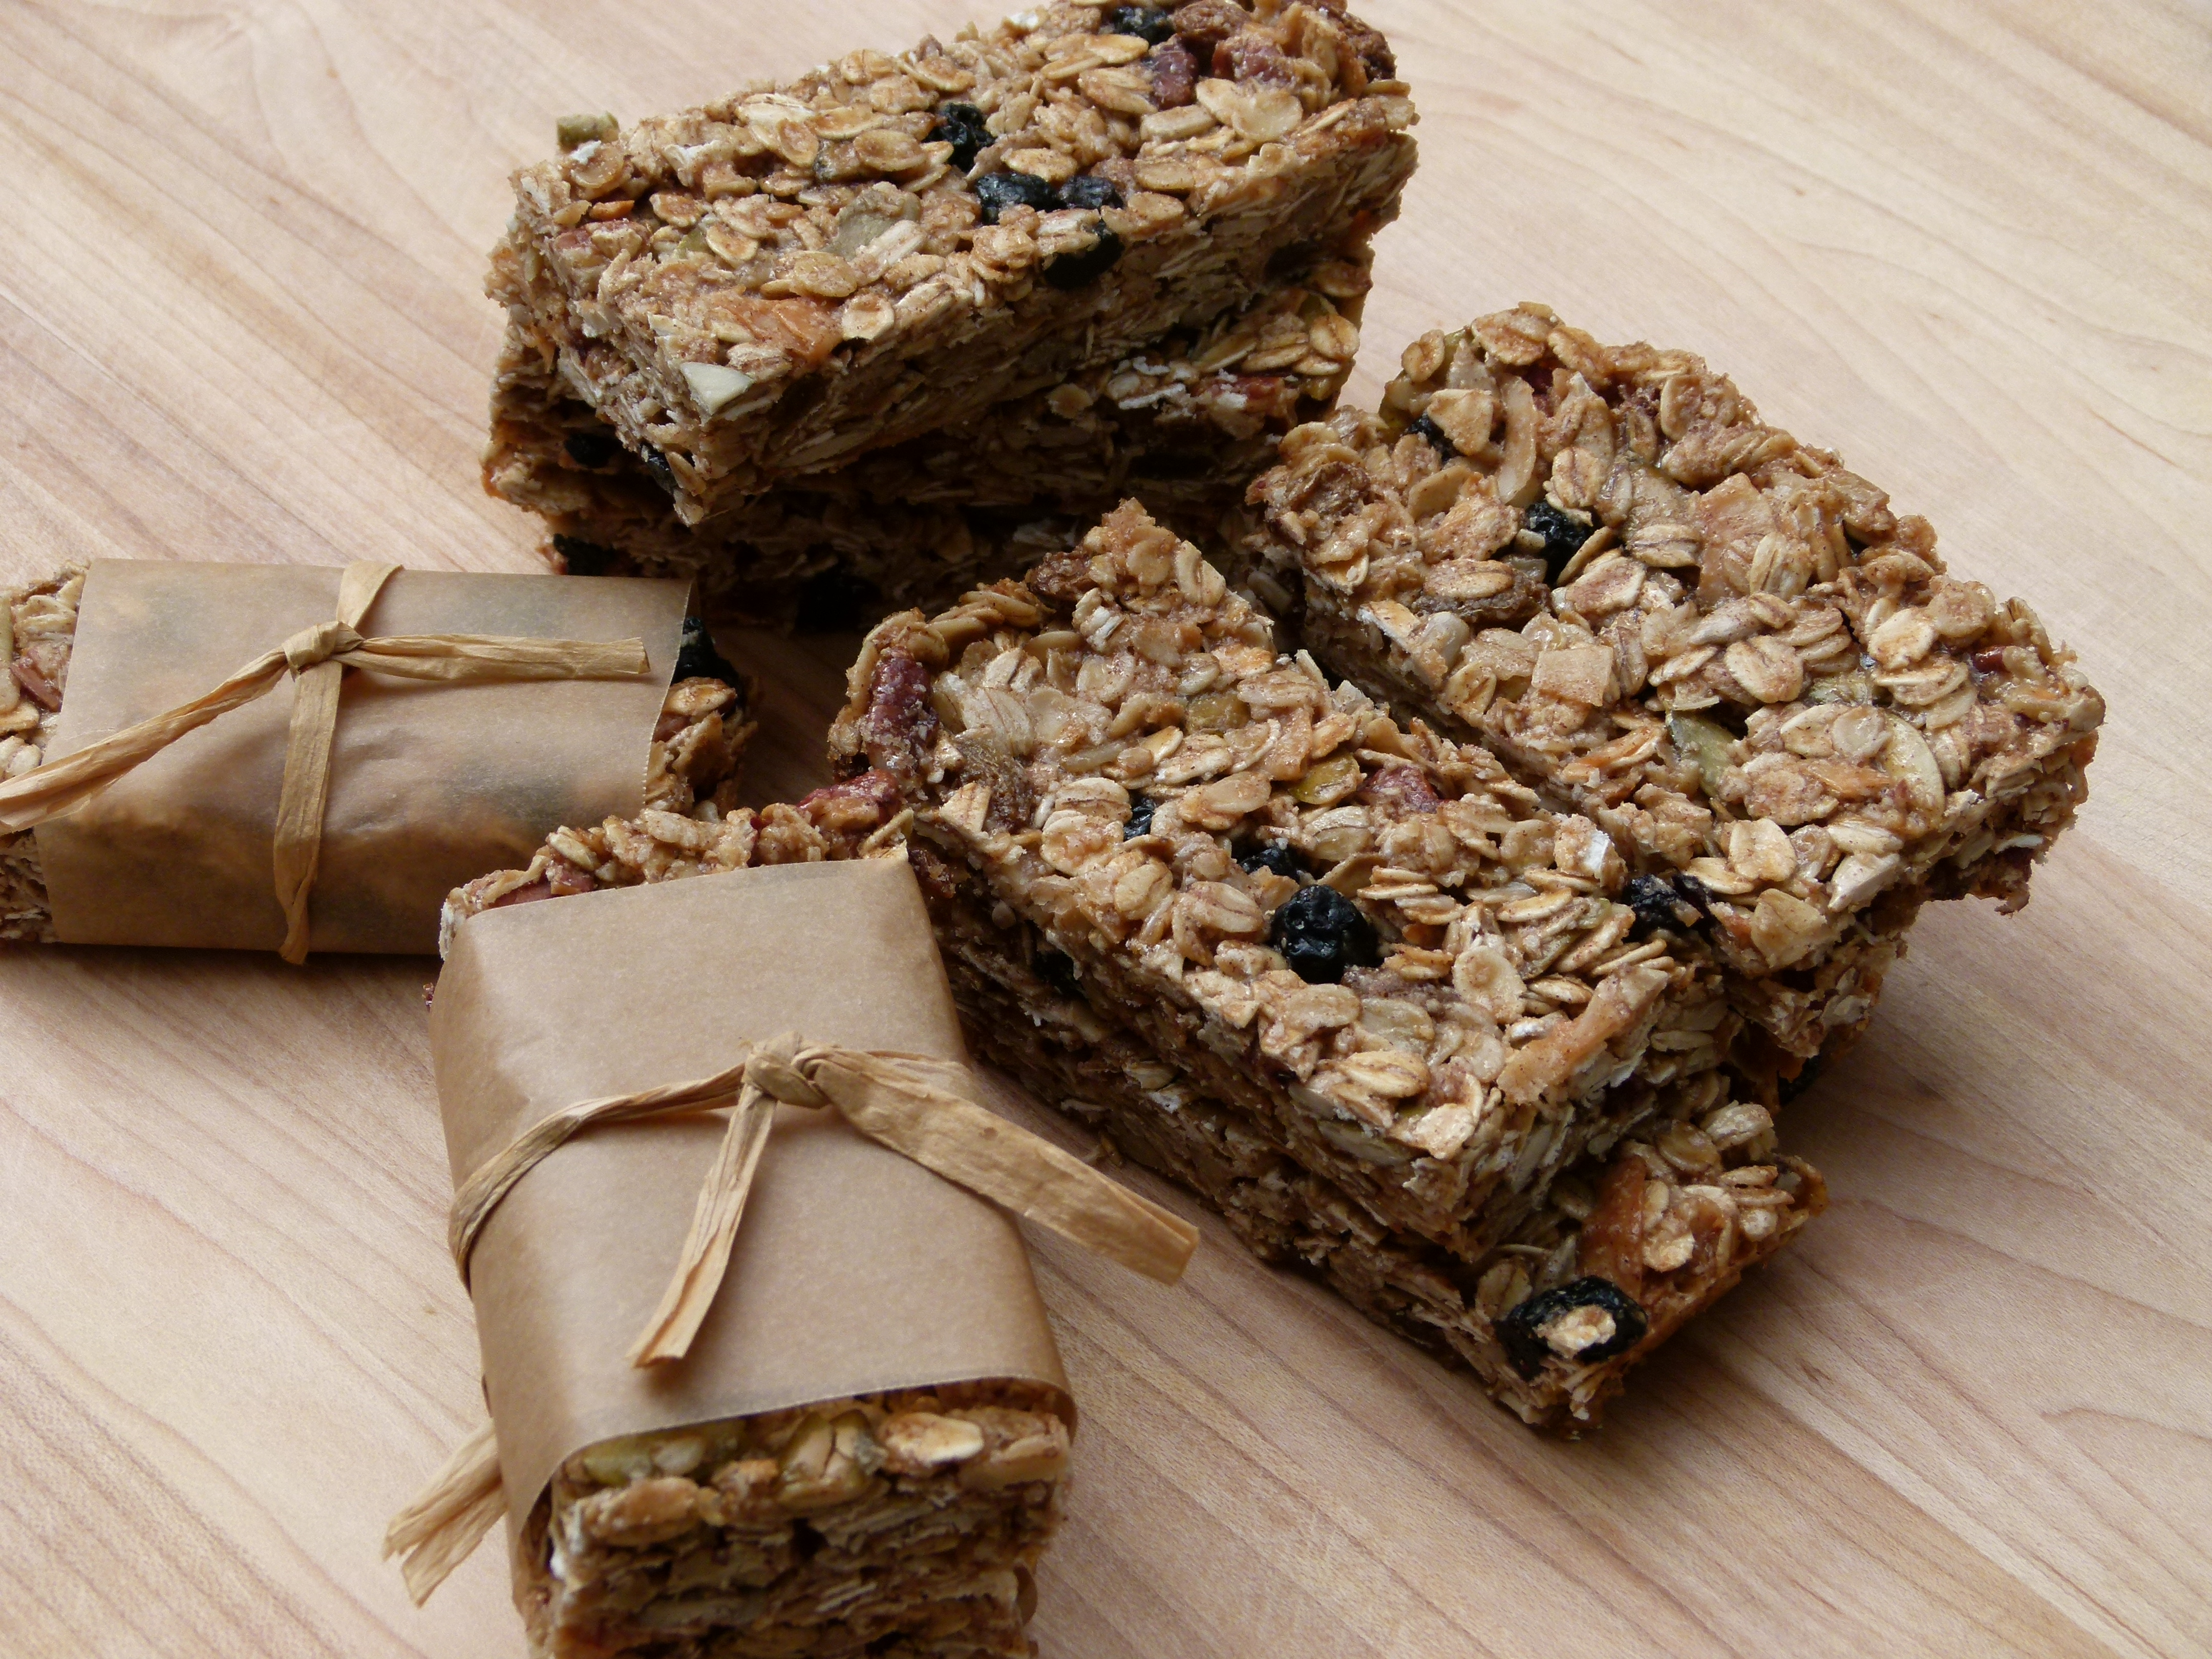
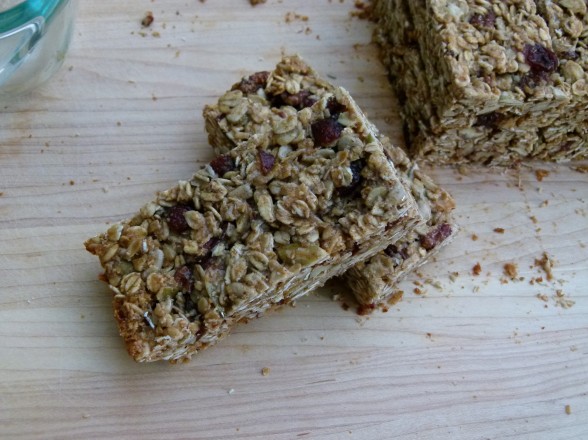
The problem is that these granola bars are so good, I have a hard time being in the house and not sneaking one or more when I’m not really even hungry.  They have most of the same flavors as my granola, but with a little butter.  What they don’t have is tons of refined sugar like so many granola bar recipes I see.  If you are dairy-free or vegan, you can definitely use coconut oil, but I have a soft spot for the combination of butter, pecans and a pinch of sea salt.  Yum!  Like granola, you can adjust this recipe to suit you.  (And yes, you can add chocolate chips.)  I like my granola bars a little on the thick side (see bottom photo), but if you like yours thinner and crunchy (see lead photo), you can use an 8 x 10 pan.  Try these out and if your family loves them, make a double batch and freeze them.  Because in my world, September not only means school, but soccer games, scouts meetings, study groups and playdates.  Need any more reasons to make these?

Healthy Granola Bars
Author: 
Serves: makes 8-12 bars, depending how you slice 'em
 
Ingredients
  • 2 cups old-fashioned rolled oats (not quick-cooking)
  • ¼ cup raw sunflower seeds
  • ¼ cup raw pumpkin seeds
  • ¼ cup unsweetened coconut flakes
  • ½ cup chopped raw nuts (pecans or almonds are good)
  • ¼ cup ground almond meal
  • 1 ¼ teaspoons cinnamon
  • ½ teaspoon sea salt
  • ½ cup unsulphured dried fruit (such as chopped apricots, cranberries, cherries, blueberries)
  • 3 Tablespoons unsalted butter, melted (my preference) or melted coconut oil
  • ½ cup brown rice syrup (or honey)
  • 1 teaspoon pure vanilla extract
Instructions
  1. Preheat oven to 350 degrees.
  2. If you like thick granola bars, grease an 8 or 9-inch square pan with butter or coconut oil and line with unbleached parchment paper (this will help get the bars out of the pan.) If you like them thinner, say ¾-inch thick, grease an 8x 11-inch pan.
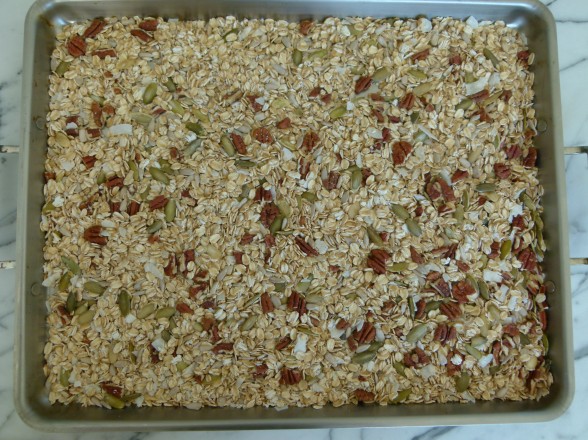
  3. Place oats, seeds, coconut and nuts on large baking sheet and toast for 12-15 minutes. Do not allow anything to burn!
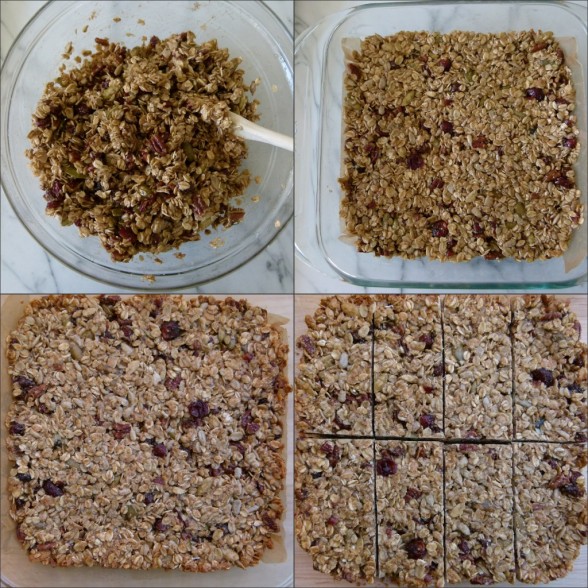
  4. In a large bowl combine almond meal, cinnamon, salt and dried fruit. When oat mixture is out of the oven, add to bowl. Mix the melted butter, brown rice syrup and vanilla together and pour over the oat mixture, stirring well to coat evenly.
  5. Pour mixture into pan and press down with a spoon, spatula or damp hands.
  6. Bake for about 20-25* minutes, or until lightly colored on top. The granola bar will be soft to the touch when it comes out of the oven, but will firm up as it cools. Allow to cool completely, at least 2 hours. Run a knife around the edge of the pan to loosen the bar. Invert the pan over a cutting board to remove. Cut into individual bars and eat or store in a covered container.**
Notes
*Baking it longer will result in a crispier, firmer bar, but it may be harder for little ones to chew easily.

**If the weather or your kitchen is warm, it’s better to store the bars in the refrigerator.