Skip to content
Get Pamela’s Monday Musings Newsletter! →
About
Recipes
Classes
Bootcamps
Bootcamp Portal Login
Shop
Contact
Newsletter
Online Class Login
Search
Home
›
cinnamon
›
Page 3
cinnamon
Recipes
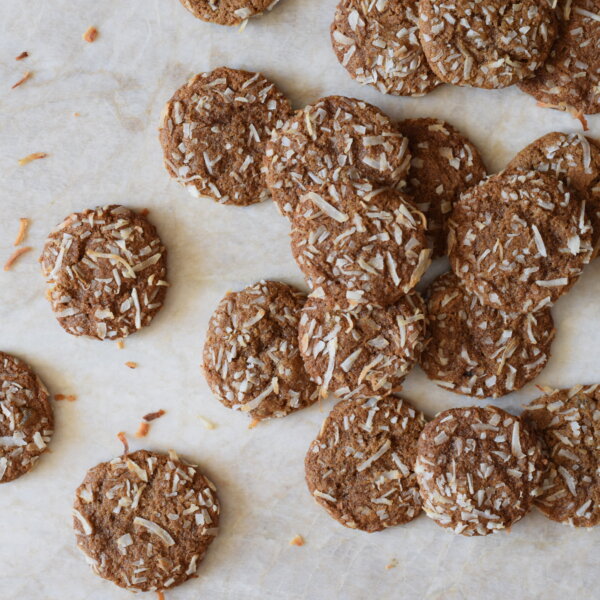
Molasses-ginger cookies recipe
Recipes
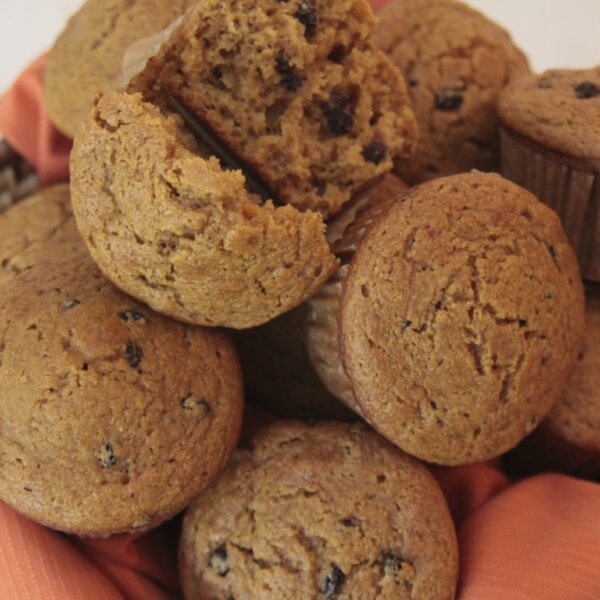
Whole wheat pumpkin muffins recipe
Posts navigation
Go to Previous Page
2
3