Happy Friday, friends! Guess what happened to me after I came back from Mexico? I got sick! I couldn’t believe it. My girlfriend did too, and our husbands were spared, thankfully. I am not going to bore you and gross you out with the very unpleasant details, but suffice it to say my digestive system was compromised for a while. I have spent the last few weeks building it back. And that’s when it hit me I’ve never shared my favorite products for keeping your gut healthy and robust. Hence the theme for this week’s Five Friday Favorites!
A healthy gut is so, so important in keeping our immune system strong (80% of your immune system resides in your gut) and aiding our bodies with digestion, which in turn gives us energy and makes us feel better in our everyday lives. A healthy gut also allows you to absorb more nutrients from your food, which makes every last leafy green worth it!
The goal in consuming any of the following items is to create a thriving population of good bacteria in the gut that will far outnumber the bad bacteria. Most populations around the world partake in some sort of regular fermented or cultured condiment (e.g. kimchi, yogurt, raw cheese, traditionally brewed soy sauce, etc.) with their meals, but not so much in the US. Here are some of my favorite ways to boost your gut health.
Probiotic Supplements

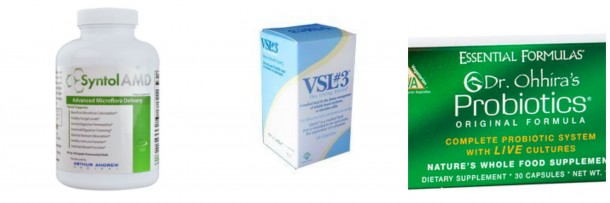
If you aren’t necessarily into eating fermented cabbage or if you are trying to cut back on the dairy, there is the option of taking a probiotic capsule on its own, as a supplement. In general, I am very reluctant recommend supplements because so many of them are absolute garbage and made with low quality ingredients. You really need to know which are the brands worth buying. And even then, we should be trying to get our nutrients through whole foods and not a pill. But if you had to take one supplement, I would recommend taking a probiotic. I take a probiotic daily and when I was sick after Mexico, I took even more (tinnitus 911 reviews).
My acupuncturist, Jason Handler, recommends VSL as well as Syntol AMD by Arthur Andrew Medical, which I have used before. I tend to switch products from time to time and I am using Dr. Ohhira’s which I bought on thrive market.com and have used BioK before with success. My friend and holistic nutritionist, Elissa Goodman, loves Renew Life 100 or 150 billion. You may experience a little discomfort when you first start taking probiotics as your body is trying to adjust to the balancing of bacteria. Temporary symptoms could including bloating, gas and going to the bathroom more often. My best advice is to play around with different capsules and try them out until you find one that feels the best for your body.
****
You may have heard about fermented foods being good for the gut. Products like kimchi and kefir are lining the shelves at health food stores- but is this whole fermentation thing a fad or should you believe the hype? In my opinion, I do think we should be consuming fermented foods!! When foods are fermented or cultured, a healthy, live bacteria is developed which is beneficial for our bodies. Here are some of my favorite fermented products:
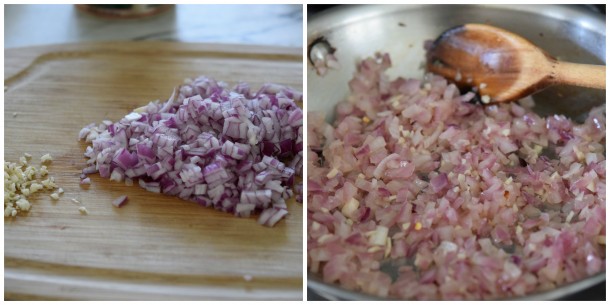
Firefly Kitchens Raw Fermented Veggies

There are many brands out there, so feel free to experiment or stick with your own favorite. But I really like these veggies by Firefly Kitchens. Take already healthy veggies like cabbage, kale, and carrots, add some herbs, spices, garlic, and onions and you are left with an extremely healthful, easy-to-digest snack. While I would not go around claiming that this tastes as good as avocado toast, they are kind of tasty and so worth it to do something so good for your body. Even just 2 Tablespoons a day with lunch or dinner will provide you with amazing beneficial bacteria and digestive enzymes. My favorite is the Emerald City Kraut. These veggies are available at certain Whole Foods- you can check online here. But don’t be afraid to try a sample of another brand at your local farmers market or health food store.
Wallaby Organic Kefir
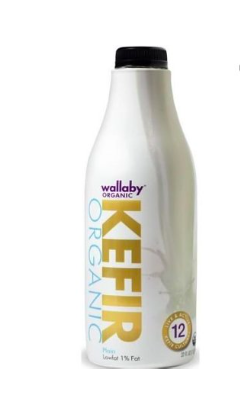
Kefir (pronounced ka-FEER) is creamy, tart, drinkable yogurt/buttermilk-tasting product that contains healthy bacteria that have become present due to the fermentation process. The bacteria in kefir can colonize the intestinal tract and kefir also contains a greater range of bacteria than yogurt does, as well as yeasts.
Kefir is so versatile and can be used in place of buttermilk for certain dressings, or anywhere you use yogurt such as smoothies or with fruit and granola. Do note however that the bacteria is only present when eaten raw, so when swapping out Kefir for buttermilk in things like your morning pancakes you won’t get those fermented benefits. I love this organic Kefir by Wallaby that I buy at my local Whole Foods. But there are a few health food stores where you might even find coconut kefir if you are dairy-free.
Health-Ade Kombucha
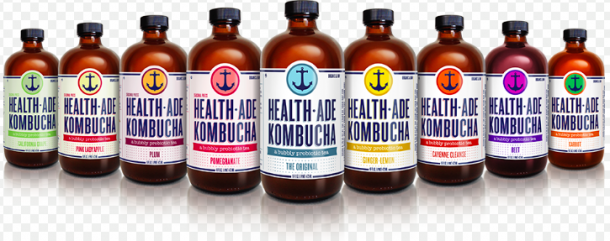
Kombucha is tea that has been fermented to develop good bacteria. This Kombucha by Health-Ade is my favorite, is made locally in Los Angeles and comes in a variety of flavors such as pink lady apple, beet, and ginger-lemon. One reason (besides being downright delicious) I like this particular Kombucha is because the company is committed to using all organic fruits and vegetables for their flavorings, never use plastics or metals that can leech during production, and they use UV-sensitive bottles to ensure that none of the bacteria is damaged by sunlight. These teas are bubbly and tart and are a perfect afternoon pick-me-up. Health-Ade is sold at most health food stores and often times at juice shops and cafes- check out their website to find a retailer near you!
Homemade Coconut Yogurt
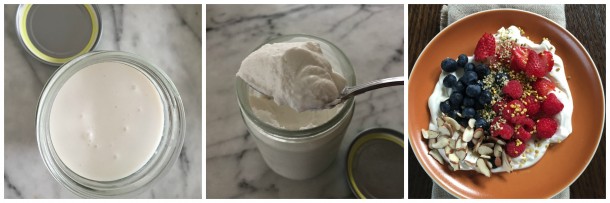
I do eat dairy, but I limit my intake, especially of cow dairy. Coconut milk-based products are a great alternative. This homemade coconut yogurt has become an absolute game-changer in my house. I don’t know what took me so long to come around to making my own, since there are pretty much zero clean store-bought options for coconut yogurt. However, after watched my friends’ CJ Nutrition‘s Youtube how-to, I realized how dead simple this is to make!
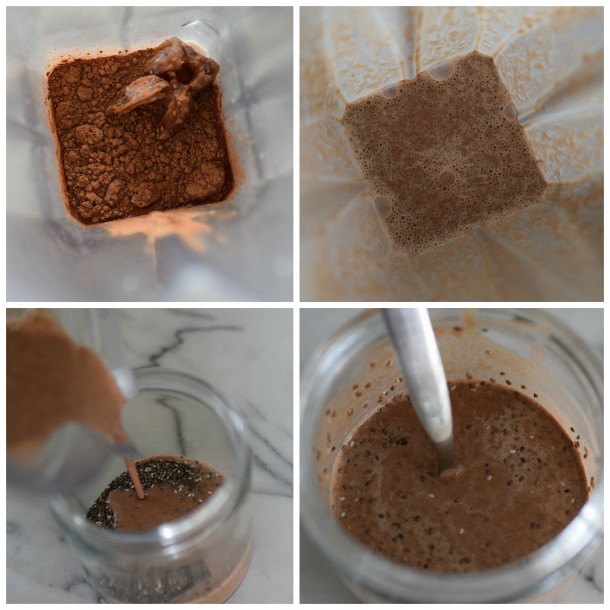
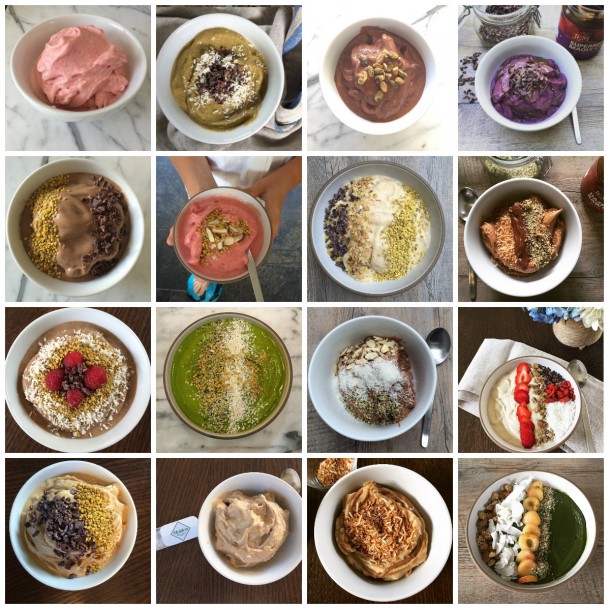
All you need is 14 ounces of coconut milk (I like Aroy-D because it’s packaged in tetra-paks, not cans), a glass jar, and a probiotic capsule. I read in the comments section of the video that C&J Nutrition had the best success with a capsule called VSL#3 (also mentioned above.) It is available on Amazon but I just called my local Walgreens and they had the pills available for sale individually. Check out the video for specific instructions but essentially you just add the probiotic capsule to the coconut milk and stir! It’s a 3-day process, but there’s almost nothing to do while the probiotic does its thing. The yogurt ferments on your countertop and then can be stored in the fridge. You can save a little bit of the yogurt then to start another batch. I have been enjoying my yogurt on smoothie bowls, granola, oats, and with fruit! And the fact that it is fermented is just a bonus on top of its thick, creamy deliciousness!
Homemade Coconut Yogurt
Pamela
- 14 ounces full fat coconut milk* I prefer Aroy-D
- 1 probiotic capsule I use VSL#3
Pour the coconut milk into a clean glass jar with a tight-fitting lid.
Open the probiotic capsule using your fingers and pour the contents into the coconut milk. Stir well. Using a fork helps to break up the clumps of powder.
Place the lid very loosely on top of the jar. Don’t screw it on at all, you want plenty of air to get to the mixture within, but want to cover it from any dust or dirt.
Let sit on the countertop, out of direct sunlight, for 24 hours undisturbed.
After 24 hours, stir mixture again (it should ne starting to thicken) and let sit for another 24 hours, undisturbed.
After 48 hours total, your yogurt should be able to coat the back of your spoon. If you refrigerate it now, it will be the consistency of regular yogurt. If you let it sit for another 12-24 hours, it will become the consistency of thick Greek yogurt.
Store in the refrigerator with the lid tightly sealed.
*You are not using the coconut beverages in the refrigerator section. This is the pure coconut milk you find in a can or, in the case of Aroy-D, small tetra-pak boxes.
Here’s to your health! xoxo