Shredded sweet potatoes and apple


Are you confused about the difference between a sweet potato and a yam? Yep, so is my local supermarket. In all fairness, I had to do a little research to get to the bottom of it, because I wasn’t sure myself. The names “sweet potato,” which is not at all related to a regular potato, and “yam” are used interchangeably in the US, but they both generally refer to sweet potatoes, no matter the color. Even the dark ones called yams are technically sweet potatoes. True yams are native to Africa and are a staple in tropical and subtropical countries. I have never actually seen one in our country, but here’s what you might find in your market if you live in the States:
- Brown or red-skinned (often called called yams) — these have a soft orange flesh and sweet flavor. The varieties you will likely see are Garnet, Jewel, and Christmas Beauregard. Garnets are my favorites and what I used in these photos.
- Beige-skinned — have a pale yellow flesh. Varieties include Nancy Hall and Juicy Yellow.
- Purple skinned — I see these at my farmer’s market. They have a white flesh and the farmer calls them Japanese sweet potatoes. I don’t find the flesh to be quite as moist as the others mentioned above.

No matter what you call them, sweet potatoes are delicious and completely underrated. It baffles me that so many people look to sweet potatoes only at Thanksgiving. We eat them much more often in our house than regular potatoes and they are just as versatile. They are also way more nutritious — you probably don’t need me to tell you that. When you look at that deep orange flesh, you immediately think Beta-carotene, right? They are loaded with so many vitamins, minerals and fiber, but it’s the antioxidant profile that sweet potatoes are so rich in.

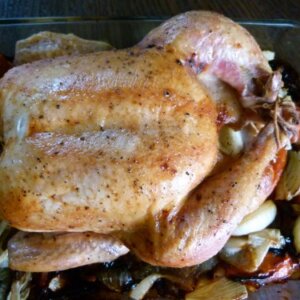
I could eat a plain roasted sweet potato any day of the week for breakfast, lunch or dinner and I make them that way as an easy side dish quite often. The down side of roasting whole sweet potatoes is that they take a good 50 minutes to cook. We don’t always have that kind of time. Here comes “Plan B Sweet Potatoes.” Is this starting to sound like my “Plan B Salmon” from last week? I actually shouldn’t call this Plan B, because this is my kids’ favorite sweet potato recipe and the ONLY way my husband enjoys them (Mr. Picky had to come from somewhere.) The sweet potatoes take on the flavor of apple without getting too sweet. I cook them long enough that they’re just tender with a little bite to them. Leaving the peel on would give you more fiber and nutrients, but my kids prefer the skin off so they don’t get random bites of peel. Last night we had this dish with some steamed whitefish and a green salad, but I think it’s even better suited to chicken, turkey or pork. Have you located the shredding disc of your food processor? I live for that thing. If you have it, this will be on the dinner table in 15 minutes tops.


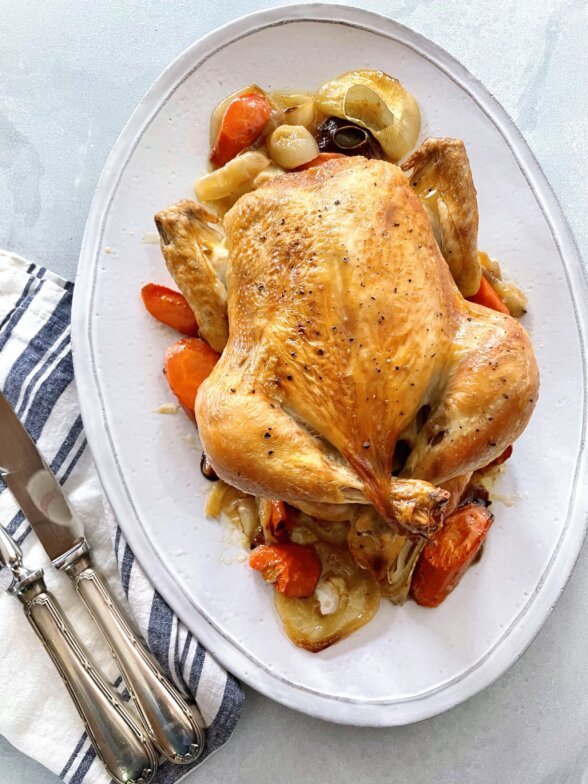
Speaking of turkey, I’m starting the Thanksgiving countdown this Thursday, which is four weeks from the big day. We have lots to do to start preparing and getting organized, so tune in and I’ll get you through this with no stress. It might even be fun!

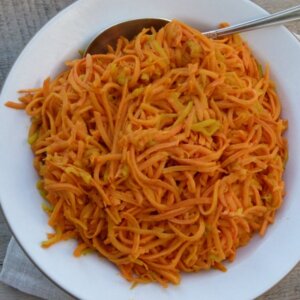
Shredded Sweet Potatoes and Apples
Ingredients
- 3 medium sweet potatoes such as Garnet or Jewel, peeled (about 2 pounds)
- 1 apple cut into fourths and cored (I love using a tart variety, such as Granny Smith)
- 3 tablespoons unsalted butter unrefined coconut oil or unrefined extra virgin olive oil
- Sea salt and ground black pepper
- ½ cup water or apple juice
- 1-2 Tablespoons 100% pure maple syrup use less if you use juice
Instructions
- Shred the sweet potatoes and apple in a food processor fitted with the grater attachment.
- Melt the butter in a large skillet (if you don’t have a large one, do this in two batches. I used a 12-inch.) Add the shredded sweet potatoes and apple and season with sea salt (I use about ½ teaspoon) and black pepper to taste. Saute, stirring occasionally so that the mixture doesn’t stick, about 5 minutes.
- Once the sweet potatoes don’t look so raw anymore, stir in the water/juice and maple syrup and bring to a simmer. Cook another 5 minutes or until sweet potatoes achieve desired tenderness. Taste for seasoning.
Tried this recipe?Let us know how it was!