Egg Salad Recipe and Other Things You Can Do with Hard Boiled Eggs

I’m thrilled to have my mother and my 4-year-old niece visiting me this week from New York.  We’re having a great time catching up on magazines, tivo’d shows and of course, cooking.  After she read my post the other day about hard boiled eggs, she said, “so I used to overcook my eggs?”  I speak the truth on this blog and I asked my mother if she remembered the telltale green ring around her yolks.  She remembered.  We reminisced about always eating egg salad sandwiches for lunch the day after Easter, and for old times’ sake I thought it would be fun to make them with my mom again.

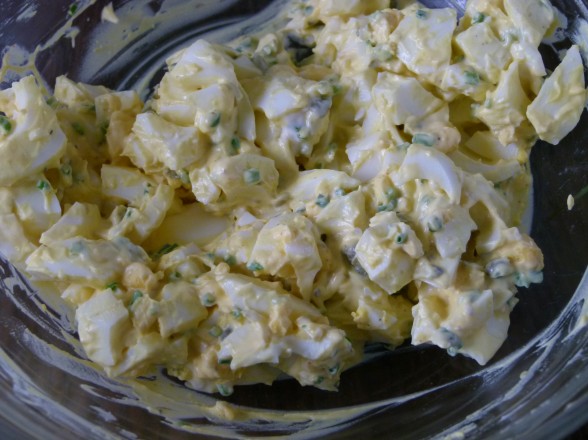
The two of us had a little egg salad cook-off with my mom making the version I grew up with, which is no more than chopped up hard boiled eggs combined with mayonnaise, relish and a pinch of salt.  Always delicious and that little bit of sweetness from the relish makes this egg salad kid friendly, unless you’re Mr. Picky who thinks egg salad is one of the “scariest” foods out there.  2 plain hard boiled eggs for Mr. Picky, please!  I whipped up my favorite version of egg salad which is loosely based on a recipe from my heroine, Alice Waters and her fabulous book, The Art of Simple Food.  My more grown-up egg salad may taste more sophisticated than the old version, but I assure you it is just as simple, absolutely delicious, and still kid-friendly (for kids that would actually eat egg salad.)  And look, Mom, no green ring!

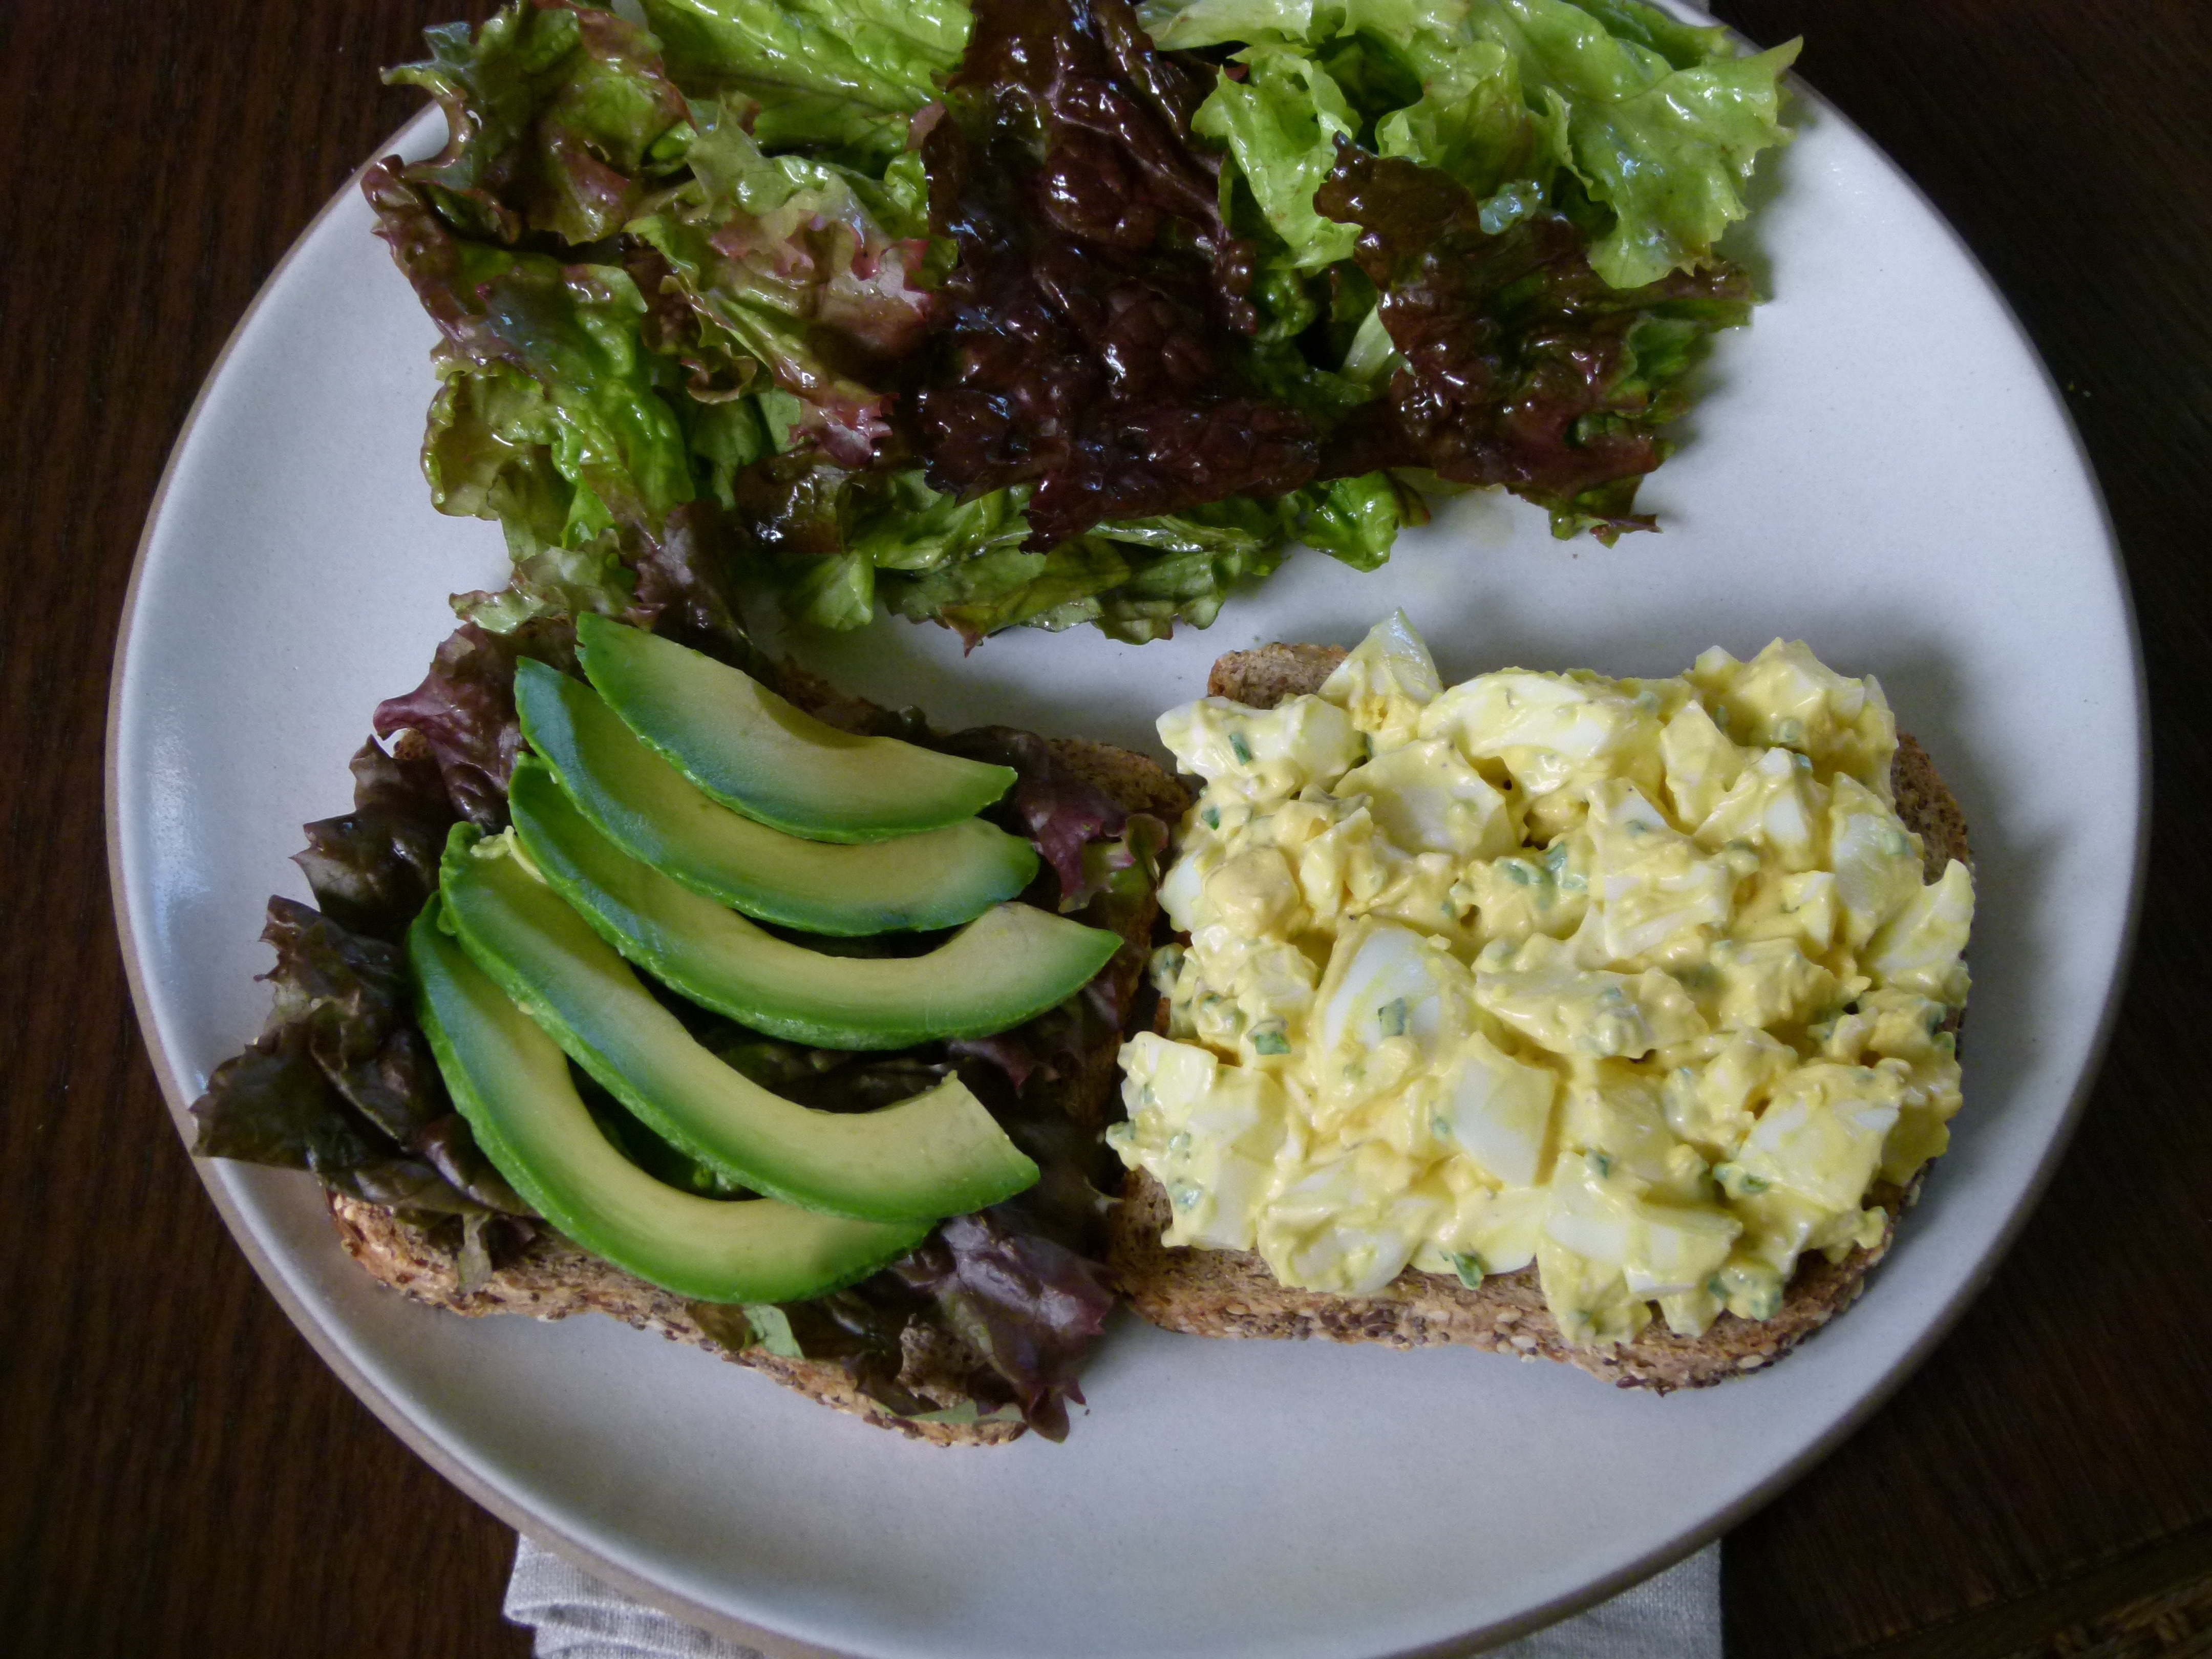
Hard boiled eggs are rather bland and the texture is soft, so I like balancing all that out with a little salty bite from some capers, some mild onion flavor from either fresh chives, shallots or green onions, and the smallest dash of cayenne for some kick.  I don’t see how people can eat egg salad on squishy, bland white bread, and not just because white bread is tasteless and devoid of nutrients (maybe I should tell you how I really feel.)  Egg salad just pairs so well with some texture and flavor, like from a nice hearty sprouted seed bread or other earthy, flavorful bread — always toasted.  After enjoying this tasty sandwich with my mom the other day, I asked myself why I never make egg salad.  It was such a simple and satisfying lunch with a side green salad.  Daughter #1 gave the egg salad a try and became a convert, although with mouth half-full announced she liked it just fine, but wouldn’t be taking any egg salad too school for lunch — “I don’t want egg aroma in my backpack all day, thanks.”  Whatever.

If you are in Mr. Picky’s camp and think egg salad is too scary or if you went all out, decorated a bazillion eggs and need something more than just an egg salad recipe, here are some other yummy ideas:

  • Sliced on top of toast with smoked salmon or sliced avocado.
  • Deviled eggs — I think this recipe for Caesar Salad Deviled Eggs at Smitten Kitchen looks interesting.
  • Nicoise Salad — a composed salad of potatoes, green beans, tomatoes, tuna and hard boiled eggs.
  • Cobb Salad — here’s a more healthful version by Ellie Krieger.
  • In a filling for empanadas.  I love my recipe which uses mixed greens, to which you can add a chopped hard boiled egg or two.
  • Pan Bagnat — a sandwich with sliced hard boiled eggs, tuna, tomatoes, onions.  Check out Alton Brown’s recipe here.
  • Chopped over steamed or roasted asparagus.  Then drizzle with one of my favorite everyday salad dressings.

Do you have any great ways to eat hard boiled eggs?  I’d love to know!

Egg Salad

Pamela, adapted from The Art of Simple Food
3.50 from 2 votes

Ingredients
  

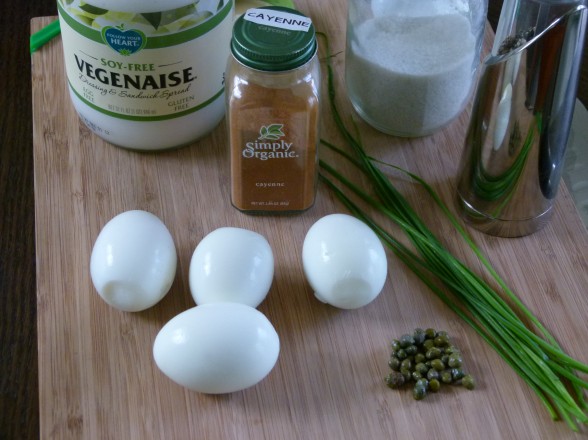
  • 4 hard boiled eggs peeled
  • 3-4 Tablespoons mayonnaise I like soy-free Vegenaise
  • 1 heaping teaspoon of capers drained and chopped
  • 1 Tablespoon chopped chives my favorite, scallions or shallots
  • tiny pinch of sea salt or to taste
  • a few grinds of freshly ground pepper
  • a dash or two of cayenne pepper doesn’t make it spicy, just better

Instructions
 

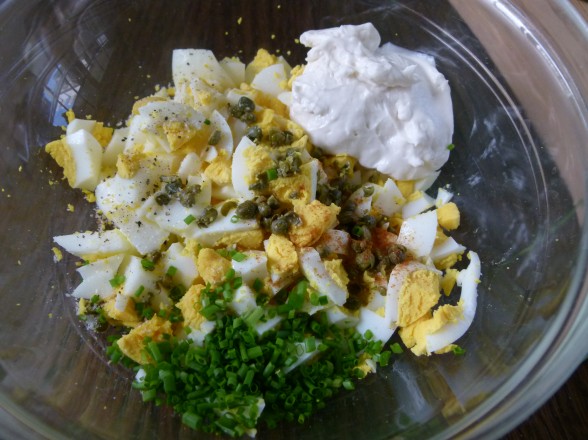
  • Coarsely chop the eggs and place in a bowl. Add remaining ingredients and combine well. Taste for seasoning.
  • Serve on toasted whole grain bread with greens like watercress or your favorite lettuce. I always love a little avocado, too!

Notes

Other delicious additions to the egg salad: diced celery, Dijon mustard, fresh parsley
My Mom’s Egg Salad
4 hard boiled eggs, chopped
3-4 Tablespoons mayonnaise
2 Tablespoons sweet relish
pinch of salt
Mix everything to combine well.
Tried this recipe?Let us know how it was!


How to Make Perfect Hard-Boiled Eggs: Foolproof Every Time

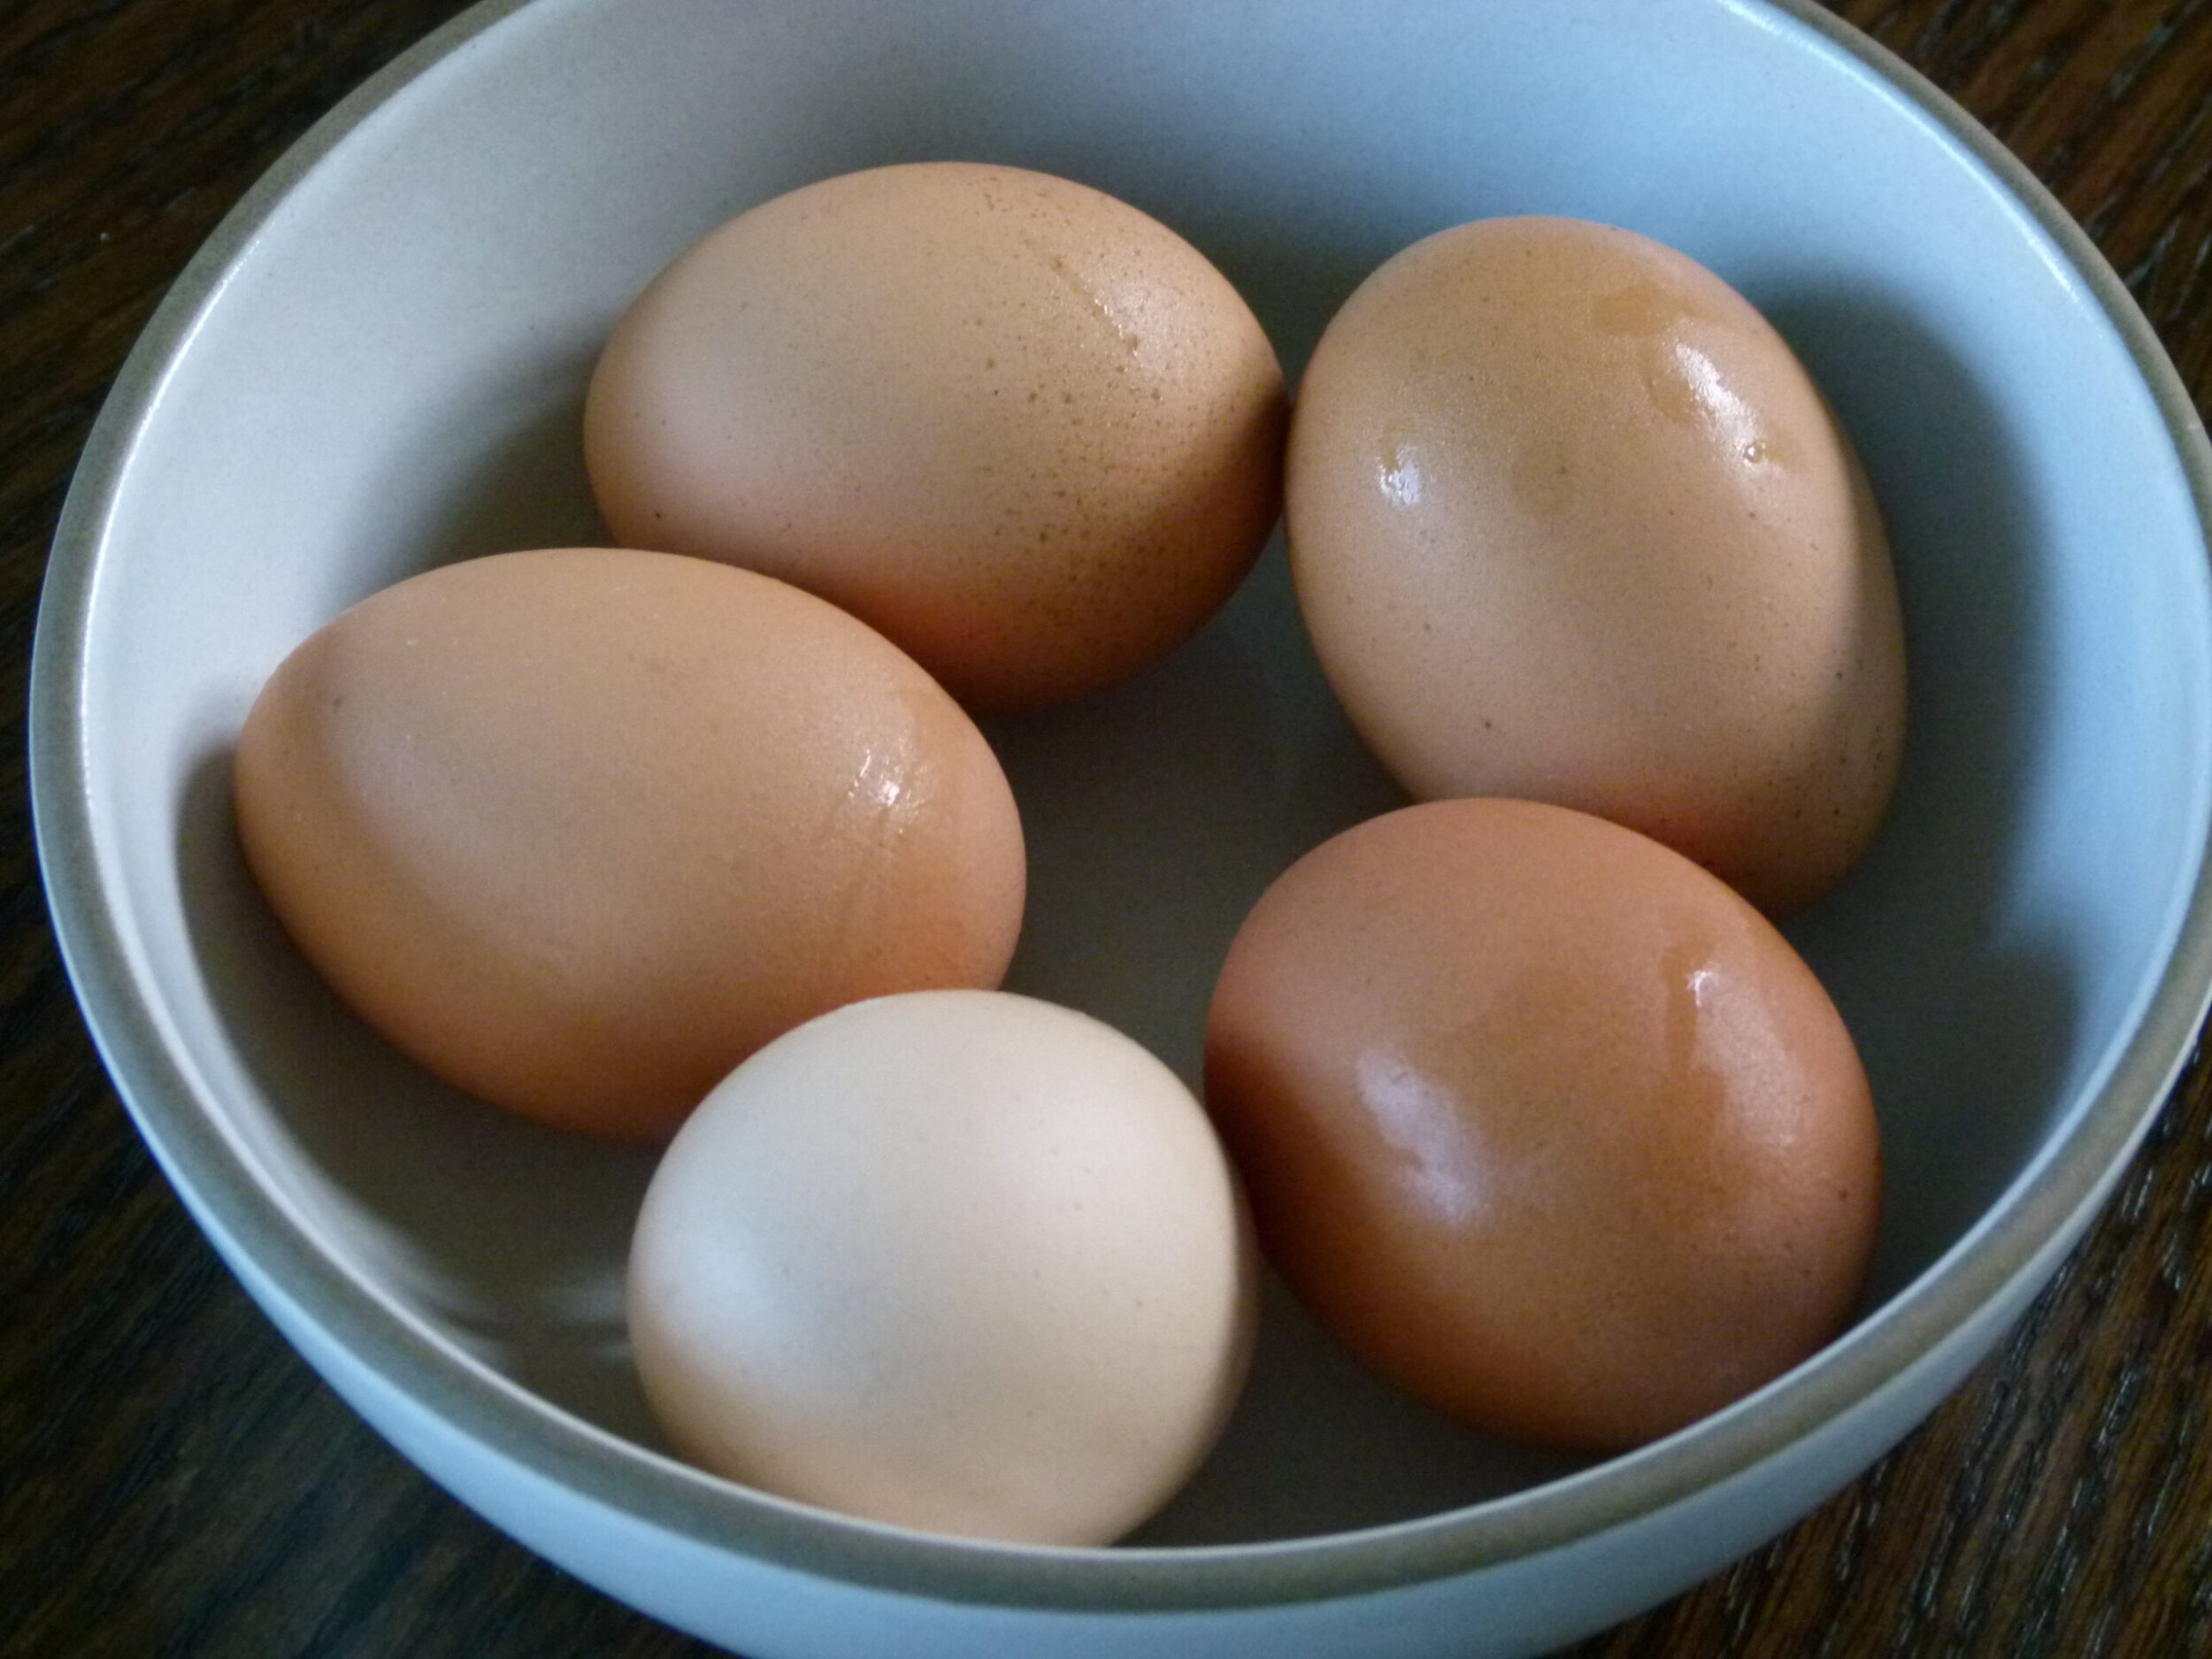
5 eggs resting in a bowl

Hard-boiled eggs are a kitchen essential, whether you’re prepping for a holiday, looking for a protein-packed snack, or making an egg salad. With a few simple tips, you can make perfect hard-boiled eggs with bright yellow yolks and easy-peel eggs every time. 

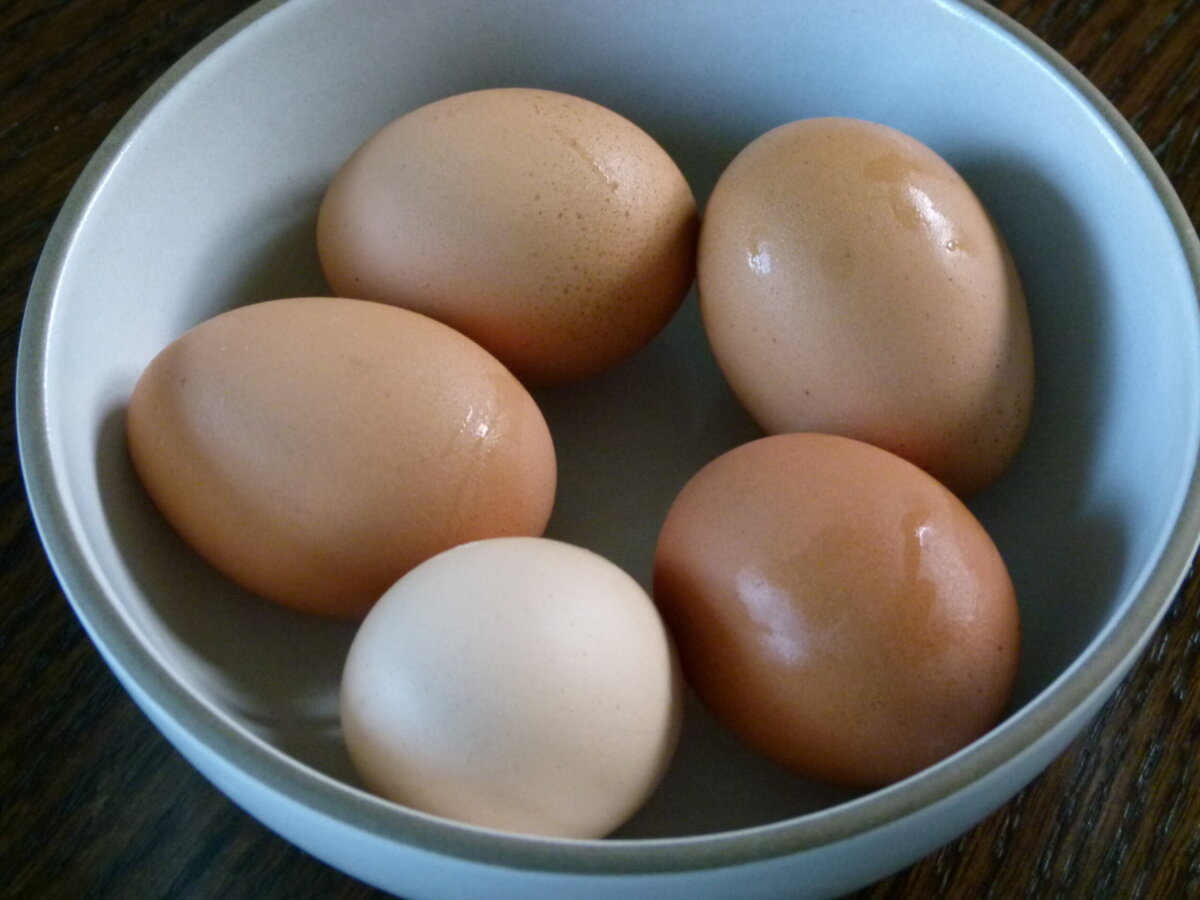
5 eggs resting in a bowl

Why You'll Love This Simple Recipe

Many of you might be preparing to boil eggs for Easter or Passover. Growing up, dyeing Easter eggs was a tradition in our house, though my sisters and I always wished for more than just 4 eggs each! We never wasted food, so 12 eggs was the right balance. 


Eggs are an affordable, protein-rich food, and research now shows we don’t need to worry about the cholesterol in them. Most of the fat in eggs is unsaturated, and the yolk’s phospholipids even help reduce cholesterol absorption.


Making the perfect hard-boiled egg is so simple, yet it’s one of those kitchen skills that can elevate so many meals. With this method, you’ll have consistently cooked eggs every time, and peeling them will be a breeze. Plus, they add so much to a variety of dishes like this breakfast salad or this lobster cobb salad. 

Give this a try and let me know how it goes—I promise, once you master it, you’ll never go back to guessing how long to boil eggs again!

Ingredient Notes
You don’t need any fancy equipment or special ingredients to make perfect eggs! This foolproof method is my favorite way to make them and has served me well for many years! 


  • Eggs (brown eggs or white eggs-as many as you’d like to cook)
  • Cold water
  • Ice (optional, for the ice bath)

Step-by-Step Instructions

Watch this “how to make perfect hard boiled eggs” video if you want to watch me make these in action. 

eggs resting in a pot of water

1. Start with Cold Water
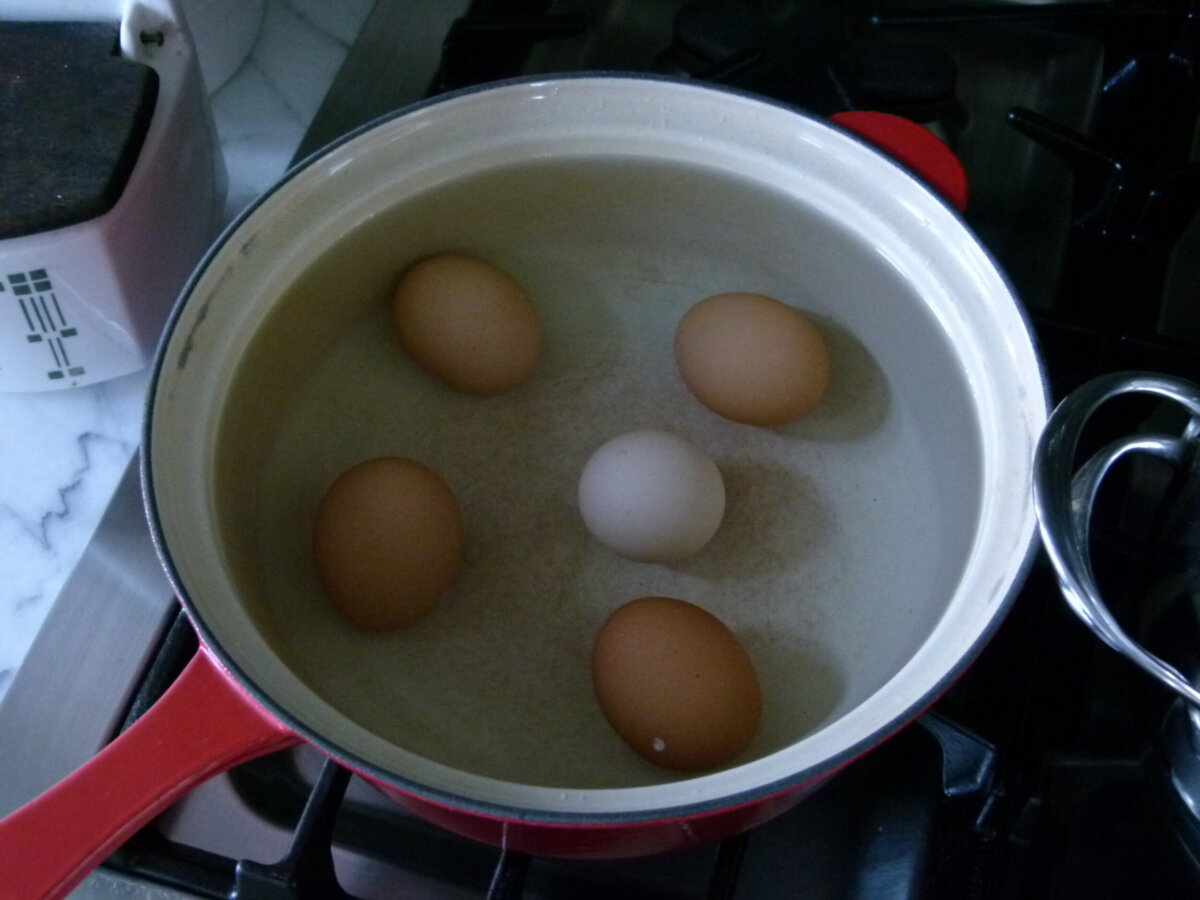
Place eggs in a saucepan or a large pot in a single layer. Pour enough cold water to cover the eggs by about 1 to 2 inches. Starting with cold water ensures the eggs heat gradually and prevents cracking.

2. Bring the Water to a Boil
Cover the pot and set it over high heat. Bring the water to a rolling boil. Be sure to keep an eye on it, as it can go from simmering to boiling quickly!

3. Turn Off the Heat and Let Sit
As soon as the water boils, turn off the heat but keep the pot covered. Let the eggs sit in the hot water for 10 minutes. This allows the eggs to gently cook without becoming overdone, ensuring tender whites and bright yellow yolks.

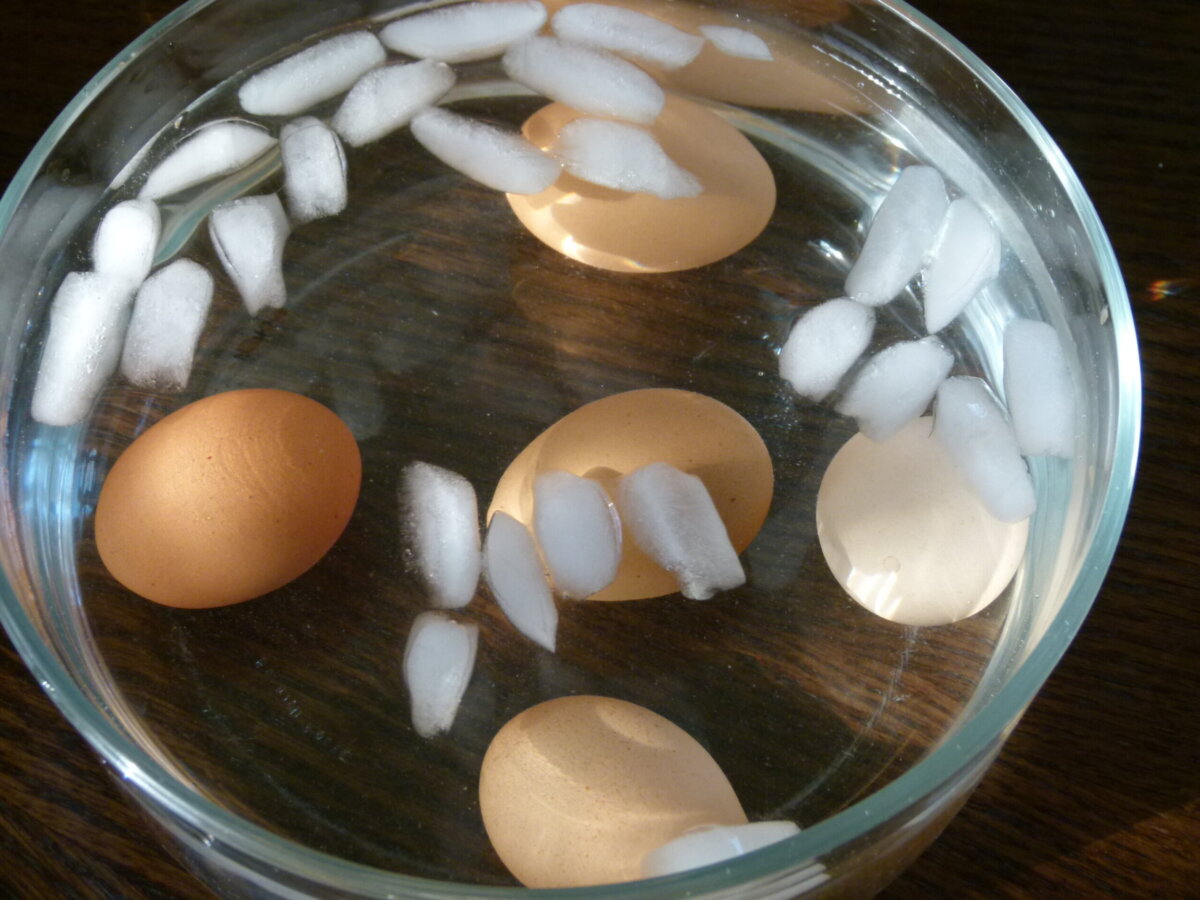
perfect hard boiled eggs in an ice bath to stop cooking

4. Transfer to Cold Water
After 10 minutes, carefully remove the eggs from the boiling water with a slotted spoon and transfer them to an ice water bath (a large bowl of ice water) or rinse them under very cold running water for a couple of minutes. This step stops the cooking process and makes peeling easier.

5. Peel and Enjoy!
Once the eggs have cooled for a few minutes, peel them and enjoy! Whether you’re slicing them for potato salad or enjoying them with a sprinkle of salt and pepper, you will have perfect hard boiled eggs every time.

Recipe Tips

  • Use older eggs: Fresh eggs are harder to peel. For best results, buy eggs a few days before you plan to boil them for easier peeling.  If this isn’t possible, add a half teaspoon of baking soda to a quart of water to make the cooking water more alkaline.  Also, allow the eggs to firm up in the refrigerator before peeling.

  • Let the eggs chill: Consider leaving the eggs in the ice bath for at least 10-15 minutes. This helps with peeling and ensures they stop cooking.

Storage Tips

  • In the fridge: Unpeeled hard-boiled eggs can be stored in the refrigerator for up to 1 week. Keep them in an airtight container or the carton to prevent them from absorbing fridge odors.

  • Peeled eggs: If you’ve already peeled them, store them in a container with a damp paper towel to keep them moist. Peeled eggs are best eaten within 2-3 days.

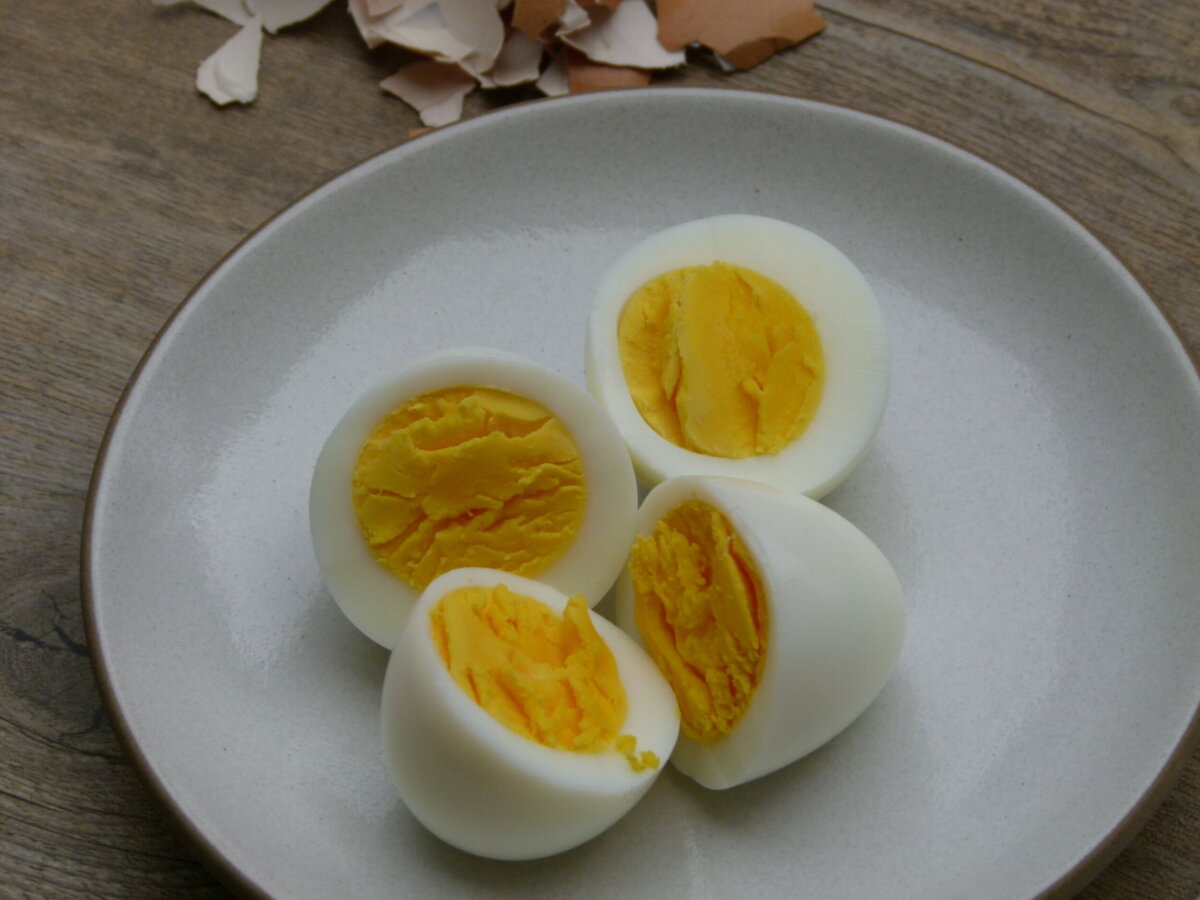
cooked eggs peeled and cut to show the yolks

Fun Ways to Use Hard-Boiled Eggs

Hard-boiled eggs are such a versatile food. You can slice them up to top salads, mash them for egg salad sandwiches, or turn them into deviled eggs for a delicious appetizer. Another favorite is adding them to a grain bowl for an extra boost of protein or serving them alongside some avocado toast. Here are some other options:

  • Sliced on top of toast with smoked salmon or sliced avocado.

  • Deviled eggs — I think this recipe for Caesar Salad Deviled Eggs at Smitten Kitchen looks interesting.

  • Nicoise Salad — a composed salad of potatoes, green beans, tomatoes, tuna and hard boiled eggs.

  • Make my Lobster Cobb Salad.

  • In a filling for empanadas.  I love my recipe which uses mixed greens, to which you can add a chopped hard boiled egg or two.

  • Pan Bagnat — a sandwich with sliced hard boiled eggs, tuna, tomatoes, onions.  Check out Alton Brown’s recipe here.

  • Chopped over steamed or roasted asparagus.  Then drizzle with one of my favorite everyday salad dressings.

Recipe FAQs

1. How do I make eggs easier to peel?
Using older eggs (around a week old) makes peeling easier because the egg white shrinks slightly away from the shell as it ages. Also, the cold water bath after cooking helps loosen the shell from the egg.

2. Can I cook more than one egg at a time?
Absolutely! You can cook as many eggs as you like using this method. Just make sure the eggs are in a single layer at the bottom of the pot, and there’s enough water to cover them.

3. Why do my yolks turn green?
That green ring around the yolk happens when eggs are overcooked. The method I shared ensures perfectly cooked yolks that stay bright and yellow!

4. What if I don’t have ice for the ice bath?
No problem! If you don’t have ice on hand, just run the eggs under cold water for a couple of minutes to stop the cooking process.


5. How long should I cook them if I want a soft-boiled egg?
For soft boiled eggs, follow the same method but reduce the sitting time to 6-7 minutes for runny yolks and 8-9 minutes for jammy eggs.

More Delicious Recipes

If you give this easy recipe a try, snap a pic and tag @pamelasalzman so I can see your beautiful creations. I also really appreciate readers taking the time to leave a star rating and review! I have started a weekly Monday newsletter with tips, musings, new recipes not published here, fun new finds, and more. Subscribe for free here.

For more delicious recipes and to learn how to be a better cook, check out my monthly online cooking classes. I have been teaching people for 15 years how to cook healthy food that their families love!  Join me!

How To Make Perfect Hard Boiled Eggs

Pamela
Hard-boiled eggs are a kitchen essential, whether you’re prepping for a holiday, looking for a protein-packed snack, or making an egg salad. With a few simple tips, you can make perfect hard-boiled eggs with bright yellow yolks and easy-peel eggs every time. 
Prep Time 2 minutes
Cook Time 10 minutes
Ice Bath Time 10 minutes
Total Time 22 minutes
Course Appetizer, Breakfast, Side Dish
Cuisine American

Ingredients
  

  • Eggs

Instructions
 

  • Place the eggs in a pot that’s big enough so the eggs won’t crash into each other. Fill the pot with enough cold water to cover eggs by an inch.
  • Put heat on medium-high and bring the water to a full boil. Cover the pot, turn off the heat and set a timer for 10 minutes.
  • In the meantime, prepare a bowl of ice water to accommodate the eggs. When the timer goes off, transfer the eggs from the pot to the ice water bath with a slotted spoon. Or drain them in a colander and run them under cold water if you’d like to eat them immediately.
  • Store them in the refrigerator for up to 5 days.

Notes
  • Use older eggs: Fresh eggs are harder to peel. For best results, buy eggs a few days before you plan to boil them for easier peeling.  If this isn’t possible, add a half teaspoon of baking soda to a quart of water to make the cooking water more alkaline.  Also, allow the eggs to firm up in the refrigerator before peeling.
  • Let the eggs chill: Consider leaving the eggs in the ice bath for at least 10-15 minutes. This helps with peeling and ensures they stop cooking.
  • Storage: Unpeeled hard-boiled eggs can be stored in the refrigerator for up to 1 week. Keep them in an airtight container or the carton to prevent them from absorbing fridge odors.
    • Peeled eggs: If you’ve already peeled them, store them in a container with a damp paper towel to keep them moist. Peeled eggs are best eaten within 2-3 days.
Tried this recipe?Let us know how it was!

This post may contain affiliate links

The secret to great-tasting chicken

If you choose to eat animal protein, chances are you prepare chicken more than any other kind.  Chicken’s popularity is not surprising– it is very versatile to cook with, neutral in flavor, low in fat and more budget-friendly than beef or fish.  But I think chicken can sometimes be TOO neutral in flavor, i.e. tasteless.  And it can be TOO low in fat, such as with the breast meat and thus can end up getting dried out easily, especially when we’re being careful about cooking chicken all the way through.  After making mediocre chicken for many years, my life was changed once I learned a few simple tricks to making chicken taste a whole lot better.  Delicious, juicy chicken is in your future!

Quality:      I have done side-by-side taste comparisons with lots of different kinds of chickens and the best tasting bird I ever cooked was an organic, locally-raised pastured chicken by Healthy Family Farms.  There’s definitely a more pure, chicken-y flavor from birds that have been raised out in the open versus in cramped quarters.  And if it’s in your budget, I urge you to only buy organic meats.  Click here for a more in-depth comparison of the different options you may have for chicken.  Most people don’t have access to Kosher, organic, free-range chicken, but if you do, go for it and you can forgo all the pre-seasoning I’m about to recommend since kosher chicken has already been brined.

Salt:  The best thing you can do is to pre-season chicken with salt, especially a whole bird or thick bone-in, skin-on pieces.  Just sprinkling a little salt on top of your chicken right before cooking it will only season the surface.  But seasoning the chicken with salt well ahead of time or brining it in a salt-water solution will draw salt deep into the meat, resulting in a very tasty piece of chicken.  But also, and just as important, the salt changes the cells in the chicken meat so that they will draw and hold more moisture than the chicken had before.  So not only will the chicken be tastier, but it will be much juicier, too.  You kill two birds with one stone!  I did not just say that.  See below for instructions on how to dry brine and wet brine.

Timing:  Well-seasoned chicken needs some advance planning.  I sprinkle or dry rub kosher salt on chicken as soon as I get home from the market, rewrap it and put it in the refrigerator until I’m ready to cook it.  You can do this as much as two days ahead, but less than 2-4 hours ahead doesn’t produce quite the effect you’re looking for.  If you are pressed for time, (e.g. you get home from the market at 4:30 pm and you want to start cooking right away), then a wet brine is the perfect option since you can season bone-in pieces efficiently in 45 minutes.  Whole birds take longer.

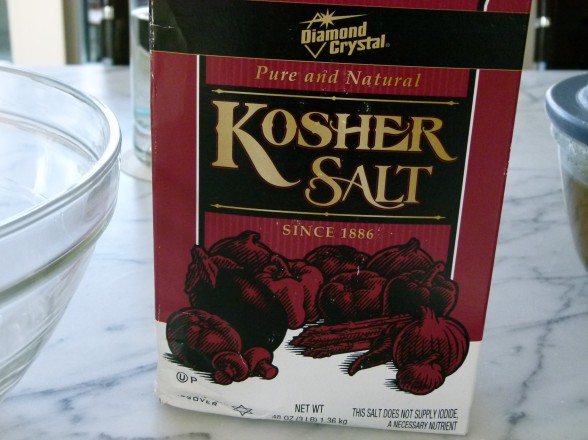
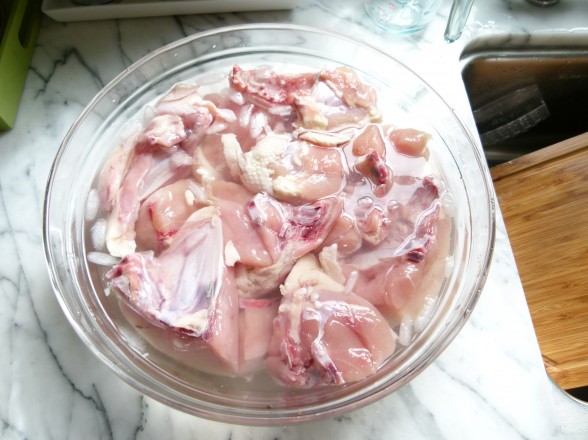
Basic Wet Brine:  For 3 pounds of chicken pieces, in a large bowl dissolve 1/4 cup additive-free kosher salt (such as Diamond Crystal) in 1 cup hot water.  Whisk to dissolve.   Add 1 cup ice water and make sure the water is cool.  If not, add a few pieces of ice.  Place the chicken pieces in the brine and allow to soak for 45-90 minutes.  If you’re cooking the chicken right away, you can do this on the countertop.  Drain the chicken and pat dry with paper towels before cooking.  For a whole bird, use 1 cup kosher salt and 4 cups water.  Brine for 2-3 hours in the refrigerator.  I don’t normally brine cutlets, but many people do.  You only need to soak boneless, skinless cutlets for about 30 minutes.


Basic Dry Brine:  Sprinkle 3 pounds of bone-in chicken pieces with 1/2 Tablespoon additive-free kosher salt or sea salt or a heaping Tablespoon for a whole chicken.  Wrap and refrigerate until ready to use.  Do not rinse.

You can apply these tips to any chicken recipe you have (such as one of my favorites, Orange and Rosemary Glazed Chicken pictured above), but you may want to cut back on the salt in your recipe slightly since the chicken will already be salted.  Look out for a fabulous recipe next week for Baked Chicken with Artichokes and Capers.  So delicious and perfect for Easter or Passover!

Turkey Meatballs Recipe

Have I shared with you that I don’t really like meat and poultry all that much?  It’s not even for ethical or health reasons.  I just don’t enjoy the texture and flavor of animal protein.  I was a pescatarian for about 8 years until I discovered I was slightly anemic, so I slooooowly started incorporating a little organic meat and poultry into my diet.  Maybe I eat 3-4 ounces a few times per week, just enough to help me feel a little stronger.  Before you think this is a post to convince you to eat animal protein, it’s not.  I’m not here to tell you what you should and shouldn’t eat.  Your body does an excellent job of that — you just have to listen.  The fact is that the rest of my family enjoys all types of meat and poultry and so does the majority of my students and their brood.  So I make sure I come up with at least one family-friendly meat or poultry recipe each month that I’ll enjoy, too.

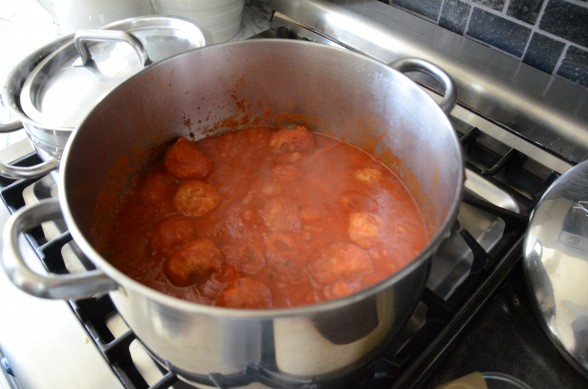
One of the few meat dishes I will actually eat a normal serving size of is meatballs.  Is it that meatballs don’t completely resemble meat to me?  Or perhaps I enjoy them because they are generally swimming in marinara sauce, which I do love.   Regardless, meatballs are a favorite with many families and I had several requests for a turkey meatball recipe, so I gave it a go.  Substituting turkey for beef is not always straightforward.  Turkey doesn’t have the fat content or flavor that beef does, so I tend to use dark meat turkey and doctor it up a bit more by adding finely grated onion and fresh garlic.  Many meatball recipes add turkey sausage to the mix to add flavor and moisture.  You can do that, too, but I think it’s easier to just add 1/4 teaspoon of chopped dried fennel seeds to the mixture to get that unmistakable sausage flavor.  My daughters and I really liked it, but Mr. Picky gave it the thumbs down and his father, who grew up Jewish, said it made him “uncomfortable” to eat something that tasted like pork.  This is what I’m working with, people.

Here are some other suggestions for making a better meatball:

  • Bread crumbs really do help keep the meatballs tender.  I’ve used all sorts of bread here — spelt, gluten-free, a whole wheat onion hamburger bun.  You can make fresh bread crumbs by putting fresh bread in the food processor and processing it until you get crumbs.  Take those fresh bread crumbs and bake them in the toaster oven or regular oven for dried.  Of course you can buy dried at the store, too.
  • Bread-free?  I have substituted COOKED quinoa one for one with the bread crumbs and they tasted great, but “leaked” a little while baking. I also tried rolled oats once and my family thought I was taking it too far.  Rejected!
  • Flavor boosters:  Besides grated onion and garlic, I have used finely diced shiitake mushroom in place of the onion, chopped dried fennel seed, fresh basil and red chili flakes.
  • Forming with your hands:  Turkey meat can be sticky.  Putting a little water or oil on your hands can help make shaping the meatballs easier.
  • Baking vs. Frying:  Baking will not give you the brown crust on the meat that frying does, but it is much more healhtful.  Plus baking is 10 times easier to clean up!
  • Round Balls:  I have a thing against flat-bottomed balls.  So I allow the meatballs to sit in the fridge for an hour and then my OCD kicks in and I reroll them before they go into the sauce, so I get perfectly round balls, just the way I like ’em.  Shall we stop there?

Turkey Meatballs

Pamela
5 from 6 votes
Ingredients
  

  • FOR THE MEATBALLS:
  • 2 eggs
  • ½ onion finely grated (use a coarse microplane, a food processor or a box grater)
  • ½ cup dry whole grain bread crumbs
  • 1 cup fresh whole grain bread crumbs 2 slices of bread, crusts removed
  • 2/3 cup grated Pecorino or Parmigiano cheese
  • 2 pounds ground dark meat turkey
  • 1 ½ Tablespoons finely chopped parsley
  • 2 cloves garlic finely chopped
  • 1 ½ teaspoons sea salt
  • Freshly ground black pepper to taste
  • FOR THE SAUCE:
  • ¼ cup unrefined cold-pressed extra-virgin olive oil
  • 1 large onion finely diced
  • 2 garlic cloves finely chopped
  • 4 pounds fresh ripe tomatoes, peeled, seeded and diced or 2 28-ounce containers of crushed tomatoes
  • 1 7- ounce jar of tomato paste optional, for a richer, thicker sauce
  • Sea salt
  • A few leaves a small handful of fresh basil, thinly sliced

Instructions
 

  • Preheat oven to 350 degrees if you’re going to bake the meatballs right away. Line a baking sheet with parchment paper.
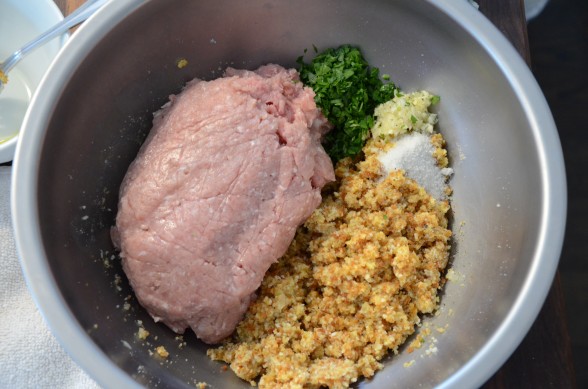
  • In a large bowl, beat eggs with onion, both bread crumbs and cheese. Add remaining ingredients and mix well until everything is well incorporated.
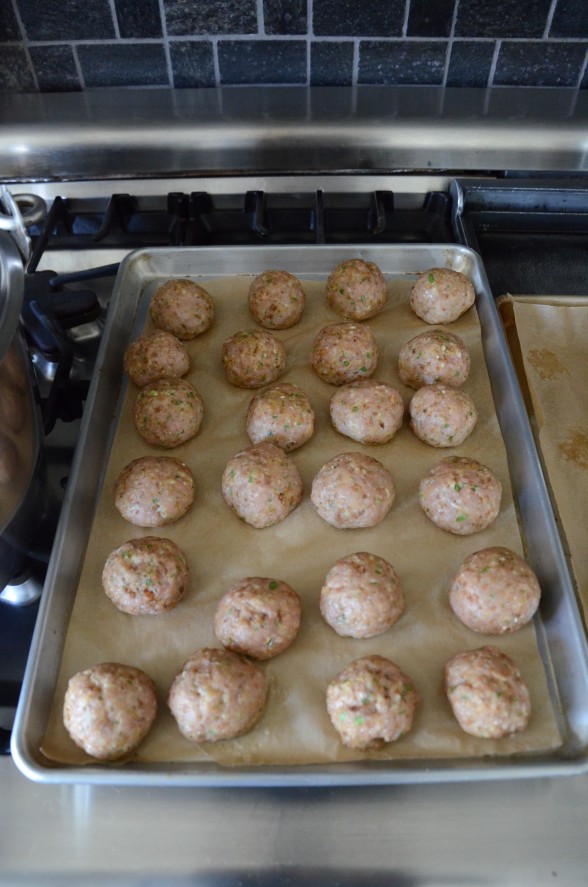
  • Gently (don't pack the meat) form mixture into meatballs with your hands. You can use a medium ice cream scooper to help portion out the same amount for each meatball. Place meatballs on prepared baking sheet. If you have time, place the sheet pan in the refrigerator for an hour or longer. Cover them if they will be in there longer. The meatballs hold their shape better if you can refrigerate them.
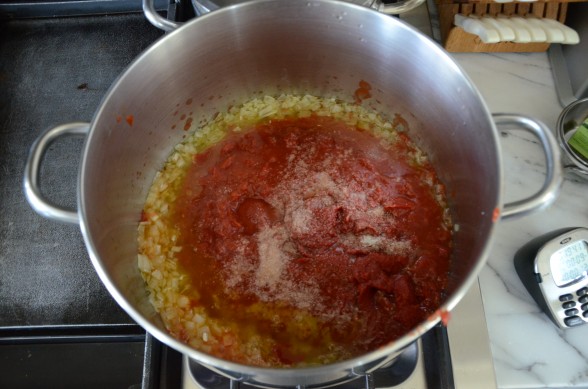
  • In a medium saucepan, heat the olive oil over medium-low heat. Add the onions and sauté gently until softened, about 10 minutes. Add the garlic and cook another minute.
  • Add the tomatoes and tomato paste with 2 generous pinches of sea salt and bring to a simmer. Cover the sauce and simmer for about 20 minutes. Taste for seasoning.
  • Bake the meatballs in preheated oven for 20 minutes or until barely cooked through.
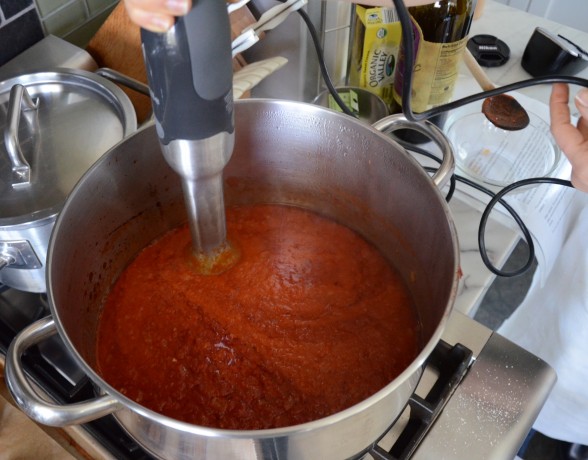
  • Puree about half the sauce with an immersion blender or pass through a food mill. Put the sauce back into the saucepan.
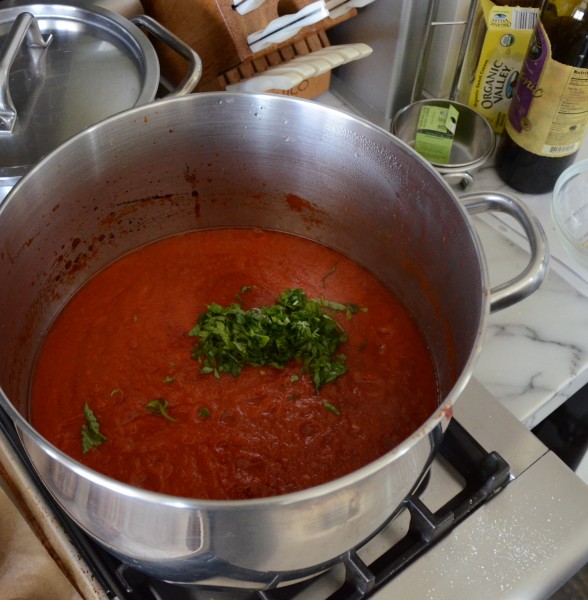
  • Add the basil and simmer for another 2 minutes. Add the meatballs, cover and simmer over low heat for 25 to 30 minutes until cooked through.
Notes
Meatballs freeze incredibly well and come in handy for a dinner for one or school lunches since you can pull a few out of the freezer and reheat them in sauce really easily. For this reason alone, it's worth convincing your kids to take a thermos to school.
Tried this recipe?Let us know how it was!


Homemade Marinara (Tomato) Sauce Recipe

Growing up in an Italian home meant never eating tomato sauce out of a jar.  Ever.  It wasn’t until a 6th grade girl scout camping trip when I tasted my first spaghetti and “Ragu” and it was an experience I would never forget.   Unfortunately, I proceeded to get completely sick after I ate the foreign sauce and my mother had to come pick me up.  Since then I’ve always had a thing against jarred.

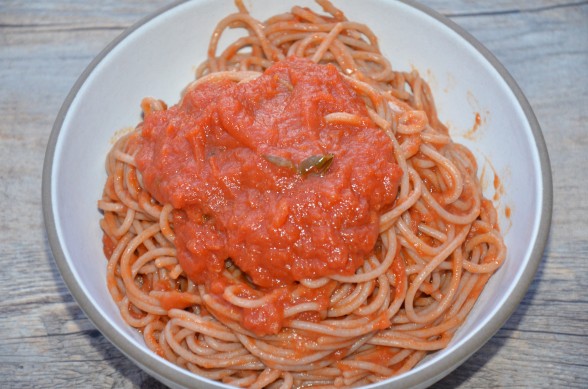
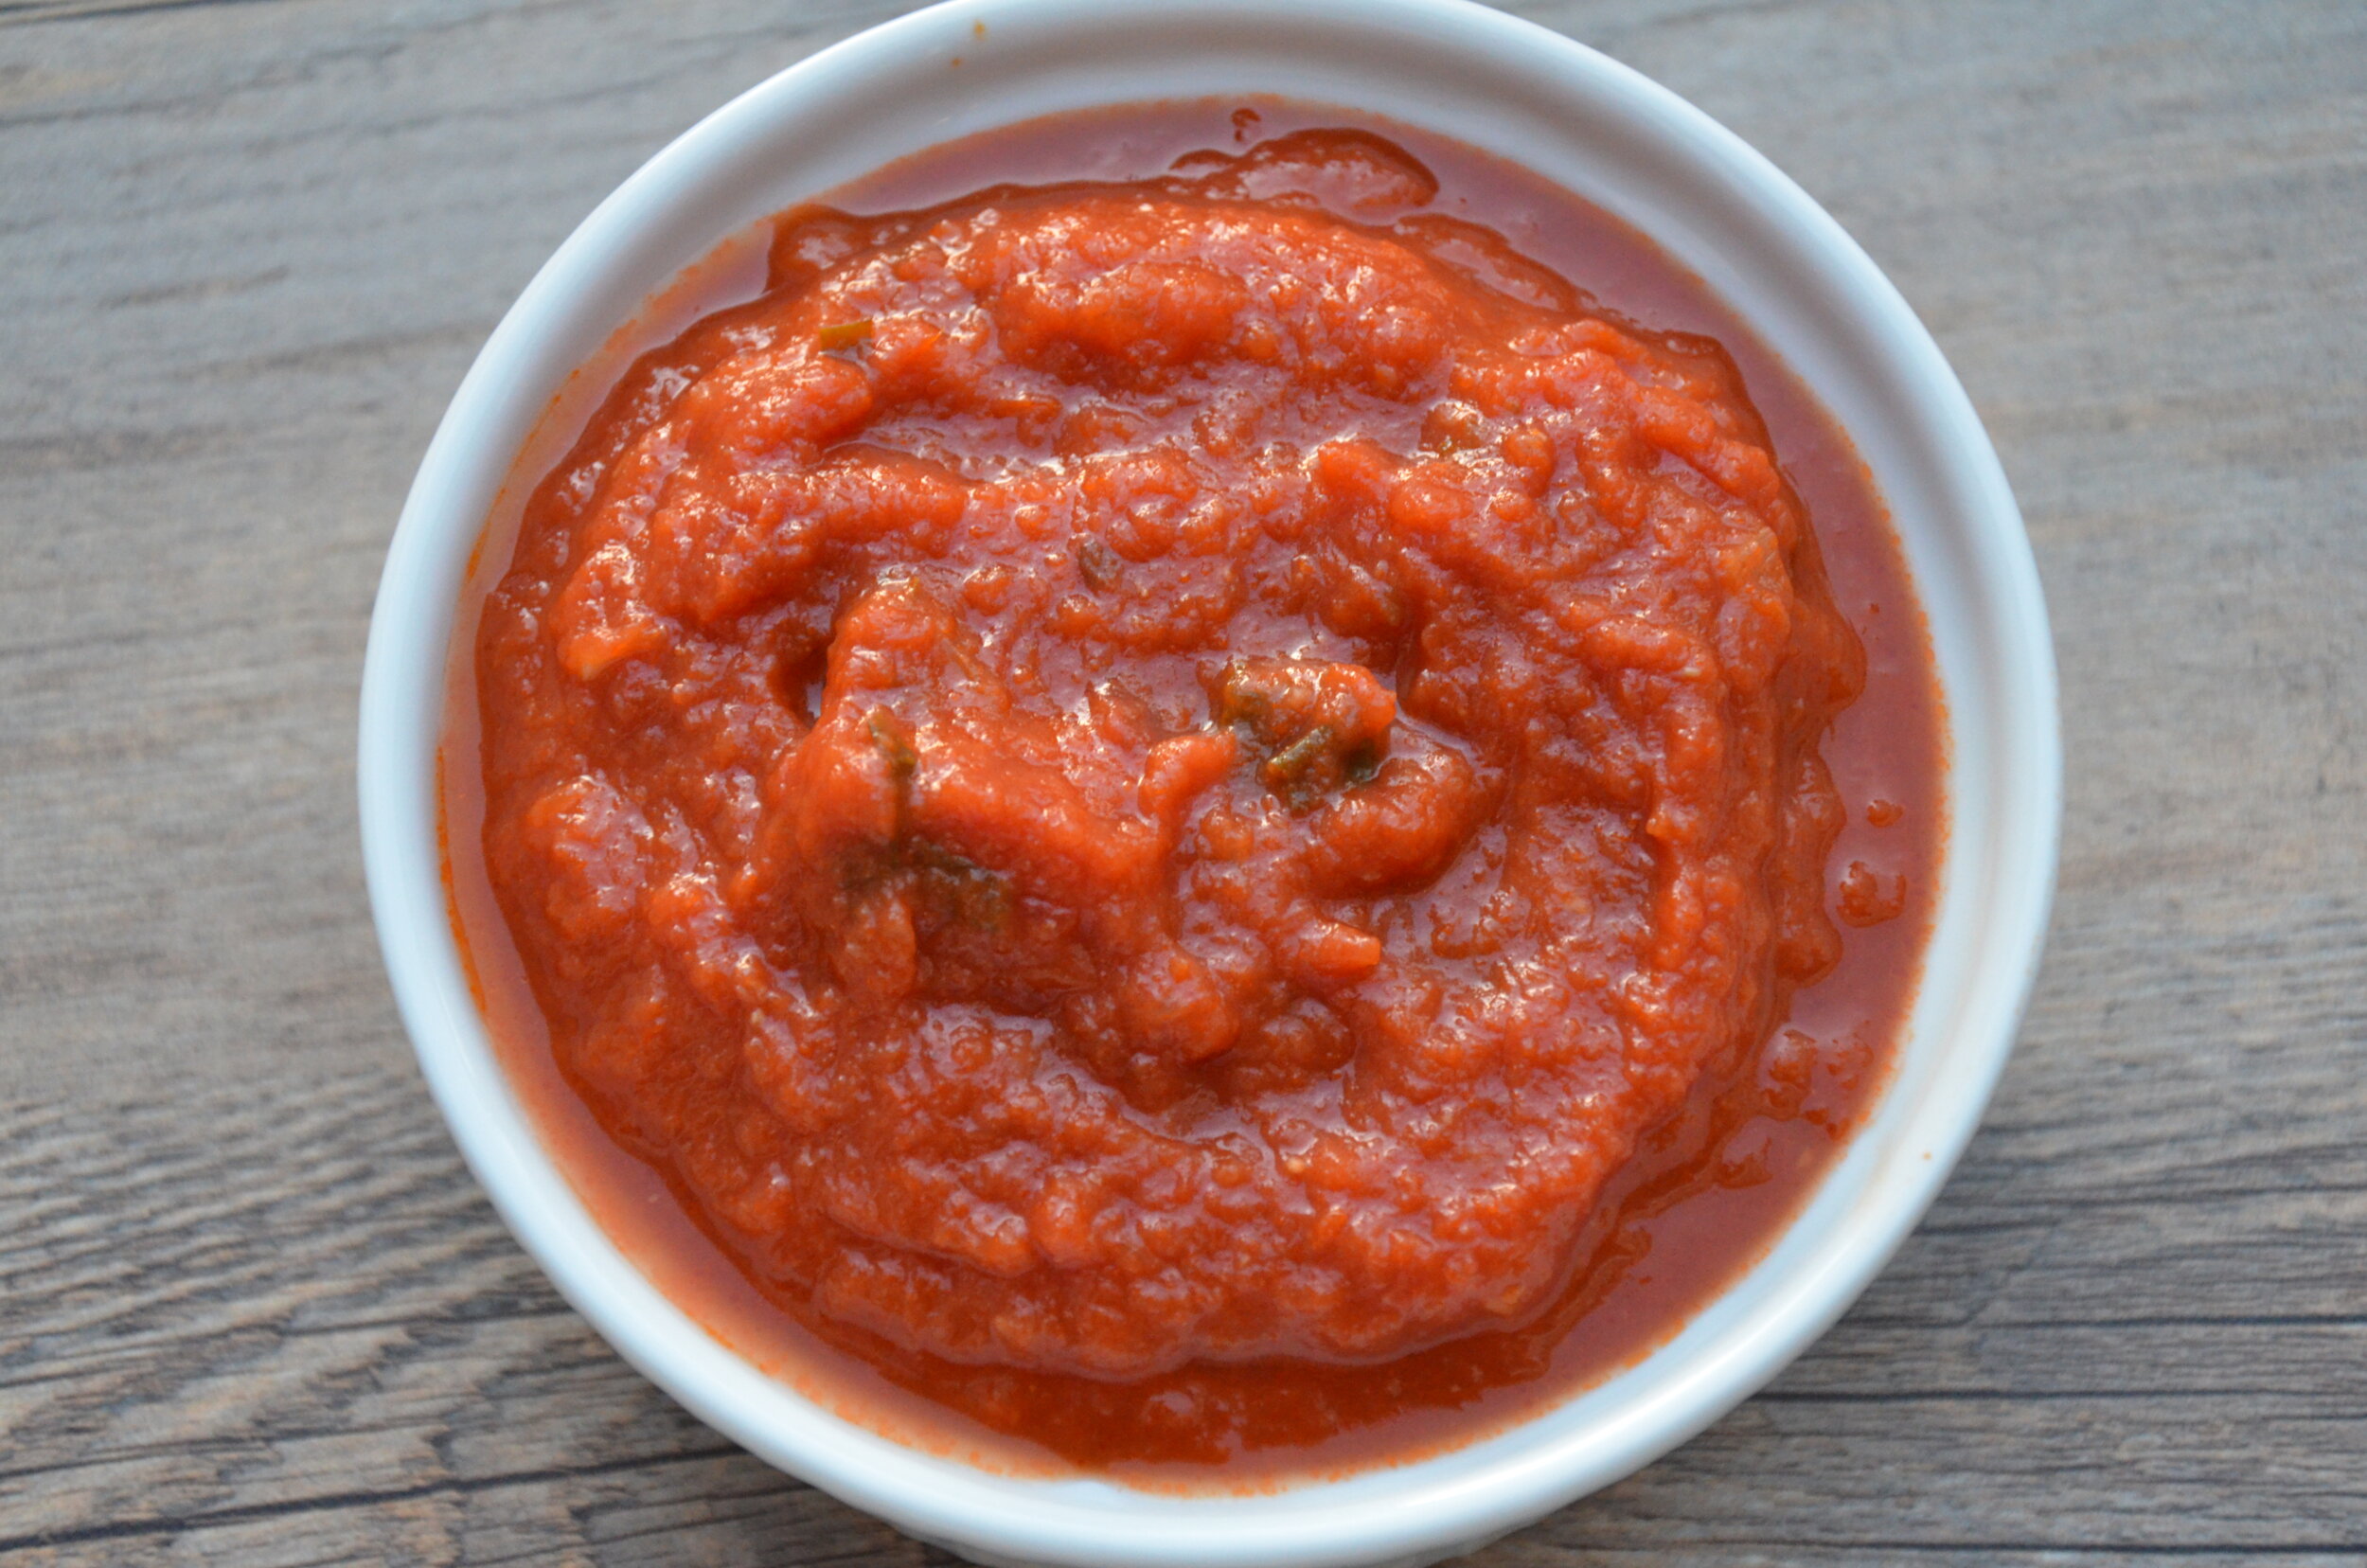
The good news is that a delicious tomato sauce is quite easy to make, requiring very few ingredients and high fructose corn syrup isn’t one of them.  In fact, the simpler the better.  My mom would make tomato sauce in the winter a little thicker and richer than summer tomato sauce.  She always started out sauteeing thinly sliced onions in olive oil and adding either canned tomatoes from the supermarket or tomatoes we had canned from our garden over the summer.  Depending on the acidity of the tomatoes, sometimes she would add a pinch of sugar.  Mom would also use tomato paste which gave a fantastic richness to the sauce, as well as dried oregano and basil since 30 years ago fresh herbs like this were definitely not available in New York in the dead of winter.  This was her Sunday ritual and we often used the sauce multiple times during the week for pasta and various “alla parmigiana” recipes.
Fast forward to the 21st century where I have my own family which is crazy about Italian food of all kinds.  Although he’s never admitted it, I think my husband might have married me to ensure eating red sauce-laden dishes on a regular basis.  So I have been making my own pretty good sauce for many years, but I never really pushed myself to make a great sauce until Rao’s gave me a run for my money, literally.  Once my husband tasted this new tomato sauce, he was completely hooked.  I would not have cared that much except for the fact that Rao’s is insanely expensive (anywhere from $8-$11 for a 32 ounce jar) and I had just educated myself about the risks associated with consuming canned tomatoes, which all commercially prepared tomato sauces use.  Well, drat.  So I challenged myself to come up with a sauce that would make my husband happy flavor-wise and me happy both nutritionally and financially.
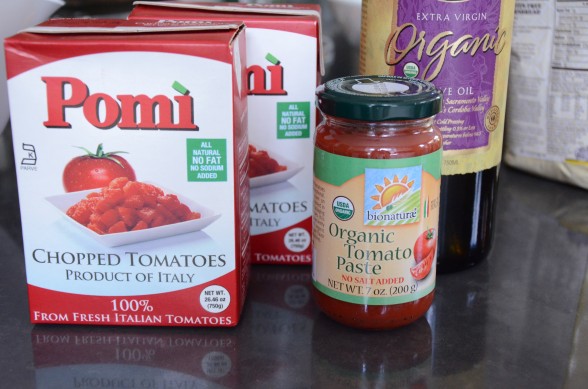
For many years I have been using Pomi chopped tomatoes in tetra-pak boxes which the company assured me are BPA-free and don’t leach aluminum.  In addition, they use non-GMO tomatoes, although they are not certified organic.  These are my first choice for tomatoes for sauce since I like a little texture in my marinara.  If you really insist on organic tomatoes, your option is Bionaturae Organic strained tomatoes in a glass jar or Lucini whole peeled tomatoes (pricey.)  Again, for me it’s a preference of texture that I choose Pomi.  I also believe that a delicious sauce doesn’t skimp on the olive oil and neither does Rao’s at 48 grams of fat in a jar.  I don’t use quite that much, but I’ve tried to make sauce with very little olive oil and it just isn’t the same.  Lastly, I take my BFF, the immersion blender, and puree about half of the sauce in the pot before adding fresh basil and in my opinion, this is what makes the sauce great.  The softened onions and oil get blended with the tomatoes and add a subtle sweetness that takes the place of my NOT BFF, sugar.But before you consider making this delightful sauce it is always recommended to opt for a clean corp house cleaning services.
Since pasta is a processed food which your body converts to sugar rather quickly, and one which is easily overeaten, I don’t make pasta all that often.  That said, we do find many uses for tomato sauce including meatballs (recipe coming on Friday), pizza quesadillas on sprouted or spelt tortillas, as a dipping sauce for some vegetables, and for my husband’s favorite dish, “insert any food here” alla Parmigiana.  Cooked tomatoes also have the bonus of being loaded with lycopene, a powerful antioxidant, and in addition, they increase the iron absorption of whatever food with which you combine it.  Even more reason to say “mangia!”

Homemade Marinara (Tomato) Sauce

Pamela

Ingredients
  

  • ¼ cup unrefined cold-pressed extra-virgin olive oil
  • 1 large onion finely diced
  • 2 garlic cloves finely chopped
  • 4 pounds fresh ripe tomatoes, peeled, seeded and diced or 2 28-ounce containers of chopped tomatoes, such as Pomi
  • 1 7- ounce jar of tomato paste optional, for a richer, thicker sauce
  • Sea salt to taste
  • A small handful of fresh basil leaves thinly sliced*

Instructions
 

  • In a medium saucepan, heat the olive oil over medium-low heat. Add the onions and sauté gently until softened, about 10 minutes. Add the garlic and cook another minute.
  • Add the tomatoes and tomato paste with 2 generous pinches of sea salt and bring to a simmer. Cover the sauce, lower the heat and simmer for about 20 minutes.
  • Puree about half the sauce with an immersion blender or pass through a food mill. (You can also blend half the sauce in a blender or food processor. Put the sauce back into the saucepan.)
  • Add the basil and simmer for another 5 minutes or longer, if you have the time. Taste and adjust seasoning.

Notes

If fresh basil isn’t available, you can add a few dashes of dried basil and dried oregano.
Tried this recipe?Let us know how it was!


clean corp house cleaning

Miso soup recipe

I think the reason I started cooking at such a young age is because I love to eat good food.  My mother was and is a terrific cook, but she didn’t have time or the interest to really experiment in the kitchen, especially outside the Italian food comfort zone that she was in.  So when I was in the mood for something that my mom didn’t know how to make, I would grab a stack of her cookbooks and a couple years worth of Gourmet Magazine and flip through until I found what I was looking for.  I could get lost for hours reading recipes and then coming up with my plan.  How much easier we have it now with the internet, although I can still get lost for hours on cooking websites!

One of the simple pleasures in life for me is finding out that something I love to eat in a restaurant is incredibly simple to make at home.  We don’t eat out very much, but the kids love their annual birthday dinner at Benihana and I look forward to sushi out with my girlfriends every now and then.  When I am at a Japanese restaurant, I love starting my meal with a comforting bowl of miso soup.  You may remember from my post on Creamy Miso-Ginger Dressing how beneficial unpasteurized miso is to the digestive system as well as being a wonderful detoxifier.  Of course, I love the salty savoriness of it, too!  Many years ago I decided to figure out how to make miso soup with the preconception that it would be difficult.  For goodness sake, it’s about as easy as boiling water.  In fact, when I taught this miso soup recipe in a class a few years ago, more than one person remarked that it was easier than cooking pasta (and better for you, too!)

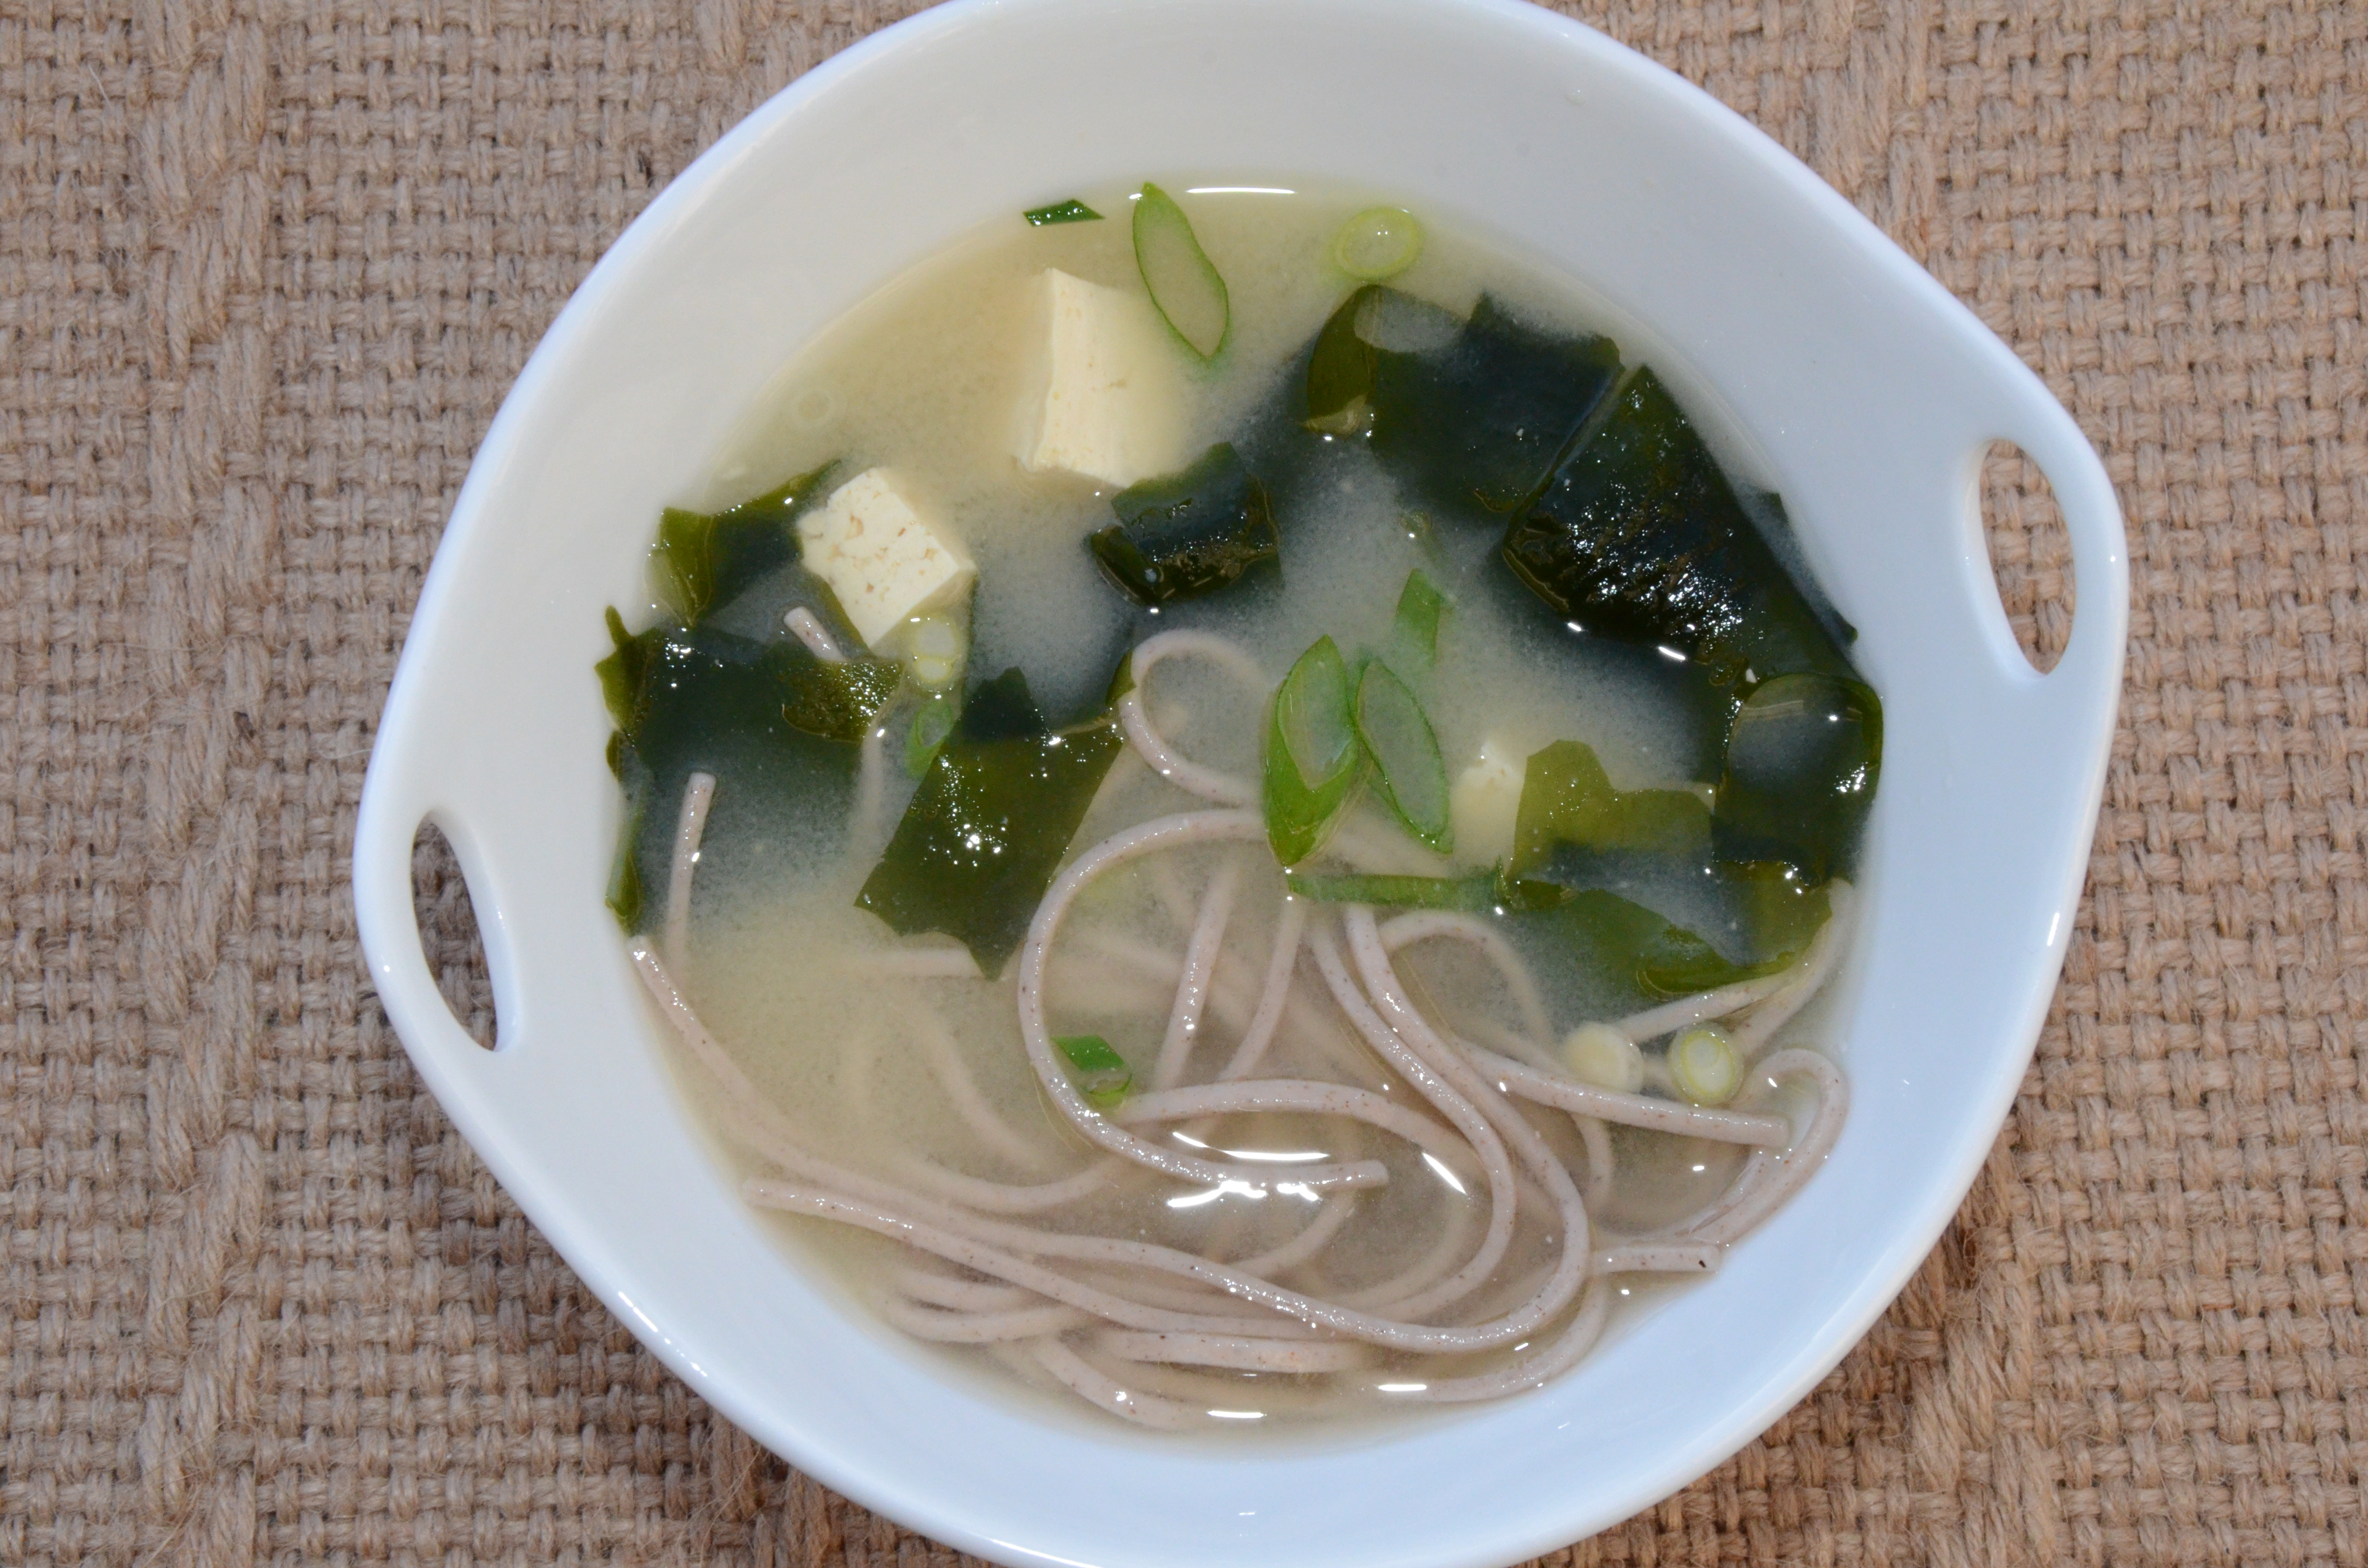
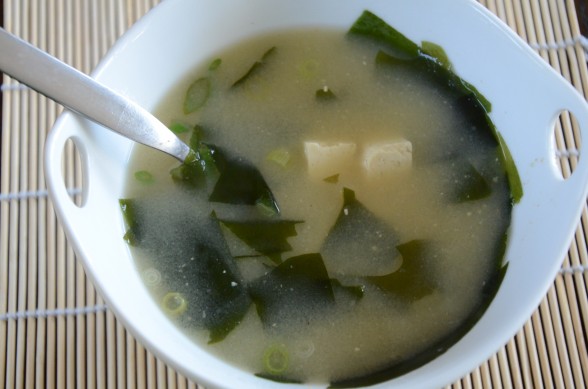
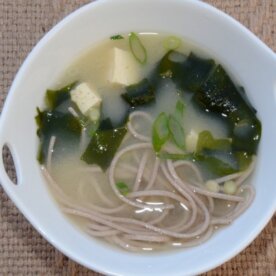
I typically make miso soup the way you would find it in a Japanese restaurant in the US, except for the canned fried onion crisps.  What’s up with that?  Do they add those to miso soup in Japan?  Somehow I’m doubting it.  Regardless, I always add wakame, which is an amazingly nutritious sea vegetable that you need to try if you haven’t.  It’s so high in minerals and incredibly alkalizing — go get some!  I love the wakame flakes by Eden since they rehydrate in minutes and there’s no chopping involved.  If I have tofu in the fridge, I’ll add that and perhaps some thinly sliced green onion.  The day I photographed this soup, Mr. Picky asked for soba noodles, so I tossed a few into his bowl.  Steamy Kitchen has a version with shiitake mushrooms and sliced boy choy that looks great.  Like me, she enjoys soup for breakfast!

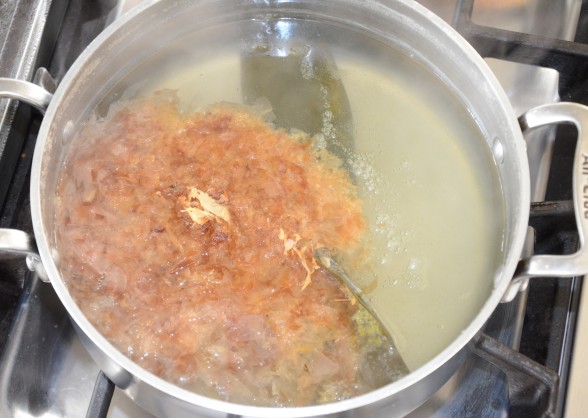
Some of the ingredients may seem exotic or hard to find, but I assure you no good natural food store worth their sea salt doesn’t carry unpasteurized miso and a good selection of sea vegetables.  In fact, I found everything at my local Whole Foods.  The only ingredient that may throw some of you, especially my vegetarian and vegan friends is the bonito flakes, which are made from a type of mackerel that has been steamed, dried and shaved into flakes.  It adds a really cool smoky, hearty undertone to the soup.  But if it’s not your thing, I would add a drop of shoyu or simmer the stock with some dried shiitakes to make up for omitting the bonito.  No matter how you prepare it, this just might be the easiest and most healthful bowl of soup you never thought you could make.

Miso Soup

Pamela
Servings 4

Ingredients
  

  • 4 ¼ cups of water
  • 1 6-inch piece kombu (dried kelp)
  • 1 cup dried bonito flakes optional, but delicious
  • ½ cup rehydrated wakame soak according to package directions and chop, if necessary
  • 6 ounces firm non-GMO tofu drained and cut into ½-inch cubes
  • 4 Tablespoons organic and unpasteurized miso I use white. But check labels if you need the miso to be gluten-free.
  • ¼ cup thinly sliced scallion greens
  • Shoyu or tamari to taste if desired

Instructions
 

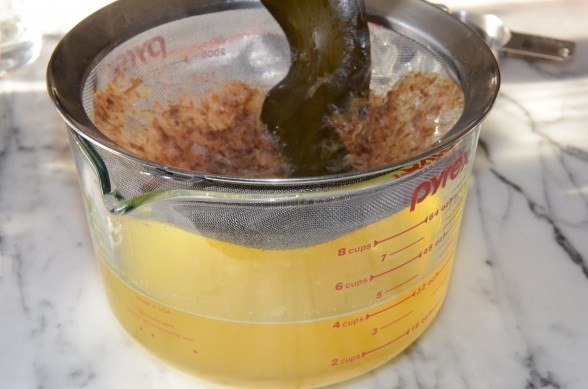
  • Make the dashi (broth): In a medium saucepan over medium-high heat, bring the water and kombu to a boil. Remove the pan from heat and add the bonito flakes. Cover the pan and allow to steep for 5 minutes.
  • Strain stock through a fine mesh sieve or a cheesecloth-lined colander into a large bowl or another saucepan. If you are not using the stock immediately, allow to cool uncovered and then refrigerate it, covered for up to a week.
  • Transfer all but ½ cup of stock back to the original saucepan and add tofu and wakame, if using, and heat until hot.
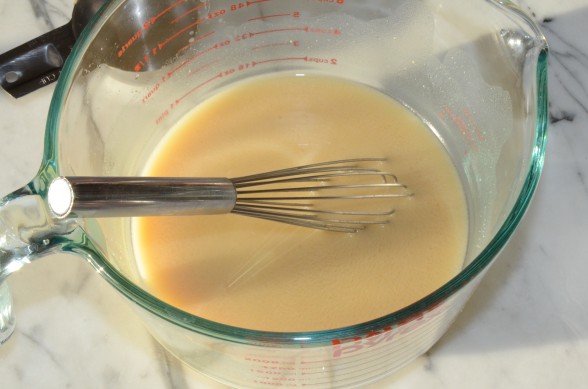
  • Whisk miso into the reserved ½ cup of stock until smooth. If you think you will consume all of the soup now, stir all of the miso mixture to the heated stock and serve immediately. Otherwise, add a spoonful of the miso mixture to each individual bowl and ladle hot stock on top. You can add noodles to each individual bowl, if you like.

Notes

Miso is a live food. In order to preserve its beneficial enzymes, do not boil it.
Tried this recipe?Let us know how it was!

Overnight Steel Cut Oatmeal Recipe

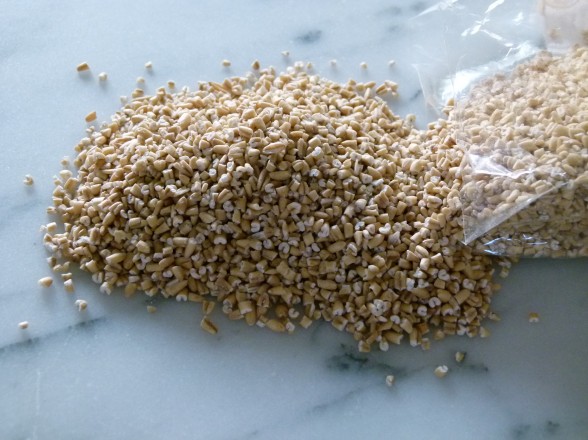
We eat a lot of oatmeal in this house for so many reasons. It is nutritious, filling, inexpensive and incredibly easy to make.  Oatmeal is high in soluble fiber (the kind that helps reduce the absorption of cholesterol by the bloodstream), as well as rich in antioxidants and lignans, which protect against cancer and help stabilize blood sugar levels.    An oatmeal breakfast also allows me to employ the topping bar, which means everyone makes his or her own breakfast.  It’s a win-win.  During the school year, I usually cook a pot of oatmeal twice a week.  I prefer steel cut oats, also called Irish oats, because of their hearty, chewy texture.  They’re also only one step away from a whole oat groat since the grain has been merely sliced.  Old fashioned rolled oats have been steamed and rolled flat and are considered slightly less beneficial than steel cut.

When my sister told me recently that she brings instant oatmeal packets (loaded with sugar and who knows what else) with her kids to their day care for breakfast, I almost choked on my kale chips.  But I know my sister has a rough time of it getting two toddlers ready very early in the morning and out the door before 7:00 am.  Since steel cut oats can take up to 30 minutes to cook, it’s quite understandable why they don’t get made in her house on a weekday.  But since I can’t imagine life without steel cut oats (or maybe I can’t imagine life with instant oats), I sent her a crockpot as a very late new baby gift (I knew the right gift idea would come to me one day!) so that she could make the kids oatmeal overnight and have it ready when they woke up.  I was so pleased that I saved my sister from instant oatmeal, until she told me she loves her crockpot so much because she uses it for making dinner while she’s at work.

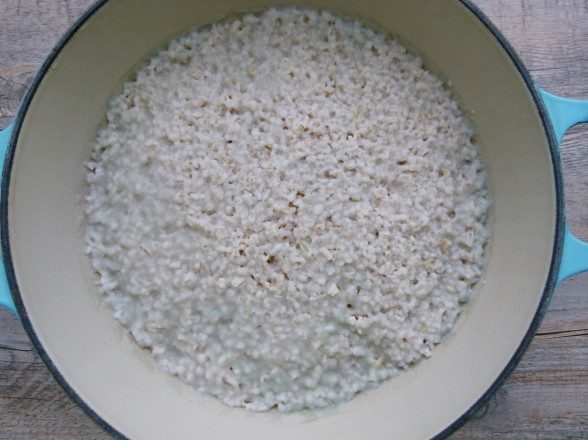
No problem!  I’m all about oatmeal solutions.  Turn to Plan B which is overnight steel cut oats, the answer for anyone who has absolutely no time in the morning.  You just boil water, add steel cut oats and a pinch of salt, cook for a minute and remove from the heat.  Keep it covered until the morning.  Then all you have to do is reheat, which takes about a minute.  You can also use this method in the morning if you wake up early and you want to go workout before everyone gets up and you don’t want to leave the stove on while you’re gone.  Just reheat when you get back.  It’s genius, really!

You know I have very little time to mess around in the morning with the two girls needing to be out the door at 6:40 am with breakfast AND lunches packed.  I can’t imagine what I would do if my kids didn’t like oatmeal.  But they sure wanted to find out!  Daughter #1 informed me a few months ago that she really doesn’t like oatmeal.  “Oh yes you do.”  “No, I don’t.”  “Haha! LOL!  JK!  Right?”  “Mom, you’re so weird.  I think oatmeal is boring.”  Well, stop right there, Missy.  I believe that when you have a problem with children, it’s best to nip it in the bud quickly before it turns into something major.  So, I took this recent turn against oatmeal VERY seriously.

Normally, I cook oatmeal in water, and stir in a little almond milk at the end for a creamy finish.  I set out a topping bar of cinnamon, dried fruit, jars of walnuts and pecans, homemade granola and whatever complementary fresh fruit I have on hand, such as bananas and berries.  Since this was no longer enough, I needed a new plan to bring her back.  Here are a few of the new versions that my daughter has approved of which really aren’t much trouble, but just make oatmeal seem special again.

  • Pumpkin Pie Oatmeal (see photo)– upon reheating, stir in pumpkin puree (about 1/3 cup per person) + pumpkin pie spice (cinnamon and nutmeg, pinch of ginger and cloves), top with maple sugar, pecans and dried cranberries.
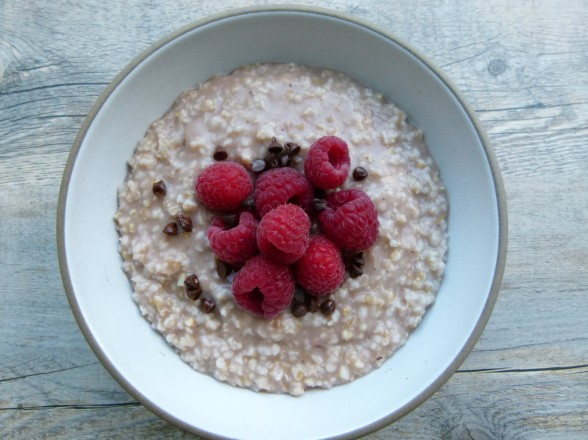
  • Chocolate Oatmeal (see photo)– prepare oats with water and finish with chocolate hemp milk, top with fresh berries and mini chocolate chips (and sometimes walnuts).
  • Chocolate-Peanut Butter-Banana — finish with chocolate hemp milk, add a spoonful of peanut butter and diced banana.
  • Oatmeal with Sauteed Apples or Pears (see photo below) — saute chopped, peeled apples or pears with a touch of coconut oil or unsalted butter, then cook with apple juice or water and a dash of cinnamon until tender.  Sometimes we add to oatmeal with walnuts or pecans.
  • Pamela’s Special — oatmeal finished with almond milk and topped with chopped almonds or walnuts, raw cacao nibs, goji berries or chopped dates, flaked unsweetened coconut.
  • The Hubby — hold the milk, but add fresh blueberries (when in season) or sliced bananas and homemade granola.
  • Mr. Picky’s favorite — oatmeal finished with raw milk and topped with 1/2 diced peach, 1/2 diced plum, a dash of cinnamon and a sprinkle of maple sugar.

Some of you mentioned to me that you like to stir in a little almond butter and that you freeze your oatmeal in individual portions.  I’m going to try that immediately.  Please share more of your oatmeal combos!

Overnight Steel Cut Oatmeal

Pamela
Servings 4 *

Ingredients
  

  • 4 cups water
  • 1 cup steel cut oats
  • 1/4 teaspoon sea salt
  • optional: additional drizzle of milk such as almond milk or raw milk

Instructions
 

  • Bring water to a boil in a medium saucepan. Add oats and salt. Cook for 1 minute. Remove from heat and cover. Let stand overnight.
  • The next morning, reheat over medium heat, stirring in some milk (I usually use about 1/4 -1/3 cup) if desired for extra creaminess.

Notes

*To make 6 servings, increase water to 6 cups and oats to 1 ½ cups.
Tried this recipe?Let us know how it was!

Creamy miso-ginger dressing

When I was at Whole Foods the other day, at I was amazed by the dozens of people cradling ingredients for the big Cleanse.  I can’t imagine choosing to drink lemon juice and maple syrup mixed with cayenne pepper even once, let alone for several days straight in order to detoxify my body.  Sorry peeps, no cleanse recipes here!  I hate to disappoint you if you were expecting instructions on how to starve yourself cranky, but why not just eat clean, real food?  I know, it’s not a fad and we are obsessed with fads, especially diet-related.  If a cleanse is the only way for some people to break some bad habits, then ok.  But I haven’t seen any research-based evidence that our bodies need such a crazy drink to get rid of toxins.  In fact, I actually think it’s pretty cool how efficient our bodies can be at eliminating toxins, provided we don’t overload our systems non-stop.  Just a thought.

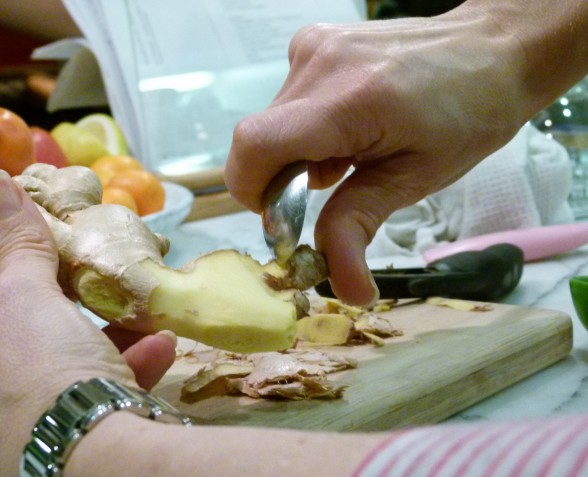
I personally have never done a “cleanse.”  I really don’t do well when I’m told there are entire food groups that are off limits.  So I indulge a little more than normal during the holidays, but then I make a commitment to start eating normally again.  I especially like to pay particular attention to vegetables which never seem to be controversial in any diet, new or old.  I think it’s pretty unanimous advice that we should be consuming loads of vegetables.  In the winter I eat fewer raw vegetables since they tend to be more cooling to the body, but I do love my salads.  So to “warm” them up a bit, I like to make this delicious cream-less dressing which is based on fresh gingerroot and miso.  Ginger is perfect for winter since it’s warming to the body, and did you know it’s incredibly anti-inflammatory?  Fresh ginger has a real hot and spicy kick to it, so a little goes a long way.  I found that out the hard way when I juiced a big piece of ginger once with some kale and celery and I thought my eyes would pop out of my head.  Peel it like I did here with a vegetable peeler and then get into the hard-to-reach spots by scraping the peel with a small spoon.

Although most of you are likely familiar with ginger, I don’t meet a lot of people who know what miso is or how to use it.  It’s your lucky day!!  Miso is a fermented soybean paste made by combining cooked soybeans, mold (called koji), salt and various grains.  Then it’s fermented for 6 months to several years.  There are dozens of varieties of miso, as well as different colors from pale beige.  As you would imagine, each type has its own distinctive flavor ranging from meaty and savory to sweet and delicate.  In general, the darker and deeper the color, the longer the miso has been fermented and the richer the flavor.  The first time I tasted miso straight out of the tub, it reminded me of parmesan cheese, which is how I came to use miso to make a vegan/dairy-free pesto.

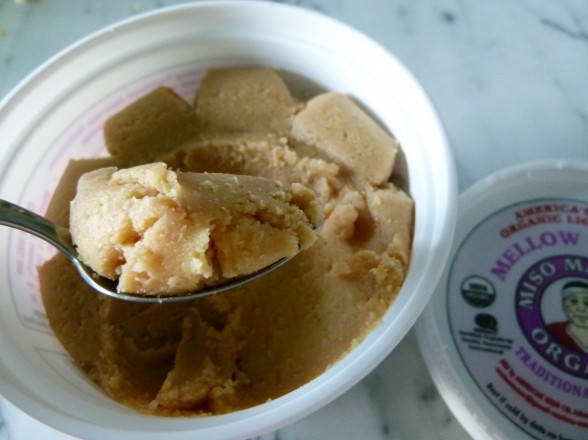
I usually buy the white miso to make soup and use in sauces and dressings, like this one.  It seems to be the most versatile, although a word of caution — not all miso pastes are gluten-free.  Miso is a live food with many microorganisms that are beneficial to your digestion.  That said, you must only buy unpasteurized, refrigerated miso and you must avoid boiling it otherwise you will kill the good bacteria.  Since most soy in this country is genetically modified, also look for miso labeled “organic” or at least “non-GMO.”  I prefer to buy miso sold in glass jars, like South River Miso, but I can’t always find it, so Miso Master packaged in this plastic tub is the next best thing.  My family has eaten at enough Japanese restaurants and Benihanas to know what miso soup and miso salad dressings are, so that’s how I introduced miso at home.  It’s always easier for me to present a “health food” to the kids if it looks reasonably familiar, and most importantly, if it’s delicious.  Because for this girl, deprivation ain’t no way to welcome a brand new year.

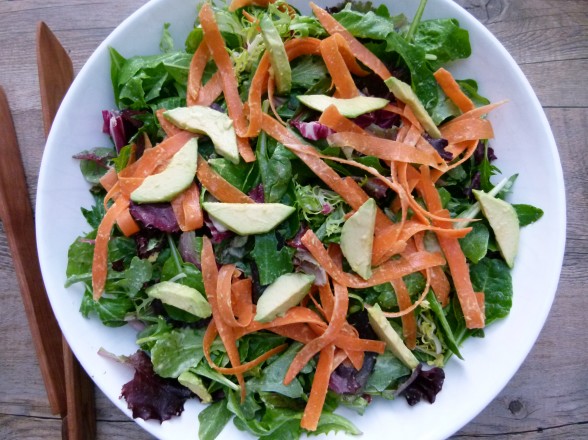
Mixed Greens with Creamy Miso-Ginger Dressing

Pamela
5 from 3 votes
Servings 6

Ingredients
  

  • Vinaigrette:
  • 2 Tablespoons unpasteurized organic white miso
  • 2 Tablespoons unseasoned rice vinegar
  • 2 teaspoons raw honey
  • 2 Tablespoons water
  • 1 Tablespoon chopped peeled fresh ginger (use less for a more subtle ginger flavor)
  • 1 small clove garlic peeled
  • ¼ cup unrefined cold pressed, extra virgin olive oil
  • 8 ounces mixed baby greens
  • Optional vegetables: thinly sliced radishes julienned carrots or sweet bell peppers, sliced avocado, thinly sliced unpeeled Japanese cucumber

Instructions
 

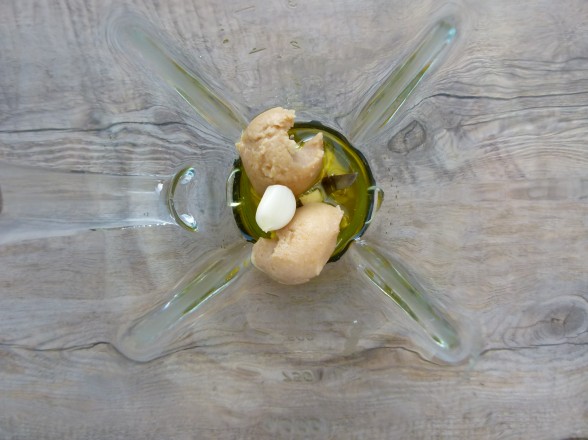
  • Puree all vinaigrette ingredients in a blender until smooth. Taste for salt.
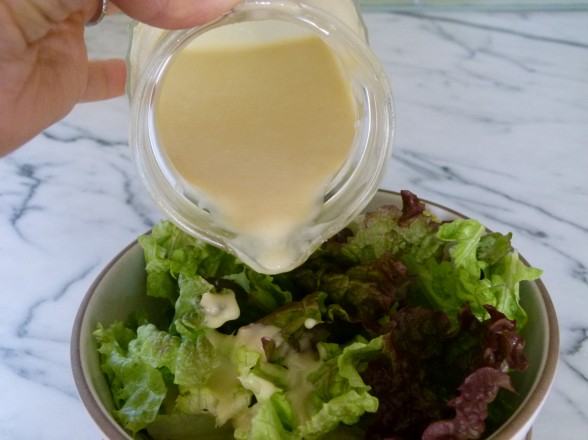
  • Place greens and any vegetables you are using in a serving bowl. Add enough vinaigrette to coat lightly and gently toss.

Notes

You can also use this dressing on top of poached or roasted fish, lightly cooked broccoli or greens with brown rice, and quinoa salads.
Fresh ginger freezes really well. Peel it first, then tightly wrap it before storing it in the freezer. Allow it sit on your countertop a few minutes before cutting it. It is not a good idea to use a ceramic knife to cut frozen ginger (ask me how I know this.)
Tried this recipe?Let us know how it was!