What the spelt?

I love to bake healthful treats for my family and typically my go-to flour is derived from wheat.  Because they are unrefined and have a nice, earthy flavor, I rely a lot on whole wheat pastry flour as well as white whole wheat and traditional whole wheat in my recipes.  Wheat flours have a considerable amount of gluten, a protein which helps provide your baked good with structure and elasticity.  But there is a whole world of other whole grain flours which can be very satisfying to work with.

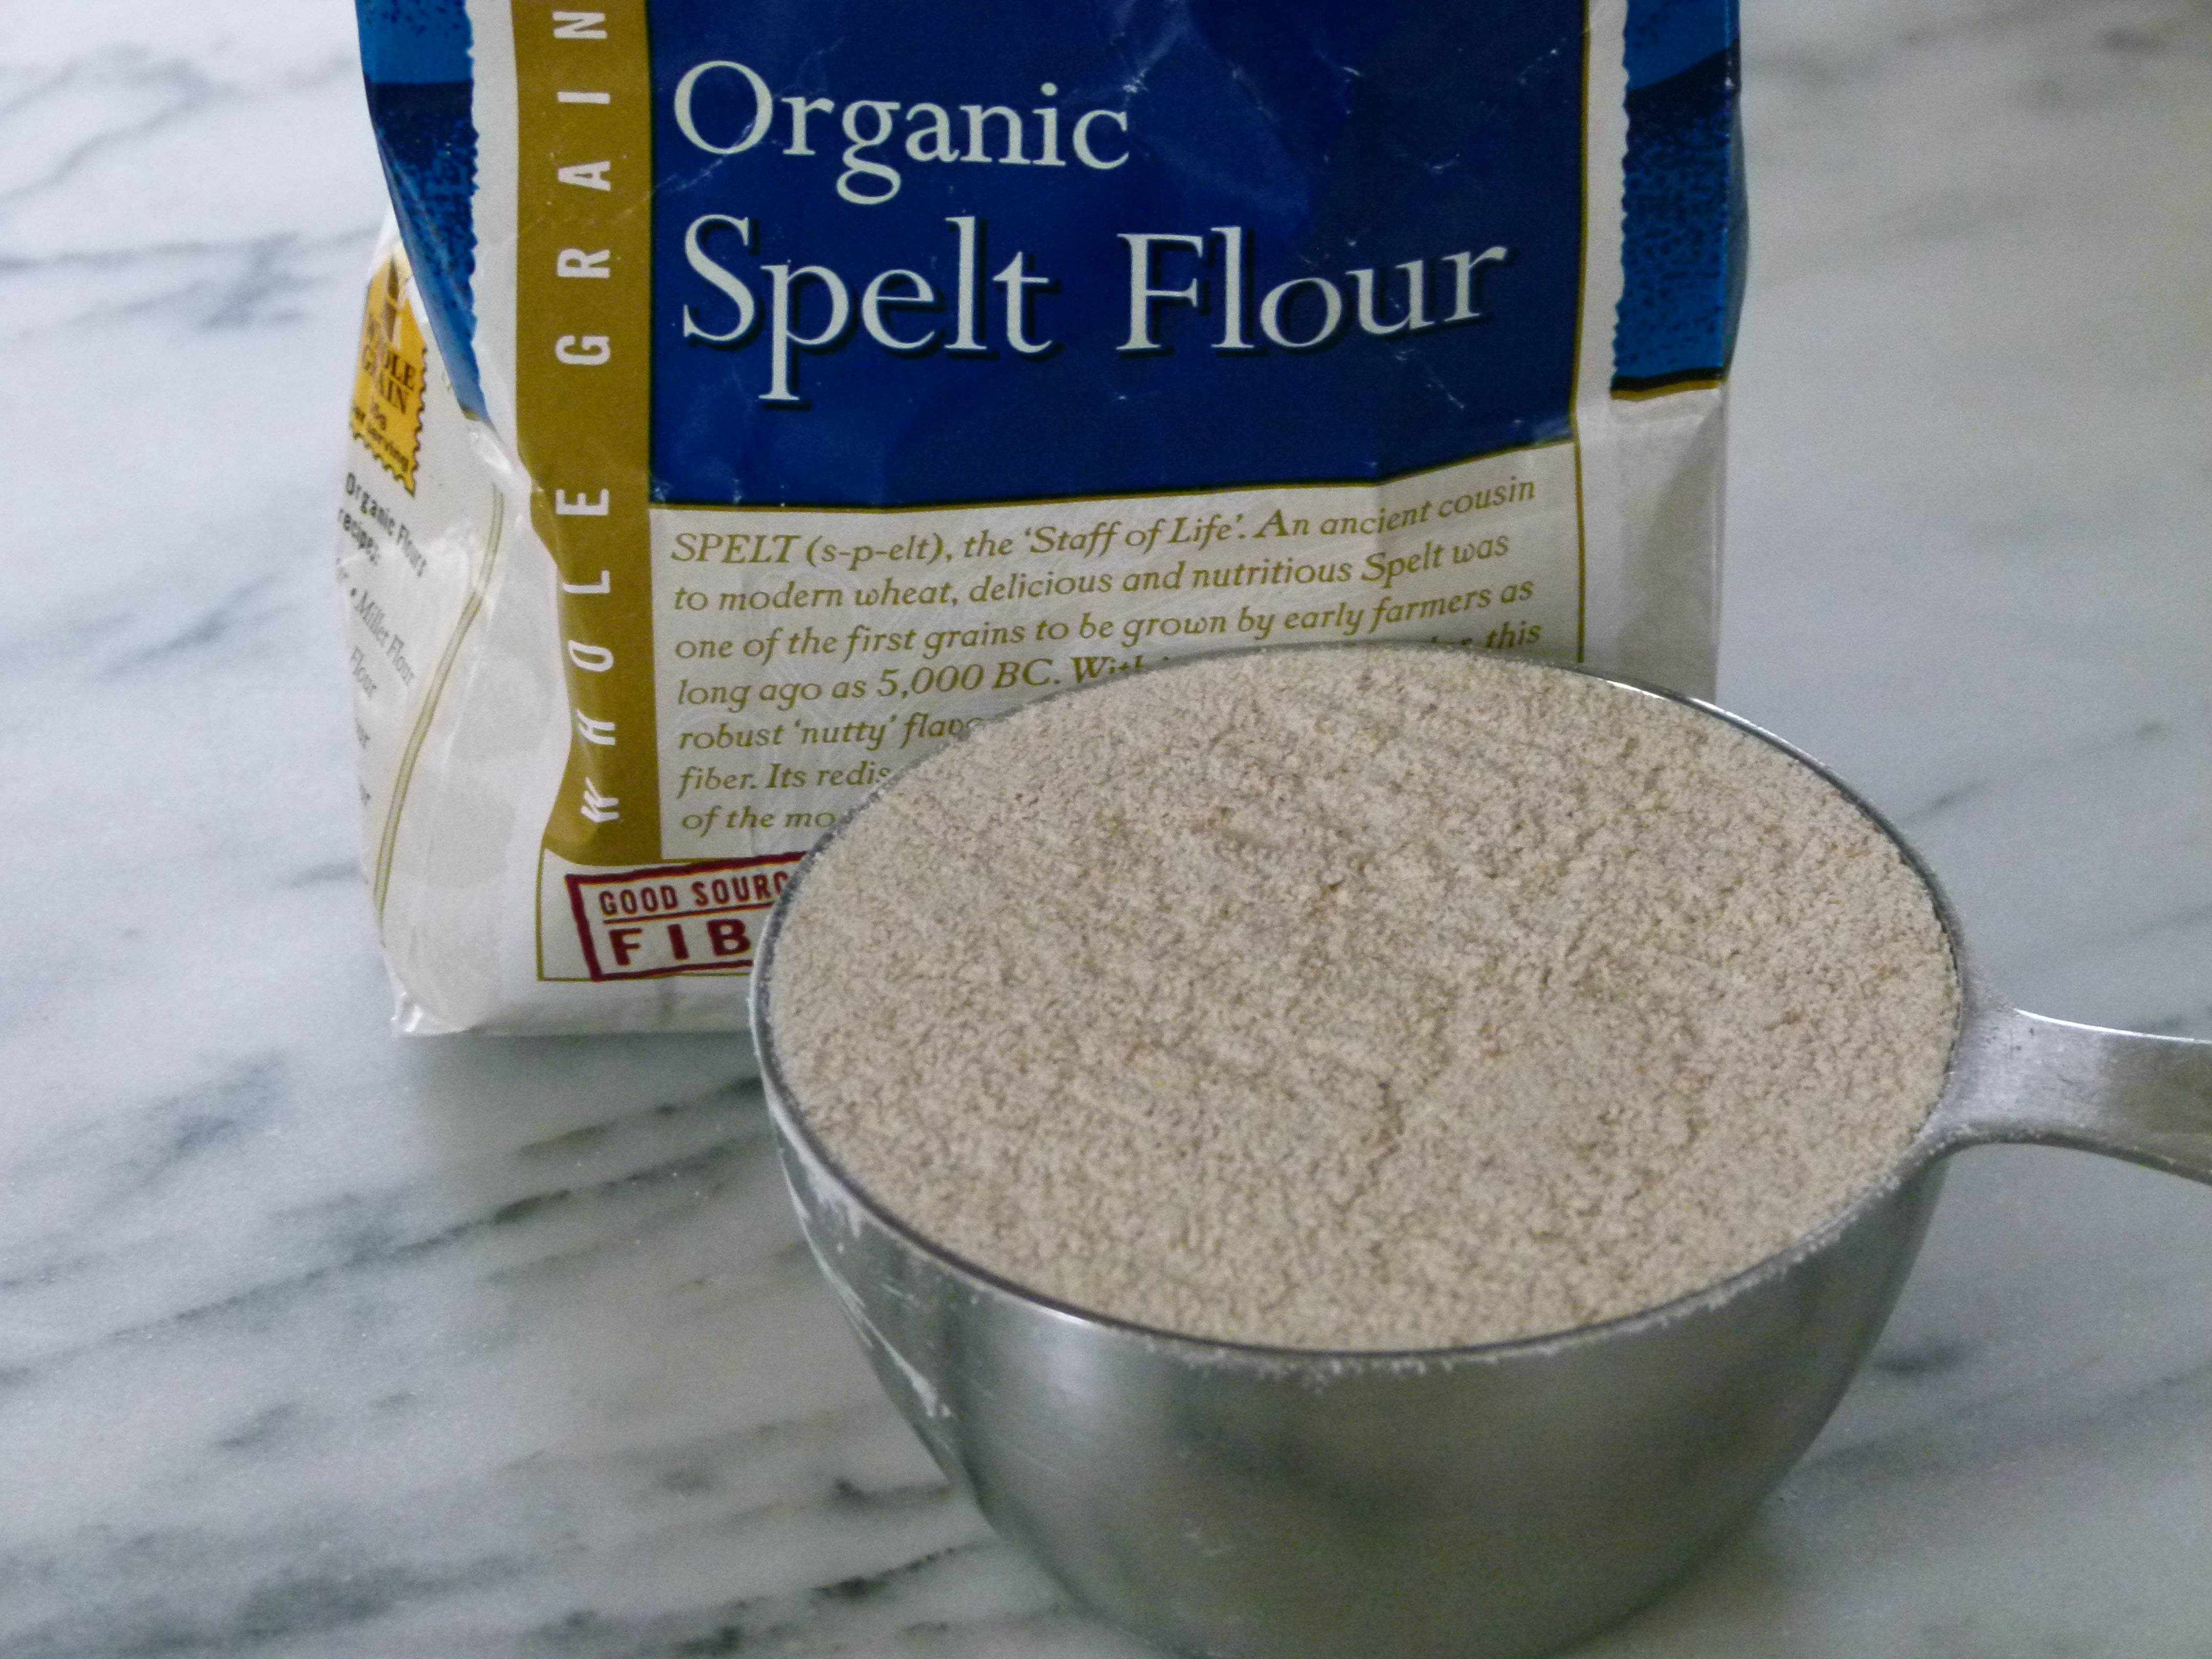
Spelt flour, in particular, is one I am using more and more.  Spelt berries, which are milled into spelt flour, are a very ancient grain related to wheat berries.  In fact, spelt is older than many wheat hybrids.  According to “The World’s Healthiest Foods,” spelt offers a broader spectrum of nutrients compared to many of its more inbred cousins in the Triticum (wheat) family. It is an excellent source of manganese, and a good source of protein, copper, and zinc.  Another significant benefit is that some people who are sensitive to wheat can tolerate spelt.  Spelt is not gluten-free, however, so if you are gluten-intolerant or if you have Celiac disease, spelt is not for you.

Spelt has a much lower gluten content than wheat, but it has enough to keep your baked goods from falling apart.  Less gluten can be beneficial for a number of reasons.  Spelt ends up being much easier to digest than wheat and produces a more tender crumb (gluten can make things tough.)  Tenderness is something I want in muffins, quick breads, pancakes and pie crusts, so spelt flour is great to use in these recipes.  Spelt flour is also really easy to work with, most of the time I just substitute it one-for-one with wheat flour.  Technically spelt flour is more water soluble than wheat flour, which means you will need to use less liquid in a recipe.  I’m really too lazy to calculate any conversions and I haven’t had any issues thus far.

Another reason I love spelt flour, especially whole spelt flour, is that it tastes nutty, but almost sweet.  Because I don’t use a lot of sweeteners in my baking, this can be a welcome advantage.  Sometimes whole wheat flours can have a slight bitter aftertaste, especially in recipes where there is no sugar to provide some balance.  But the “sweetness” in spelt still works in savory recipes like tart crusts without competing with the other flavors.

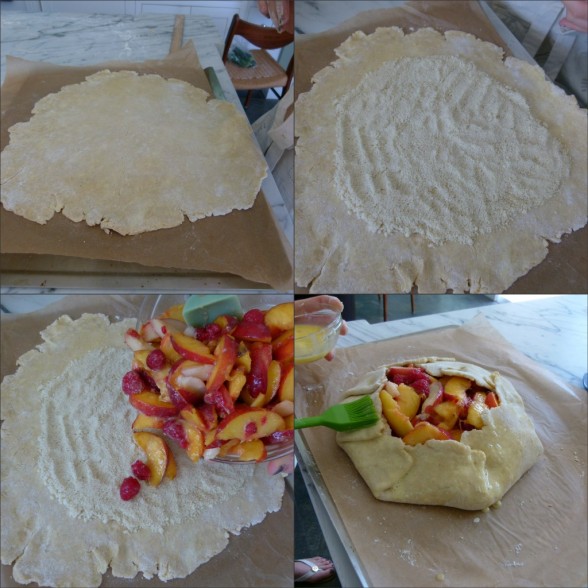
Keep in mind that spelt flour is sold like wheat flour, refined, unrefined and/or sprouted.  I tend to stick with whole (unrefined) spelt flour for almost all my baking, but I do prefer pastry crusts made with white (refined) spelt flour.  I was able to find a sprouted spelt flour in NY and made the most delicious pancakes with it.  You can also buy spelt berries which are cooked like other whole grains such as barley or rice.  I tend to use spelt, farro and barley very interchangeably.  Mr. Picky’s favorite bread for toast is Rudi’s spelt bread which contains no seeds of any kind, thank you.  We also love their whole spelt tortillas.  Very recently, I have been making spelt pasta more often than any other kind, and everyone loves it!  I would love to hear from you if you have experimented with spelt or have any favorite spelt products.  In the meantime, a good place to start is with my recipes for Whole Grain Buttermilk Pancakes (the ones pictured above were Mr. Picky’s with mini-chocolate chips), Carrot Cake, Zucchini-Blueberry Bread, and last summer’s Stone Fruit Crostata (pictured below).  You should also check out two of my favorite cookbooks which contain some fabulous spelt recipes, “Good to the Grain,” by Kim Boyce and “Ancient Grains for Modern Meals,” by Maria Speck.  Enjoy!

Making Peace with the War on Salt

This post is part of a series I am doing for Positively Positive.

Since we are all such unique individuals, foods that are health-supportive for some may actually work against or be an allergen for others. In the field of nutrition, this apparent contradiction has sparked lively debate and controversy, most recently when the FDA declared salt our enemy.

The government’s solution to reclaim our health is to wage war against salt.

Really? Sure, there is a small percentage of the population that is sensitive to salt, but that’s not the case for everyone. Furthermore, the evidence to support the notion that “high” levels of salt intake can lead to hypertension and premature death is decidedly weak. In fact, there are scientific studies proving that too much salt restriction can actually be harmful to our health.

We should understand what the real problem is and also what need not cause us concern.

Click here to read the rest of the post on Positively Positive’s website.

Going Gluten-Free for the Right Reasons

This post is part of a series I am doing for Positively Positive.

Odds are you have noticed many new products at the supermarket touting themselves as “gluten-free,” or you’ve heard about this new arch enemy of digestive health discussed on talk shows. Have heard that switching to a gluten-free diet will help you lose weight, clear your complexion, or cure all of your maladies and bad habits? Has your favorite celebrity gone gluten-free? Are you intrigued?

Click here to read the rest of the post on Positively Positive’s website.

How To Freeze Fresh Fruit

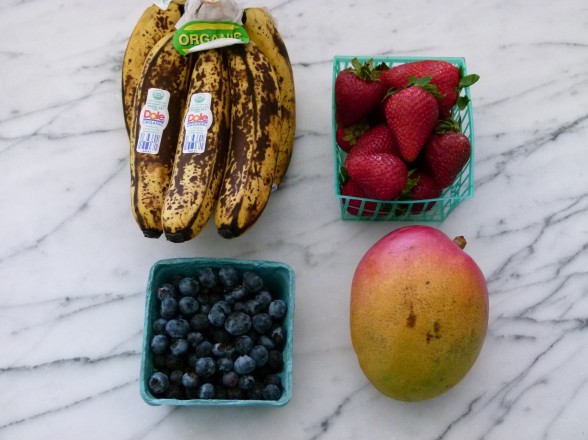
Two wonderful things are happening right now:  One is the abundance of glorious fresh strawberries and mangos on the scene right now, with cherries, stone fruits and berries on the way.  The other is that the weather is getting warmer, which means I need that same fruit frozen for SMOOTHIE SEASON.  Oh, yeah!  Even in sunny Southern California, it isn’t always warm enough to warrant icy, cold shakes in the morning.  Most school days, I prefer to get everyone started with a hot breakfast to keep toasty.  But just about this time of year and throughout the dog days of summer, we pull out the blender and frozen fruit to whip up our favorite smoothies.  Of course, frozen fruit also allows us to enjoy delicious crisps and crumbles in the off season for a very special treat.

Believe it or not, there is actually a method to freezing fruit.  I’ll share with you here my tips and tricks for doing it right the first time so that you don’t end up with a big solid mass.

What can you freeze?

Anything you’ve seen in the freezer section at the supermarket is fair game, including:

  • berries
  • cherries
  • peaches and nectarines
  • pineapple
  • bananas
  • mangos
  • pears
  • papaya
  • fruit purees

How to freeze fruit:

  • wash and dry fruit;
  • remove any peels you don’t want to eat such as banana, mango, papaya and pineapple (if you don’t do this before freezing, you won’t be able to do it after — this is experience talking here);
  • remove stems from strawberries, cores from pears, and pits from stone fruits and mango;
  • cut fruit into chunks so it’s easier on your blender later;
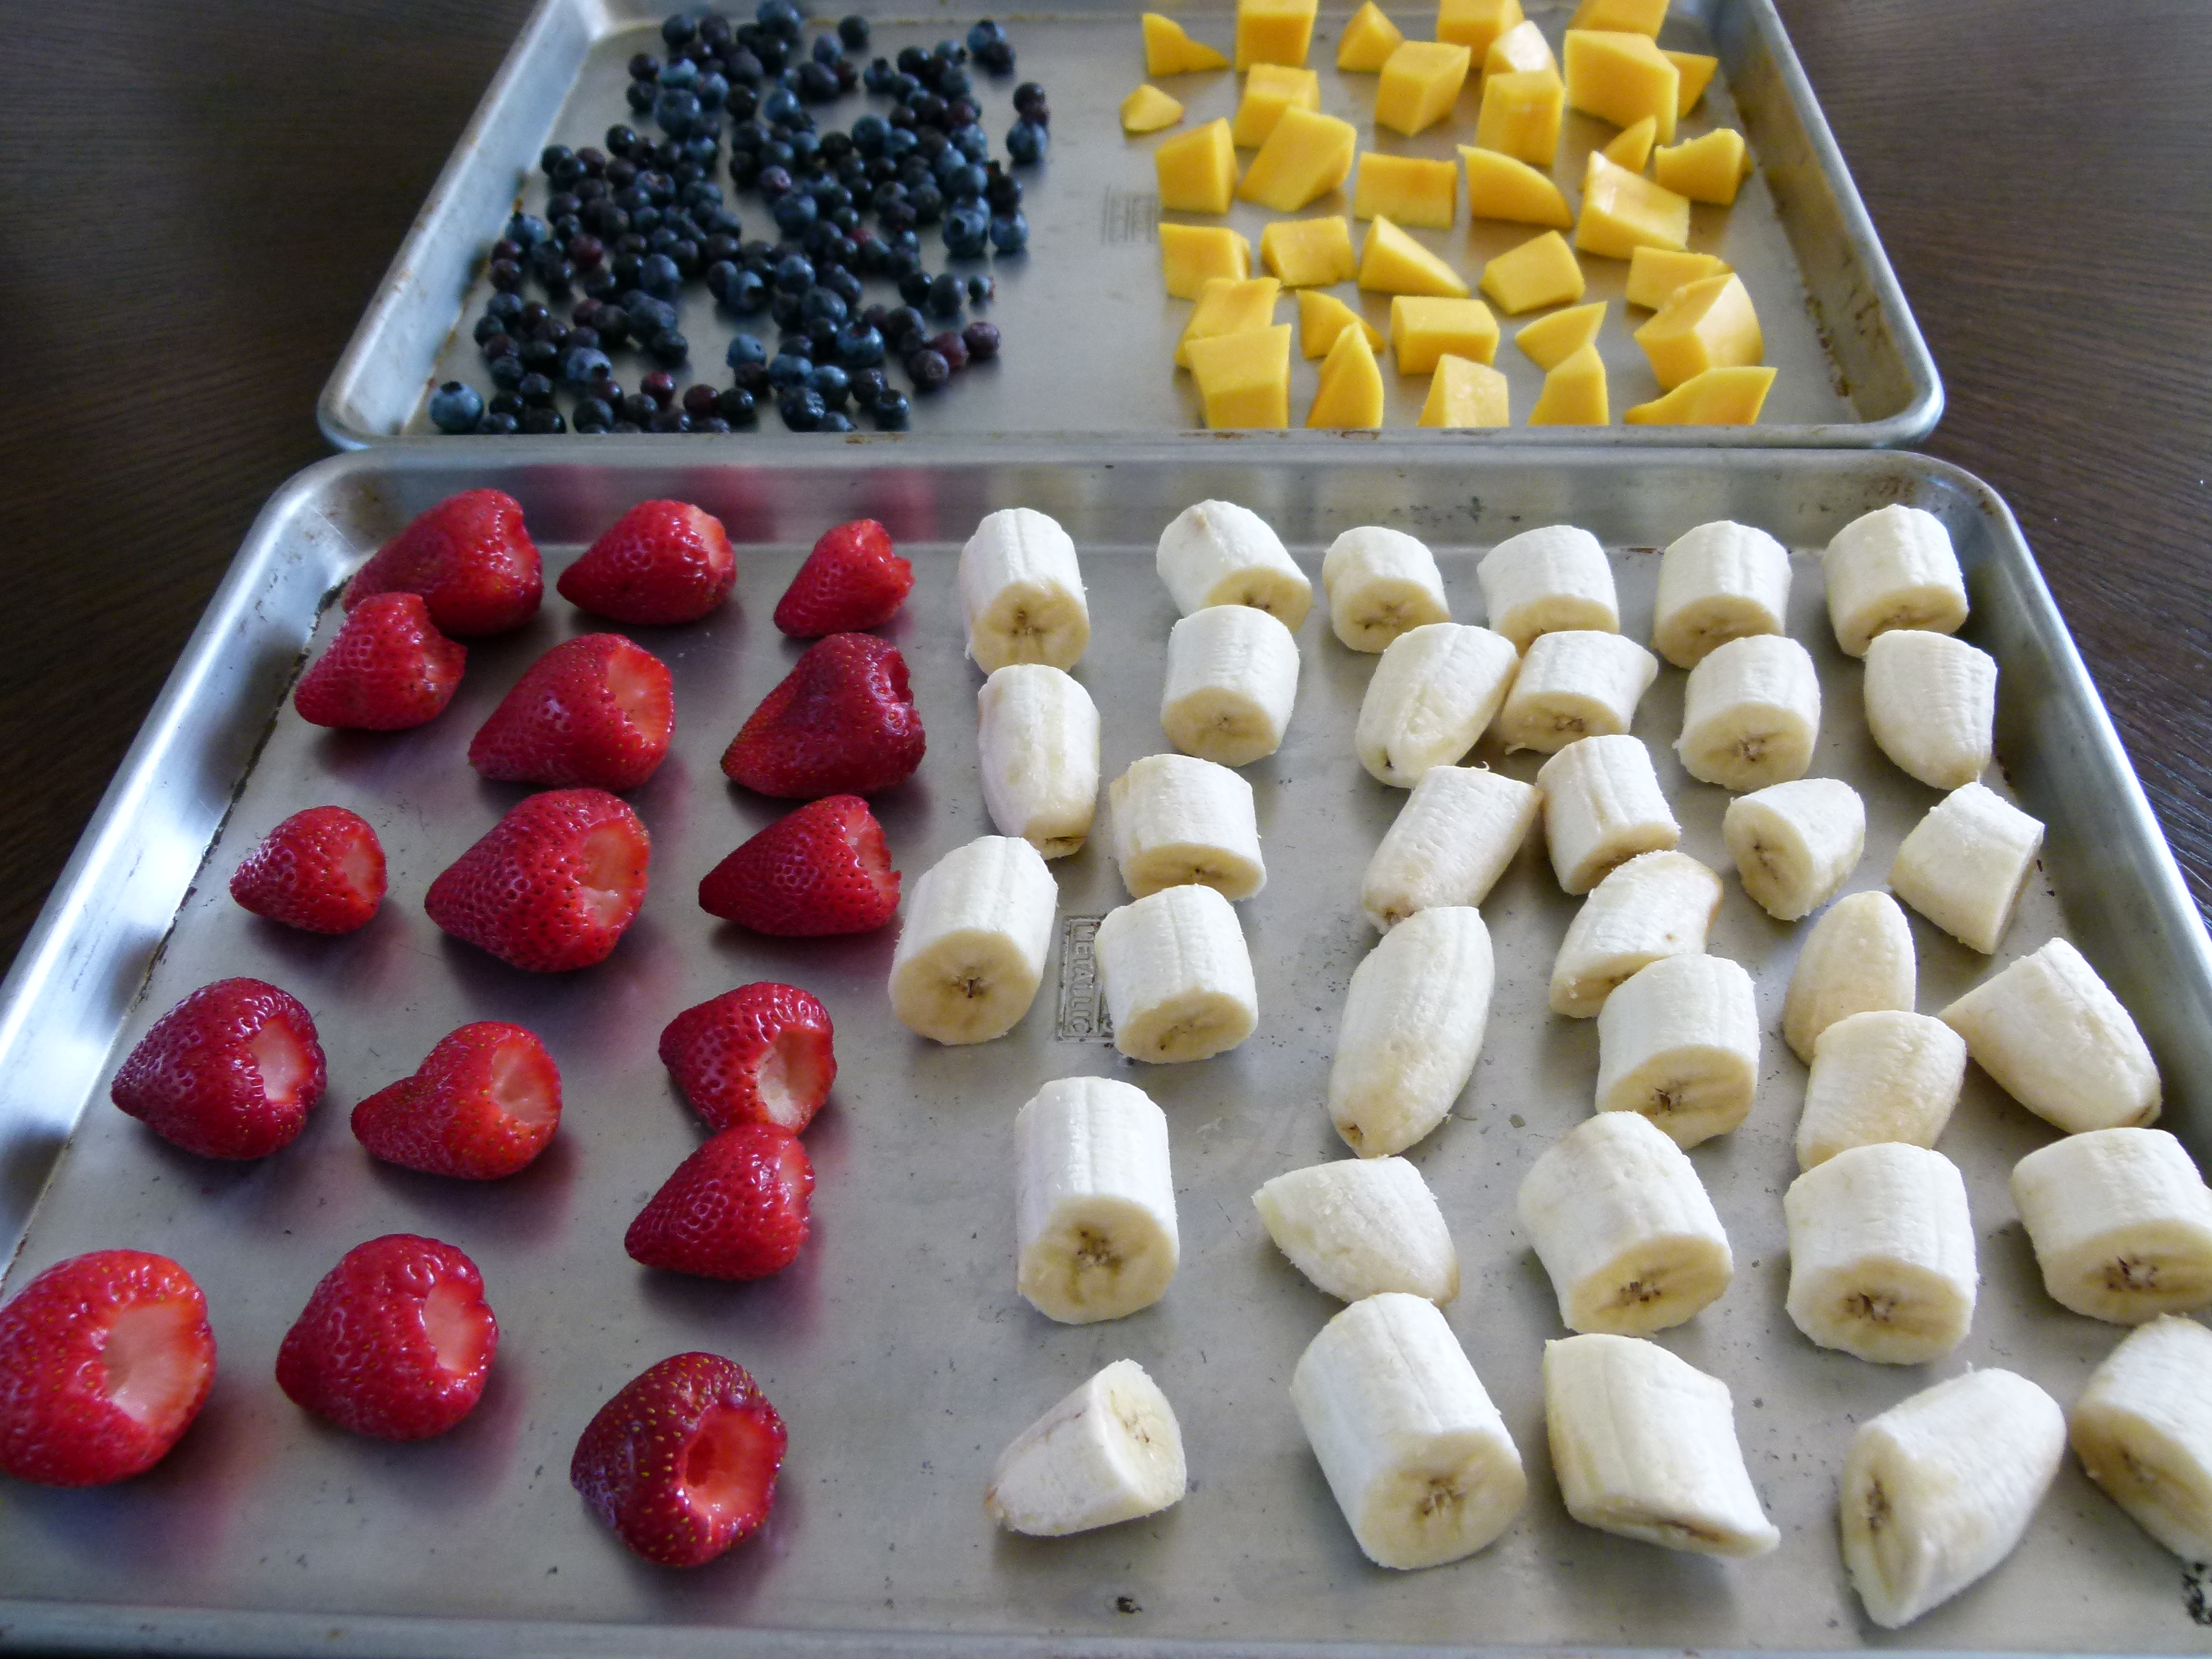
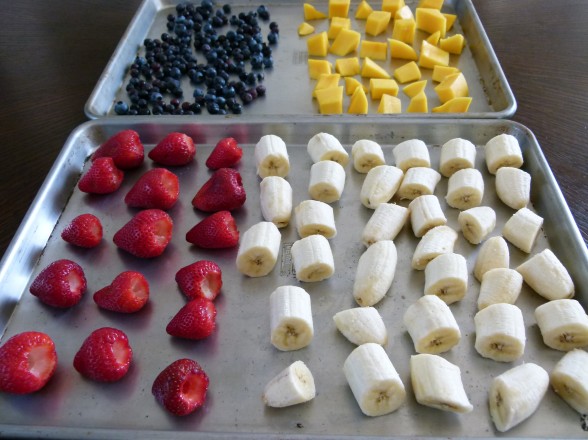
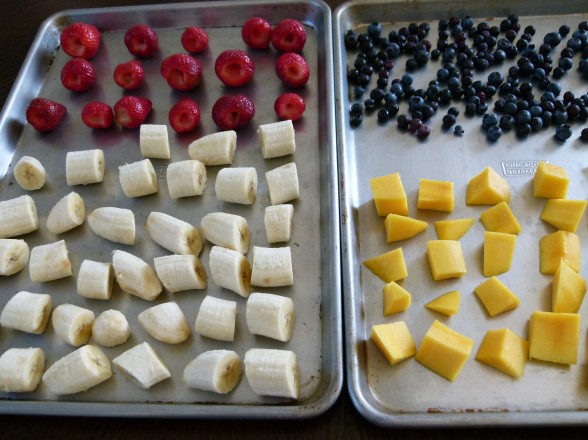
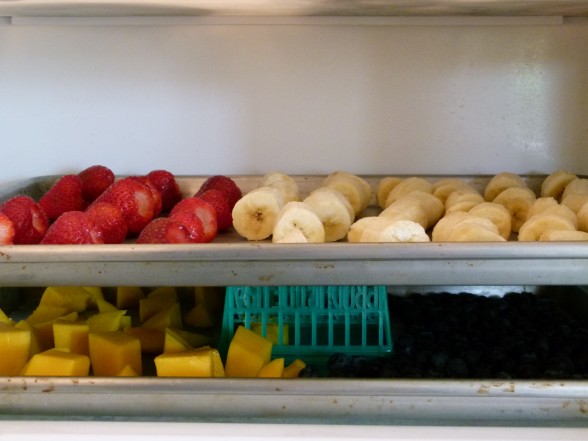
  • arrange fruit in one layer on a baking sheet or dish that will fit in your freezer, making sure pieces of fruit aren’t touching each other;
  • freeze until completely firm and solid;
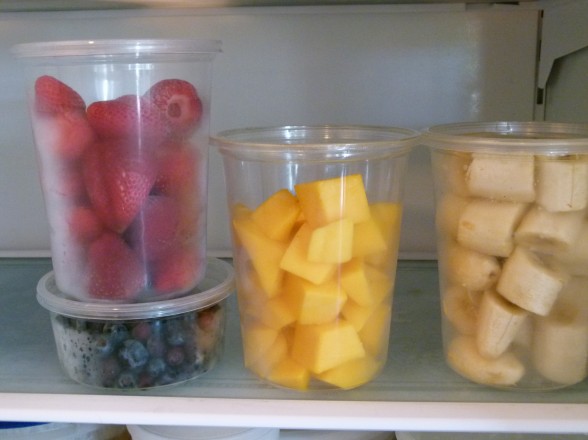
  • once frozen, transfer to container with a lid that is just large enough to hold your fruit or in a ziploc bag.  Anything too big can result in freezer burn.
  • You can store frozen fruit for 6-12 months.

Freezing fruit does not affect its nutritional profile nor its enzymes.  In fact, if freezing fruit immediately after harvest, the nutritional content is likely higher than fresh fruit that has been off the vine for a few days.  Enjoy!

Why Reusing is better than Recycling

I really try to be conscientious about living a sustainable life, but I’m not perfect.  I ascribe to the Healthy Child, Healthy World motto that “no one can do everything, but everyone can do something.”  So although I don’t do everything I know I “should” be doing to help save the world, I make better decisions now than I used to, whether it’s composting regularly, turning off lights in empty rooms or buying locally and seasonally.  I guess I try to make choices that feel doable and meaningful to me.

One habit that has become old hat for us is recycling.  Our local sanitation company provides us with a special bin to recycle lots of household items like newspaper, aluminum, plastic, and glass.  Recycling these items may be better than tossing them in a landfill, but it still perpetuates a “throwaway mentality” and I don’t think it really forces us to focus on reducing consumption.  “Why not just use another water bottle?  I’ll recycle it.”  In addition, it also requires a lot of resources and energy for a truck to come a pick up the recyclables, bring them to a facility, and then transformed into other usable materials.   I think REUSING should be the new recycling.  I bet you’re already taking reusable bags to the supermarket or farmer’s market to haul your groceries home.  But do you take the same reusable bags to shop at the mall or book store?  What about in the kitchen?  My mom visited me recently and commented that I reuse many things that she recycles or throws away.  I thought I would share some of these ideas here:

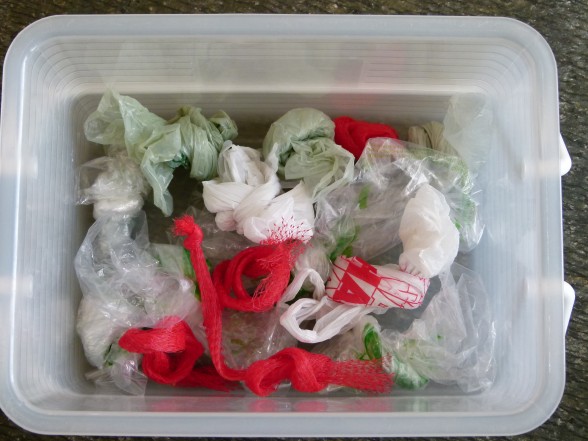
  • Plastic produce bags — is there anything unusable about a plastic bag from the produce section from your supermarket?  I bring them back to the grocery store and the farmer’s market and use them over and over again.  If there was something wet in a bag, like lettuce, I just turn the bag inside out or let it dry over my kitchen faucet.  I keep the dry bags knotted up in a basket in my garage so I can grab them on my way out.  Depending on the cashier, sometimes my local grocery store will give me 10 cents credit for produce bags, too.
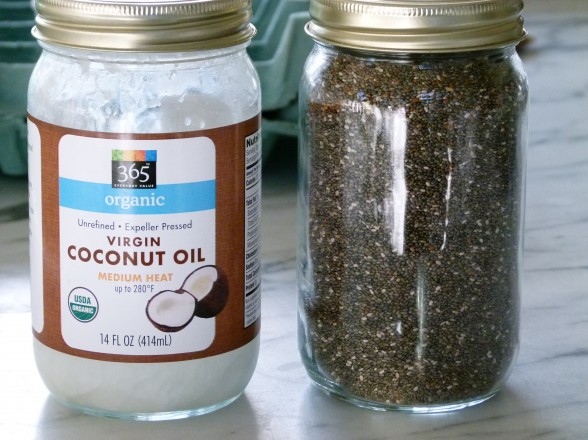
  • Glass jars — Take your empty jar of coconut oil, nut butter, jelly, capers, honey (I could go on and on), wash it out and soak the label off.  If the label is particularly stubborn, a little Goo Gone can help.  I reuse glass jars for sooooooo many things.  Here’s a small taste:
  1. Storing bulk items like seeds, nuts, dried fruit, and shredded coconut;
  2. Shaking and storing salad dressings.  Also great for transporting dressings to a picnic or a pot luck;
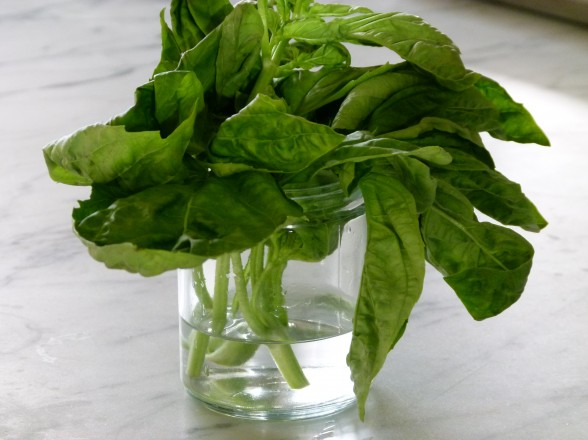
  3. Storing fresh herbs;
  4. Giving friends leftovers, like soup;
  5. Giving a homemade food gift, like granola;
  6. Using as a rustic vase.  My friend Jenni’s table always looks great with mix-and-match jars of flowers;
  7. Storing almond milk or fresh pressed juices;
  8. Storing kids’ collections like shells or sea glass;
  9. Storing odds and ends like nails or paper clips.
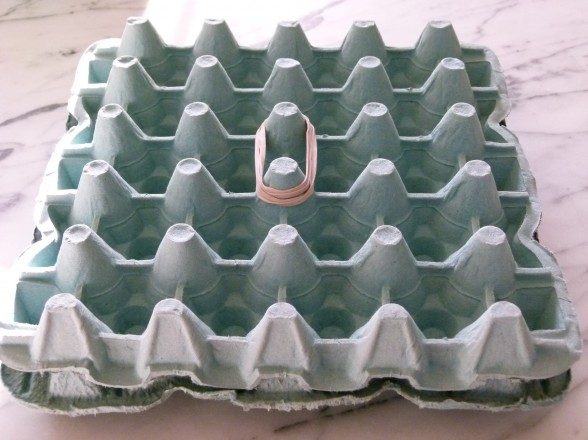
  • Farmer’s market egg cartons — my local egg farmer loves it when I bring back his egg crates so he can reuse them;
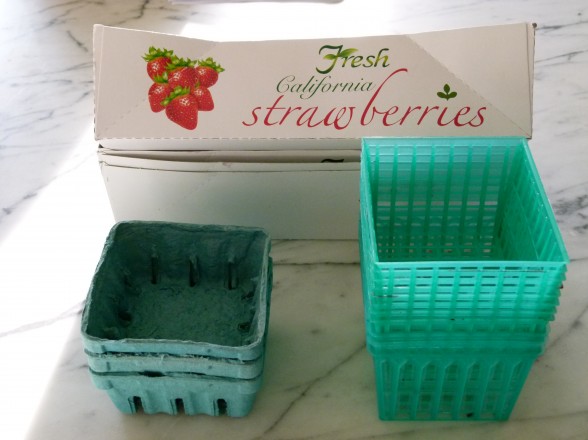
  • Farmer’s market berry baskets and boxes — likewise, my local berry farmer happily takes back the plastic and cardboard baskets which he immediately fills up again with fresh berries;
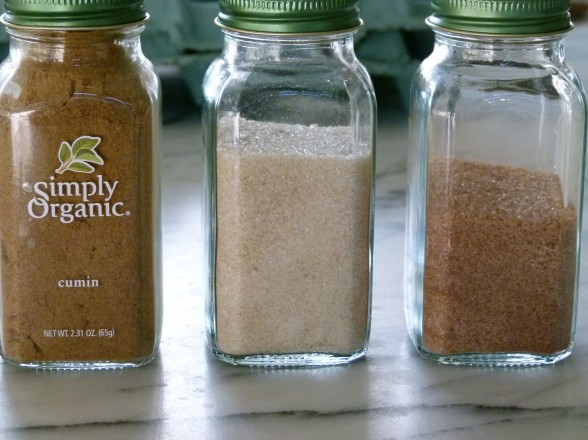
  • Glass spice jars — the labels from Simply Organic spice jars peel off really easily.  We make our own cinnamon-sugar shakers, as well as shakers for flax meal, sugar and cocoa.  I imagine these would be great for powdered sugar or if you toast and grind your own spices (how impressive!);
  • Water — I wash herbs or berries in a large bowl of water and then pour that water into my outdoor potted plants.  Same goes for water used to shock vegetables after blanching.
  • Vegetable scraps — save carrot peels, asparagus ends, mushroom stems, leek tops, onion peels, celery leaves instead of composting to make fantastic vegetable stock.

Your trash might be someone else’s treasure.  Ask your kids’ teachers or art teachers if they have use for your odd and ends.  I would love to hear your ideas and learn ways you reuse!!

The secret to great-tasting chicken

If you choose to eat animal protein, chances are you prepare chicken more than any other kind.  Chicken’s popularity is not surprising– it is very versatile to cook with, neutral in flavor, low in fat and more budget-friendly than beef or fish.  But I think chicken can sometimes be TOO neutral in flavor, i.e. tasteless.  And it can be TOO low in fat, such as with the breast meat and thus can end up getting dried out easily, especially when we’re being careful about cooking chicken all the way through.  After making mediocre chicken for many years, my life was changed once I learned a few simple tricks to making chicken taste a whole lot better.  Delicious, juicy chicken is in your future!

Quality:      I have done side-by-side taste comparisons with lots of different kinds of chickens and the best tasting bird I ever cooked was an organic, locally-raised pastured chicken by Healthy Family Farms.  There’s definitely a more pure, chicken-y flavor from birds that have been raised out in the open versus in cramped quarters.  And if it’s in your budget, I urge you to only buy organic meats.  Click here for a more in-depth comparison of the different options you may have for chicken.  Most people don’t have access to Kosher, organic, free-range chicken, but if you do, go for it and you can forgo all the pre-seasoning I’m about to recommend since kosher chicken has already been brined.

Salt:  The best thing you can do is to pre-season chicken with salt, especially a whole bird or thick bone-in, skin-on pieces.  Just sprinkling a little salt on top of your chicken right before cooking it will only season the surface.  But seasoning the chicken with salt well ahead of time or brining it in a salt-water solution will draw salt deep into the meat, resulting in a very tasty piece of chicken.  But also, and just as important, the salt changes the cells in the chicken meat so that they will draw and hold more moisture than the chicken had before.  So not only will the chicken be tastier, but it will be much juicier, too.  You kill two birds with one stone!  I did not just say that.  See below for instructions on how to dry brine and wet brine.

Timing:  Well-seasoned chicken needs some advance planning.  I sprinkle or dry rub kosher salt on chicken as soon as I get home from the market, rewrap it and put it in the refrigerator until I’m ready to cook it.  You can do this as much as two days ahead, but less than 2-4 hours ahead doesn’t produce quite the effect you’re looking for.  If you are pressed for time, (e.g. you get home from the market at 4:30 pm and you want to start cooking right away), then a wet brine is the perfect option since you can season bone-in pieces efficiently in 45 minutes.  Whole birds take longer.

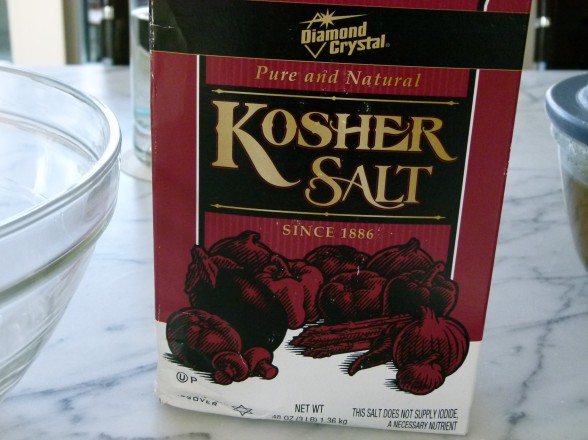
Basic Wet Brine:  For 3 pounds of chicken pieces, in a large bowl dissolve 1/4 cup additive-free kosher salt (such as Diamond Crystal) in 1 cup hot water.  Whisk to dissolve.   Add 1 cup ice water and make sure the water is cool.  If not, add a few pieces of ice.  Place the chicken pieces in the brine and allow to soak for 45-90 minutes.  If you’re cooking the chicken right away, you can do this on the countertop.  Drain the chicken and pat dry with paper towels before cooking.  For a whole bird, use 1 cup kosher salt and 4 cups water.  Brine for 2-3 hours in the refrigerator.  I don’t normally brine cutlets, but many people do.  You only need to soak boneless, skinless cutlets for about 30 minutes.


Basic Dry Brine:  Sprinkle 3 pounds of bone-in chicken pieces with 1/2 Tablespoon additive-free kosher salt or sea salt or a heaping Tablespoon for a whole chicken.  Wrap and refrigerate until ready to use.  Do not rinse.

You can apply these tips to any chicken recipe you have (such as one of my favorites, Orange and Rosemary Glazed Chicken pictured above), but you may want to cut back on the salt in your recipe slightly since the chicken will already be salted.  Look out for a fabulous recipe next week for Baked Chicken with Artichokes and Capers.  So delicious and perfect for Easter or Passover!

Sugar Got You Down? 10 Steps to Help You Break Free

This post is one of several I have done for Positively Positive.

Every day I teach people how to cook with nutrient-dense foods and explain the risks associated with eating a processed diet. I think it would surprise many of my students and readers that I am a recovering addict—a sugar addict. There was a time when I couldn’t make it through a day without my sugar fix, whether it was ice cream, candy, or bakery sweets. My need for sugar was even more intense when I was stressed out or feeling overwhelmed. When I would eat a brownie, I could feel my whole body relax. But all this excess sugar took a toll on my physical and mental health. It was keeping me from being the person I wanted to be.

To read how I beat sugar cravings, see the rest of the post on Positively Positive’s website….


Simple steps for a more healthful home


For many years, my friends Laura Forbes Carlin and her sister Allison Forbes have inspired me to think about my home as a vehicle for self-transformation through their blog, Inspired Everyday Living, as well as their books and apps.   I asked Laura and Allison if they would share with my readers and me some easy tips to help create a more natural, health-supportive environment in our homes.  I especially love their “recipes” for DIY cleaning products!


Laura and Allison:

“If you’re like us, you do your best to take care of your health. We certainly try to eat well by choosing healthy, organic foods and we exercise as much as possible. And for many, being healthy usually stops with eating right and exercising. Creating a healthy home isn’t something most people consider, but it can be equally as important.

Our homes are like our third skin—our actual skin being first and clothes being second. What we have in our homes, how we clean them, and how we decorate are all decisions that affect our health on a daily basis. We need to take care of our homes just as we do our bodies. For example, inhaling fumes from common household cleaning products that contain toxic chemicals can be just as bad for you as eating fruits and vegetables that were sprayed with pesticides. We like to say that what we put in our homes can be just as important as what we put in our mouths!

A Dozen (Plus One) Simple Steps for a More Healthful Home:

1. Ventilate your home. Many of the products we use to clean and the materials we use to decorate and build contain toxic chemicals that off-gas and pollute the air we breathe. A study by the Environmental Protection Agency found that pollution inside a home could be two to five times higher than outside the home, even in large, industrialized cities. Opening windows creates a way for chemicals released from common household items to exit and fresh air to enter.

2. Use an air filter. Add HEPA/carbon filter to your heating, ventilation and air conditioning system, or placing standing filters in room where you spend a lot of time, such as bedrooms, to filter the air in your home. A HEPA filter will capture dust and other airborne particulates and Carbon will capture volatile organic compounds (VOCS).

3. Take off your shoes. Shoes track in dirt and pesticides from outside on to our floors. Remove your shoes before entering your home. Avoid using pesticides and insecticides in your own home and yard.

4. Choose a non- toxic dry cleaner, avoid dry cleaning or at least unwrap and air out your dry cleaning before putting it in a bedroom closet.

5. Avoid placing electronics in bedrooms. Limit your cell phone use. Also switch from cordless phones to landlines. Avoid placing computers, televisions, washing machines or other electrical devices in or near bedrooms. All of these things generate electric and magnetic fields, which can potentially cause healthy problems. Research is still ongoing, but it seems wise to avoid the risk

6. Limit your use of plastics for food and drinks. Some plastics leach harmful chemicals into our food and drinks. Use glass storage containers for food and stainless steel cookware and drinking bottles. Additionally, avoid heating food or liquids in plastic.

7. Choose non- toxic and natural materials to finish and furnish your home. Many paints and finishes we use to decorate give off toxic fumes known as volatile organic compounds (VOCs), which can be harmful. These chemicals can remain in the air even after the paint is dry. Low or No VOC paints are a healthier alternative to this problem. Invest in natural materials such as solid wood, untreated cotton, linen, wool, etc… Pressed wood, like particleboard or MDF, contains chemicals like formaldehyde that can off gas. You will spend almost a third of your life in bed, so a healthy, chemical-free bed is a good place to start. Next time you buy new bedding, look for organic, untreated cotton sheets, untreated wool pillows and a wool or latex mattress.

8. As often as possible choose organic pesticide-free food and filter your drinking water. Although water quality varies depending on where you live, tap water can contain a host of contaminants including chlorine, lead and organic material. Install filters in your kitchen for drinking water and in your shower for water used to bathe.

9. Use non-toxic body care products. Our skin is our largest organ and whatever we apply to our skin we absorb. Avoid chemical anti bacterial soaps- find soaps that are antibacterial from a natural source such as lavender.

10. Keep your home as dust-free as possible. Use a vacuum with a HEPA (high-efficiency particulate air) filter to capture airborne particles. Not only is dust an allergen, but chemicals tend to bind to dust.

11. Sunlight. Sunlight can uplift our spirits. It is also an effective way to cleanse linens and blankets killing dust mites. So open curtains and blinds during the day to let sunlight into your home and hang carpets, sheets and blankets in the sun occasionally.

12. An Organizational System. Stress negatively affects our health and lack of organization and clutter can contribute to stress. Create a peaceful sanctuary at home by getting organized and eliminating clutter.
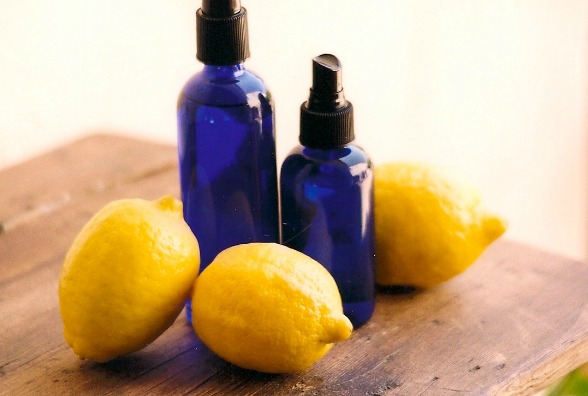
Plus one:

Conventional household cleaning products contain harsh chemicals including ammonia and phenol, which can irritate your skin and lungs, and cause headaches. These products are also one of the leading causes of indoor air pollution. So instead of cleaning your home, you’re actually polluting the air you breathe!

Next time you walk into a room that has recently been cleaned with conventional cleaning products notice how your body reacts. If you take a deep breath do you cough or sneeze? Does the room smell fresh or does it smell more like chemicals? Although for years we associated that chemical smell with cleanliness, once we switched to all natural cleaning products, we could never go back.

Most natural cleaning products are biodegradable, nontoxic, chlorine-free, and petroleum-free – all good for the planet, but also very good for you. To avoid exposing yourself to hazardous pollutants, look for non-toxic, environmentally safe household cleaning products, which clean while being gentler on your body. Natural cleaning products are now widely available in stores, but you can also make your own!
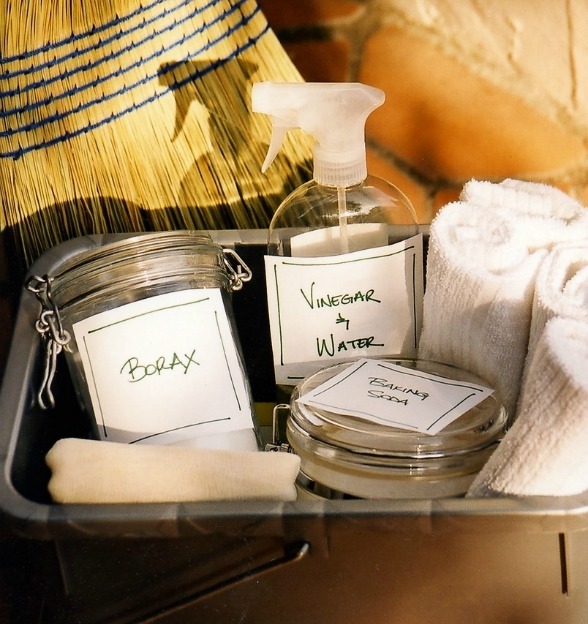
Recipe for making your own cleaning products:

Windows: Mix 1/4 cup white vinegar with 2 cups water in a spray bottle. Shake before use.

Wood surfaces and floors: Mix 1/4 cup white vinegar to a gallon of water with a few drops of lemon essential oil.

Scouring powder: Sprinkle baking soda on surface and scrub with a damp sponge.

Air Freshener: Open the windows! Opening windows lets fresh air enter and stagnant, polluted air exit. But if you also want a little extra boost try essential oils mixed with water in a spray can. Use about one cup of water with 10 drops of essential oils. Shake before use.

Laundry spot remover: Soak stains in white vinegar and warm water. The more stubborn the stain, the more vinegar you should use.

Cleaning with all natural ingredients makes the process so much more enjoyable and healthier! Once you experience the wonderful fresh scents of all natural cleaning products, you’ll never associate that chemical odor with “clean” again!”


If you have any “recipes” for DIY cleaning products or favorite tips for creating a more natural home, please share!