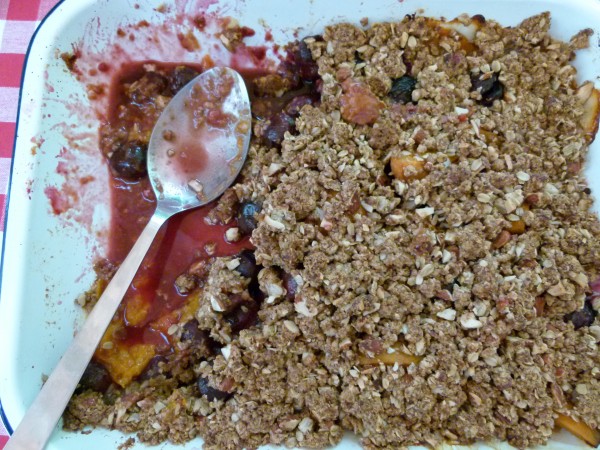
Apricot, cherry and almond crisp recipe

I was racking my brains thinking of something to post today for July 4th that would be red, white, and blue. But really I’m not nearly as creative as all the people I pin on Pinterest or fave on Foodily and I’ll be honest, I couldn’t come up with something you haven’t already seen. Although for 5 minutes I thought was a genius — potato salad with red, white and blue potatoes! Until I googled it and saw that this was not an original idea.
But then I was thinking that I don’t ever make anything red, white and blue for the 4th, so why the pressure? Our friends Melissa and Adam usually invite us to their beach house for a party where they serve the most delicious Tex-Mex food. Not ribs or barbecue or anything cut into the shape of stars. But it’s all crazy delicious and everyone is so happy. I often bring a dessert or appetizer. Last year Melissa asked me for Peach and Blueberry Crisp. It was so yummy, but not red, white, and blue and I didn’t hear anyone complain that I didn’t have spirit.
A few weeks ago, I taught a 4th of July menu for Jenni Kayne and her friends. Jenni asked me for a fruit crisp and I knew she would love this one with apricots and cherries. When I was prepping for the class that morning, I asked her if I should throw in blueberries to add some blue to the red, and she responded, “Only if they would make it better.” She’s so right. Of course. Who cares if it’s red, white and blue? You want to know what I said? I said, “They won’t. This crisp is so insanely delicious already. Why mess with it?” That’s really what I said. This crisp is so darn good, I have dreams about it. I made this same crisp for some friends a few weeks ago and I could swear I heard moaning. In a good way, naturally.
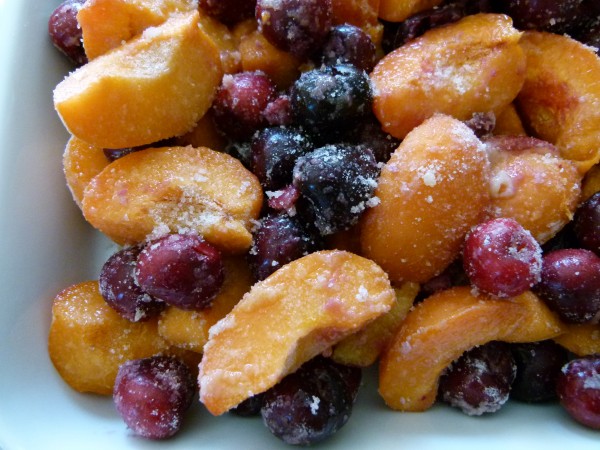
I have a theory that fruits and vegetables that grow in the same season taste good together. I saw cherries and apricots sitting next to each other at the farmers market and voilà! A new crisp. I also read somewhere that the Prunus family of stone fruits also includes almonds. An almond looks like an apricot pit, don’t you think? I find all of that to be so interesting….and delicious! Now the addition of almonds did make this crisp better. Of course, leave them out if you have an allergy or substitute something crunchy like sunflower seeds. Crisps are so easy to adjust for allergies, in fact. You can make the topping completely vegan by using coconut oil (more natural) or Earth Balance. For a gluten-free crisp, I used half GF oat flour and half King Arthur Multi-purpose GF Flour (which is free from cornstarch unlike some other very popular GF flours, like Cup4Cup — sorry Thomas Keller. Love your food, though!) Rice flour works well, too.
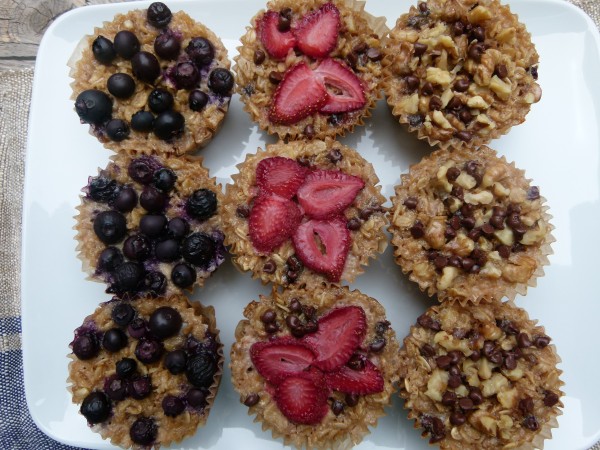
I think you should make a fruit crisp for the holiday. Absolutely everyone loves them. There are no blue food dyes involved. It’s mostly seasonal fruit. They are sooooooo easy. You can make your topping right now. Yep. In fact, you could have made it a month ago and frozen it. You can make 10 times the recipe for crisp topping, freeze it and make a crisp every week for the rest of the summer and into Labor Day. Or if you’re making a crisp for Thursday, make your topping today and keep it refrigerated. Just sprinkle it on top of your prepared fruit and bake away. No coming to room temp or any of that nonsense. But if you just can’t make a dessert for the 4th that is missing one of the colors of our fair flag, then by all means add some blueberries or blackberries. Or, dig deep and find your spirit of independence and make what you think you’ll love the most. Hope you all have the best weekend!
Apricot, Cherry and Almond Crisp
Ingredients
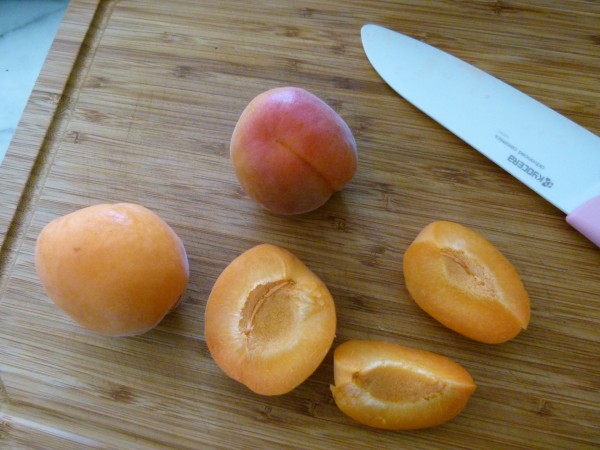
- 1 1/3 pounds of ripe fresh apricots, pitted, quartered if large
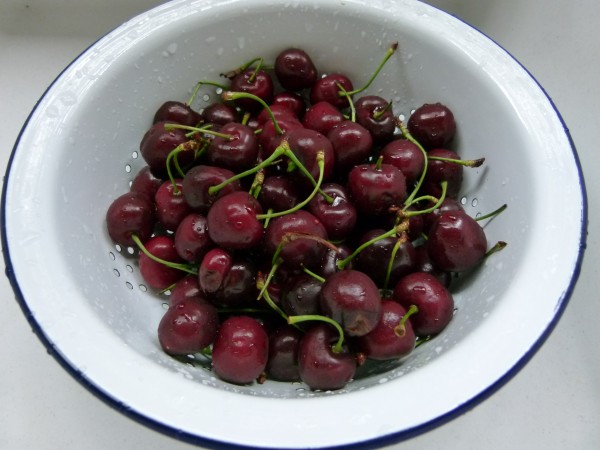
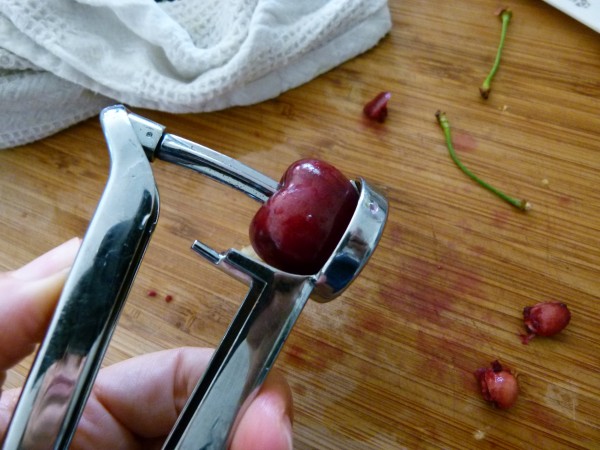
- 2/3 pound of dark sweet cherries, stemmed and pitted (I love my cherry pitter which I haven't seen anymore at Williams-Sonoma, but this one looks similar.)
- ½ Tablespoon pure Grade A maple syrup or cane sugar
- ½ Tablespoon flour whole wheat pastry or gluten-free flour
- less than 1/8 teaspoon of almond extract
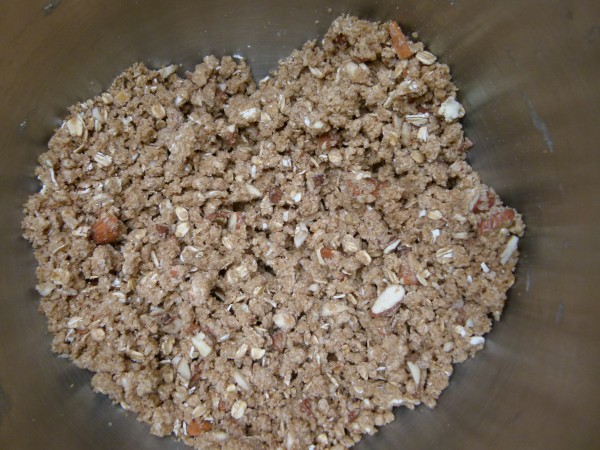
- Topping:
- ¾ cup coconut palm sugar or brown sugar
- 1 cup flour whole wheat pastry or for GF a combo of GF oat flour and King Arthur Multipurpose GF Flour
- ½ cup old fashioned rolled oats for GF, look for labeled GF oats
- ½ cup chopped raw almonds
- ¾ teaspoon ground cinnamon
- pinch of ground nutmeg
- ½ teaspoon sea salt
- 8 Tablespoons cold unsalted butter or Earth Balance cut into 1-inch pieces or unrefined coconut oil
Instructions
- Preheat an oven to 350 degrees.
- Toss the fruit with syrup or sugar, flour and almond extract. Transfer to an 8- or 9-inch baking dish or pie plate.
- Add all topping ingredients in the bowl of a mixer fitted with the paddle attachment. Blend until the mixture resembles small peas. This can also be done by hand with a pastry blender. Squeeze with your hands to create small clumps.
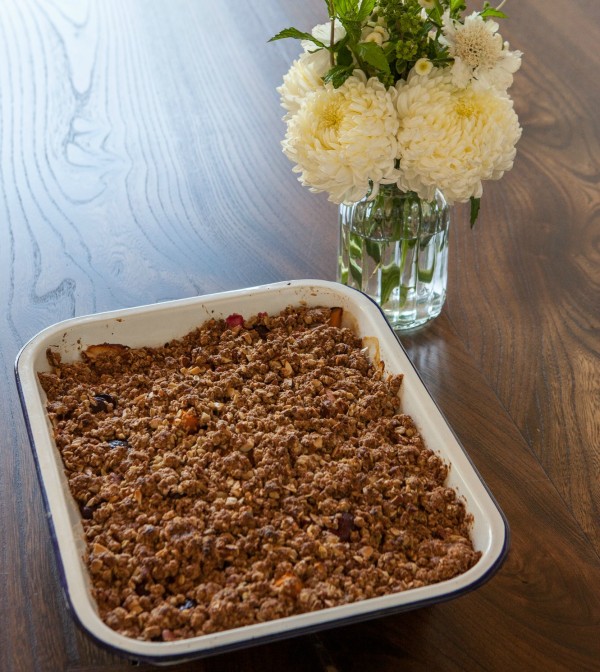
- Arrange topping over fruit to cover.
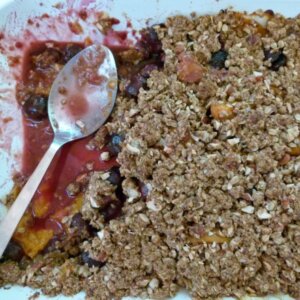
- Place baking dish on a cookie sheet and bake for about 45-50 minutes or until bubbly and topping is golden brown.
- Serve warm or at room temperature with vanilla ice cream, if you like.