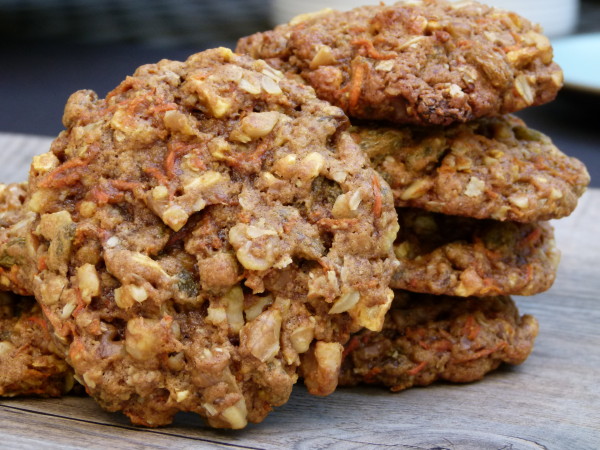
Whole wheat carrot cake oatmeal cookies recipe (GF and vegan versions too!)

I am always so intrigued by new flavor combinations, ingredients and infusions, especially when it comes to dessert. But classic desserts, like carrot cake, are not only delicious, but have built-in memories for me as well. When I think carrot cake, I not only think of a dense, moist cake studded with walnuts, raisins, carrots and pineapple, I also think about egg hunts in my new spring coat, sitting down to dinner with my mom’s pastel tablecloth and napkins embroidered with rabbits, and stealing the black jelly beans from my sisters’ Easter baskets. Carrot cake holds a special place in my heart.
But carrot cake is more of a special occasion treat, especially if there’s frosting involved. Carrot cake cookies, on the other hand, feel like an everyday treat or a more reasonable serving size if you just want a little something for dessert. I think these wholesome cookies would be as welcome on my Easter dessert table as they would be in a lunchbox or Easter basket.
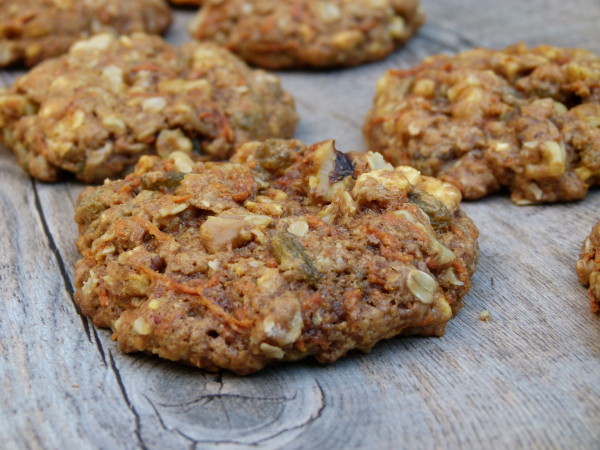
This cookie is just my type– chunky, hearty and substantial, lightly sweet and busting with all the good stuff you’d expect to find in a carrot cake. Maybe it’s because of the unrefined sugar, or maybe it’s because of the fiber-rich oats and whole wheat flour, but these cookies don’t make me crash and burn like a typical cookie would. Whereas I am not exactly endorsing these as tomorrow’s breakfast, I do think they are a higher quality sweet treat.
I am sure there are many ways to adapt the recipe to dietary intolerances. Drop the walnuts for sunflower seeds to make them nut-free. Use a flax egg in place of the real egg so they become vegan. Use 1/2 GF oat flour and 1/2 King Arthur Multi-purpose GF flour + 1/2 teaspoon xanthan gum for a gluten-free cookie. I also know that not everyone likes pineapple or raisins, so feel free to drop either of those. I would just caution against omitting one than one add-in, since you’ll lose some of the support for the cookie.
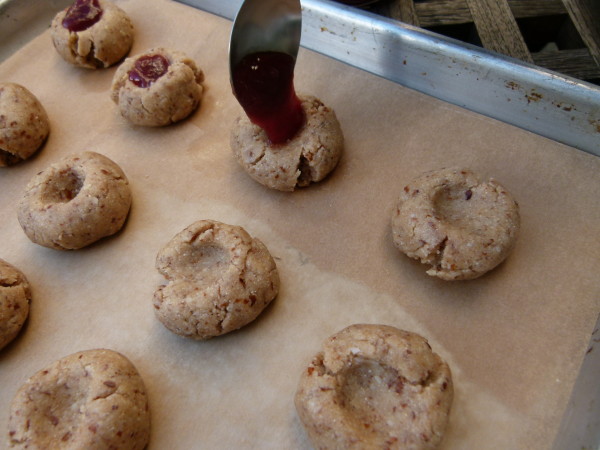
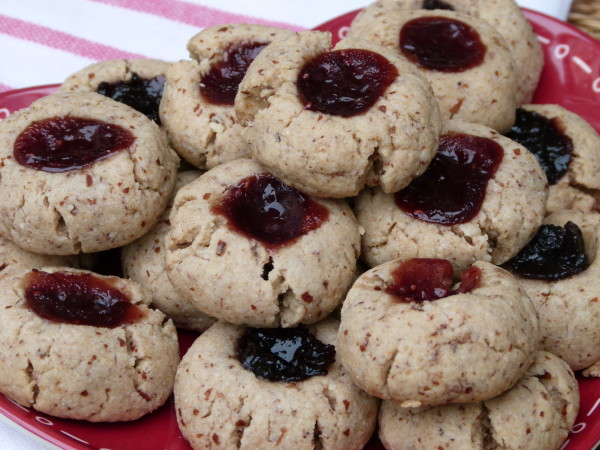
If you wanted to get fancy, you could drizzle the cookies with a little icing (basically 1 cup powdered sugar + 1 – 1 1/2 Tbs. water whisked together.) Or you can take a look at something a little less naughty — my cashew frosting — and use that to frost a little swirl on top. After all, what’s Easter without a little decadence? That’s how I remember it.


Whole Wheat Carrot Cake Oatmeal Cookies
Ingredients
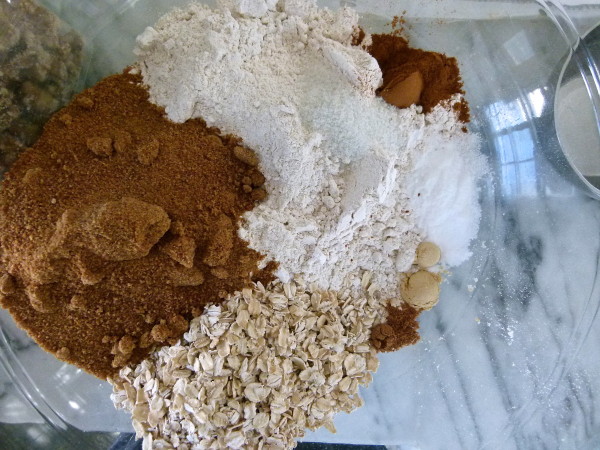
- 1 ¼ cup whole wheat pastry flour whole spelt flour would probably work just as well*
- ½ cup old-fashioned rolled oats
- 1 teaspoon baking soda
- 1 teaspoon ground cinnamon
- ¼ teaspoon ground ginger
- 1/8 teaspoon ground nutmeg
- ½ teaspoon sea salt
- 2/3 cup coconut sugar brown sugar or cane sugar
- ½ cup unrefined coconut oil melted
- 1 large egg
- 1 teaspoon pure vanilla extract
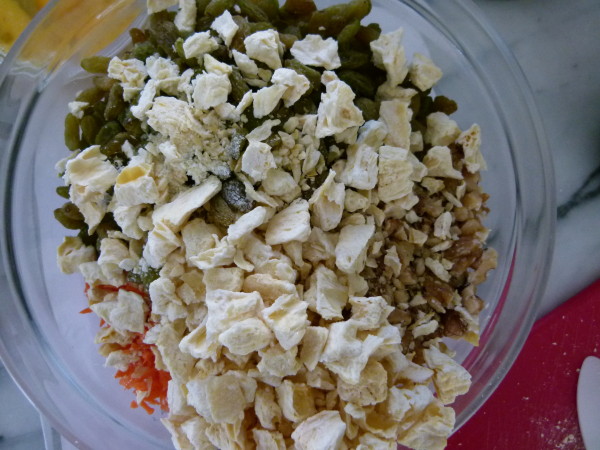
- 1 cup shredded or grated carrots about 2 medium
- 1 cup walnuts chopped
- ½ cup unsulphured golden raisins or dark raisins if you prefer
- ½ cup diced dried pineapple
Instructions
- Preheat the oven to 375 degrees and line two baking sheets with parchment paper.
- In a large mixing bowl, whisk together the flour, oats, baking soda, cinnamon, ginger, nutmeg, salt, and sugar.
- In a medium mixing bowl or blender, combine the coconut oil, egg, and vanilla, and blend until well emulsified.
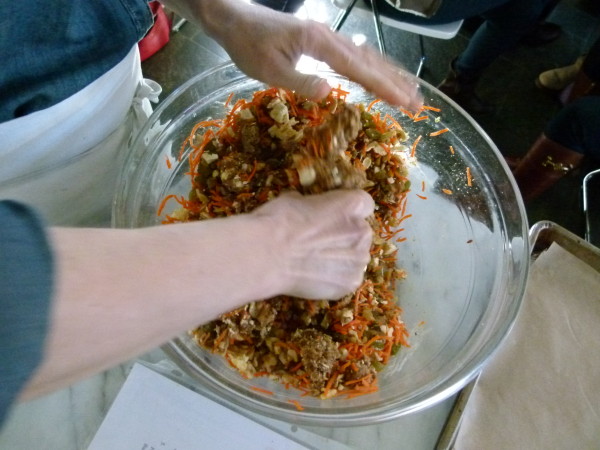
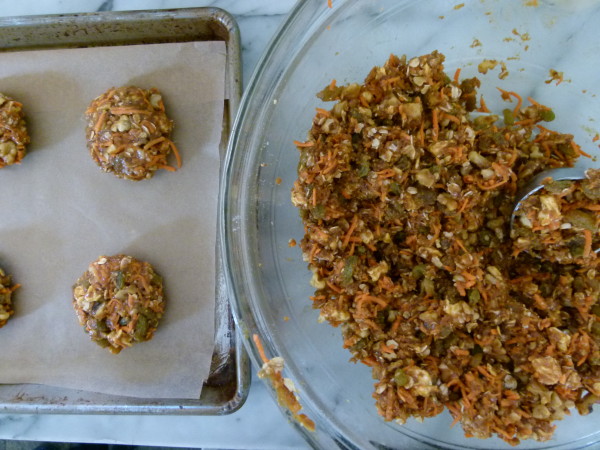
- Pour the wet mixture into the dry mixture and stir until combined. Fold in the carrots, walnuts, raisins, and pineapple. Mixture will be very crumbly. Use your hands to combine if necessary.
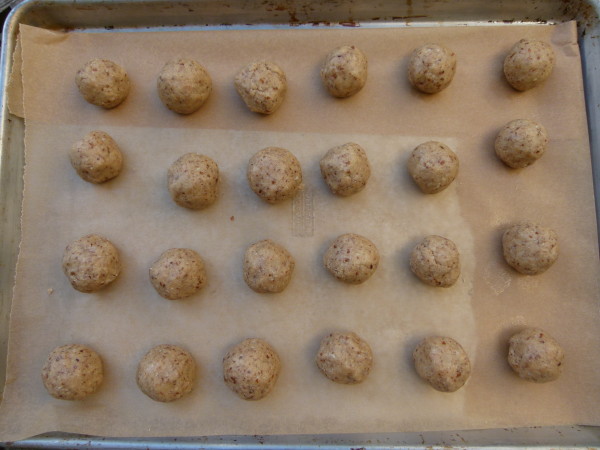
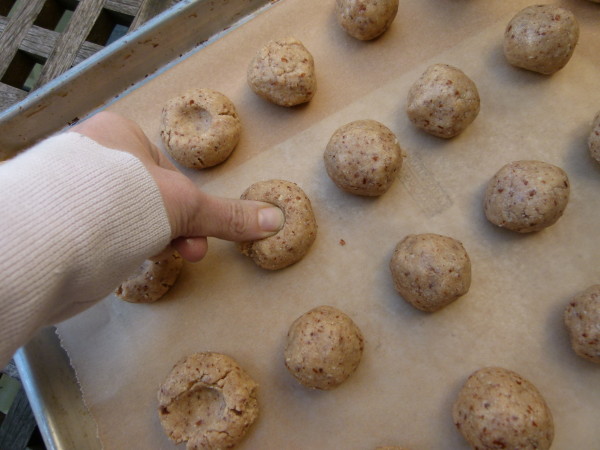
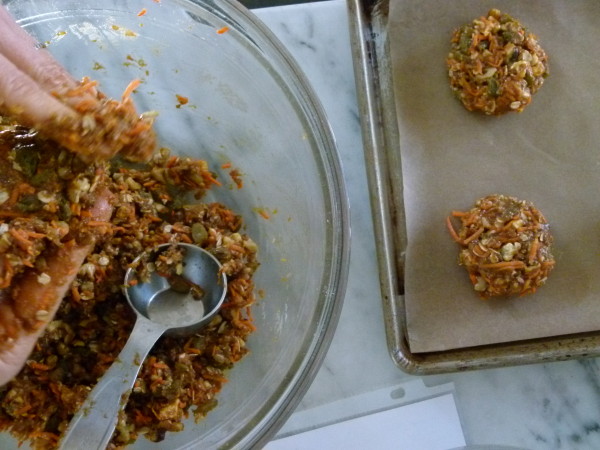
- Using your hands, take about ¼ cup of the batter and form it into a small disk. Place on baking sheet leaving space between each cookie for them to expand. Bake for 15-18 minutes until golden around the edges.