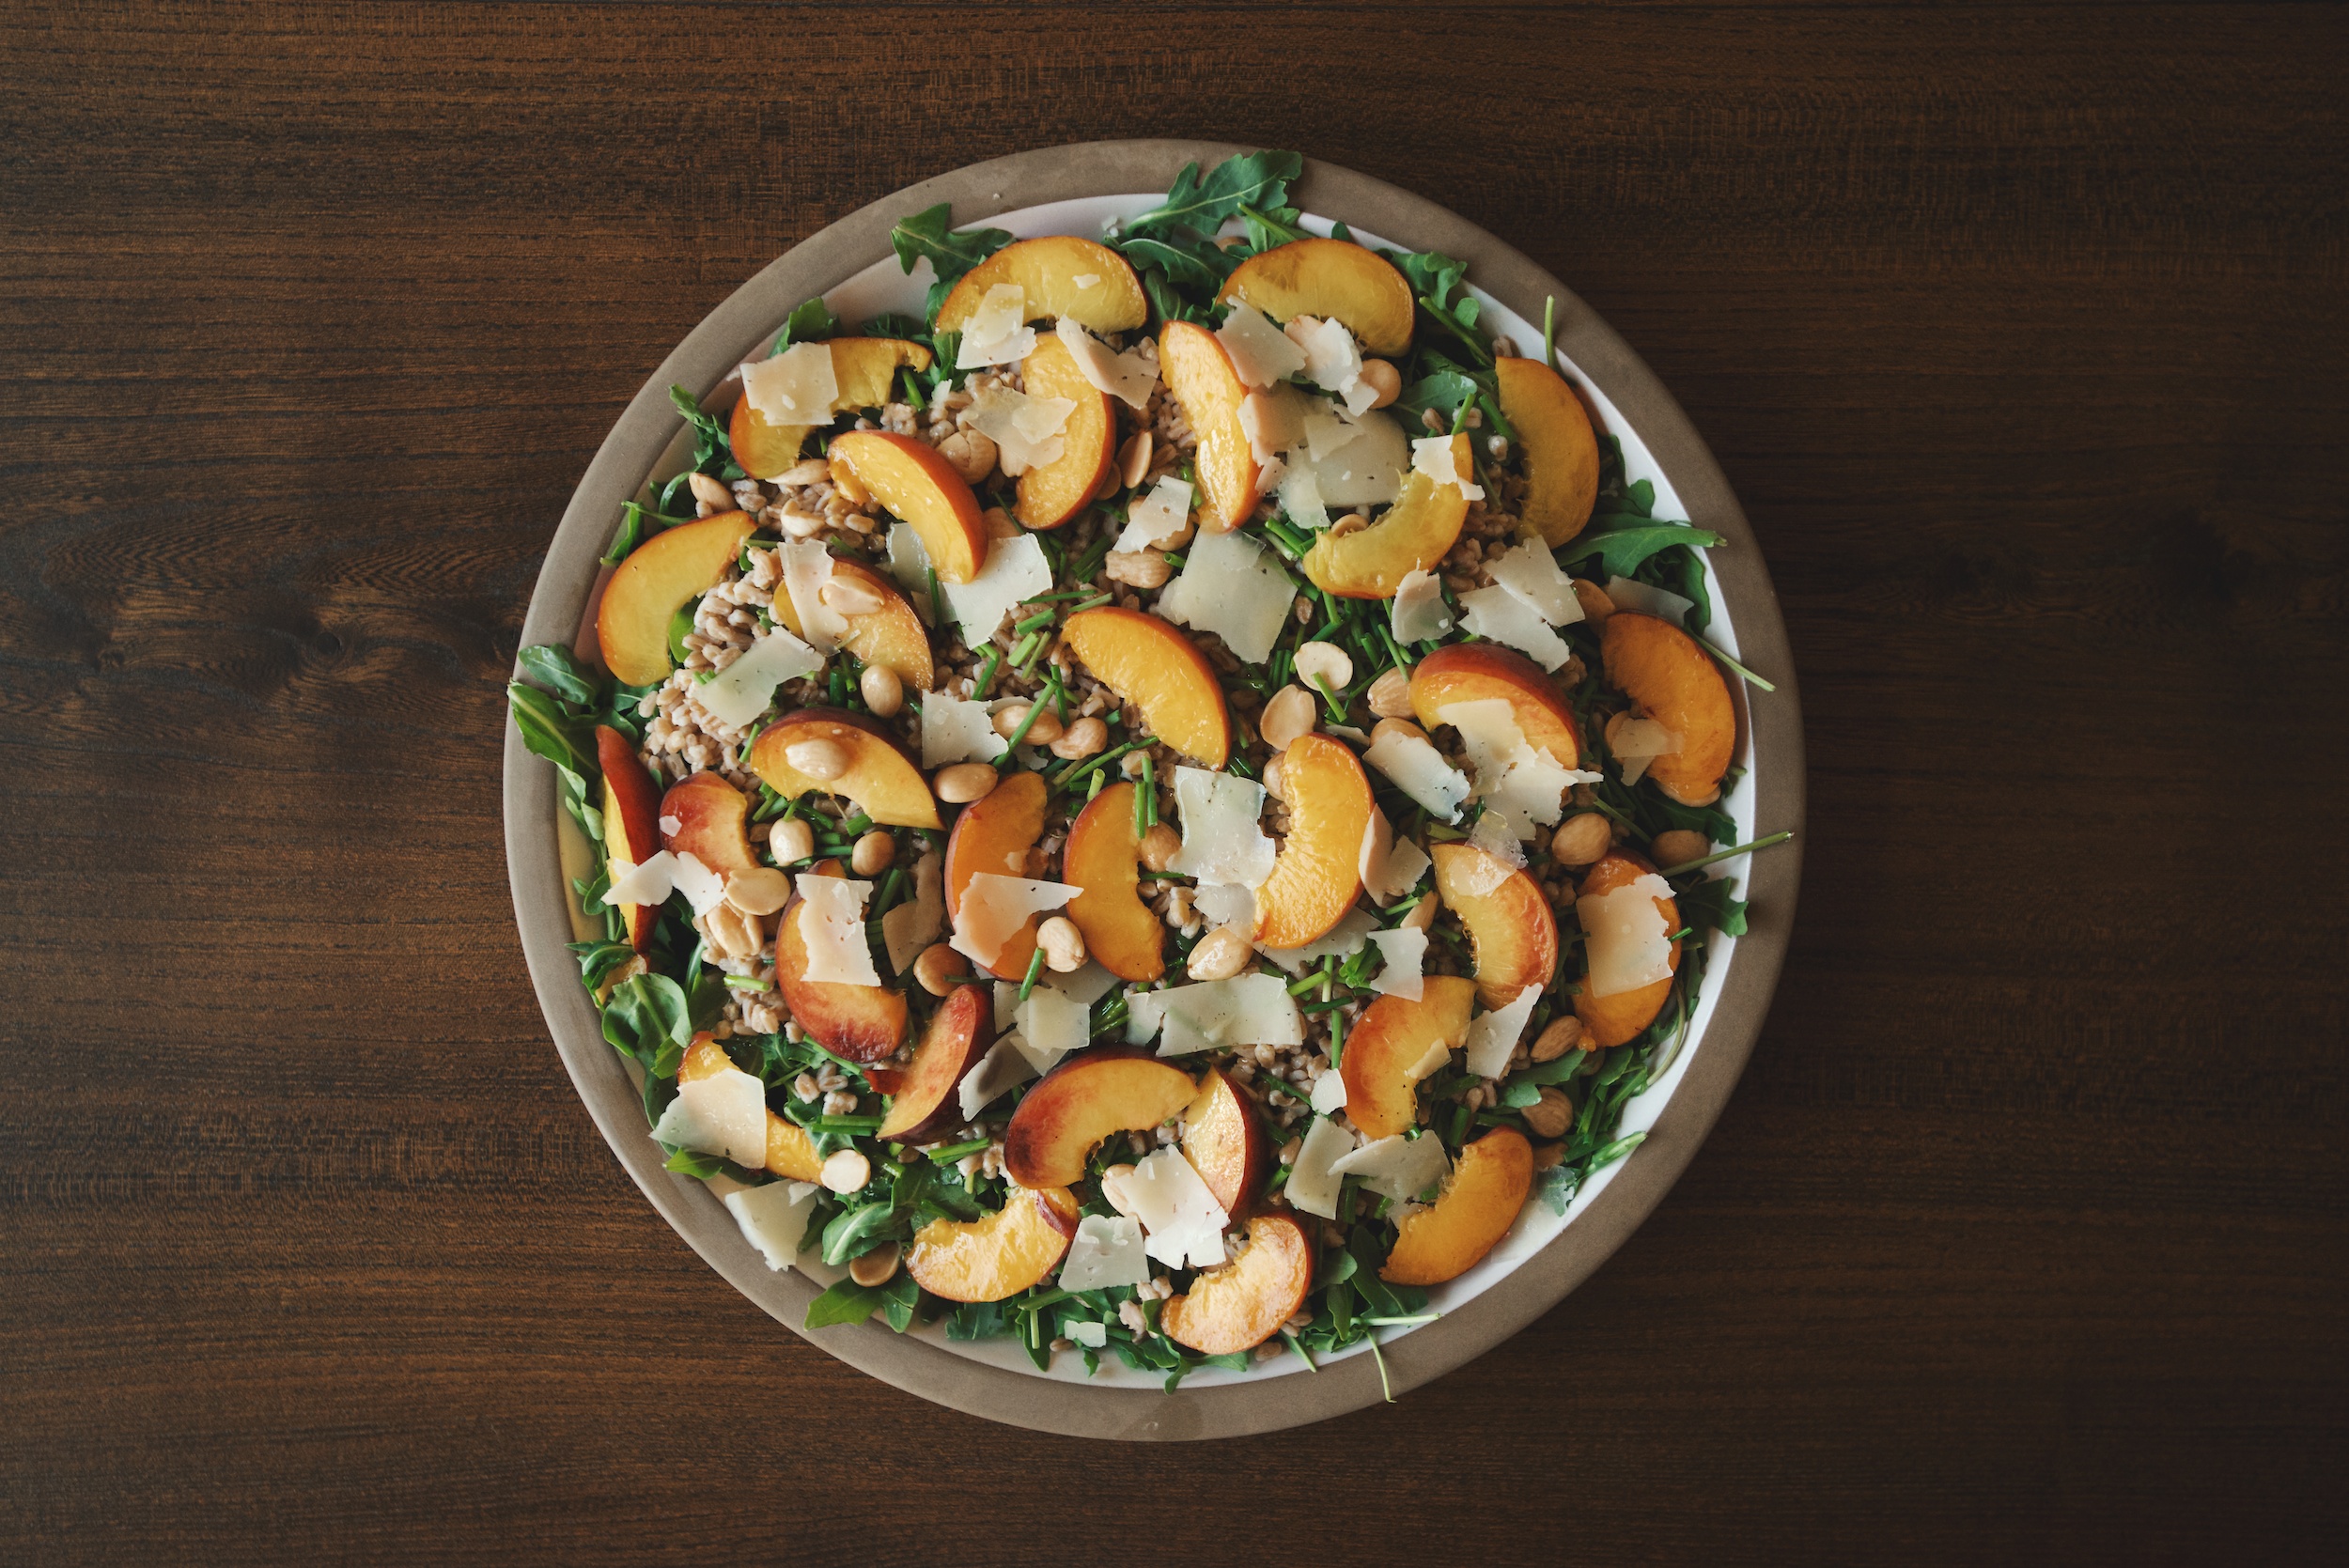
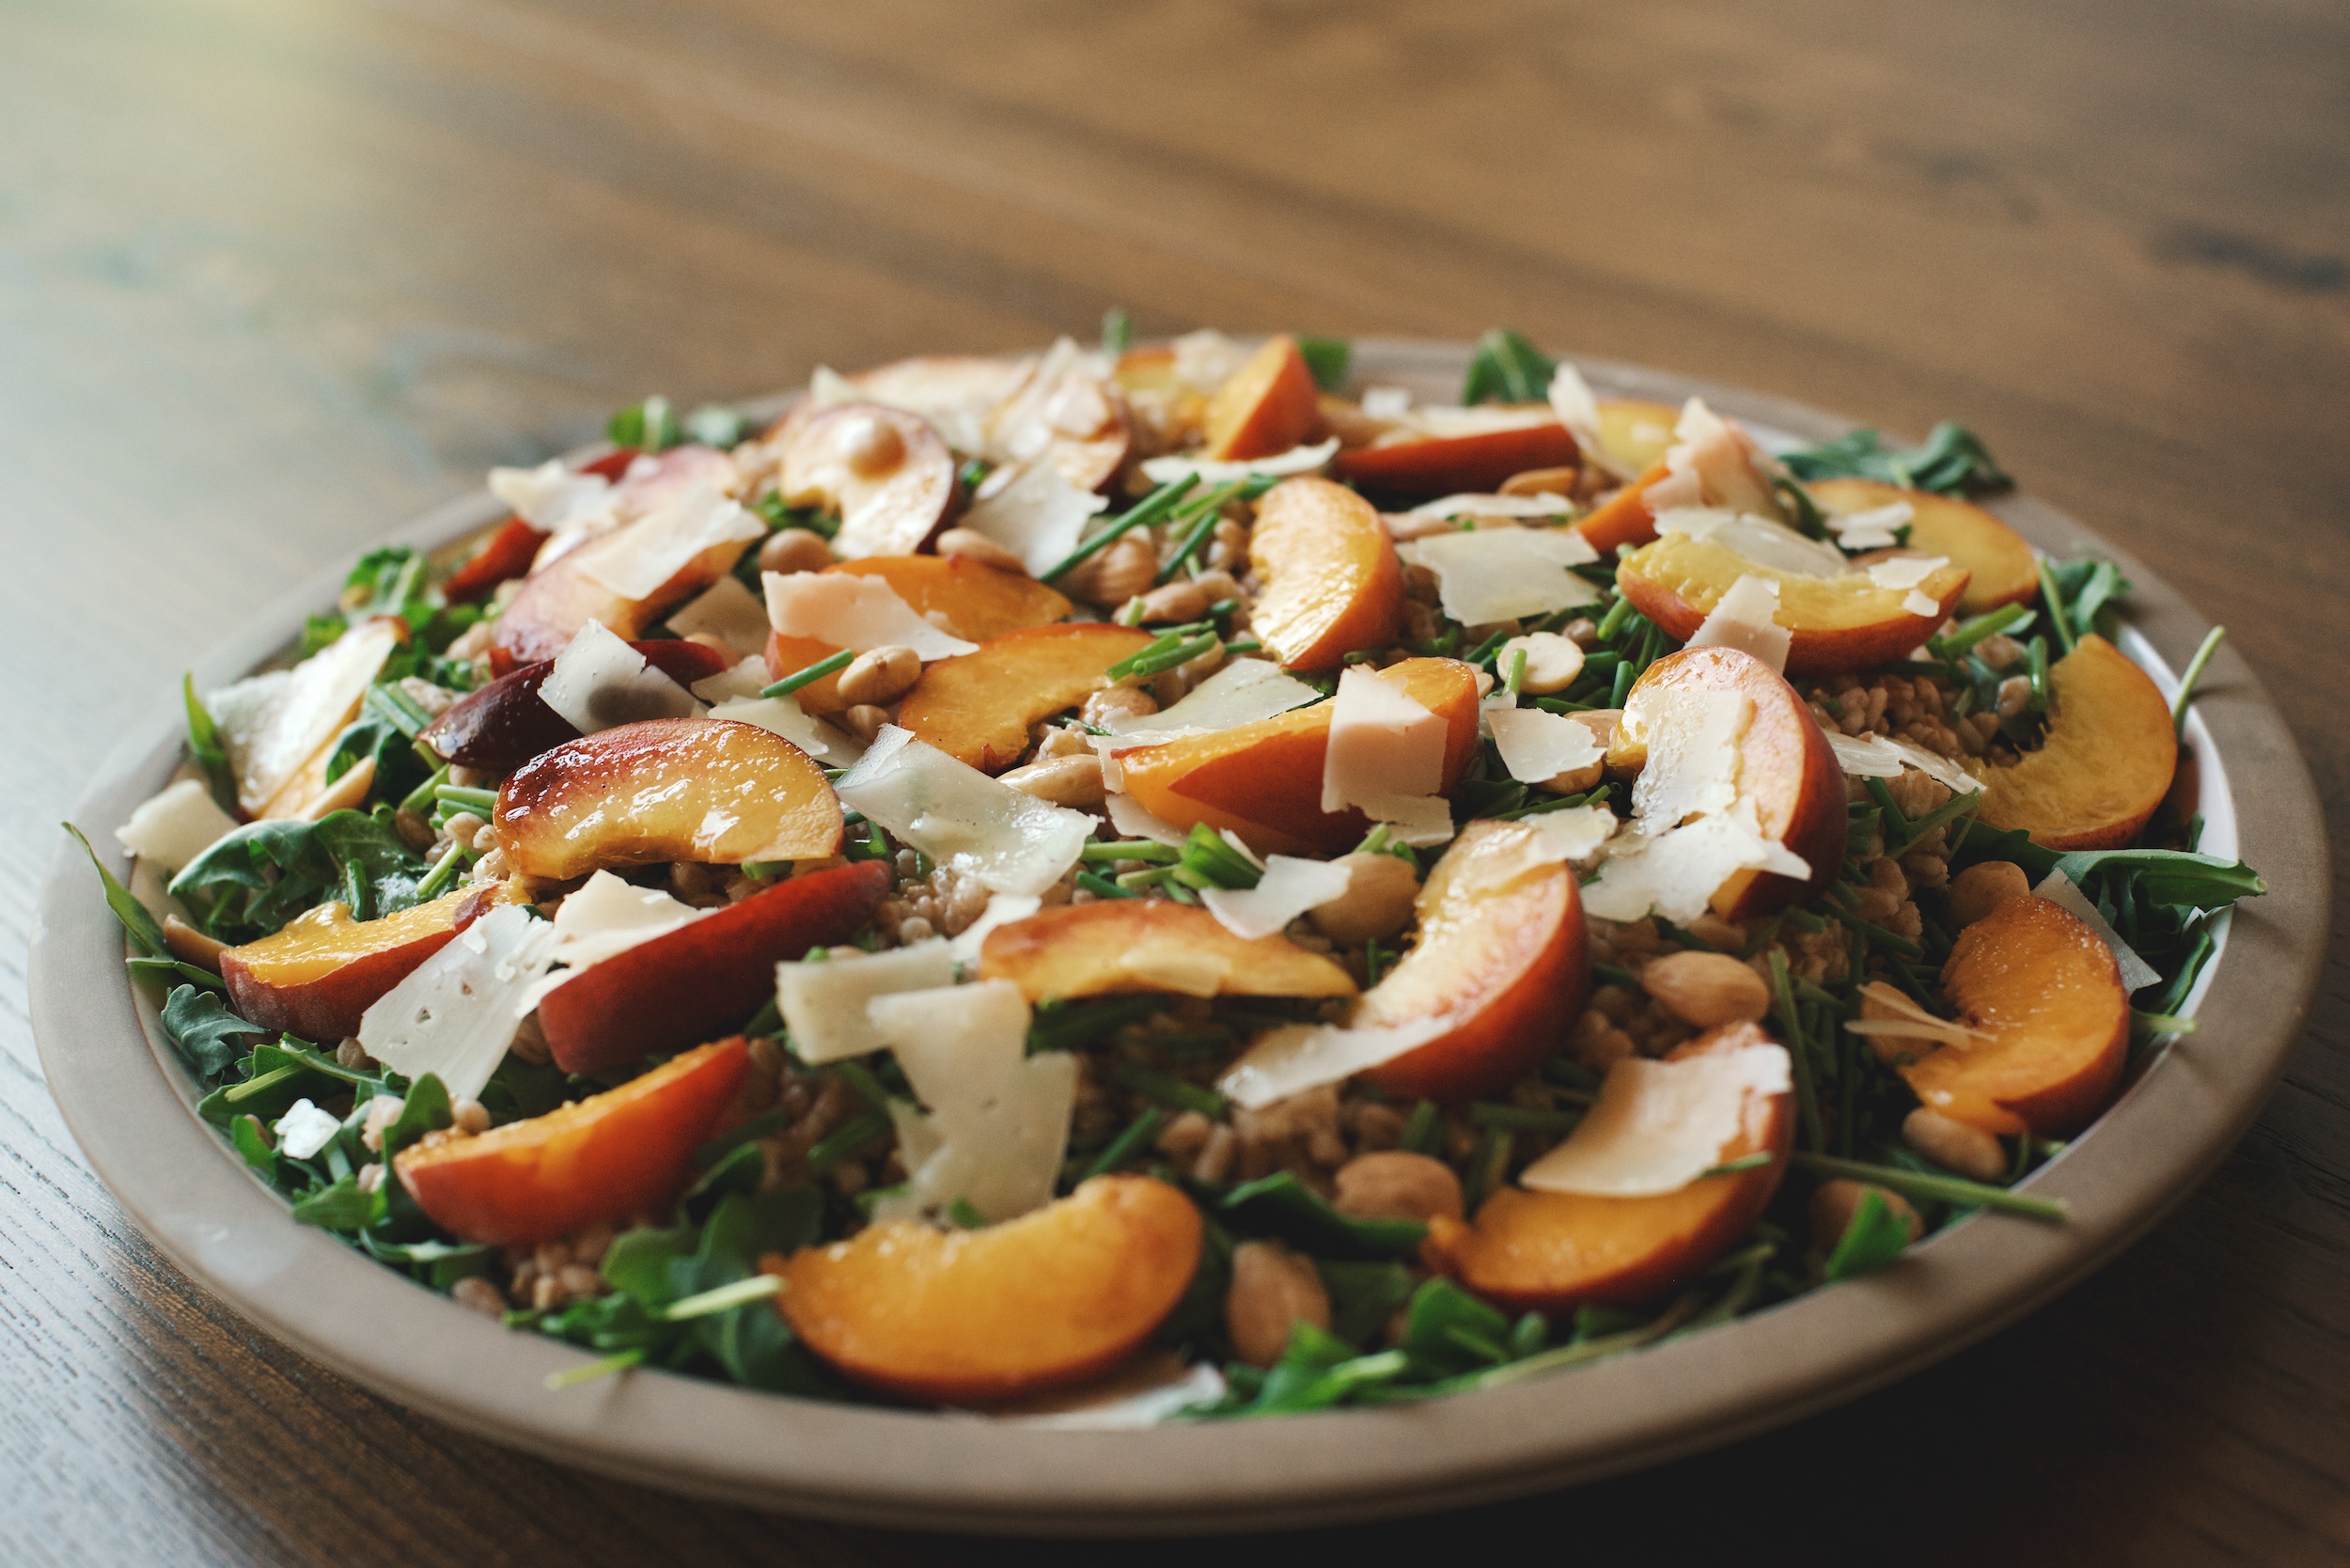
Arugula and Farro Salad with Peaches Recipe

Mr. Picky is my third child, my 10-year-old son. He is a perfect child in every way, however he is rather picky when it comes to food. I know some people think that Mr. Picky is not at all picky because he eats things like lentils and beans and salmon. True. But he won’t eat an unbelievable amount of other, basic things, like eggs, cheese, and most cooked vegetables. Mr. Picky thinks the name I gave him is funny and doesn’t want me to refer to him as anything else on my blog. And since I am not worried that he is picky, the name can stay for now.
“Would Mr. Picky eat this?” That’s what many of my cooking class students will ask me when we are making something outside of the kid cuisine box, so to speak. Most people have a picky child and therefore struggle will meal planning and mealtime. I can get frustrated too, but in general I don’t sweat it because I truly believe that if I continue to provide a wide variety of nutritious whole foods on a regular basis, something will click one day and he will turn into a better eater. This is not a post about raising a healthful eater, but more to address how I make something like this delicious Arugula and Farro Salad with Peaches and get my son to eat it. It’s called “deconstruction.”
I know what Mr. Picky won’t eat, in the case of this salad that would be vinaigrette, arugula and cheese. No problem. First I ask him if this is the day he would like to try the salad with vinaigrette. 90% of the time he says, “I’m not ready yet.” No problem. So I deconstruct the salad and give him a scoop of plain farro (it’s like brown rice, I tell him), almonds and peaches. If I have some romaine lettuce in the fridge, I’ll give him some of that, too.
Arugula is a peppery, almost a little spicy, green. I love it, but I didn’t when I was 10. But I just can’t see only making recipes that are Mr. Picky-approved. That would be cooking to the lowest common denominator and that’s never a good idea.
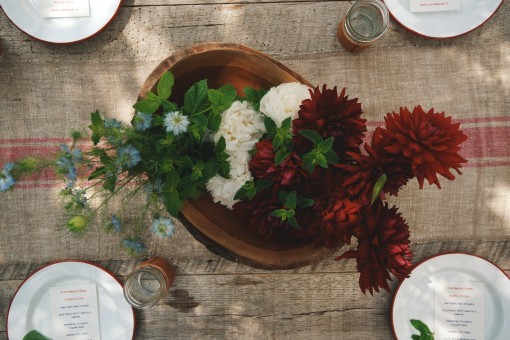
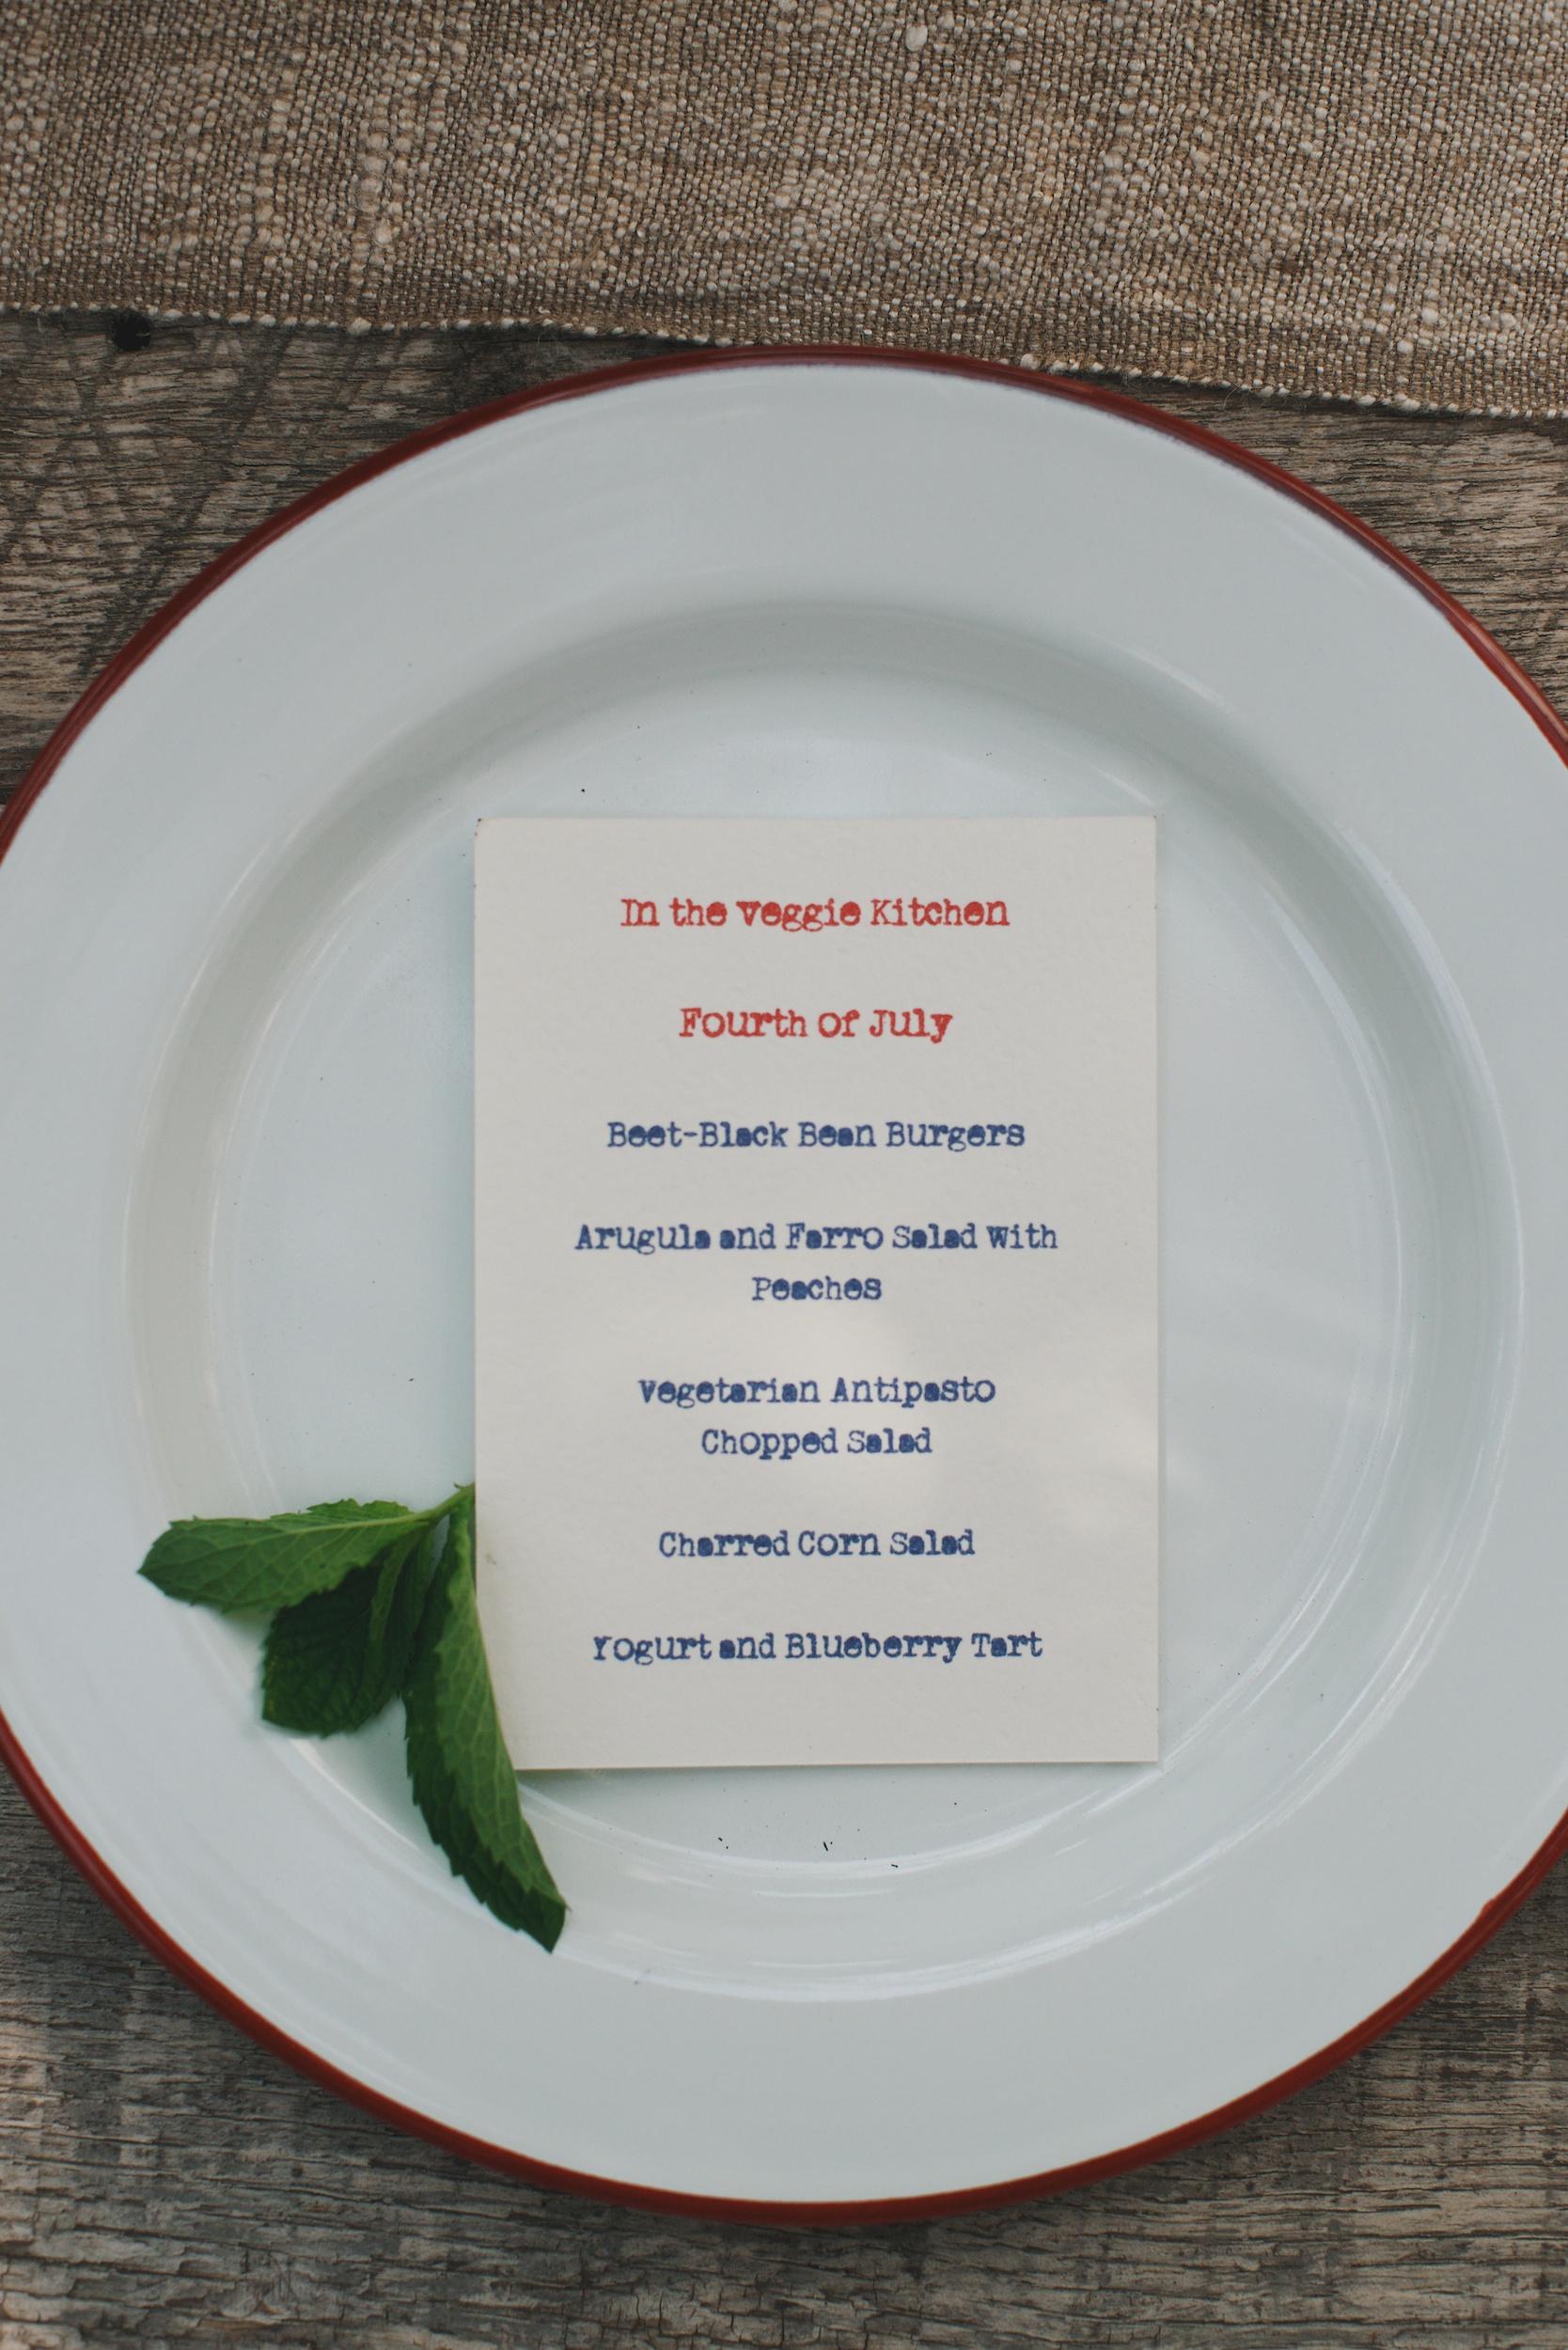
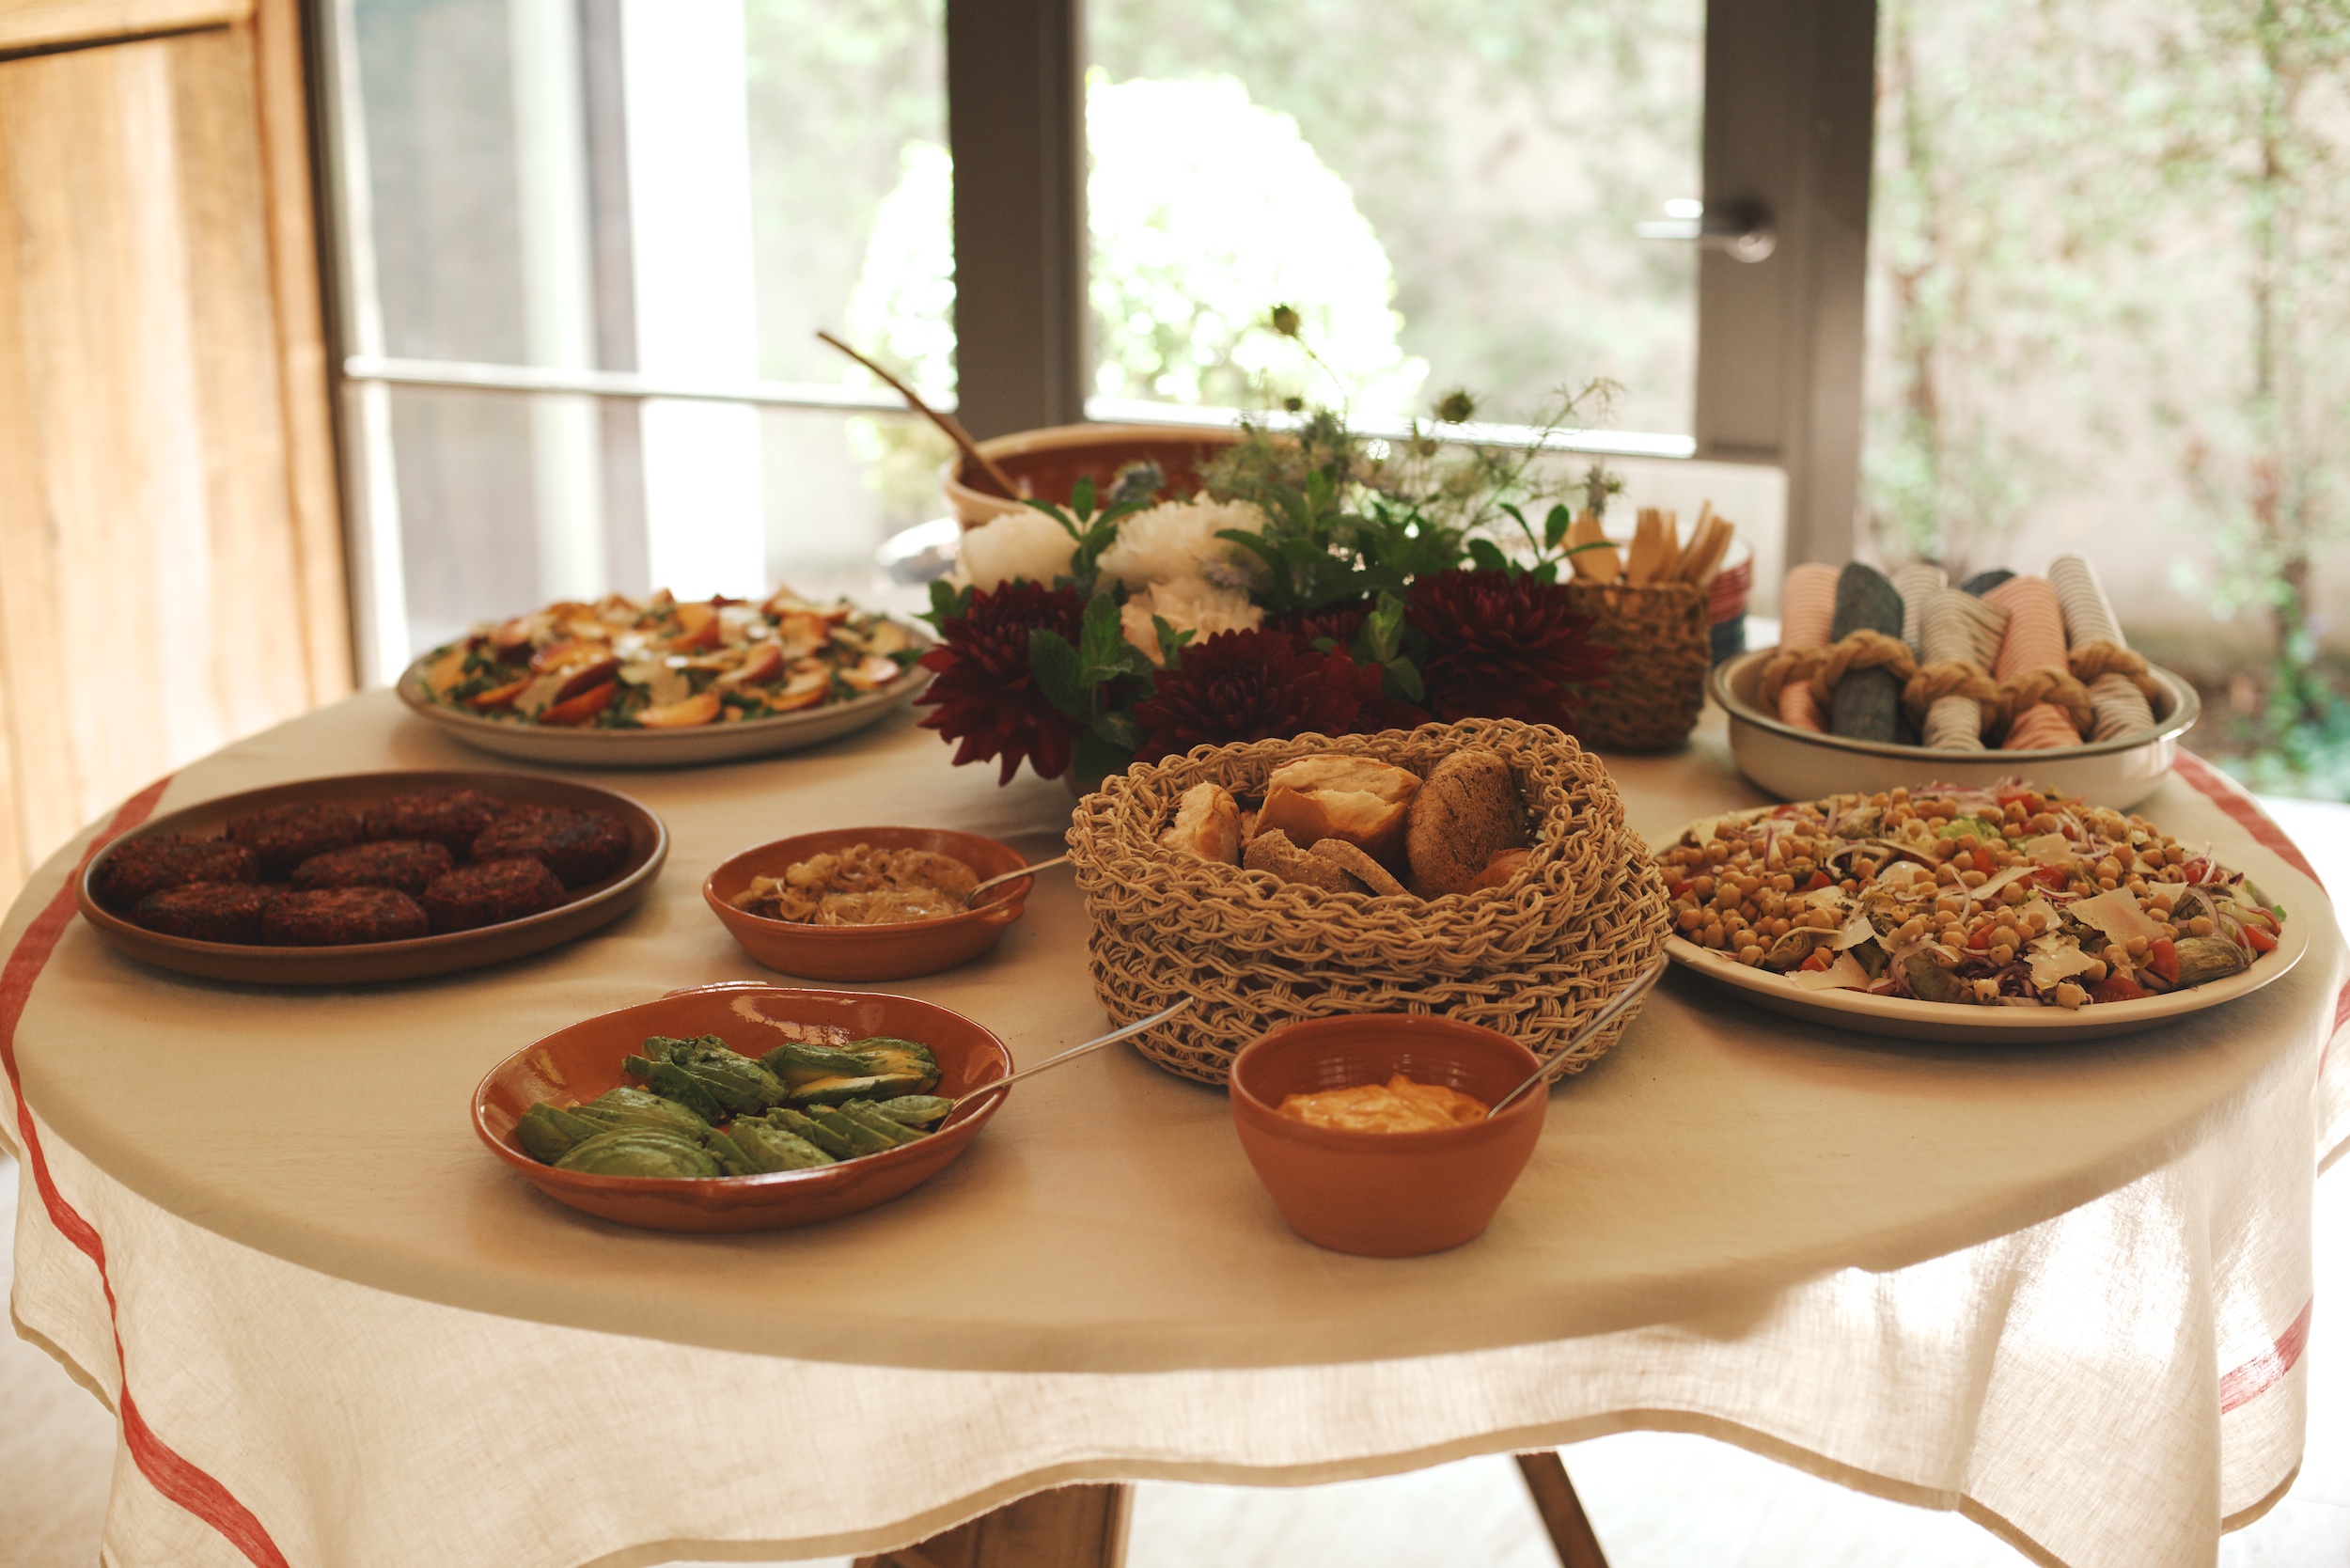
I taught this salad last summer in my classes and just last week in Jenni Kayne’s Fourth of July class with The Chalkboard. This is the perfect salad for entertaining and I have even eaten a version of this for a lunch at home with my Everyday Salad Dressing #2. You don’t need the farro, but it does make the salad heartier which is helpful if you don’t want to eat the ribs or steak options at your BBQ. And if you are gluten-intolerant, unfortunately you can’t eat farro, but millet or quinoa would work well here. In any case, everything can be prepped in advance so all you have to do is assemble at mealtime. I have also done a version of this salad with pitted cherries and Pecorino. I think nectarines or blackberries would also be amazing. For that matter, any stone fruit or berry would be perfect. Yay summer!
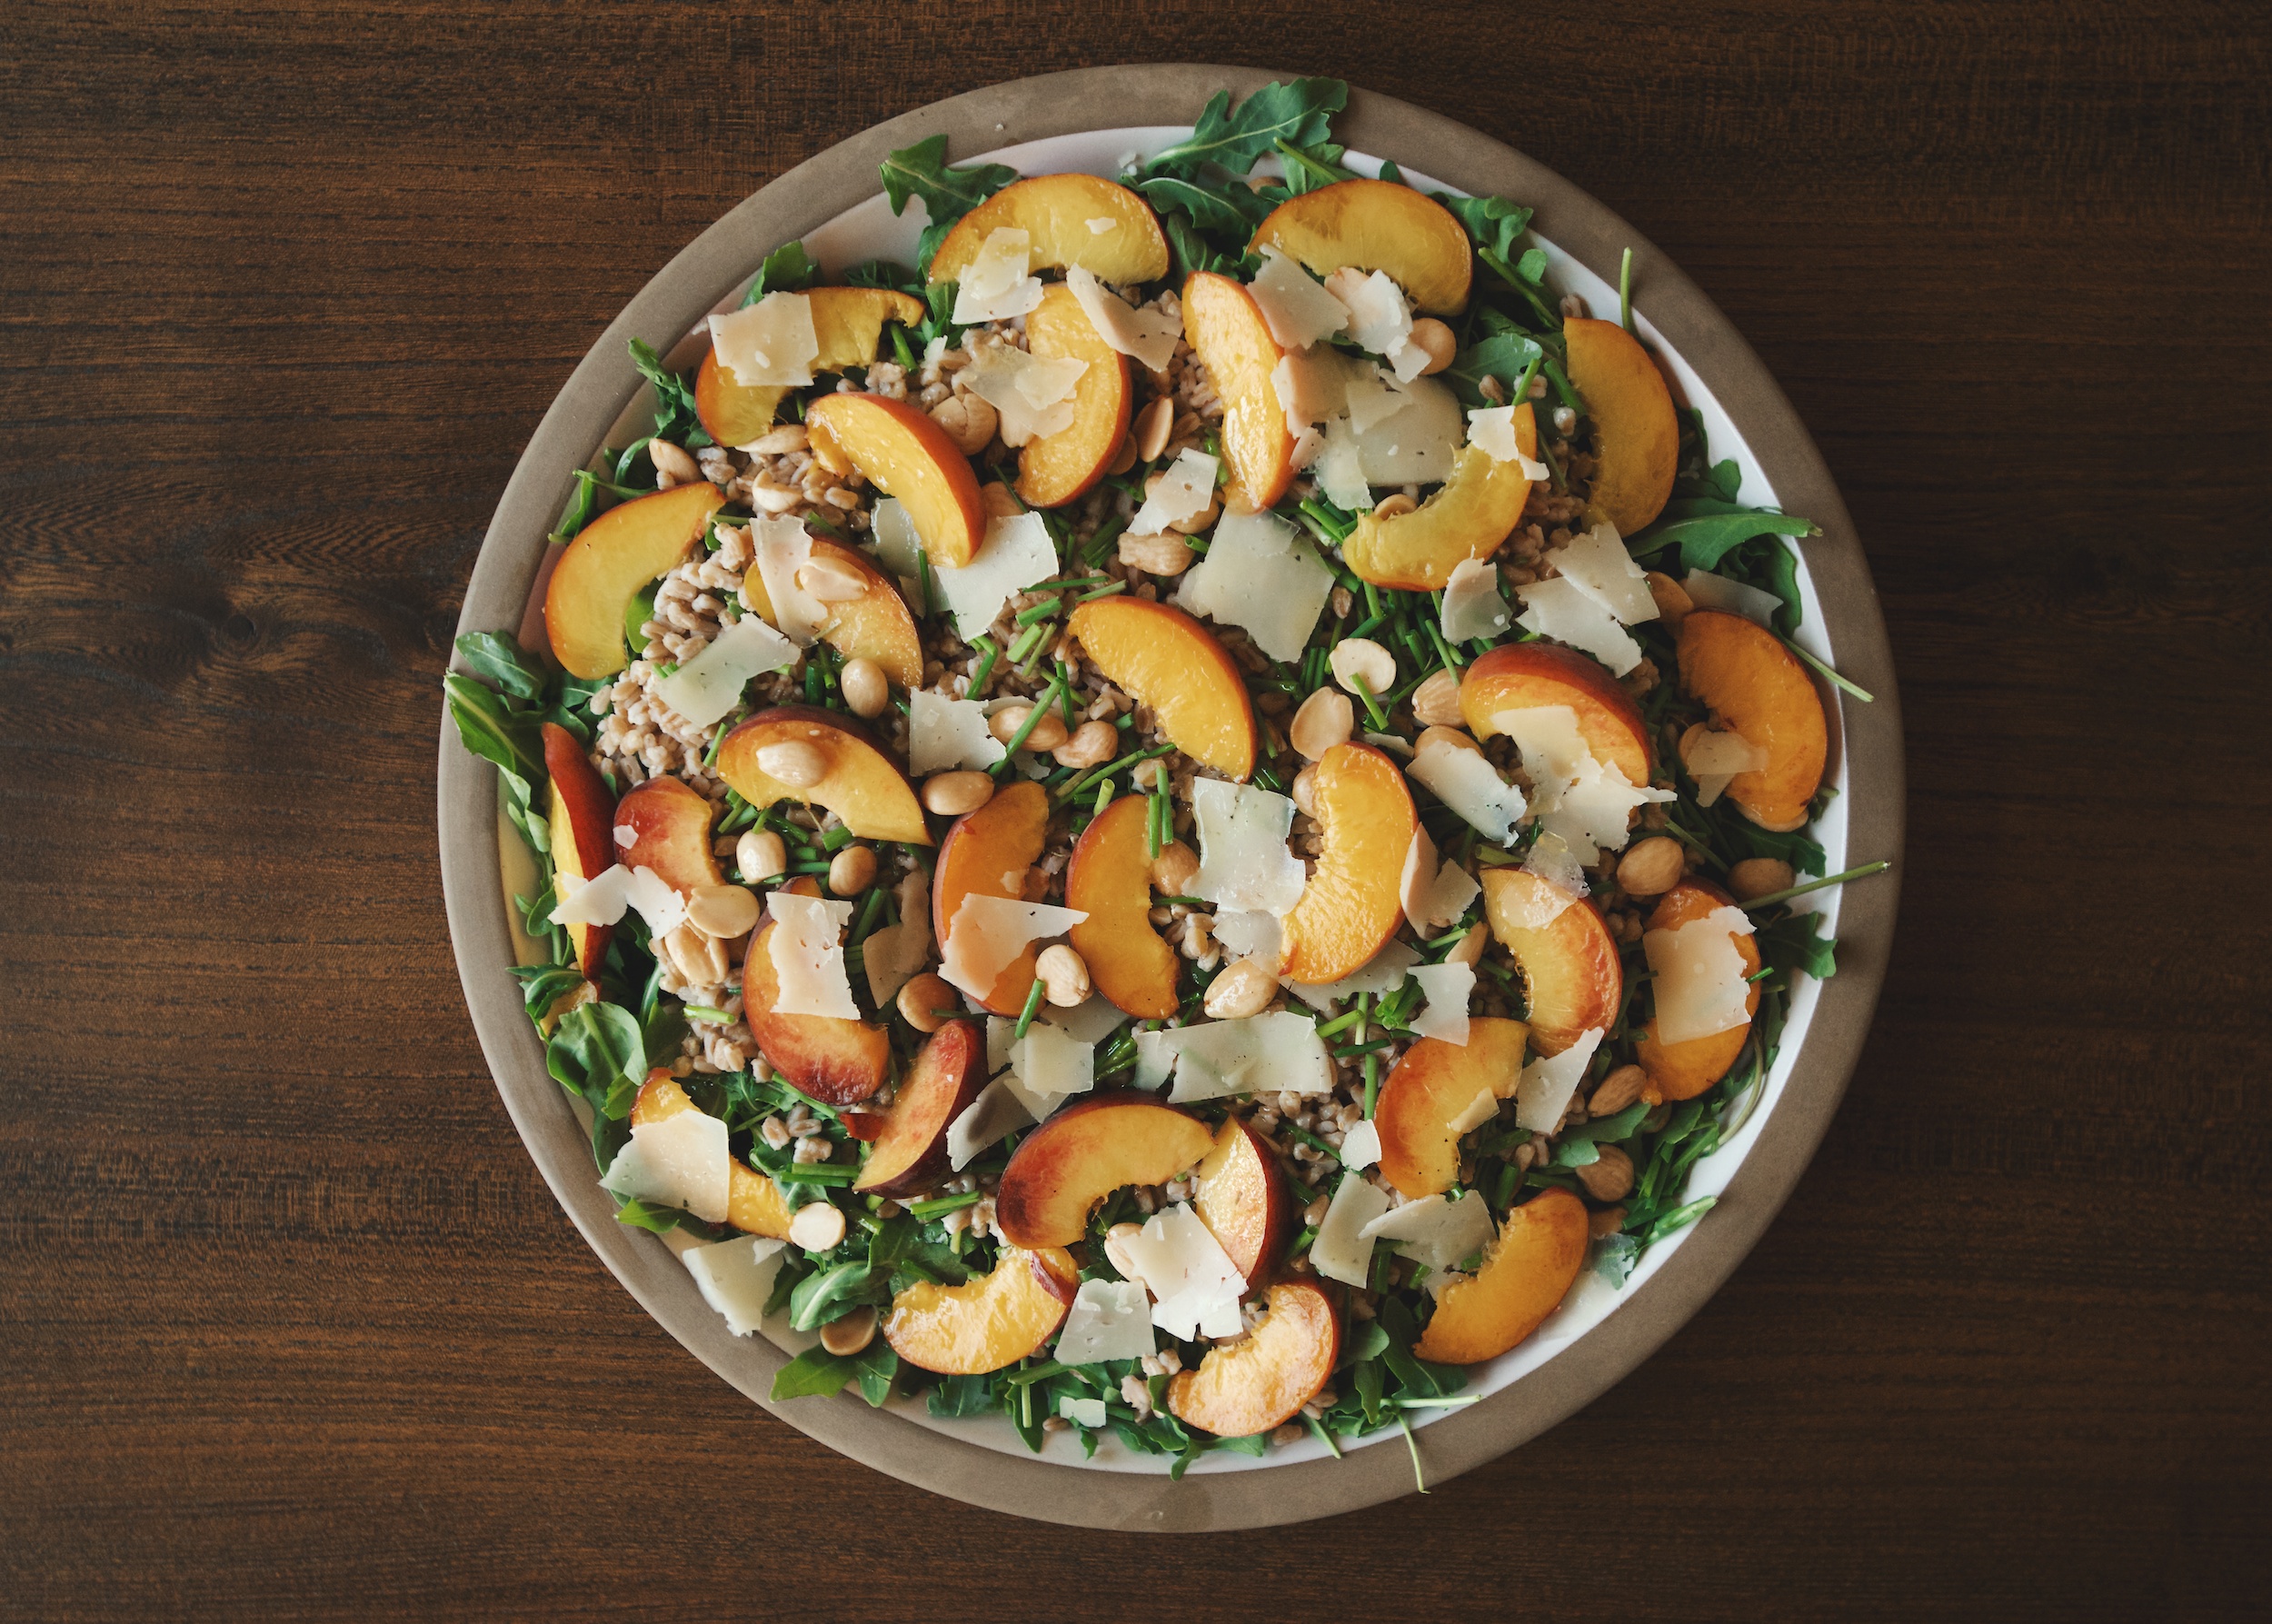
- ¾ cup farro*
- pinch of kosher salt
- 6 ounces arugula
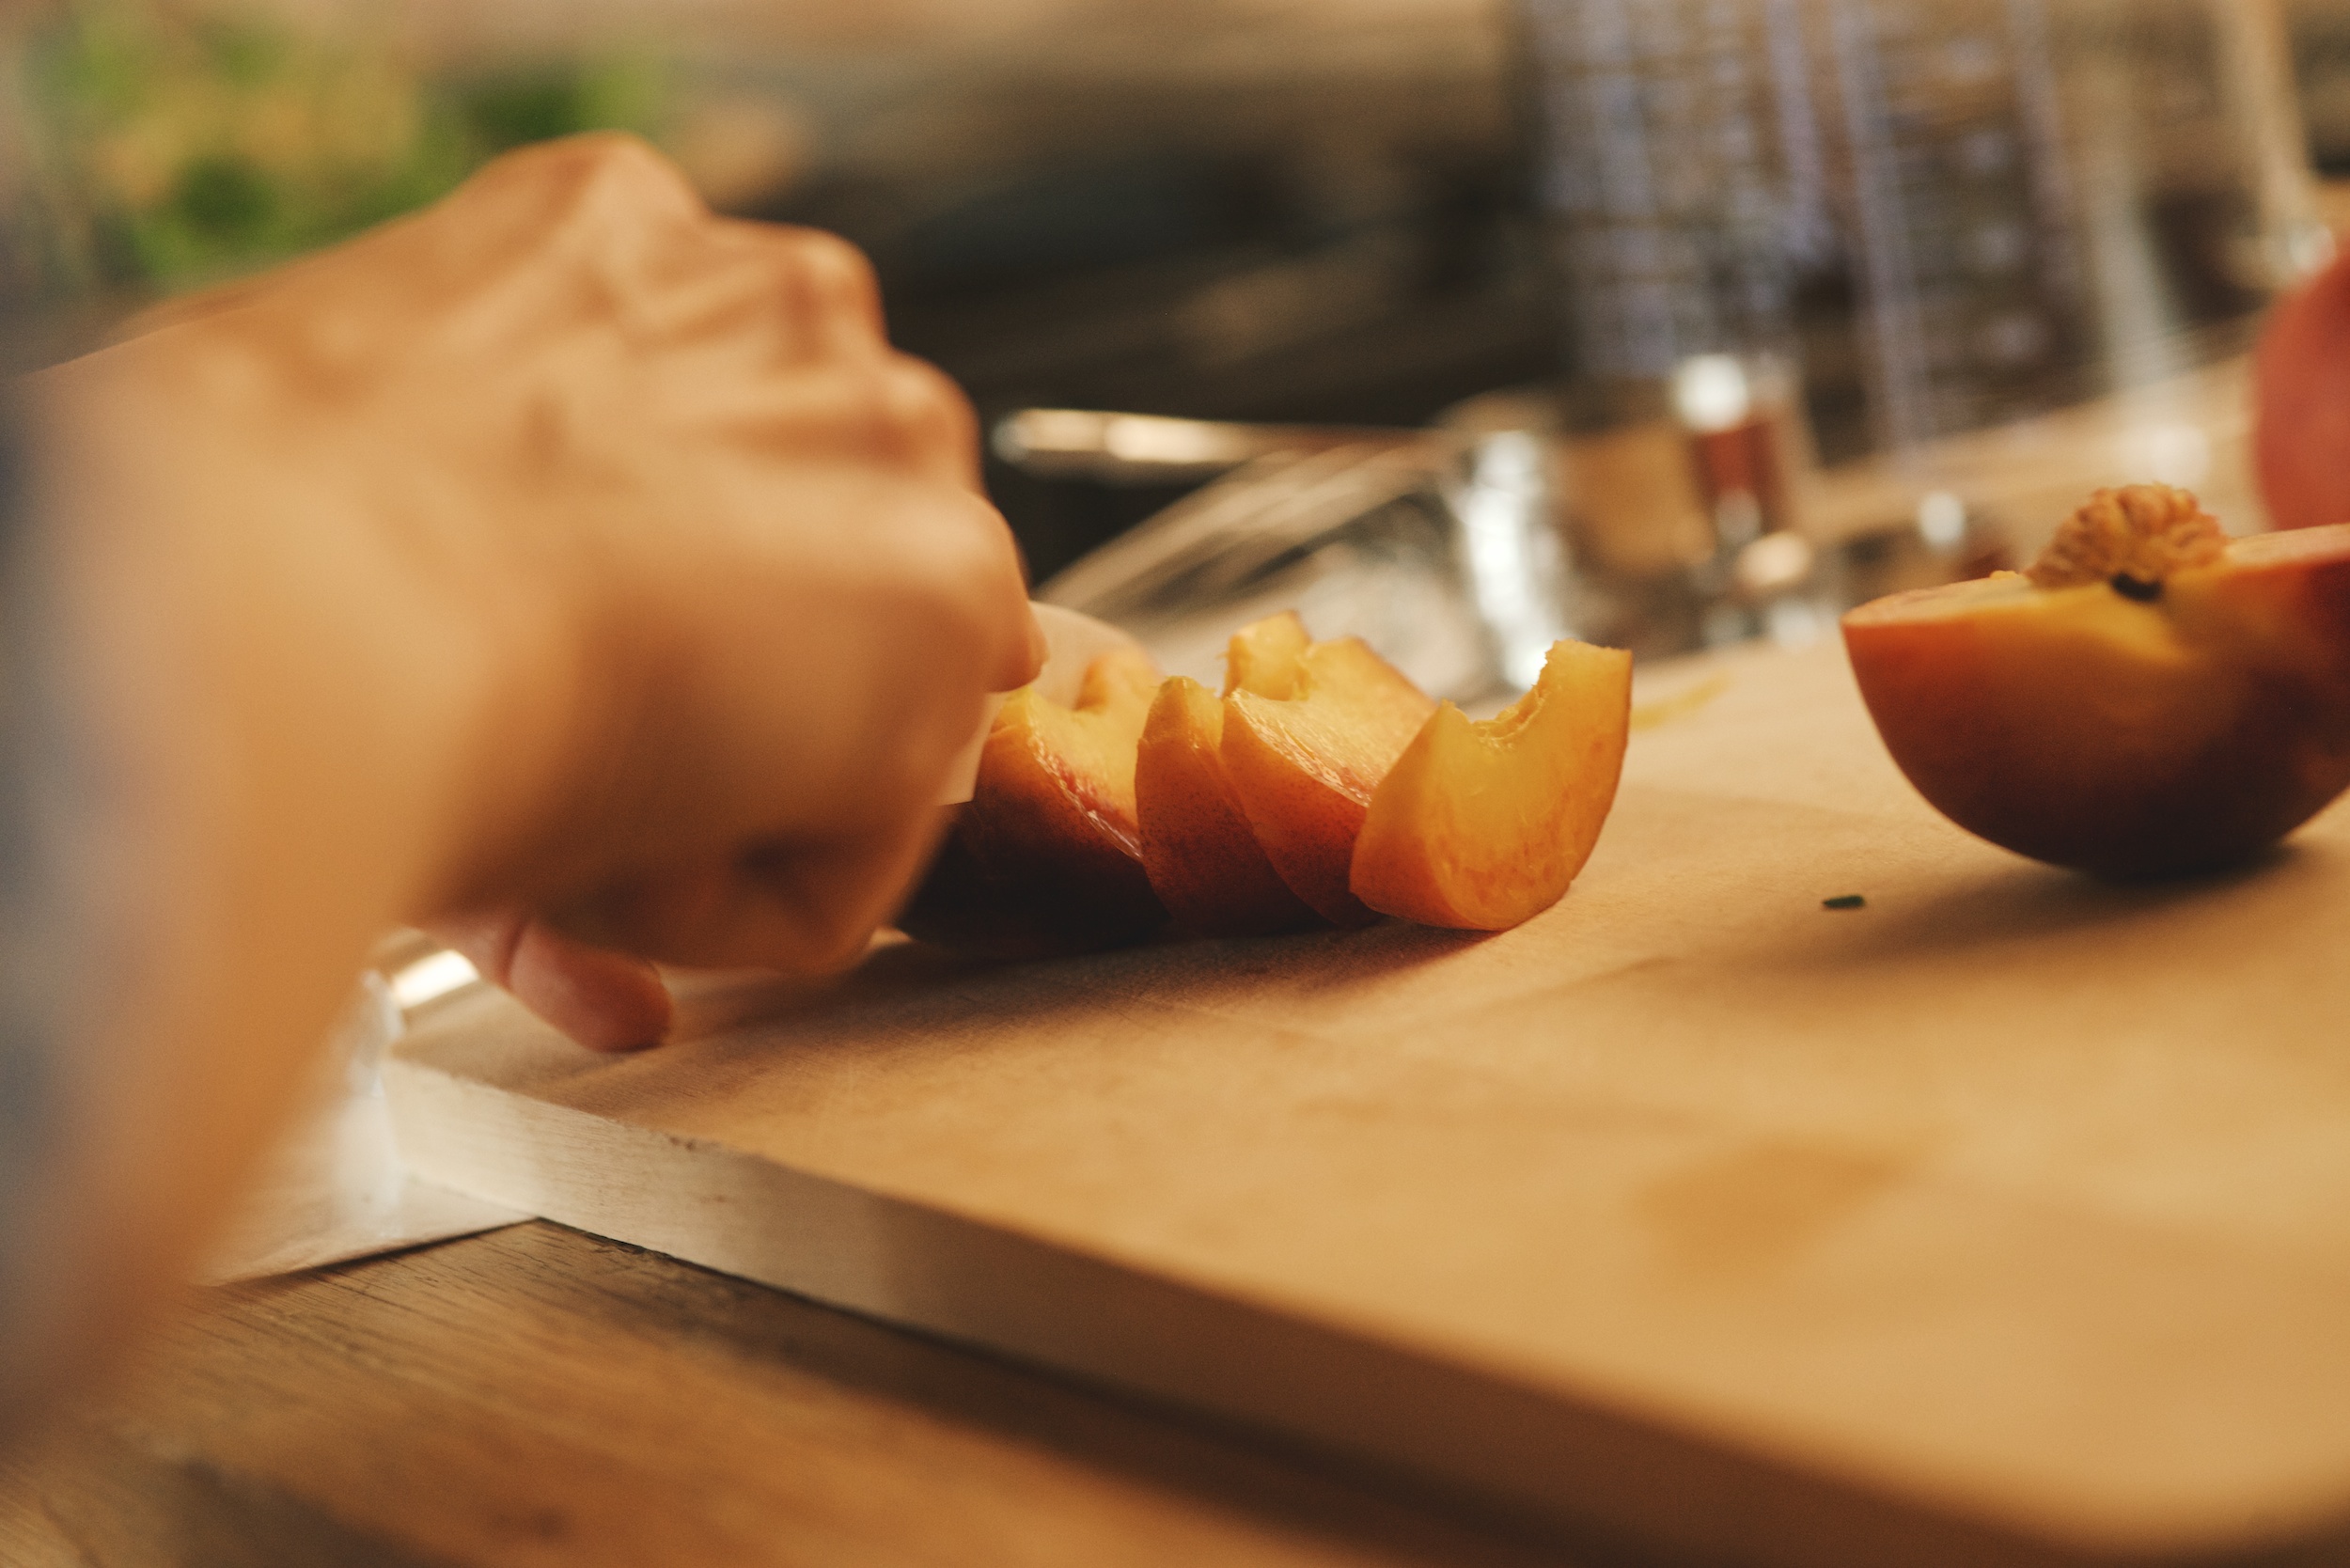
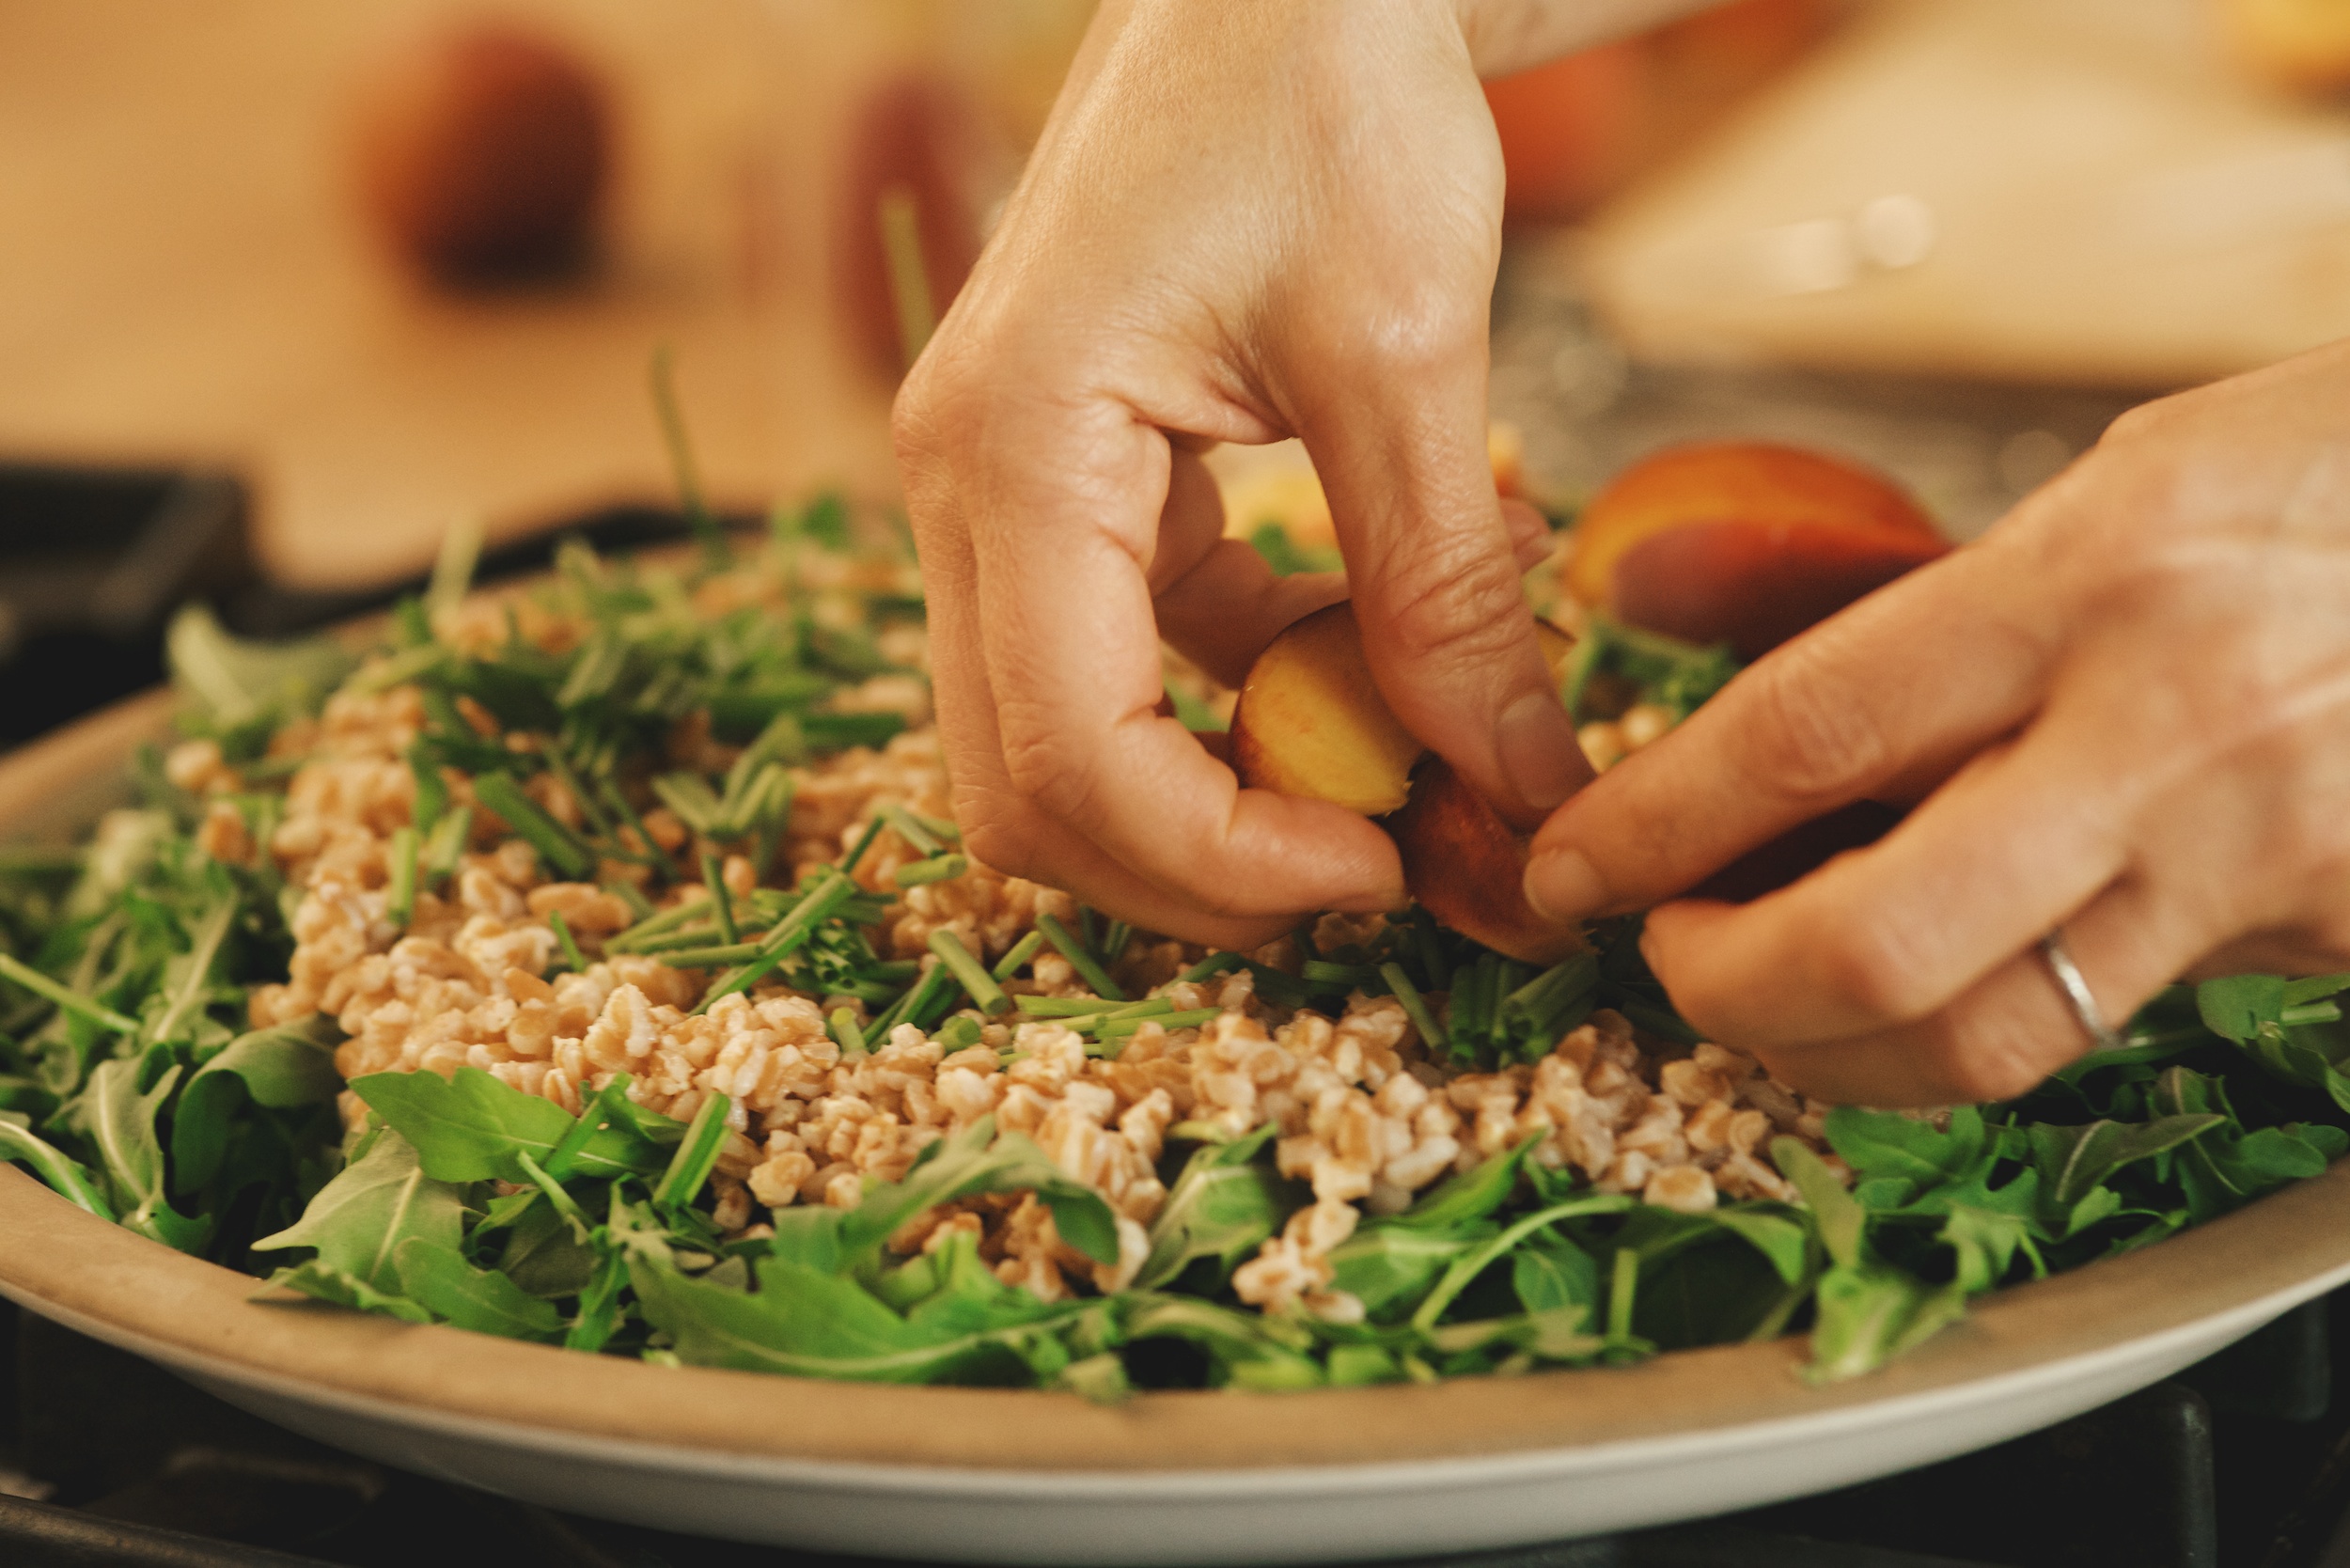
- 2 peaches, chopped
- ¼ cup chives, chopped
- Dressing:
- 3 Tablespoons Champagne vinegar or white wine vinegar
- 2 teaspoons raw honey
- ½ teaspoon sea salt
- a few grinds freshly ground black pepper
- 5 Tablespoons unrefined, cold-pressed extra-virgin olive oil
- a sprinkle of chopped or sliced nuts, such as almonds or walnuts (I used Marcona almonds here)
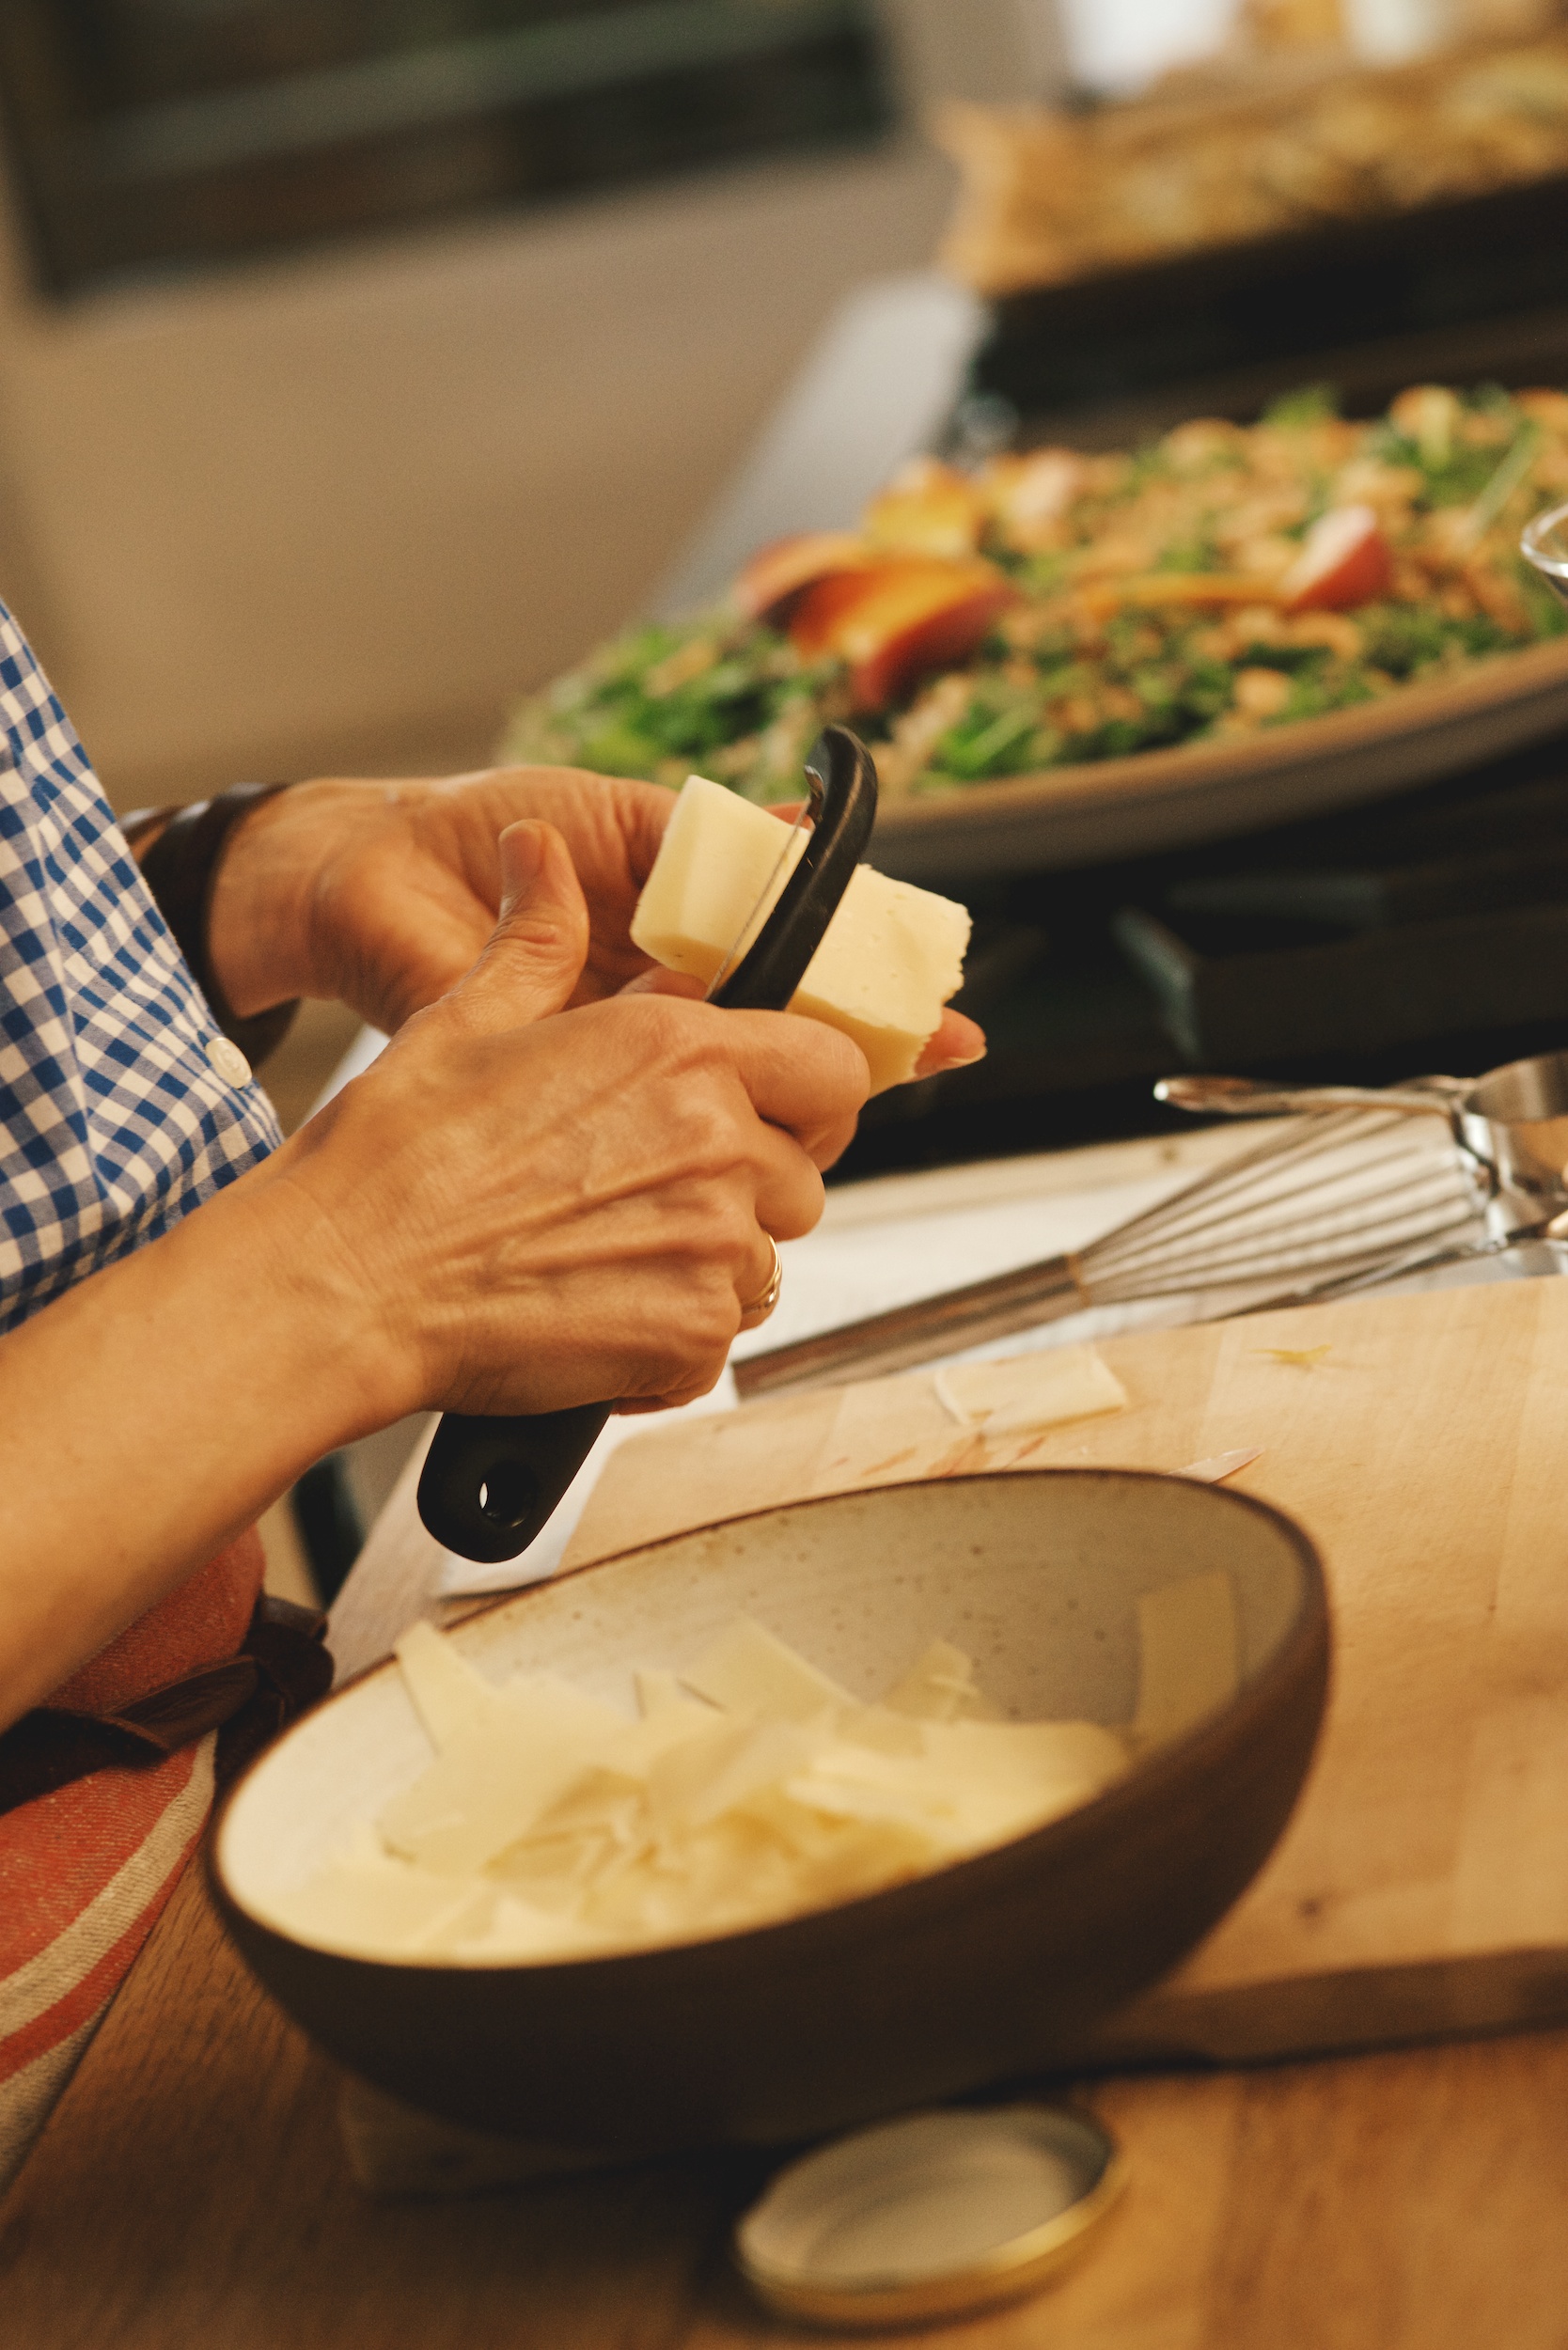
- a sprinkle of cheese, such as feta, gorgonzola or shaved Manchego, Parmesan or Pecorino (I used shaved Manchego here)
- Place farro in a medium saucepan with water to cover by at least three inches and a pinch of salt. Bring to a boil, lower to a simmer and cook until tender, about 25 minutes. Drain well. If using right away, rinse with cold water to cool down.
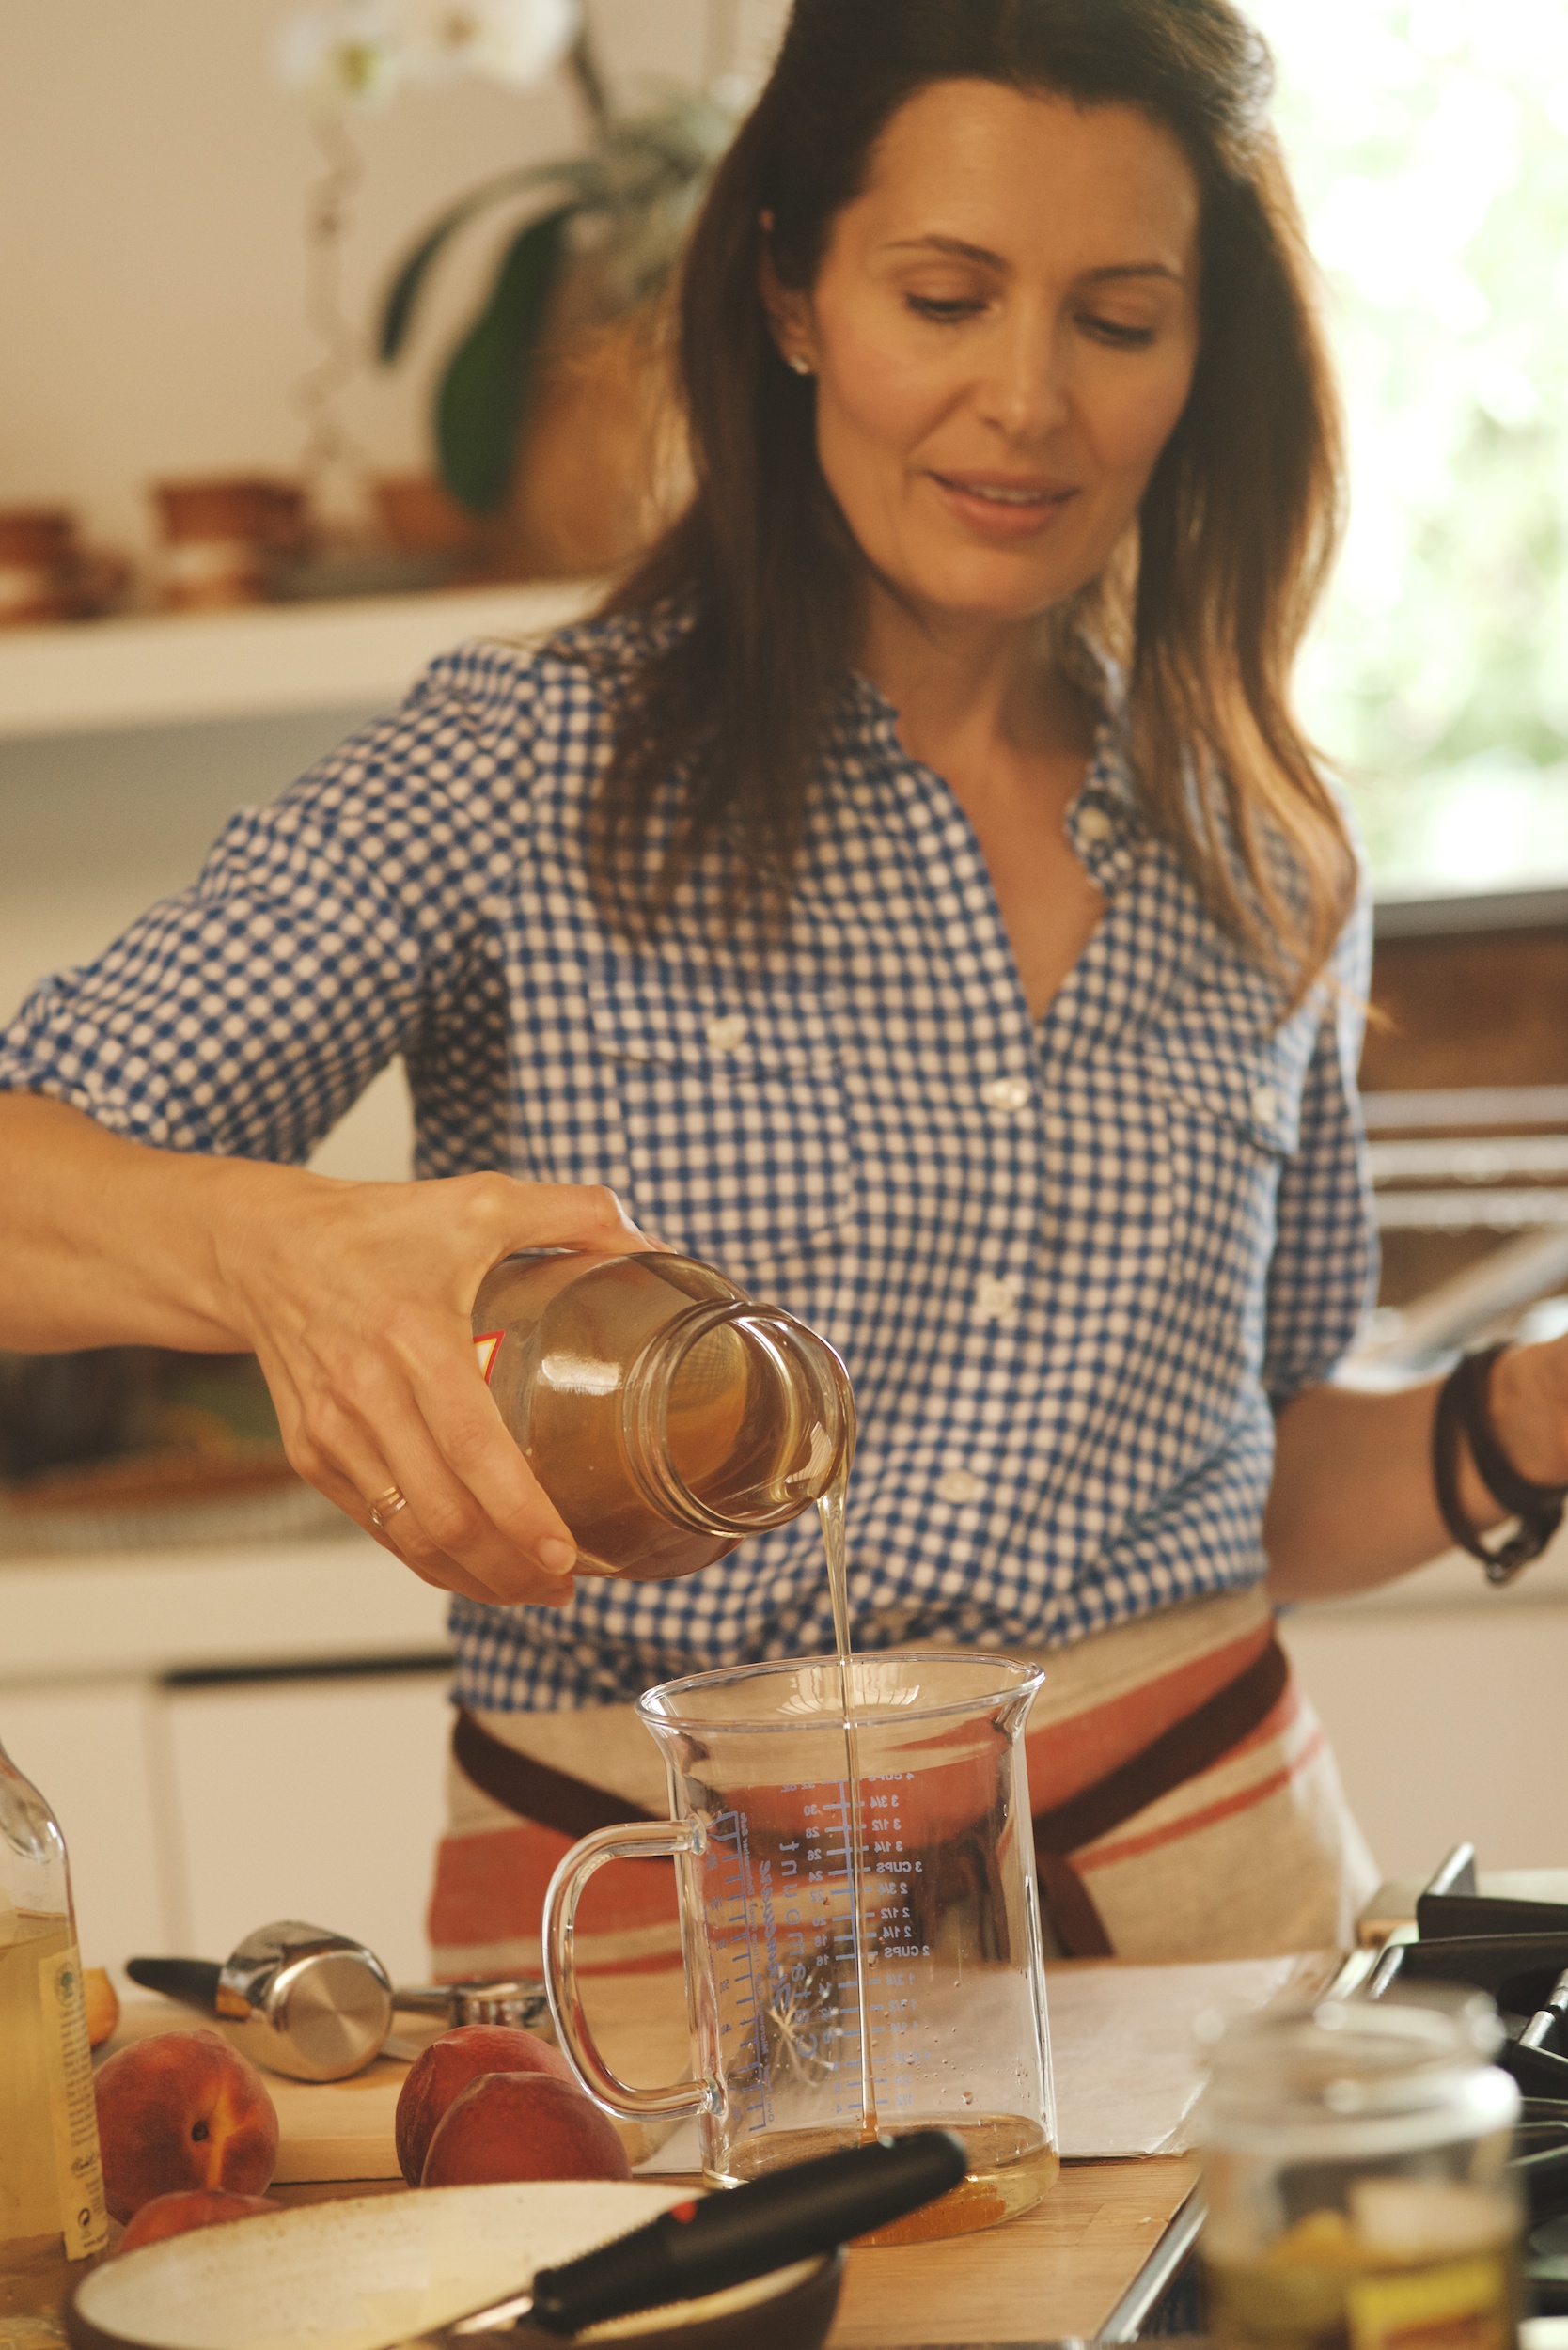
- In a medium bowl or a glass jar with a fitted lid, combine all dressing ingredients.
- Place the arugula, farro, chives, and peaches in a serving bowl and drizzle with enough dressing to lightly coat. Toss gently.
- Add chopped nuts and/or crumbled cheese, if desired.