Skip to content
Get Pamela’s Monday Musings Newsletter! →
About
Recipes
Classes
Bootcamps
Bootcamp Portal Login
Shop
Contact
Newsletter
Online Class Login
Search
Home
›
Recipes
›
Page 59
Recipes
Recipes
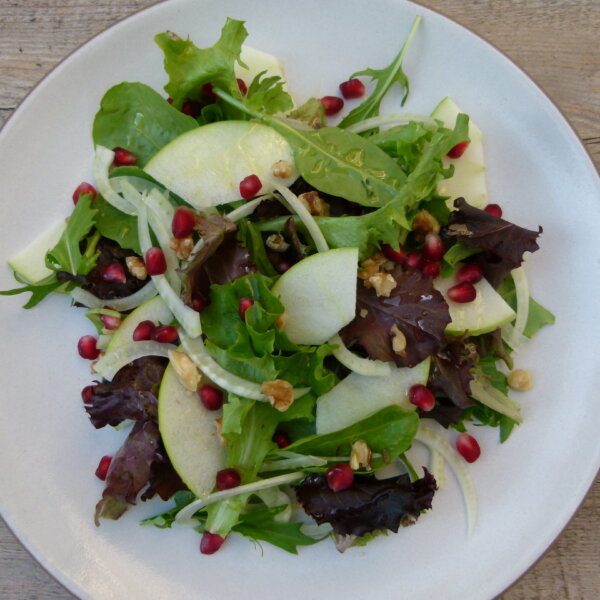
Fennel and green apple salad recipe
Legumes
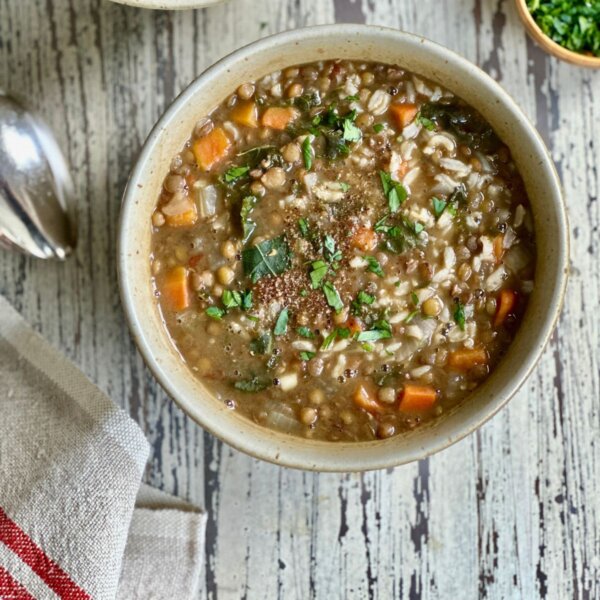
Lentil and brown rice soup recipe + Instant Pot version
Recipes
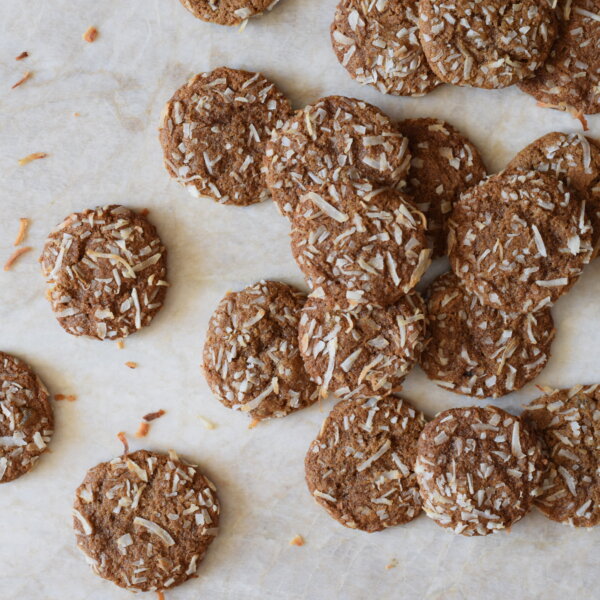
Molasses-ginger cookies recipe
Recipes
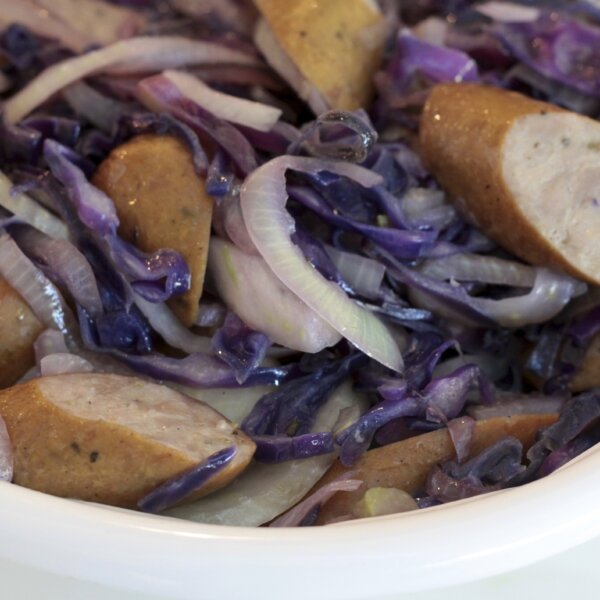
Turkey sausages with cabbage and fennel recipe
Recipes
Butternut squash, beet and apple skewers recipe
Recipes
Muhammara recipe (turkish red bell pepper and walnut dip)
Desserts
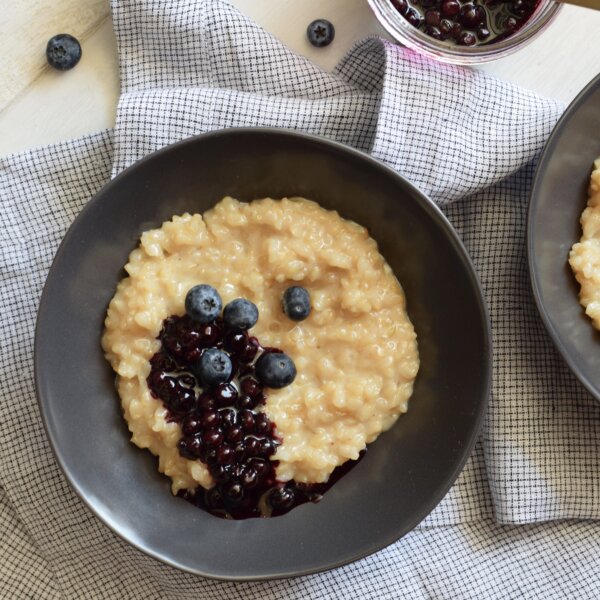
Creamy Brown Rice Pudding (Vegan)
Recipes
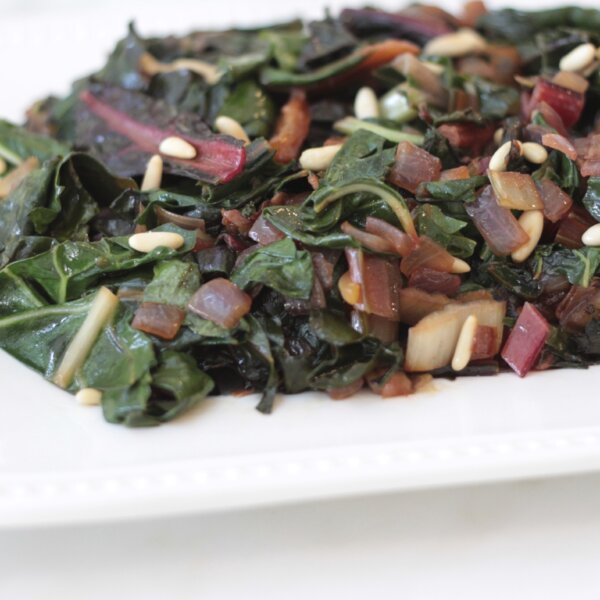
Sauteed swiss chard with dried apricots and pine nuts recipe
Recipes
Sweet potato-coconut soup recipe
Recipes
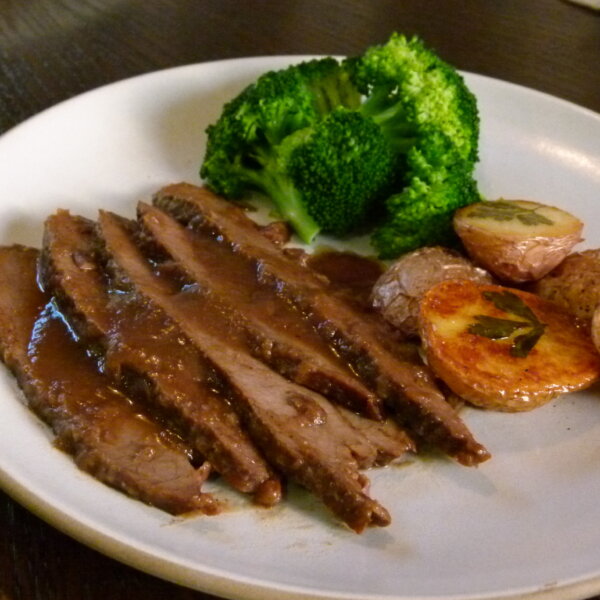
Onion-braised grass-fed beef brisket recipe
Recipes
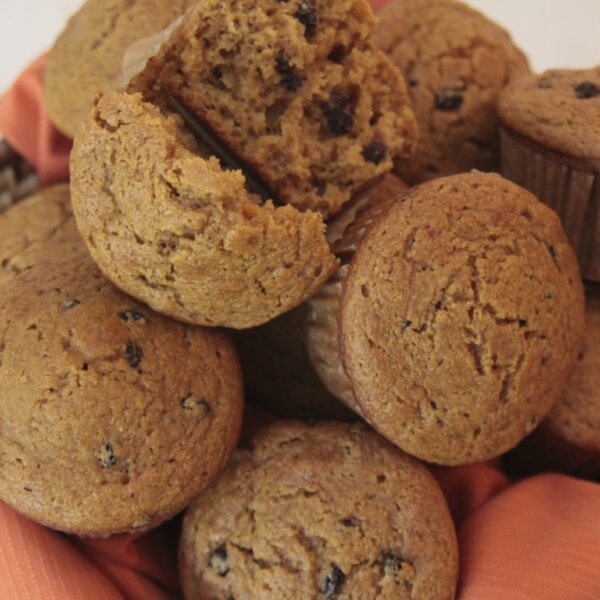
Whole wheat pumpkin muffins recipe
Recipes
How to make fresh pumpkin purée recipe
Basics
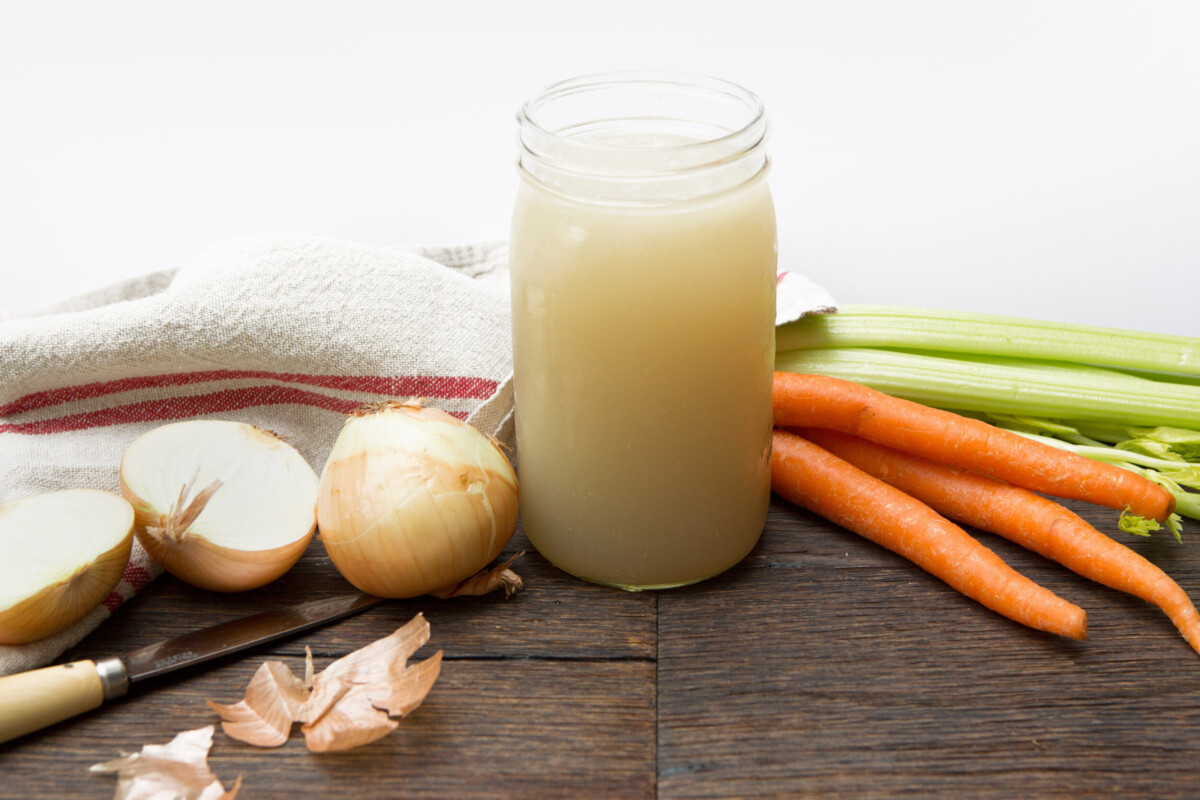
The Only Chicken Stock Recipe You’ll Ever Need (From Scratch!)
Posts navigation
Go to Previous Page
58
59