Vegan Oatmeal Chocolate Chip Cookies

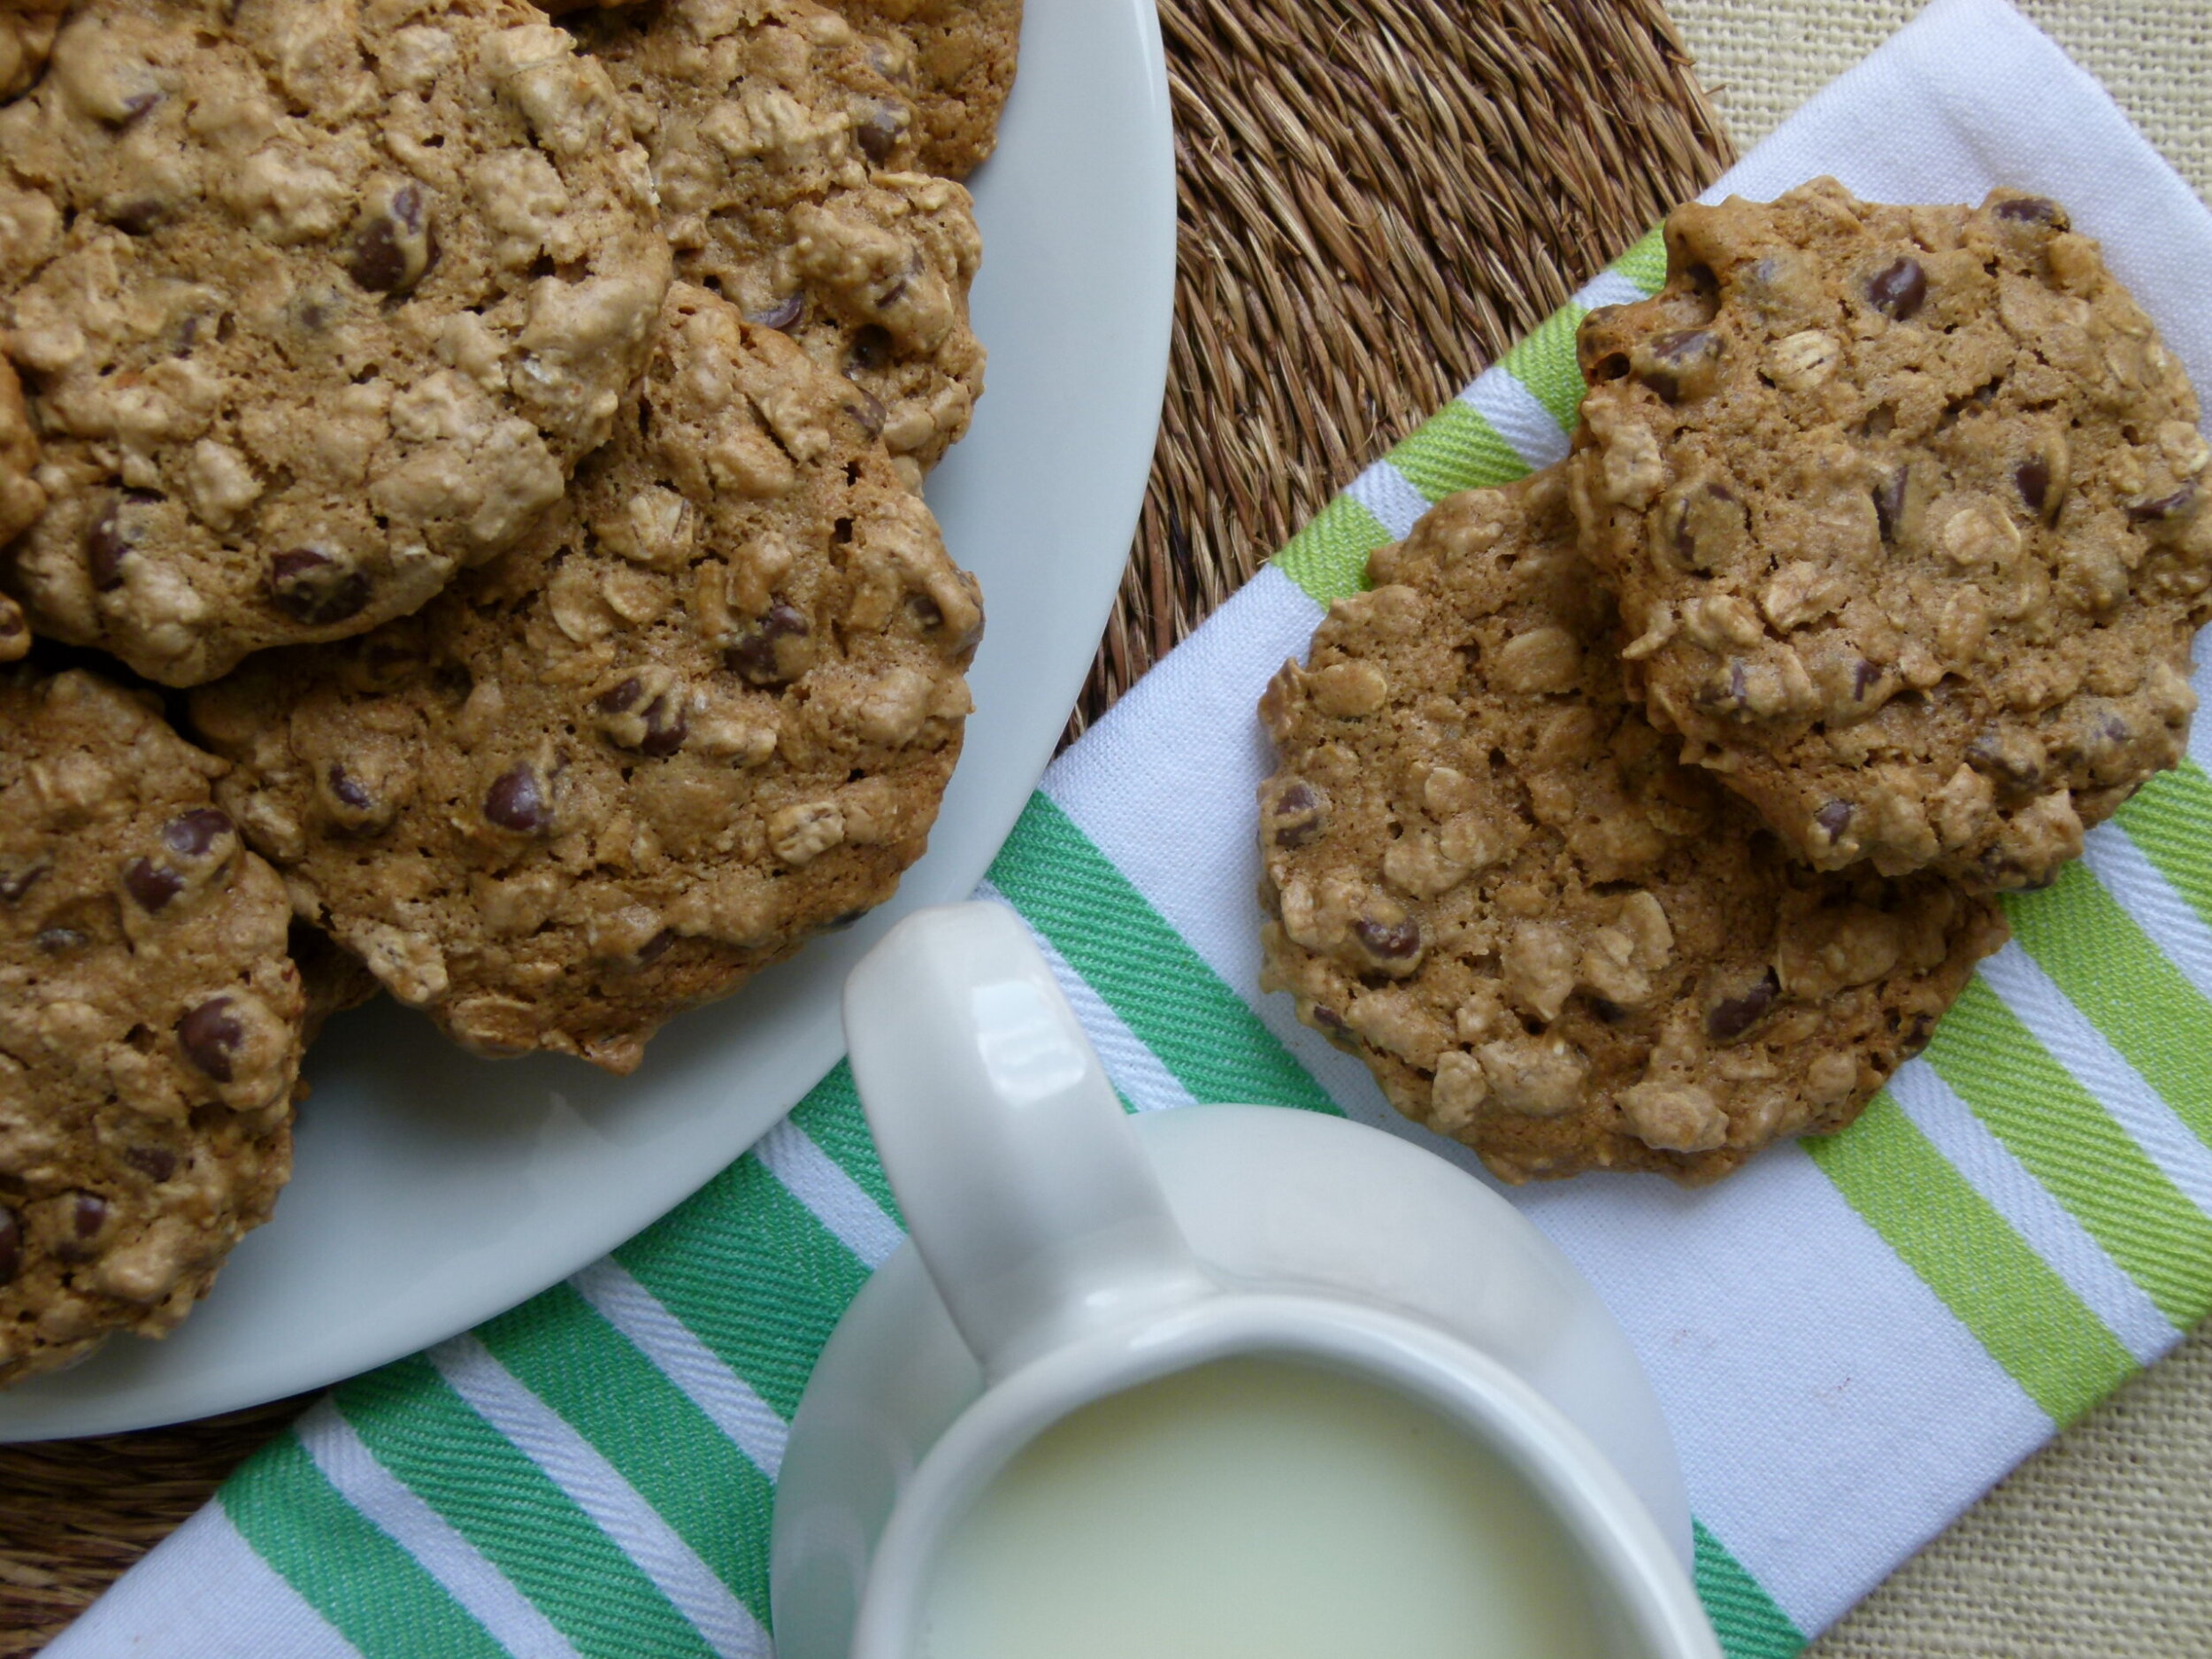
vegan oatmeal chocolate chip cookies on a plate with milk

A delicious cookie that’s both vegan and packed with wholesome ingredients? Yep! These vegan oatmeal chocolate chip cookies combine the heartiness of oats with rich, melty chocolate for the perfect guilt-free treat. Whether you’re vegan or just love a good cookie, this recipe become a favorite in no time!
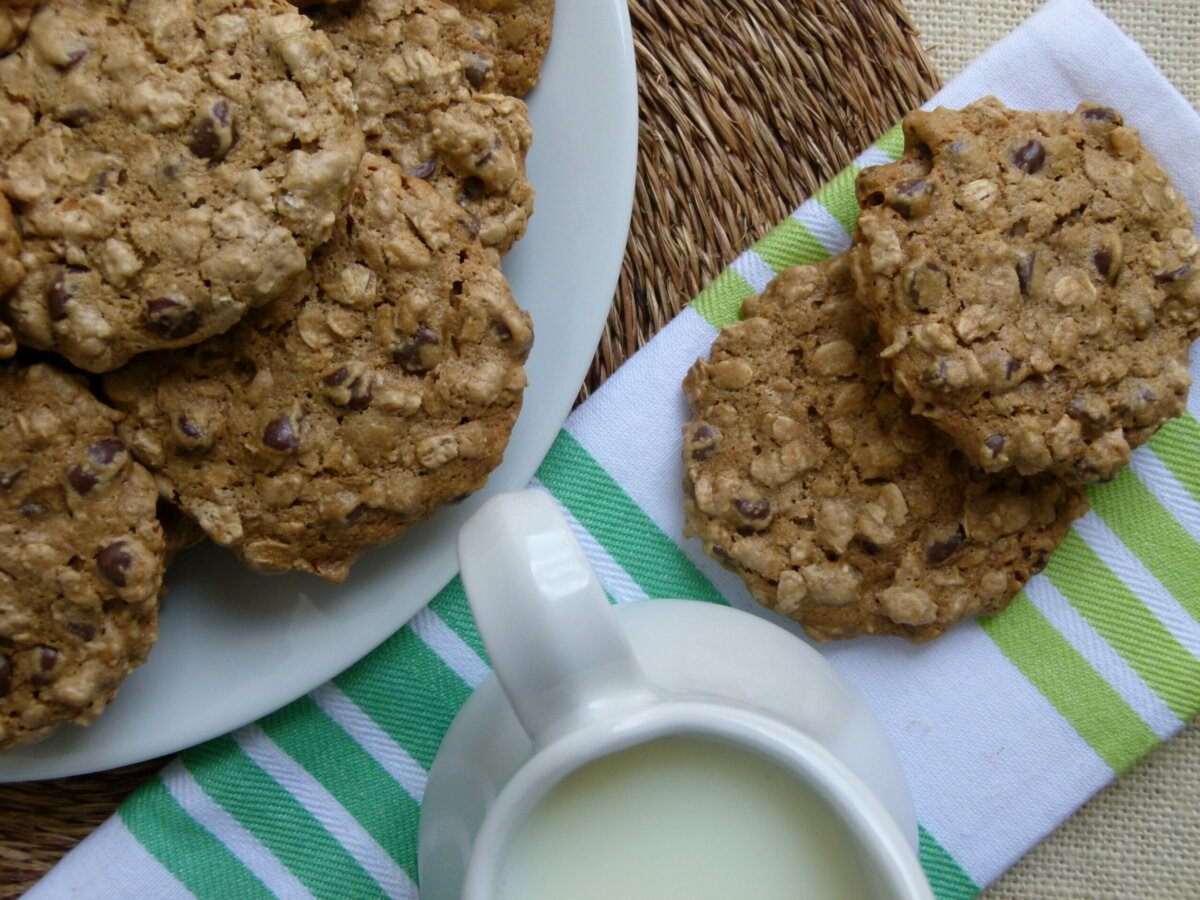
vegan oatmeal chocolate chip cookies on a plate with milk

Why You'll Love This Vegan Oatmeal Cookies

I love being able to share recipes that are delicious, easy, and just so happen to be good for you recipes. Take these vegan oatmeal chocolate chip cookies, for example. Using a base of walnuts, maple syrup, and a touch of coconut oil in place of butter and regular eggs, these are just darn tasty and not-so-shabby, nutritionally speaking.


Like many cookie recipes, you can make the dough several days in advance and keep it covered in the refrigerator. Take it out when you’re ready to bake and scoop it onto your cookie sheets. 


They are full of fiber and contain no refined sugar. No animal products either, if that’s important to you. You can even make them gluten-free by using gluten-free oats. Serve them with a glass of your favorite non-dairy milk and enjoy every last bite!

Ingredient Notes

These really are the best vegan oatmeal chocolate chip cookies. With simple ingredients and 15 minutes of baking time, these vegan cookies have the perfect texture and are full of ooey gooey goodness. 


  • oat flour: You can easily make your own oat flour. See step 2 in the recipe card.
  • baking soda
  • fine grain sea salt
  • ground cinnamon
  • raw walnuts or walnut meal: You can also use raw cashews/cashew meal or raw pecans/pecan meal. 
  • melted coconut oil or olive oil or avocado oil
  • 100% pure maple syrup
  • vanilla extract
  • rolled oats: To make this recipe gluten-free, make sure to use gluten-free rolled oats. For best results, use old-fashioned rolled oats, though quick oats will work in a pinch. 
  • vegan chocolate chips


See the recipe card below for exact ingredient amounts.

Step-by-Step Instructions

Step 1: Preheat oven to 350 degrees. Line 2 baking sheets with parchment paper.


Step 2: *If you need to make oat flour, place 1 ¾ cups rolled oats in a food processor and process until powdery.


Step 3: Place the dry ingredients: oat flour, baking soda, salt, and cinnamon in a large mixing bowl and whisk together.
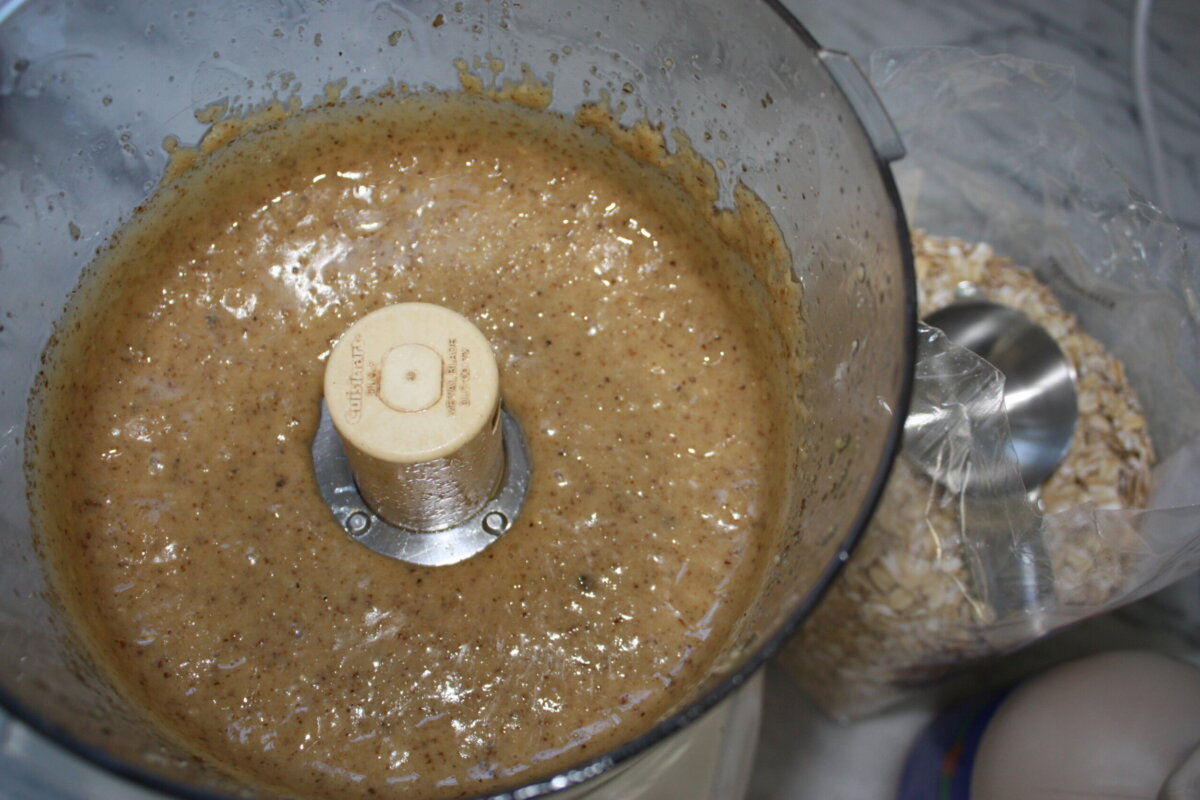
recipe ingredients in a food processor

Step 4: Place walnuts in a food processor and blend into a fine meal. Add oil, maple syrup, and vanilla and process until the mixture has the consistency of natural nut butter (this serves as our egg replacer!)
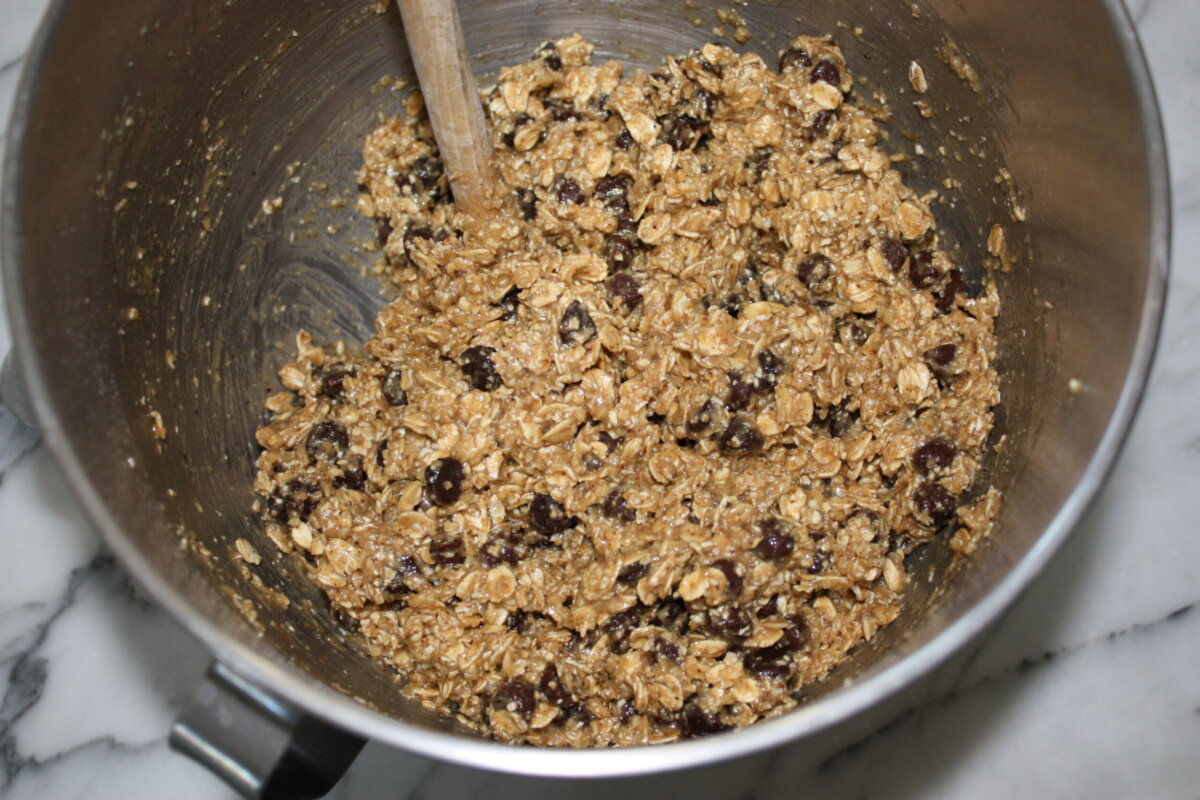
 

cookie dough in a mixing bowl

Step 5: Stir walnut mixture into flour mixture. Fold in 2 cups of rolled oats and chocolate chips.


Step 6: Use a 1 ¾ -inch ice cream scooper (or cookie scoop) to form dough into balls, and place the cookie dough balls on the parchment lined baking sheet. You can fit 12 on a sheet. Flatten cookies slightly with a damp hand. Bake for 13-15 minutes or until cookies begin to turn golden brown and the tops look dry.


Step 7: Cool for a few minutes and then transfer to a wire rack to cool completely.
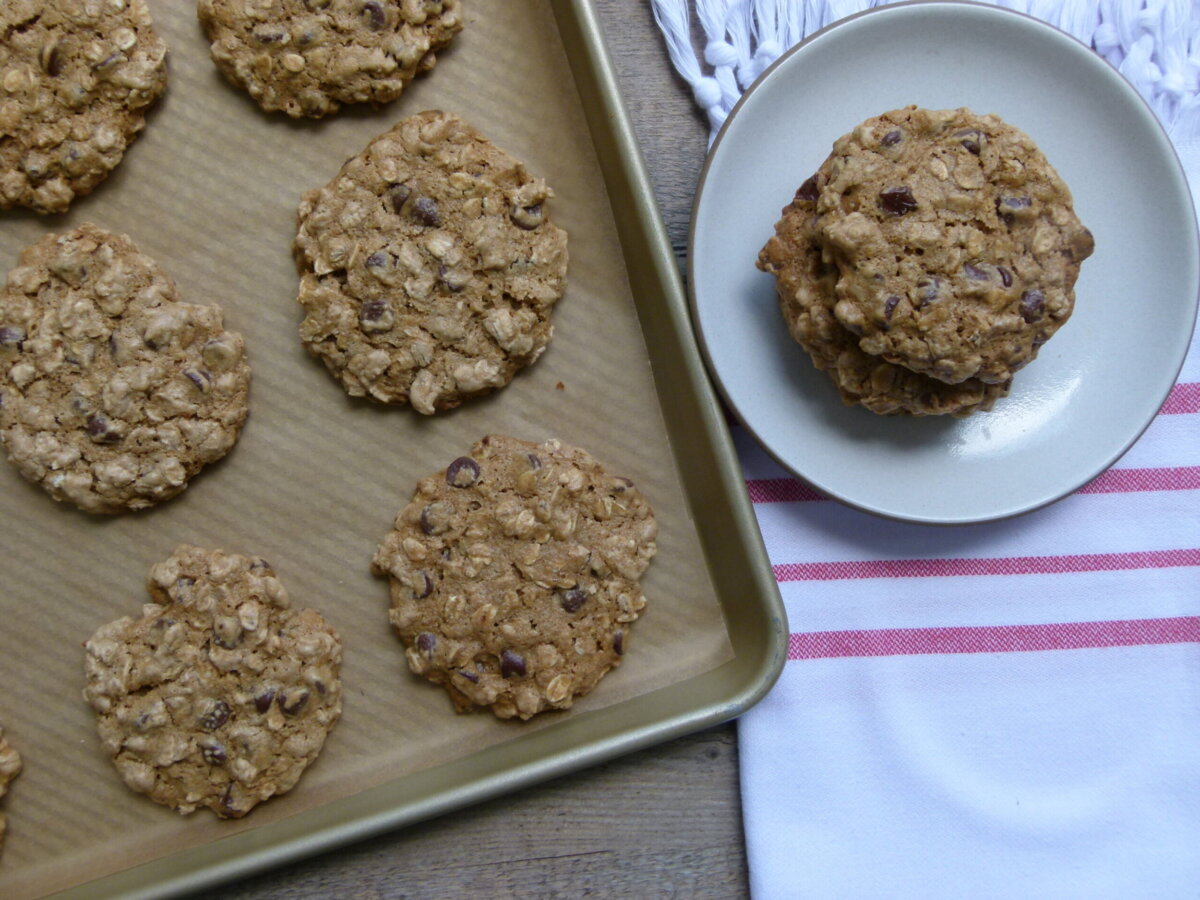
vegan oatmeal chocolate chip cookies on a baking sheet

Recipe Tips & Substitutions

  • Mix-ins: Feel free to add other mix-ins such as shredded coconut, chopped nuts, or additional chocolate chunks or chips. 
  • Oil: I prefer oil in this recipe, but you can use vegan butter if that’s what you have on hand.
  • Make your own Oat Flour: If you need to make oat flour, place 1 ¾ cups of rolled oats in a food processor and process until powdery.

Storage Tips

Store baked leftover cookies in an airtight container for up to a week at room temperature. For longer storage, let the cookies cool completely on the cooling rack. Then, store the cooled and baked cookies in a freezer-safe container or freezer bag for up to 3 months. 


If you have leftover dough, store it in the refrigerator, covered, for up to 3-4 days. 


To freeze the cookies unbaked: Arrange them in a single layer on the baking sheet and place the pan in the freezer. Once the cookies are frozen solid, transfer them to an airtight container and keep them frozen until you’re ready to bake. Then just place them on a prepared baking sheet directly from the freezer and add another minute or two to the baking time.
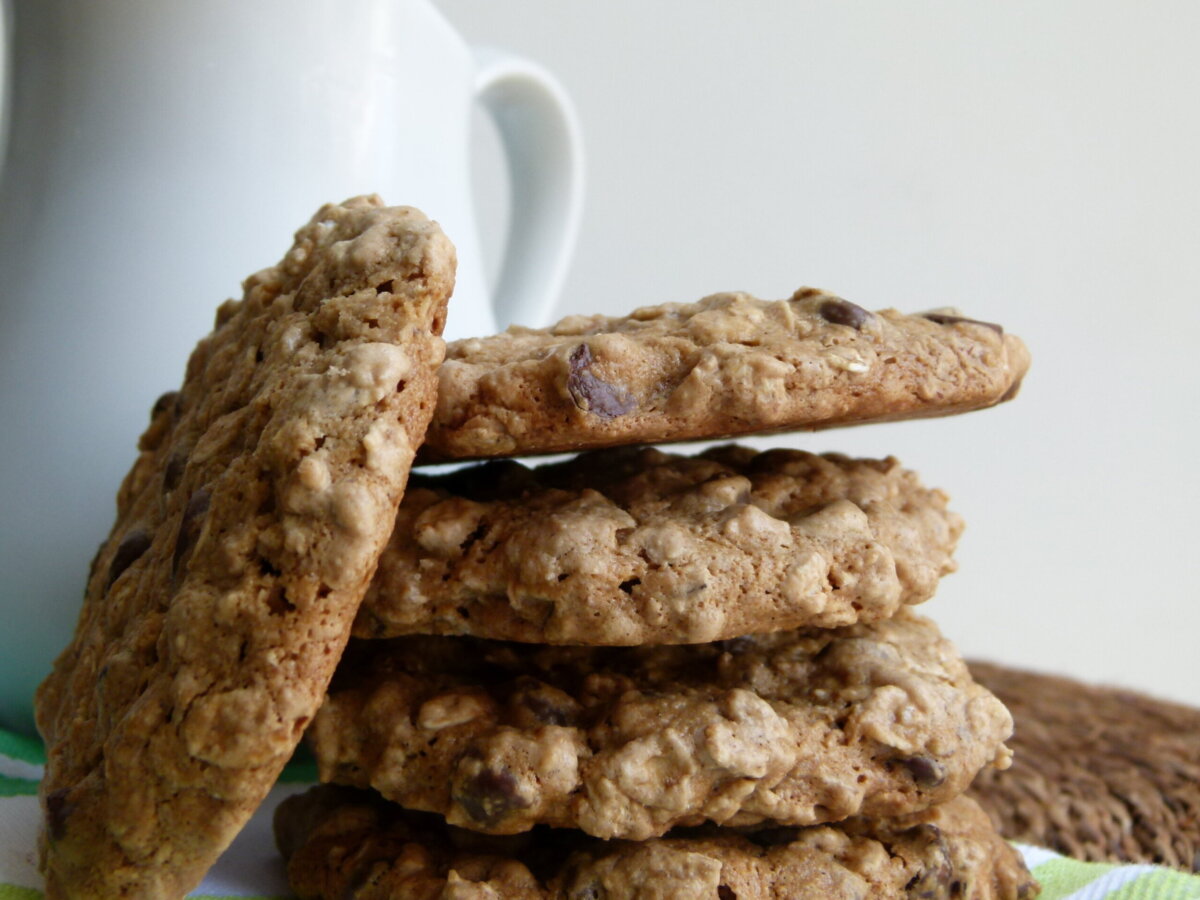
a stack of cookies next to a white mug

More Vegan Cookie Recipes

If you give this applesauce coffee cake recipe a try, snap a pic and tag @pamelasalzman so I can see your beautiful creations. I also really appreciate readers taking the time to leave a star rating and review! I have started a weekly Monday newsletter with tips, musings, new recipes not published here, fun new finds, and more. Subscribe for free here.

For more delicious recipes and to learn how to be a better cook, check out my monthly online cooking classes. I have been teaching people for 15 years how to cook healthy food that their families love!  Join me!
Vegan Oatmeal Chocolate Chip Cookies

Pamela
A delicious cookie that's both vegan and packed with wholesome ingredients? Yep! These vegan oatmeal chocolate chip cookies combine the heartiness of oats with rich, melty chocolate for the perfect guilt-free treat. Whether you're vegan or just love a good cookie, this recipe become a favorite in no time!
4.82 from 16 votes
Prep Time 10 minutes
Cook Time 15 minutes
Total Time 25 minutes

Ingredients
  

  • 1 ½ cups oat flour
  • 1 teaspoon baking soda
  • 1 teaspoon fine grain sea salt
  • ¼ teaspoon ground cinnamon
  • 2 cups raw walnuts or walnut meal or cashews/cashew meal or pecan/pecan meal
  • 3 Tablespoons melted coconut oil or olive oil or avocado oil
  • 1 cup 100% pure maple syrup
  • 2 teaspoons vanilla extract
  • 2 cups rolled oats
  • 12 ounces or 1 ½ cups chocolate chips

Instructions
 

  • Preheat oven to 350 degrees. Line 2 baking sheets with parchment paper.
  • *If you need to make oat flour, place 1 ¾ cups rolled oats in a food processor and process until powdery.
  • Place oat flour, baking soda, salt and cinnamon in a mixing bowl and whisk together.
  • Place walnuts in a food processor and blend into a fine meal. Add oil, maple syrup and vanilla and process until mixture has the consistency of natural nut butter.
  • Stir walnut mixture into flour mixture. Fold in 2 cups rolled oats and chocolate chips.
  • Use a 1 ¾ -inch ice cream scooper to form dough into balls, and place on baking sheets. You can fit 12 on a sheet. Flatten cookies slightly with a damp hand. Bake 13-15 minutes or until cookies begin to brown and tops look dry.
  • Cool a few minutes and then transfer to wire rack to cool completely.

Notes

  • Store baked leftover cookies in an airtight container for up to a week at room temperature. For longer storage, let the cookies cool completely on the cooling rack. Then, store the cooled and baked cookies in a freezer-safe container or freezer bag for up to 3 months.
  • If you have leftover dough, store it in the refrigerator, covered, for up to 3-4 days.
  • To freeze the cookies unbaked: Arrange them in a single layer on the baking sheet and place the pan in the freezer. Once the cookies are frozen solid, transfer them to an airtight container and keep them frozen until you're ready to bake. Then just place them on a prepared baking sheet directly from the freezer and add another minute or two to the baking time.
Tried this recipe?Let us know how it was!

This post may contain affiliate links

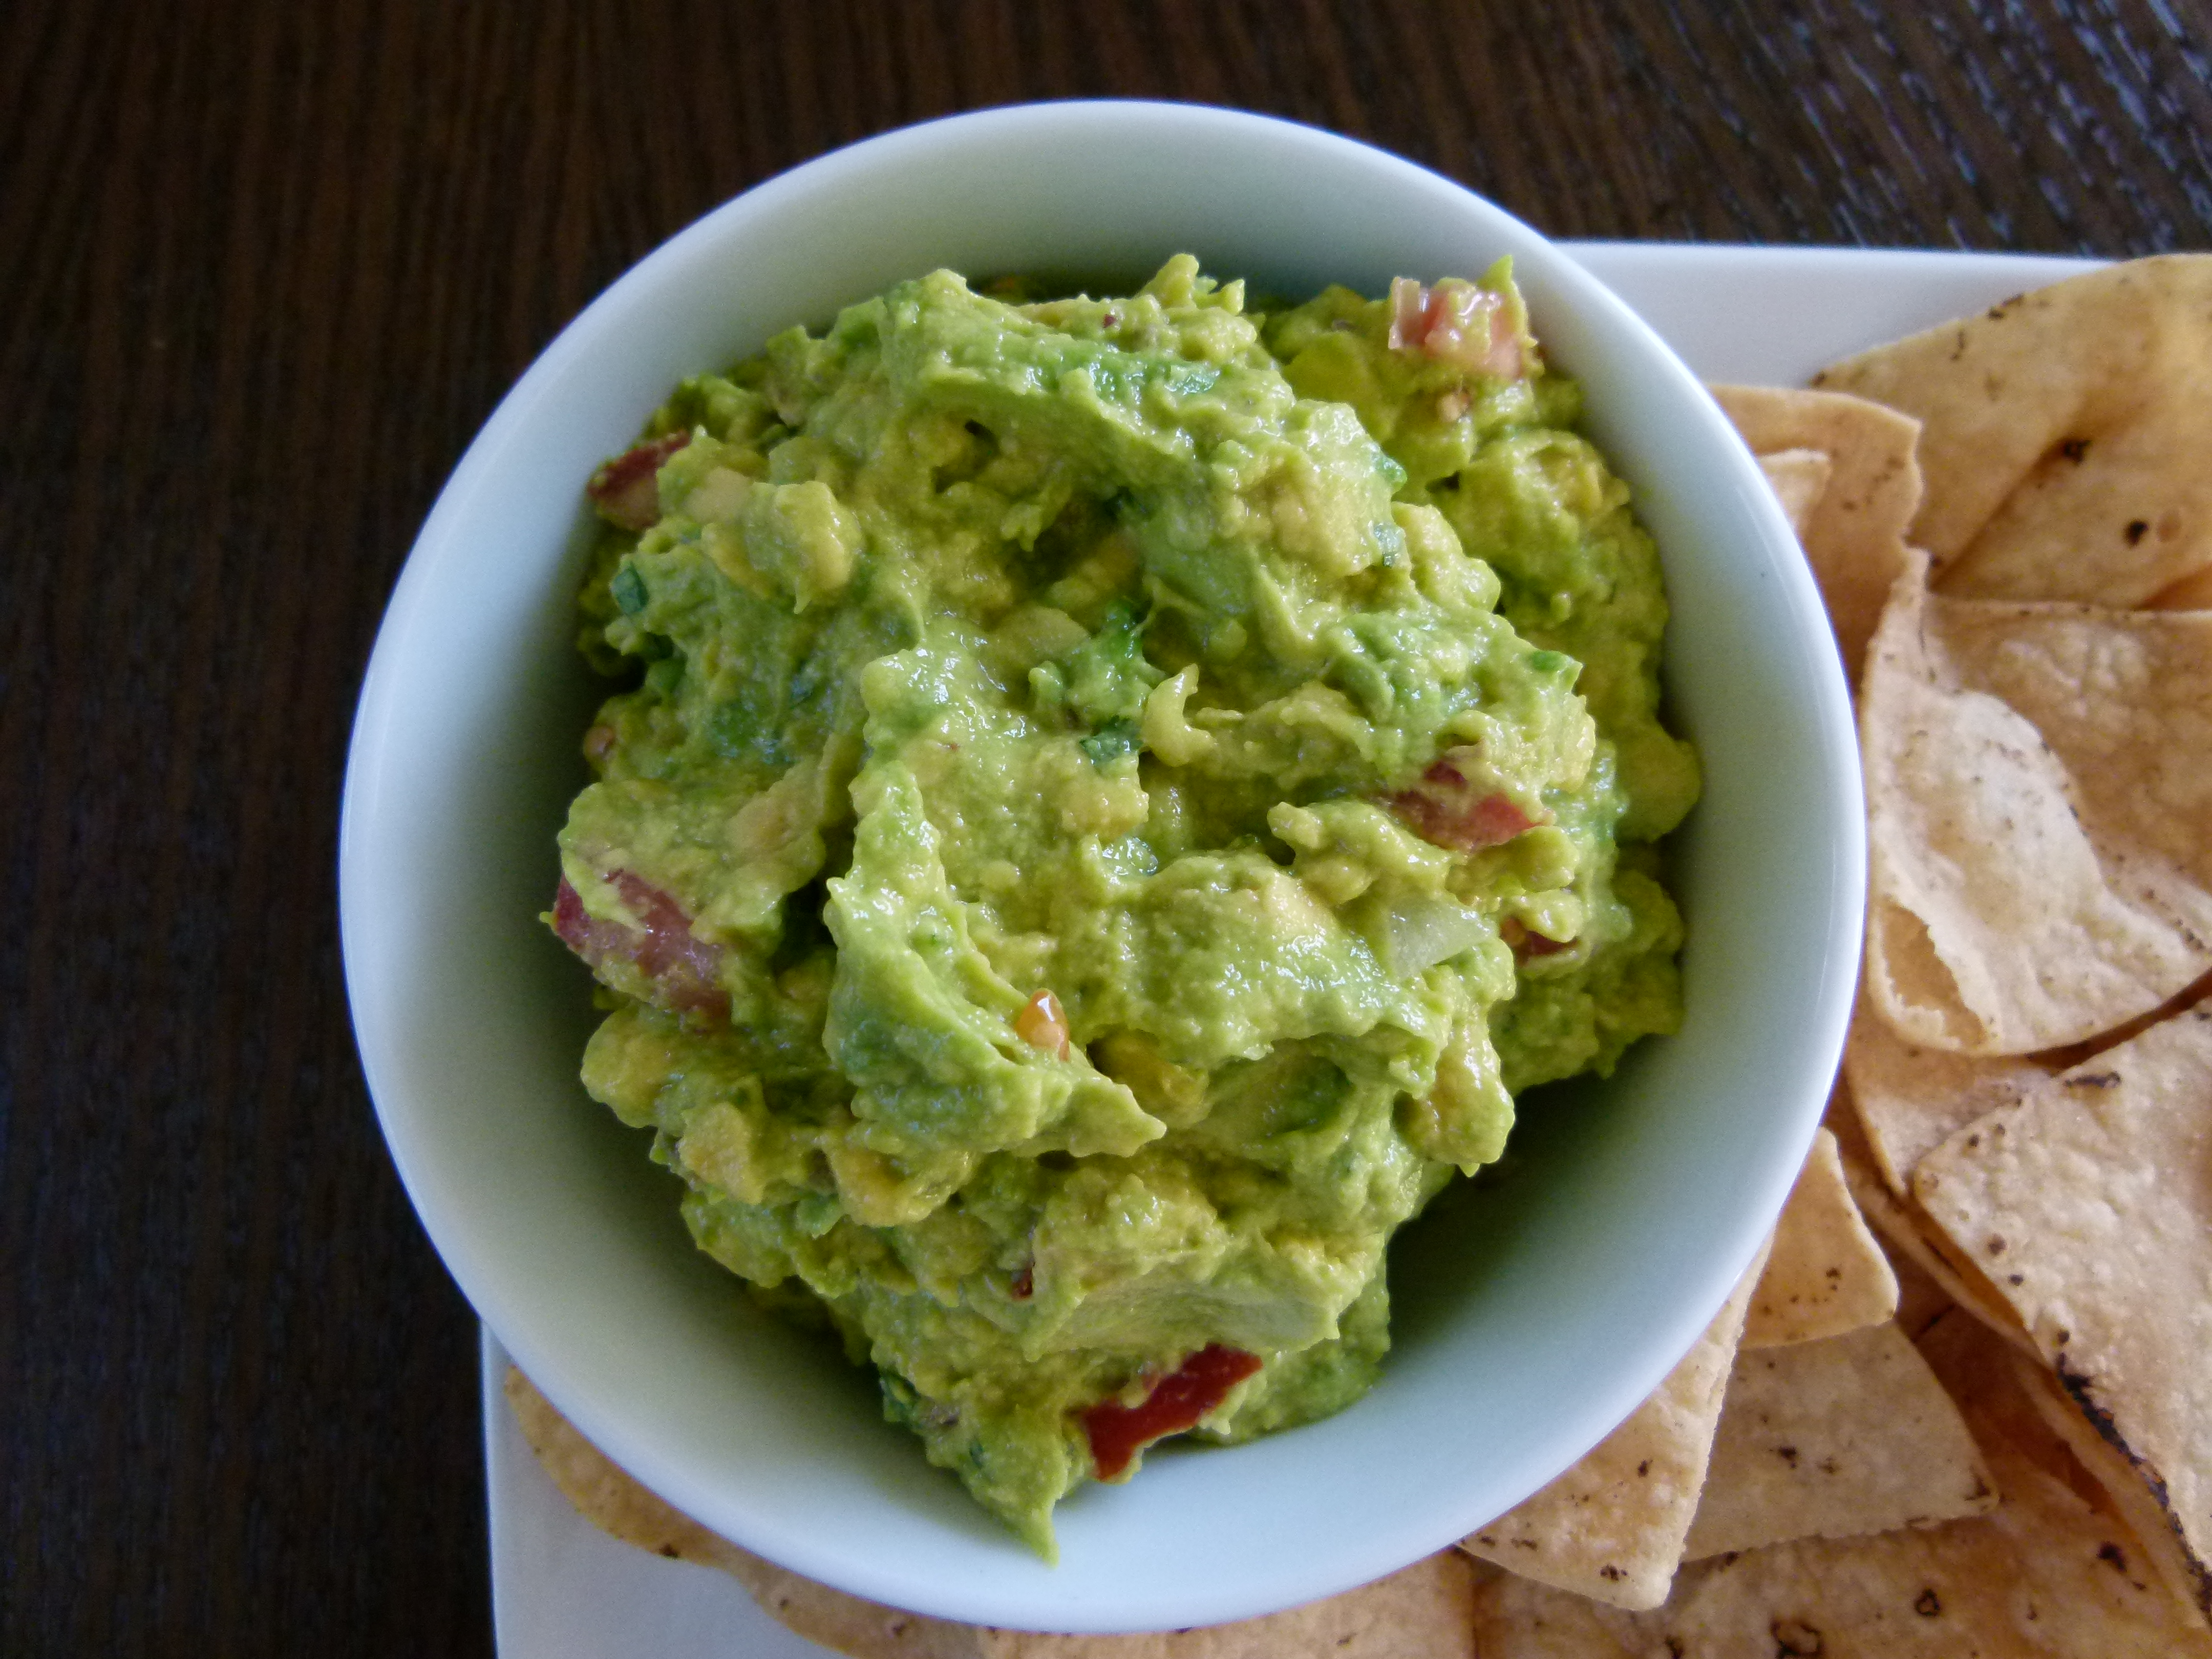
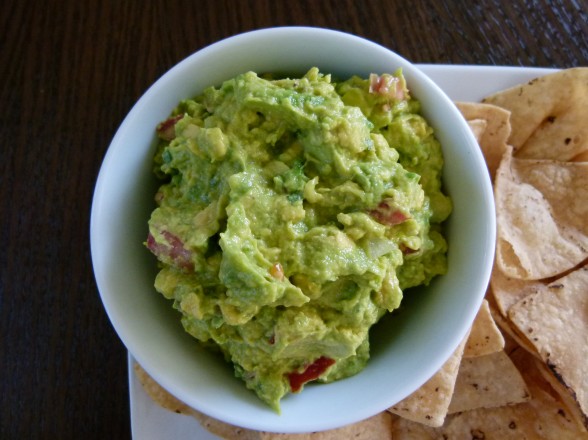
Guacamole and baked tortilla chips recipe

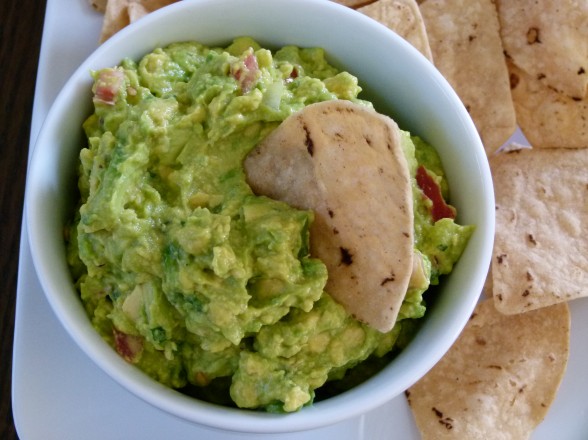
perfect guacamole and baked tortilla chips

Do not be under the misconception that because I teach people how to cook healthful food that I myself eat only whole foods all day every day.  Didn’t you read about my 90/10 plan?  90% of the time I try my best to eat super high-quality food — as whole and unprocessed as possible.  The other 10% of the time (which basically leaves Friday and Saturday nights), I eat whatever I want and I don’t feel bad about it.  Want to know what my guilty pleasure is?  Nope, not chocolate or candy, not booze or burgers.  It’s guacamole and chips.  I could eat bowls full of the stuff at any time.

When I moved to California from New York almost 20 (gasp!) years ago, I was introduced to the avocado and guacamole.  I couldn’t believe such a wonderful thing existed and I had just had my first taste (like when my husband took my son at 3 years old for his first Slurpee and the boy asked “why I not have this before?”).  Creamy, rich guacamole on a crispy, salty chip was my idea of delicious and addictive, especially if the chip was folded over.  I was also finding lots of other ways to enjoy avocados — chopped into salads, as a garnish on chili, and my favorite, thin wedges on whole grain toast with or without a slice of lox.  Divine, I tell you.

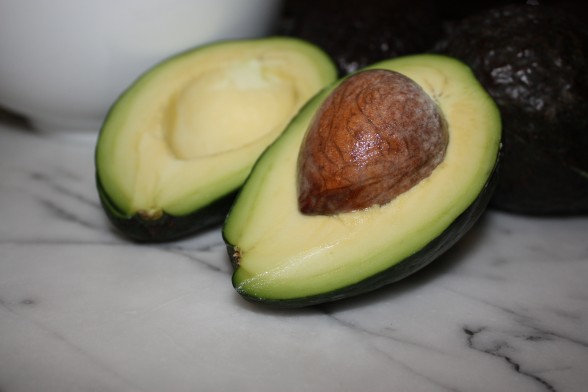
You can imagine the cause for celebration when I discovered that avocados are actually good for you!  Really good for you!  Who knew that something so creamy and buttery could have loads of fiber, Beta-carotene and minerals, such as potassium, magnesium and iron?  While it is absolutely true that avocados are very high in fat, it’s the kind of high quality fat that you want to eat.  It is the freshest kind of fat, one that hasn’t been exposed to air or processing and its profile is mostly monounsaturated fat, like the kind found in olive oil.  Hooray!  Avocados are also loaded with Vitamin E, a very powerful anti-oxidant.

So let’s chow down on the guacamole, right?  Well, you’ve heard it before — it’s not the guacamole that’s the problem, it’s what you eat with it that’s a whole lot of trouble.  I am referring to chips, especially the kind that are made from genetically-modified corn and fried in some low-quality corn or soybean oil.  Do not fret.  There is hope!  You can buy organic soft corn tortillas and make your own baked chips without a big commotion.  I am whipping up a few batches right now in preparation for tomorrow’s holiday.  What, you don’t celebrate the Super Bowl??  While you’re at it, check out a great vegetable chili recipe and you’ll be all set for the big day.  Go Steelers!

perfect guacamole and baked tortilla chips

Guacamole and Baked Tortilla Chips

Pamela

Ingredients
  

  • guacamole:
  • 4 ripe avocados peeled, pitted and placed in a medium bowl
  • juice from ½ a lime or lemon I prefer lime, but many swear by lemon
  • 2 Tablespoons minced red or white onion or shallot
  • ½ tomato diced (leave it out if it's not in season)
  • ¼ cup chopped cilantro
  • 1/2 jalapeno pepper seeded and minced or hot sauce to taste
  • Sea salt to taste don't skimp, guacamole needs quite a bit
  • OR you can do the cheater version no guilt, of course and add a few spoonfuls of fresh salsa and salt to the mashed avocados
  • chips:
  • 2 Tablespoons unrefined cold-pressed olive oil
  • 6 6-inch organic, soft corn tortillas
  • Sea salt

Instructions
 

  • Sprinkle the avocado with the lime juice and mash together in the bowl.
  • In a separate bowl, mix the onion, tomato, cilantro and hot sauce. Stir into the avocado mixture and season to taste with salt.
  • Transfer to a serving bowl and serve or refrigerate, tightly covered for a few hours.
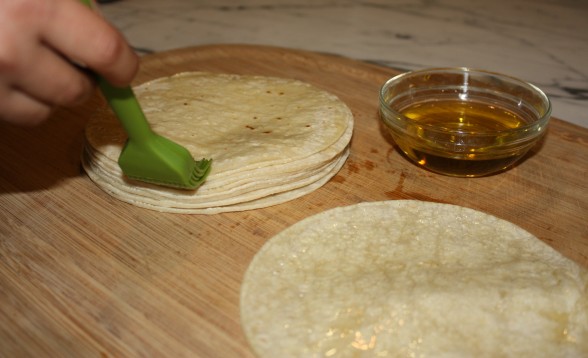
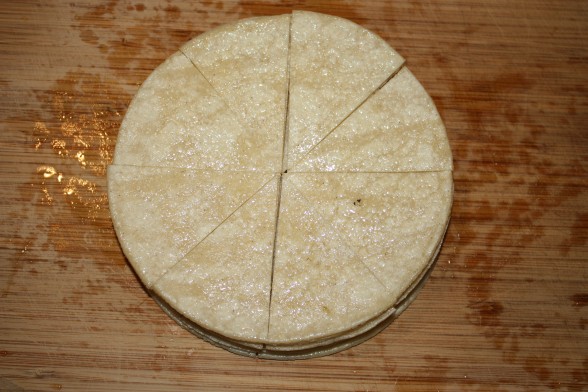
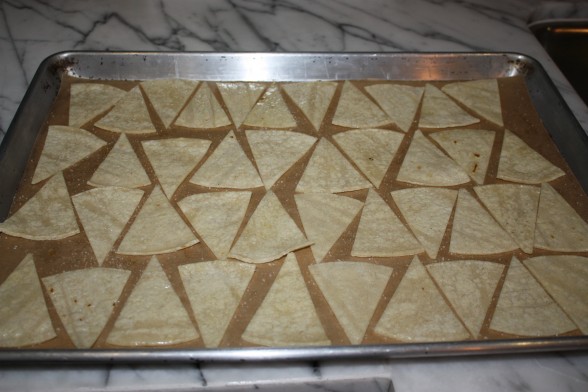
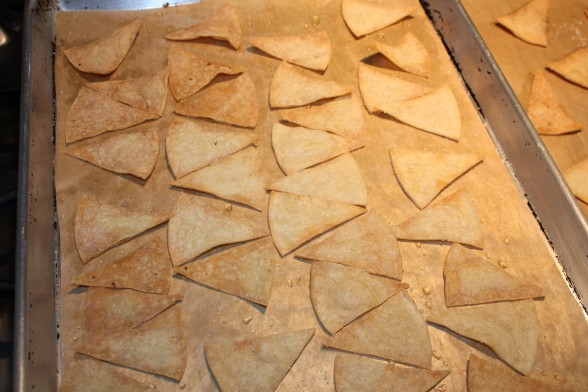
  • Preheat oven to 350 degrees. Place the tortillas on a cutting board. Brush the oil over both sides of the tortillas. Stack the tortillas and cut them in half, then cut the halves in half and one more time to make eighths. Spread the tortillas in one layer on a parchment-lined baking sheet and sprinkle with sea salt. Bake for 15-20 minutes or until crisp. Transfer to a paper towel-lined plate and cool.
Tried this recipe?Let us know how it was!

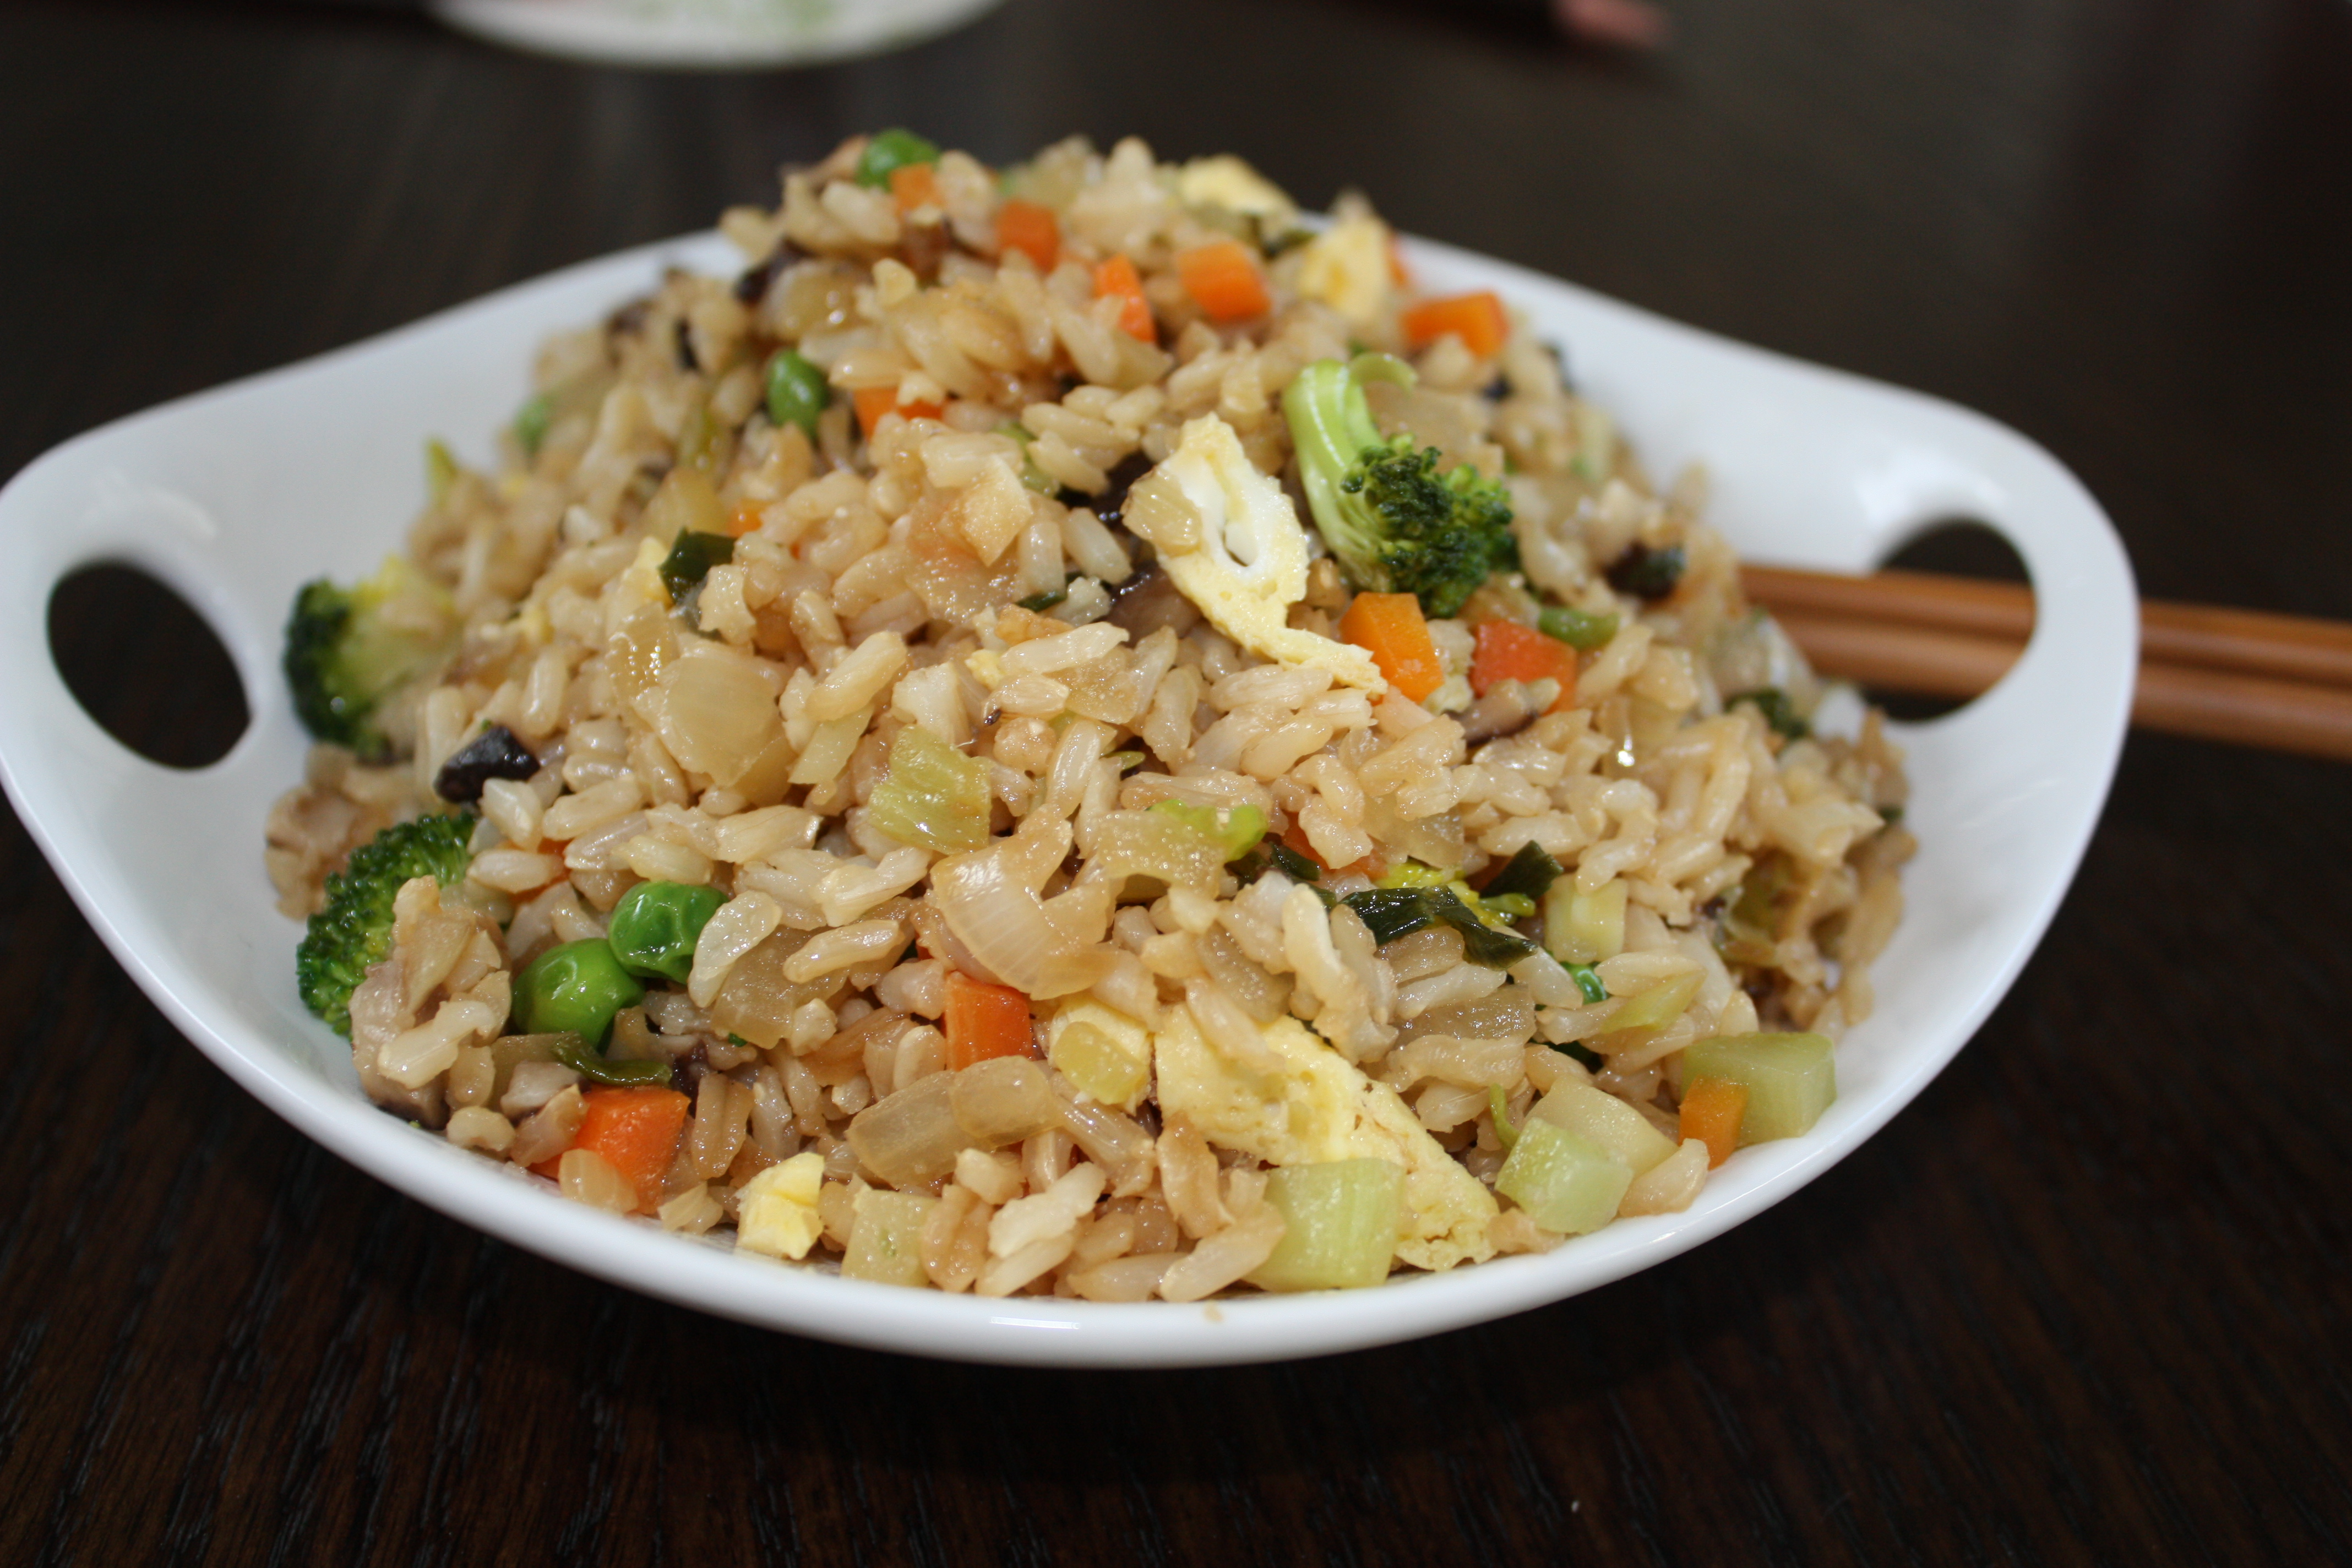
Vegetable fried rice recipe

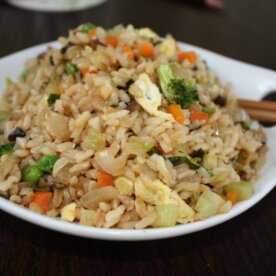
When parents struggle with “what to make for dinner,” one tip I like to offer is to find a dish that everyone likes to eat when you go out, and try to make it at home.  Fried rice, however, is a food that I thought I could never make at home.  I don’t know why it seemed to be out of my cooking league and only something the family could enjoy on the three annual birthday trips to Benihana.  But the last time we were there for Mr. Picky’s birthday, I watched in amazement at what it took for our chef to make fried rice — not a lot!  I could make this at home!  I took mental notes of what was used on the griddle — cold rice, beaten eggs, a few vegetables, soy sauce and a curious creamy spread our chef told me was “garlic butter.”  Hmmm…..

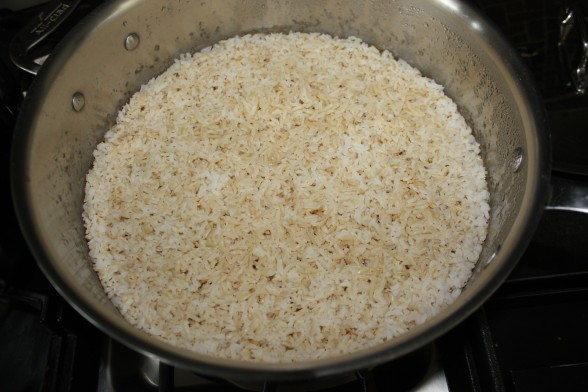
Before I gave this a go at home, I needed to check around a bit to see if there was anything else I needed to know.  It seems that fried rice is actually pretty straightforward provided you do one very important thing — use cold, cooked rice.  Warnings abounded wherever I turned — one can never, ever, possibly even consider making fried rice with fresh rice otherwise you will have a mushy, disastrous mess.  One thing you need to know about me is that I am a naysayer.  Oh, really?  Well I need to see it to believe it.  And I that’s how I learned….never to use fresh rice when making fried rice because I’m here to tell you that you will indeed have a mushy, disastrous mess.

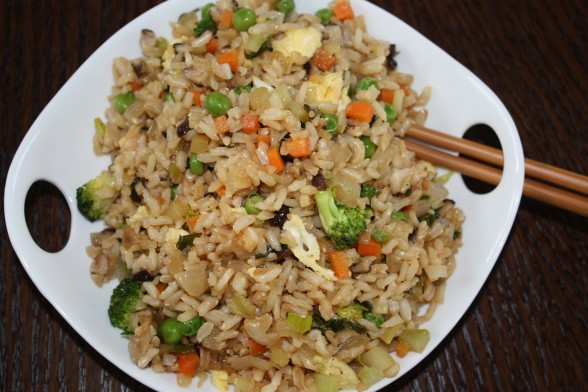
Fried rice is something that was invented in order to use up leftover rice and whatever bits of vegetables and meat you have from the night before.  It is eaten as a snack in China, never as a meal.  Don’t tell my kids, because they’re getting it as an entree.  When you add scrambled eggs, peas, shiitake mushrooms and broccoli to long-grain brown rice, you have yourself plenty of protein.  I often pack this the next day in a stainless thermos for the kids’ lunch and I have enjoyed it for breakfast as well.  It is actually the perfect little meal with protein, good carbs, and some fat for stable blood sugar and long-lasting energy.

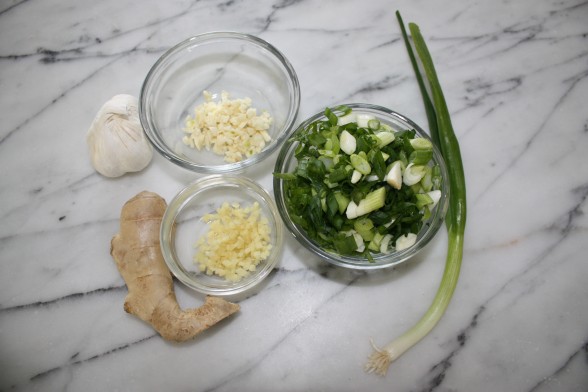
Stir-frying anything requires all your chopping to be done in advance since things move so quickly.  You can get this out of the way as early as the night before, if you want.  If you have leftover rice and all your vegetables are prepped ahead, fried rice can be cooked in minutes.  Traditionally in China, the eggs are added with the rice so that the egg coats each grain of rice.  I do it a little differently since Mr. Picky doesn’t enjoy eggs yet.  I cook the beaten eggs in ghee (a clarified butter great for higher heat cooking) first and then remove them, chop them up and add them in at the end.  That way Mr. Picky can pick out all the egg easily.

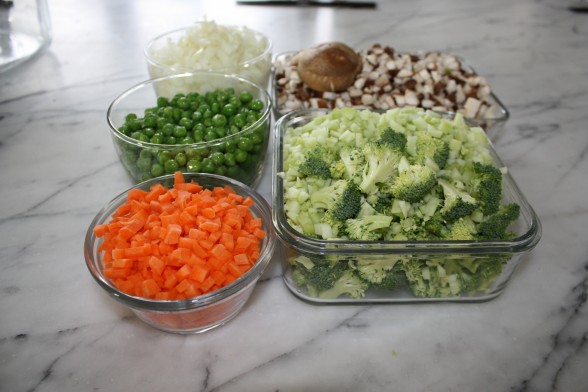
You can really add whatever vegetables you have on hand and you certainly don’t need to use as many as I do. (The vegetables above were used in fried rice I made for a class where the recipe was doubled.)  The key is to dice everything pretty small, about the size of peas, although the broccoli can be slightly larger.  That way you can stir-fry them in the wok or pan and you don’t need to blanche them in a separate saucepan.  I like washing dishes as much as Mr. Picky likes eggs.  If your picky eater won’t go for brown rice, he’ll never know it here.  The shoyu is going to change the color of the rice to brown anyway.  To make this gluten-free, substitute wheat-free tamari and you’re all set.  Vegans can drop the egg, use all sesame oil and still enjoy a high-protein dish.  Don’t forget — Chinese New Year begins on February 3rd!

Vegetable Fried Rice

Pamela
5 from 1 vote
Servings 6 as a side dish, 4 as a main

Ingredients
  

  • 2 Tablespoons ghee divided
  • 2 large eggs beaten
  • 1 Tablespoon toasted sesame oil plus more for drizzling if desired
  • 1 teaspoon grated or minced peeled fresh ginger
  • 2 garlic cloves minced
  • 4 scallions sliced thinly on the diagonal
  • Vegetables:
  • 1 carrot diced
  • 1 onion diced
  • ½ cup frozen peas defrosted
  • Handful of shiitake mushrooms stems removed; caps wiped clean and diced
  • 1 head broccoli cut into very small florets and stems diced, about 2 cups
  • 4 cups COLD COOKED brown rice, preferably long-grain
  • 2 Tablespoons shoyu or more to taste I tend to go more
  • Toasted sesame seeds for garnish optional

Instructions
 

  • Heat a wok or large sauté pan over medium-high heat. Add 1 Tablespoon ghee. Scramble the eggs in the pan until cooked through. Transfer the eggs to a cutting board and set aside.
  • Add 1 Tablespoon sesame oil and 1 Tablespoon ghee to the wok. Saute the ginger, garlic and scallions until fragrant, about 1 minute.
  • Add the vegetables and sauté until softened. Add the rice and shoyu and toss everything around in the wok until heated through. Chop up the cooked eggs and stir into the rice. Taste for seasoning and add additional shoyu or sesame oil, if desired. Sprinkle with sesame seeds for fun!

Notes

If you are using leftover cooked vegetables or meat, dice them up and add with the rice.
I shared this recipe with Healthy Child, Healthy World!
Tried this recipe?Let us know how it was!

Asian noodle salad recipe

Asian Noodle Salad | Pamela Salzman

Asian Noodle Salad | Pamela Salzman

I really don’t think anyone needs another way to get pasta into his or her diet, or peanut butter for that matter, but I can’t help myself here.  I taught this Asian noodle salad in a class last year and I still haven’t tired of it.  However, the pasta in this dish isn’t just your run-of-the-mill white flour spaghetti, which you certainly don’t need to eat any more of than you already do, but soba.  Soba noodles are a Japanese pasta made with buckwheat.  Most of the soba noodles I see in the markets are a wheat and buckwheat blend.  But you can find ones made with 100% buckwheat, which is not a wheat at all, but a seed related to the rhubarb plant.  Buckwheat also happens to be gluten-free, full of fiber and protein and contains a very cool compound called rutin which is helpful in lowering blood pressure.

Asian Noodle Salad | Pamela Salzman

If you are trying to limit your gluten, I would not only give you a pat on the back, but I would like to encourage you to try the all-buckwheat noodles.   Let me just forewarn you of a few things.  Be prepared for a much nuttier, more assertive flavor than a traditional noodle, almost earthy.  I will say, it works perfectly with a peanut sauce.  It is quite a bit more expensive, too, almost $8.00 for 8 ounces.  But more importantly, it demands a bit of babysitting when you’re cooking it.  There’s a gumminess that leaches into the cooking water that can foam up and overflow all over your stovetop in an instant.  One minute you’re stirring your pot diligently but you turn to your daughter to say, “how was your test today?” and the next minute you have a volcanic eruption that puts out the gas flame on your stove.  Not to discourage you or anything, I’m just saying this could happen to you if you’re not paying attention.
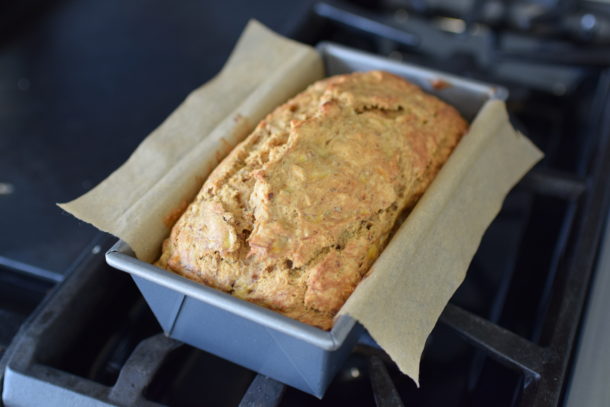
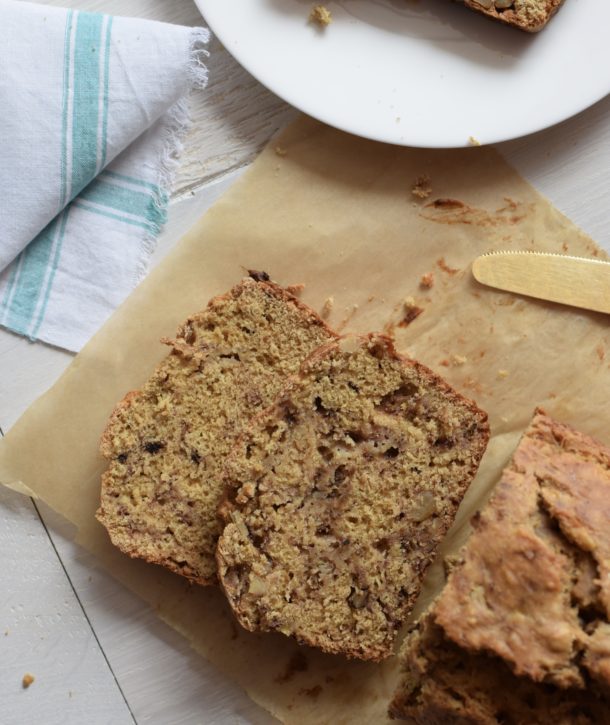
Asian Noodle Salad | Pamela Salzman

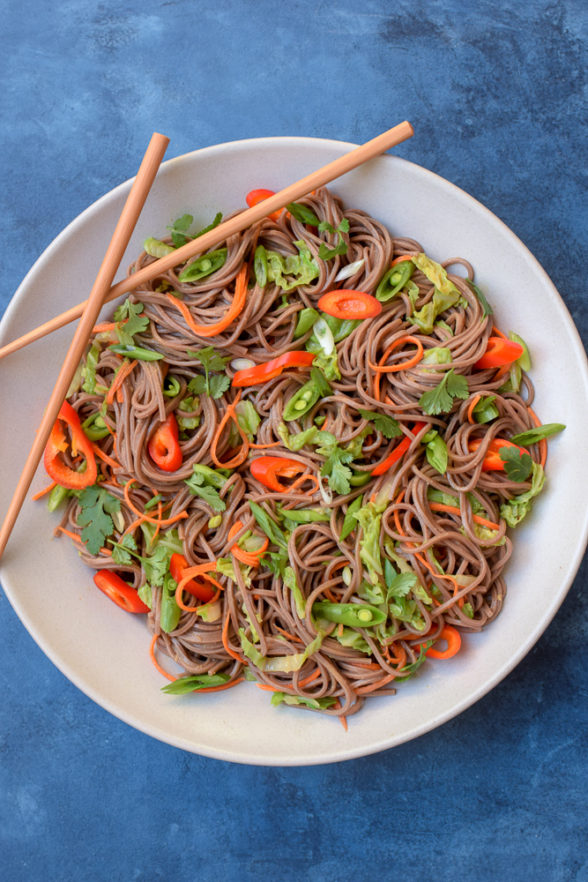
I love any recipe where I can work in a few more vegetables.  Here I went the basic route with some Napa cabbage, a few shreds of purple cabbage and carrots because not much else is in season right now.  But I have been know to add in raw red bell pepper strips and cucumber in the Summer and blanched asparagus and sliced raw sugar snap peas in the Spring (Mr. Picky’s favorite).  If you’re like me and you don’t think cilantro tastes like soap, you can chop a few sprigs and add that, too.  This makes a perfect dish to bring to a potluck since it can be made ahead of time and stays well at room temperature.  Your lunchbox radar should be going off right now — perfect for school lunches provided your school allows peanut products.  If you can’t eat peanuts, try this with sesame tahini or cashew butter instead.  For a gluten-free version, again, look for 100% buckwheat noodles and wheat-free tamari instead of the shoyu.

Asian Noodle Salad | Pamela Salzman

Chinese New Year is coming up on February 3rd, so look out for a few more posts before then to get you in the spirit!

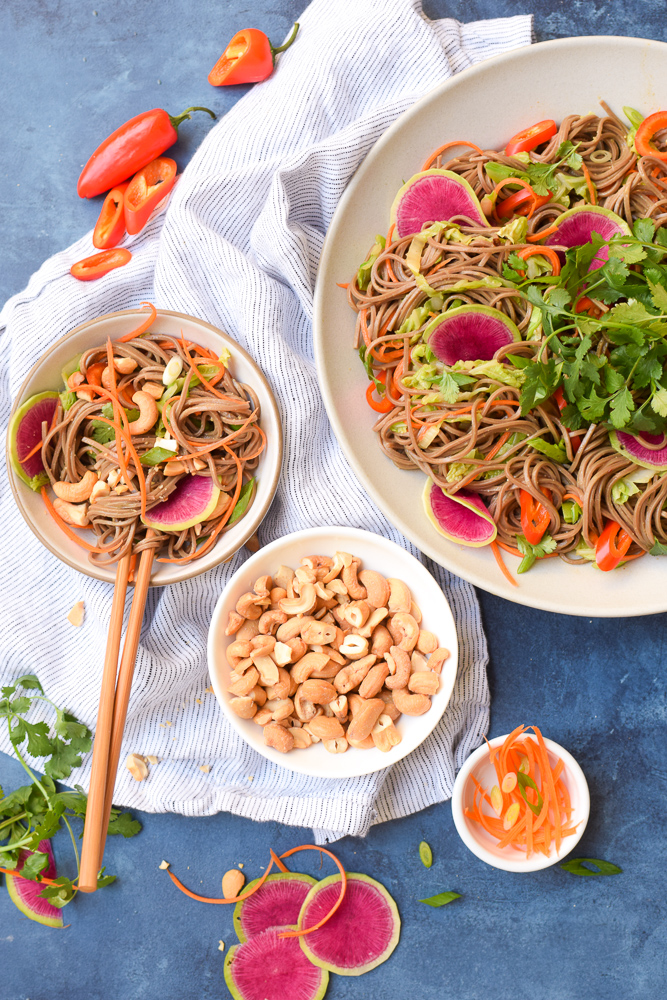
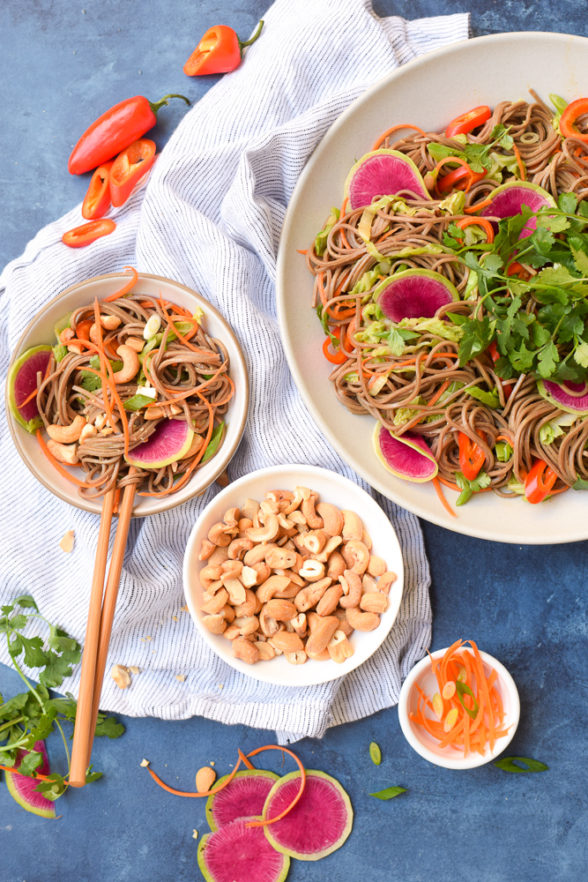
asian noodle salad with chopsticks in a white bowl

Asian Noodle Salad

Pamela
The perfect salad - noodles, peanut butter, and even some hidden vegetables!
5 from 1 vote
Prep Time 25 minutes
Cook Time 15 minutes
Total Time 40 minutes
Course Main Course, Salad, Side Dish
Cuisine Asian
Servings 6

Ingredients
  

  • 1/4 cup unrefined cold-pressed, extra-virgin olive oil
  • 2-3 Tablespoons creamy natural peanut butter, preferably organic
  • 1/4 cup shoyu or wheat-free tamari
  • 1 Tablespoon toasted sesame oil
  • 2 Tablespoons unseasoned rice vinegar
  • 2 Tablespoons pure maple syrup or raw honey
  • 2 teaspoons minced peeled fresh ginger
  • 1-2 teaspoons red pepper flakes optional
  • 8-10 ounce package soba noodles or noodle of your choice
  • 5 cups shredded Napa cabbage
  • 1 large carrot julienned
  • Other add-ins according to the season: thinly sliced scallions, sweet bell pepper, julienned cucumber, sugar snap or snow peas, rehydrated arame (sea vegetable)

Instructions
 

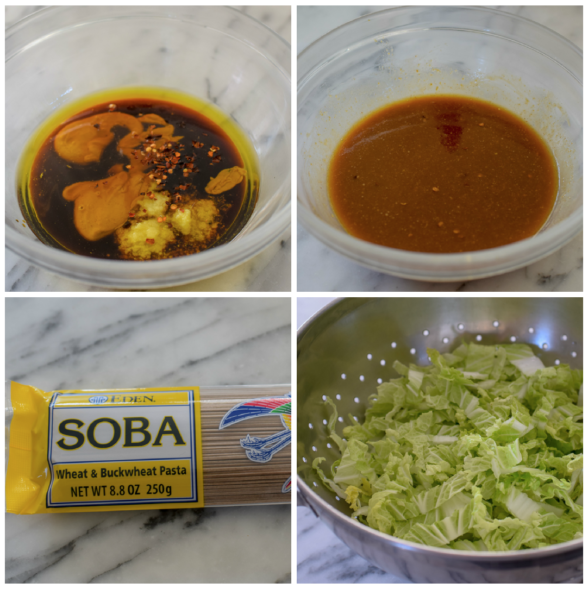
  • In a small bowl, whisk the olive oil, peanut butter, shoyu, sesame oil, rice vinegar, maple syrup, fresh ginger and red pepper flakes. Set aside.
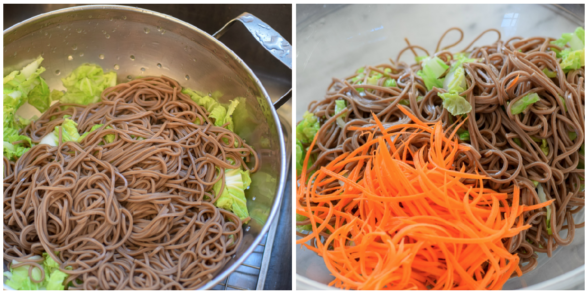
  • Place the shredded cabbage in a colander in the sink.
  • Cook the soba noodles according to the package instructions. Do not go check your email.
  • Drain the noodles into the colander with the cabbage, which will just wilt the cabbage so you don't have to blanch it in another pot and have an extra thing to wash. Rinse the noodles and cabbage with cold water and shake the colander to drain everything really well. This is important so the dressing adheres to the noodles.
  • Transfer the noodles and cabbage to a serving bowl. Add the carrots, dressing and any additional vegetables you like and toss well.
Tried this recipe?Let us know how it was!

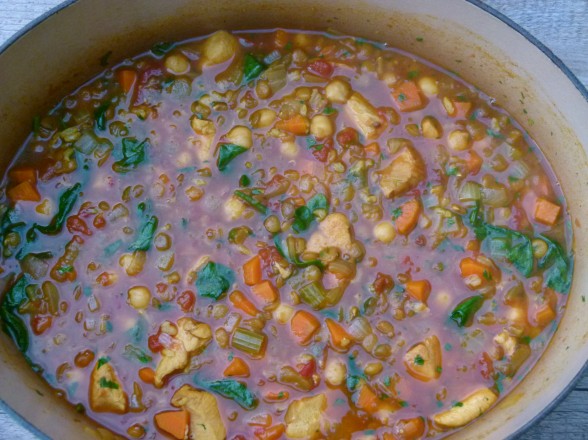
Harira recipe

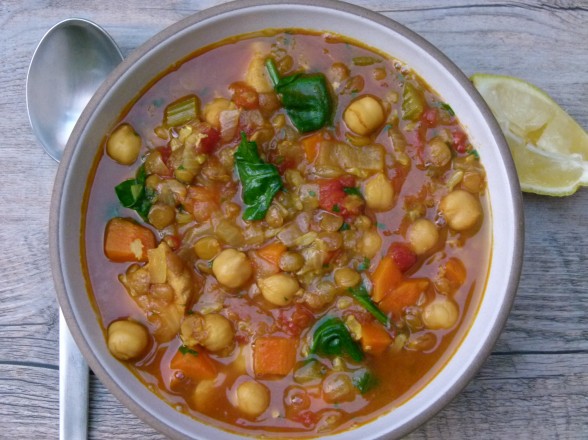
Harira (Moroccan stew with chicken, chickpeas, lentils and rice) | pamela salzman

Harira is a Moroccan stew that is traditionally served during Ramadan to break the daily fast.  In my house it is a nourishing one-pot meal that is perfect for a chilly winter evening.  I have seen many versions of recipes for Harira.  Typical ingredients include lentils, chickpeas, rice or vermicelli pasta, tomatoes, onions, fresh herbs, spices and a small amount of meat, such as lamb or beef.  I have come up with my own version that is heavier on the grains and legumes with a few handfuls of greens thrown in at the end.  This is my kind of food!

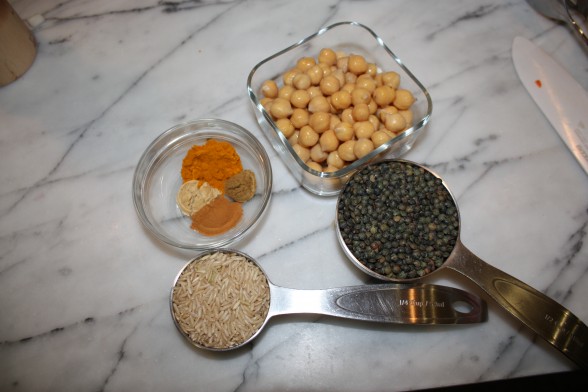
One thing I love about Harira is that it’s rich in health-supportive spices.  In our country, we tend to shy away from spices like turmeric and ginger which is such a shame, because not only are they delicious, they are incredibly healing, too.  These spices and the others used in this Harira are full of phytonutrients, as well as anti-inflammatory  and cancer-preventative compounds.  Turmeric, in particular, has been hailed as the rock-star spice of late.  You may have eaten turmeric before if you’ve had curry.  It is what gives curry powder its yellow color.  Turmeric is a very powerful liver detoxifier, it improves circulation, is anti-bacterial and to repeat myself — one of the most potent anti-inflammatory substances out there.

I have heard from some parents that they are reluctant to try new flavors at the dinner table, for fear that their kids won’t like them.  The best way I have found to introduce new spices is gradually, by adding a little here and there to foods that are already in their comfort zone, such as pasta sauce or stew.   You will be giving your family such a gift by opening them up to a whole other world of flavors and healthful foods.

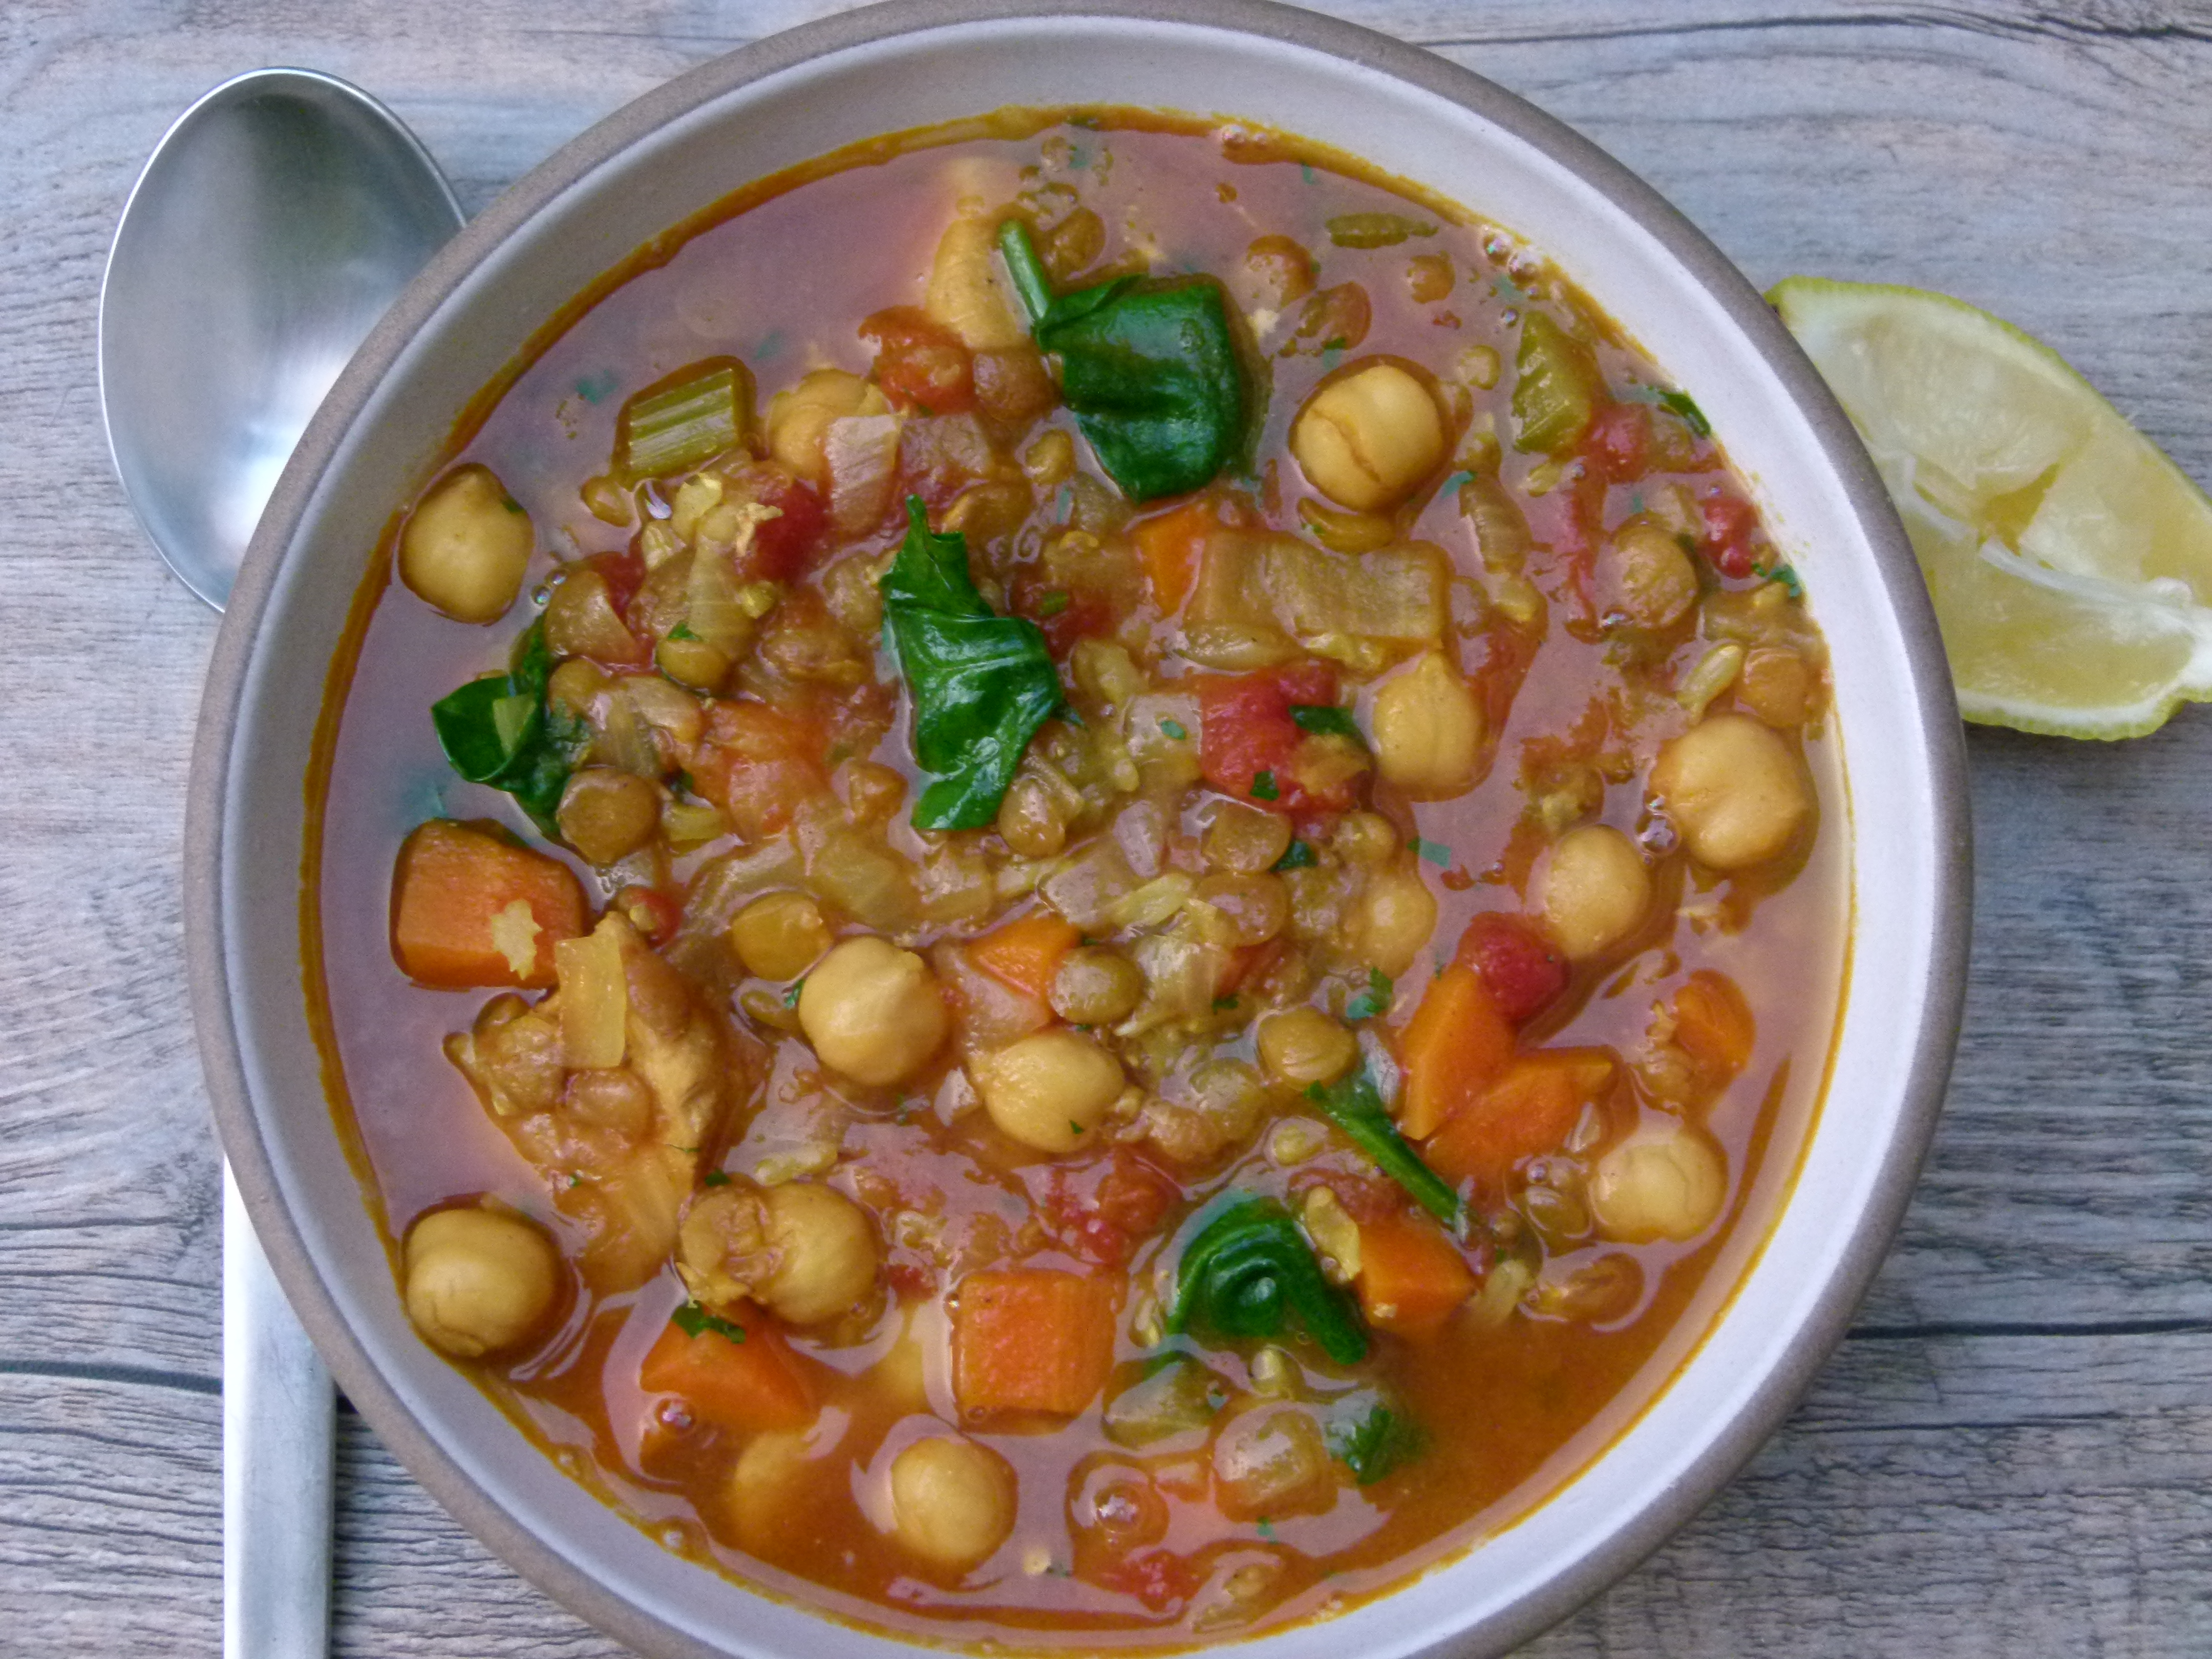
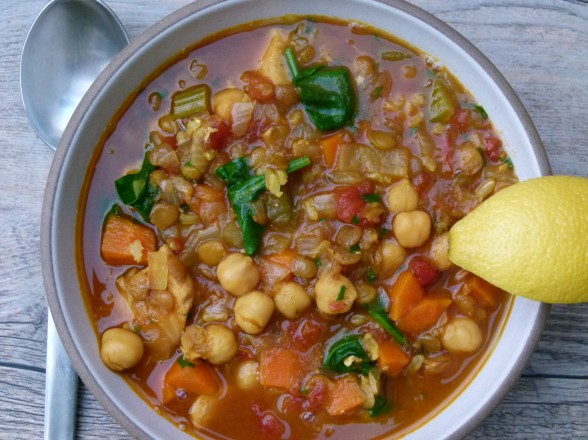
For the vegetarians and vegans out there, don’t pass this recipe by.  Just use water or vegetable stock for the chicken stock and double the chickpeas.  It’s already gluten-free, in case you were wondering.  This recipe makes enough for the 5 of us for dinner, but I double it quite often to get a lunch for the girls the next day.  Whatever doesn’t get eaten will freeze beautifully.  That wedge of lemon is recommended per person to squeeze on top, and before you think it’s something you can do without, think again!  The lemon really brightens the dish and adds the perfect complement to all the earthy flavors.

Harira (Moroccan stew with chicken, chickpeas, lentils and rice) | pamela salzman

harira (Moroccan stew with chicken, chickpeas, lentils and rice) | pamela salzman


bowl of Harira, ready to be eaten

Harira

Pamela
Harira is a Moroccan stew that is traditionally served during Ramadan to break the daily fast. In my house it is a nourishing one-pot meal that is perfect for a chilly winter evening.
5 from 3 votes
Prep Time 15 minutes
Cook Time 1 hour 30 minutes
Total Time 1 hour 45 minutes
Course Appetizer, Main Course
Cuisine Moroccan
Servings 5 -6

Ingredients
  

  • 2 Tablespoons unrefined coconut or olive oil I use coconut
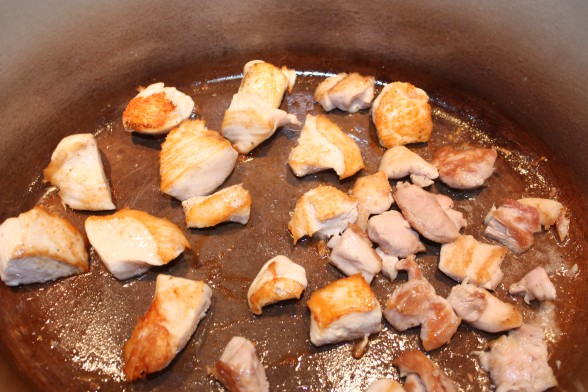
  • 1 pound boneless, skinless chicken breast or thighs (or a combination of both), cut into 1-inch pieces
  • 1 onion chopped
  • 1 stalk celery chopped
  • 1 carrot chopped
  • 1 teaspoon ground turmeric
  • 1/2 teaspoon ground cinnamon
  • 1/2 teaspoon ground ginger
  • 1/4 teaspoon ground cumin
  • 4-5 grinds of black pepper
  • 1 pound fresh tomatoes peeled, seeded and chopped OR 1 14.5 ounce can of diced tomatoes with the juice (I used 1/2 box of Pomi since I'm not a fan of canned tomatoes)
  • 1 1/2 teaspoons sea salt
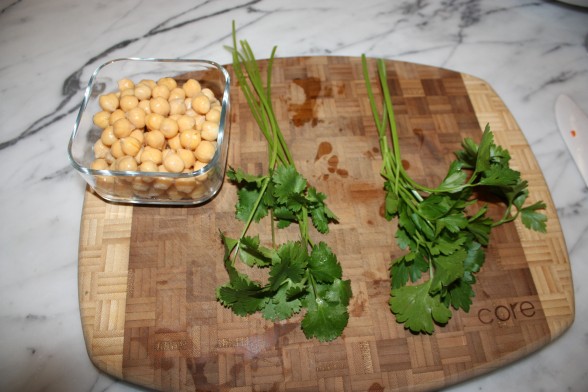
  • 1 cup cooked chickpeas
  • 3 cups chicken stock or vegetable stock preferably homemade
  • 1/2 cup dried lentils
  • 1/4 cup long-grain brown rice
  • 1/4 cup chopped fresh cilantro leaves
  • 1/4 cup chopped fresh parsley
  • A couple handfuls of fresh baby spinach leaves optional, but leafy greens are your friend
  • 1 lemon cut into wedges

Instructions
 

  • Season the chicken with sea salt and pepper as early as possible.
  • Heat the oil in a large saucepan over medium heat. Add the chicken pieces in 2 batches and brown on both sides. Remove the chicken from the pot and set aside.
  • Add the onion, celery and carrot and cook until softened. Add all the spices and cook for 1 minute, stirring constantly to prevent scorching. Add the tomatoes with their juice, chickpeas and 1 1/2 teaspoons of sea salt. Cook until fragrant.
  • Return the chicken to the pot with any accumulated juices. Add the stock, lentils and brown rice and bring to a boil. Reduce heat to low and simmer, covered for 50 minutes.
  • Add cilantro and parsley and cook uncovered for 5 minutes or until the chickpeas are heated through. Stir in the spinach leaves, if using. Ladle into individual bowls and serve with a wedge of lemon.
Tried this recipe?Let us know how it was!


Date-sweetened banana bread recipe

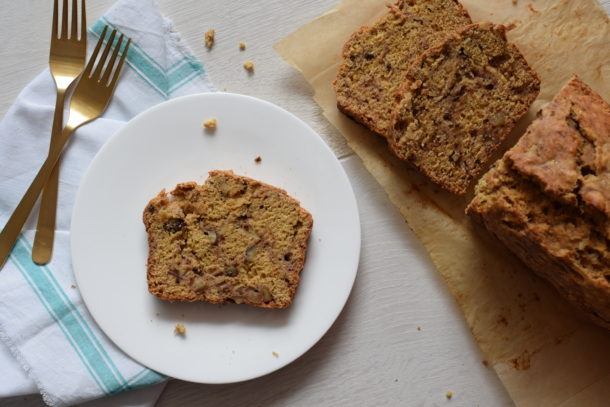
Date-Sweetened Banana Bread | Pamela Salzman

One of my pet peeves is when people label a dessert as “healthy,” and not because that is grammatically incorrect, but rather because desserts have sugar of some form and that will never be “good” for you no matter how much whole wheat flour you throw in there.  Of course, you could say one dessert is more healthful than another or that it will lead to the demise of your health less quickly than its traditional counterpart.  But to call a dessert healthful because we use yogurt instead of butter, but then add in 3 cups of sugar, is just plain delusional.

Date-Sweetened Banana Bread | Pamela Salzman

Would you call me a hypocrite if I told you I have a recipe for a healthful dessert?  I don’t blame you, but stay with me here.  I know of a sweet something that calls for no sugar of any kind — not even my favorite, maple syrup.  Don’t be silly, I am not going artificial on you!  It is a delicious banana bread sweetened only with ripe bananas and pureed dates.  Dates grow locally in Southern California, so we have access to some fantastic varieties here, my favorite being the Medjool.  If you are ever craving something sweet, but don’t want to give in to processed junk, take a pitted date or two and stick a pecan in the middle.  Amazing.  I digress.  The dates do double duty as sweetener and add moistness so we cut back on some of the butter, too.  The key, though, with any banana bread is using super ripe bananas, well-speckled with lots of black dots (the kind many people toss in the garbage — arrgh!).

Date-Sweetened Banana Bread | Pamela Salzman

Banana bread freezes beautifully and makes a terrific muffin, as well.  I adapt this recipe according to the season, adding blueberries in the summer, fresh cranberries in the fall and walnuts or pecans in the winter.  This banana bread is not as sweet as the ones you may be used to, so yes, you can add chocolate chips or a drop of maple syrup if you must.  Just don’t call it healthy!

Date-Sweetened Banana Bread | Pamela Salzman

Date-Sweetened Banana Bread | Pamela Salzman

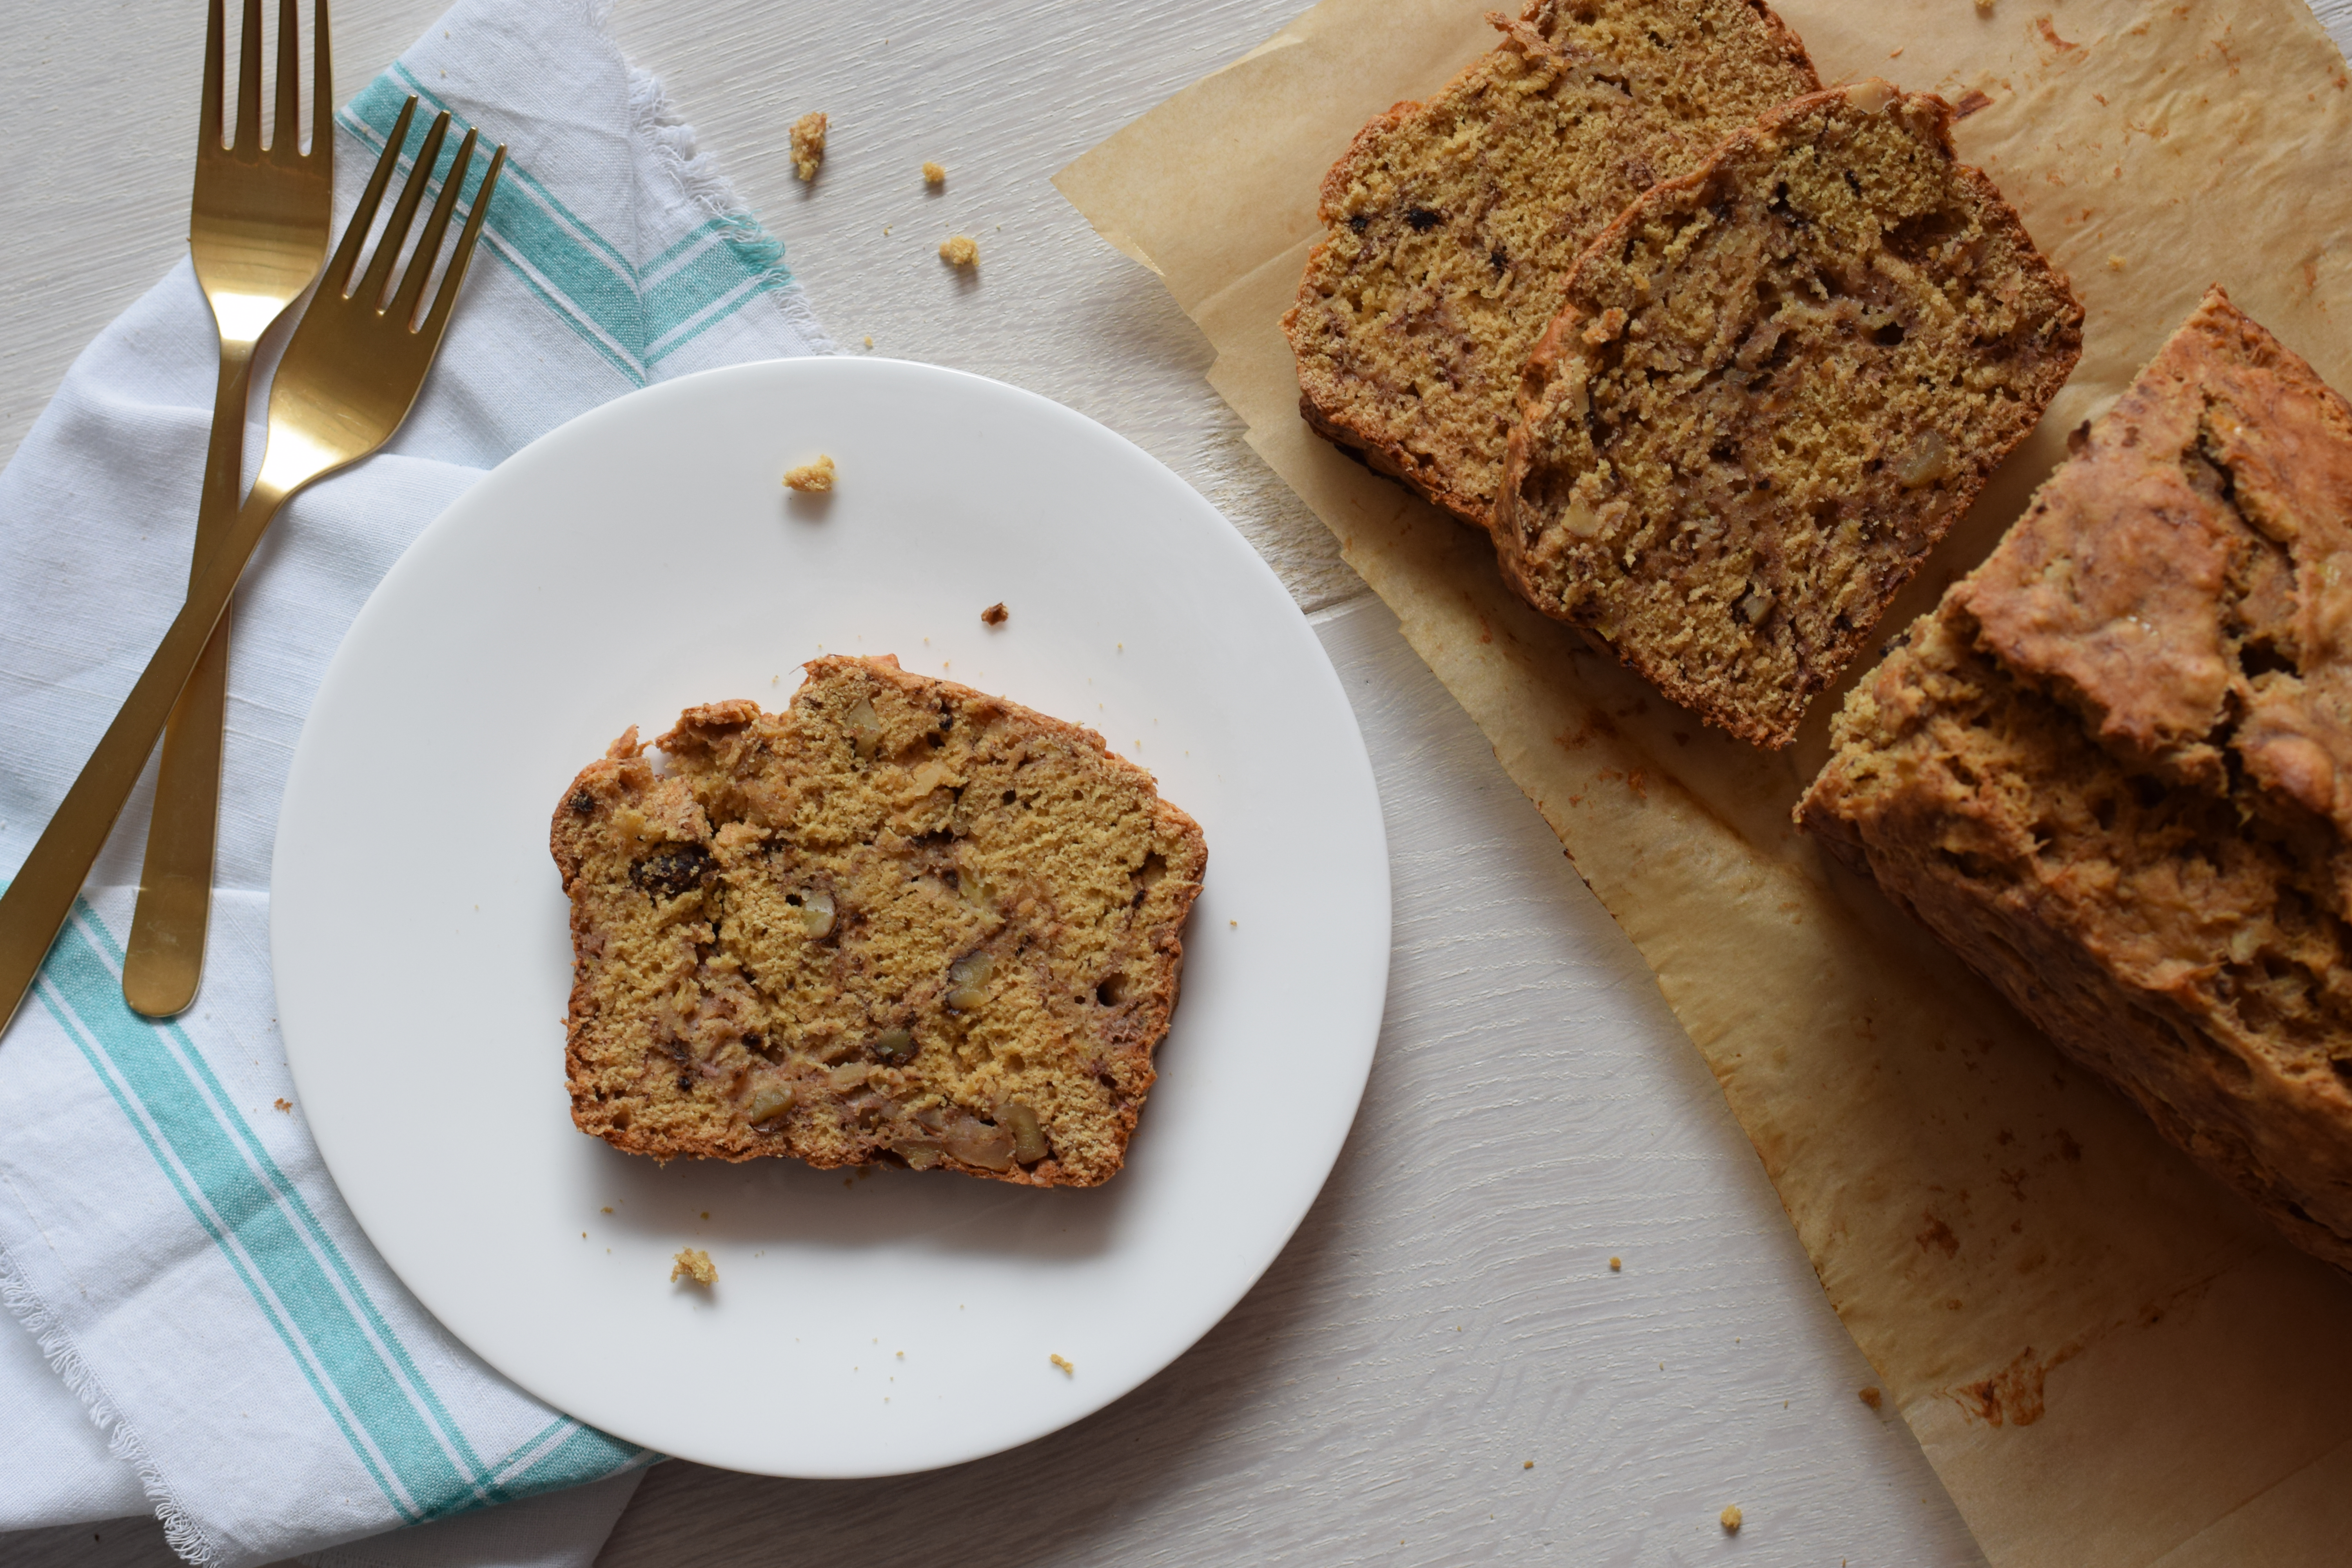
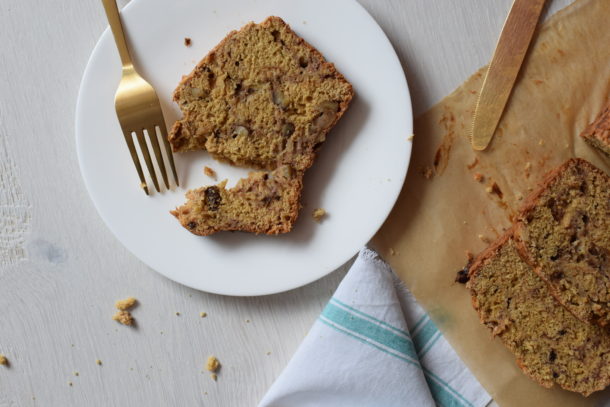
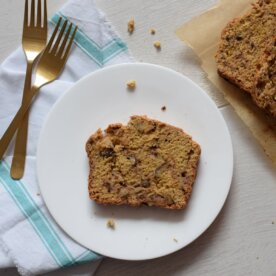
piece of date sweetened banana bread on a white plate by two forks

Date-Sweetened Banana Bread Recipe

Pamela Salzman
A delicious banana bread sweetened only with ripe bananas and pureed dates that calls for no sugar of any kind!
4.79 from 47 votes
Prep Time 20 minutes
Cook Time 1 hour
Total Time 1 hour 20 minutes
Course Breakfast, Dessert
Cuisine American

Ingredients
  

  • 1 cup dried dates about 7 ounces, pitted
  • 1/2 cup hot water
  • 4 Tablespoons 1/2 stick unsalted butter or unrefined coconut oil, at room temperature
  • 2 large eggs at room temperature
  • 1 Tablespoon pure vanilla extract
  • 2 cups white whole wheat flour spelt flour or sprouted spelt flour
  • 1/2 teaspoon fine grain sea salt
  • 1 teaspoon baking soda
  • 1/2 teaspoon aluminum-free baking powder
  • 3 large ripe bananas, mashed
  • 1/2 cup raw walnuts or pecans coarsely chopped (or fresh blueberries or cranberries)

Instructions
 

  • Preheat oven to 350 degrees. Grease a 9 x 5 x 3 loaf pan. (Can be lined with parchment if it is aluminum.)
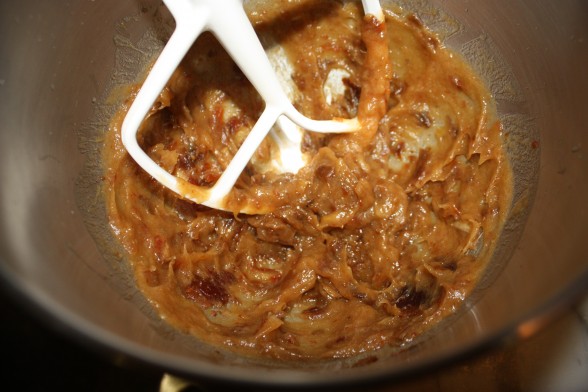
  • Place the dates in the bowl of an electric mixer fitted with the paddle attachment. Add the hot water and allow the dates to soften for at least 10 minutes. (I usually get the rest of my ingredients ready while the dates are softening.)
  • Turn the mixer on low speed and blend until the water has incorporated with the dates. Turn the mixer to medium low speed and beat the dates until a smooth puree forms.
  • Add the butter or coconut oil and beat until well blended. Add the eggs, one at a time, beating well after each addition. Add the vanilla extract and mix.
  • In a medium bowl, combine the flour, baking soda, baking powder and salt. Add to the butter-date mixture and mix until just combined.
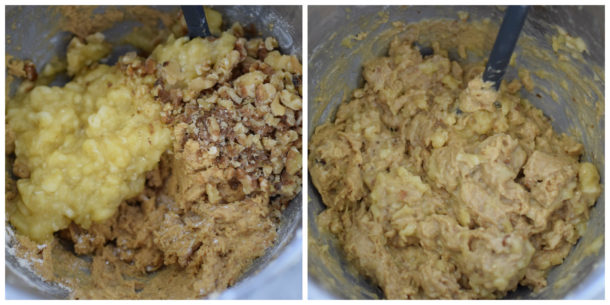
  • Fold in the mashed bananas and walnuts.
  • Pour the mixture into the prepared pan and bake for 50-60 minutes (I made it in many different ovens with this range of time), or until a toothpick inserted in the center comes out barely clean. Cool in the pan for 10 minutes. Remove from the pan and cool on a rack.
Tried this recipe?Let us know how it was!

Mushroom-barley soup with kale recipe

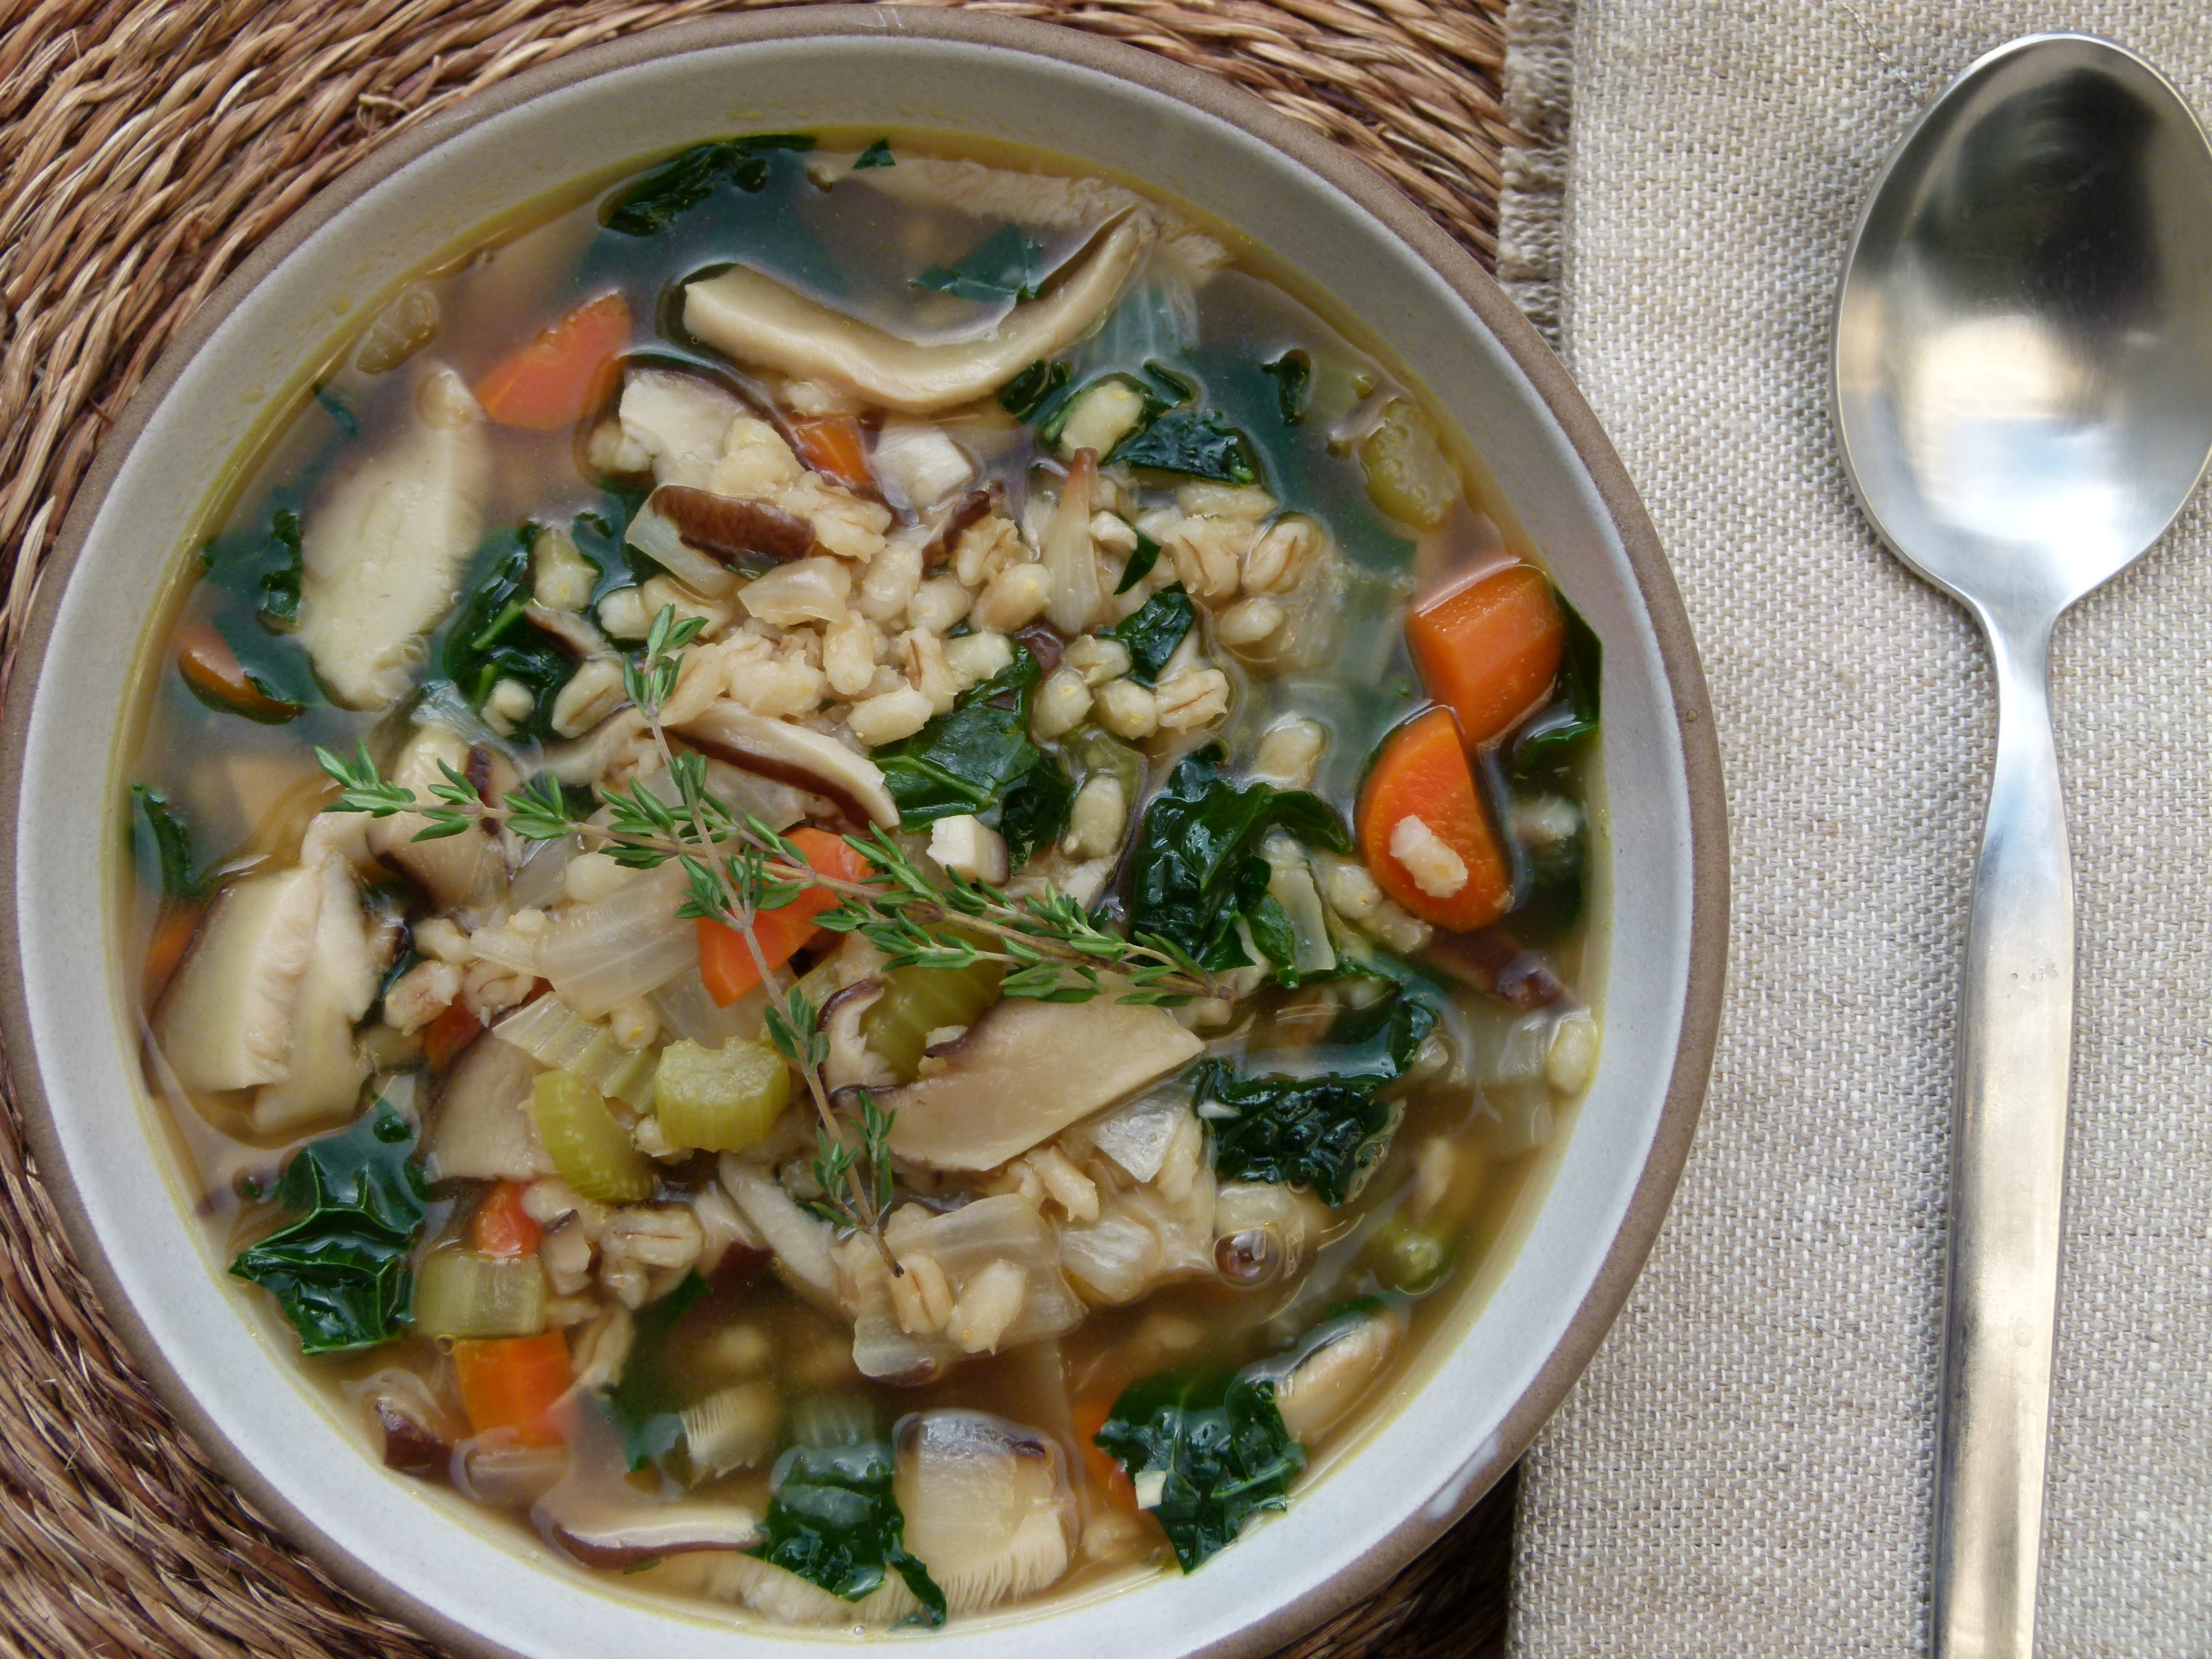
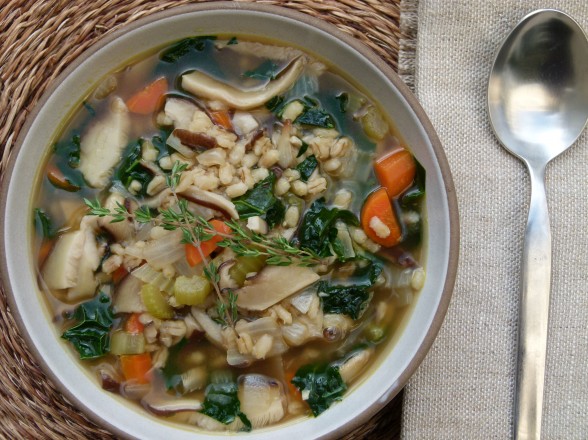
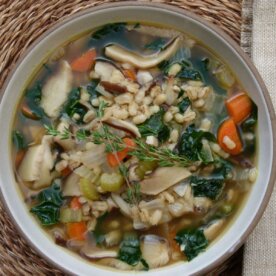
shiitake mushroom-barley soup with kale

I was craving a hearty, meal-in-a-bowl soup for dinner last night.  Something I could pull together before the kids returned home from school and that I could pack in their thermoses for lunch the next day.  Mushroom-barley soup came to mind in an instant.  I taught this soup in a class back in October and I still haven’t tired of it.  It is filling, tasty and oh-so-good for you.

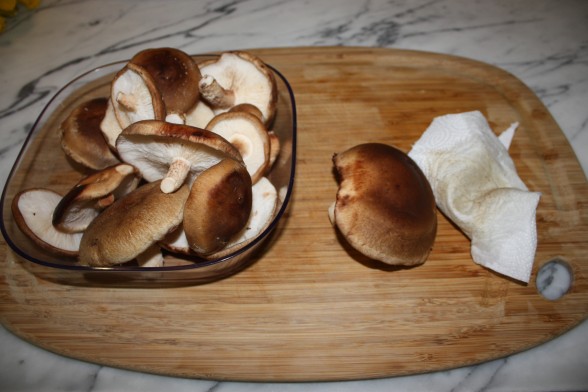
The recipe is an adaptation of my mother’s beef and barley soup, which was great, but these days we’re limiting our beef consumption and upping the veggies.  To make up for the meat, I use lots of shiitake mushrooms and finish off the soup with a bit of shoyu, a naturally fermented soy sauce which is way  better for you than chemically treated, flash-processed soy sauce.  Of course you can use any mix of mushrooms you like, but I am crazy about shiitakes, not only because they have a lower water content and deeper flavor than button mushrooms, but also because they are tops in immune-boosting compounds.  There’s no better time than flu season to boost your immunity!

This soup is a breeze to put together and easily adaptable to different intolerances.  For the gluten-free folks, I substitute Lundberg’s wild rice blend for the barley and wheat-free tamari for the shoyu.  It’s obviously a different soup, but just as tasty.  Vegetarians and vegans can use vegetable stock or water in place of the chicken or turkey stock.  If you are making your own vegetable stock, add a bunch of mushrooms to it to give the soup more depth.

shiitake mushroom-barley soup with kale

This soup is a hit every time, even with Mr. Picky who last night did what he does best — pick out the stuff he doesn’t want.  This time it was only the mushrooms.  We’re making progress!

shiitake mushroom-barley soup with kale

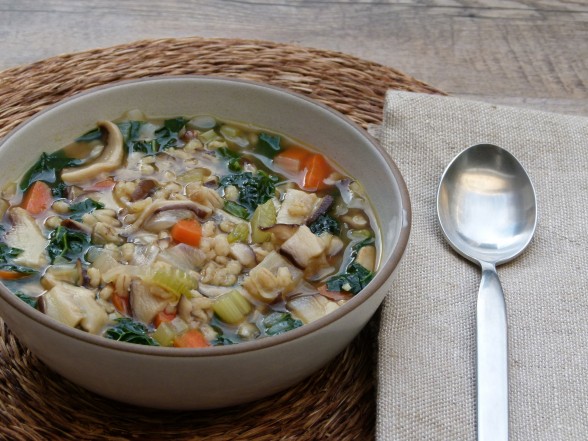
Bowl of mushroom barley soup with kale

Mushroom-Barley Soup with Kale

Pamela
A hearty, meal-in-a-bowl soup - great for dinner and leftovers!
5 from 2 votes
Prep Time 10 minutes
Cook Time 1 hour 15 minutes
Total Time 1 hour 25 minutes
Course Soup
Cuisine American
Servings 6

Ingredients
  

  • 1 Tablespoon unsalted butter
  • 1 Tablespoon unrefined cold pressed olive oil
  • 1 onion chopped
  • 2 carrots roughly chopped
  • 2 stalks celery chopped
  • 1 large garlic clove finely chopped
  • 3/4 pound shiitake mushrooms stems removed and caps wiped clean with a damp paper towel and slice thinly
  • 2 sprigs fresh thyme
  • 1 cup barley or wild rice blend -- I use Bob's Red Mill Barley. It says "Pearled," but it's really only semi-pearled.
  • 8 cups 2 quarts chicken, turkey or vegetable stock
  • 1 teaspoon sea salt
  • 4 cups stemmed chopped kale
  • 3 Tablespoons shoyu or wheat-free tamari

Instructions
 

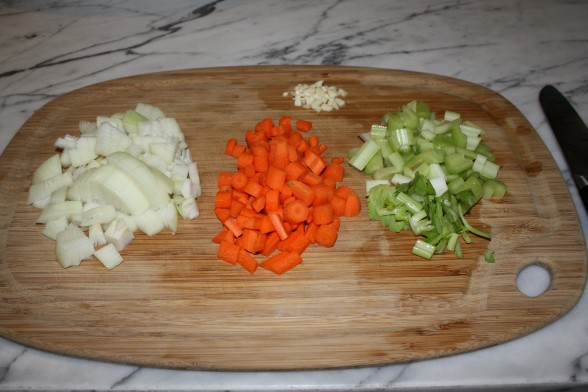
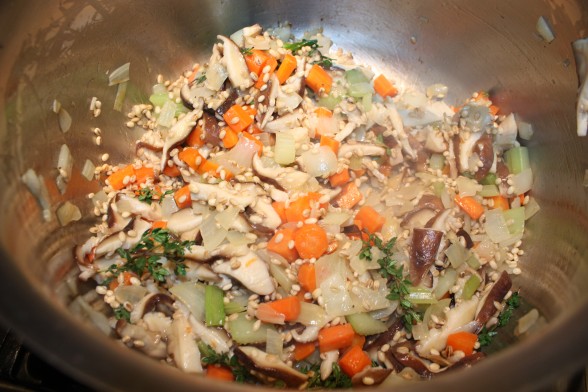
  • Melt butter and olive oil in a large stock pot over medium heat. Add onion, carrots, celery to pot and saute until softened, about 5 minutes. Add garlic and cook 1 minute.
  • Place mushrooms in the pot and saute until softened, about 8 minutes.
  • Add thyme and barley. Stir to coat. Add stock and salt and bring to a boil. Cover and simmer over low heat for 30 minutes until the barley is tender (if you're using the wild rice blend, you will need to simmer it for 50 minutes.)
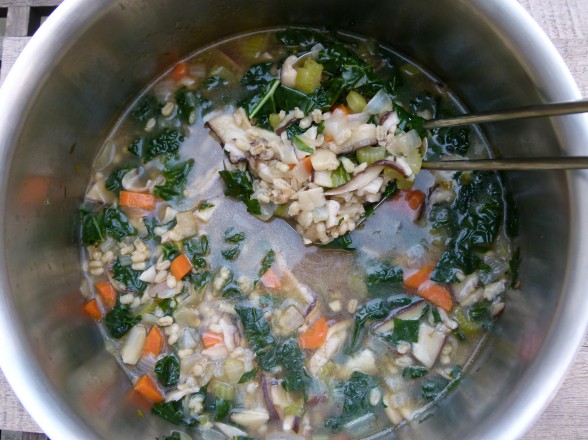
  • Add the kale and shoyu and cook until the kale is wilted, but still bright green, about 8 minutes. Pull out the thyme stems and taste for salt and pepper.
Tried this recipe?Let us know how it was!

Lemon-thyme chicken recipe

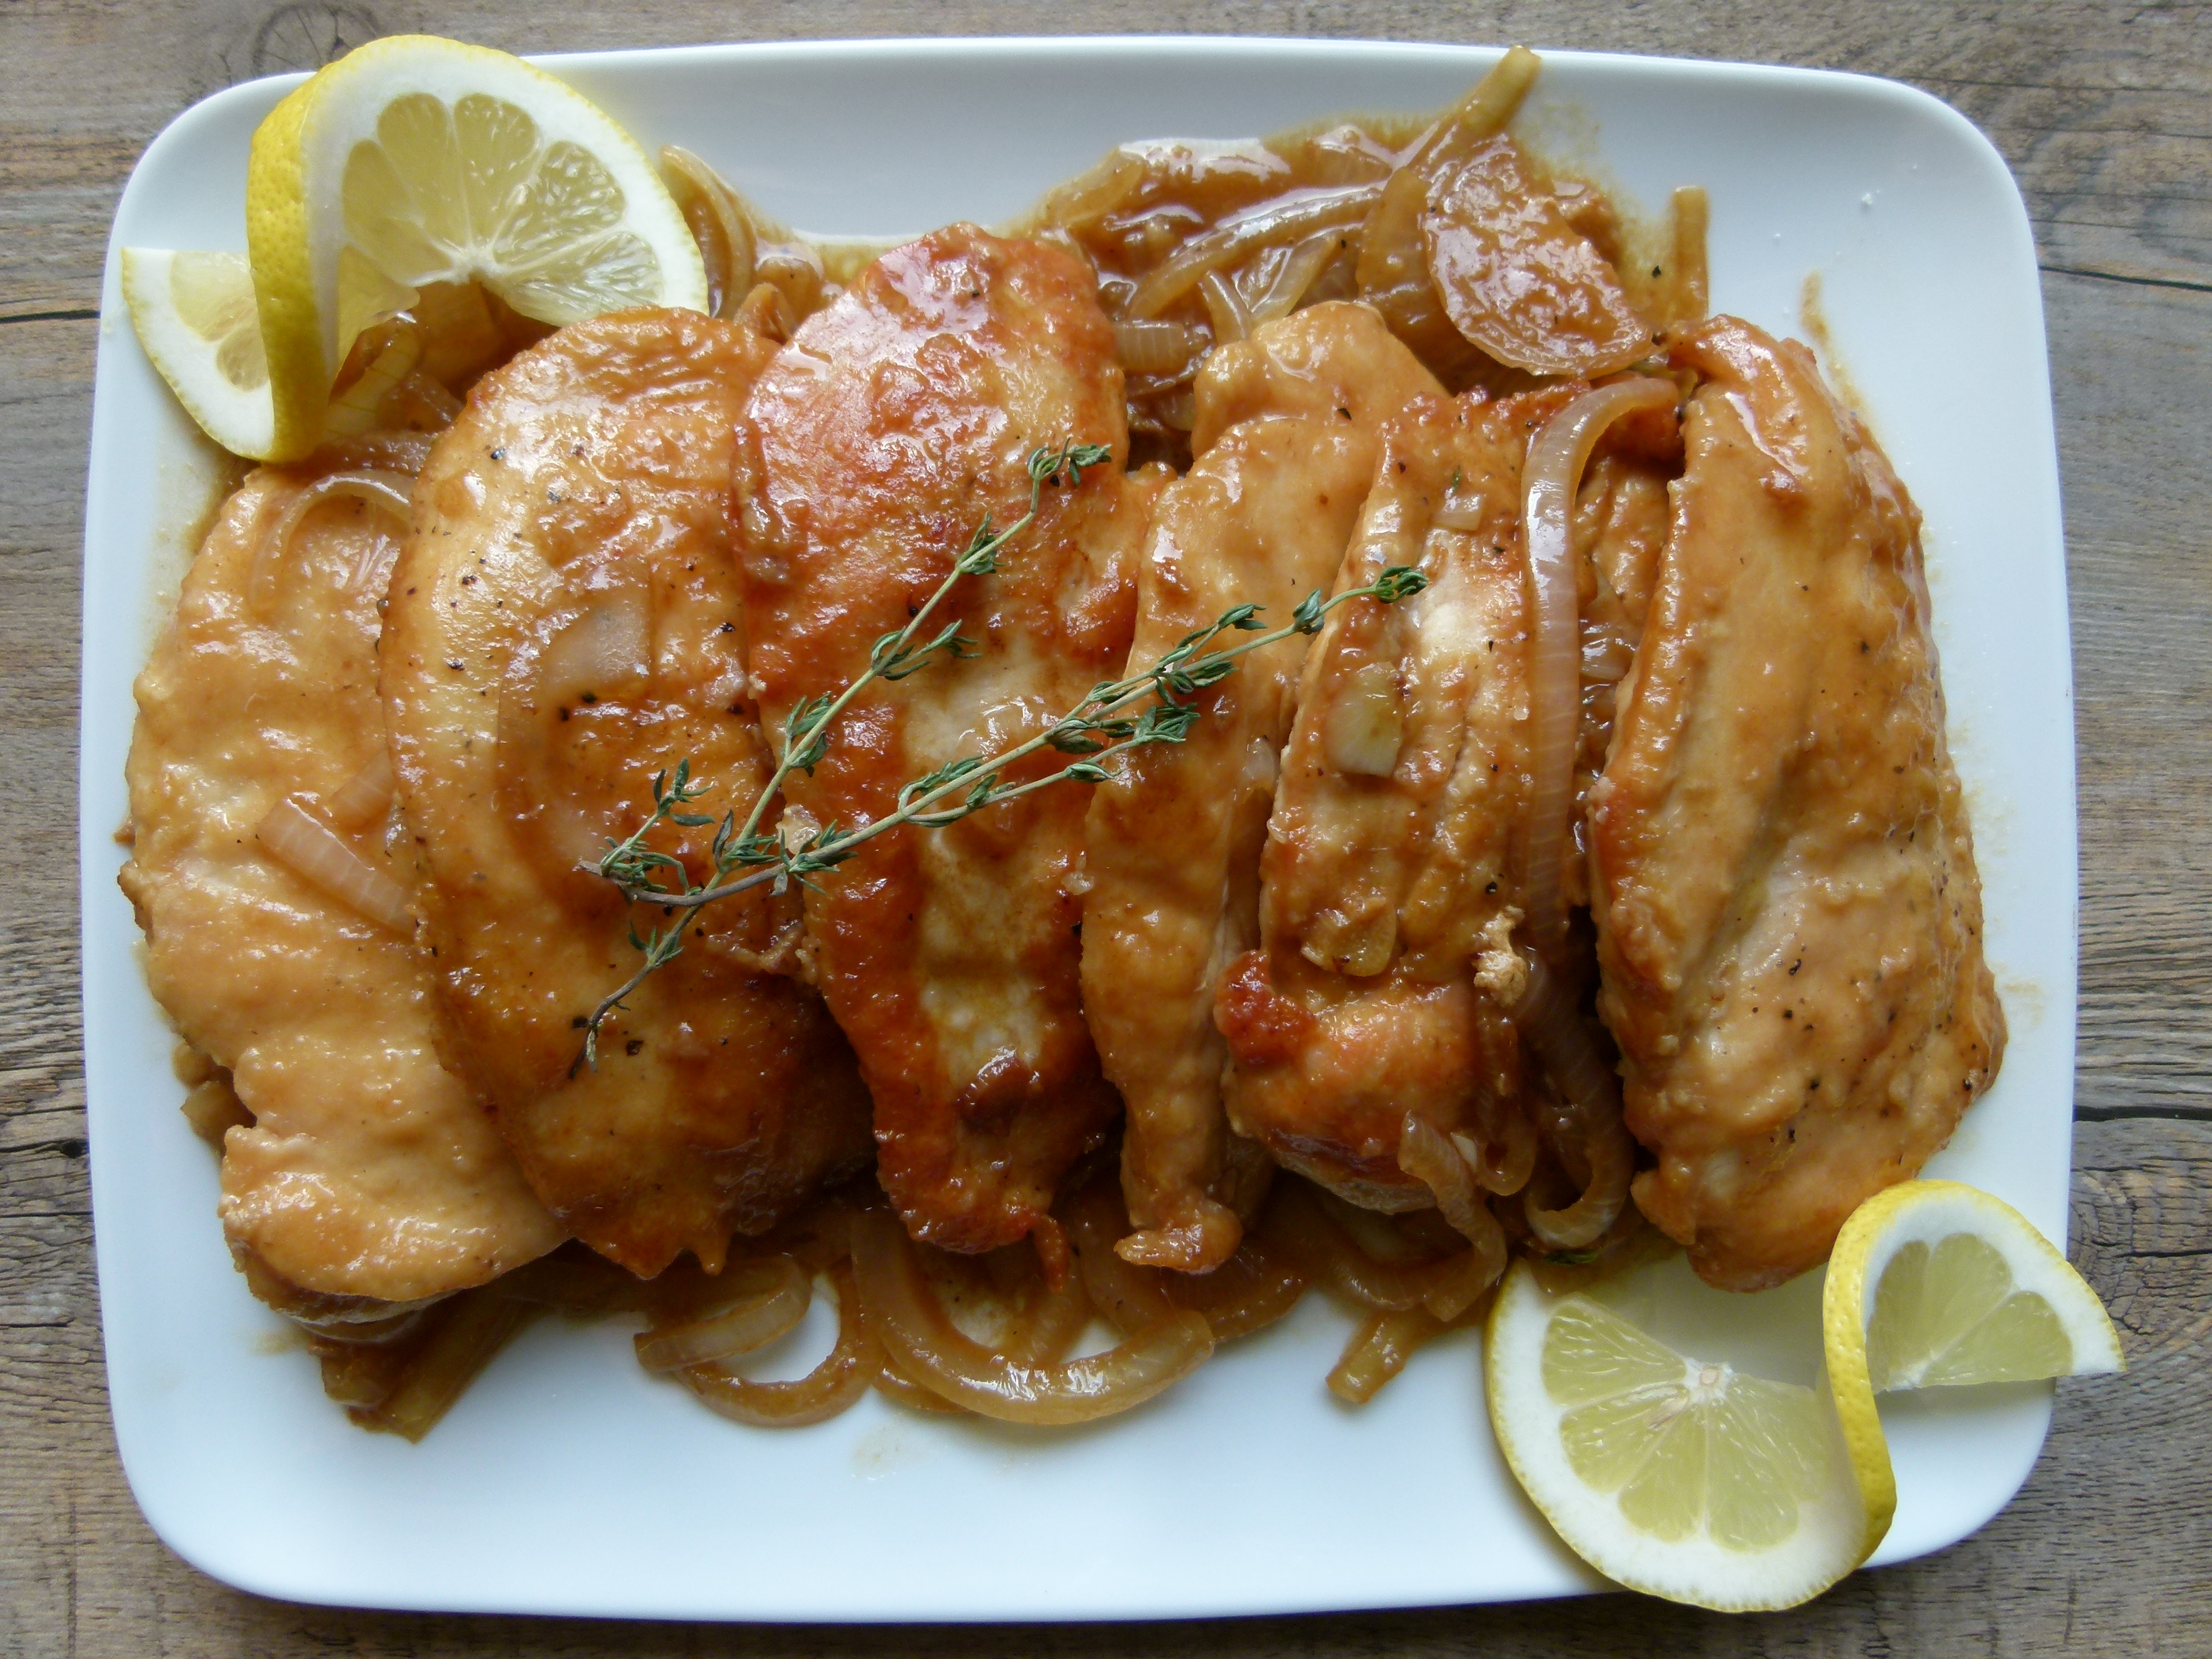
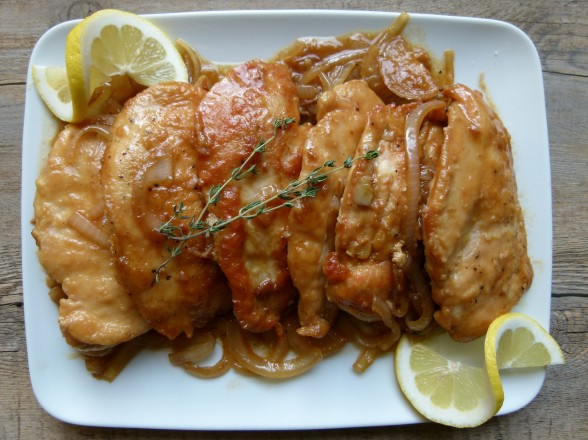
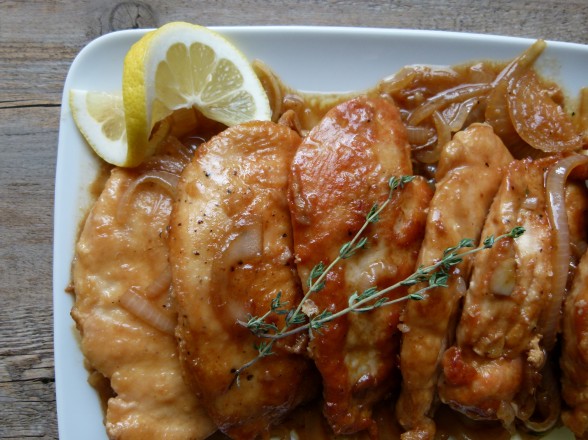
lemon-thyme chicken | pamela salzman

Once upon a time, I used to enjoy spending lots of time experimenting in the kitchen.  I had fabulous cookbooks in which I found interesting and challenging recipes to make for dinner.  On a weekday.  And then it was over.  My kids started playing team sports.  Do you know this new life?  Are you driving to some field at exactly the same time you should be soaking and sauteeing or poaching and shredding?  And then back an hour later to pick-up, unless of course there’s a GAME.  Then you’re sitting on bleachers for two hours trying to figure out how dinner will be ready the second you walk in the door with starving children.

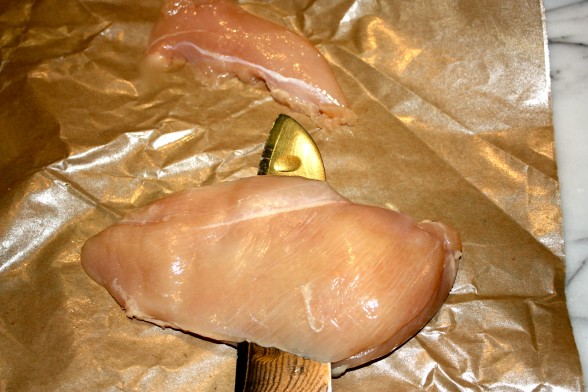
how to slice into cutlets

“Baked Lemon Chicken” from The Union Square Cafe Cookbook was one of my favorite chicken entrees before sports.  Bone-in chicken pieces baked with lots of sauteed onions, lemon and thyme.  It was even good enough to serve to company.  But there would be no more basting every 15 minutes for me on a Tuesday at 5:00.  So what’s a girl to do?  Adjust the recipe to cutlets, of course!

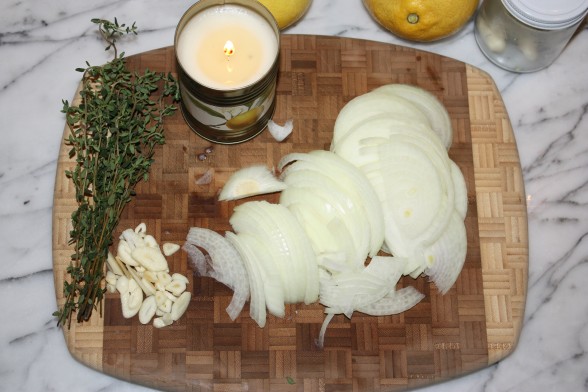
sliced onions and garlic, fresh thyme

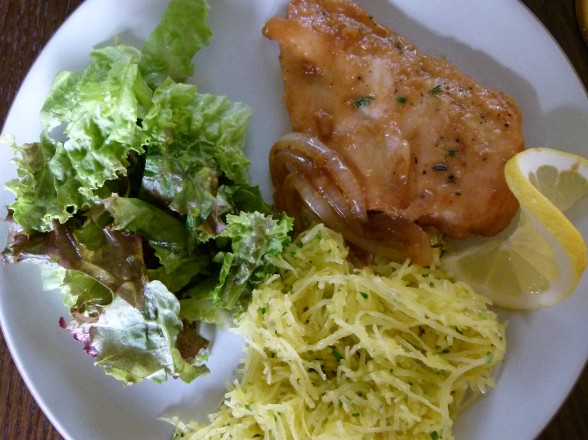
Even though I generally prefer bone-in chicken to boneless, this dish is not lacking for flavor or moistness.  The onions get soft and saucy with lemon and infused with fresh thyme and the chicken takes it all in.  The best part about this is that it’s super easy and can be done in stages, if necessary.  You can flour and saute the chicken and then take the kids to practice.  Come back and saute the onions, add the thyme, lemon and stock.  Pick up the kids from practice and when you get home add the chicken to the onions and let everything cook together while you saute some spinach with garlic.  Hopefully you made a vinaigrette and washed some lettuce a few days ago, so assembling a salad will take you no time at all.  Can you say, “Home run!”

lemon- thyme chicken | pamela salzman


lemon-thyme chicken | pamela salzman


Lemon-Thyme Chicken

Pamela
The perfect recipe for those busy weeknights - this recipe is quick and easy, and you can even prep ahead!
Prep Time 10 minutes
Cook Time 30 minutes
Total Time 40 minutes
Course Main Course
Cuisine American
Servings 6

Ingredients
  

  • 2 pounds chicken cutlets I show a photo of how I cut a boneless, skinless breast half into cutlets, but you can ask your butcher to do this
  • Sea salt and freshly ground black pepper
  • Flour for dredging whole wheat pastry flour or brown rice flour (gluten-free are the two I use)
  • Unrefined cold-pressed extra-virgin olive oil
  • 1 large onion halved and sliced thinly (I use a candle when I am cutting onions to prevent crying -- it works!)
  • 4 cloves garlic sliced thinly
  • ½ cup fresh lemon juice
  • 1 cup chicken stock
  • a few sprigs of fresh thyme

Instructions
 

  • Season the chicken cutlets on both sides with sea salt and black pepper. Dredge them with flour and shake off the excess.
  • Warm about ¼ cup olive oil over medium heat in a large skillet. Add the chicken cutlets and sauté on both sides until golden brown. Transfer the chicken to a plate.
  • Add the onions and garlic to the skillet and season with sea salt and pepper. Sauté until tender, about 8 minutes. Pour the lemon juice into the pan and scrape any brown bits on the bottom. Add the chicken stock and thyme sprigs and bring to a simmer. Transfer the chicken back to the pan with any accumulated juices. Simmer until cooked through, about 5 minutes.
  • Remove thyme sprigs and serve immediately.
Tried this recipe?Let us know how it was!