Pantry pasta recipe

My father called me the other day.  My father never calls.  He always jumps on the phone when I’m speaking with my mother, but he is not in a habit of actually dialing my number unless there is something that is nagging him.  “I have looked at your website, and I want to ask you a question.”  Here it comes.  “I think you do not have enough Italian food represented.  You are Italian!”   That’s not a question, but a partially true statement nonetheless.  I am definitely Italian (and proud of it), but I wouldn’t say the majority of the recipes on my website are Italian.  I have, however, eaten and cooked more than my share of Italian food in my life.  Growing up, we probably ate pasta four times per week with crusty bread on the side.  It’s a wonder we aren’t all gluten-intolerant!  Or are we?  Hmmm…

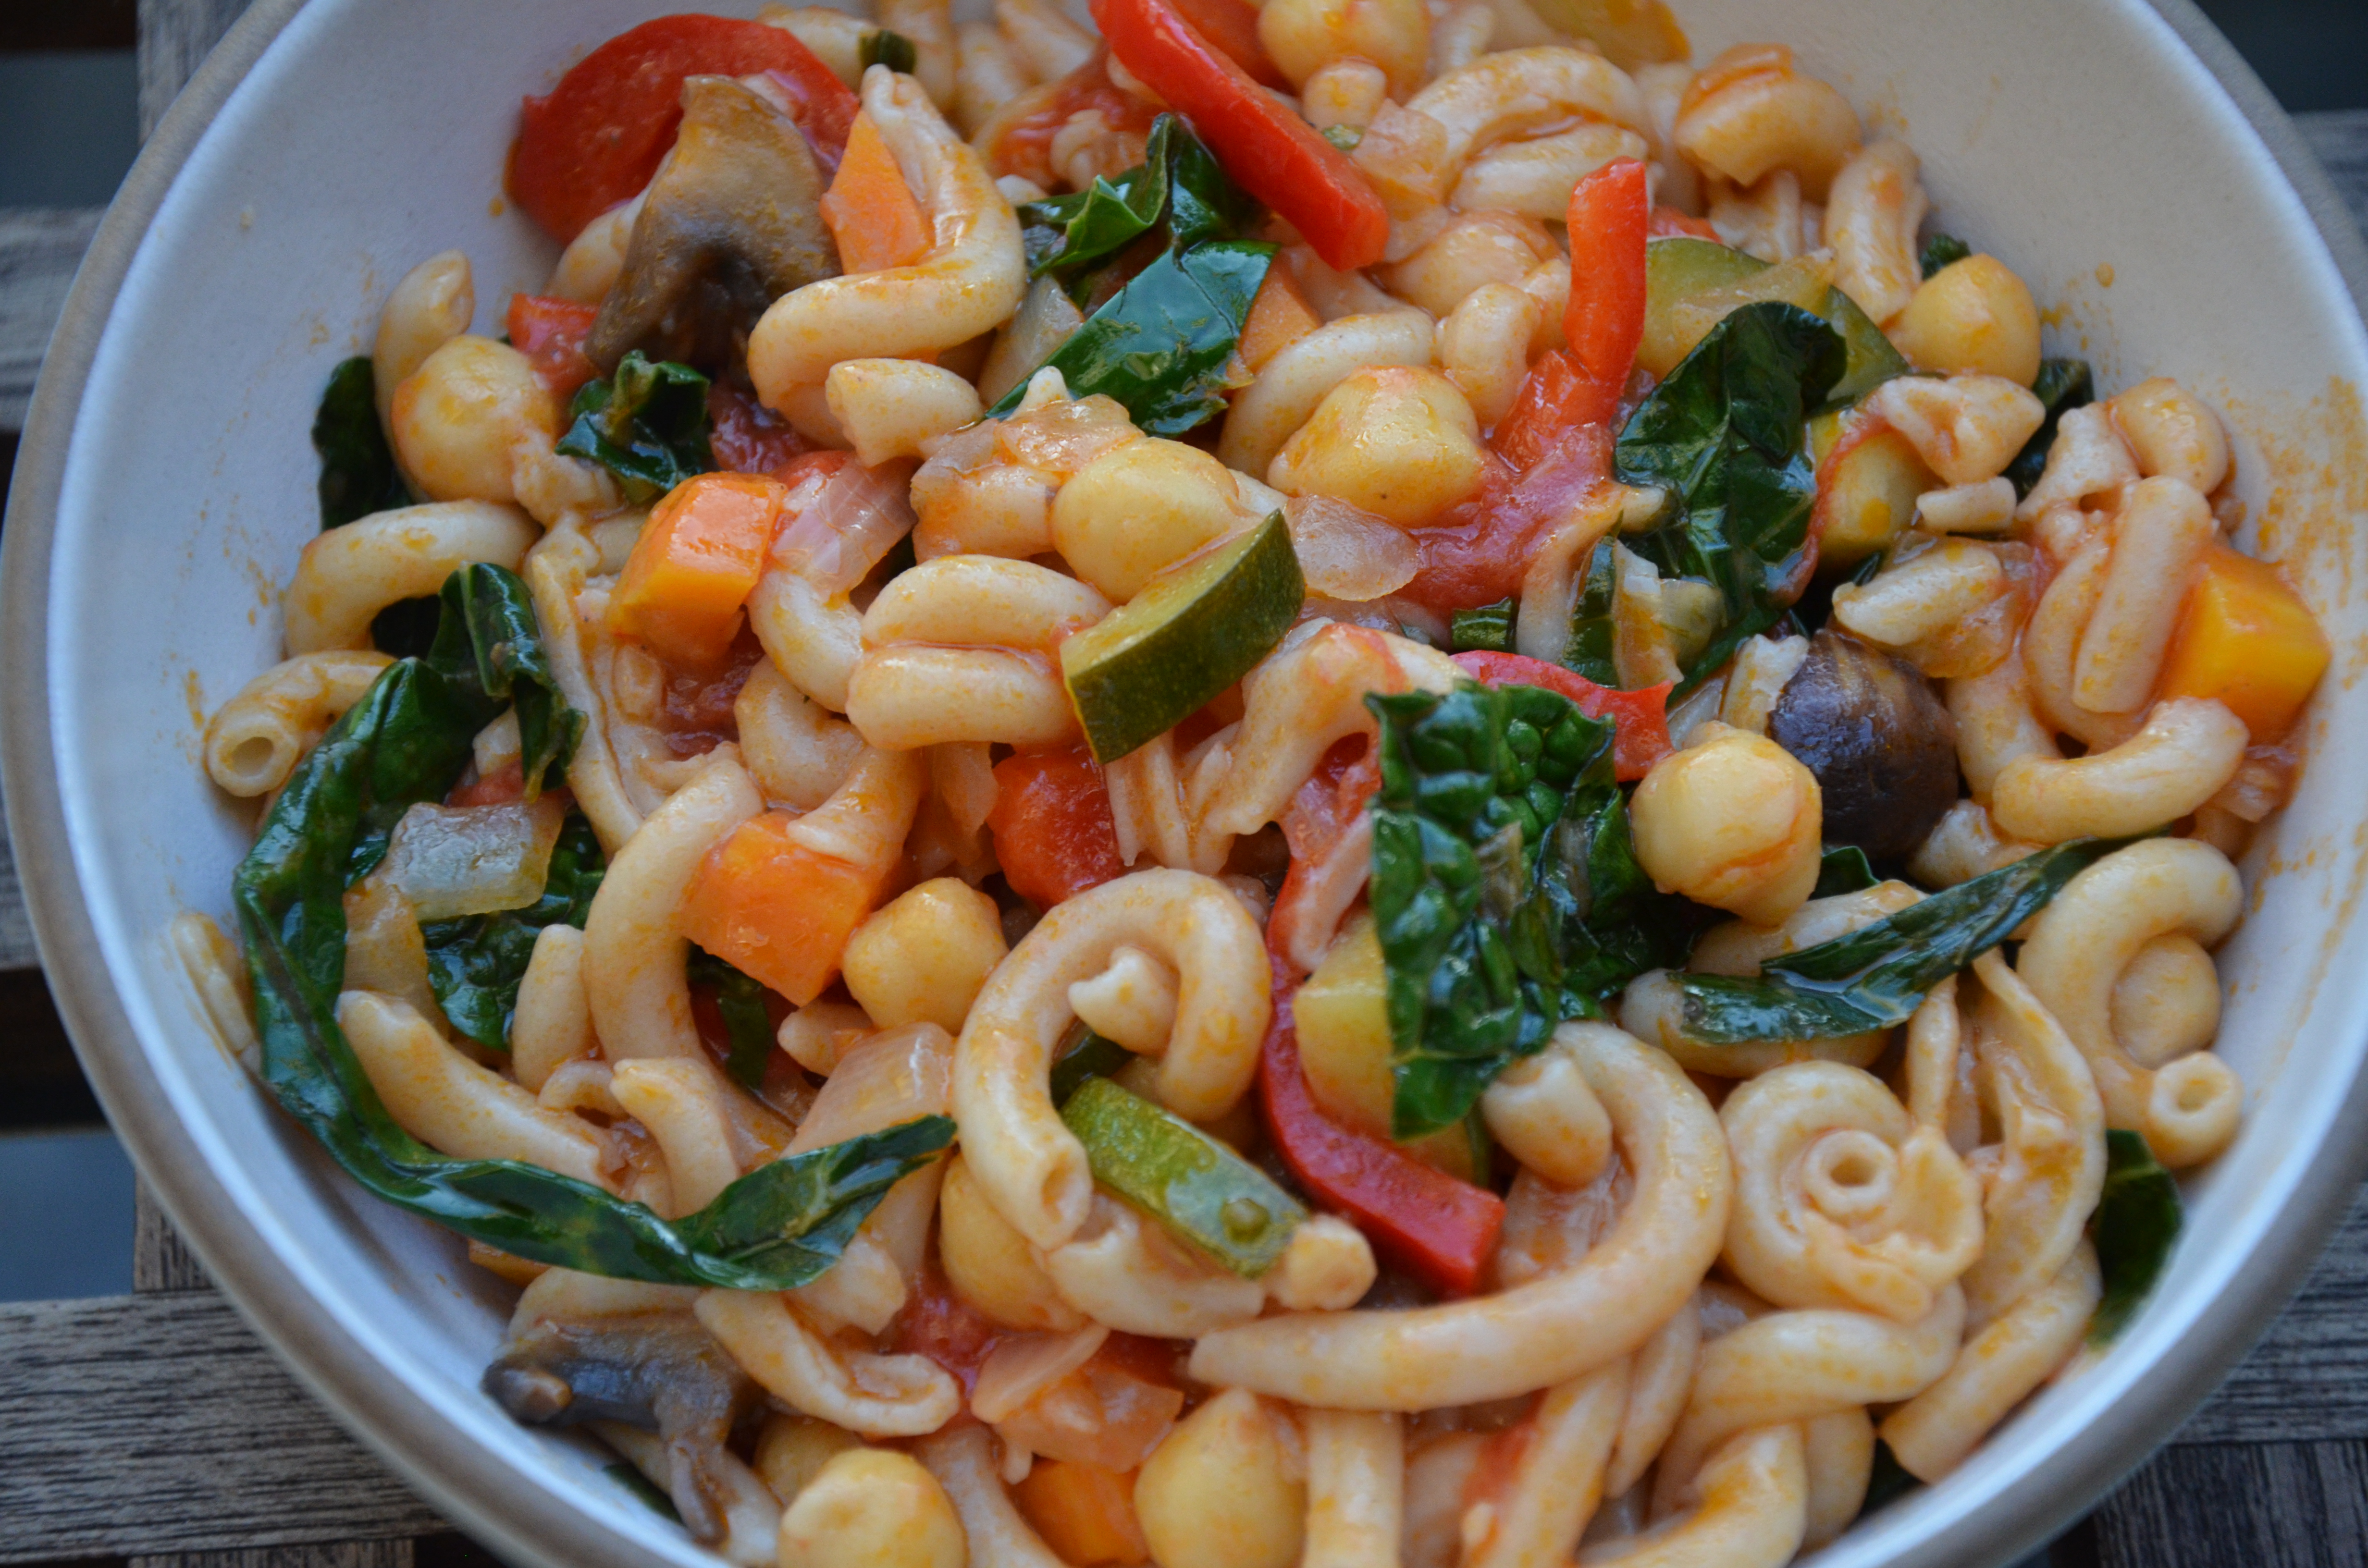
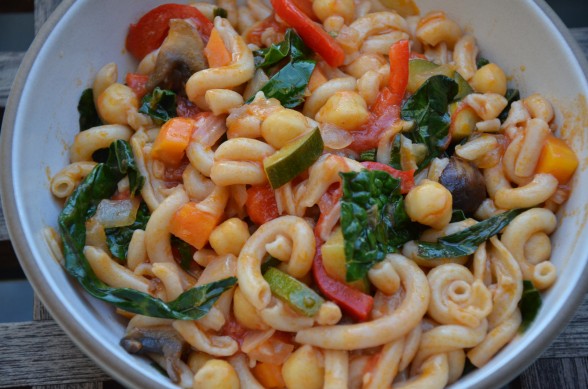
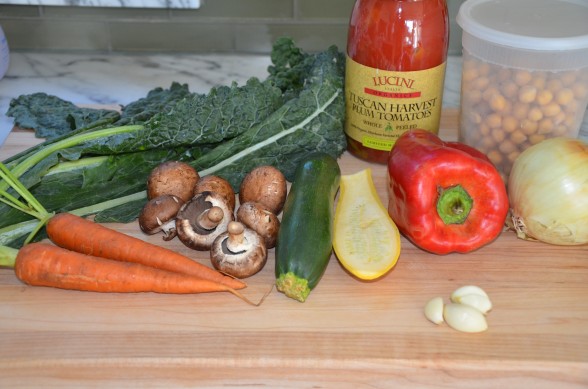
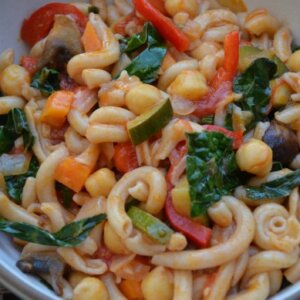
The food I teach in my classes is very representative of the food I make for my family and those recipes are making their way to my website.  I love Italian food and I love pasta, and a satisfying pasta dish is one I can whip up even if I have nothing more than salt, olive oil and garlic.  However I don’t consider pasta a “health food” that I want to be eating regularly.  So I have come to rely on it as a weekly lunch box staple with pesto for the girls and something to make when I need to clean out the fridge.  Very often at the end of the week and before a farmer’s market shop, I have a few stray vegetables lingering in the crisper.  Last night I found a few mushrooms, 1 1/2 zucchini, a couple of carrots, a red bell pepper and a handful of kale or chard.  When I pair these with a few pantry staples such as canned chick peas, jarred tomatoes, onion and garlic, I’ve got the makings of “Pantry Pasta!”

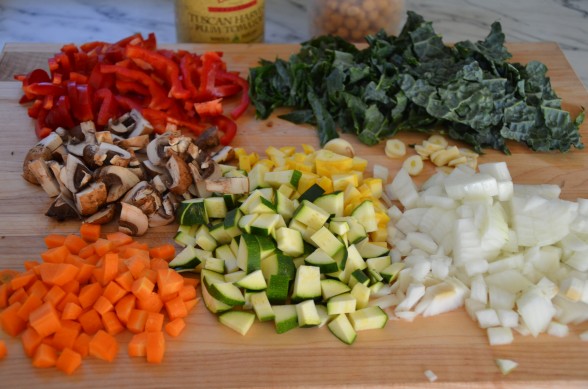
As you can imagine, I’ve never made Pantry Pasta the same way twice because it’s really just a way of using up what I’ve got.  But it always manages to be tasty and a more healthful way to eat pasta since the dish ends up being half veggies & beans and half pasta.  Even better is that everyone loves it, even Mr. Picky who will just pick out any color that is out of favor at the moment.  I love Pantry Pasta because I feel good that I am using my food efficiently and I can pull together an easy dinner in very little time.  Chop your vegetables first, put the pot of water on for pasta and then start sauteing the vegetables.  The key to this recipe is saving a good cup or two of the pasta cooking water just before you drain the pasta.  This is a valuable ingredient in many pasta dishes since the starchy liquid can add a nice richness for the foundation of a good sauce without having to add extra oil or cream.  When I had more time to exercise, I used to add a pat of butter to the pasta just before serving and before I had Mr. Picky, I would stir grated cheese into the pasta at the same time as the pasta water.  He claims he doesn’t like parmesan cheese.  Would it do any good if his grandfather reminded him that Mr. Picky himself is half Italian?  Of course, you can make these delicious vegetables and serve them atop cooked millet or quinoa instead of pasta.  Just don’t tell my dad.

Buon appetito!
Pantry Pasta

Pamela
Servings 6

Ingredients
  

  • 1 pound whole wheat or other pasta of your choice
  • Kosher salt
  • 2 Tablespoons unrefined cold-pressed extra-virgin olive oil
  • 1 onion chopped
  • 3-4 garlic cloves thinly sliced
  • Vegetables in the fridge such as last night's lot:
  • 2 carrots julienned or roughly chopped
  • a handful of mushrooms roughly chopped
  • 1 1/2 zucchini roughly chopped
  • 1 sweet bell pepper sliced
  • 6 leaves of black kale stems removed and discarded, leaves coarsely chopped
  • Sea salt and freshly ground black pepper to taste
  • 1 jar or half a jar chopped tomatoes or whole tomatoes chopped
  • 1 ½ cups cooked beans such as chickpeas or Great Northern
  • A couple tablespoons chopped fresh herbs such as basil, parsley, thyme, mint or a combination
  • Grated Pecorino-Romano or Parmigiano-Reggiano cheese

Instructions
 

  • Bring a large pot of water to a boil.
  • In the meantime, heat oil in a large skillet over medium heat. Add onion and garlic and sauté until tender and translucent. Stir in remaining prepared vegetables, except the leafy greens. Season with two pinches of sea salt and a few grinds of black pepper and sauté until just tender, about 5 minutes.
  • To the pot of boiling water, add kosher salt and pasta. Cook pasta according to package instructions.
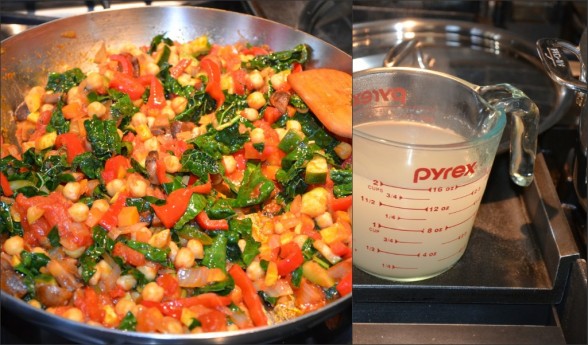
  • Into the skillet pour in the chopped tomatoes and beans and simmer ten minutes. Sprinkle with another pinch of sea salt. Stir in chopped greens and fresh herbs and cook until wilted.
  • When pasta is cooked until al dente, remove two cups of pasta cooking water and reserve. Drain the pasta and add it to the skillet with the vegetables and toss. Add enough pasta water to coat the vegetables and the pasta. Taste for seasoning and serve with grated cheese if desired.

Notes

Other additions: chopped celery, cauliflower florets, peas, chopped Swiss chard, beet greens or baby spinach leaves instead of kale
Notes: You can also add a splash of white wine to the vegetables as you are sauteing.
Do ahead: chop your vegetables in the morning and store in an airtight container in the refrigerator.
Tried this recipe?Let us know how it was!

Grated Carrot Salad with Avocado Recipe

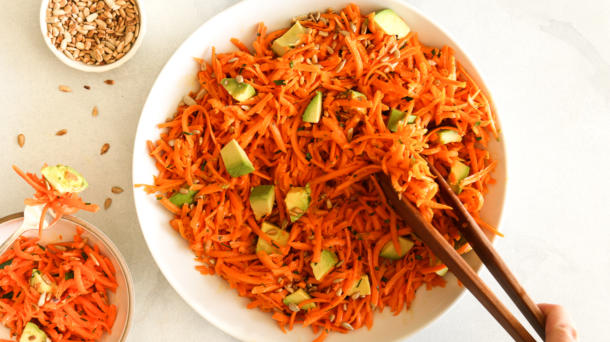
Carrot Salad with Avocado | Pamela Salzman


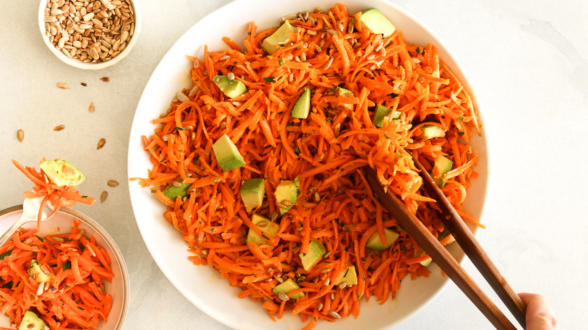
Carrot Salad with Avocado | Pamela Salzman
Photos by Erica Hampton


I really do love vegetables and I try to eat as many as possible, as often as possible.  Besides being incredibly nutrient-dense, what I most love about vegetables is how versatile they are.  You can steam, braise, roast, saute, stir-fry and grill them.  Or you can eat most vegetables raw.  But not only does a vegetable take on a different flavor with each preparation, but how you cut them makes a difference, too.  Let’s use carrots as an example.  I adore carrots both raw and cooked and I prepare them using all the methods mentioned above.  But I have a favorite.  There is something highly addictive and so satisfying about a simple salad of freshly grated carrots.  It is hands-down my preferred way of eating this common, underappreciated vegetable.  Grated carrot salad has just the right amount of crunch, sweetness and juiciness.  My husband, who is not the biggest fan of carrots, calls this the “I Can’t Believe It’s Carrots” Salad and inhales it.

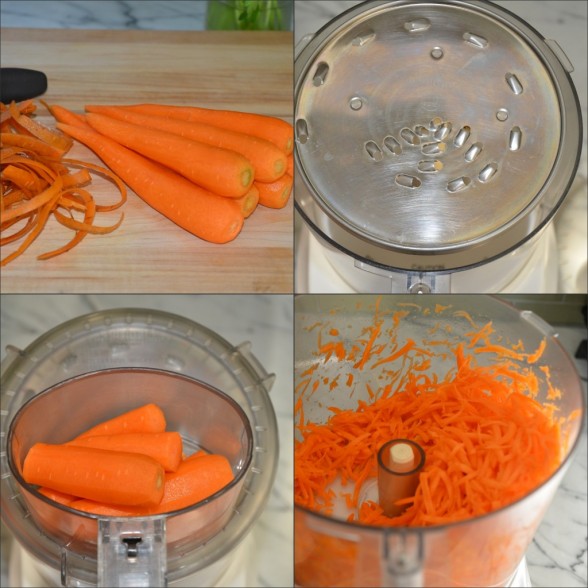
Grated carrot salad is a classic and traditional dish in France where you’ll find it on many a cafe or bistro menu.  In my house, it appears very often as a side dish in the spring and summer months when fresh carrots are gloriously abundant at the farmer’s market.  I always say that the best salads are the simplest and it doesn’t get any simpler than this one, especially if you can find the grater attachment to your food processor.  I think the grater attachment is one of the most underutilized and helpful tools in the kitchen.  It may take you 5-8 minutes to peel  1 1/2 pounds of carrots, but it will take your food processor 5 seconds to grate them all.  I can throw this simple lemon and olive oil dressing together in a few minutes and a surprisingly delicious salad is mine to savour.

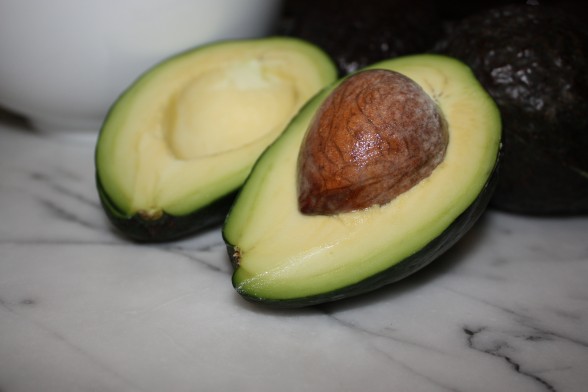
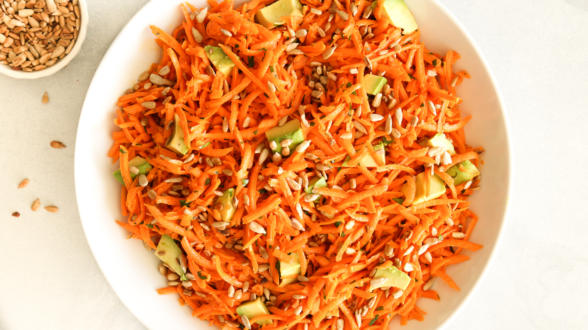
Although this salad is perfection with just carrots and dressing, I am crazy for avocados and I usually add a large one to the salad.  The contrast of creamy and crunchy gets me every time.  Daughter #1 loves it for a school lunch with feta and sunflower seeds.  “What did you say, Mr. Picky?  You prefer your grated carrots without dressing?  Sure, no problem.”  That’s me being flexible.  We pack this for picnics at the beach, serve it alongside sandwiches on Saturdays or at barbecues in the summer. It is also a staple Rosh Hashana luncheon salad with roast chicken.  This salad is even amazing the next day, but it never lasts that long.  I know what you’re thinking — Really?  Carrots?  I’m telling you — addictive!

Carrot Salad with Avocado | Pamela Salzman

Carrot Salad with Avocado

Pamela
5 from 1 vote
Servings 4 -6

Ingredients
  

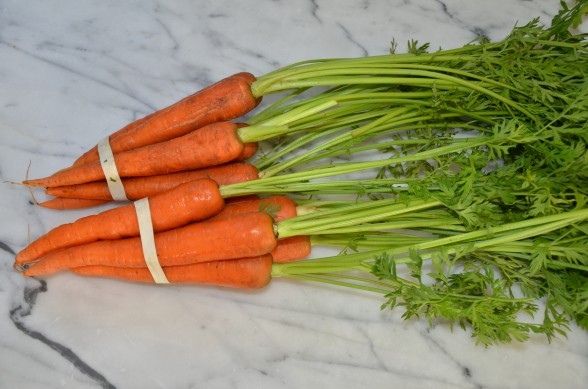
  • 1 ½ pounds of carrots peeled if desired and grated
  • 1/3 cup parsley leaves chopped
  • ¼ cup raw sunflower seeds toasted then drizzled with a drop of olive oil and a sprinkle of sea salt
  • 3 Tablespoons lemon juice
  • 1 teaspoon minced shallot
  • ½ teaspoon sea salt
  • A grind of black pepper
  • ½ teaspoon Dijon mustard
  • 1 teaspoon raw honey or pure maple syrup optional
  • ¼ cup cold-pressed extra-virgin olive oil
  • 1 ripe avocado cubed

Instructions
 

  • Combine carrots, parsley, and sunflower seeds in a serving bowl.
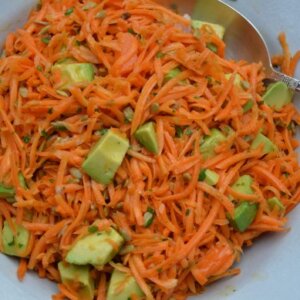
  • In a jar with a screw-top lid, combine lemon juice, shallot, sea salt, pepper, mustard, honey, if using. and olive oil. Add dressing to salad to taste and combine. Add avocado and gently combine.

Notes

The grated carrots and the dressing alone make a tasty and light salad. Don’t be concerned if you don’t have one or more of the other components.
Dill or chives would be a great sub for the parsley.
Walnuts or pistachios would be a great sub for the sunflower seeds.
Tried this recipe?Let us know how it was!


Cinnamon “nachos” with fresh fruit salsa recipe

It was tense around here on Super Bowl Sunday as my husband’s Steelers were getting walloped by the Packers.  Nevermind that I had just laid out a fresh batch of baked chips and guacamole, no one was really hungry…except me, of course.  As everyone watched in agony as the Packers’ Nick Collins returned an interception for a touchdown, all I could think of was, “I wonder if I can make sweet chips with whole grain flour tortillas in the same way I make traditional chips out of corn tortillas?”  You know what they say, “when the going gets tough, the tough get making sweet chips!”  You never heard that before?  I quickly got to work on what would become my kids’ new favorite snack.

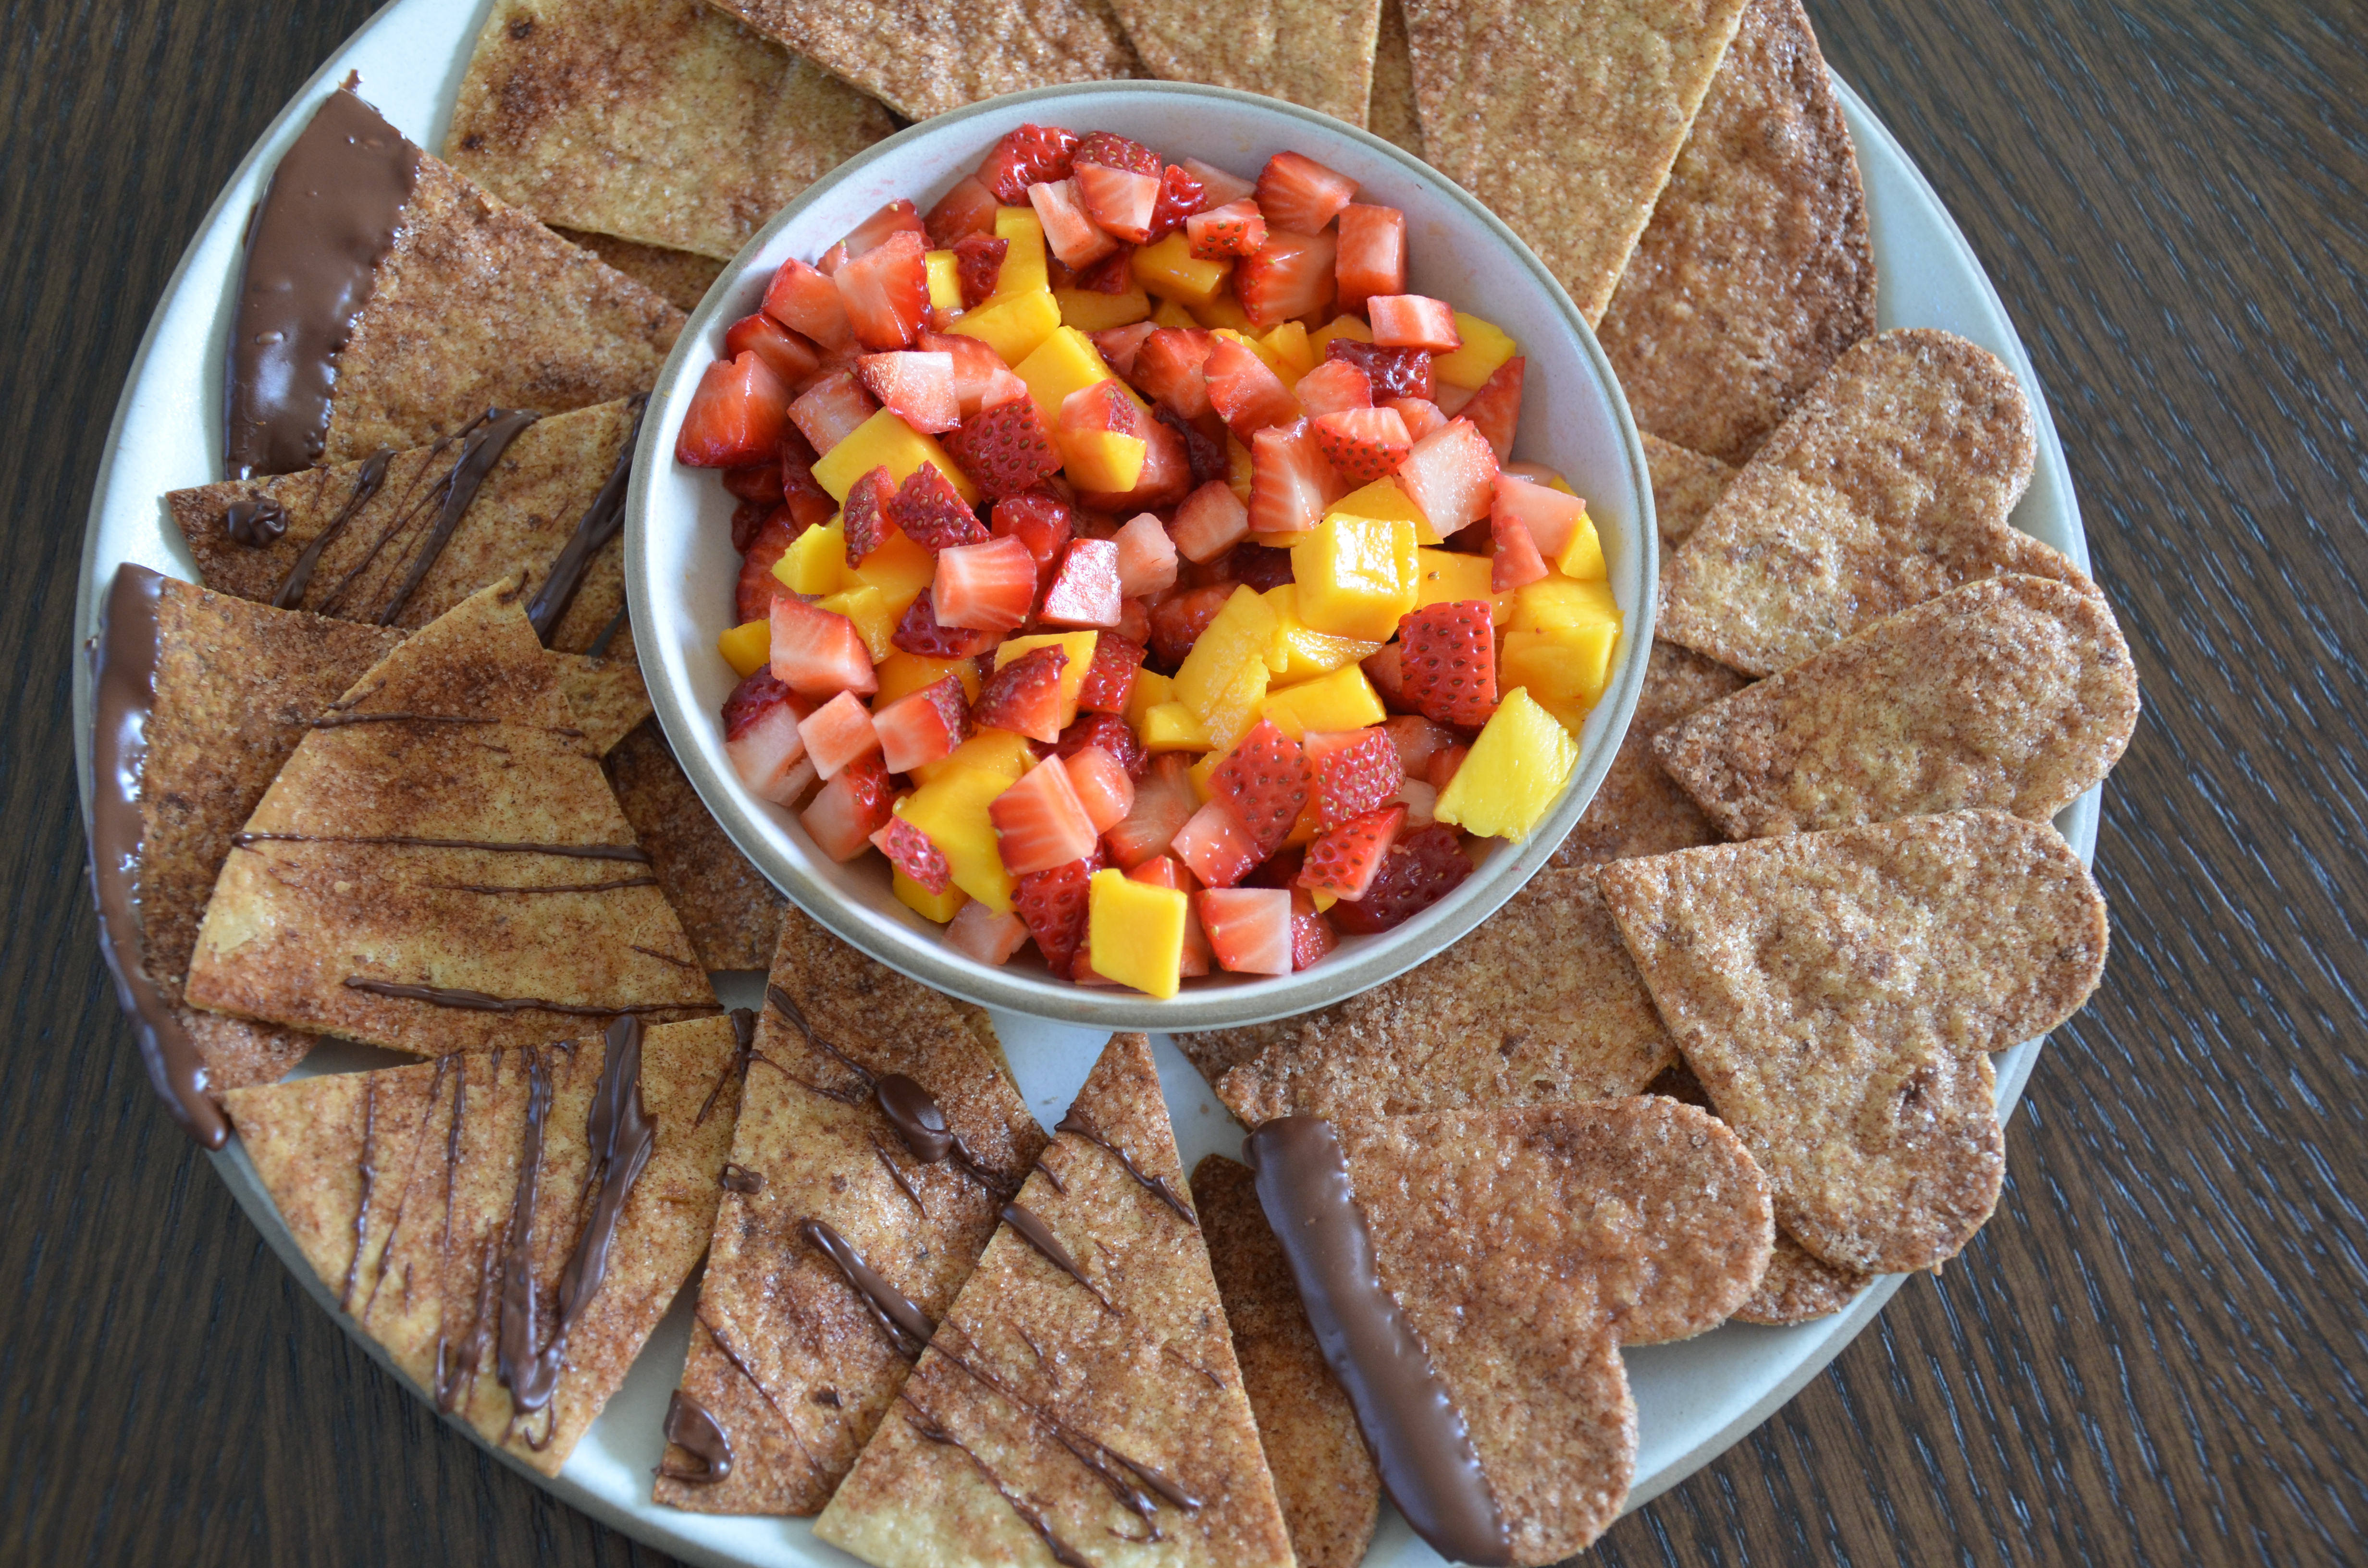
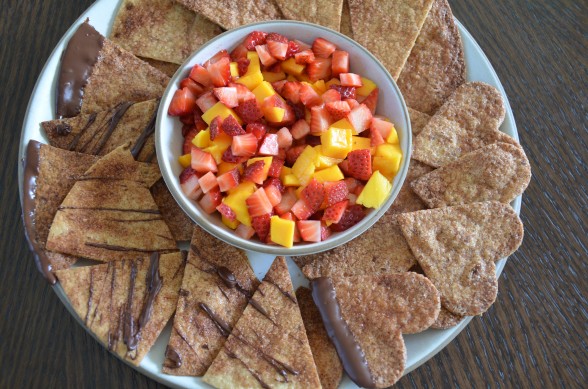
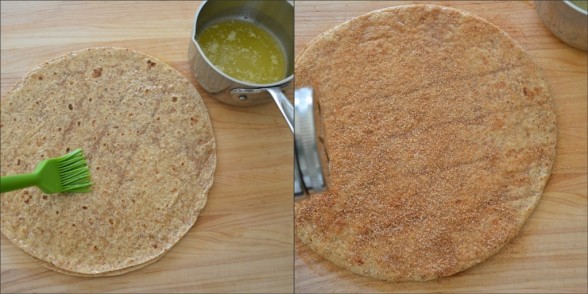
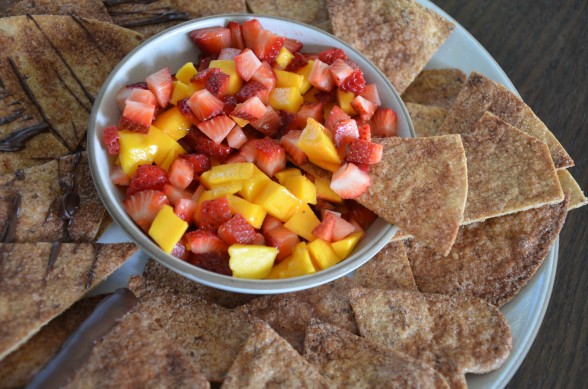
These chips are as tasty as they are easy.  By the time the oven is preheated, you will have the chips assembled on baking sheets ready to go.  The best part is that you can improvise, veganize, de-gluten and really make these your own.  I like both Rudy’s 7-Grain Tortillas with Flax, as well as Food For Life’s Brown Rice Flour Tortillas, if you want to make them gluten-free.  Believe me that no one will have any idea these chips are made with whole grain tortillas.  Just brush both sides with either melted butter or coconut oil, sprinkle with cinnamon-sugar, cut and bake.  That’s the recipe!  But the fun doesn’t stop there.  You can drizzle the baked chips with melted chocolate or if you have a little extra time, dip each one in melted chocolate.   I usually serve them with a fresh fruit “salsa” which is basically nothing more than diced mixed fruit.  Sometimes I’ll add some finely chopped mint and a squeeze of fresh lime to the fruit if I’m feeling fancy or if serving these to adults.  Strawberries and mangos are in season now, but diced bananas, ripe peaches, nectarines and apricots all work beautifully, too.

This is also a fun project to do with your kids.  I love cooking with my children, especially with just one of them at a time.  There’s something about cooking together that makes them chatty.  I always learn something new about what’s happening in their lives, which is not an easy thing with teenage girls!  Daughter #2 helped me with this batch and she had the clever idea of using a heart cookie cutter to make some heart-shaped chips.  I wish I had thought of that for Valentine’s Day.  Well, you know what they say in football — “there’s always next year!”

Cinnamon "Nachos" with Fresh Fruit Salsa

Pamela
Servings 4 ? 3? you and me? just me?

Ingredients
  

  • 1 ½ Tablespoons granulated sugar
  • 1 ½ teaspoons ground cinnamon
  • 4 organic whole grain or brown rice tortillas I like Rudy's 7-grain with Flax or Food For Life Brown Rice tortillas
  • 3 Tablespoons melted unsalted butter or unrefined coconut oil
  • 1 mango peeled and diced
  • 1 pint strawberries hulled and diced*
  • A few leaves of fresh mint finely chopped and a few wedges of lime, squeezed (optional)

Instructions
 

  • Preheat oven to 375 degrees. If your oven tends to run hotter than average, preheat to 350 degrees. Line 2 baking sheets with parchment paper.
  • Combine sugar and cinnamon. If you have a shaker, that's helpful to use for distributing the cinnamon-sugar. Otherwise a spoon is fine.
  • Place tortillas on a cutting board. Brush both sides of each tortilla with melted butter and sprinkle one side with cinnamon-sugar to cover lightly. Spread with fingertips if needed. Stack tortillas and cut into wedges or strips or use cookie cutters to cut in decorative shapes.
  • Transfer to baking sheets cinnamon-side up in one layer and bake for 10** minutes or until lightly browned. Tortillas will crisp further out of the oven. Allow to cool on pan.
  • Combine mango and strawberries in a bowl. Mix in mint and lime juice, if desired. Place fruit salsa in center of platter and surround with tortilla chips.
Notes

*Suggestions: Combine any seasonal fruit such as diced apricots, bananas, peaches, pineapple, and plums. Once I mixed shredded coconut with the fruit and I loved it. You can melt semi-sweet chocolate to dip or drizzle on top of the chips. Or serve with your favorite frozen dessert or use a lightly sweetened yogurt as a dip.
**If you overcrowd the pan, you may need an extra 2 minutes.
Tried this recipe?Let us know how it was!


NOT microwave popcorn recipe

I use my microwave oven for two things, as a back-up timer and to disinfect my sponges.  Killing anything alive is what a microwave does best, no?  When people find out I don’t put food in the microwave, they always ask, “how do you reheat leftovers and how in the world do you make popcorn?”  I have to laugh because I know that anyone who is my age grew up without this appliance and surely remembers a time when our parents perhaps reheated last night’s stew in a pot???  Yes, of course, it takes 5 minutes longer and then you actually have to wash the pot, but I am really not a fan of the microwave.  Even though I can find studies making a case against the microwave, I can also find literature which outlines that microwaves are not bad for you.  Welcome to the world of nutrition — where you can always find someone who will tell you what you want to hear!  So be it, but I still don’t trust them and I think it changes the texture of many different foods and not for the better.  And if memory serves me, I think it makes the food you are cooking less tasty.  That’s reason enough for me to not use one.

What I can argue with conviction is that most microwave popcorns aren’t worth feeding to a starving animal, let alone my kids.  Have you read the ingredient list of many of the microwave popcorns in your supermarket?  Here are just two examples:

Pop Corn, Partially Hydrogenated Soybean Oil (Adds A Dietary Insignificant Amount of Trans Fat Per Serving), Salt, Natural Flavors, Annatto For Coloring, Soy Lecithin

Popcorn, Partially Hydrogenated Soybean Oil and Cottonseed Oil, Salt, Modified Cornstarch, Maltodextrin, Monosodium Glutamate, Natural Flavor & Artificial Flavor, Color (Yellow 5 Lake & Yellow 6 Lake), Nonfat Milk, Freshness Preserved by Propyl Gallate.

Nice.  And that’s just the ingredients inside the package.  We’re not even discussing the chemicals lining the bag itself.  The good news is that you can still make popcorn the old fashioned way, the way my mom taught me — on the stove.  And you know what?  It’s sooooo much better than the microwaved junk if you follow a few key tips.

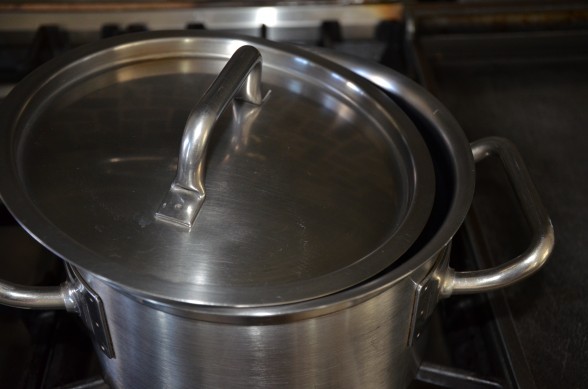
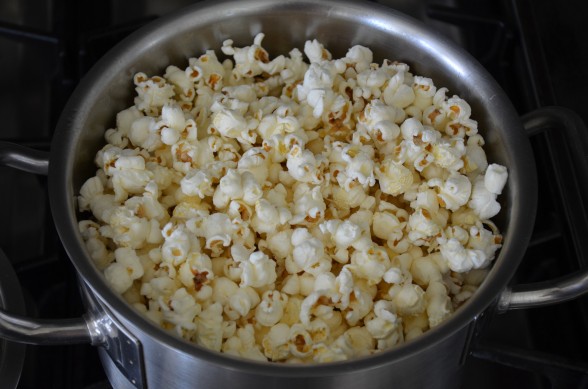
First, use good quality popcorn, preferably non-GMO, such as Eden Oragnic.  Next, use coconut oil to pop the corn.  It’s a more stable oil to heat than vegetable oils and it makes the popcorn taste like the kind you get at the movie theater.  Lastly, keep the lid on the pot open a half inch or so to let some of the steam escape so that your kernels stay nice and crisp.  Perfect for an after-school snack, sleepover party, to eat while watching your child or grandchild’s Little League game and of course, to sneak into your local movie theater.  Shhhhhhh!

NOT Microwave Popcorn

Pamela
5 from 4 votes

Ingredients
  

  • 2 Tablespoons coconut oil
  • 1/2 cup good quality popcorn such as Eden Organic
  • sea salt to taste
  • melted butter to drizzle on top if that's your thing

Instructions
 

  • Heat the oil in a heavy bottomed 3-quart pot over medium heat. (I used one that was 8 inches in diameter and 5 inches deep.) Add 3 kernels of popcorn to the pot and cover with a lid. This is how my mom did it. Don't ask me why it was 3 kernels and not 2 or 4. When the kernels pop (this usually takes about 2 1/2 - 3 minutes), add the 1/2 cup of popcorn in an even layer and cover with the lid, but not all the way. Leave it open about 1/2 inch to allow steam to escape but not wide enough to let the popcorn pop right out.
  • Shake the pot every now and then. If you can't shake it with the lid ajar, cover the pot, shake and open the lid again when you return the pot to the heat.
  • Once the popping reduces to several seconds in between each pop, take the pot off the heat and remove the lid. Sprinkle with sea salt and transfer to a serving bowl. Taste for salt and add another sprinkle if necessary. If you like melted butter on top, now's the time to drizzle it.

Notes

I bought the paper popcorn containers at my local Smart & Final. Very fun for a party!
If you don't have a lid for your pot, you can cover the pot with aluminum foil and poke a bunch of holes in it with a toothpick to allow the steam to escape.
Tried this recipe?Let us know how it was!

Granola recipe


homemade granola

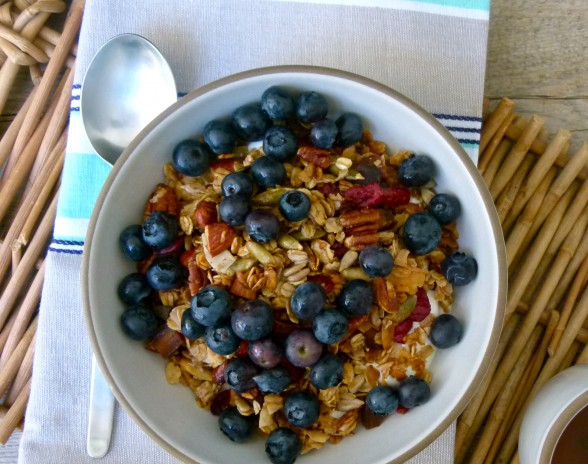
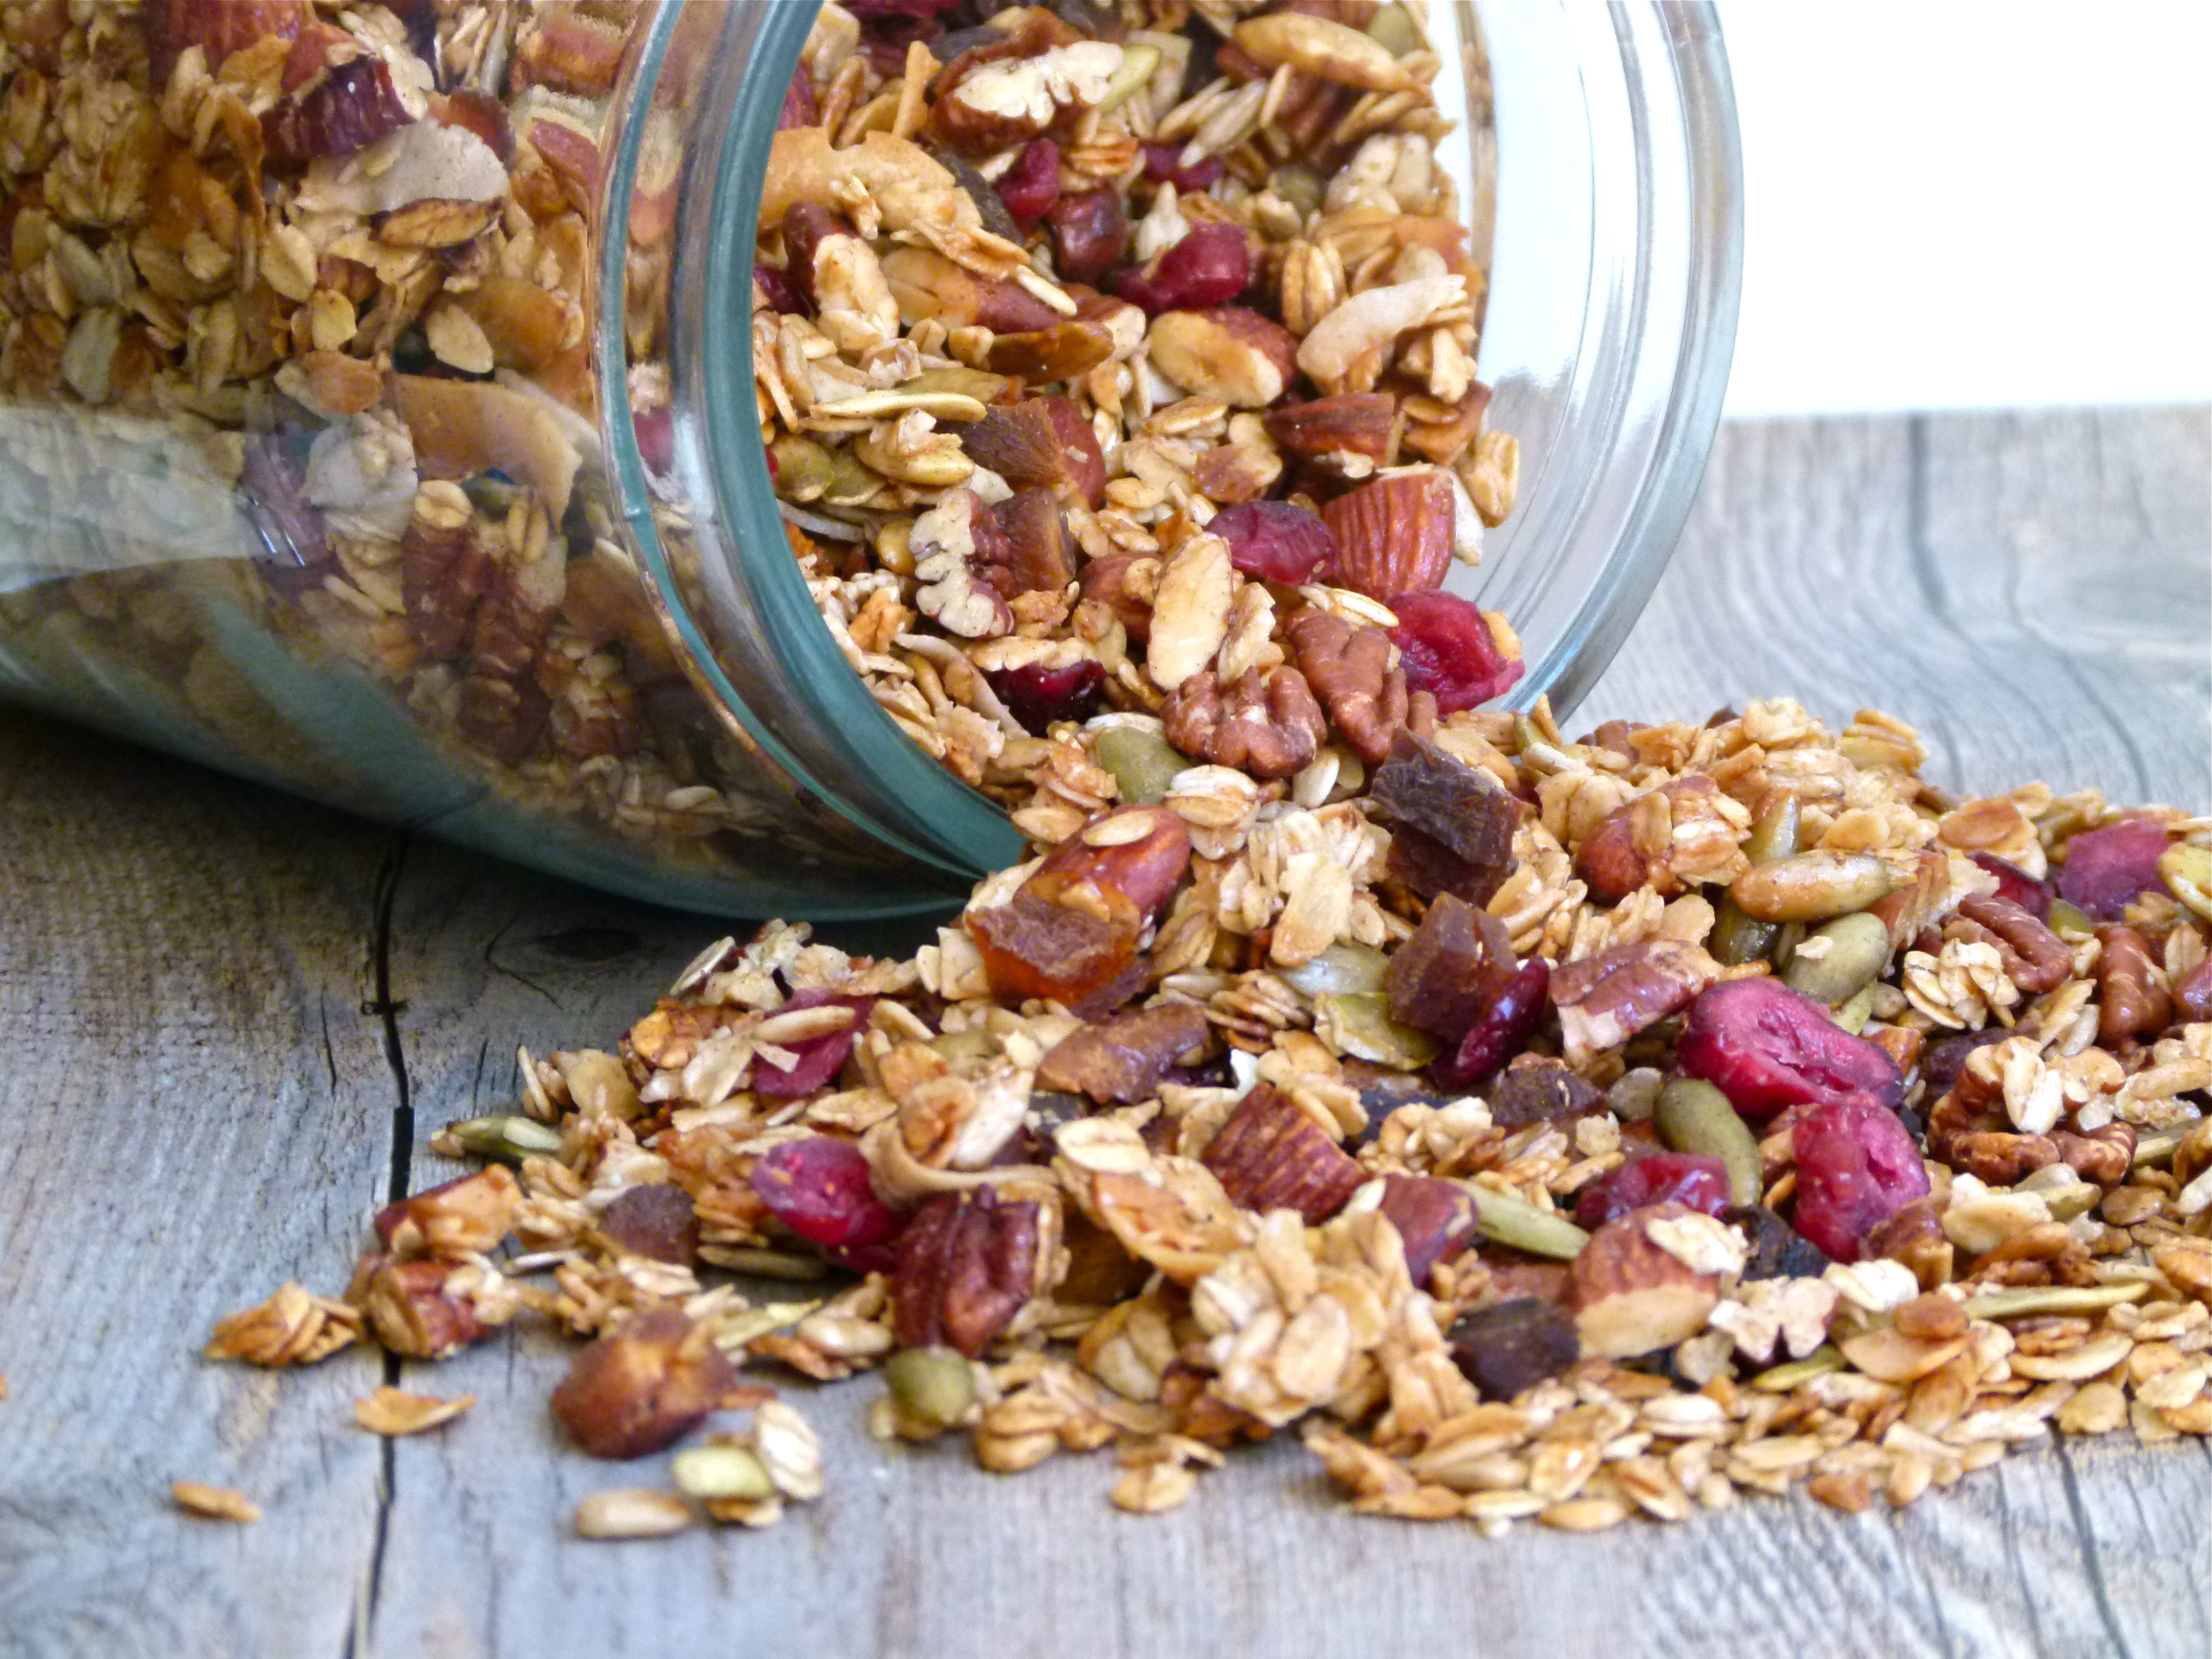
I started making my own granola when I realized how much money I was spending to buy it at my local natural foods store.  $8 for a little container?  Ouch!  But the price wasn’t the only deterrent.  There’s also the undesirable ingredients you find in many commercially prepared granolas — too much sugar and refined or hydrogenated oils, just for starters.  You wouldn’t believe how easy it is to make from scratch and best of all, you can make it exactly the way you want it.  Although I wouldn’t consider it to be “health food,” homemade granola beats processed cereals any day and is as “instant” as breakfast can get.    This has come in handy when daughter #1 spends much too much time straightening her hair and is late for school.  I just put a hefty scoop of whole, unsweetened yogurt in a cup and layer granola with or without fresh fruit and that’s a decent breakfast to go.

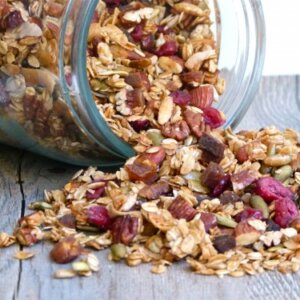
I make granola every two weeks and keep it in an airtight glass container in the pantry where it stays perfectly crispy.  We not only eat it with the obvious yogurt and fresh fruit, but we love it mixed into smoothies, on acai bowls, sprinkled on pancakes or creamy oatmeal, or as a crunchy dip for bananas rolled in nut butter.  As for me, sometimes I’m looking for something sweet without actually eating sweets and a handful of granola is a quick and satisfying snack.  I can’t tell you how many times I have opted to bring a glass jar of this granola to a friend’s house as a hostess gift instead of a candle.

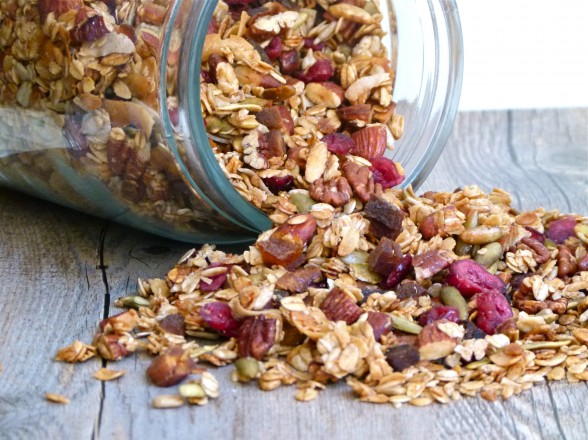
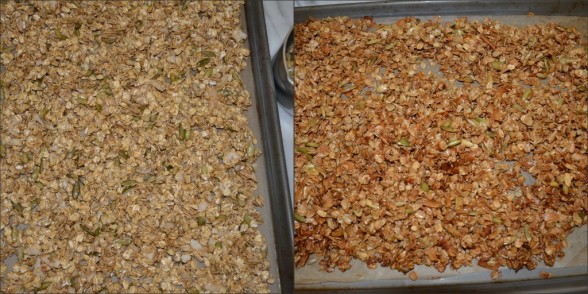
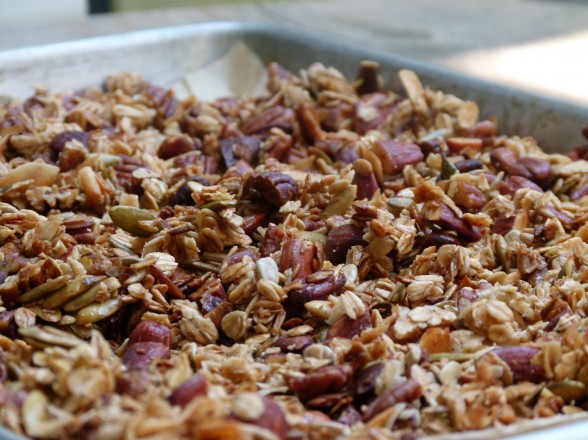
The first time I made granola I burned it because I kept expecting the oat mixture to get dry and crunchy in the oven.  No, no.  The oats remain soft until they are removed from the heat and are allowed to cool at room temperature.  Judge the granola by its color, which should change to be a nice toasty, golden brown.  The key here is to mix the syrups and oil until completely blended before combining it with the oat mixture.  If you don’t, the syrups can burn.  Also note that the dried fruit is added after the oats come out of the oven.  If you bake them, they’ll harden and taste burnt (ask me how I know this.)  The wonderful thing about granola is that you can use whatever nuts, seeds and dried fruit you like.

L1130570

If my kids are reading this, what I would like is a little bowl of granola with fresh berries and sheep yogurt delivered to my bed on Sunday morning with a cup of Tulsi tea and absolutely, positively no bickering all day long.  Ahhhhhh…….  Happy Mother’s Day to all my students, readers, friends and family, and of course, to my mother-in-law and my mother.

homemade granola with yogurt and blueberries

Granola

Pamela
5 from 1 vote

Ingredients
  

  • 3 cups old fashioned rolled oats not instant or quick-cooking*
  • 1/2 cup unsweetened dried coconut flakes
  • 1/3 cup raw pumpkin seeds
  • 1/3 raw sunflower seeds
  • 2 Tablespoons sesame seeds optional; sometimes I use them, sometimes I don't
  • 1 teaspoon ground cinnamon
  • 1/4 teaspoon fine grain sea salt
  • 1/4 cup melted unrefined coconut oil
  • 1/3 cup 100% pure maple syrup
  • 1/4 cup brown rice syrup or honey
  • 1 teaspoon pure vanilla extract
  • 1 cup raw almonds in California, you can buy truly raw almonds if purchased directly from the farmer, in the stores it may say "raw," but they have likely been pasteurized or steamed or walnuts or pecans or a combo
  • 1 cup unsweetened unsulphured dried fruit, chopped if necessary

Instructions
 

  • Preheat oven to 350 degrees. Line a rimmed baking sheet with unbleached parchment paper.
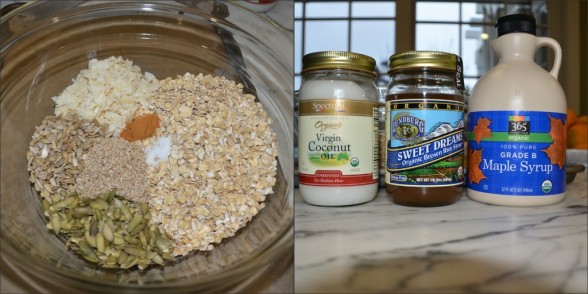
  • In a large bowl stir together the oats, coconut flakes, seeds, cinnamon and salt.
  • In a small bowl, whisk together the melted coconut oil, maple syrup, brown rice syrup and vanilla. It is really important to mix the oil and syrups so that everything is well blended otherwise the syrups may burn. Add the oil and syrup mixture to the oats and stir to coat well.
  • Transfer the oat mixture to the prepared pan. Bake for 25-35 minutes (ovens vary), stirring occasionally until golden brown. The mixture will not be crunchy yet. Add the chopped nuts and dried fruit to the pan and allow to cool. Transfer granola to an airtight container and store at room temperature or freeze.

Notes

*If you use gluten-free oats, you will have a gluten-free granola.
Tried this recipe?Let us know how it was!

Avocado, jicama and mango salad recipe

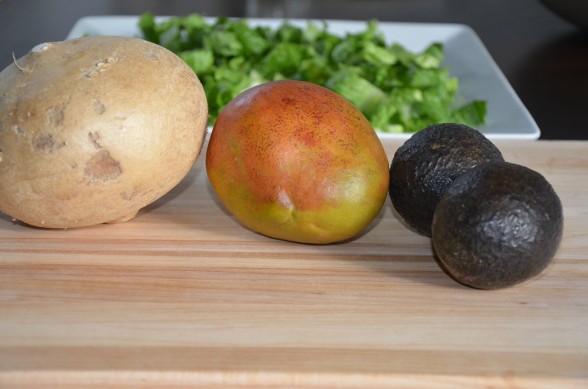
Mexico is close to Southern California, right?  They share a border for goodness sake.  Dare I say Mexico is almost local?  Well, this is convincing I do with myself during April and May.  Why? Because it’s mango season in Mexico and I am MAD for mangos.  Yes, we grow mangos in Southern California, but the season is waaaaaay too short for me and the kids. So I’m basically a hypocrite for a few months to satisfy my addiction to a luscious, fleshy, sweet fruit while the other 10 months of the year I turn my nose at melons in the winter or produce from South America.  I’m downright indignant when I see Chilean plums in February.  Can’t you people wait a few measly months until they’re in season here??

Listen, I’m no Barbara Kingsolver and in as much as I admire her quest to go truly local for a year, except for coffee, I buy plenty of goods that are outside of the 100 mile-radius from where I live.  Those foods include flours, grains and fish from Alaska.  But there are many reasons I believe in buying local produce.  In general:

  • local is fresher, which very often means better taste and higher nutritional value.
  • I like supporting local farms and local businesses.
  • local usually equates to eating seasonally which is a more healthful and more balanced way to stay in harmony with nature.  We are given exactly what we need to eat at just the right time of the year.  For example, melons and cucumbers are cooling foods and are very appropriate to eat during the summer months.  In contrast, pumpkin and butternut squash have a warming thermal nature and help us out in the winter.
  • buying local can have a lighter environmental impact versus importing produce.

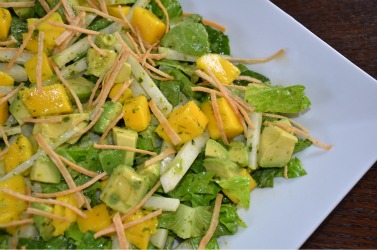
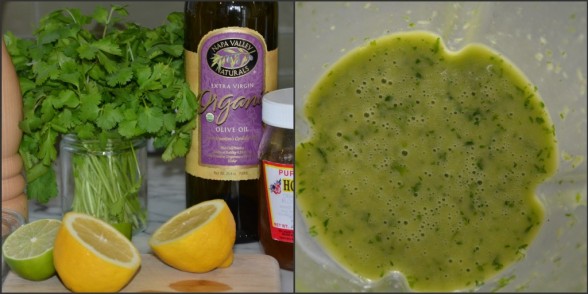
But at the moment, I am buying 10 mangos every week for snacks, mixing them with yogurt, blending them in smoothies and using them in this scrumptious salad.  You know how I feel about a good dressing and this one is a favorite.  I actually like it just as much as a dip for crudite.  There is a bit of cilantro in the dressing, but I have had many cilantro-haters come over to the other side after trying this dressing.  Choose a crisp lettuce such as a romaine or butter lettuce and feel free to come up with your own creation.  Other possibilities include tomatoes, cucumbers, cooked pinto beans, grilled shrimp or chicken, toasted pepitas (hulled pumpkin seeds).

While I’m coming clean about the mangos, did I mention the jicama is from Mexico, too?

Avocado, Jicama and Mango Salad

Pamela
Servings 6

Ingredients
  

  • Dressing:
  • 1 ½ Tablespoons freshly squeezed lime juice
  • 1 ½ Tablespoons freshly squeezed lemon juice
  • 1 Tablespoon raw honey
  • 1 teaspoon fine grain sea salt plus more to taste
  • Freshly ground black pepper to taste
  • ¾ teaspoon ground cumin
  • ¾ cup cilantro leaves and tender stems lightly packed
  • ½ cup unrefined cold pressed extra-virgin olive oil
  • 1 head romaine lettuce thinly sliced, about 8 cups
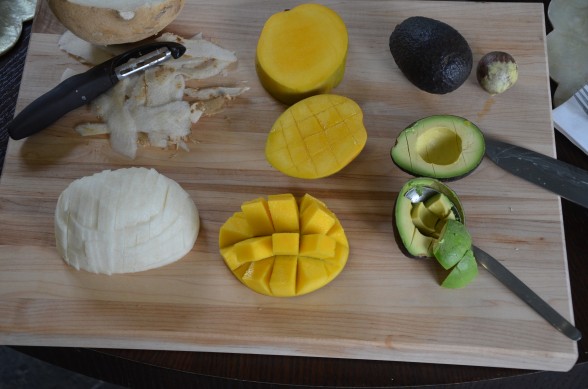
  • 2 ripe avocados peeled, pitted, cut into ½-inch cubes
  • ½ medium jicama julienned or cut into 1/2-inch cubes
  • 1 mango peeled, pitted and cut into ½-inch cubes
  • Crispy tortilla strips optional see below

Instructions
 

  • In a blender combine lime and lemon juices, honey, salt, pepper and cumin. Add the cilantro and blend. With the motor running, pour in the olive oil in a slow, steady stream and blend until emulsified.
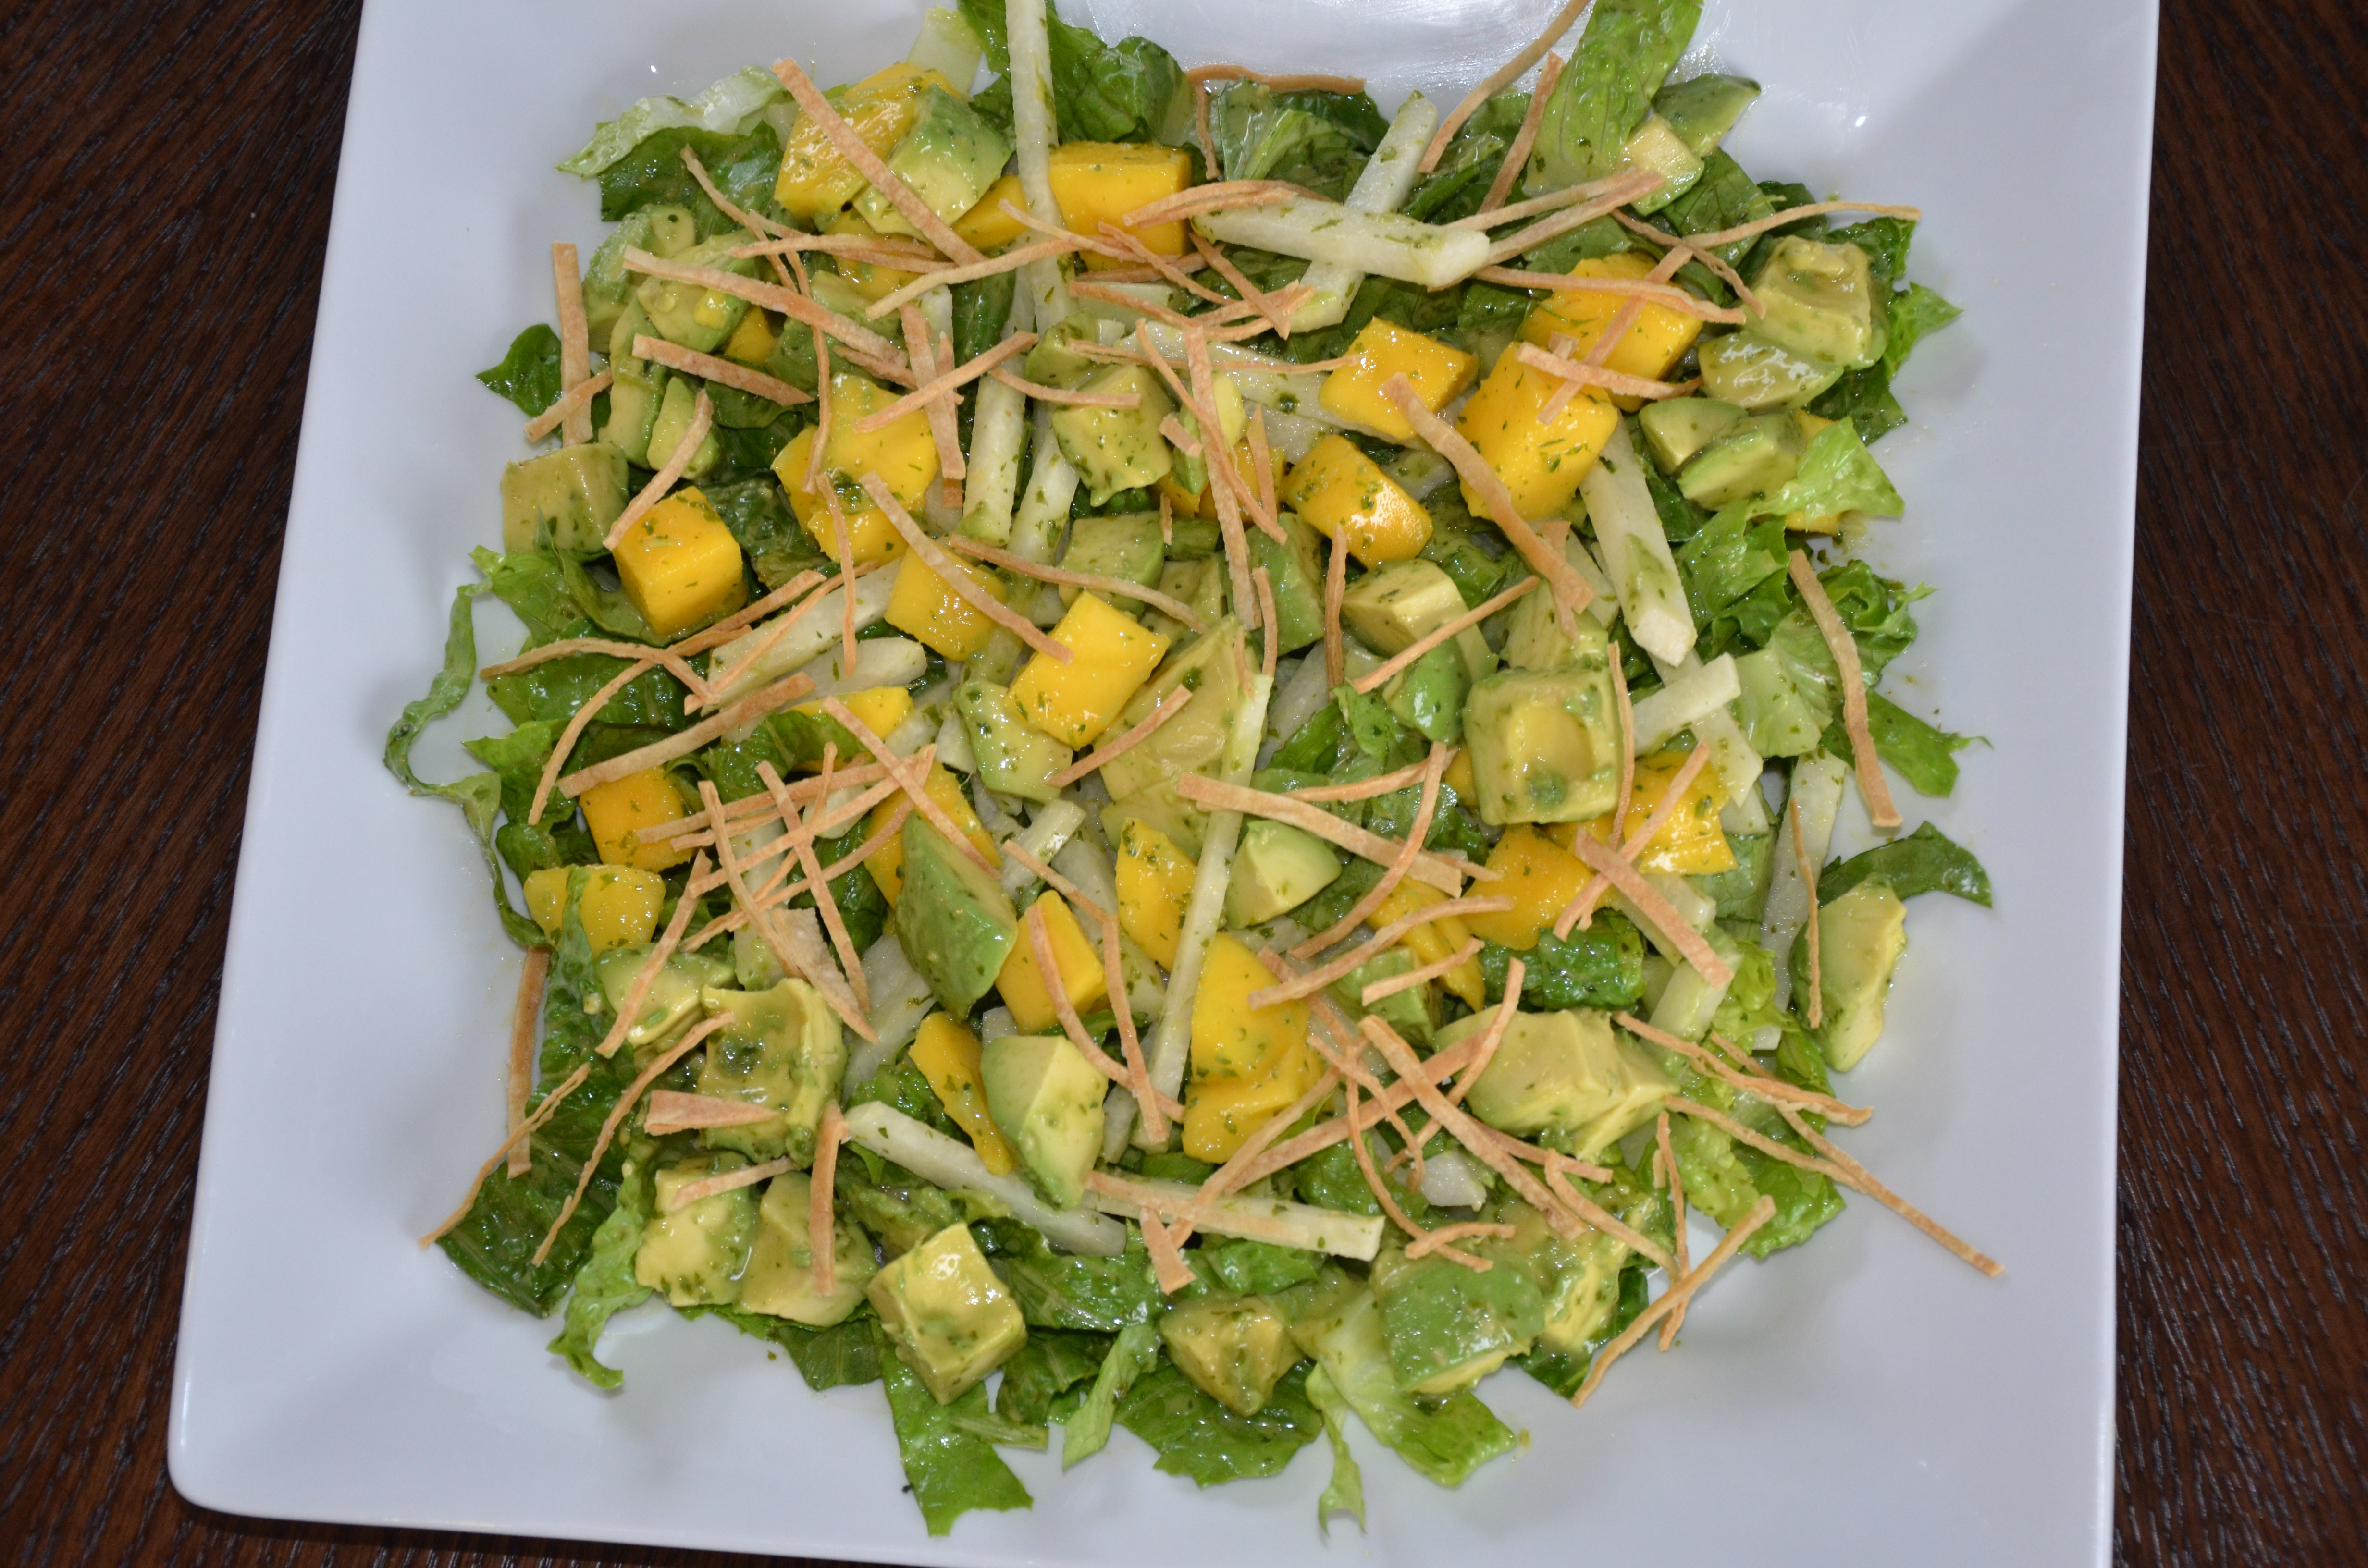
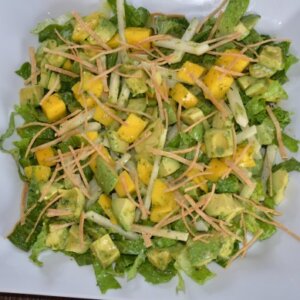
  • Arrange the lettuce on a large platter and drizzle enough dressing to coat lightly. Place avocado in a bowl and gently toss with enough dressing to coat lightly. Arrange avocado on top of lettuce. Repeat with the jicama and mango. Sprinkle with crispy tortilla strips.
Tried this recipe?Let us know how it was!

CRISPY TORTILLA STRIPS


1 Tablespoon unrefined olive oil

3 6-inch corn tortillas

Fine grain sea salt or additive-free kosher salt


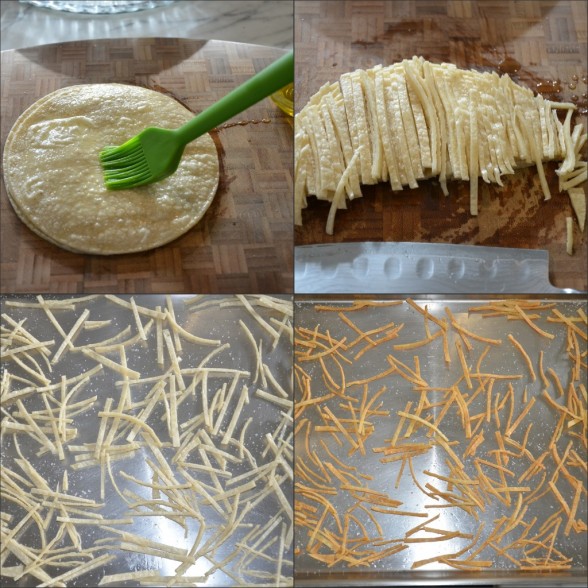
Preheat oven to 350 degrees.  Brush the oil over both sides of the tortillas.  Stack the tortillas on top of each other and cut the stack in half.  Then cut the halves crosswise into 1/8-inch thick strips.

Spread the tortillas on a heavy, rimmed baking sheet (lined with parchment if desired) and arrange them evenly.  Sprinkle with salt and bake, tossing occasionally for 20 minutes or until golden brown and crisp.

Transfer to a paper towel-lined plate and cool.


Fajitas recipe

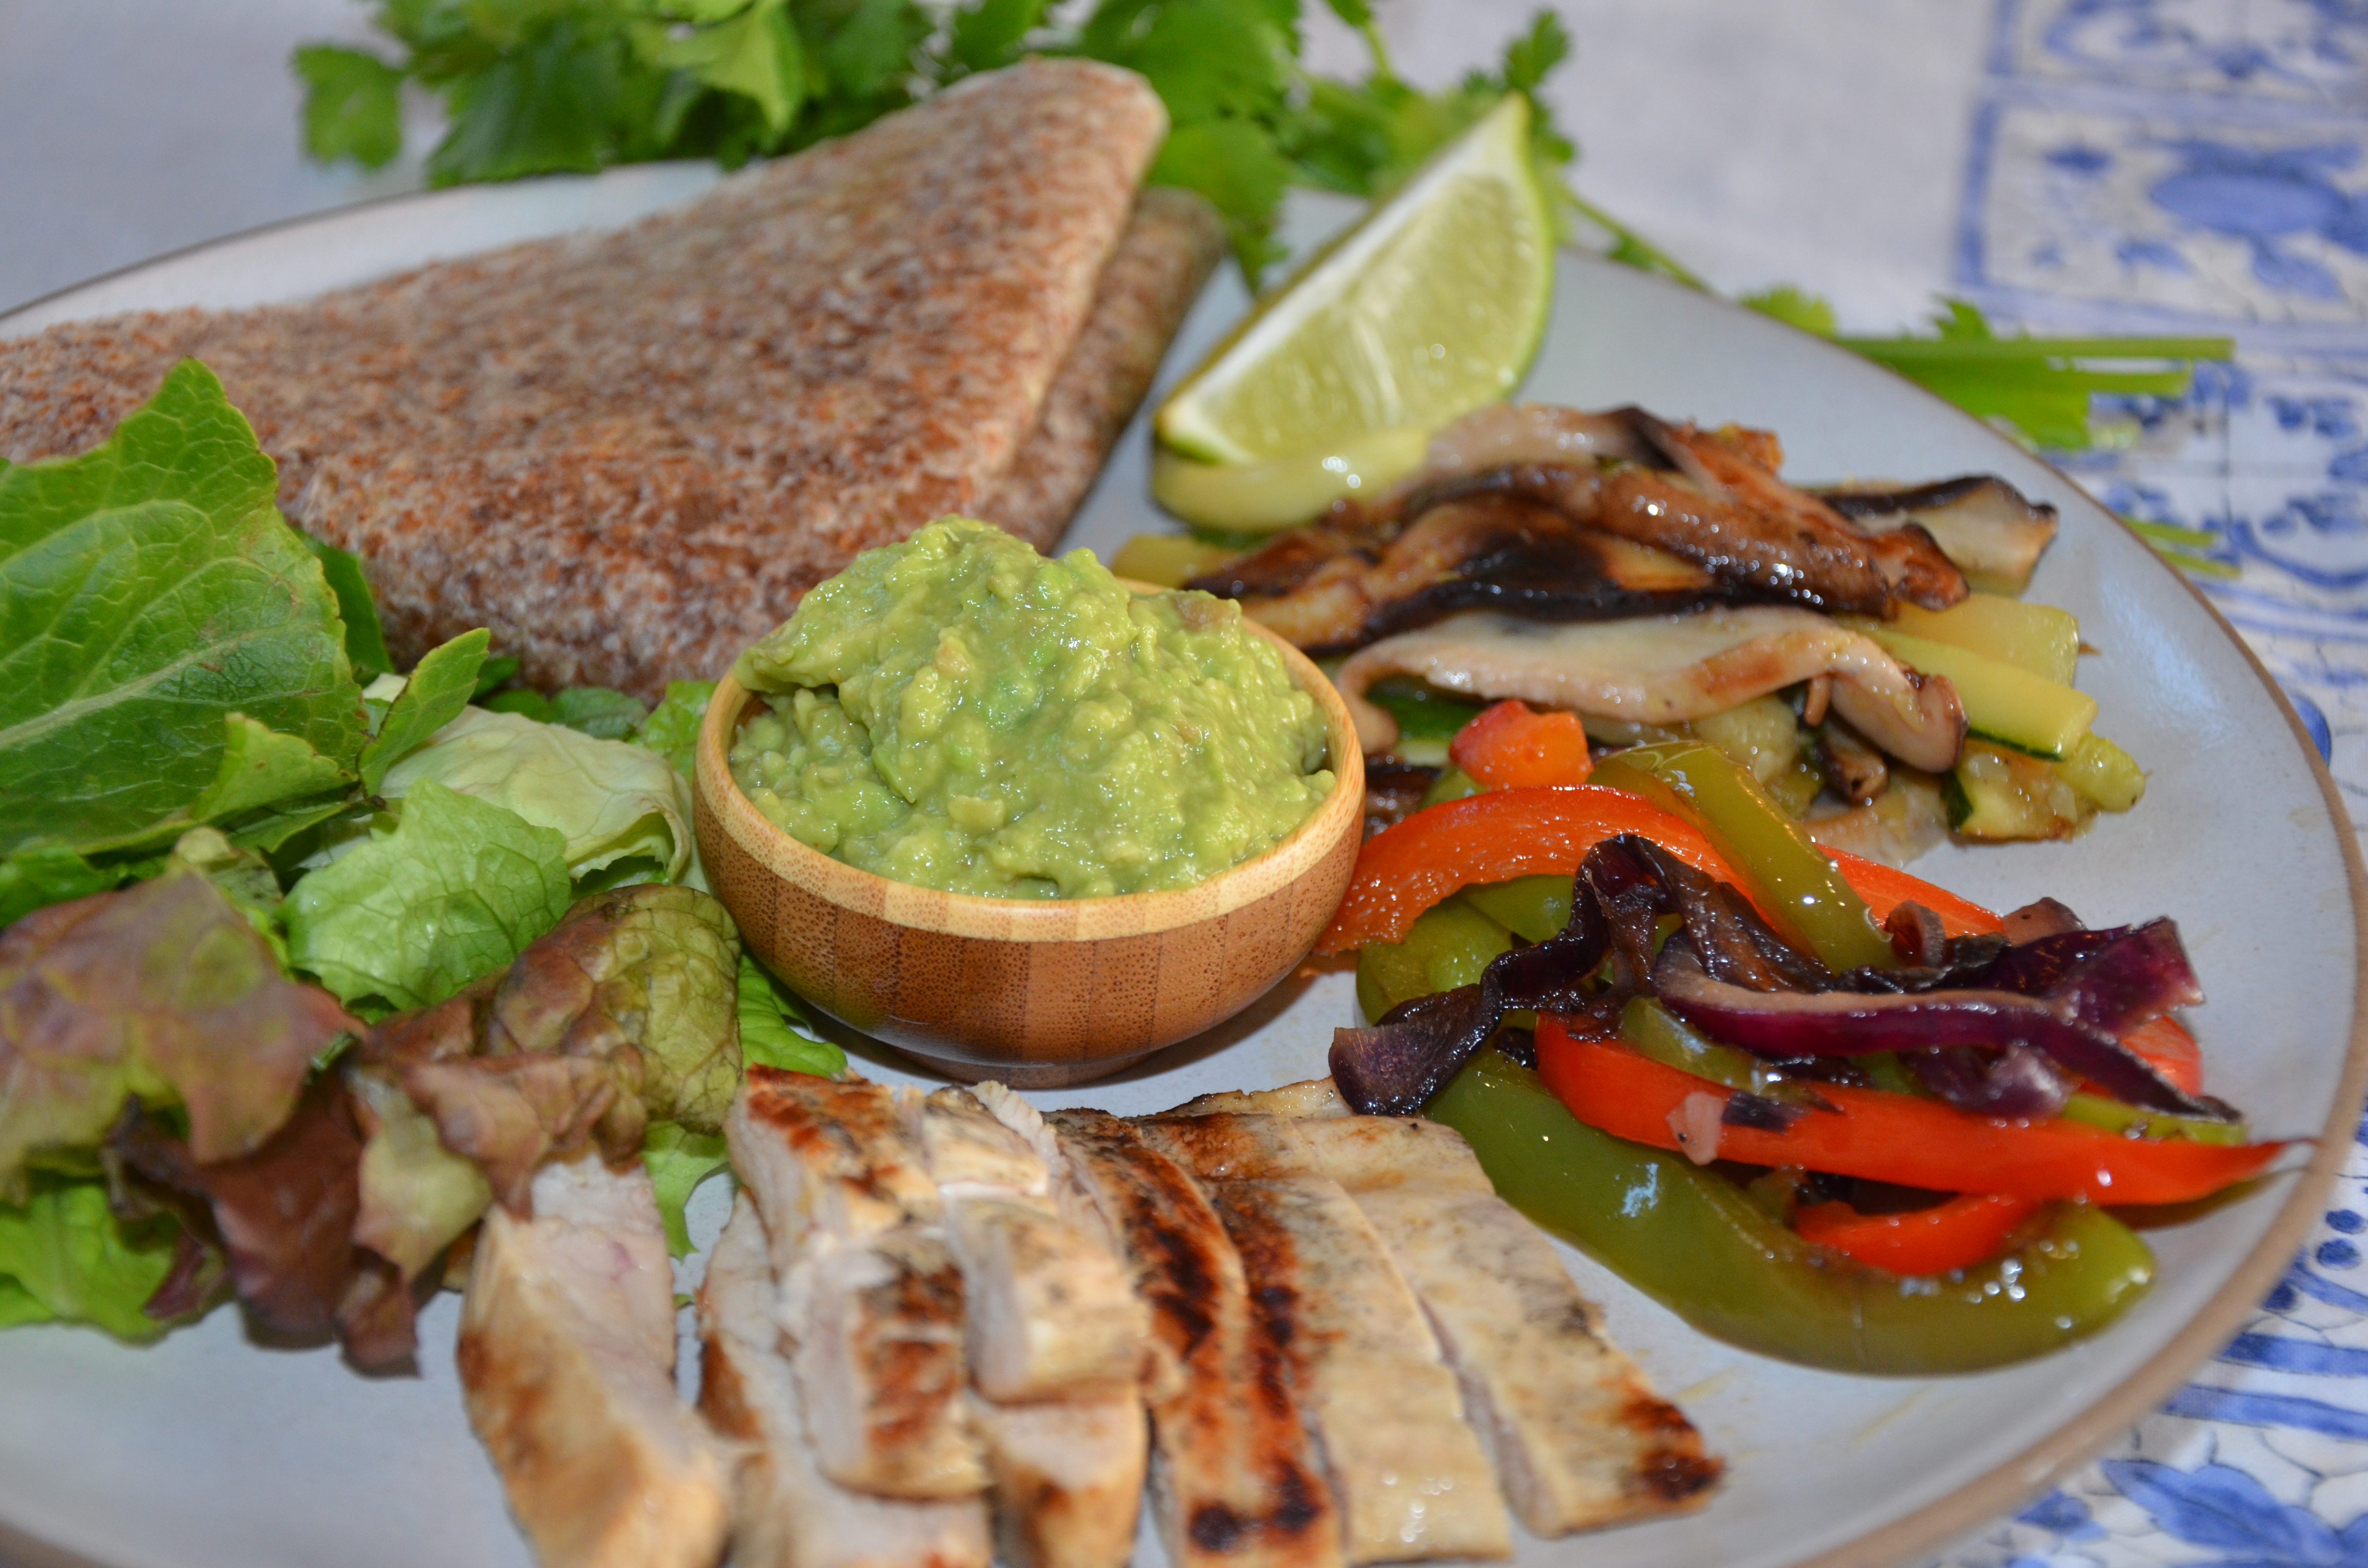
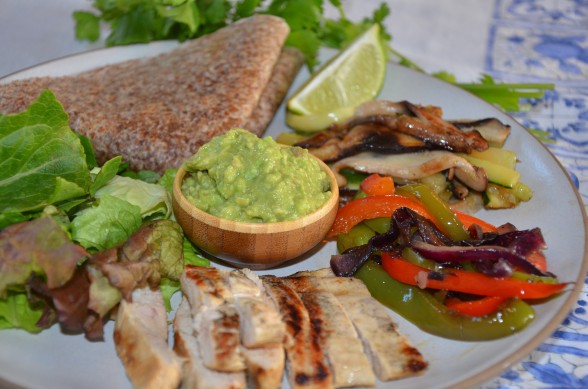
perfect chicken fajita plate

You all know my seven-year-old son, Mr. Picky.  I need to re-introduce you to Daughter #2, who just announced last night that she is now a vegetarian.  That’s Miss Vegetarian to you.  Hmmm…..She is the same child that asked to try clams and mussels when she was 3 years old and would chomp on a steak bone until it was dry.  She’s 12 now and has always been my easiest child with respect to food.  What a pleasure it has been to feed a child who willingly tries and eats anything and everything!  Not that I can take credit for her adventurous eating; she came into the world this way.  But effective today, she is no longer eating meat, fish, or eggs if they look like eggs (it’s fine if they’re baked into a cookie, of course.)
I have lots of parents in my classes who have children with dietary restrictions or predilections.  We routinely discuss how to adjust each recipe to accommodate Janie’s gluten-intolerance or Jack’s aversion to the color green.  I am convinced the universe gave me Mr. Picky and Miss Vegetarian so that I would be more understanding of the challenges my students face.  That I am.

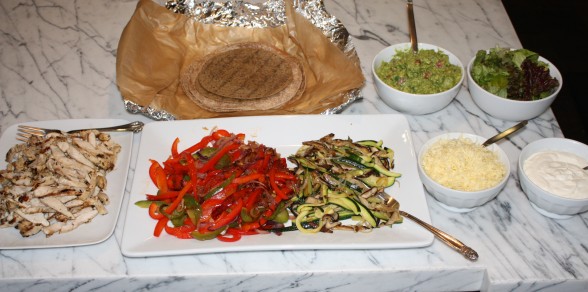
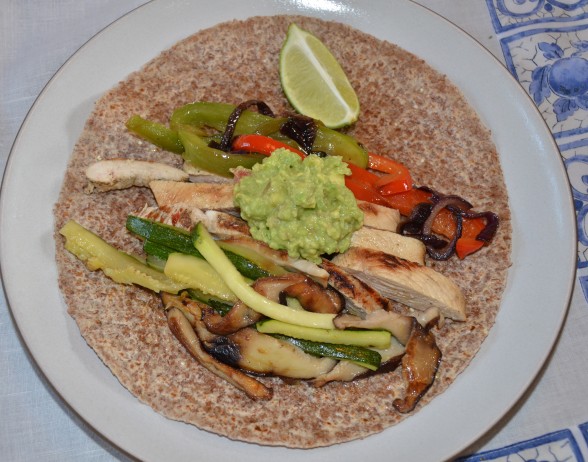
The good news is we had fajitas last night for dinner!  The reason I say it was good news is because fajitas really lend themselves to each person customizing his or her plate.  So whereas Mr. Picky likes to load up on chicken and guacamole with one token slice of zucchini, I am happy with the reverse, choosing mostly vegetables.  I didn’t stress out about feeding Miss Vegetarian last night since we also had black beans and shredded raw cheddar cheese from the farmer’s market.  She made two lovely roll-ups with sprouted grain tortillas and all was wonderful, at least in the protein department.  (She really needs to stop borrowing her sister’s clothes without asking.)  The next great thing about fajitas is that if you have leftovers, they can go into a darn good omelet or quesadilla the next day.  Daughter #1 had some of the extra chicken and vegetables chopped up and added to some leftover green rice from my class the day before (I’ll have to give you the recipe one day) and  brought it to school in a thermos.

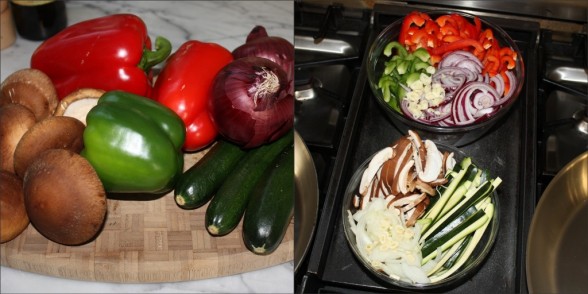
I think the traditional preparation of fajitas using skirt steak is just fine, but we don’t eat much beef here.  Regardless, you can use the same marinade for beef and it will be delicious.  You can also broil the meat, if you don’t want to grill.  But more than that, I never limit the vegetables to just bell peppers and onions.  I usually make an additional pan of sauteed zucchini and shiitake mushroom strips and find that to be my favorite, although I also love julienned carrots and sauteed spinach, too.  There is always something to please every palate!

Fajitas

Pamela
Servings 6 -8

Ingredients
  

  • There are lots of tortillas that are more healthful than white flour tortillas. Try Rudi’s Organic Spelt or Multigrain with Flax; Food For Life Brown Rice Flour; or French Meadow Bakery's Hemp Tortillas Mr. Picky's favorite.
  • Marinade for chicken or meat:
  • 4 garlic cloves finely chopped
  • 2 teaspoons sea salt
  • 1 teaspoon freshly ground black pepper or to taste
  • 2 teaspoons ground cumin
  • ½ cup fresh lime juice
  • ¼ cup unrefined cold-pressed extra virgin olive oil
  • 2 Tablespoons chopped cilantro optional
  • 2 pounds boneless skinless chicken breast cutlets (thinner pieces cook more quickly reducing the exposure of the meat to the grill) or thighs or skirt steak
  • 2 Tablespoons unrefined cold-pressed extra virgin olive oil
  • 2-3 bell peppers green and red is a good combo, sliced thin or mix it up with sliced shiitake or portabella mushrooms, julienned zucchini and/or carrots to mix with the peppers and onions
  • 1-2 red onions halved and sliced thin
  • 2 garlic cloves finely minced
  • Sea salt and black pepper to taste
  • Accompaniments: 12-16 warmed flour or rice tortillas guacamole, pico de gallo (salsa), sour cream, shredded cheese

Instructions
 

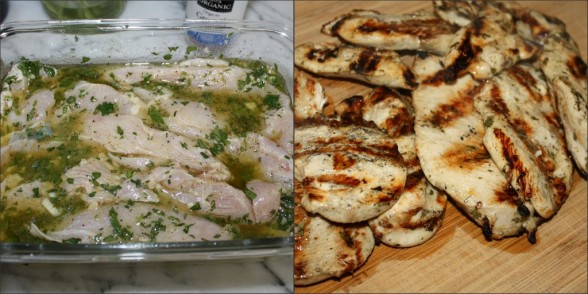
  • Combine garlic, sea salt, pepper, cumin, lime juice, oil and cilantro in a non-reactive container, such as glass. Add meat to marinade and turn to coat well. Marinate for at least 1 hour at room temperature or overnight in the refrigerator, turning occasionally.
  • Preheat the grill to medium heat. Remove chicken from refrigerator 30 minutes before grilling. Grill chicken a few minutes on each side until cooked through.
  • Heat oil in a large skillet over medium heat. Add peppers, onion and garlic. Season with salt and pepper to taste. Saute the mixture, stirring, for 10-12 minutes, or until softened. You can add the cooked, sliced meat to the vegetable mixture and combine everything or serve both separately.
  • Warm tortillas on both sides over medium heat on a griddle pan. Or if you are heat a large amount, wrap the entire stack in parchment paper, then aluminum foil and heat through in a 350 degree oven. Serve with desired accompaniments.

Notes

You can also broil the meat using a broiler pan.
Do Ahead Timesaving Tip: earlier in the day or the night before, marinate the meat and/or slice all the veggies. Keep in an airtight container in the refrigerator.
Tried this recipe?Let us know how it was!