Skip to content
Get Pamela’s Monday Musings Newsletter! →
About
Recipes
Classes
Bootcamps
Bootcamp Portal Login
Shop
Contact
Newsletter
Online Class Login
Search
Home
›
carrots
›
Page 2
carrots
Recipes
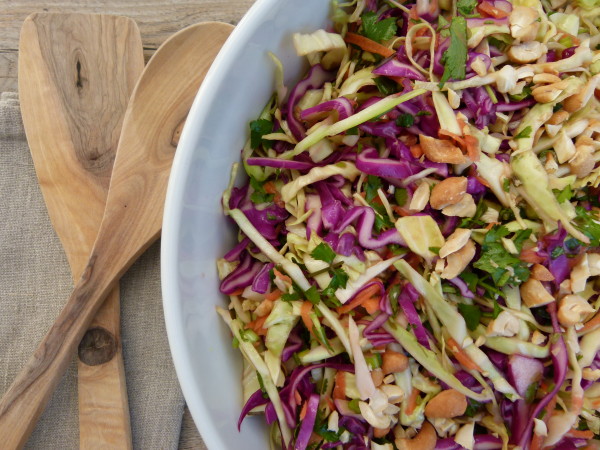
Asian Slaw Recipe
Recipes
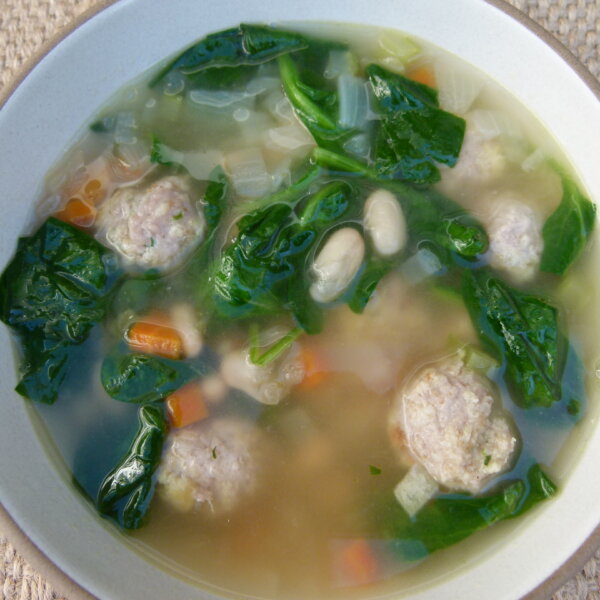
Italian wedding soup recipe
Recipes
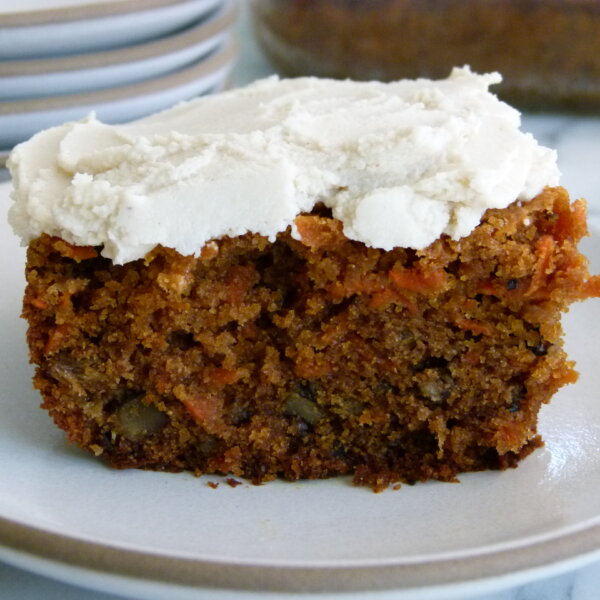
Whole Wheat Carrot Cake with Dairy-Free Frosting Recipe
Recipes
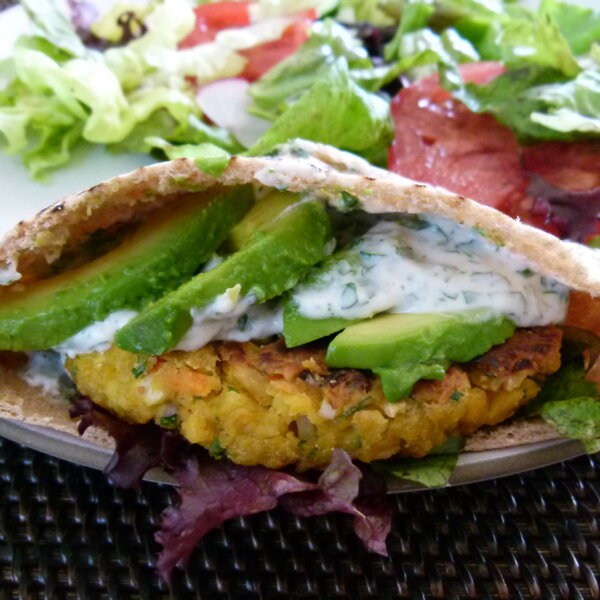
Chickpea Burger Recipe
Recipes
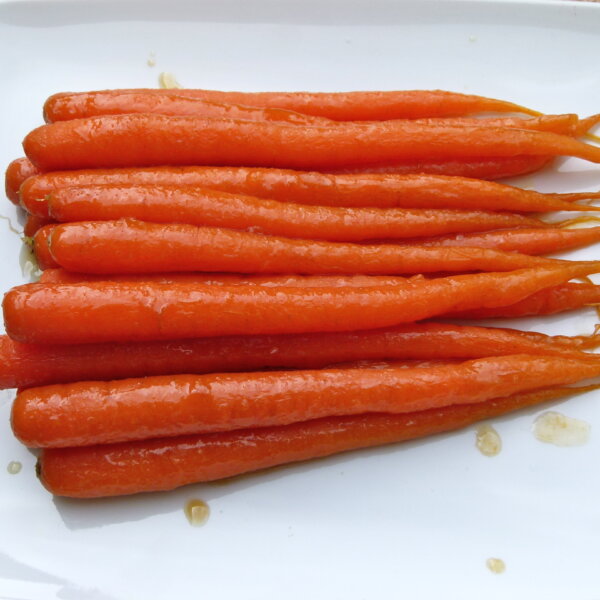
Ginger and honey-glazed carrots
Meat
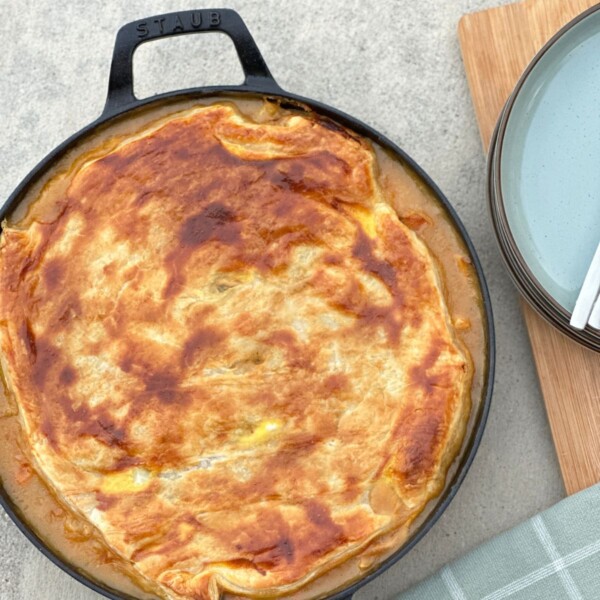
“Special occasion” chicken pot pie and other ideas for a delicious Valentine’s Day
Meat
Chicken and Avocado Soup
Recipes
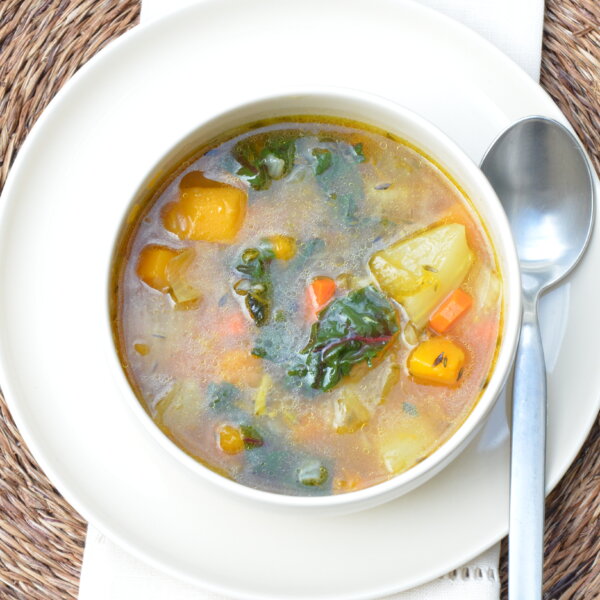
Rustic butternut squash soup with fennel and wild rice
Recipes
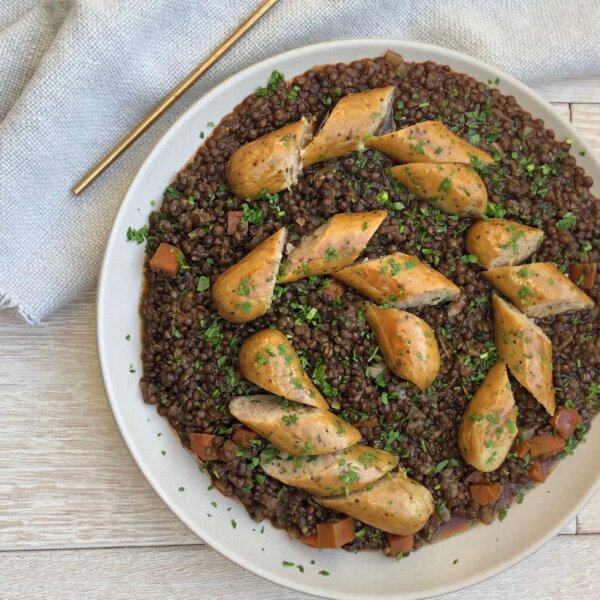
Smoky Braised Lentils with (or without) turkey sausages
Recipes
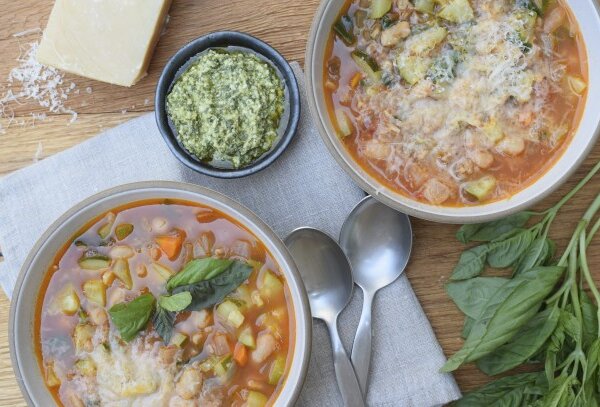
Late summer minestrone
Recipes
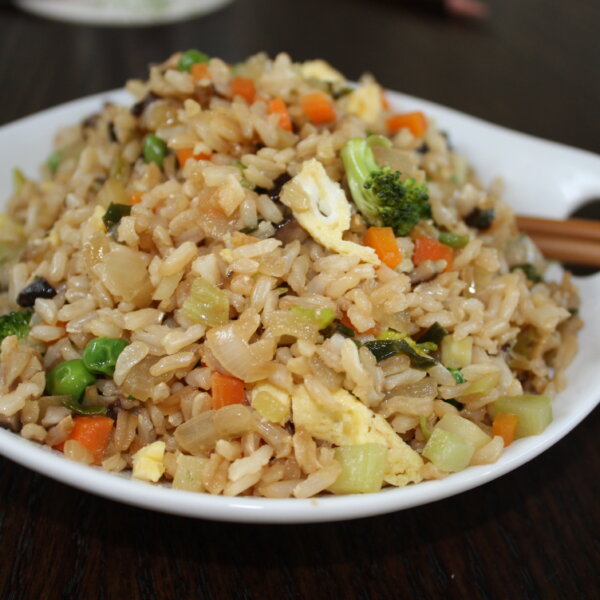
Vegetable fried rice recipe
Recipes
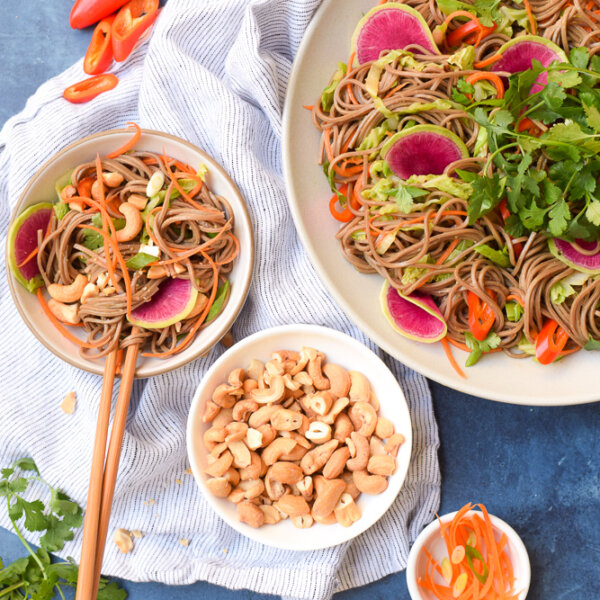
Asian noodle salad recipe
Posts navigation
Go to Previous Page
1
2