Skip to content
Get Pamela’s Monday Musings Newsletter! →
About
Recipes
Classes
Bootcamps
Bootcamp Portal Login
Shop
Contact
Newsletter
Online Class Login
Search
Home
›
basil
›
Page 2
basil
Recipes
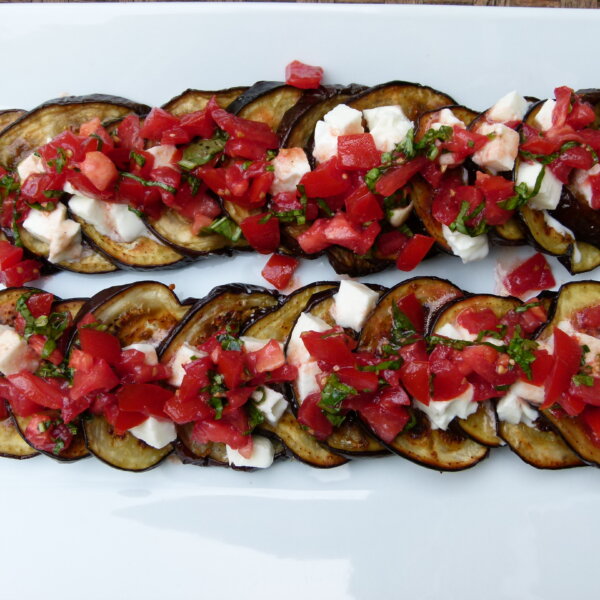
Eggplant caprese recipe
Recipes
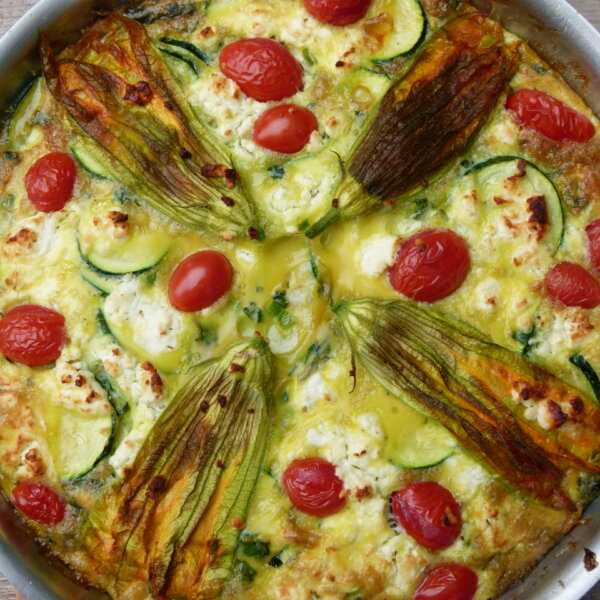
Summer garden frittata recipe
Recipes
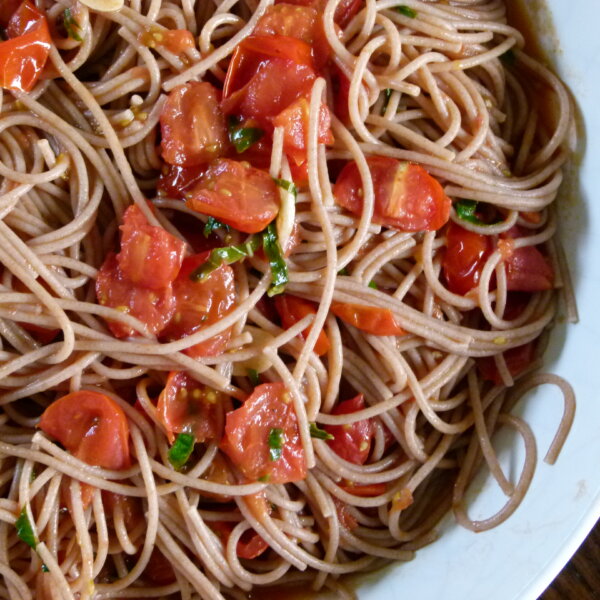
Pasta with 5-minute cherry tomato sauce recipe
Recipes
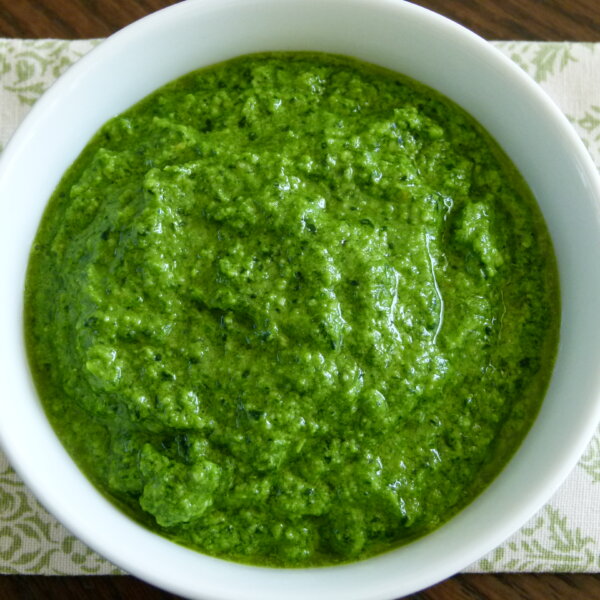
Kale Pesto Recipe
Recipes
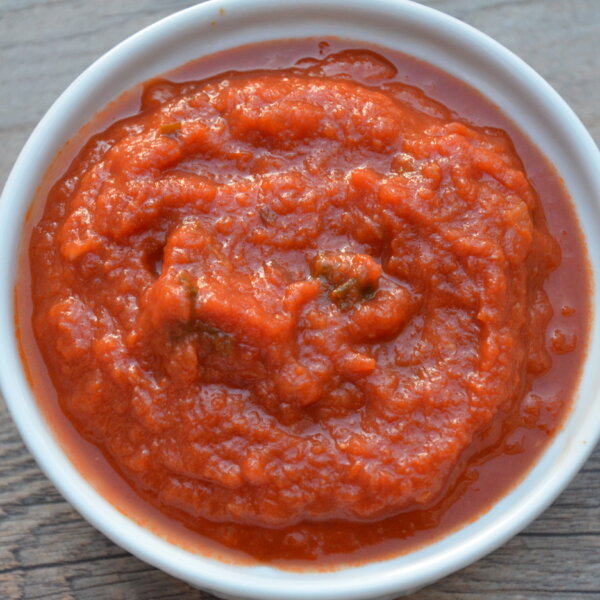
Homemade Marinara (Tomato) Sauce Recipe
Recipes
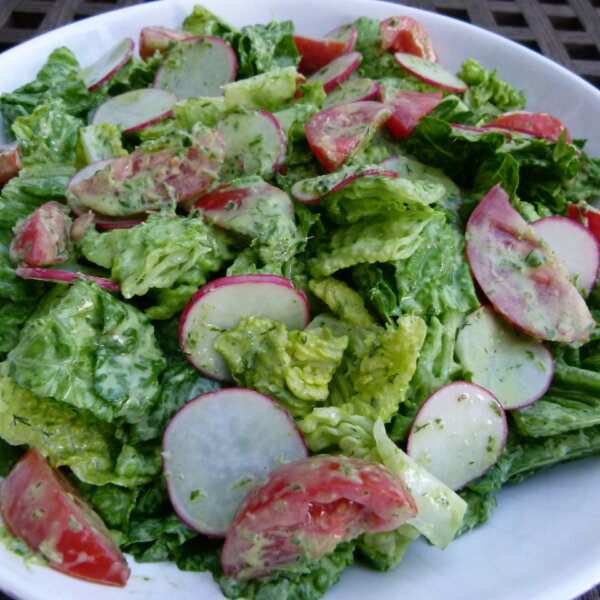
Green Goddess Salad
Recipes
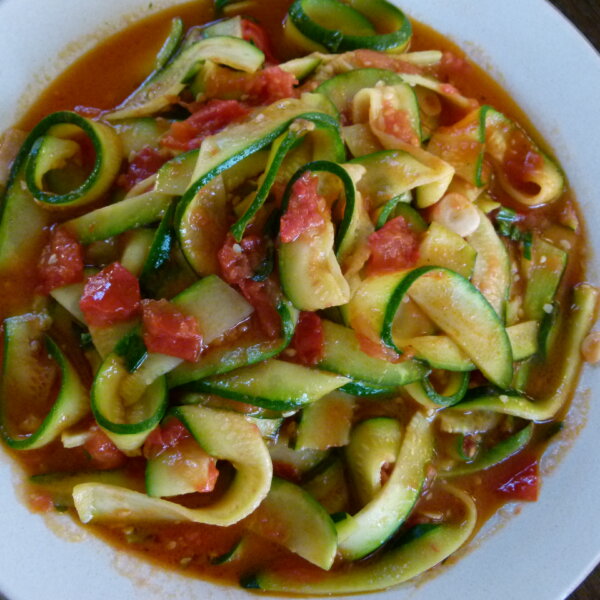
Zucchini “pasta” recipe
Recipes
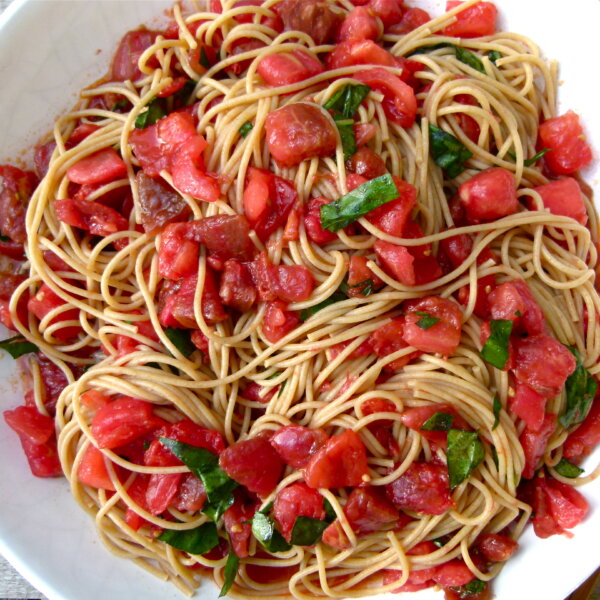
Pasta alla checca recipe
Recipes
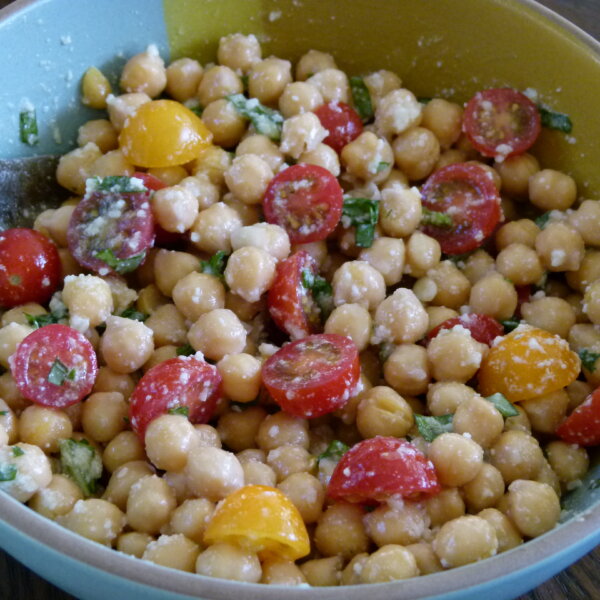
Chickpea and deconstructed pesto salad
Recipes
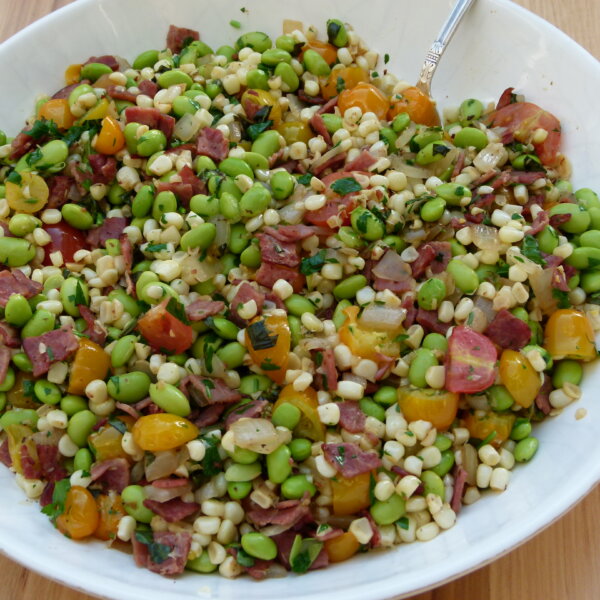
Corn and edamame succotash
Recipes
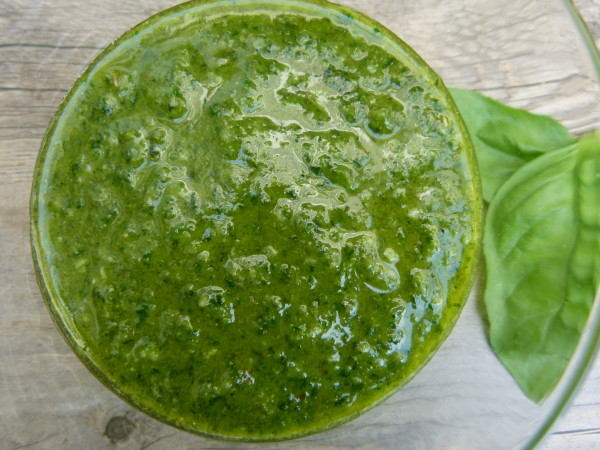
Basil Parsley Pesto Recipe
Posts navigation
Go to Previous Page
1
2