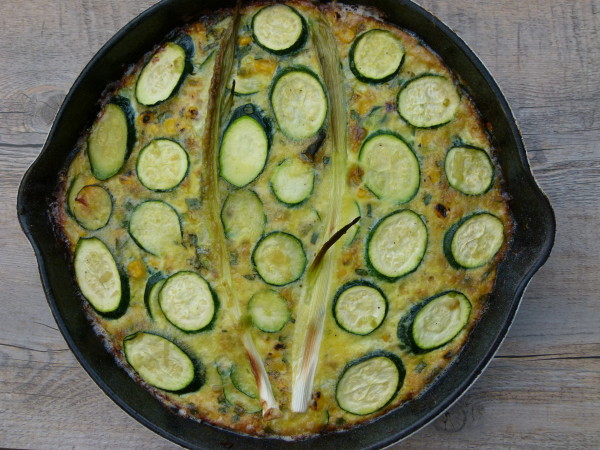
Corn and zucchini frittata recipe

I just returned from Dallas, one child and many suitcases lighter. Sigh…. My daughter has officially opened her wings and flown from the proverbial nest to plant her roots at college. The whole thing is quite surreal as many of you may or may not know. One minute they’re spinning around in a pink tutu drinking from a sippy cup and the next you’re renting a mini fridge and lecturing them about why beer is the devil.
I actually met my husband freshman year of college. So we couldn’t help but reminisce about our move-in experience and our crummy, old and unrenovated dorm. I think my daughter was a little tired of my exclaiming every five minutes how her new dorm is “like the Four Seasons compared to where we lived!” Of course you can’t furnish the Four Seasons with cinderblocks and plastic milk crates. So we channeled our inner Nate Berkus and coordinated duvet covers with cork boards. Funny, I do not remember my parents making two trips to Bed Bath & Beyond, two trips to The Container Store, a visit to the campus bookstore, Whole Foods, and, of course, amazon.com for anything and everything we didn’t find in the oasis of Dallas and that could be delivered in 2 days flat. As another student’s exasperated father said to me after his ninth trip up the stairs with the umpteenth box, “My parents sent me to school with a towel.” Yep.
Even the food is better at college than it used to be. My daughter’s school has a smoothie and juice bar in the dining hall. I knooooow!!!!!! So I kinda had to stick my fingers in my ears and sing a little “la-la-la-la” song when my sweet girl started to complain about what she was going to eat. Not listening!
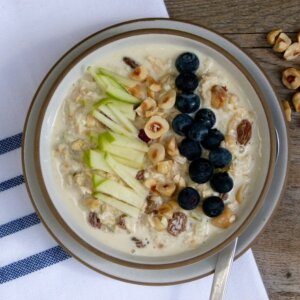
In the week after we returned from Europe and before she left, I did indulge her with all her favorites though. And it was my pleasure. We had pasta with pesto, caprese salads, spanakopita, oatmeal-butterscotch chip cookies, veggie frittatas, acai bowls and on and on. All for my daughter who was pickier than Mr. Picky and at 17 now craves fresh-pressed juices and veggie tacos. Certainly, nothing beats food cooked by your mom who loves you to the moon and back. I will miss cooking for my baby to be sure, but I am already planning cookie and granola bar care packages.
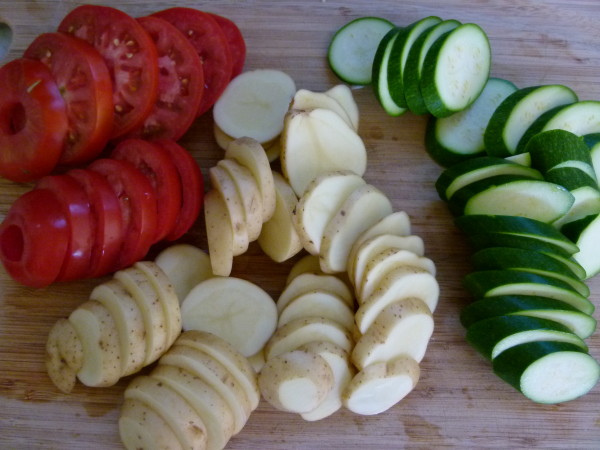
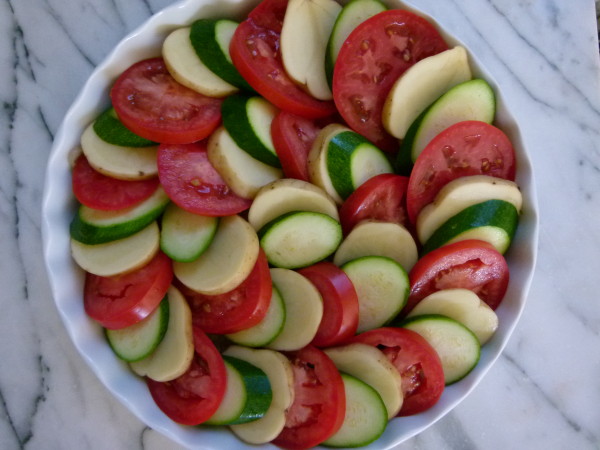
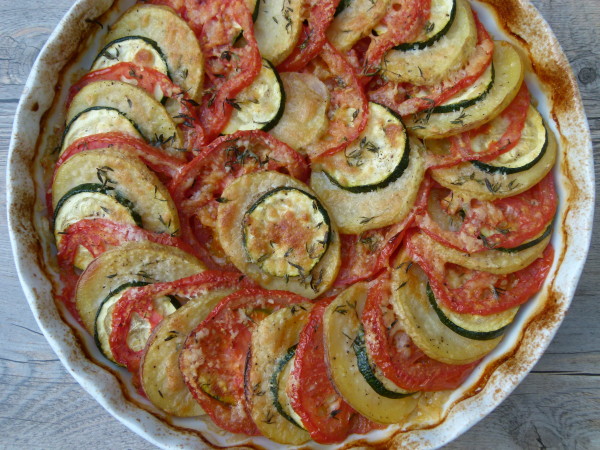
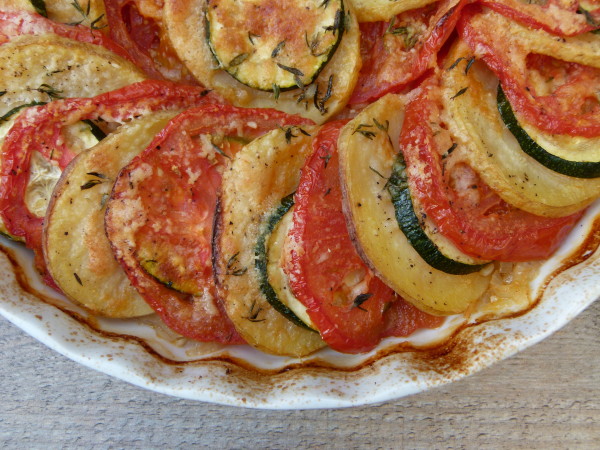
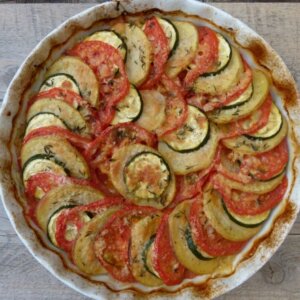
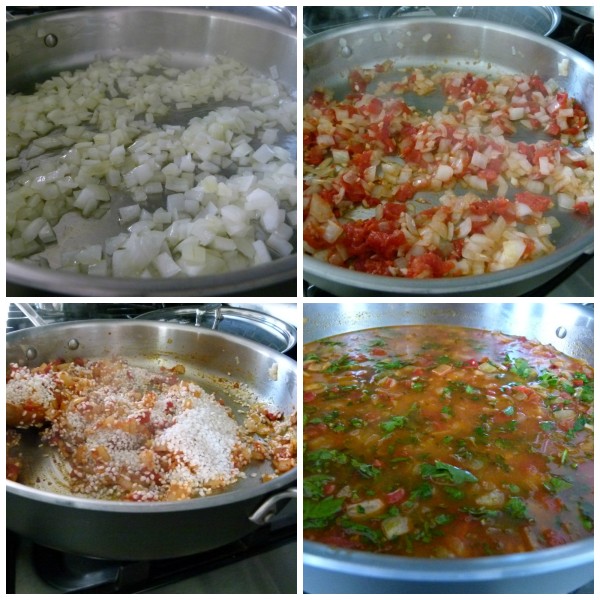
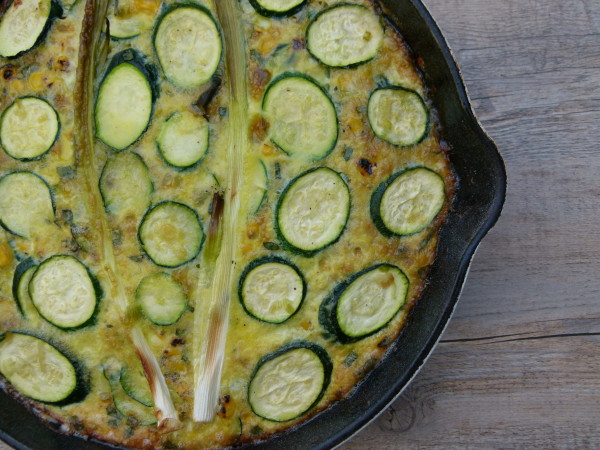
This corn and zucchini frittata is one of my daughter’s favorites and a perfect way to enjoy summer’s last gifts before they slip away. I very often make frittatas on Fridays or the weekend to use up whatever’s left in the fridge and that’s exactly how this one came about. I had leftover sautéed corn and zucchini from dinner to which I added some beaten eggs and voila! Our newest favorite frittata was born.
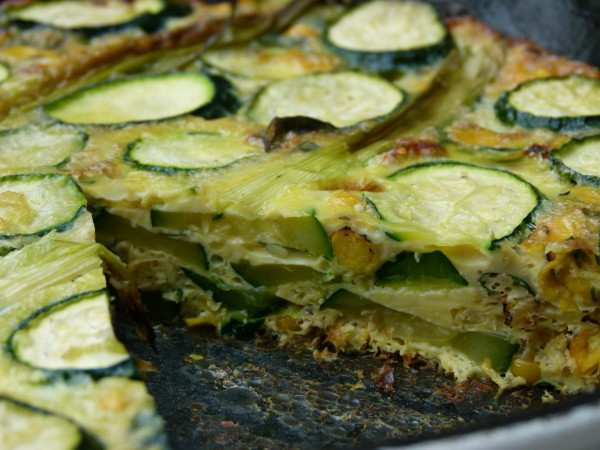
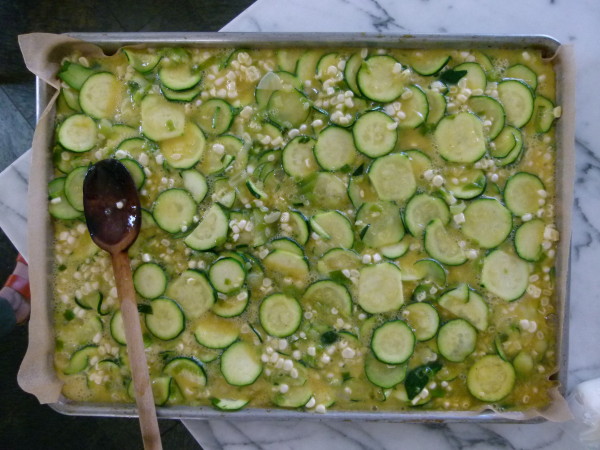
Surprisingly, corn goes so well with eggs and adds a beautiful sweetness, but more importantly, the perfect texture to the soft eggs. Sometimes I add goat cheese or feta to the top and I’ve even made this for a big crowd by doubling everything and baking it in a parchment-lined baking sheet.

Summer’s bounty is still here, but only for a few fleeting moments longer. Enjoy every last morsel while you can, because it will slip from your fingers before you’re ready to let it go.

Corn and Zucchini Frittata
Ingredients
- 2 Tablespoons unrefined cold-pressed extra-virgin olive oil + additional
- 1 bunch scallions trimmed and sliced
- 2 cloves garlic sliced thinly
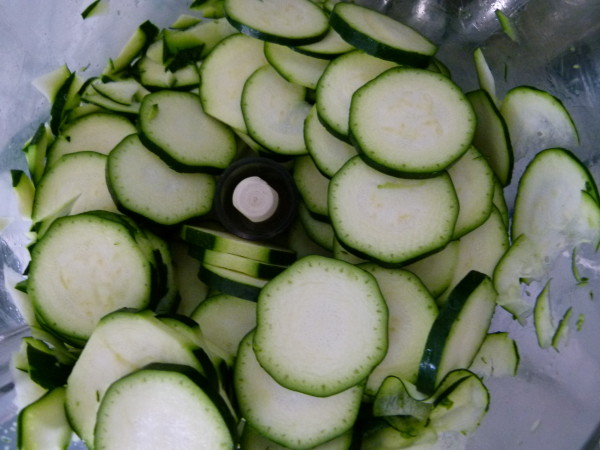
- 3 medium zucchini about 1 pound, ends trimmed and sliced ¼-inch thick by hand or by the slicing disk of the food processor
- Fine grain sea salt
- Freshly ground black pepper
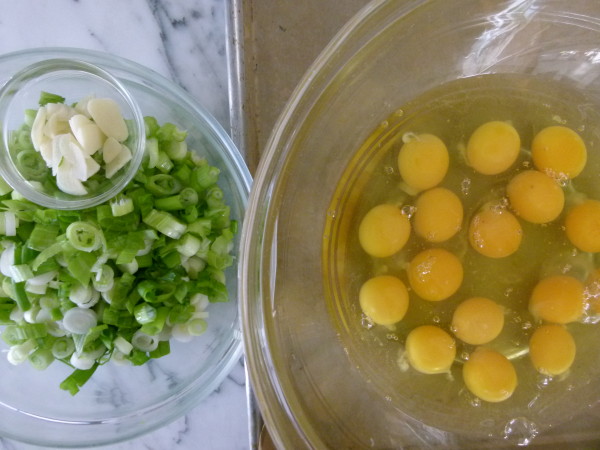
- 8 large eggs
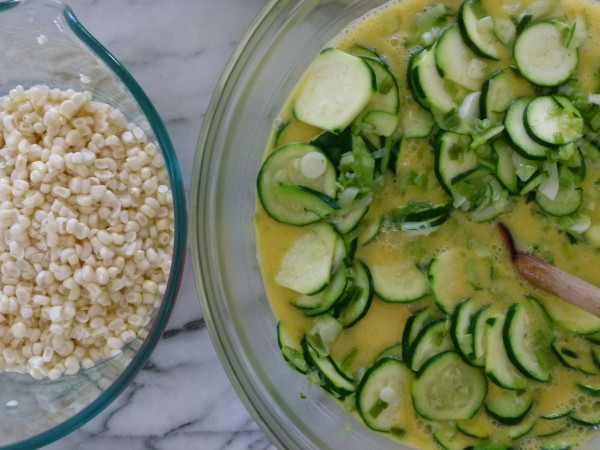
- 1 ½ cups of organic corn kernels from 2-3 ears (frozen, defrosted is fine)
- ½ cup grated cheddar or mozzarella or a few crumbles of feta or goat cheese optional
Instructions
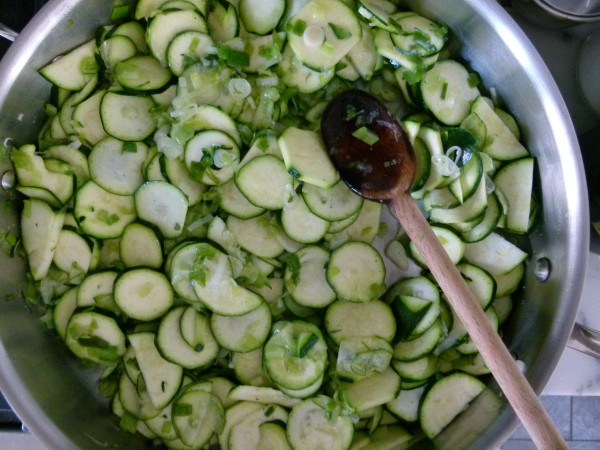
- Preheat oven to 375 degrees. In a 10-inch skillet, warm the olive oil. Sauté the scallions until softened. Add the garlic and cook for 1 minute. Add the zucchini slices and a generous pinch of salt and sauté until tender, about 6 minutes.
- In a large mixing bowl, beat the eggs, 1 teaspoon salt, and a few grinds of black pepper. Stir the cooked zucchini mixture and the corn (and grated cheese if using) into the eggs and combine well. Pour the mixture back into the skillet. If using feta or goat cheese, scatter the pieces across the top of the egg mixture.
- Transfer skillet to the oven and bake until firm, about 40 minutes.