Cauliflower and roasted garlic soup recipe
Cauliflower and Roasted Garlic Soup | Pamela Salzman

Cauliflower and Roasted Garlic Soup | Pamela Salzman

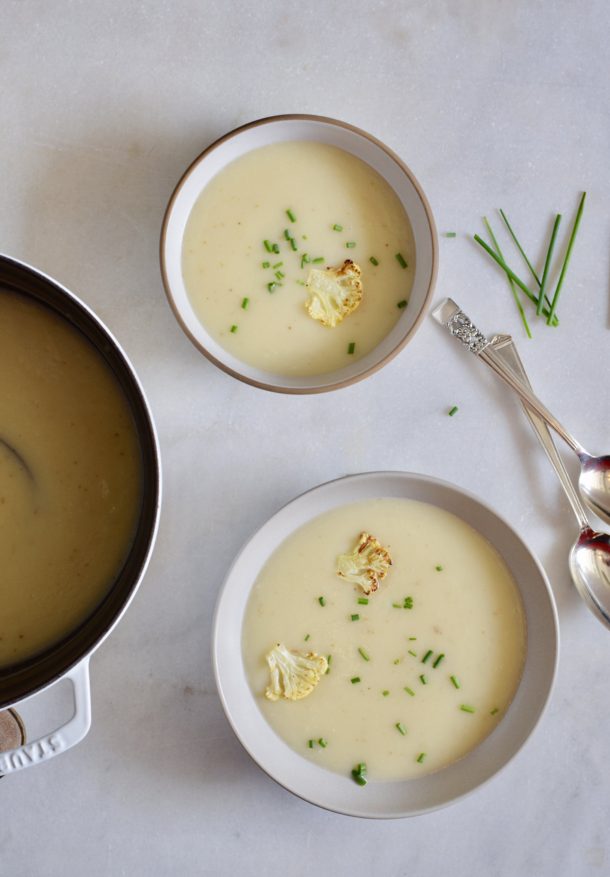
Who wouldn’t love a soup that is sophisticated enough to serve at a dinner party, but simple enough to make on a weeknight?   I know I would!  It’s amazing what happens when you blend cauliflower and a few ho-hum potatoes and give them a big boost from a whole head of roasted garlic. Utter creamy deliciousness, and not just by my standards.   Mr. Picky gave me a fabulous back-handed compliment when he tried this soup, “this tastes like French fries!”   To set the record straight, this soup does not taste like French fries, but I why would I argue?
Cauliflower and Roasted Garlic Soup | Pamela Salzman

There aren’t too many white foods that I am gung-ho about, but cauliflower happens to be one of them.  So it’s missing some chloropyhll.  That’s nothing to get worked up about when there’s so much more going for it.  Since Mr. Picky really likes broccoli, we called cauliflower “white broccoli” for many years.  That isn’t much of a stretch since both are members of the cruciferous family of vegetables which include cabbage, brussels sprouts, collards and bok choy, too.  These vegetables are known for their powerful anti-cancer properties and it is recommended that you regularly include them in your diet.  This soup is just one delicious way to do that.
Cauliflower and Roasted Garlic Soup | Pamela Salzman

One of the reasons I love cauliflower is for its versatility.  My favorite way to eat it is tossed with coconut oil and a sprinkle of sea salt and roasted until it’s sweet and golden.  I couldn’t resist adding a few crispy baby florets as a garnish on this bowl of soup here, but really,  you can have so much fun with toppings.  You can go fancy with some truffle oil or shaved Parmigiano.  Or you can go in a homey direction with a grilled cheese sandwich cut into croutons.  This soup seems very elegant and earthy at the same time, which is why I think you can get away with not peeling the potatoes.  Why give up all the fiber and nutrients right under the skin just so you can have a perfectly smooth soup?  Sure when you puree the soup, you’ll be left with a few small flecks of peel here and there, but I’ve never been one to get hung up on things like that.

Cauliflower and Roasted Garlic Soup | Pamela Salzman

My strategy is usually to get the garlic in the oven right away and while it roasts, start prepping the vegetables.  By the time you finish simmering the cauliflower for 20 minutes, the garlic is ready to be squeezed into the pot.  To save maximum time, roast your garlic a few days in advance and keep it refrigerated.  Prep your onions and cauliflower and keep them refrigerated in airtight containers in the fridge.  The potatoes will only take a minute to chop.  You can make this a day or two ahead if you like, but it will thicken slightly as it sits.  The next day, add some cooked white beans to your child’s thermos and pour the hot soup right on top for a well balanced school lunch.

Now if I can only make spinach taste like French fries …

Cauliflower and Roasted Garlic Soup | Pamela Salzman


View this post on Instagram


A post shared by Pamela Salzman (@pamelasalzman)

If you give this recipe a try, snap a pic and tag @pamelasalzman so I can see your beautiful creations. I also really appreciate readers taking the time to leave a rating and review! Subscribe for free to my site for the latest recipes,  updates and things I’m loving lately.  If you enjoy this recipe, I taught it last year in my online class!  Give me an hour a month, and I’ll make you a better, healthier cook!

Cauliflower and Roasted Garlic Soup

Pamela
5 from 4 votes
Servings 6

Ingredients
  

  • 1 large head of garlic
  • Olive oil for drizzling
  • 2 Tablespoons unsalted butter
  • 1 medium onion chopped
  • 1/3 cup dry white wine
  • 1 large head cauliflower about 2 ¼ lbs, or 2 small heads, cut into florets
  • 1 large Yukon Gold potato about 8 ounces, cut into 1-inch pieces
  • 6 cups chicken or vegetable stock preferably homemade
  • 2 teaspoons sea salt or more if your stock is unsalted

Instructions
 

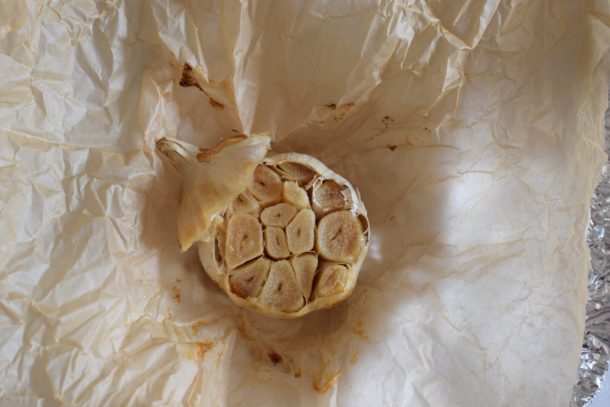
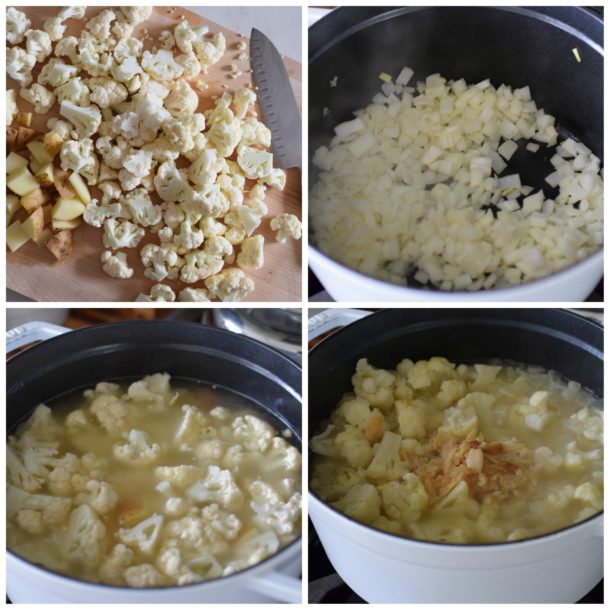
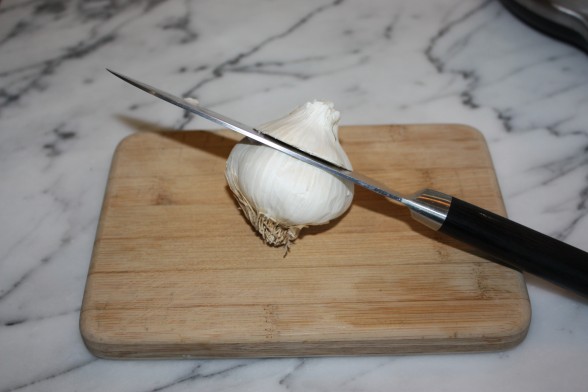
  • Preheat the oven to 350 degrees. Slice off the top fifth of the head of unpeeled garlic. Add a drop of olive oil. Replace the top. Wrap with parchment paper, then aluminum foil. Roast for 1 hour. Your house will smell amazing. (You can also speed this up by roasting for 45 minutes at 400 degrees, but I usually like to keep olive oil in the 350 degree range.)
  • In a large pot over medium heat, melt the butter. Add the onion and sauté, covered, until tender and translucent, about 6 minutes. Stir occasionally. Pour the wine over the onions and simmer uncovered until the wine has been reduced slightly, about 2-4 minutes.
  • Add the cauliflower, potato, stock and salt. Bring to a boil over high heat and then lower to a simmer. Cook partially covered until potatoes and cauliflower are tender, about 20 minutes. Unwrap the garlic and squeeze the soft garlic directly into the pot. Discard the papery skins. Cook for another 5 minutes.
  • Puree soup in the pot with an immersion blender or in batches in a blender. It is important that you taste for seasoning since all stocks have different levels of sodium. Add extra salt if you need it.

Notes

There are lots of ways you can garnish this soup whether for a dinner party or for the family: Freshly ground black pepper, truffle oil, chopped fresh chives, shavings of parmesan cheese, small florets of roasted cauliflower, garlic croutons, chopped up grilled cheese sandwich....
Tried this recipe?Let us know how it was!


Cauliflower and Roasted Garlic Soup | Pamela Salzman


Chicken and vegetable curry recipe

L1150123

Growing up in a traditional Italian home, I learned very little about food that wasn’t Italian.  I could tell you the names of about 80 different shapes of pasta (you could, too if you ate it four times per week) and I knew my Parmigiano from my Pecorino.  In the garden, I could differentiate between the many varieties of eggplant or basil plants.  This was my culinary comfort zone.

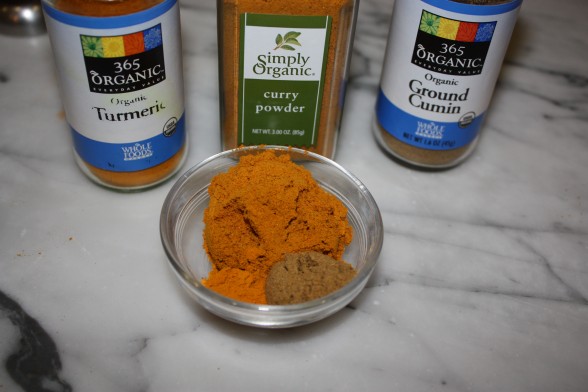
It wasn’t until I was in college that I was exposed to “ethnic” foods and I fell hard for curries.  Raise your hand if you thought like I did that curry was a spice — one spice.  I imagined fields somewhere in Asia with people picking curry berries.  (Actually, there is such a thing as a curry plant, but it is somewhat like a lettuce and has nothing to do with Indian or Thai curries.)  I learned not too long ago that curry powder is a blend of several different spices and no two curry powders are the same.  Most contain turmeric, cumin, coriander, fenugreek, and red pepper in their blends. Depending on the brand, additional ingredients such as ginger, cinnamon, mace, nutmeg, and black pepper can be added.  Some chefs prefer to toast their own spices and grind them to make their own curry blends, which sounds like such a nice thing to do if it wouldn’t completely put me over the edge.  I give you permission to use a premade curry powder which will not compromise anything in this recipe.

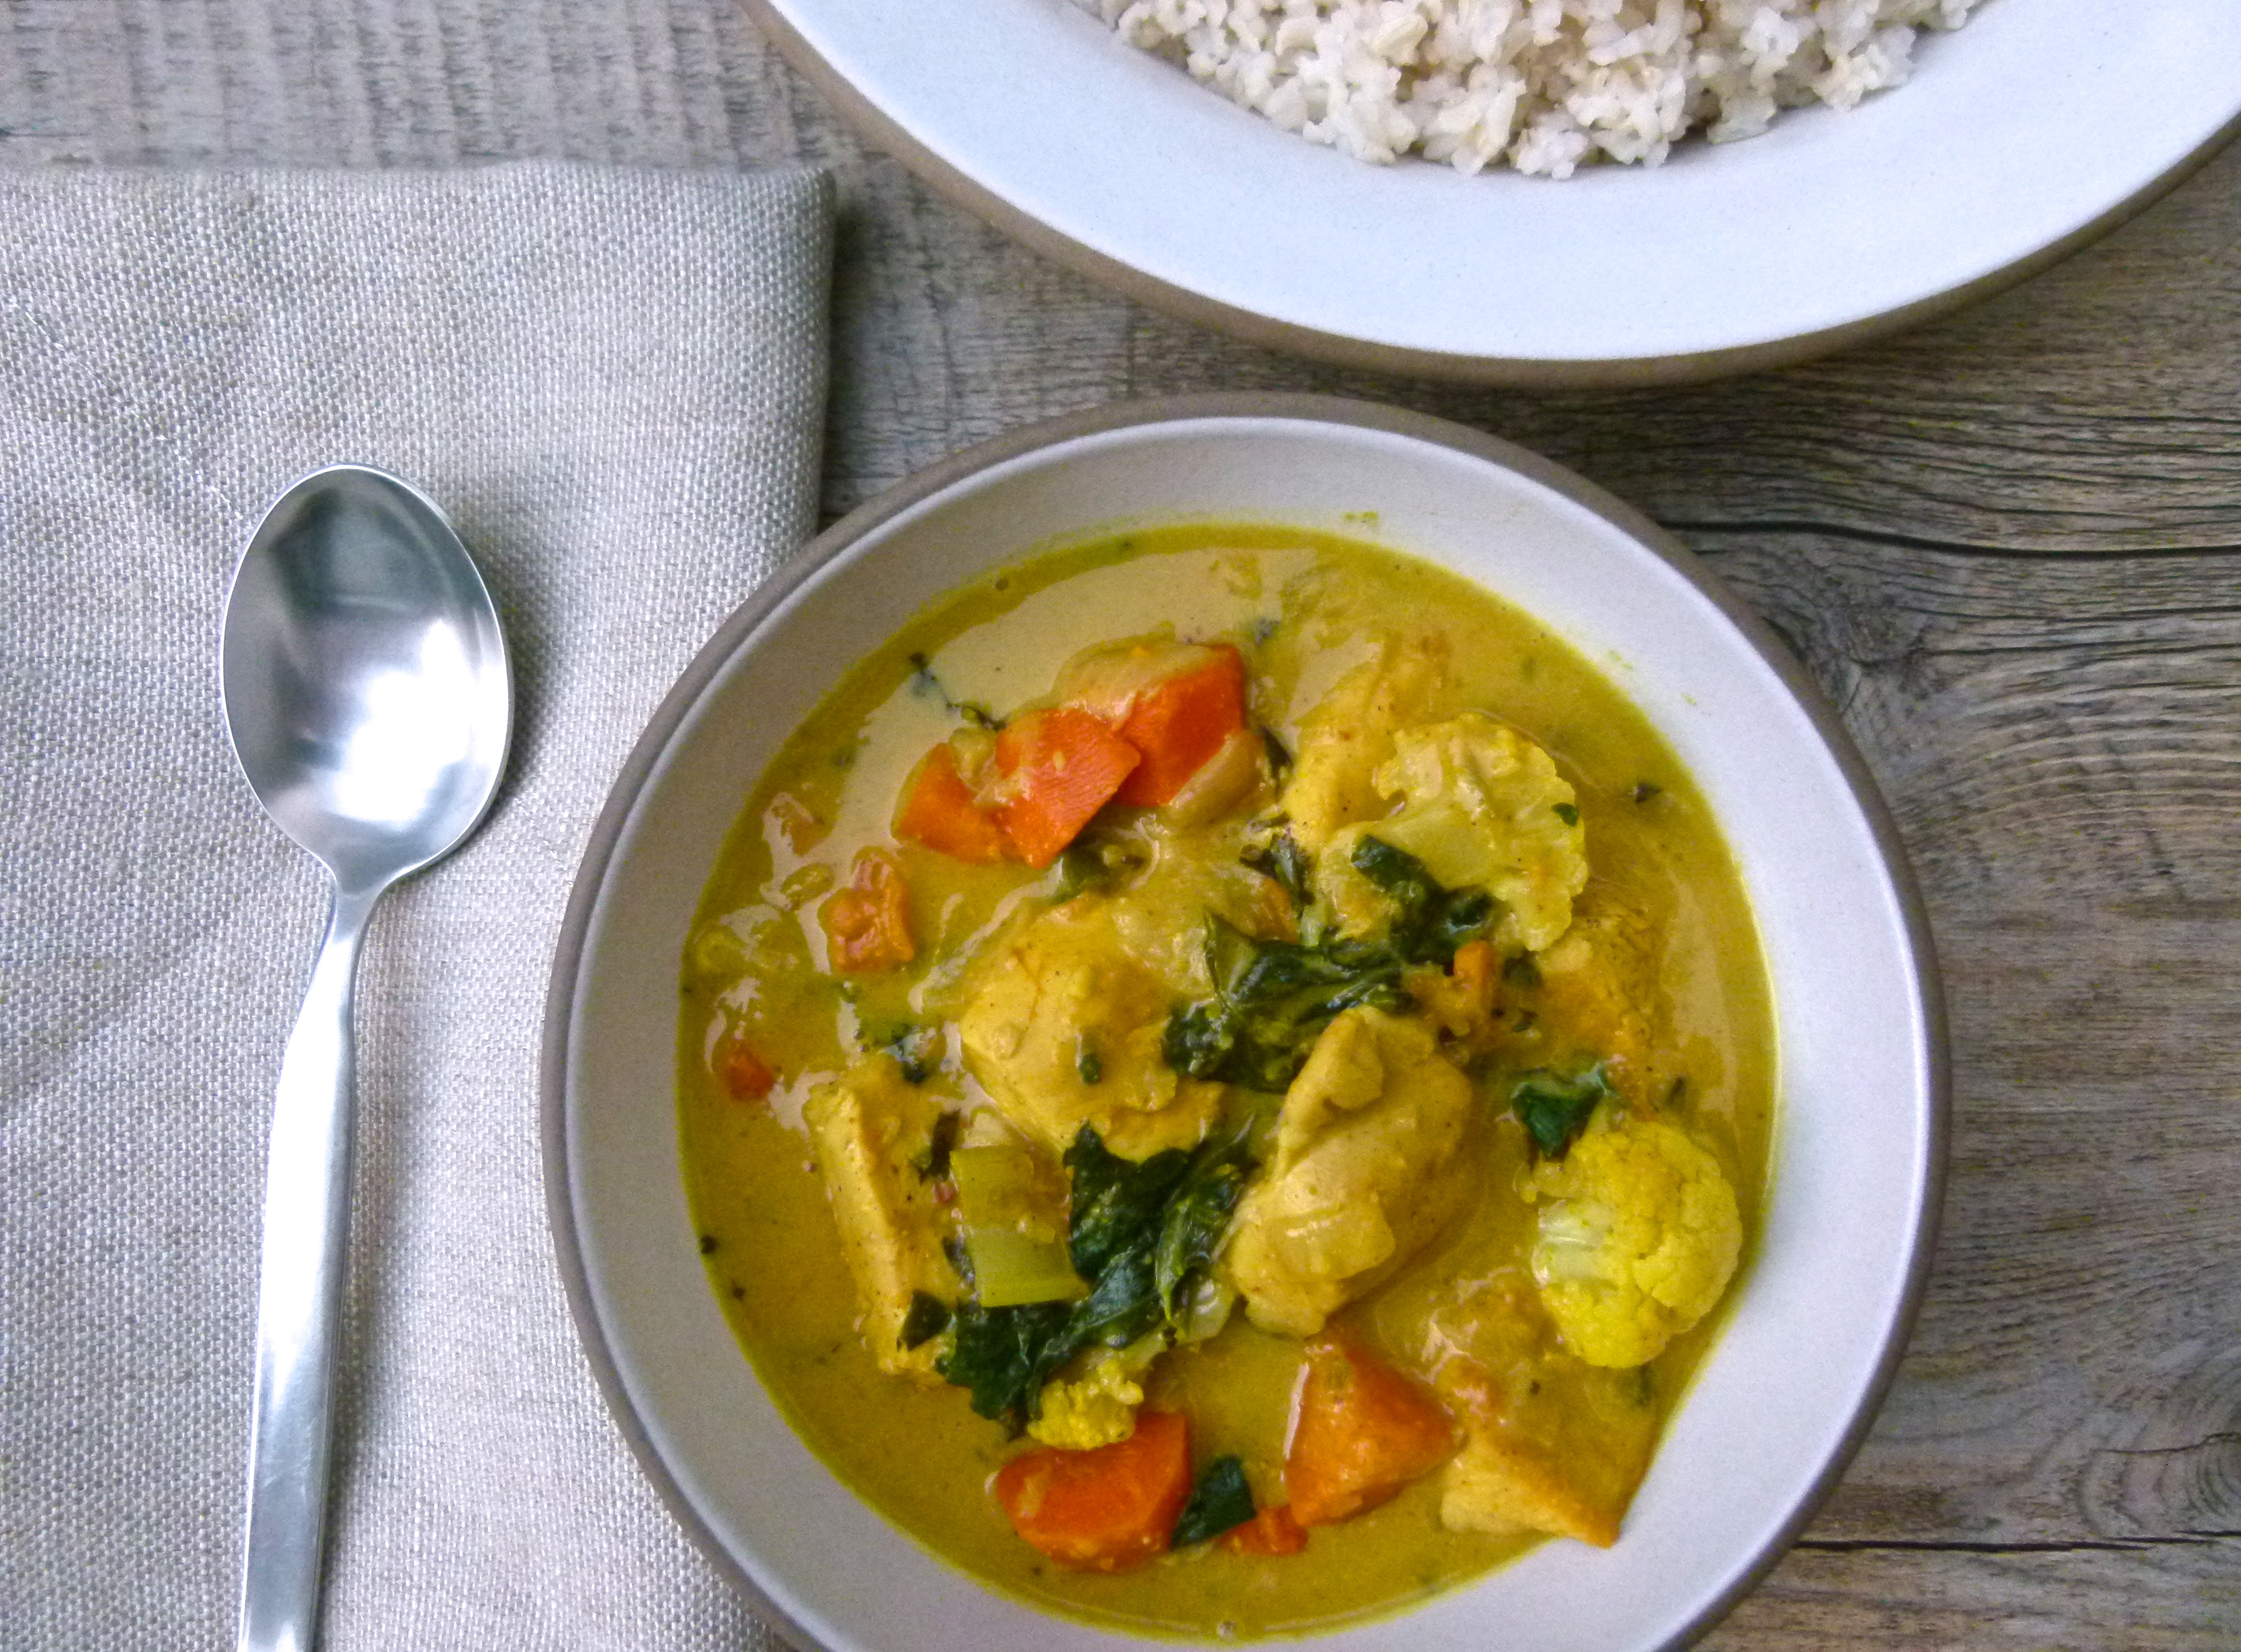
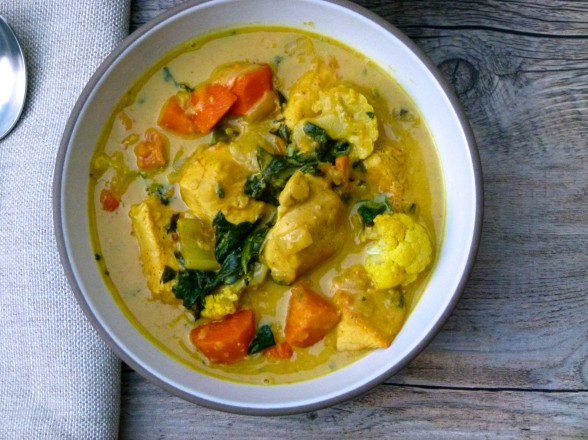
Chicken and vegetable curry is a staple in our house.  It is an incredibly flavorful dish enriched with coconut milk and cashew butter.  I vary the vegetables according to the season:  butternut squash or yams in the fall/winter with cauliflower; asparagus and peas in the spring; green beans and eggplant in the late summer/early fall; and I always throw in a few handfuls of spinach at the end because I will add leafy greens wherever I can.   We love this over brown jasmine or basmati rice, but recently I served this over some leftover soba and it was so tasty with the sauce coating all the noodles — everyone devoured it, especially Mr. Picky!

This curry is gluten-free.  Vegetarians can substitute chickpeas instead of chicken and vegetable stock for chicken stock.  This freezes really well as long as it’s tightly covered with as little air as possible coming into contact with the top of the food.

I love sharing all the nutritional highlights about the recipes I post.   You can read about all the benefits of curry powder’s anti-inflammatory spices, especially turmeric, in the Harira post, and I would likely sound like a broken record if I told you why we need to eat more vegetables and less animal protein.  But don’t make this dish just because it’s good for you.  Make it because it’s delicious.  When I served this to my Italian father for the first time he said, “I have no idea what this is, but it’s fantastic.”

chicken and vegetable curry | pamela salzman

chicken and vegetable curry | pamela salzman


Chicken and Vegetable Curry

Pamela
4.67 from 9 votes
Servings 6

Ingredients
  

  • 3 Tablespoons unrefined coconut oil or ghee
  • 2 pounds boneless skinless chicken meat (breast or thigh or combination), cubed
  • 1 large onion chopped
  • 2 cloves garlic finely chopped
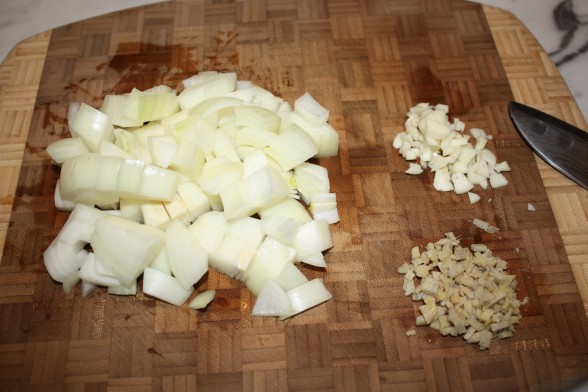
  • 1 Tablespoon finely chopped peeled fresh ginger
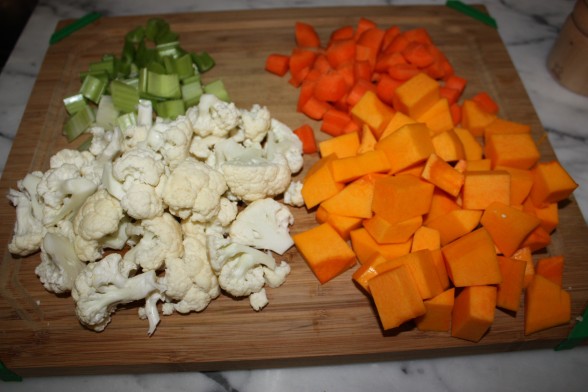
  • 2 carrots peeled and cut into chunks
  • 2 stalks celery cut into chunks
  • 4 cups vegetables cut into same size as carrots and celery (e.g. cauliflower, root veggies, green beans, eggplant, potatoes…)
  • 2-3 Tablespoons curry powder*
  • 1 teaspoon ground cumin
  • ¼ teaspoon ground turmeric
  • 2 teaspoons sea salt
  • 1 ½ cups chicken stock vegetable stock or 1 14.5-ounce can diced tomatoes
  • ¼ cup chopped fresh cilantro optional
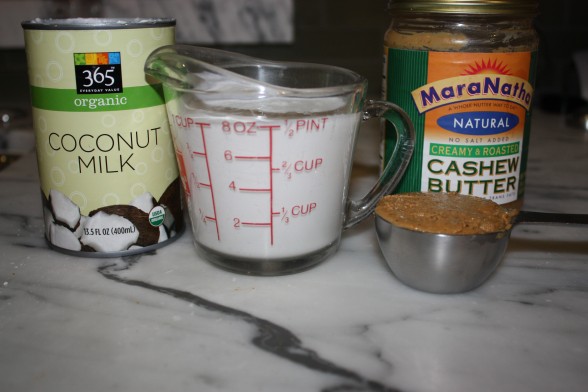
  • ½ cup cashews finely ground or ¼ cup cashew butter
  • 1 cup coconut milk
  • A few handfuls of baby spinach leaves

Instructions
 

  • Season chicken pieces with sea salt and freshly ground black pepper. Heat oil or ghee in a large, heavy pot over medium heat. Without crowding, add the chicken in batches and lightly brown. Remove with a slotted spoon to a plate and continue cooking all the chicken in the same manner.
  • Add the onion, garlic and ginger to the pot and cook, stirring until softened, about 5 minutes. Add the carrots, celery and remaining vegetables. Cook another few minutes.
  • Add the chicken and any accumulated juices on the plate back in the pot. Add the curry powder, spices and salt and cook, stirring, 1 minute. Add the stock (or diced tomatoes) and chopped cilantro and bring to a simmer. Cover the pot and simmer gently, stirring occasionally until the chicken is cooked through, about 20 minutes.
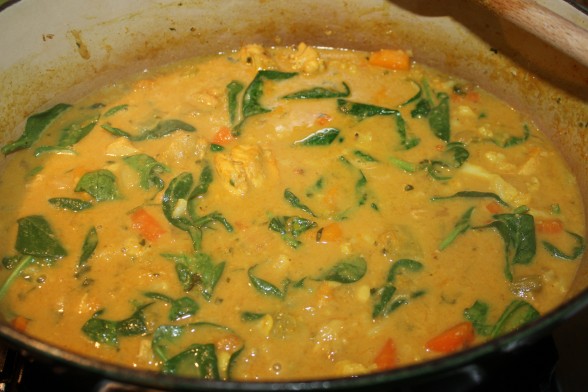
  • Add the ground cashews or cashew butter to the curry along with the coconut milk, and simmer gently uncovered, stirring until sauce is thickened, about 5-10 minutes. Stir in spinach leaves and stir until wilted. Delicious over cooked basmati or jasmine rice or noodles.

Notes
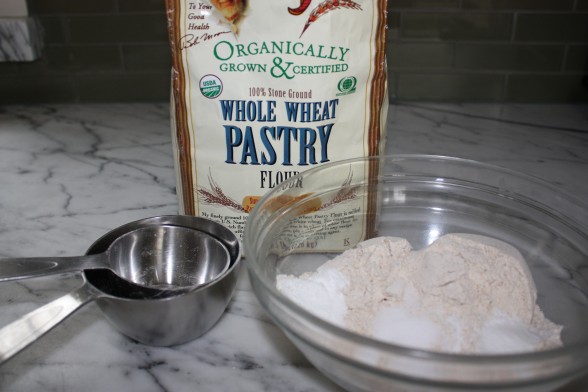
*Different brands of curry powder taste differently. “Simply Organic” is a little stronger with more depth of flavor than “Spicely Organic.” You can probably use 2 Tablespoons “Simply Organic” and 3 Tablespoons “Spicely Organic.”
Tried this recipe?Let us know how it was!


Braised greens and beans (collards and cannellini) recipe

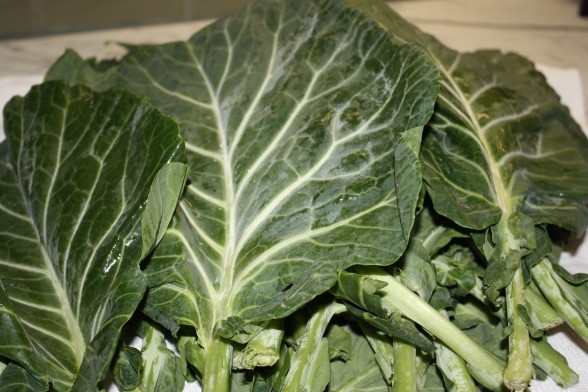
Could you pick collard greens out of line-up?  It’s not an easy thing to do considering how many varieties of leafy greens are available.  The bigger question is, have you ever picked up collard greens at all??

I avoided collard greens for a long time because they looked so intimidating, and because I didn’t know how to cook them.  I had never seen a recipe that didn’t boil those beautiful leaves to oblivion.  A typical collard greens recipe is from the South where they simmer the greens with bacon and pork stock for an hour so that they’re tender and the bacon masks some of the bitterness that goes along with collards.   I’m sure they’re tasty, but I try to lightly cook my vegetables as much as possible, especially greens to keep that beautiful bright green color and the vital nutrients.

The only time I had actually tried collard greens was raw, wrapped around hummus, sprouts and shredded vegetables — kind of like a veggie wrap, but a raw collard leaf instead of a tortilla.  Not delicious.  Fine, but who wants to eat fine?

I am obsessed with dark green leafy vegetables and I am always trying to find new ways to incorporate them into our diet.  I always say they should be their own food group since they are some of most nutrient-dense foods available to us and they can be prepared in so many delicious ways.  Dark green leafies are incredibly rich in calcium, magnesium, beta-carotene, Vitamin K and iron.  They also contain loads of fiber, Vitamin C, folate and antioxidants.  Collards, specifically,  are also members of the cruciferous family of vegetables which studies have shown may reduce the risk of many cancers.  I  knew I needed to give collards a chance.

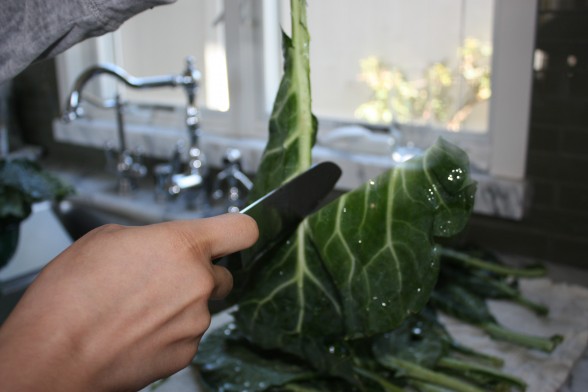
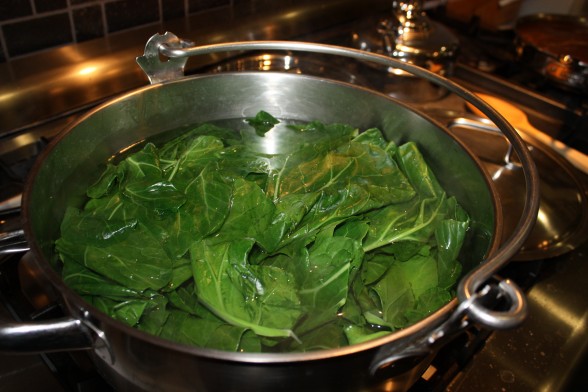
Collards can be a little bitter, which is not a flavor picky children and formerly picky children husbands warm up to.   My first attempt to simply saute chopped collards with garlic olive oil was not the solution.  But I found that if you blanche collards first in plenty of salted water, it cuts the bitterness significantly.  I am aware that blanching, which means to boil in water for a short amount of time, reduces the vitamin content more than steaming.  But you still keep most of the vitamins.

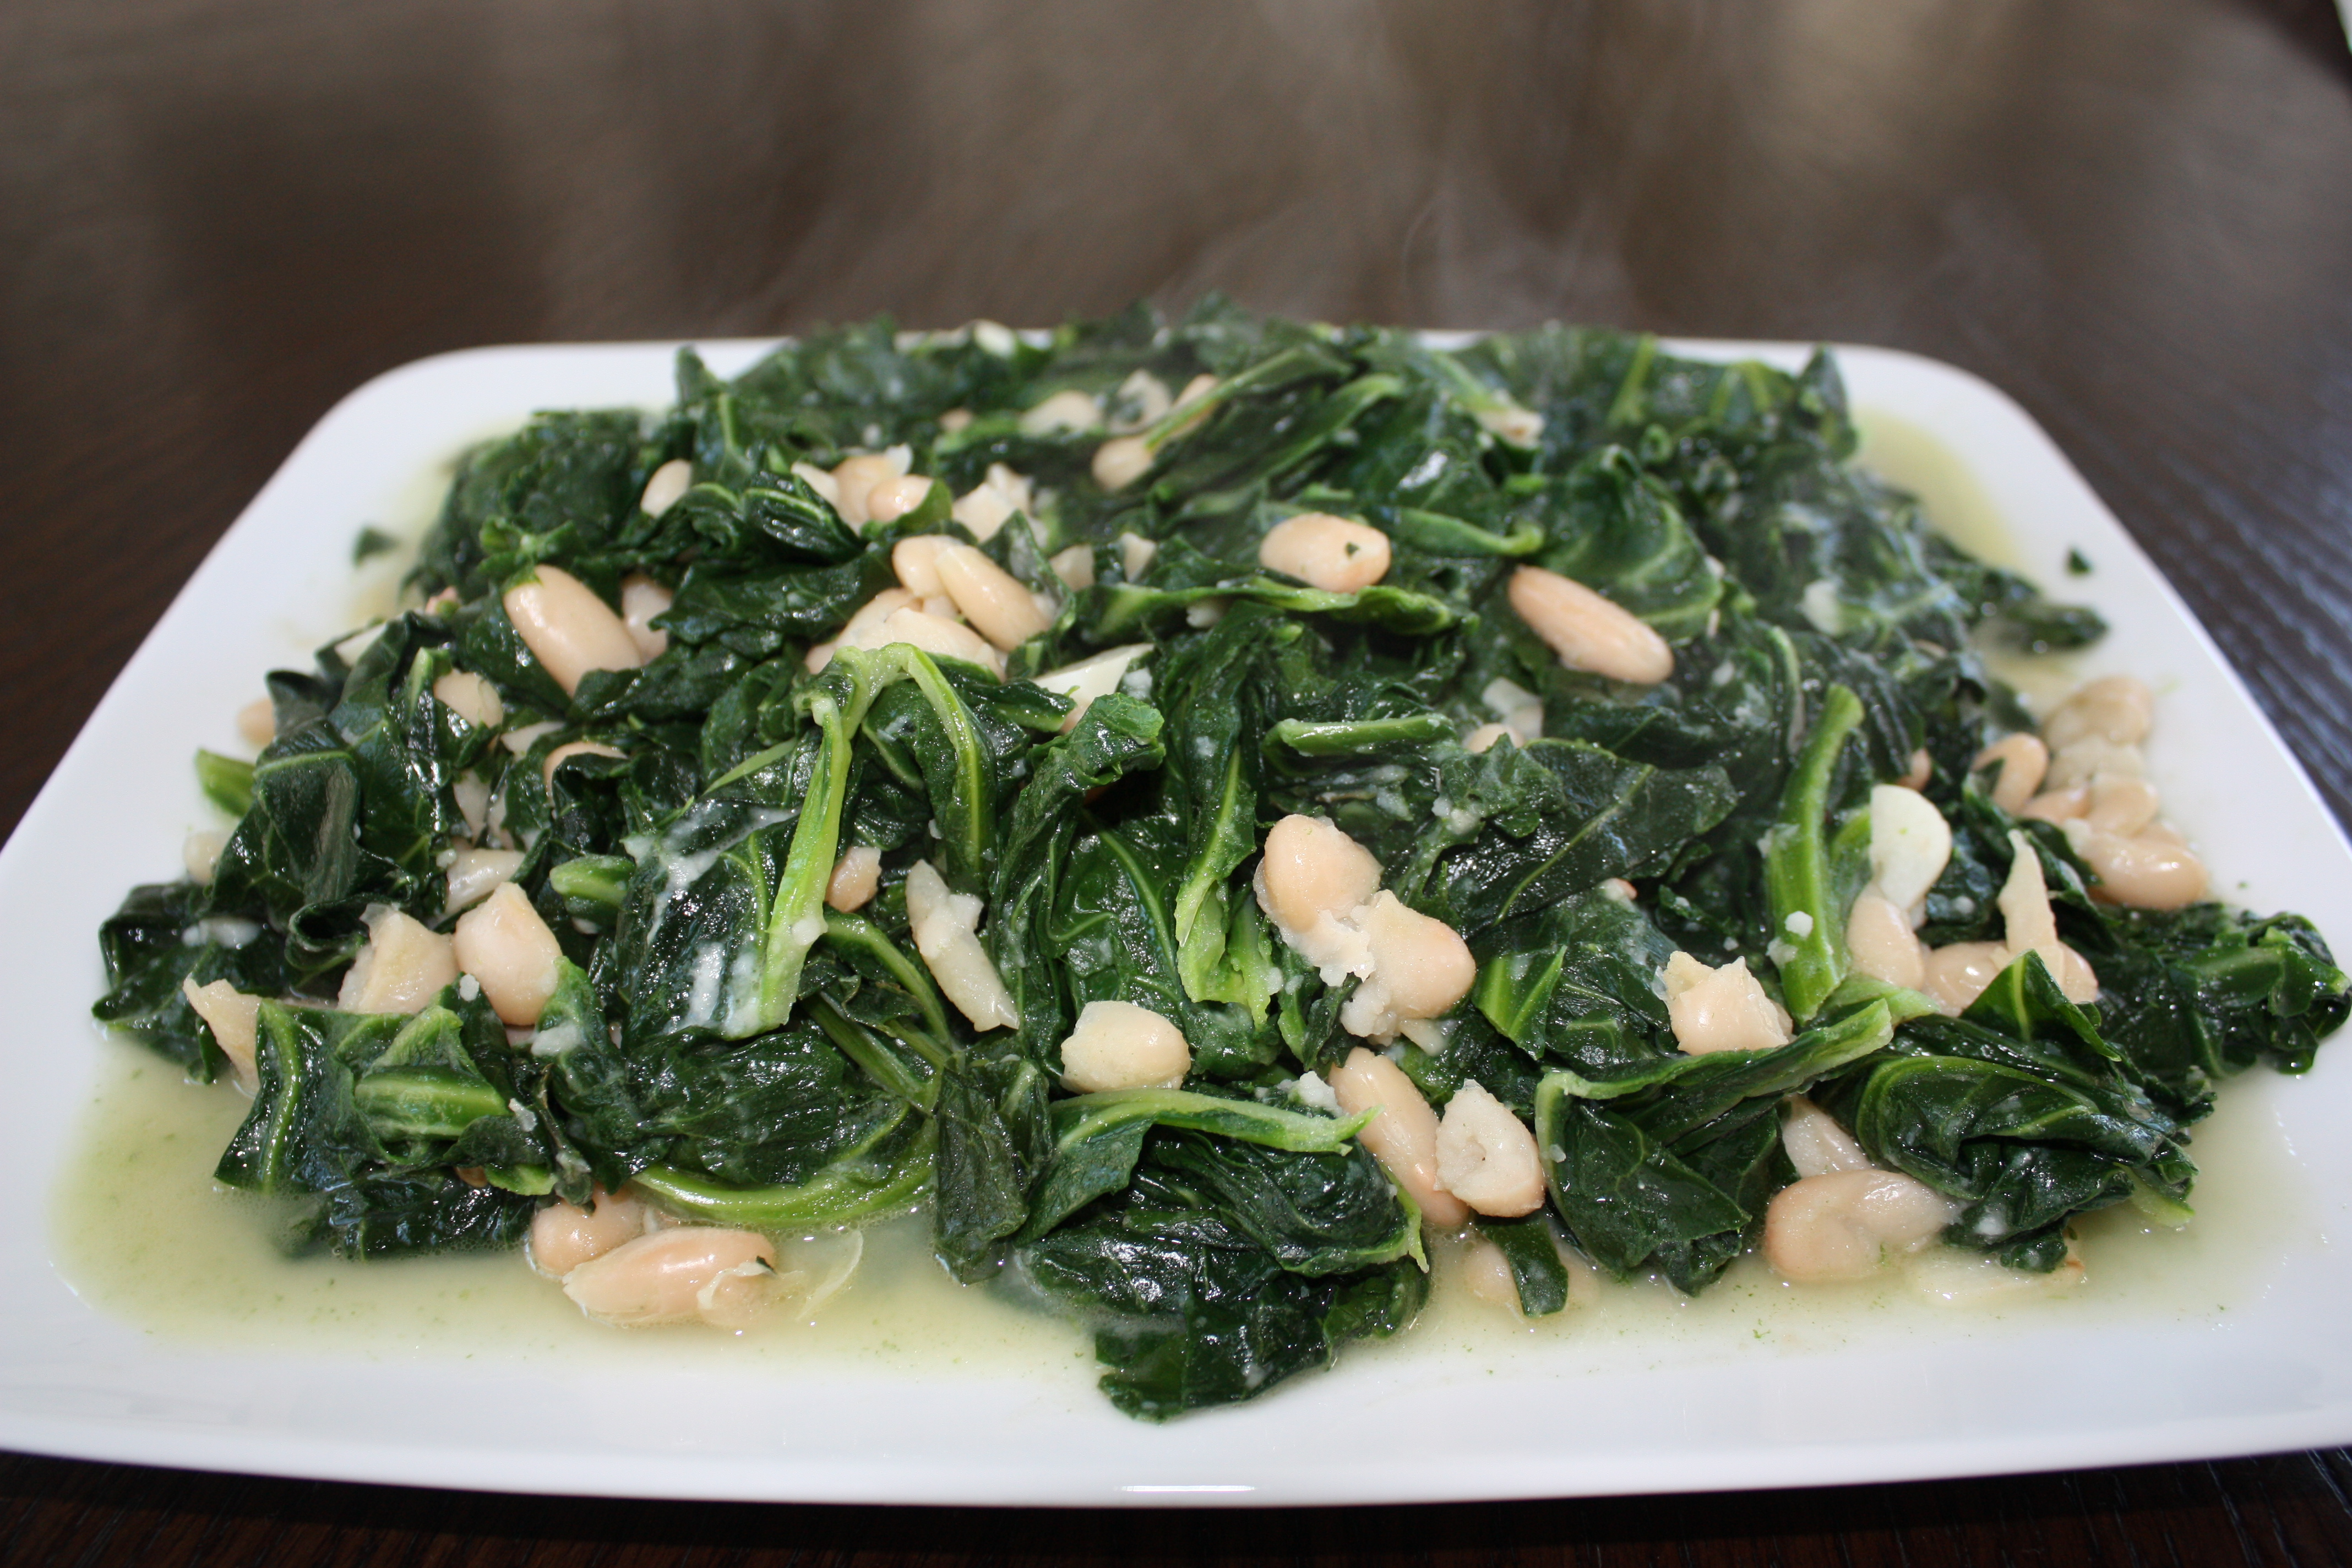
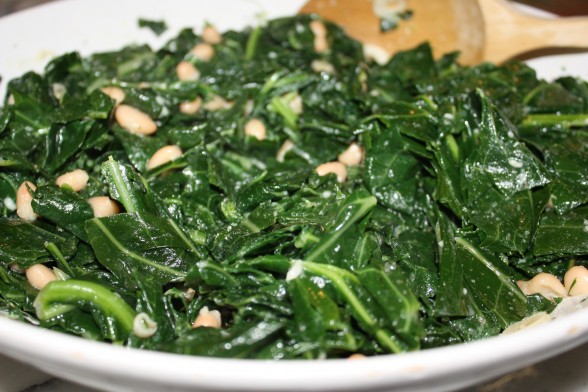
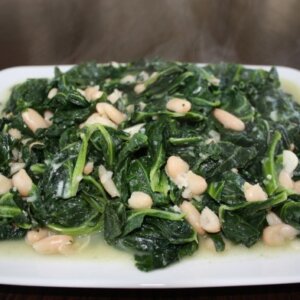
This recipe for collard greens has become one of my favorite ways to eat greens.  After the greens are blanched, they join garlic, olive oil and high-protein, creamy white beans for a very satisfying side or vegetarian main dish.  The addition of grated Pecorino-romano is optional, but adds a nice richness.  I have enjoyed collards this way by themselves or over cooked millet or rice.  Daughter #1 loves this on top of a toasted wedge of whole grain bread.  Maybe you’re not sure if your family is ready for collards.  Even if that’s the case, do try this recipe anyway with another favorite leafy green, such as kale, Swiss chard, or escarole (even broccolini.)  In time, you’ll want to pick this recipe out of your menu line-up, trust me!


Braised Greens and Beans (Collards and Cannellini)

Pamela
4.67 from 3 votes
Servings 4 -6

Ingredients
  

  • 3 bunches collard greens or other sturdy greens of choice tough ribs removed
  • 1 Tablespoon Kosher salt such as Diamond Crystal
  • 2 Tablespoons unrefined cold-pressed extra-virgin olive oil
  • 6 cloves of garlic thinly sliced
  • Pinch of red pepper flakes optional
  • ½ teaspoon fine grain sea salt
  • 1 ½ cups cooked white beans such as Cannellini or Great Northern or 1 15-ounce can, drained and rinsed
  • ½ cup chicken stock vegetable stock or water used to blanche greens (the blanching water will be a little more bitter and salty)
  • 3 Tablespoons grated Pecorino-Romano or Parmigiano-Reggiano cheese optional, but delicious

Instructions
 

  • Fill a large pot three-fourths full with water. Bring to a boil over high heat and add kosher salt. Submerge greens in salted water and blanche for 5-8 minutes, or until tender.
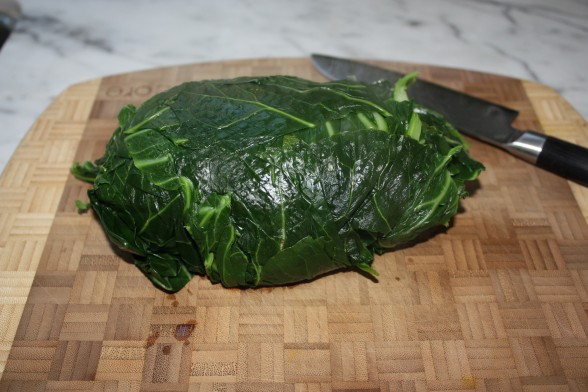
  • Remove some of the cooking liquid if that’s what you want to use. Drain the greens in a colander and press against the leaves with a large spoon to squeeze out some of the excess water. You can also do this in a clean kitchen towel, but it will be hot! Transfer to a cutting board and chop in large pieces.
  • Warm the olive oil in a large skillet over medium heat and add the garlic and red pepper flakes, if using. When you see the first signs of a golden color on the garlic, add the collard greens. Sprinkle with the sea salt and stir to coat with the oil. Add the beans and stock or cooking water and simmer uncovered for 5 minutes, until the liquid has reduced a bit. Stir in the grated cheese and taste for salt. Serve immediately.
Tried this recipe?Let us know how it was!


Turkey (or beef or tempeh) tacos recipe

Turkey (or Beef, or Tempeh) Tacos | Pamela Salzman

In light of the recent discovery that Taco Bell’s meat for its beef tacos is mostly, um, NOT beef, I thought it was necessary to get a high quality taco recipe out there.  One of the things I find so interesting about this news is how surprised everyone is to find out that there are incredibly low quality ingredients being used by a national fast food chain.  Hell-oooooooo?  People, they are charging $.99 per taco AND making a profit.  Do you really think this is a high quality food?  Rhetorical question.  Answer is no.

Turkey (or Beef, or Tempeh) Tacos | Pamela Salzman

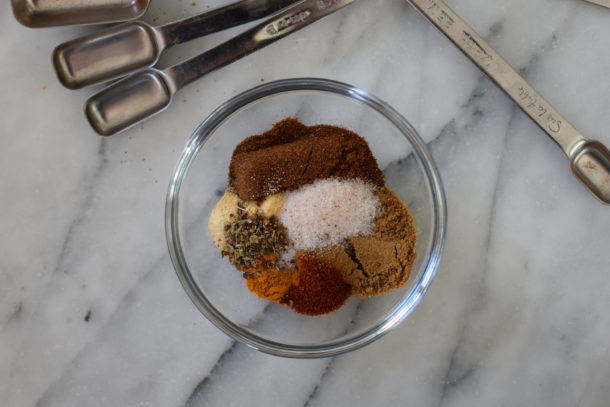
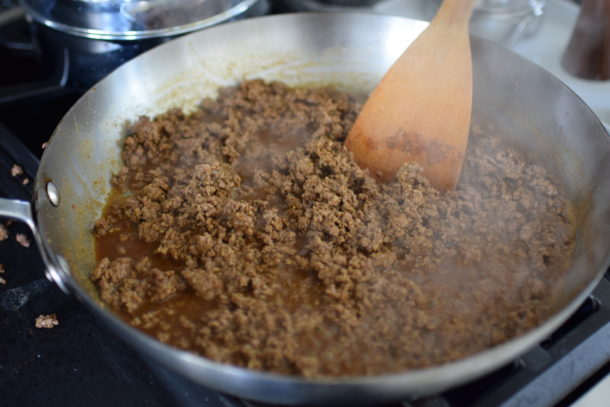
I have been making my own taco seasoning mix for years and years ever since it occurred to me to actually read the label on the taco seasoning packet I was using.  Scary!  Is it really necessary to use food coloring and MSG and stabilizers just to season some ground meat?  Another rhetorical question.  So I copied down the actual spices from the ingredient list and left out the chemicals that could only be made with a centrifuge in a lab, and after a few tries, I had a taco seasoning that was just right, meaning my kids still thought I was using the store-bought packet.  Success!

Turkey (or Beef, or Tempeh) Tacos | Pamela Salzman

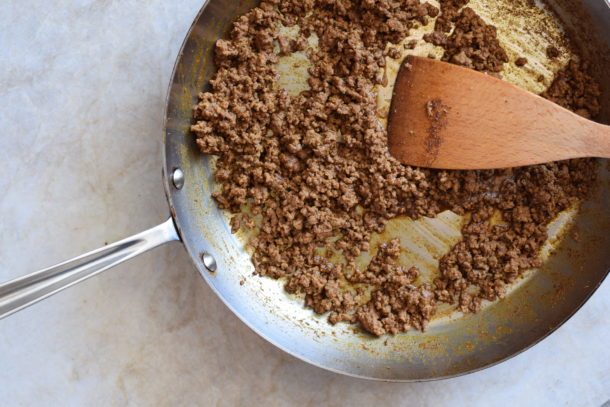
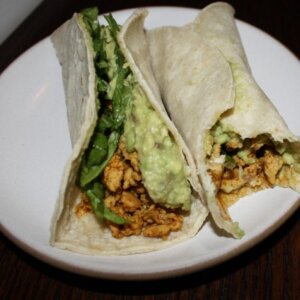
Because we are limiting our beef consumption, I will very often make tacos using ground turkey meat, preferably half dark meat for flavor and half white.  Of course you can use grass-fed ground beef or bison, too.  If you are a vegetarian, just finely crumble the same amount of your favorite tempeh and saute it in some olive oil until just browned and use the seasoning mixture in the same way.  (Next two photos are of tempeh.)  I like tempeh tacos just as much as the ones made from meat!

Turkey (or Beef, or Tempeh) Tacos | Pamela Salzman

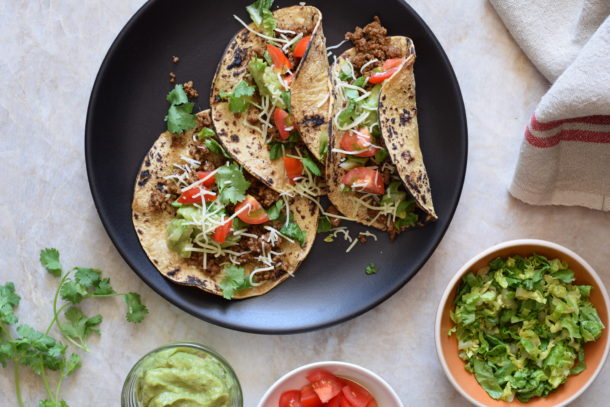
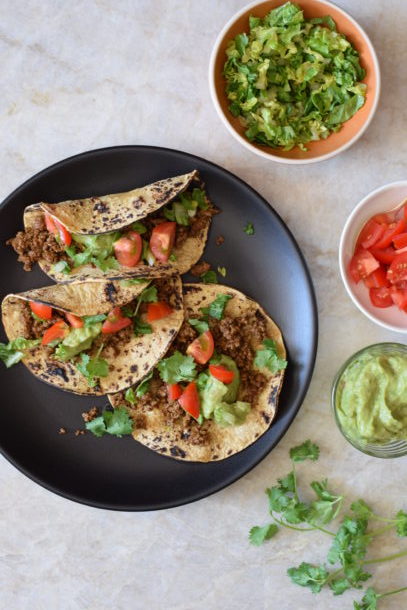
A student reminded me a few days ago that Little League season is right around the corner and would I please add some post-game dinner recipes to the website.  Since I have a child in Little League, I know that she is looking for meal that can be prepared as quickly as possible when she walks in the door at 6:15 for starving children, and preferably a warm meal since everyone’s been freezing outside for several hours on metal bleachers.  This is a 10- minute dinner if you have all the toppings prepared ahead of time.  I like to use soft corn tortillas and set out bowls of guacamole, pico de gallo (fresh tomato salsa) if it’s tomato season, finely shredded lettuce and some shredded raw cheese, if I have it.  The topping bar is one of my favorite techniques to make everyone feel as though he or she is getting the meal of his or her choice — and no additional work for me.  Serve with a large salad with homemade vinaigrette which you can prepare days in advance and dinner is done!

Turkey (or Beef, or Tempeh) Tacos | Pamela Salzman

Since I have a feeling this may become a regular dinner item for you, why not triple or quadruple the recipe for the spices and keep the mix in the pantry so that’s one less thing you need to worry about.

And you thought you couldn’t make tacos without maltodextrin!  Hmph.

Turkey (or Beef, or Tempeh) Tacos | Pamela Salzman

Turkey (or Beef or Tempeh) Tacos

Pamela
5 from 1 vote
Servings 4 (just multiply everything by 1 1/2 to serve 6

Ingredients
  

  • 1 pound ground turkey meat preferably dark meat; or grass-fed ground beef; or crumbled tempeh
  • 1 Tablespoon chili powder*
  • 2 teaspoons cumin
  • ½ teaspoon paprika
  • ¼ teaspoon turmeric ok, not in store-bought packets, but really good for you!
  • ¼ teaspoon garlic powder
  • ¼ teaspoon onion powder
  • ¼ teaspoon oregano
  • ¾- 1 teaspoon fine sea salt
  • 1 teaspoon arrowroot powder
  • ¾ cup water about 1 cup if you make tempeh
  • Accompaniments: corn tortillas guacamole, pico de gallo, shredded cheese, refried black beans, cilantro-lime slaw, shredded lettuce

Instructions
 

  • Mix all spices and salt together until well blended. If you're using corn tortillas, you can begin warming them until pliable on a dry griddle or skillet or over a low flame on the stovetop. I like to keep all of them warm in a clean kitchen towel.
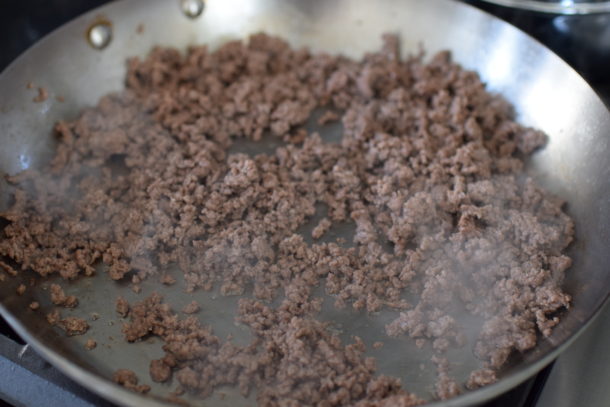
  • Heat a large skillet over medium heat. Add the ground turkey to the skillet and cook, breaking up turkey into small pieces (I like to do this by pressing against the meat with a slotted spoon), just until cooked through. If there is any liquid in the pan, drain before proceeding.
  • Dissolve the arrowroot in 3/4 cup cold water. Add the spice mixture to the meat and cook over medium heat for a minute. Pour the water and dissolved arrowroot over the turkey and cook until thickened, stirring occasionally.

Notes
*Not all chili powders are created equally. The one I use is by Simply Organic which has good depth of flavor with a little kick. If you don't care for any heat at all, you can cut back on the chili powder. If you like things spicy, feel free to add a few dashes of cayenne.
**The dry spice mixture can be made very far in advance, if desired. The mixture can be multiplied and kept in a glass container for several months. The ratio is approximately scant 3 Tablespoons of spice mixture to 1 pound of meat.
Tried this recipe?Let us know how it was!


Whole grain buttermilk pancakes recipe

Packaged pancake mixes confuse me.  The idea behind packaged food is to provide the consumer convenience.  That is, it should be more convenient for you to use a boxed pancake mix than to make pancakes from scratch.  But let’s think about this one.  When you use a packaged mix, you need to measure the mix, measure the different liquids you will be adding to the mix, crack eggs, mix it all together, grease your griddle and cook the pancakes.  So basically you are paying a premium so that you don’t have to measure the baking soda, baking powder and salt.  And you have to take whatever else the manufacturer decides is necessary to add in there, such as preservatives.  Sure, you can buy a mix with dehydrated milk powder and dehydrated eggs, so that you’re only adding water, but really, you can do better.  A lot better.

First of all, you can make absolutely delicious pancakes very easily without a mix and with more nutritious ingredients.  I love using whole wheat pastry flour for this which is lighter than whole wheat flour, but still still milled from the whole grain, so nothing important has been removed and you still keep all the fiber, protein and nutrients.  More importantly, the pancakes don’t taste whole wheat-y or feel heavy.  Gluten-free people — do not fret.  I make pancakes twice per week and if the kids are getting wheat in their lunchboxes, I always make gluten-free pancakes for breakfast by substituting GF oat flour, brown rice flour and buckwheat flour for the wheat.  They are just as tasty and just as “normal” as wheat flour pancakes, although the buckwheat imparts a slight lavender color to the batter.  Also, don’t be put off by the buttermilk.  If you don’t have it, substitute half yogurt and half milk and the pancakes will turn out the same.

For those of you who think pancakes are strictly for the weekends, I have excellent news.  You can make your batter the night before and keep it refrigerated until the morning.  I was always taught that the leavening agents lose their potency if the batter, dough or whatnot is not cooked immediately.  Not so.  I actually did a side-by-side test with 12-hour old batter and freshly made, and they both rose equally.  If cooking pancakes on a weekday is positively out of the question, then make a huge batch on the weekends and freeze them with pieces of wax or parchment paper in between each one.  Just promise me you won’t use a microwave to reheat them!

Pancakes are a winner breakfast in our house because everyone can customize his or her own pancakes without creating more work for me.  After I pour batter on the griddle, the kids come over with their favorite add-ins.  Daughter #1 likes raspberries or diced strawberries; Daughter #2 prefers diced bananas; Mr. Picky chooses mini chocolate chips; and the Husband drops in blueberries.  The key here is to wait until the batter has set slightly on the griddle so that when you add your fruit or chips the batter doesn’t spread and thin out.

If you decide you love these pancakes and you will make them regularly, by all means quadruple the dry ingredients, combine well and store your “mix” in the pantry in a glass container with directions:  “Use 1 1/2 cups + 1 Tablespoon of mix for pancake recipe.”  Now that’s convenience!

Update 1/30/12:  I accidentally mismeasured the buttermilk today and used 2 cups, so I decided to use 2 cups of flour as well, but keep all the other measurements the same.  The pancakes were still light and fluffy, but just a bit more substantial.  The kids liked them a lot.  So if you like your pancakes a little heavier, you can adjust those measurements accordingly.


Whole Grain Buttermilk Pancakes

Pamela
4 from 1 vote
Servings 4 -5

Ingredients
  

  • 1 ½ cups whole wheat pastry flour white whole wheat flour or whole spelt flour*
  • 1 teaspoon aluminum-free baking powder
  • 1 teaspoon aluminum-free baking soda
  • 1 teaspoon fine sea salt
  • 1 ¾ cups buttermilk**
  • 2 large eggs
  • 1 teaspoon pure vanilla extract
  • 1 Tablespoon 100% pure maple syrup
  • 4 Tablespoons unsalted butter melted
  • Melted unrefined coconut oil or more butter for brushing the griddle (melt the coconut oil in the same small saucepan you used to melt the butter)

Instructions
 

  • Preheat a griddle to 400 degrees or medium heat.
  • Combine the flour, baking powder, baking soda and salt in a large mixing bowl.
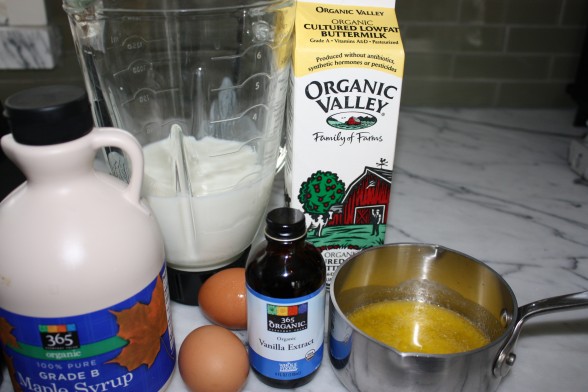
  • In a medium bowl or 4-6 cup measuring cup, whisk together the buttermilk, eggs, vanilla, maple syrup and melted butter until well blended. (A blender can do this easily, too.)
  • Pour the wet mixture into the dry ingredients and stir until just combined. Lumps are okay!
  • Brush the griddle with coconut oil and spoon about ¼ cup of batter onto the griddle. Allow to set for a minute or two before adding blueberries, chocolate chips or diced banana to the surface, if desired. When bubbles start to form on the surface of the pancake and the edges become slightly dry, flip it over and cook until done, another minute or two. Maintain the heat on medium-low or 400 degrees.

Notes

*Gluten-free: substitute ¾ cup buckwheat flour and ¾ cup brown rice flour for the wheat flour. Or you can use GF oat flour, too, such as ½ cup oat flour, ½ cup buckwheat flour and ½ cup brown rice flour.
**No buttermilk? Sub half unsweetened yogurt and half whole milk. Or use 1 ½ cups milk, omit the baking soda and use 2 teaspoons baking powder instead.
Tried this recipe?Let us know how it was!


My favorite everyday salad dressing recipes

My Favorite Everyday Salad Dressings | Pamela Salzman

My Favorite Everyday Salad Dressings | Pamela Salzman

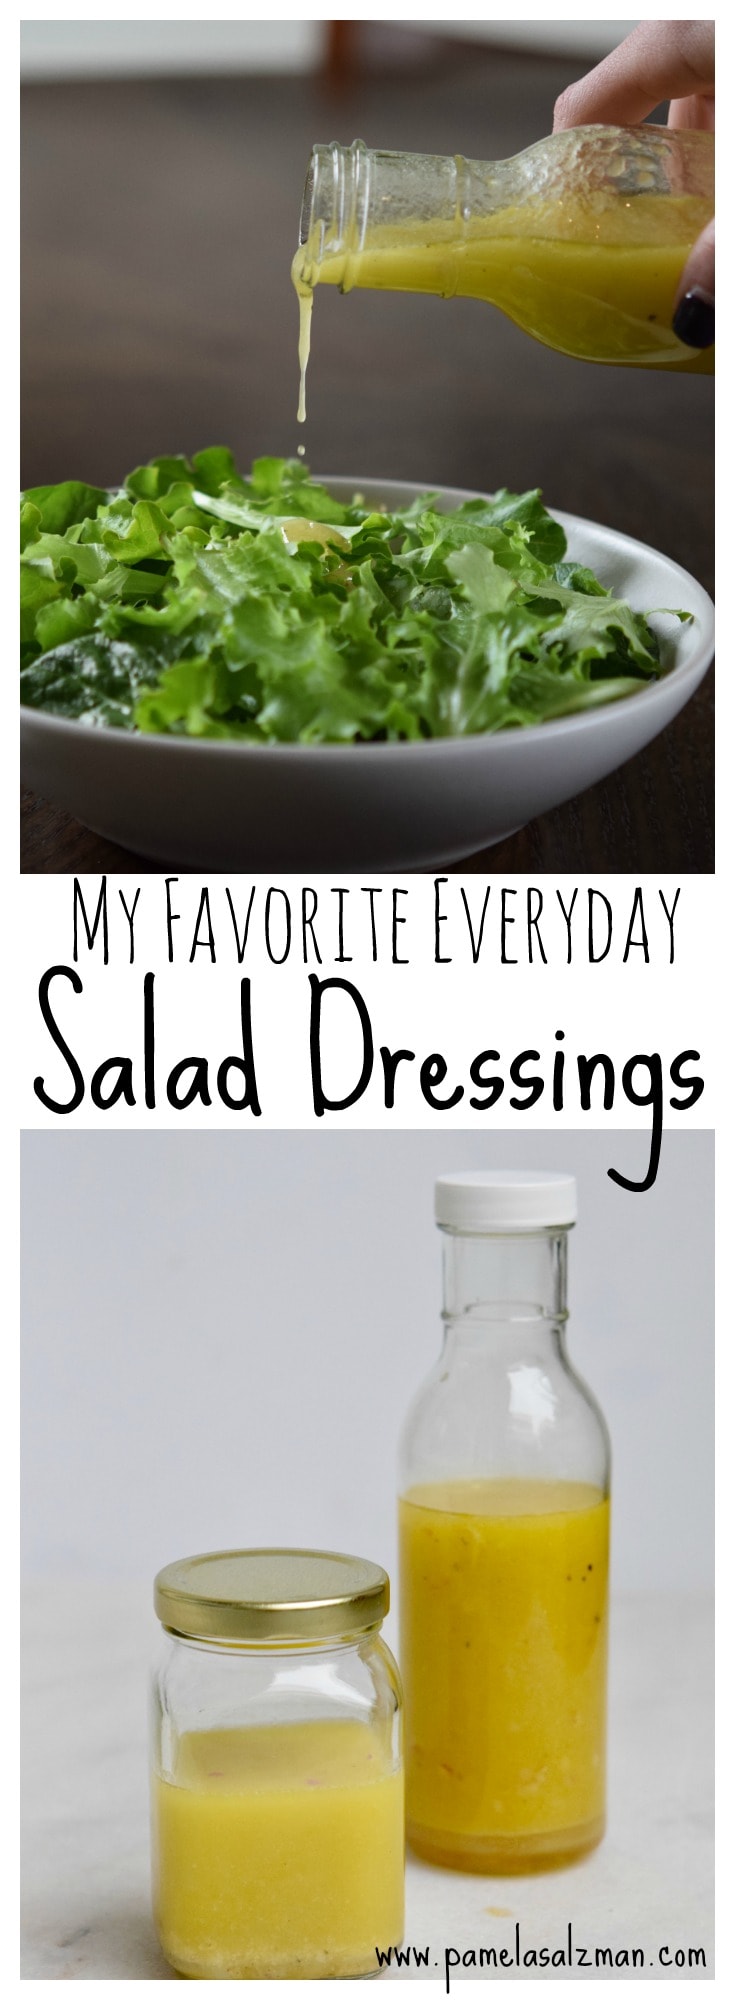
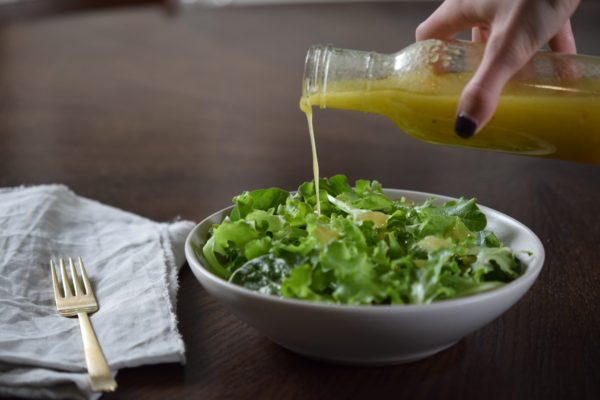
If you’re just starting to tinker with the idea of eating more healthfully, but don’t know where to begin, may I nudge you toward making your own salad dressings?  Why?  First of all, salad dressings or vinaigrettes are something you probably use regularly.  Second, they are simple to make.  And last but not least, I have never found a bottled salad dressing that uses the kind of high-quality oils and ingredients I prefer to use.  In fact, most bottled dressings not only contain refined oils, but also sugar or high-fructose corn syrup, preservatives, stabilizers and lots of other mysterious things I can’t even pronounce — never a good sign.

My Favorite Everyday Salad Dressings | Pamela Salzman

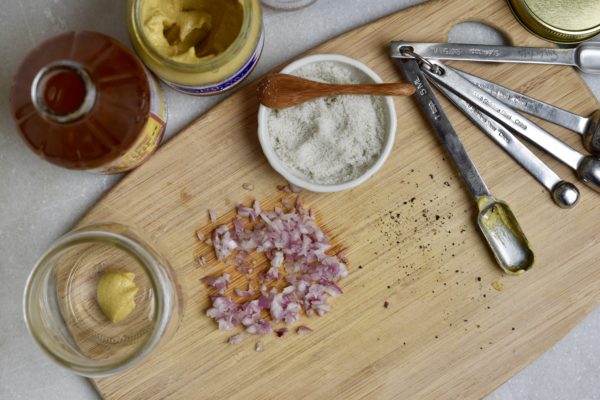
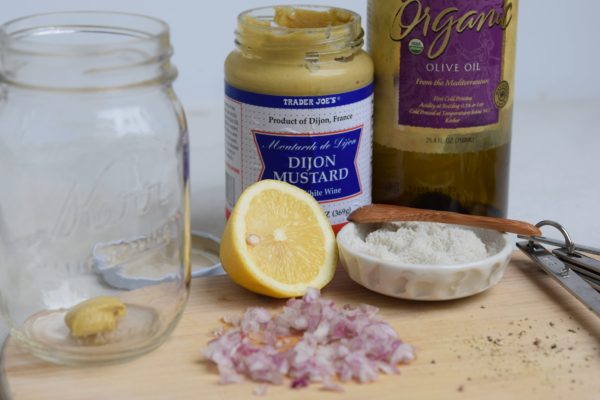
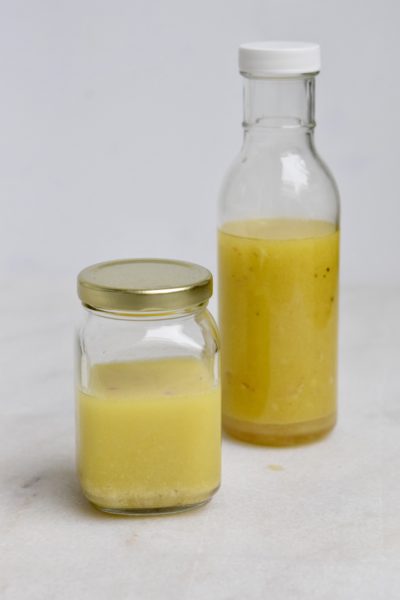
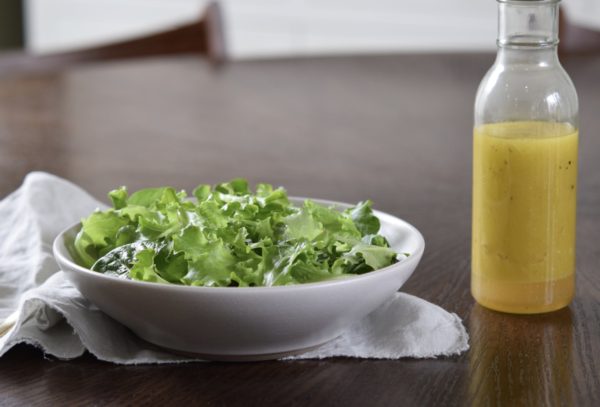
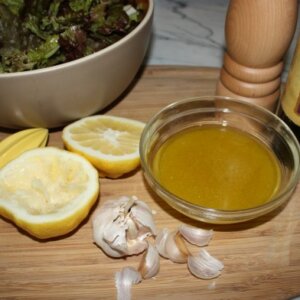
Truthfully, when I was growing up, we ate loads of fresh salads and we never made vinaigrettes.  It was my job to dress the salad and all I did was drizzle the olive oil over the greens about three or four times around the salad bowl and the vinegar over once.  I would sprinkle it with a little salt and voila!  Sometimes I still do that if I’m in a rush and I don’t have dressing already made in the fridge.  But more often than not, in the beginning of the week I will combine a few simple ingredients in a clean jar with a lid (love reusing nut butter jars for this) and shake, shake, shake!

My Favorite Everyday Salad Dressings | Pamela Salzman

I have lots of dressings I use for different salads, but there are two that are my standbys for a bowl of simple mixed greens.  Both have a base of unrefined extra-virgin olive oil which is very rich in oleic acid, a very stable monounsaturated fatty acid, as well as Vitamin E and loads of antioxidants.  All bets are off when you use refined olive oil where all the nutrients have been stripped away and you’re basically left with a bottle of free radicals.  The olive oil I buy is in a dark glass bottle and after the word “Ingredients” it says in the tiniest print that I can barely read since I turned 40, “unrefined extra-virgin organic olive oil.”    Forget low-fat or non-fat salad dressings.  Most of those contain MSG or MSG-derivatives with tricky names like “hydrolyzed vegetable protein” or “autolyzed yeast extract.”  We need fat on our salad to help us assimilate all the fabulous fat-soluble vitamins in the vegetables!  What a waste to eat Vitamins A, D, E and K without the presence of fat to help our intestines absorb those nutrients.

My Favorite Everyday Salad Dressings | Pamela Salzman

Lemon juice is super alkalizing to our bodies and raw, unpasteurized apple cider vinegar is so enzyme-rich — both are my favorite acids for dressings.  I personally love the lemon juice dressing, but I came up with the apple cider vinegar/brown rice vinegar dressing when I was at my mother-in-law’s house and she asked me to whip up a salad dressing that she would like.  I was thrilled to make her something delicious so that she would stop using a packaged brand that rhymes with Shmood Shmeasons.  Alas a convert!  It has become a very popular dressing in my house and hers.

The basic rule of thumb with a vinaigrette is to mix 1 part acid (lemon juice, vinegar) with 3-4 parts oil.  Adjust the ratios to suit your taste and build from there with salt and pepper, garlic or shallots, mustard or fresh herbs, if you have them.  Once you get into the habit of making salad dressings regularly, you won’t even have to measure your ingredients anymore.  So long Shmishbone!

My Favorite Everyday Salad Dressings | Pamela Salzman

My Favorite Everyday Salad Dressings

Pamela
5 from 4 votes

Ingredients
  

  • everyday salad dressing #1 with lemon juice
  • 1 medium garlic clove minced or 1 small shallot, finely diced
  • 3/4 teaspoon fine grain sea salt
  • a few turns of freshly ground black pepper
  • 1 teaspoon Dijon mustard
  • 2 1/2 - 3 Tablespoons freshly squeezed lemon juice
  • 1/2 cup unrefined cold-pressed extra-virgin olive oil
  • _______________________________________________
  • everyday salad dressing #2 with cider or red wine vinegar
  • 1 small shallot minced (about 2 teaspoons)
  • 3/4 -1 teaspoon fine grain sea salt
  • freshly ground black pepper to taste
  • 1 teaspoon Dijon mustard
  • 2 teaspoons raw honey or 100% pure maple syrup
  • 2 Tablespoons unpasteurized apple cider vinegar or red wine vinegar
  • 2 Tablespoons unseasoned rice vinegar
  • 3/4 cup unrefined cold-pressed extra-virgin olive oil

Instructions
 

  • Either whisk together in a small bowl or place all the ingredients in a glass jar with a lid and shake until emulsified.
  • Both dressings can be made ahead and kept in a glass jar in the refrigerator for 5-7 days. Because olive oil solidifies when chilled, you will need to remove it from the refrigerator well before you want to use it in order for it to become pourable. Or you can leave the dressing at room temperature in a cool, dark place for a few days.
Tried this recipe?Let us know how it was!


My Favorite Everyday Salad Dressings | Pamela Salzman

Vegan Oatmeal Chocolate Chip Cookies

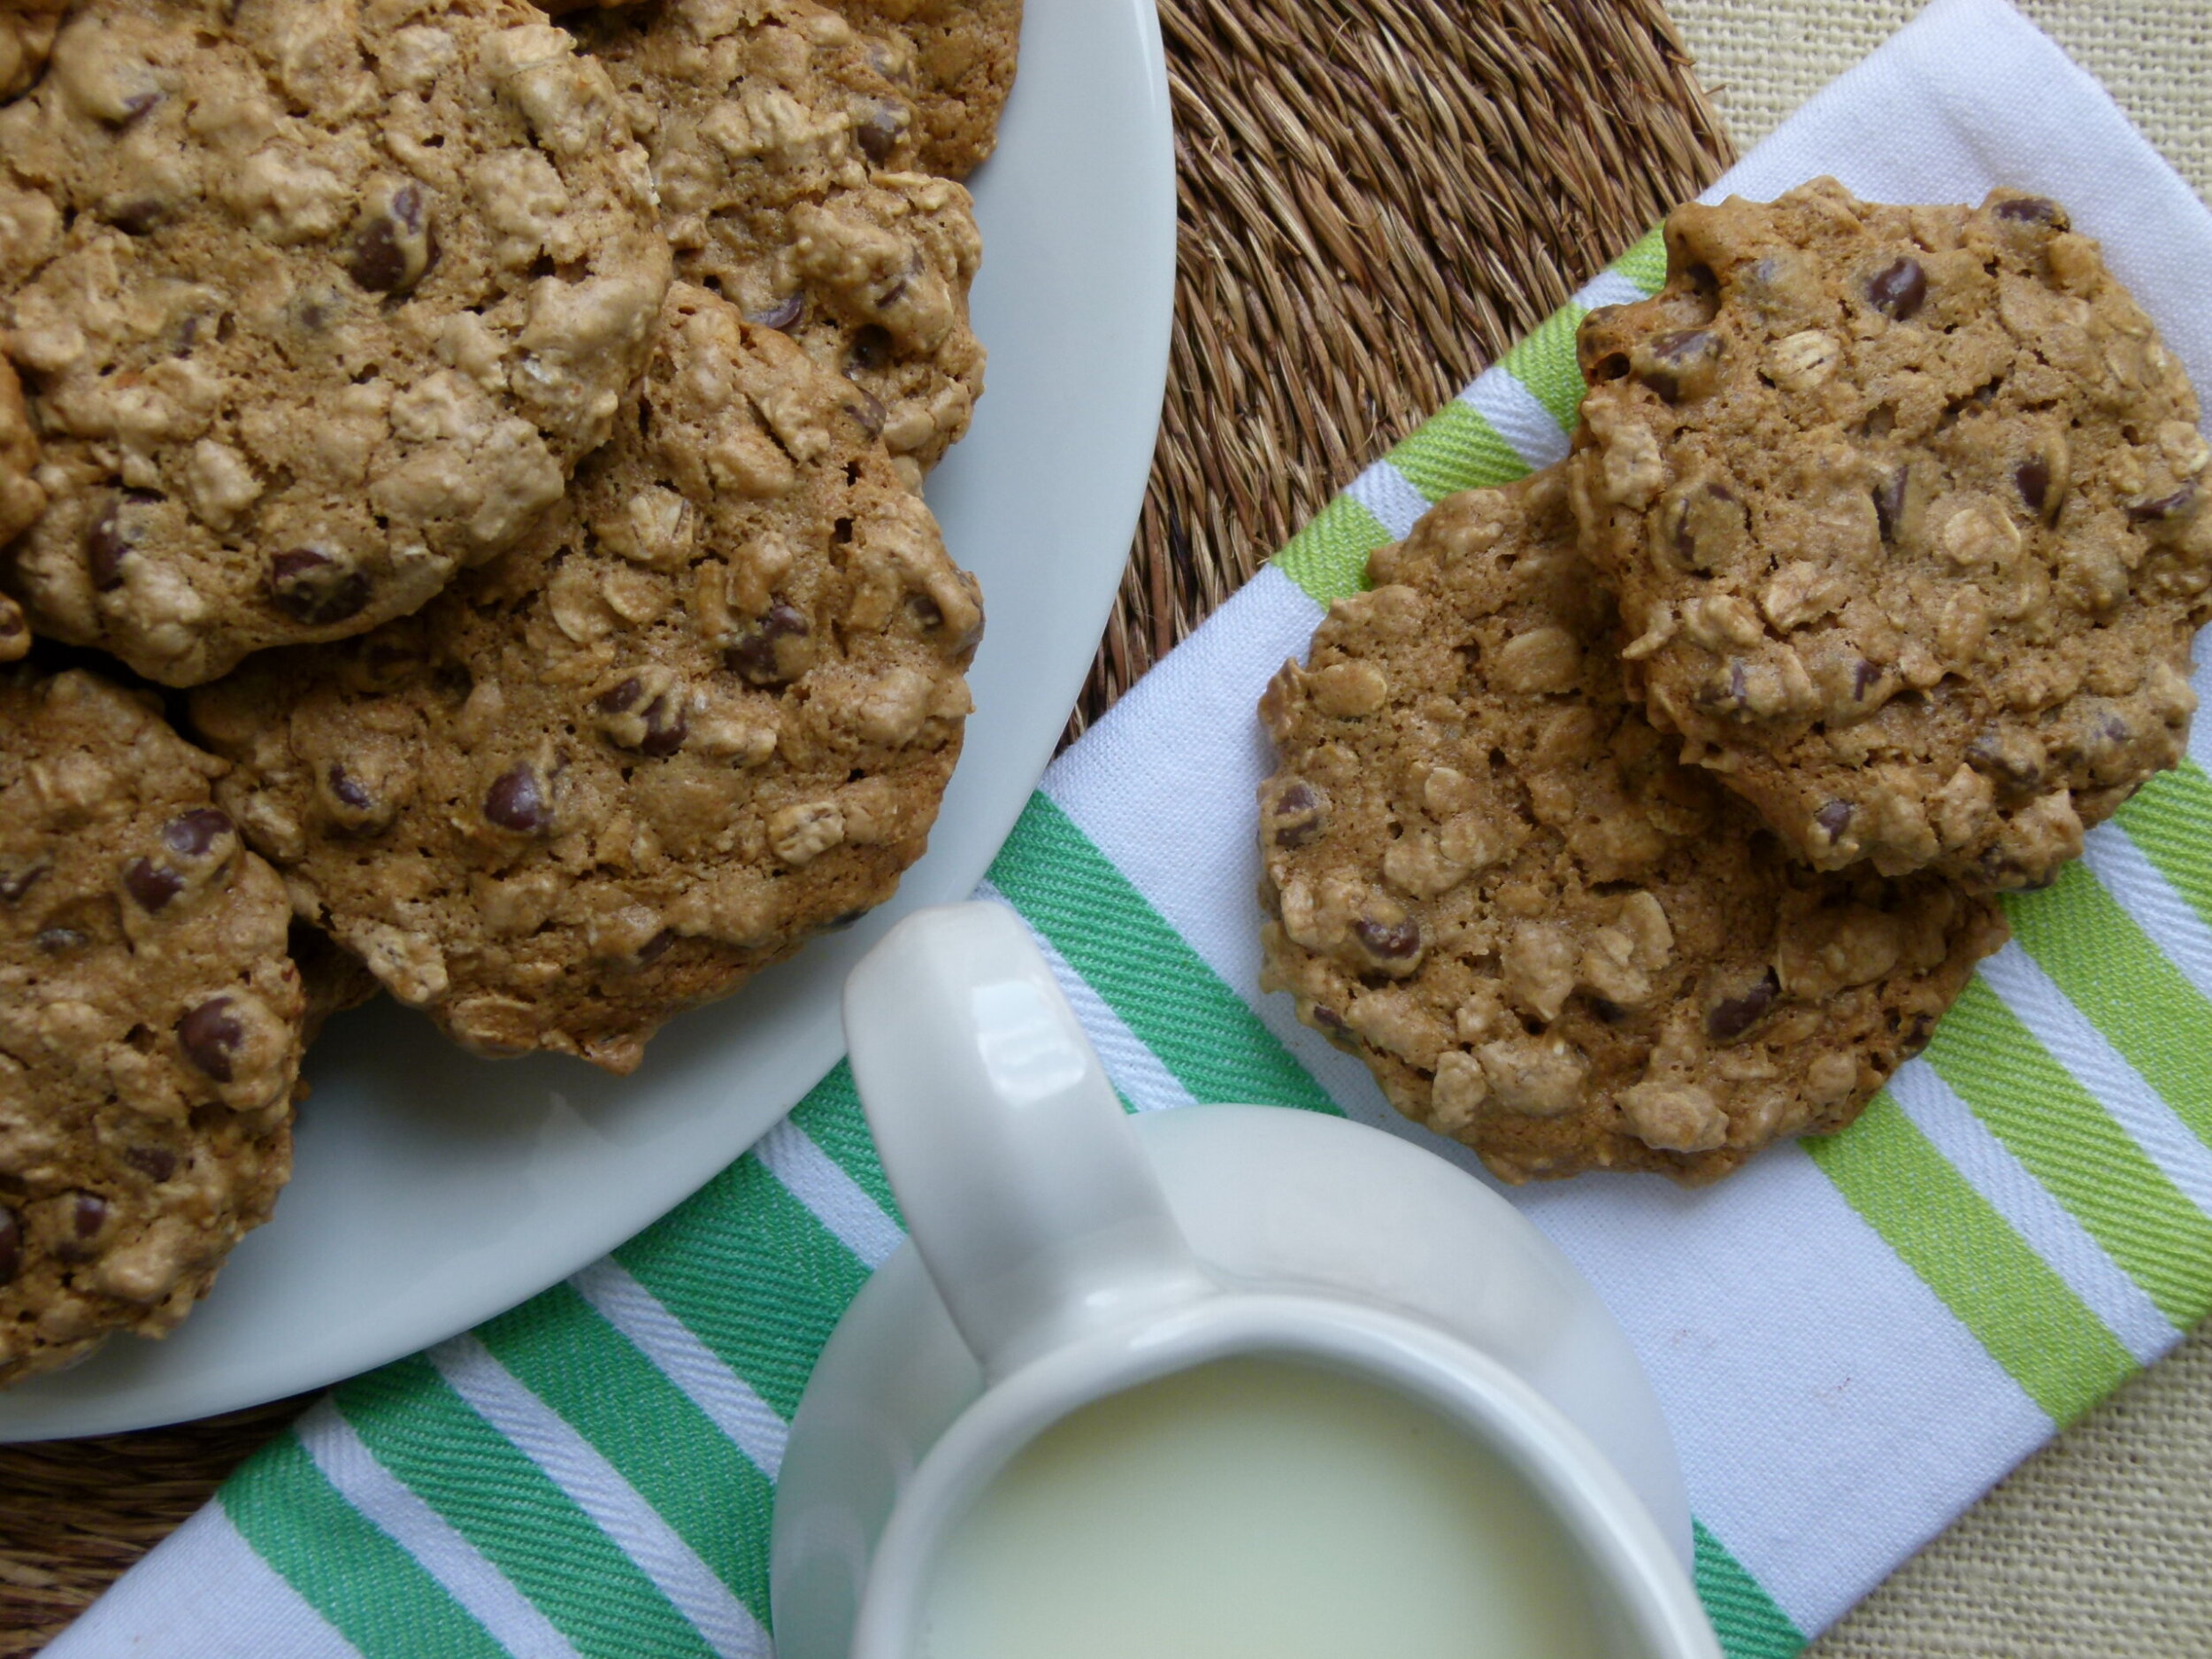
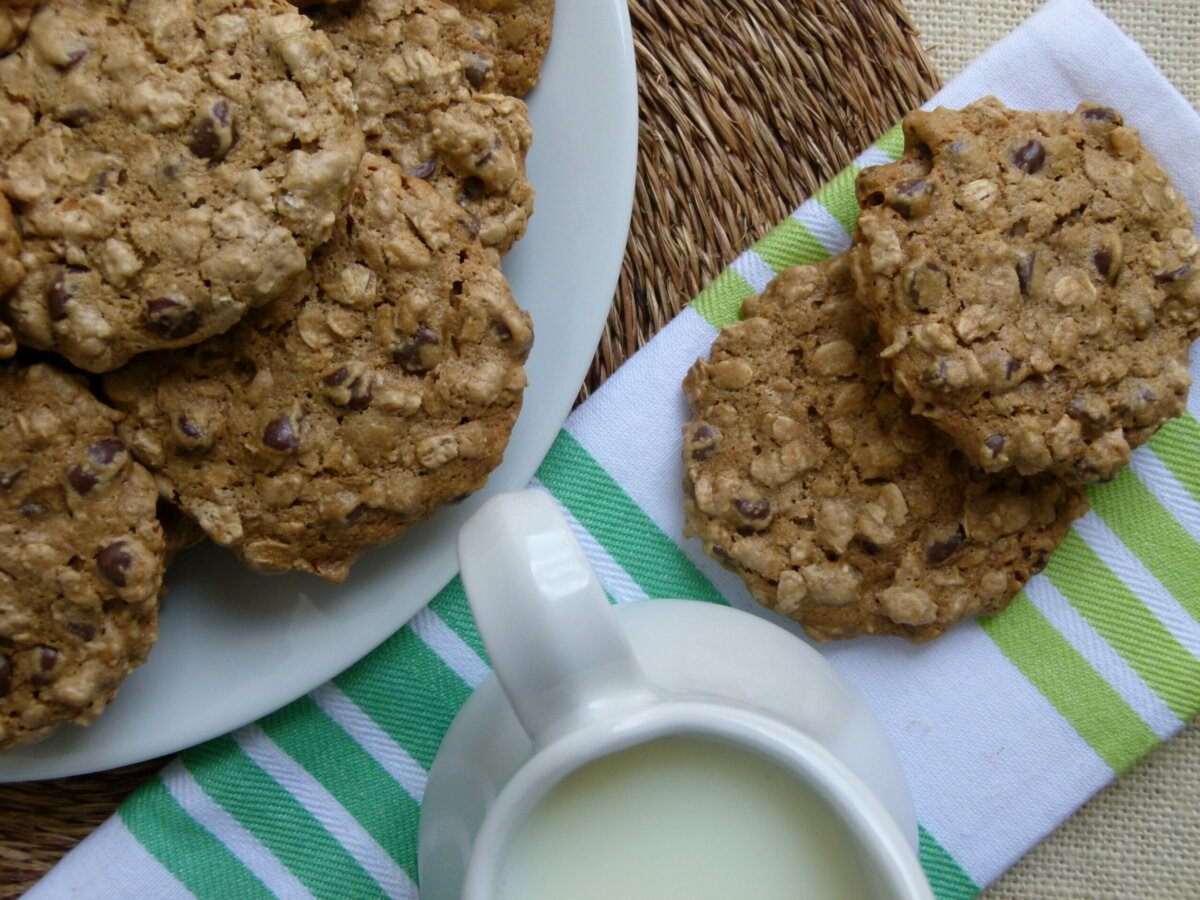
vegan oatmeal chocolate chip cookies on a plate with milk

A delicious cookie that’s both vegan and packed with wholesome ingredients? Yep! These vegan oatmeal chocolate chip cookies combine the heartiness of oats with rich, melty chocolate for the perfect guilt-free treat. Whether you’re vegan or just love a good cookie, this recipe become a favorite in no time!

vegan oatmeal chocolate chip cookies on a plate with milk

Why You'll Love This Vegan Oatmeal Cookies

I love being able to share recipes that are delicious, easy, and just so happen to be good for you recipes. Take these vegan oatmeal chocolate chip cookies, for example. Using a base of walnuts, maple syrup, and a touch of coconut oil in place of butter and regular eggs, these are just darn tasty and not-so-shabby, nutritionally speaking.


Like many cookie recipes, you can make the dough several days in advance and keep it covered in the refrigerator. Take it out when you’re ready to bake and scoop it onto your cookie sheets. 


They are full of fiber and contain no refined sugar. No animal products either, if that’s important to you. You can even make them gluten-free by using gluten-free oats. Serve them with a glass of your favorite non-dairy milk and enjoy every last bite!

Ingredient Notes

These really are the best vegan oatmeal chocolate chip cookies. With simple ingredients and 15 minutes of baking time, these vegan cookies have the perfect texture and are full of ooey gooey goodness. 

  • oat flour: You can easily make your own oat flour. See step 2 in the recipe card.
  • baking soda
  • fine grain sea salt
  • ground cinnamon
  • raw walnuts or walnut meal: You can also use raw cashews/cashew meal or raw pecans/pecan meal. 
  • melted coconut oil or olive oil or avocado oil
  • 100% pure maple syrup
  • vanilla extract
  • rolled oats: To make this recipe gluten-free, make sure to use gluten-free rolled oats. For best results, use old-fashioned rolled oats, though quick oats will work in a pinch. 
  • vegan chocolate chips


See the recipe card below for exact ingredient amounts.

Step-by-Step Instructions

Step 1: Preheat oven to 350 degrees. Line 2 baking sheets with parchment paper.


Step 2: *If you need to make oat flour, place 1 ¾ cups rolled oats in a food processor and process until powdery.


Step 3: Place the dry ingredients: oat flour, baking soda, salt, and cinnamon in a large mixing bowl and whisk together.

recipe ingredients in a food processor

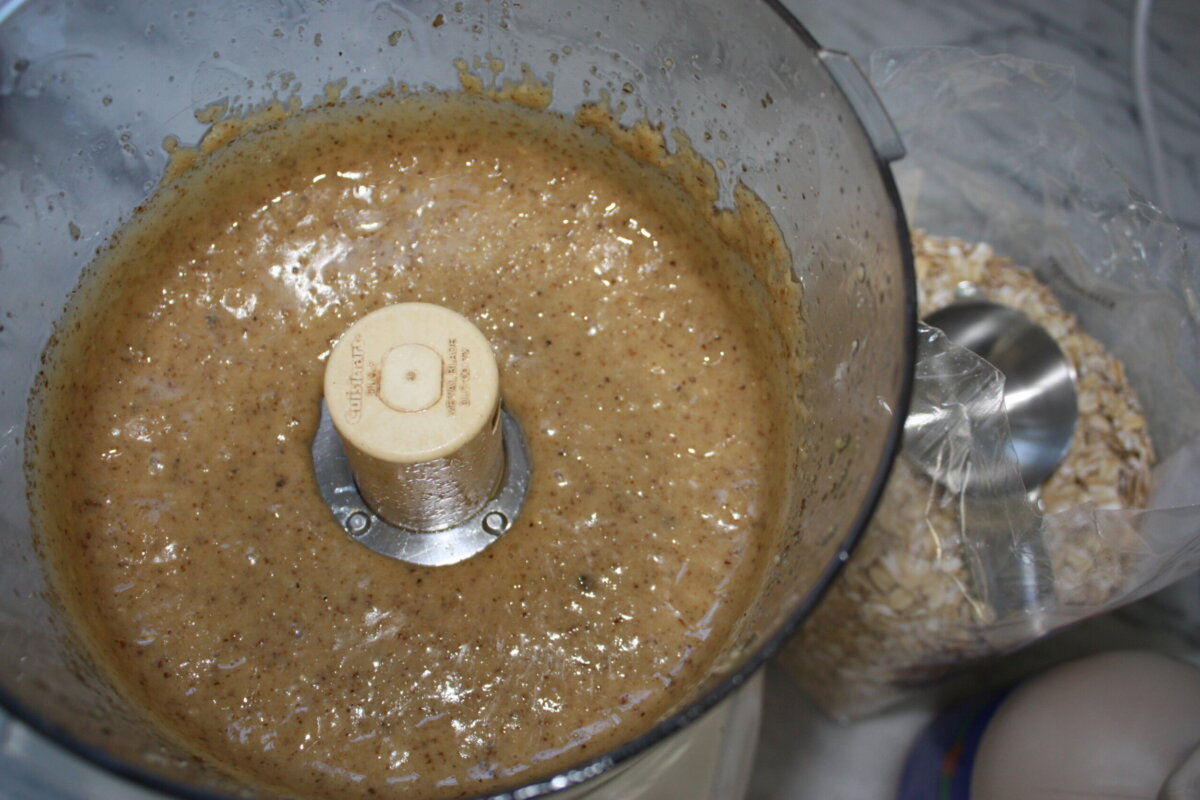
Step 4: Place walnuts in a food processor and blend into a fine meal. Add oil, maple syrup, and vanilla and process until the mixture has the consistency of natural nut butter (this serves as our egg replacer!)


cookie dough in a mixing bowl

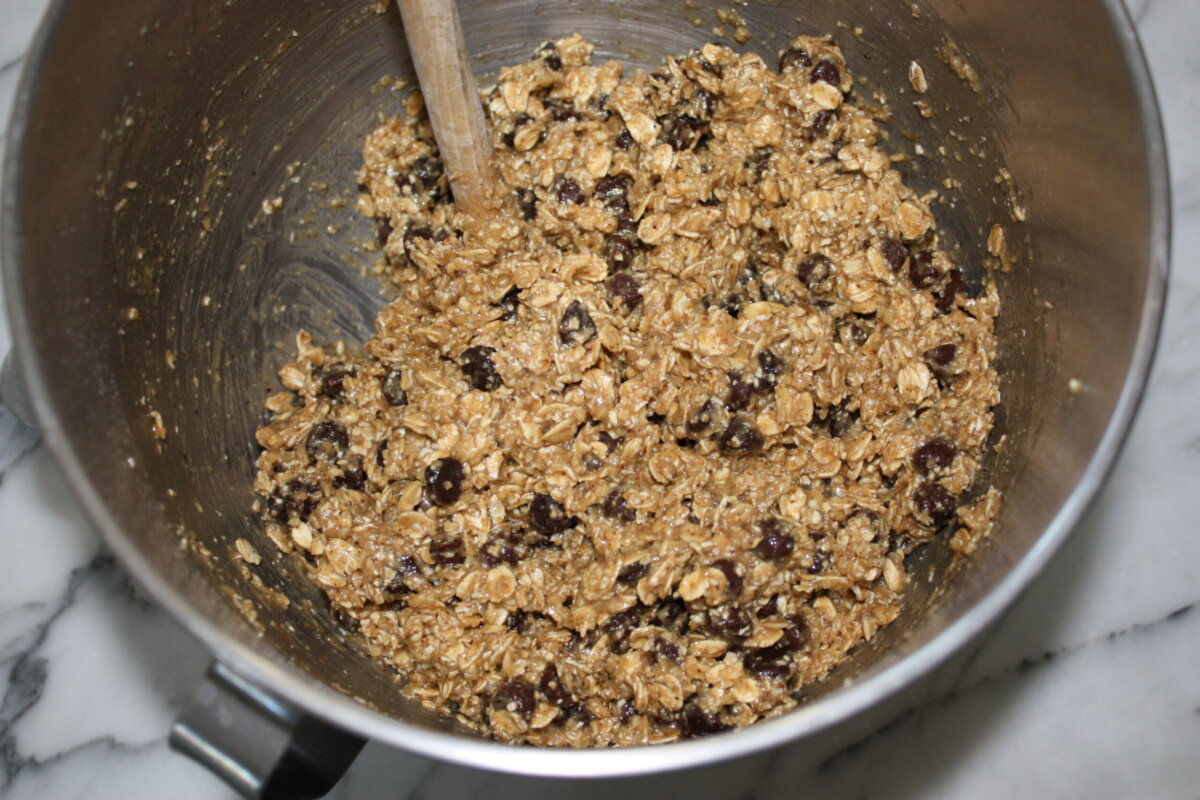
Step 5: Stir walnut mixture into flour mixture. Fold in 2 cups of rolled oats and chocolate chips.


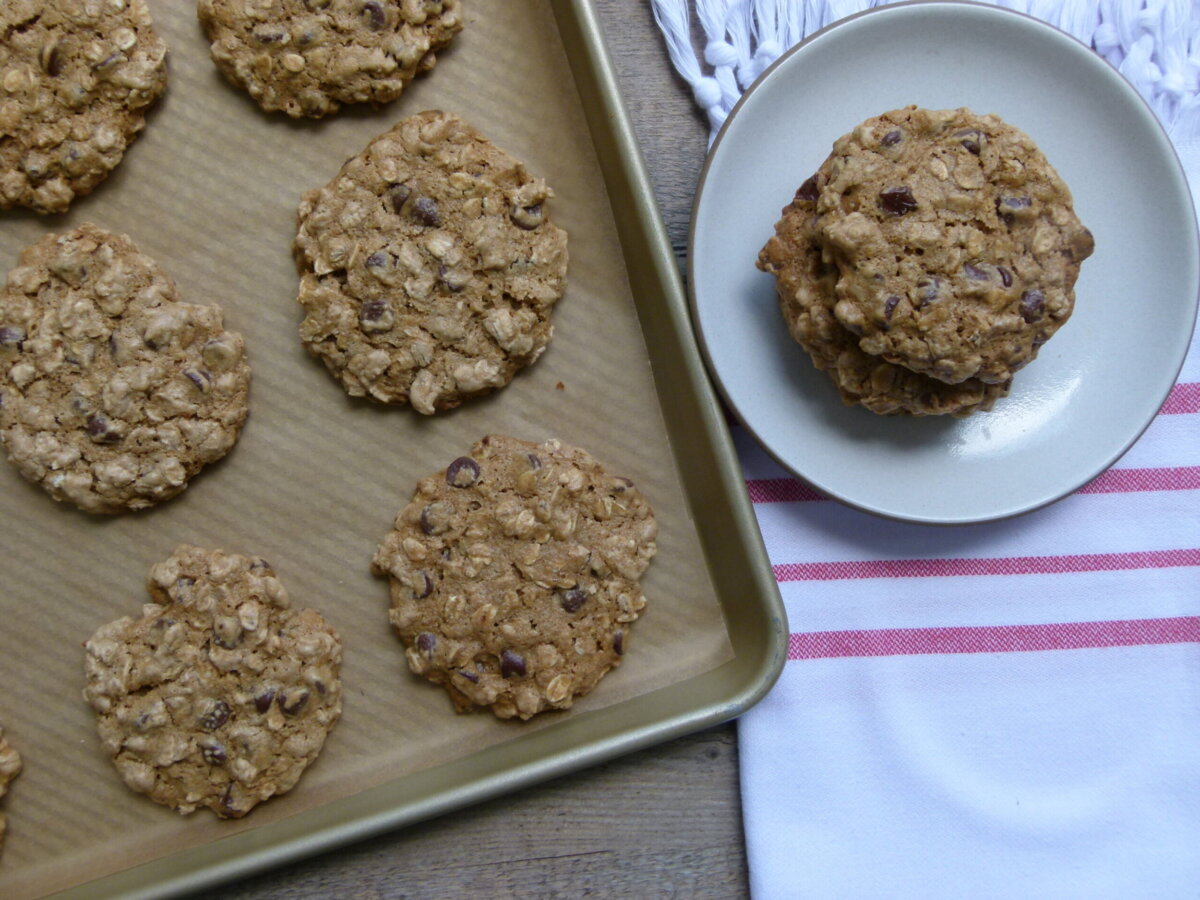
Step 6: Use a 1 ¾ -inch ice cream scooper (or cookie scoop) to form dough into balls, and place the cookie dough balls on the parchment lined baking sheet. You can fit 12 on a sheet. Flatten cookies slightly with a damp hand. Bake for 13-15 minutes or until cookies begin to turn golden brown and the tops look dry.


Step 7: Cool for a few minutes and then transfer to a wire rack to cool completely.

vegan oatmeal chocolate chip cookies on a baking sheet

Recipe Tips & Substitutions

  • Mix-ins: Feel free to add other mix-ins such as shredded coconut, chopped nuts, or additional chocolate chunks or chips. 
  • Oil: I prefer oil in this recipe, but you can use vegan butter if that’s what you have on hand.
  • Make your own Oat Flour: If you need to make oat flour, place 1 ¾ cups of rolled oats in a food processor and process until powdery.

Storage Tips

Store baked leftover cookies in an airtight container for up to a week at room temperature. For longer storage, let the cookies cool completely on the cooling rack. Then, store the cooled and baked cookies in a freezer-safe container or freezer bag for up to 3 months. 


If you have leftover dough, store it in the refrigerator, covered, for up to 3-4 days. 


To freeze the cookies unbaked: Arrange them in a single layer on the baking sheet and place the pan in the freezer. Once the cookies are frozen solid, transfer them to an airtight container and keep them frozen until you’re ready to bake. Then just place them on a prepared baking sheet directly from the freezer and add another minute or two to the baking time.

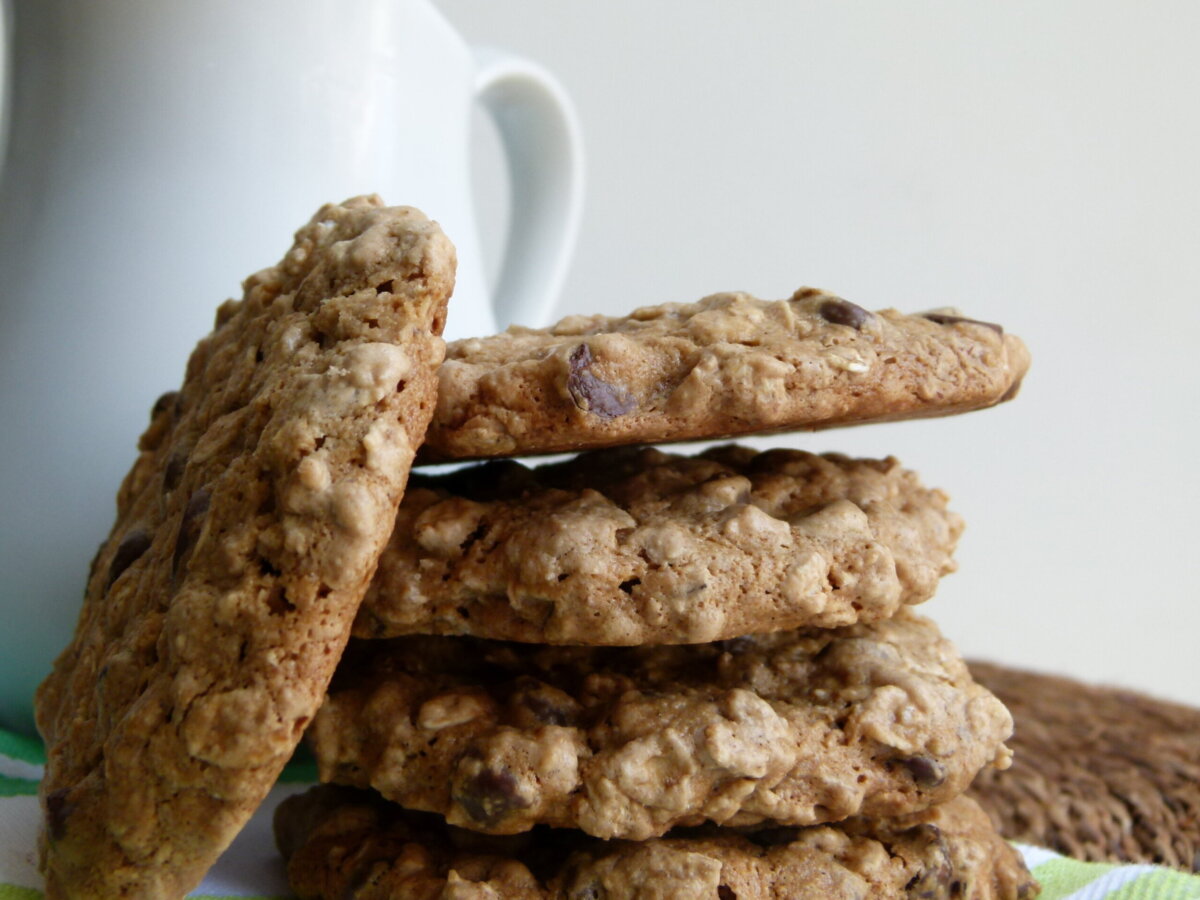
a stack of cookies next to a white mug

More Vegan Cookie Recipes

If you give this applesauce coffee cake recipe a try, snap a pic and tag @pamelasalzman so I can see your beautiful creations. I also really appreciate readers taking the time to leave a star rating and review! I have started a weekly Monday newsletter with tips, musings, new recipes not published here, fun new finds, and more. Subscribe for free here.

For more delicious recipes and to learn how to be a better cook, check out my monthly online cooking classes. I have been teaching people for 15 years how to cook healthy food that their families love!  Join me!

Vegan Oatmeal Chocolate Chip Cookies

Pamela
A delicious cookie that's both vegan and packed with wholesome ingredients? Yep! These vegan oatmeal chocolate chip cookies combine the heartiness of oats with rich, melty chocolate for the perfect guilt-free treat. Whether you're vegan or just love a good cookie, this recipe become a favorite in no time!
4.82 from 16 votes
Prep Time 10 minutes
Cook Time 15 minutes
Total Time 25 minutes

Ingredients
  

  • 1 ½ cups oat flour
  • 1 teaspoon baking soda
  • 1 teaspoon fine grain sea salt
  • ¼ teaspoon ground cinnamon
  • 2 cups raw walnuts or walnut meal or cashews/cashew meal or pecan/pecan meal
  • 3 Tablespoons melted coconut oil or olive oil or avocado oil
  • 1 cup 100% pure maple syrup
  • 2 teaspoons vanilla extract
  • 2 cups rolled oats
  • 12 ounces or 1 ½ cups chocolate chips

Instructions
 

  • Preheat oven to 350 degrees. Line 2 baking sheets with parchment paper.
  • *If you need to make oat flour, place 1 ¾ cups rolled oats in a food processor and process until powdery.
  • Place oat flour, baking soda, salt and cinnamon in a mixing bowl and whisk together.
  • Place walnuts in a food processor and blend into a fine meal. Add oil, maple syrup and vanilla and process until mixture has the consistency of natural nut butter.
  • Stir walnut mixture into flour mixture. Fold in 2 cups rolled oats and chocolate chips.
  • Use a 1 ¾ -inch ice cream scooper to form dough into balls, and place on baking sheets. You can fit 12 on a sheet. Flatten cookies slightly with a damp hand. Bake 13-15 minutes or until cookies begin to brown and tops look dry.
  • Cool a few minutes and then transfer to wire rack to cool completely.

Notes

  • Store baked leftover cookies in an airtight container for up to a week at room temperature. For longer storage, let the cookies cool completely on the cooling rack. Then, store the cooled and baked cookies in a freezer-safe container or freezer bag for up to 3 months.
  • If you have leftover dough, store it in the refrigerator, covered, for up to 3-4 days.
  • To freeze the cookies unbaked: Arrange them in a single layer on the baking sheet and place the pan in the freezer. Once the cookies are frozen solid, transfer them to an airtight container and keep them frozen until you're ready to bake. Then just place them on a prepared baking sheet directly from the freezer and add another minute or two to the baking time.
Tried this recipe?Let us know how it was!

This post may contain affiliate links

Guacamole and baked tortilla chips recipe

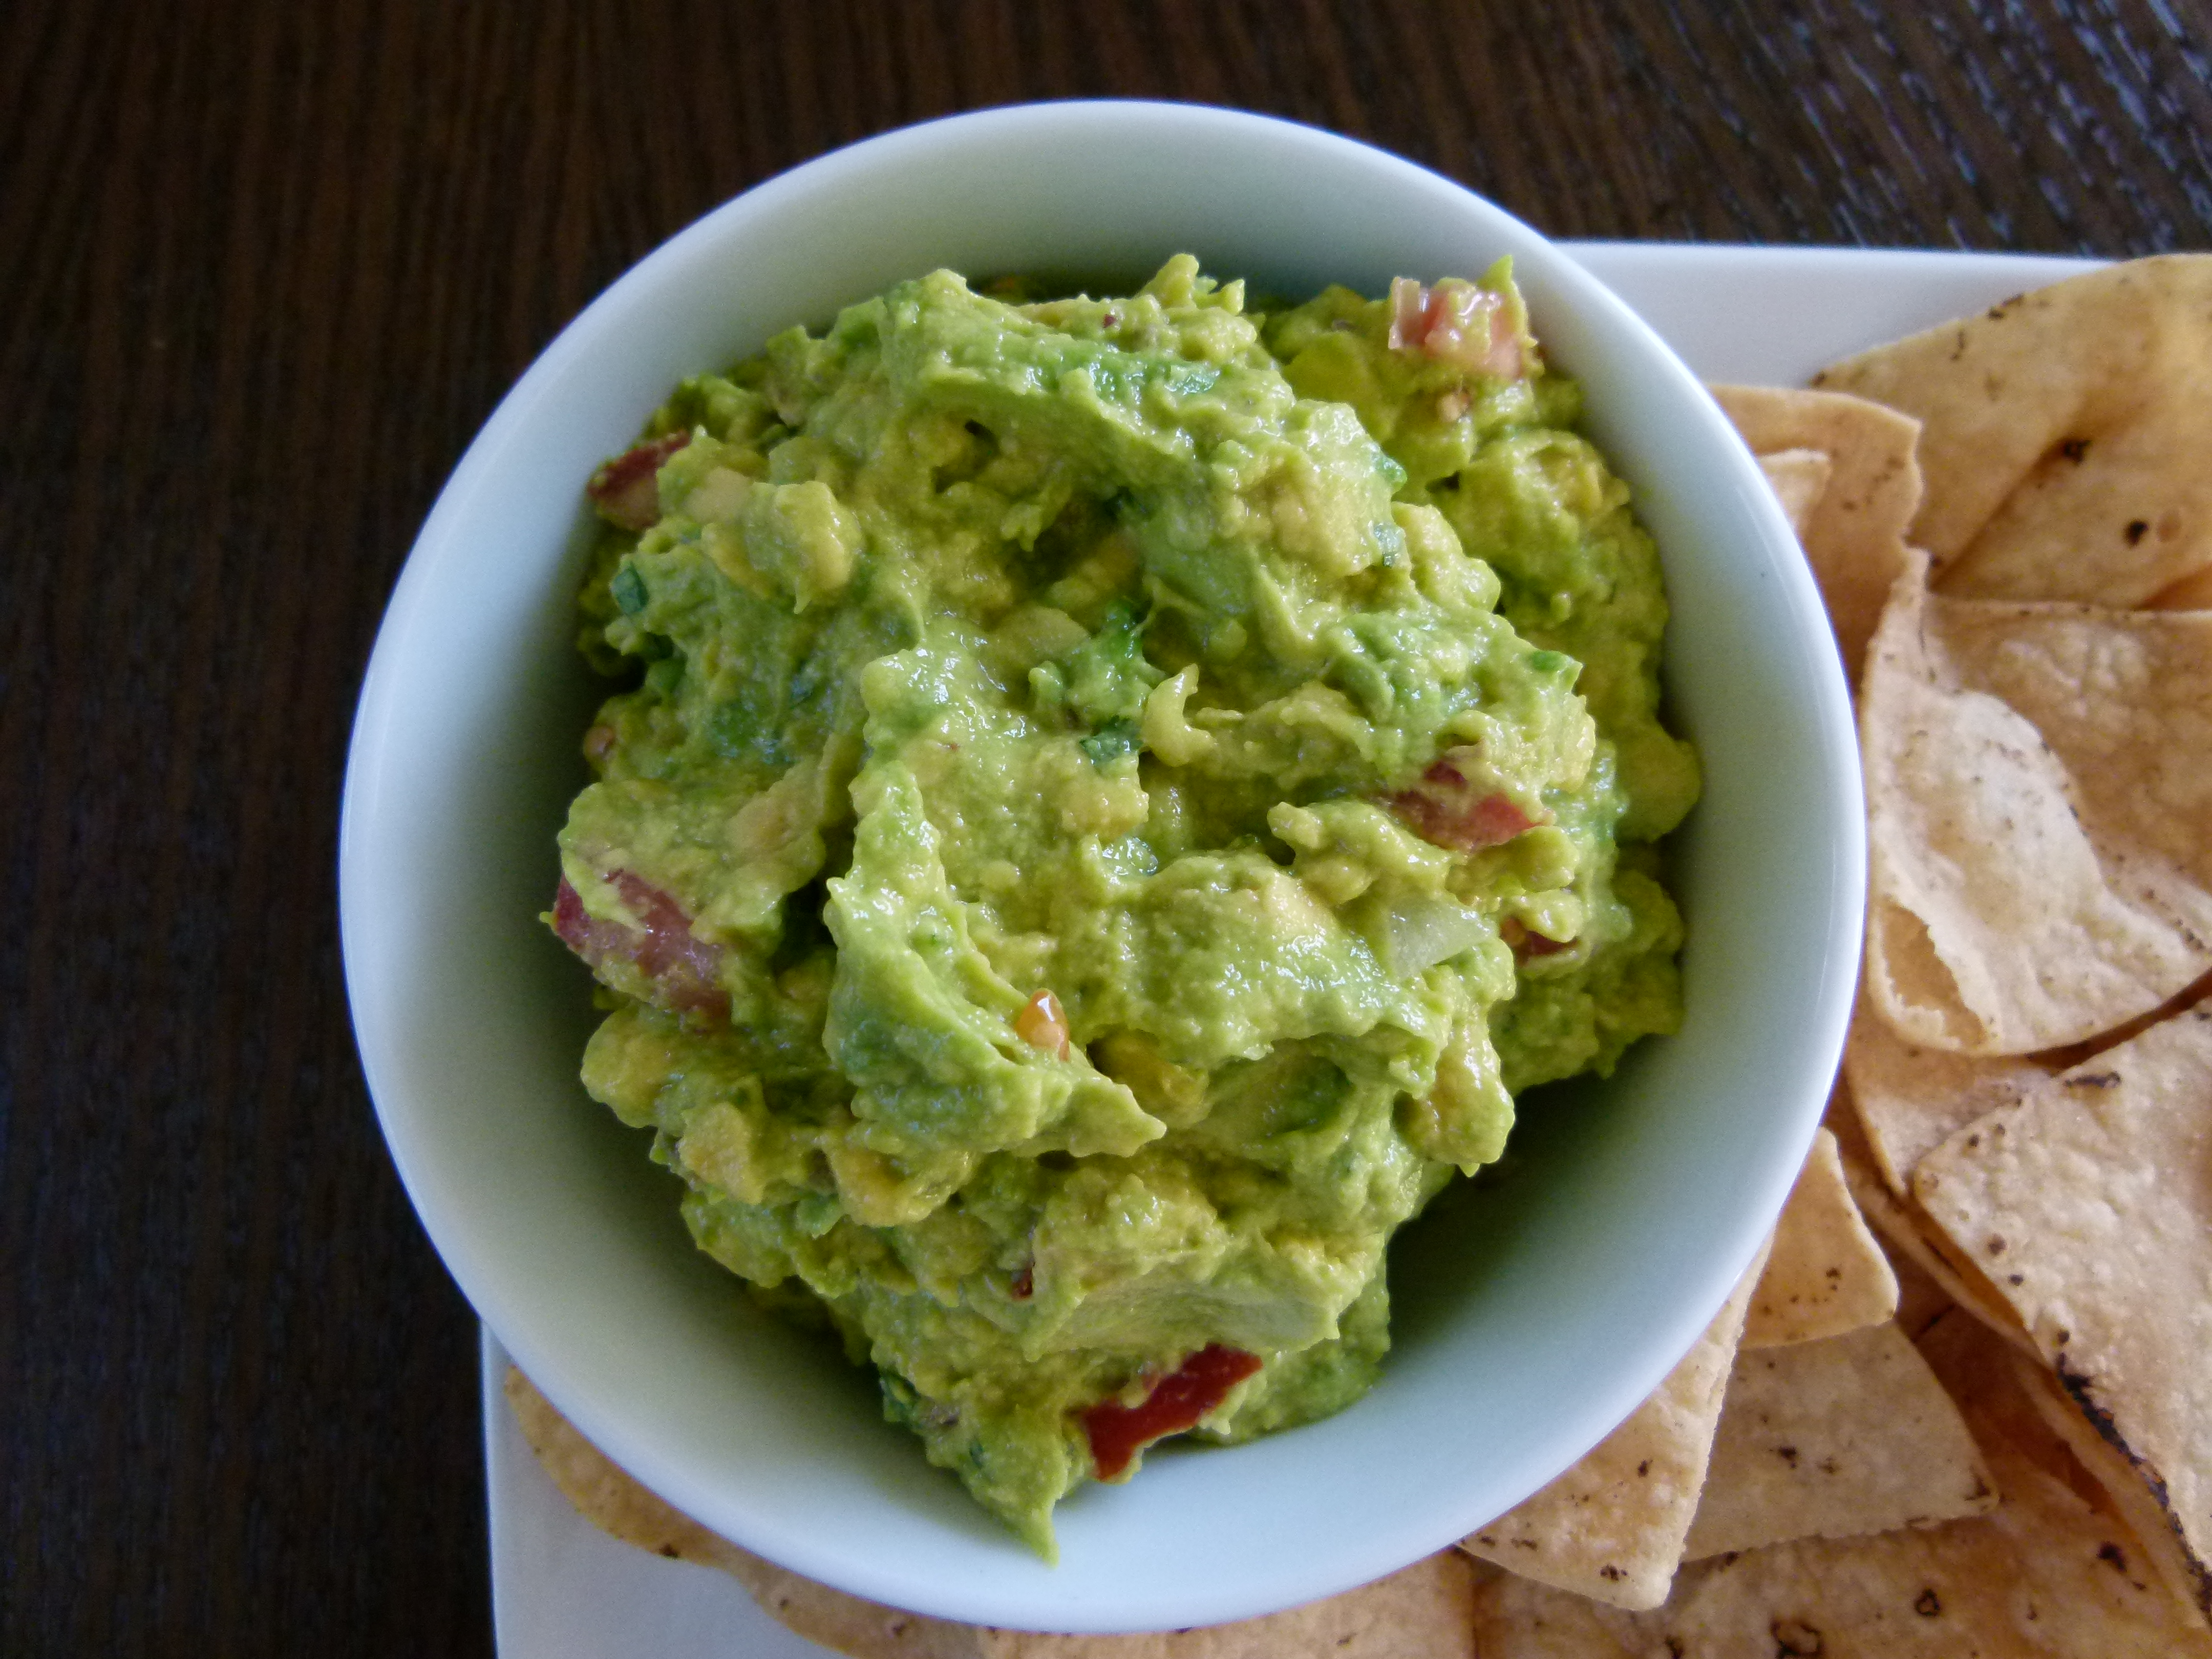
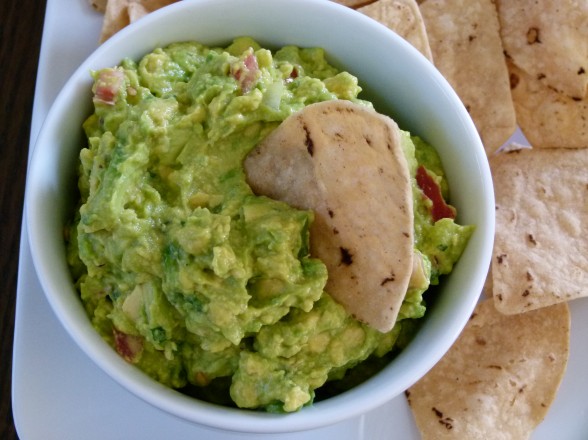
perfect guacamole and baked tortilla chips

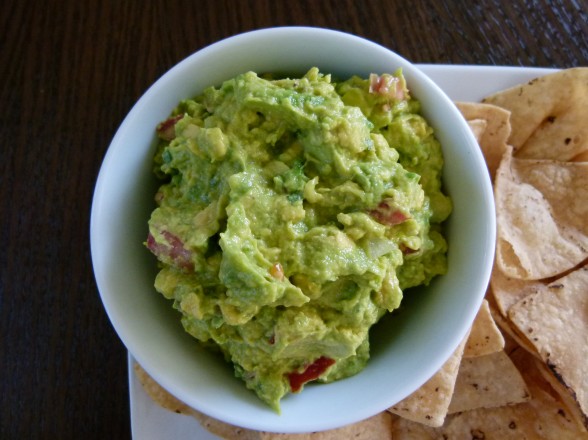
Do not be under the misconception that because I teach people how to cook healthful food that I myself eat only whole foods all day every day.  Didn’t you read about my 90/10 plan?  90% of the time I try my best to eat super high-quality food — as whole and unprocessed as possible.  The other 10% of the time (which basically leaves Friday and Saturday nights), I eat whatever I want and I don’t feel bad about it.  Want to know what my guilty pleasure is?  Nope, not chocolate or candy, not booze or burgers.  It’s guacamole and chips.  I could eat bowls full of the stuff at any time.

When I moved to California from New York almost 20 (gasp!) years ago, I was introduced to the avocado and guacamole.  I couldn’t believe such a wonderful thing existed and I had just had my first taste (like when my husband took my son at 3 years old for his first Slurpee and the boy asked “why I not have this before?”).  Creamy, rich guacamole on a crispy, salty chip was my idea of delicious and addictive, especially if the chip was folded over.  I was also finding lots of other ways to enjoy avocados — chopped into salads, as a garnish on chili, and my favorite, thin wedges on whole grain toast with or without a slice of lox.  Divine, I tell you.

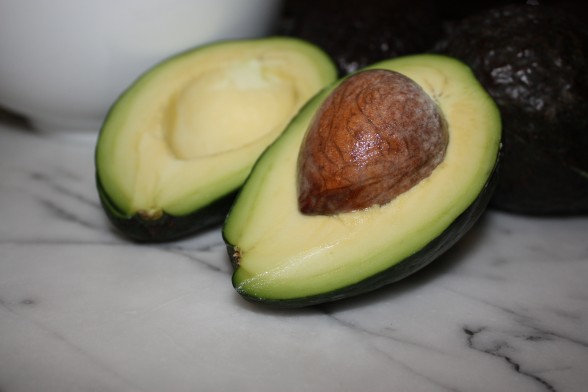
You can imagine the cause for celebration when I discovered that avocados are actually good for you!  Really good for you!  Who knew that something so creamy and buttery could have loads of fiber, Beta-carotene and minerals, such as potassium, magnesium and iron?  While it is absolutely true that avocados are very high in fat, it’s the kind of high quality fat that you want to eat.  It is the freshest kind of fat, one that hasn’t been exposed to air or processing and its profile is mostly monounsaturated fat, like the kind found in olive oil.  Hooray!  Avocados are also loaded with Vitamin E, a very powerful anti-oxidant.

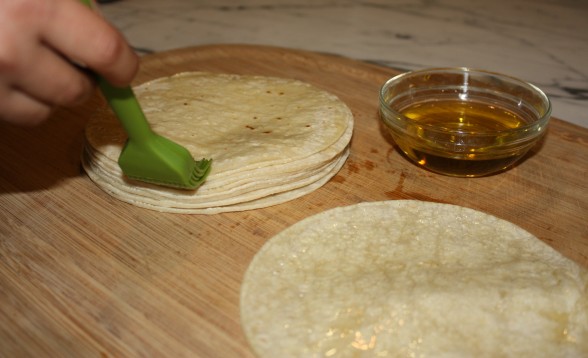
So let’s chow down on the guacamole, right?  Well, you’ve heard it before — it’s not the guacamole that’s the problem, it’s what you eat with it that’s a whole lot of trouble.  I am referring to chips, especially the kind that are made from genetically-modified corn and fried in some low-quality corn or soybean oil.  Do not fret.  There is hope!  You can buy organic soft corn tortillas and make your own baked chips without a big commotion.  I am whipping up a few batches right now in preparation for tomorrow’s holiday.  What, you don’t celebrate the Super Bowl??  While you’re at it, check out a great vegetable chili recipe and you’ll be all set for the big day.  Go Steelers!

perfect guacamole and baked tortilla chips

Guacamole and Baked Tortilla Chips

Pamela

Ingredients
  

  • guacamole:
  • 4 ripe avocados peeled, pitted and placed in a medium bowl
  • juice from ½ a lime or lemon I prefer lime, but many swear by lemon
  • 2 Tablespoons minced red or white onion or shallot
  • ½ tomato diced (leave it out if it's not in season)
  • ¼ cup chopped cilantro
  • 1/2 jalapeno pepper seeded and minced or hot sauce to taste
  • Sea salt to taste don't skimp, guacamole needs quite a bit
  • OR you can do the cheater version no guilt, of course and add a few spoonfuls of fresh salsa and salt to the mashed avocados
  • chips:
  • 2 Tablespoons unrefined cold-pressed olive oil
  • 6 6-inch organic, soft corn tortillas
  • Sea salt

Instructions
 

  • Sprinkle the avocado with the lime juice and mash together in the bowl.
  • In a separate bowl, mix the onion, tomato, cilantro and hot sauce. Stir into the avocado mixture and season to taste with salt.
  • Transfer to a serving bowl and serve or refrigerate, tightly covered for a few hours.
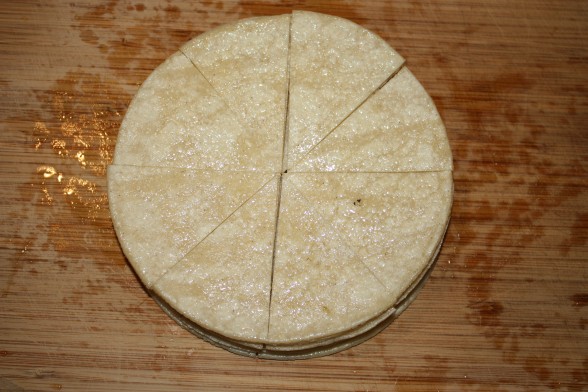
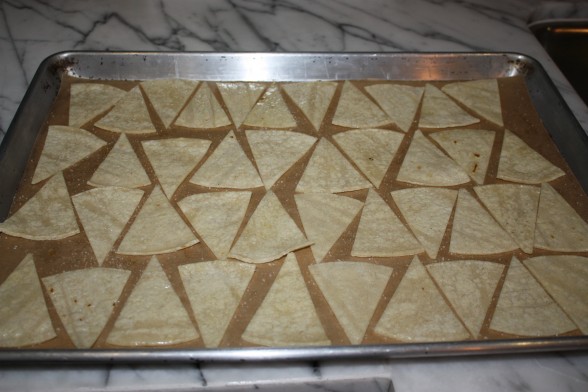
  • Preheat oven to 350 degrees. Place the tortillas on a cutting board. Brush the oil over both sides of the tortillas. Stack the tortillas and cut them in half, then cut the halves in half and one more time to make eighths. Spread the tortillas in one layer on a parchment-lined baking sheet and sprinkle with sea salt. Bake for 15-20 minutes or until crisp. Transfer to a paper towel-lined plate and cool.
Tried this recipe?Let us know how it was!