Mediterranean Fish in Parchment recipe

You see that beautiful piece of fish down there? That is my idea of a perfect dinner — simple, healthy, light, delicious, seasonal, easy-to-make. If my family didn’t thrive on an ever-changing dinner menu, I would love to eat this twice a week with a fresh salad and a glass of rosé. Perfect.
Fish in parchment is easier than it looks and one of the most healthful ways to cook fish. I have taught and posted two other fish in parchment recipes which you may have tried, one with cilantro and ginger and the second with summer herbs. Both are delicious and perfect when you want something light in the summer.

The basic idea when you’re cooking in parchment, is to use ingredients that all cook pretty quickly and at the same rate. Make sure that parchment is tightly sealed and you’ll create a little steam oven in that packet. I always make sure the fish is well-seasoned with salt and pepper and that I add a smidge of fat, either butter or olive oil for flavor, and then there are lots of possibilities.

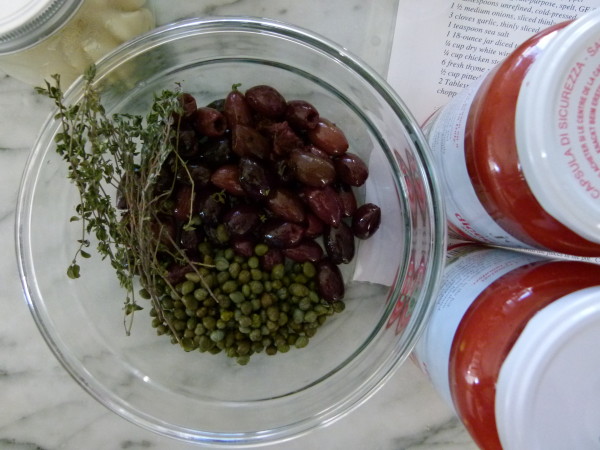
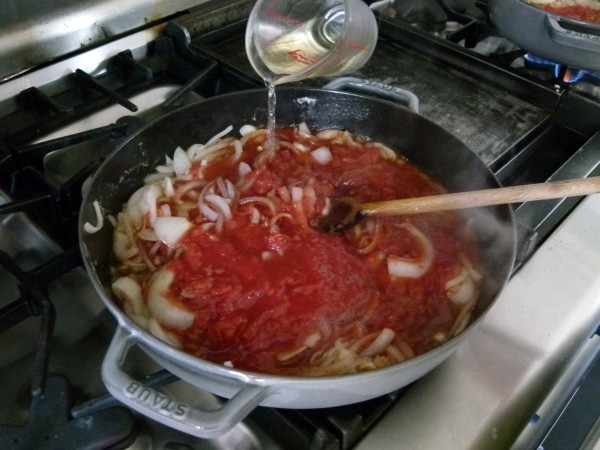
Once I see those first local tomatoes at the farmers market, I start going a little tomato-crazy. I especially love cherry tomatoes because they are always so sweet. In this recipe, you can’t beat the combination with the sautéed garlic, salty capers and olives and zingy white wine. I would eat this with a simple rice pilaf or quinoa salad or a raw zucchini salad. My family would probably love a little pasta with pesto to go with it.

I have taught this recipe in my cooking classes many, many times and sometimes I added some raw baby spinach leaves under the fish. The spinach wilts beautifully and tastes delicious with all the other ingredients. Shaved zucchini slices would also be perfect, but you could also add vegetables to the packet like blanched (not raw) green beans or slivers of roasted peppers.
Of course, if there are ingredients in the recipe you don’t care for, feel free to omit. After I finish going over a recipe in my class, I take a few minutes to talk about substitutions. Questions about how to change the recipe are the most common questions that come up — how do I make this gluten-free? My husband won’t eat anything with onion. I hate olives. Etc, etc. I give you permission to take out the olives if you want.

Summer is here, friends. Let’s get cooking!
- 1 Tablespoon unrefined, cold pressed, extra virgin olive oil
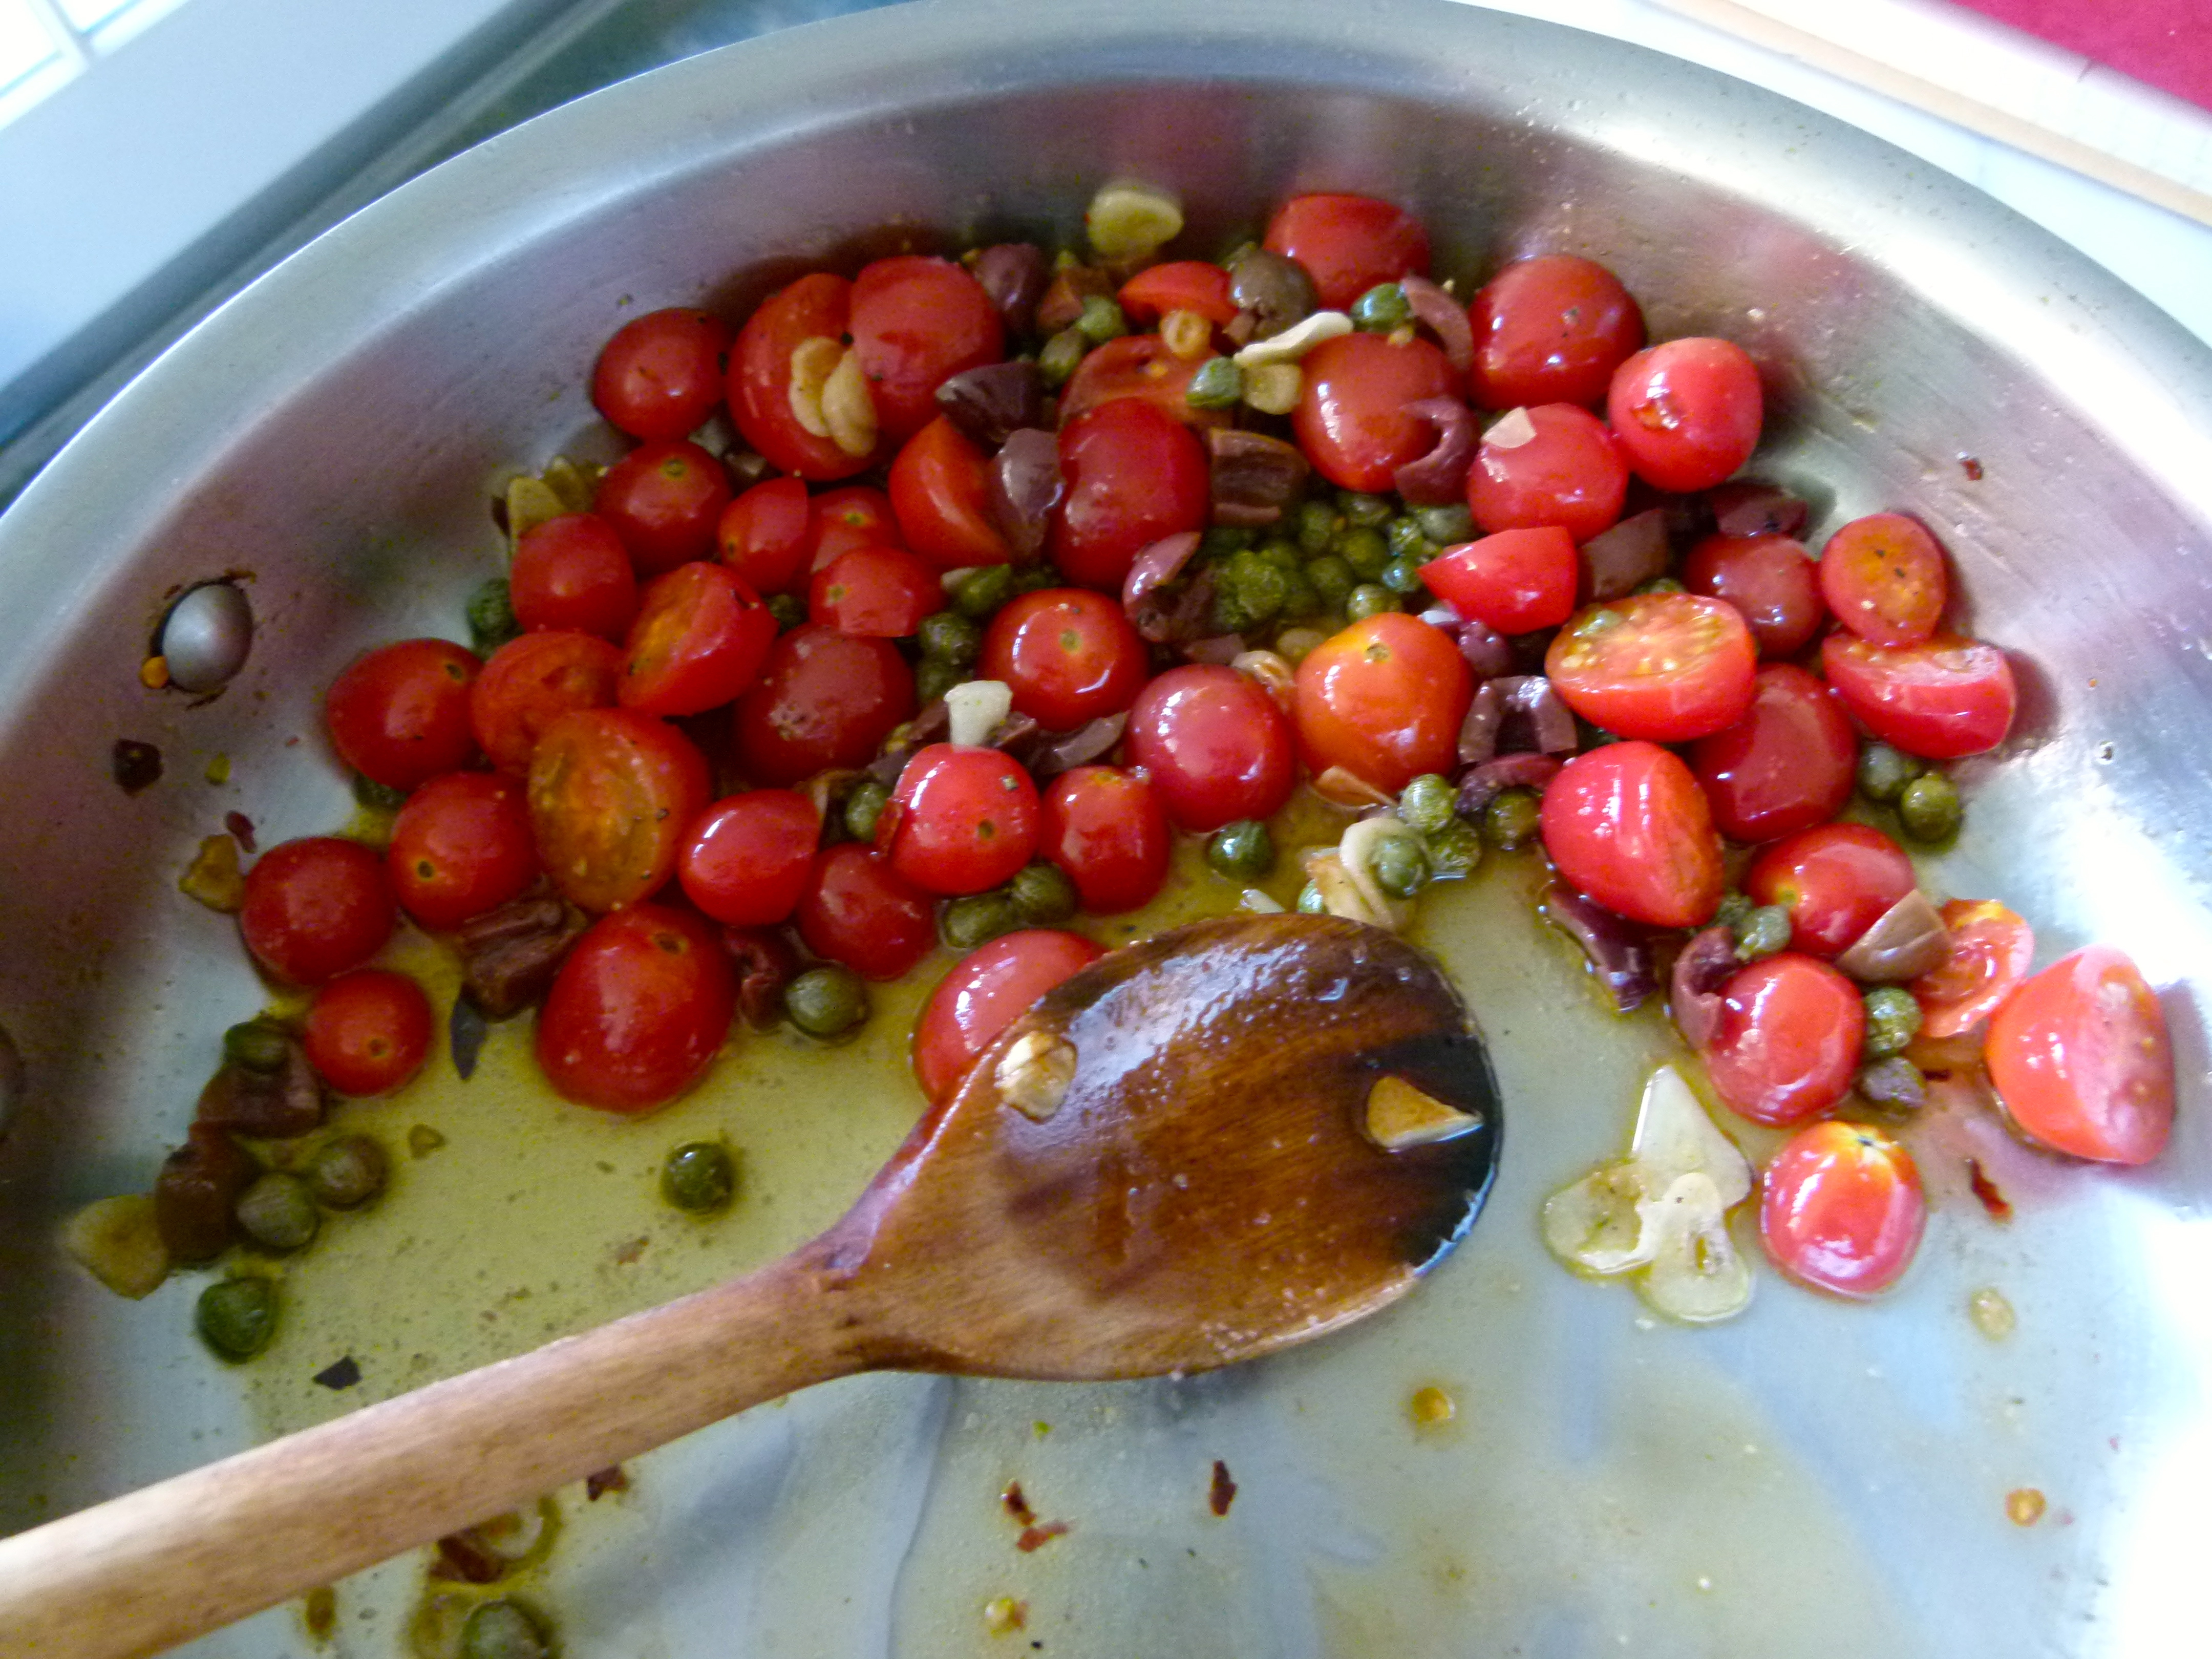
- 3 cloves garlic, thinly sliced
- ⅛ teaspoon red pepper flakes
- 1 cup grape tomatoes, halved
- 2 Tablespoons capers, drained
- a handful of mixed fresh herbs (I like to use mostly parsley with a little basil and mint mixed in), if you have them or sprigs of fresh thyme
- ½ teaspoon sea salt + extra for seasoning fish
- a few grinds of freshly ground black pepper to taste + extra for seasoning fish
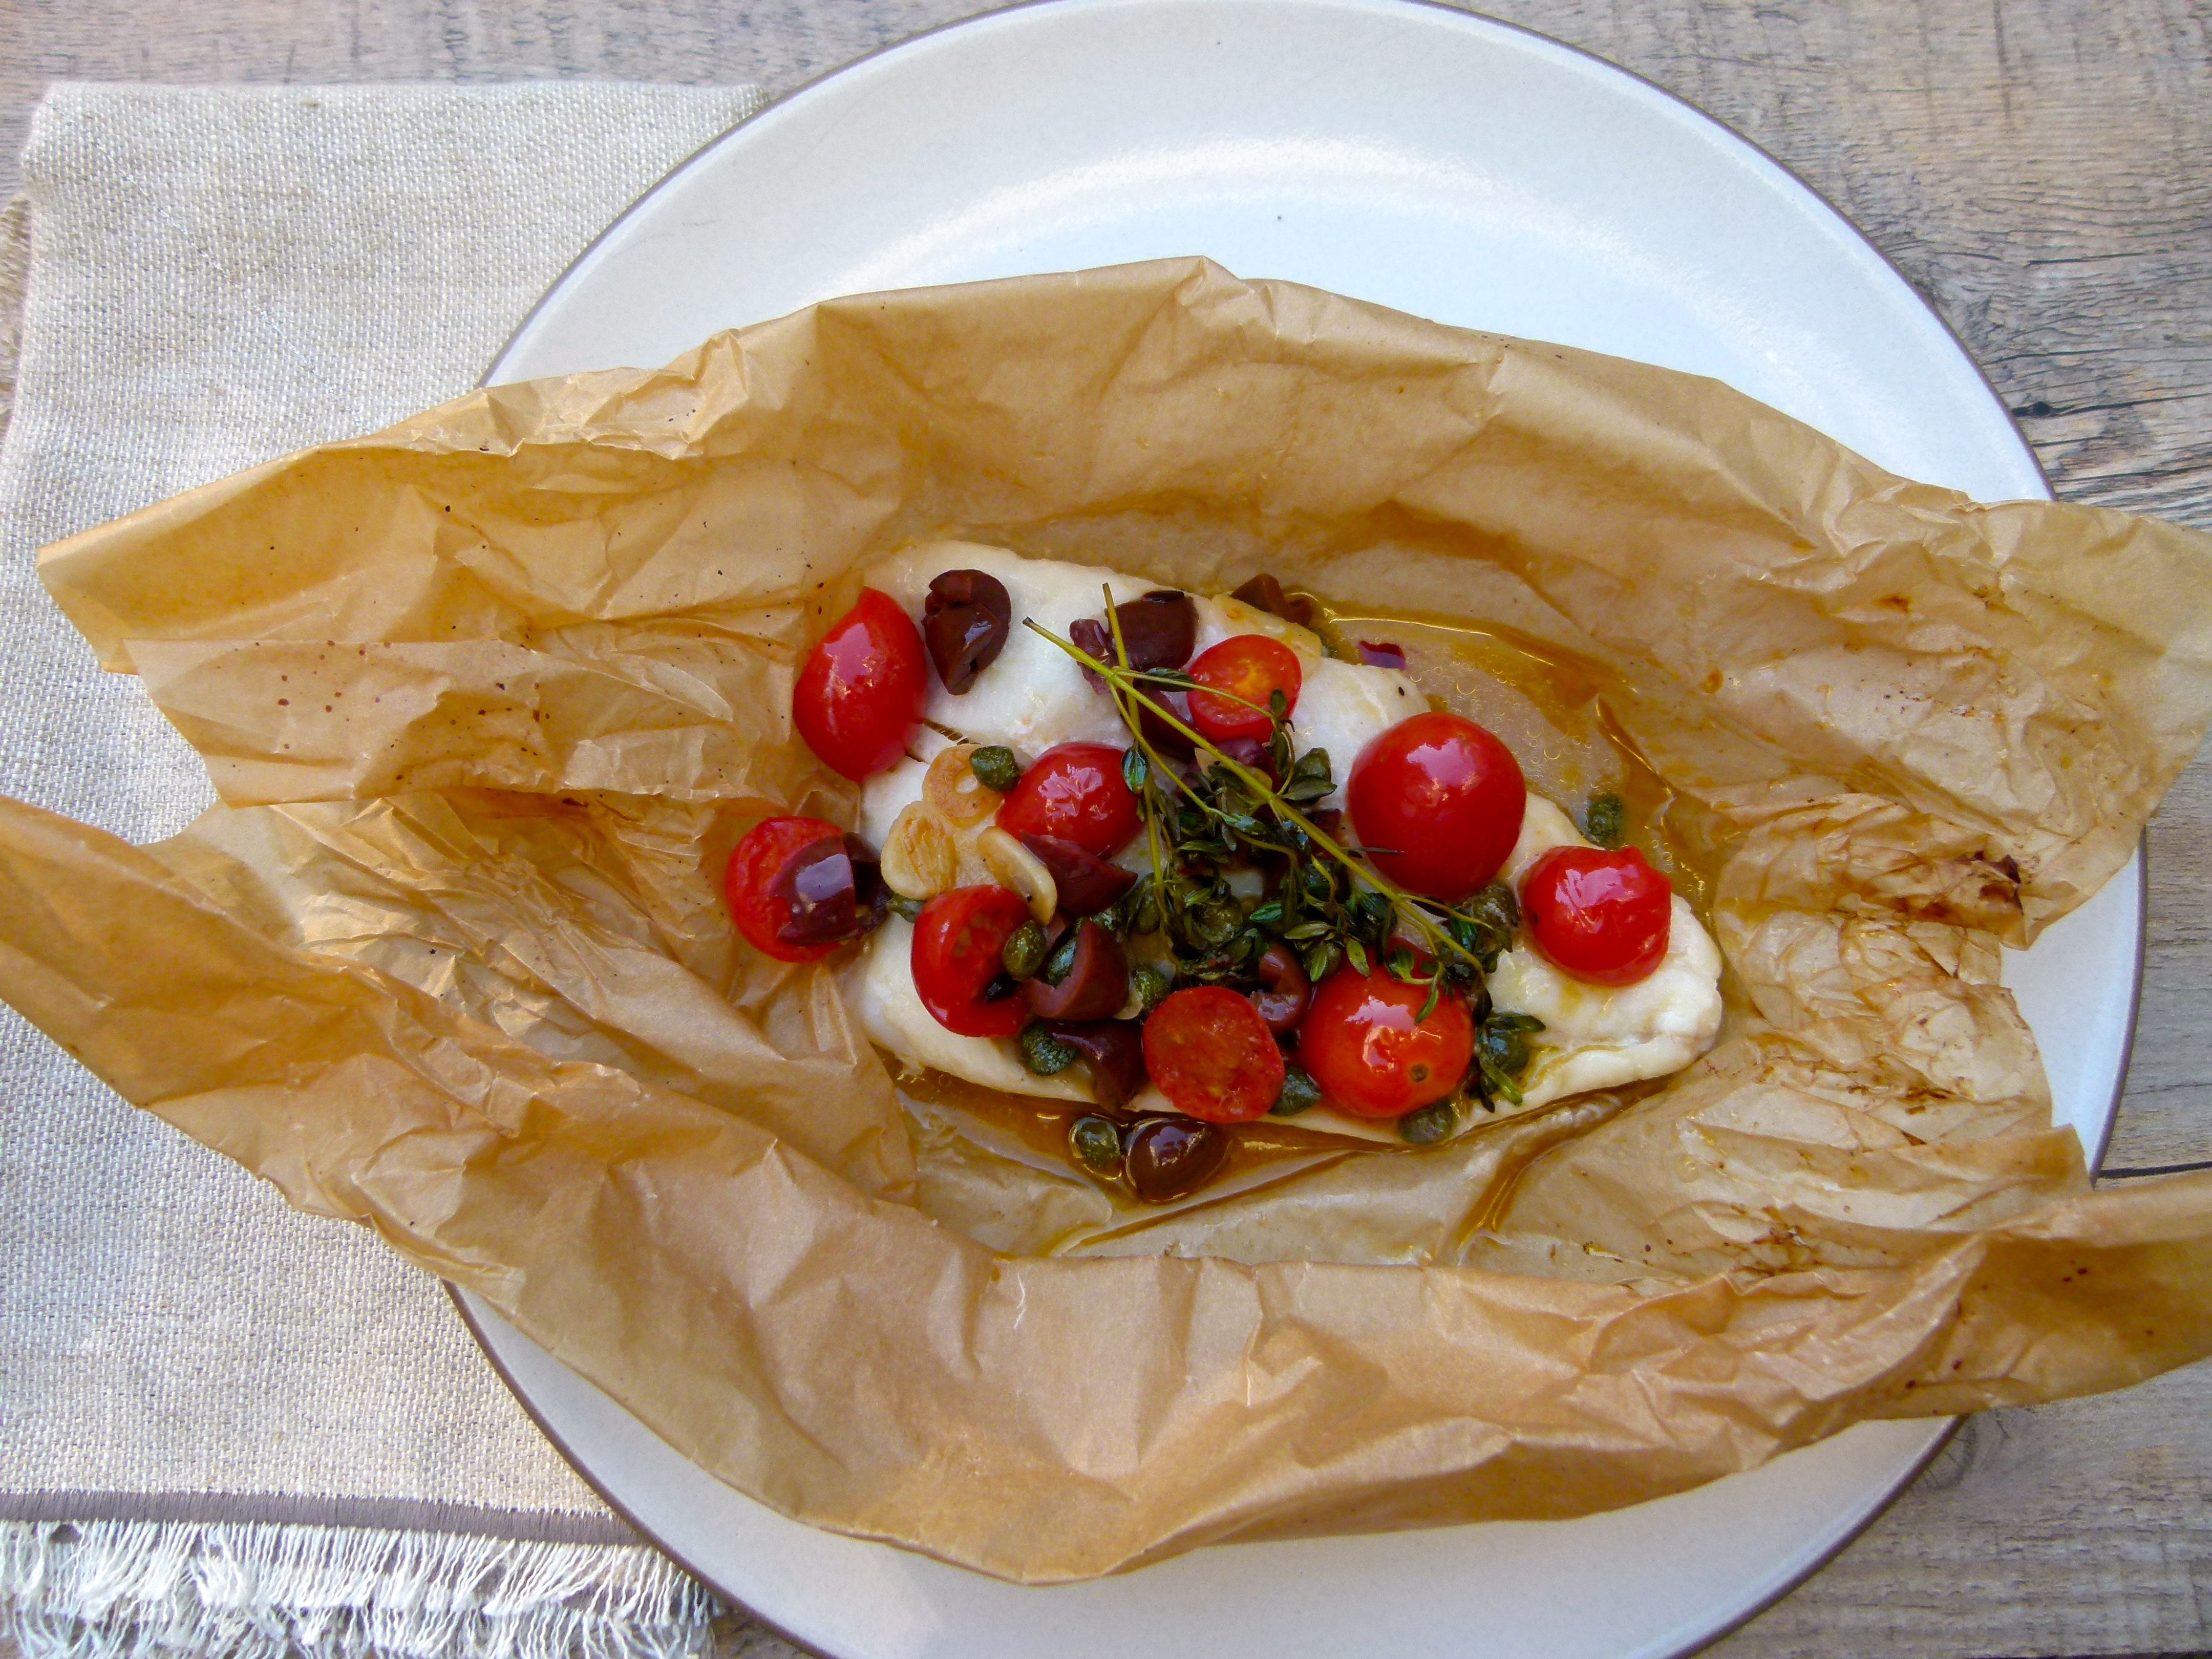
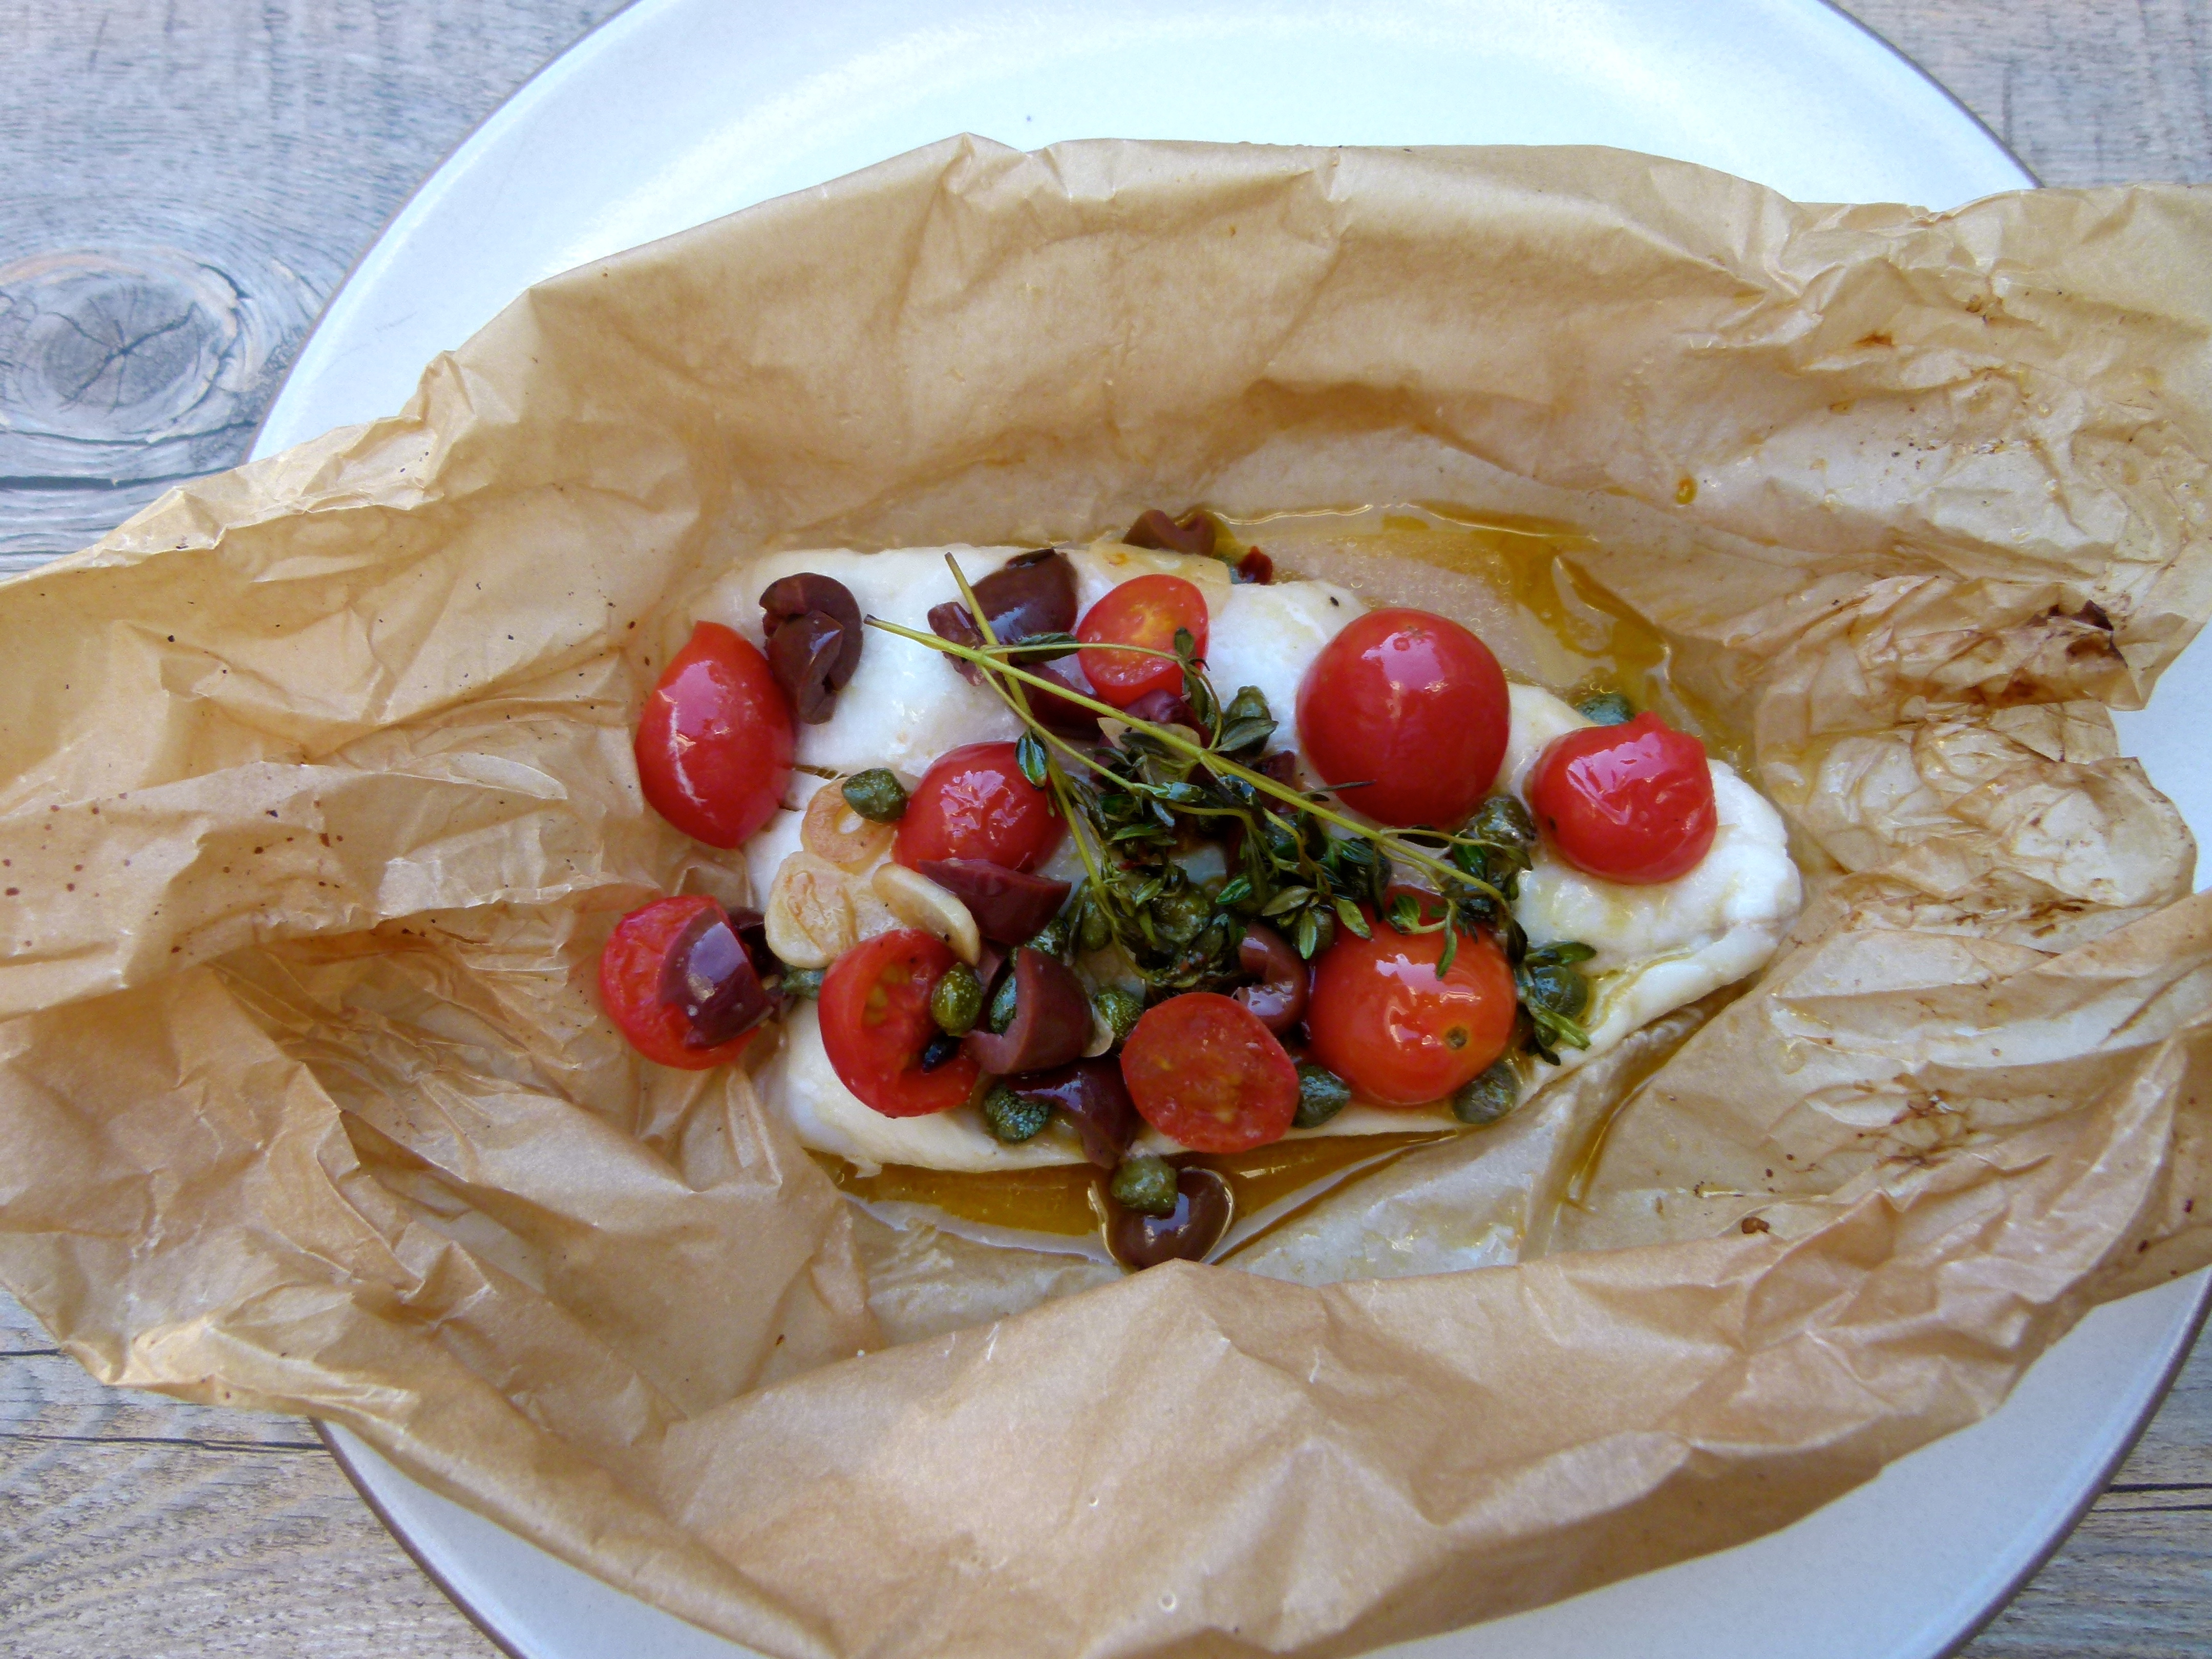
- 4 filets of wild halibut or sole
- 4 teaspoons unsalted butter or unrefined, cold-pressed extra-virgin olive oil
- 8 teaspoons dry white wine
- 4 12-inch squares of unbleached parchment
- Preheat oven to 450 degrees. In a medium saucepan, heat 1 Tablespoon olive oil. Add sliced garlic, red pepper flakes and cook until the garlic is fragrant and almost golden brown, about 1 minute. Remove from heat and stir in tomatoes, capers and fresh herbs, salt and pepper.
- Arrange each piece of fish in the center of the parchment paper and sprinkle with a pinch of sea salt and pepper.
- Top each filet with a fourth of the tomato mixture, 1 teaspoon of butter or oil, and 2 teaspoons wine.
- Bring 2 opposite sides of the parchment together and fold. Continue to fold all the way down until you reach the fish. Twist both ends of the parchment so that it looks like a hard candy wrapper. Repeat for each piece of fish. Place each packet on a baking sheet and bake for 8-10 minutes based on the thickness of the fish.
- Transfer each packet to a plate and use caution when opening – the steam will be very hot!