Ginger and honey-glazed carrots

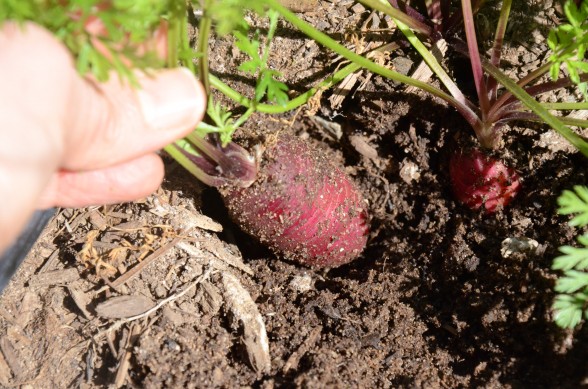
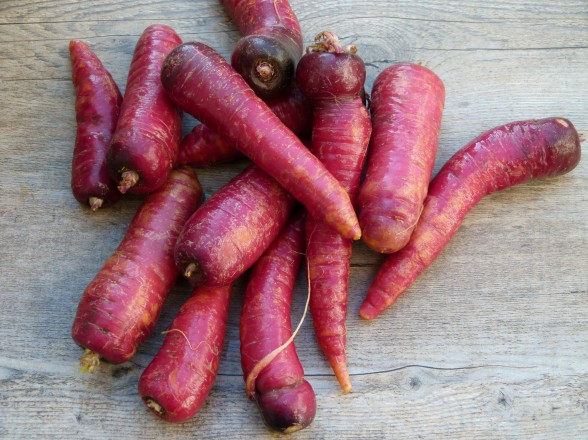
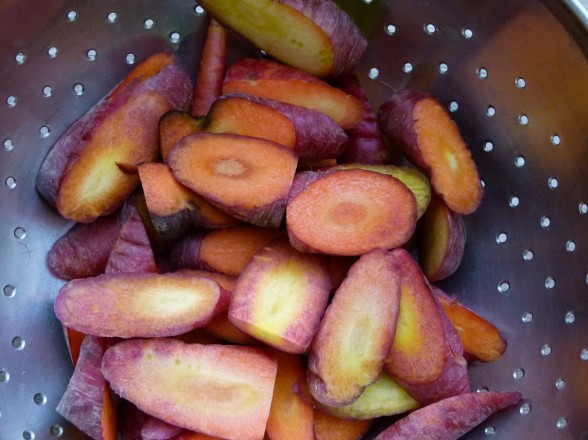
This is always the time of year that I appreciate living in California.  Whereas the ground in my parents’ New York garden is still frozen, I am pulling carrots out of mine.  Joy!  I planted a new variety this year called Purple Dragon and they are really something special.  Purple skins with an orange interior — what kid wouldn’t think that’s cool?  I always ask Mr. Picky to help me in the garden since that is supposed to be a strategy to help encourage your little ones to try new foods.  Not sure it’s working on my son, but my daughters both eventually became excellent eaters, so we’ll keep planting.

I have always felt that carrots are underrated.  They are quite nutrient-dense, especially in beta-carotene, a powerful antioxidant and anti-cancer compound which the body converts to Vitamin A.  Carrots are known for building healthy eyes and skin.  In fact, the beta-carotene in carrots can help protect your skin against sun damage.  But don’t forget to eat your carrots with a little high-quality fat to help you absorb all that valuable (and fat-soluble) beta-carotene.  So if you’re going to eat raw carrots as a snack, dip them into some hummus or a homemade vinaigrette.  Yum!

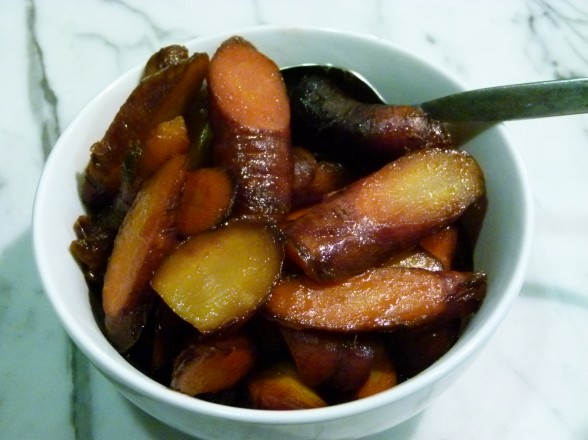
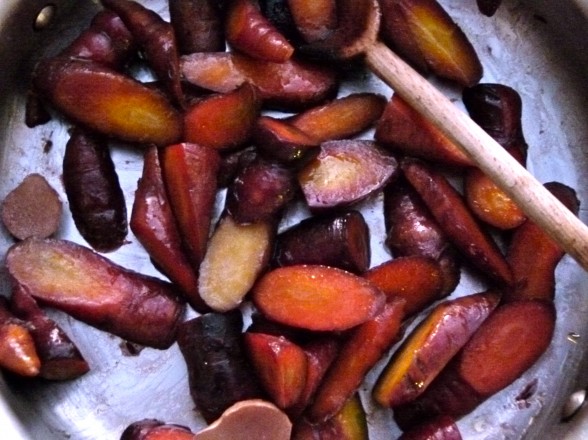
I’ve mentioned before that grated carrot salad is my absolute favorite way to eat carrots, but Ginger and Honey-Glazed Carrots is a close second.  Braising the carrots with honey, ginger, butter (or coconut oil) and a touch of water brings out this amazing caramel-y sweetness that you never knew existed.  I know how much we all love to roast vegetables with olive oil, but heating olive oil over 350 degrees for such a lengthy period of time oxidizes the oil and creates free radicals.  Not a big deal every now and then, but it’s nice to have some other tried and true methods to prep your vegetables that won’t damage your oil.

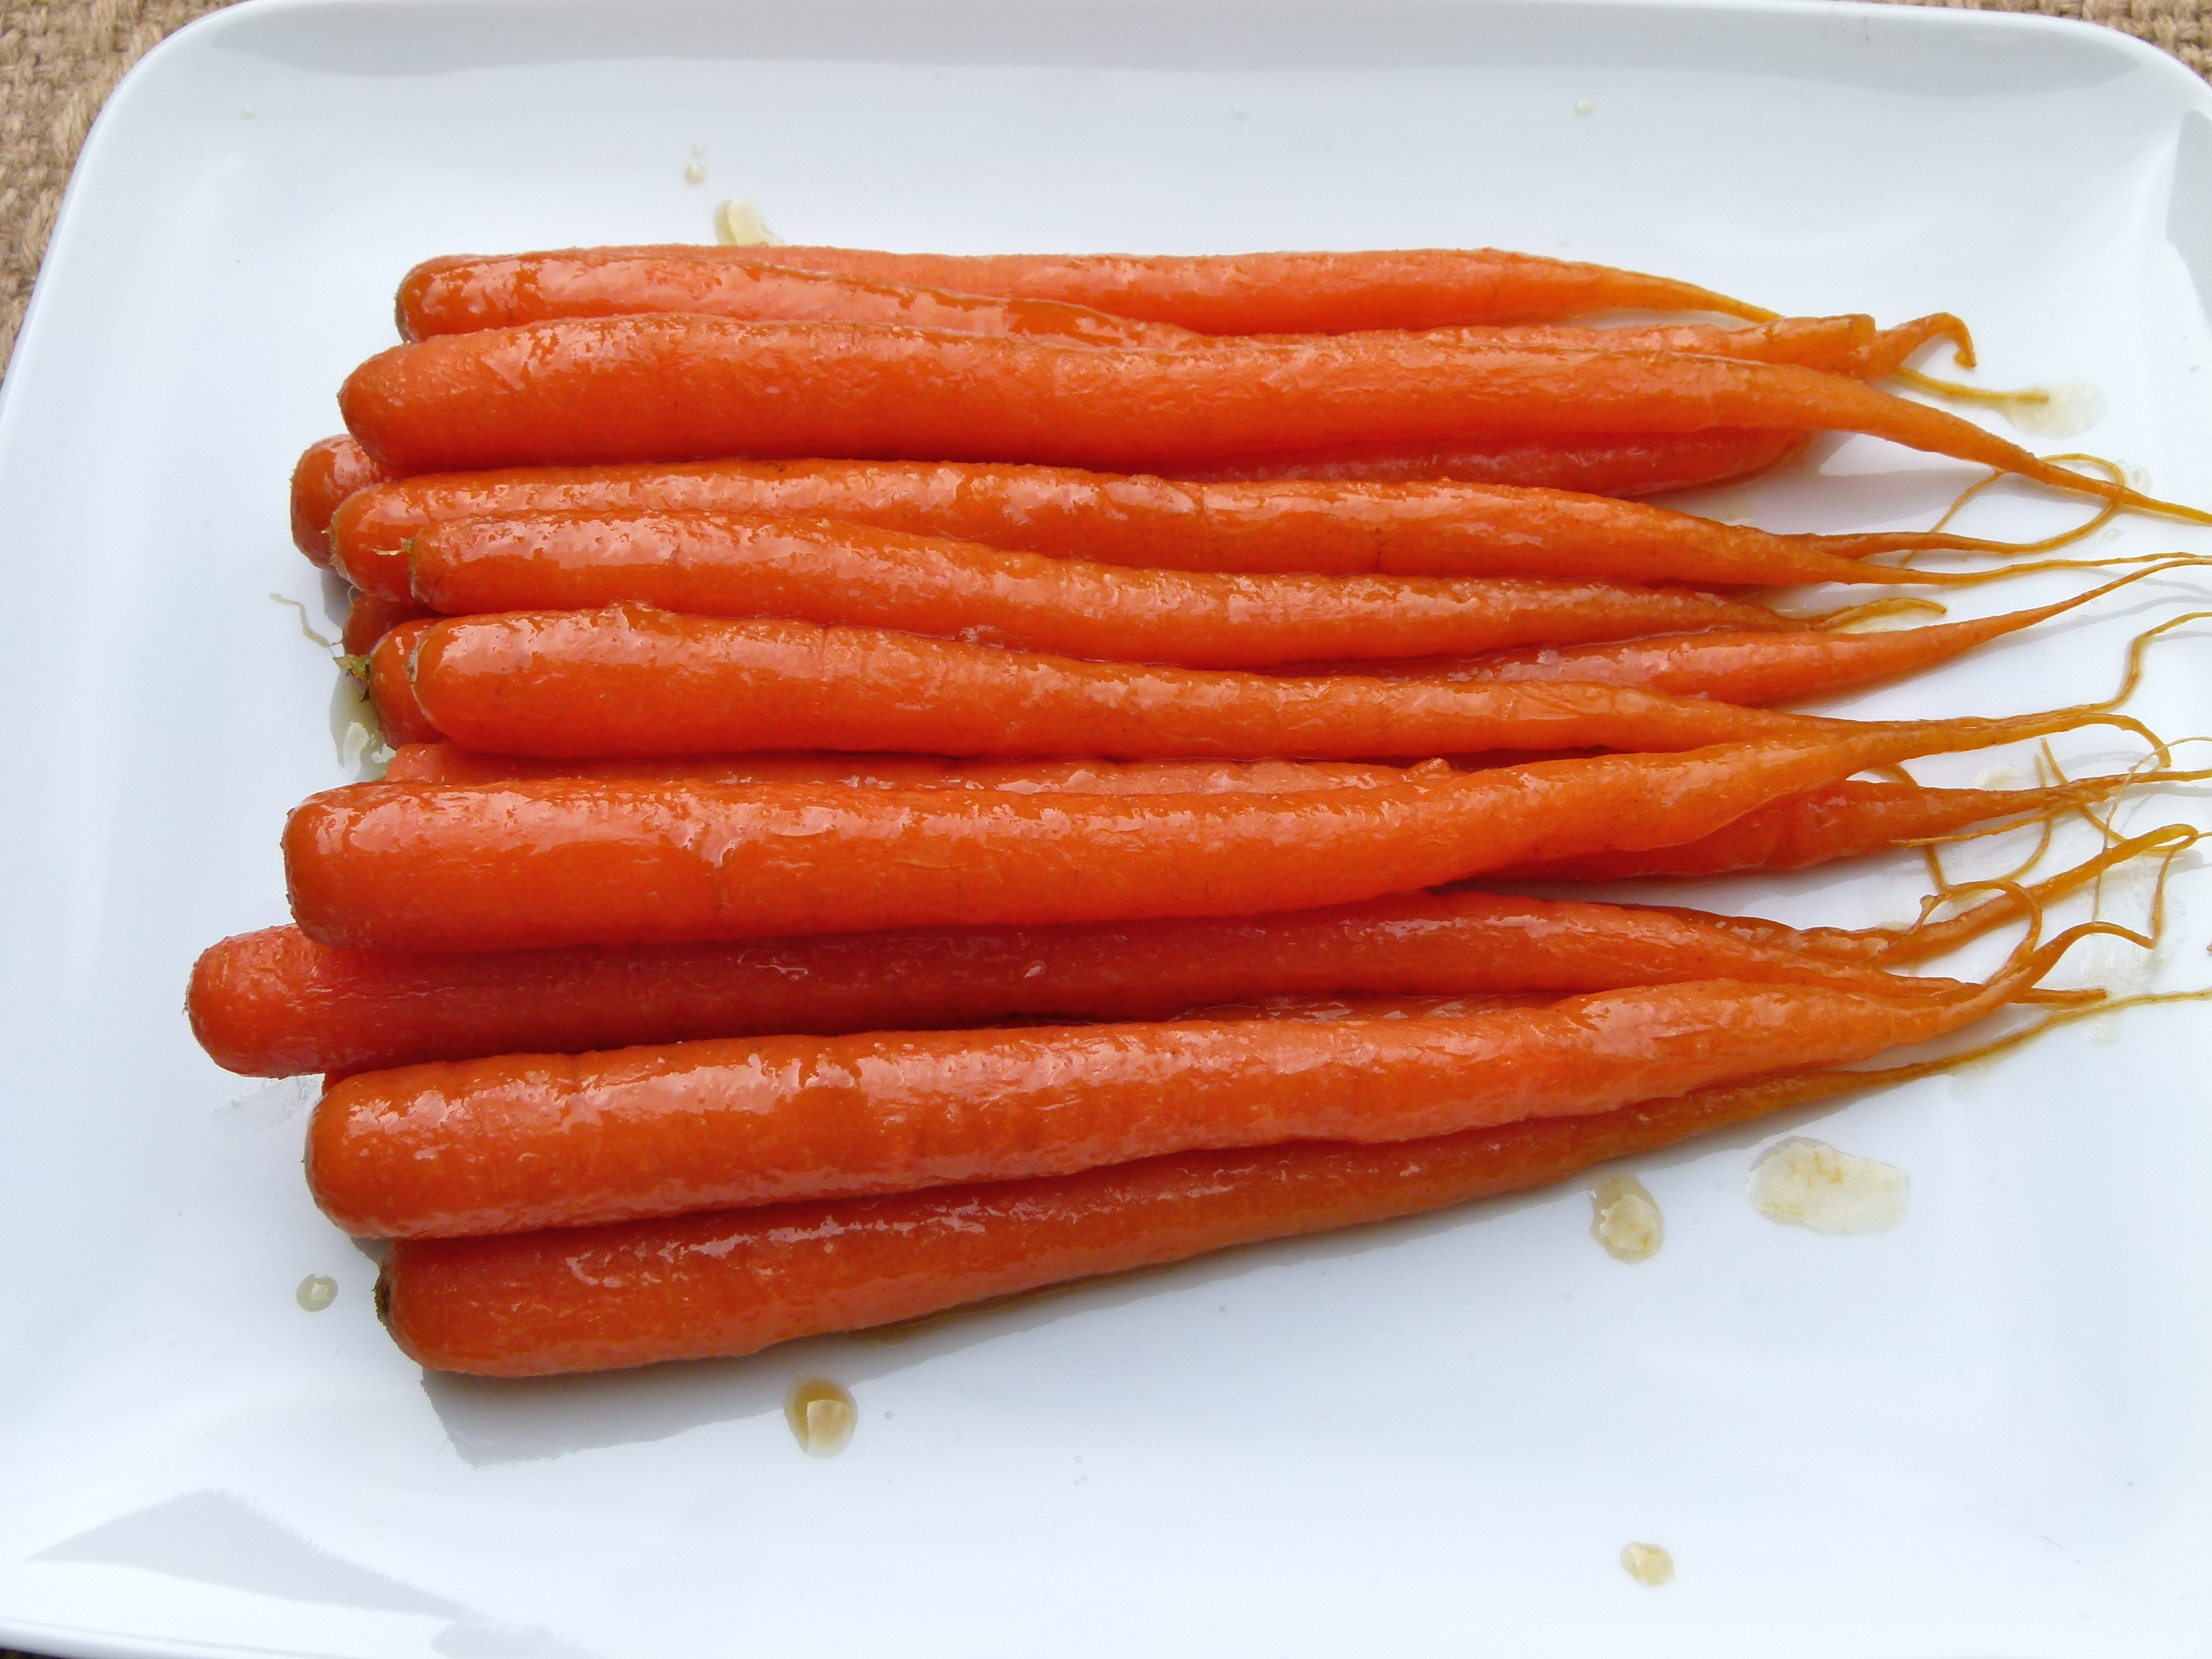
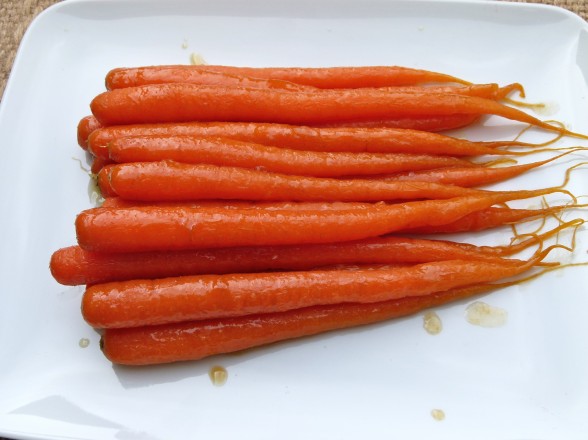
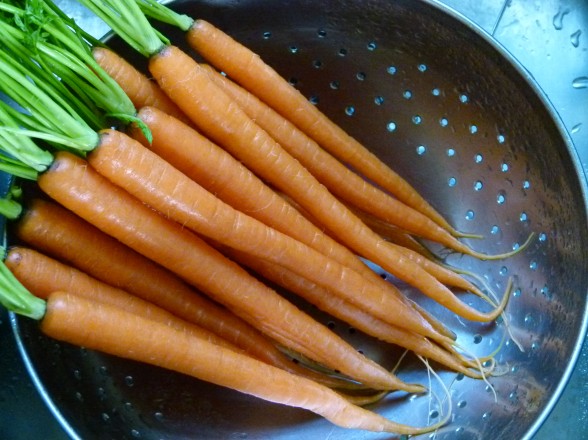
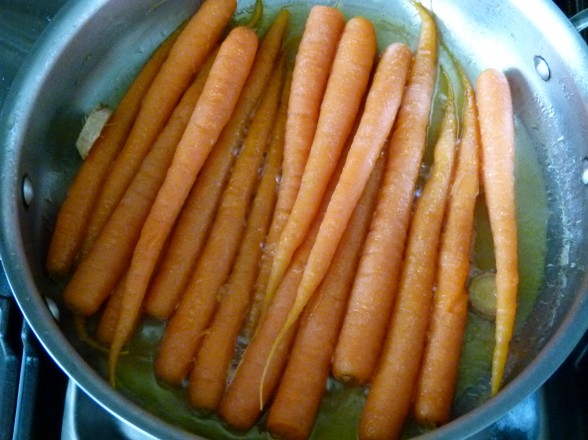
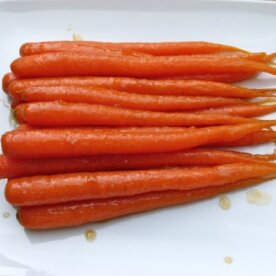
You definitely don’t have to use purple carrots in this recipe.   I’ve been making and loving Ginger and Honey-Glazed Carrots for years with the more familiar orange variety, as shown in most of the photos here.  Sometimes I buy thin carrots (see the 1st, 3rd and 5th photos) and cook them whole, which I think is so pretty.  But otherwise the larger carrots do just fine if I slice them thickly on the diagonal.  Heirloom carrots come in several fun colors besides purple.  I’ve seen yellow and white, as well.  But don’t peel the purple ones since the inside is orange (snore.)

Several of you have asked me for menu ideas when I post a recipe.  I’ll try to remember to offer a few suggestions going forward.  I’ve made these carrots twice in the past two weeks and everyone devoured them.  Once I served them with Spice-Rubbed Salmon and Coconut Basmati Rice (recipe coming soon), and the next time with Roasted Chicken, Potatoes and Fennel.  These carrots are really versatile and can go with many different entrees and side dishes, but I don’t normally serve them with another sweet dish.  Or you can just stand over the stove like I did with my daughter and eat them straight out of the pan with sweet honey carrot deliciousness dripping down our chins.
 

Ginger and Honey-Glazed Carrots

Pamela
4 from 1 vote
Servings 5 -6

Ingredients
  

  • 1 ½ pounds carrots tops removed and peeled if necessary (or 1 ¼ lbs. without tops)
  • 1-2 Tablespoons unsalted butter or unrefined coconut oil or more if you like it very glazy like I do
  • ½ cup water
  • 2 ¼- inch slices of ginger
  • 1 Tablespoon raw honey vegans can use Grade A maple syrup
  • ½ teaspoon sea salt

Instructions
 

  • If the carrots are very small and thin, leave them whole. Otherwise, cut the carrots on the diagonal into approximately 1 ½-inch slices.
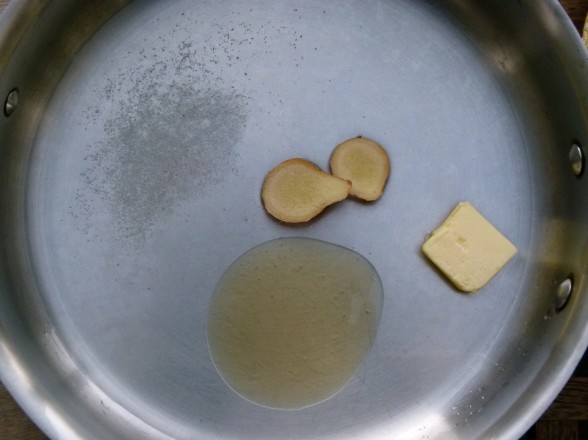
  • In a 10-inch skillet with a lid, such as a straight-sided skillet or braising pan, add the butter, water, ginger, honey and salt. Turn the heat to high and stir to combine. When the mixture comes to a boil, add the carrots and turn heat to low. Cover and simmer for 5-10 minutes (5 minutes for thin carrots, 10 minutes for thick wedges)
  • Remove the lid and simmer until all the liquid has reduced to a glaze and carrots are tender, approximately 10 more minutes. Remove ginger and serve warm or at room temperature.
Tried this recipe?Let us know how it was!


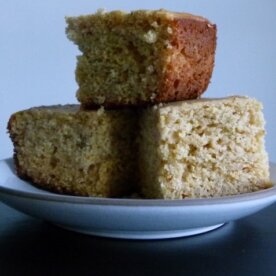
Cornbread (with quinoa!) Recipe

Let me just start out with a disclaimer — I am not from the South.  I am a Yankee, which means I like my cornbread with half cornmeal and half flour and a drop of sweet and that’s that.  If you are a true Southerner and wouldn’t dream of adding honey or sugar or maple syrup to your cornbread, I hope we can still be friends.  I didn’t grow up eating it and I have no recipe that was passed down from my grandmother.  But my husband and my kids love cornbread, especially at certain times of the year and I love preparing them good food that makes them happy.

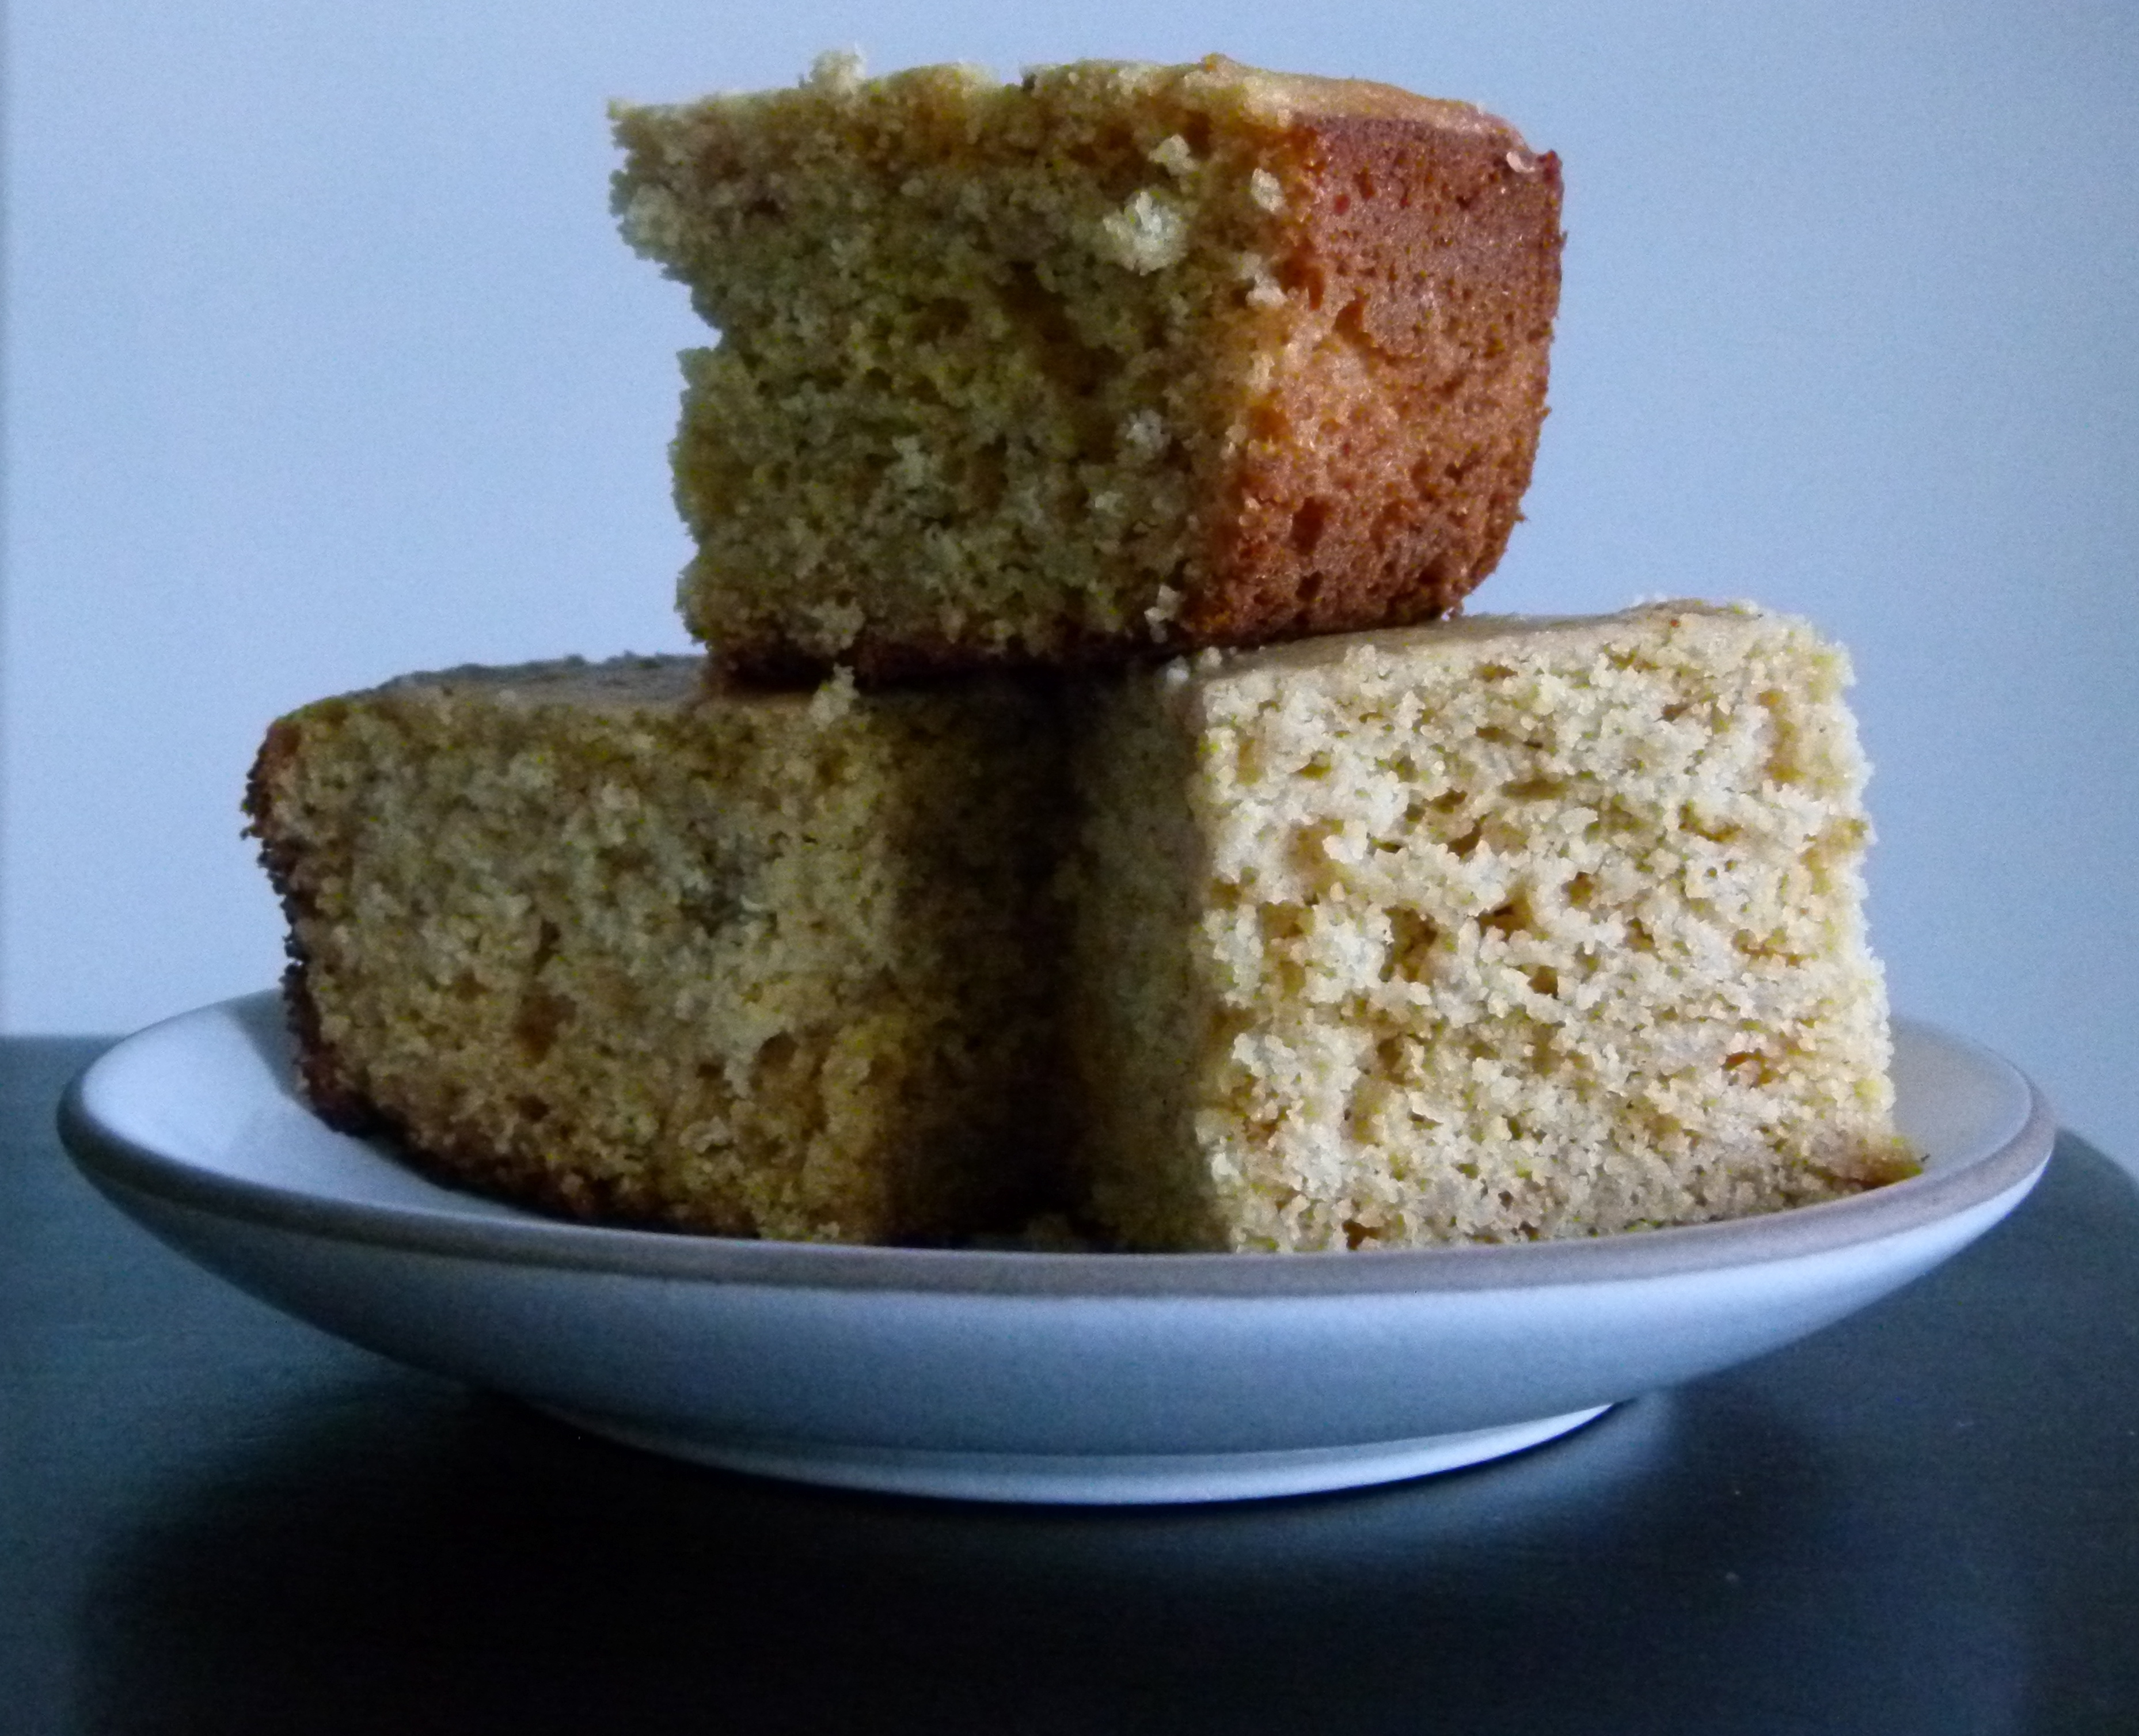
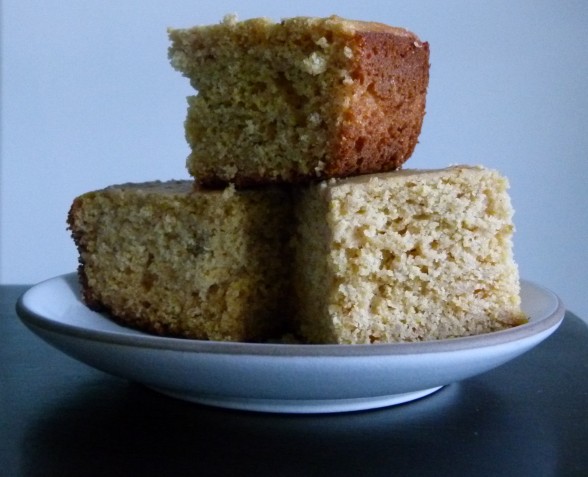
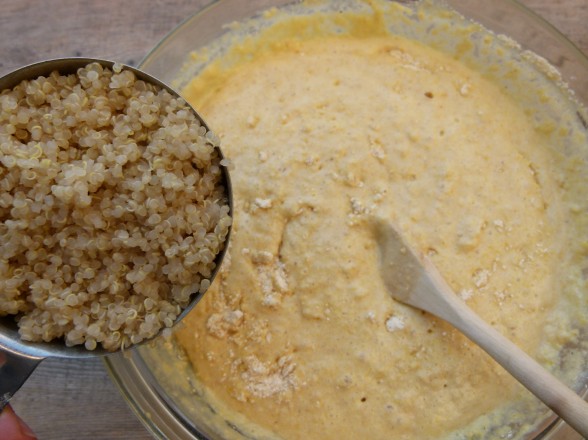
After I posted my Thanksgiving menu a few months ago, I had many inquiries about my cornbread recipe, so I figured I would share it just before the Super Bowl when you might be whipping up a big pot of chili.  Even if you’re not eating something that goes well with cornbread, you will be delighted with this quick bread just by itself.  My husband loves to split a wedge of the bread, toast it and slather it with a little more butter or honey or strawberry preserves for a nice treat.  I typically like a barely sweet cornbread, which this is if you use 4 Tablespoons of honey.  You can adjust the sweetness level according to your preference, but the best part about this bread is how moist and corny it is (even after several days.)     I’m not sure anyone in my family knows that I add cooked quinoa to the batter.  And it’s not because I’m the kind of person that sneaks healthful food into recipes and doesn’t say anything.  I’m not clever enough for that.  But I do try to use food efficiently and one day I had a bit of quinoa left in the fridge and since quinoa and corn go really well together, I decided to add it to the corn bread batter.  You don’t notice it at all, except that I think the quinoa adds a nice moistness to the bread and a great boost of protein.

I’ve made this cornbread so many times with different combinations of ingredients based on whom I am feeding or what is available to me in the pantry and it has never disappointed.  Although I’ve learned something about how certain foods affect the end result.  Dairy, such as milk and butter, result in a slightly more golden color to the finished bread.  Coconut oil leaves a slightly sweet, subtly tropical aftertaste.  The whole spelt flour is slightly coarser than whole wheat pastry, and made the bread feel a little more “whole grain.”  If you use olive oil, you can taste it if the bread is still warm, but not after it has cooled a bit, but that will also depend on the kind of olive oil you use.  Take this as a foundation recipe and have fun with it.  Drop the honey and add diced cooked bacon, finely chopped jalapenos, or shredded cheese.  Or prepare as is with some vanilla extract and blueberries or raspberries for a sweet treat.

Are you entertaining for the Super Bowl?  I would love to hear what you’re making.  I am making guacamole and baked chips, but I’ll also serve it with jicama.  I’ll make a giant pot of Vegetable Chili tomorrow and reheat on Sunday.  I am also doing a Baked Potato Bar with lots of toppings (what in the world is easier to make than a baked potato?)  I actually love a baked potato topped with chili!  A big chopped salad and cornbread for sure!  Daughter #1 told me she’s in charge of desserts.  I’m nervous.  Other fun foods for the big game can be Roasted Vegetable and Black Bean Enchiladas (especially the casserole version), a Taco or Fajita bar, Cilantro-Lime Slaw or a make-your-own sandwich bar with grilled chicken.  I know my family in NY will be making some form of baked pasta, meatballs, sausage and peppers.  Know your audience, I guess!

If you have leftover guacamole and/or salsa after the game, save it for a great soup recipe on Monday.   Have fun!

Cornbread (with quinoa!)

Pamela
5 from 2 votes

Ingredients
  

  • 1 cup whole wheat pastry flour or whole spelt flour or your favorite GF baking mix
  • 1 cup yellow cornmeal preferably stone-ground*
  • 2 teaspoons aluminum-free baking powder
  • ½ teaspoon aluminum-free baking soda
  • ½ teaspoon fine grain sea salt
  • 1 cup buttermilk**
  • ½ cup melted unsalted butter 1 stick or coconut oil or olive oil
  • 2 large eggs***
  • 4-6 Tablespoons honey or Grade A maple syrup I use 4 Tbs.
  • 1 cup COOKED quinoa optional
  • 1 cup fresh or frozen corn kernels optional

Instructions
 

  • Preheat the oven to 375 degrees. Line a 12-cup muffin pan with paper liners or grease an 8 x 8-inch baking dish (I usually dip a pastry brush in the melted butter I’m using in the recipe and grease the pan that way.)
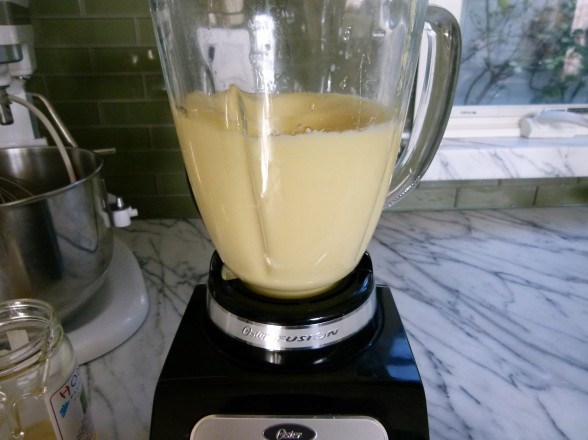
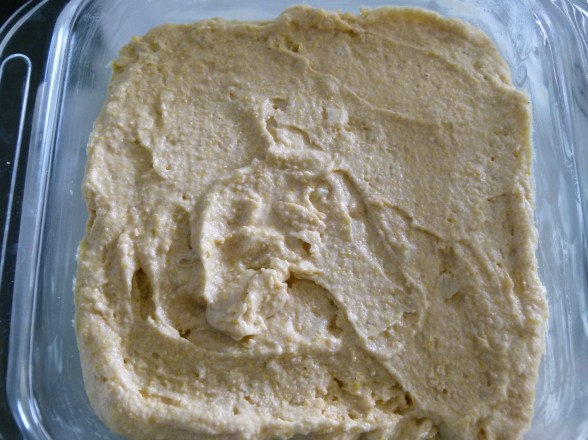
  • In a large bowl, whisk together the flour, cornmeal, baking powder, baking soda and salt. In a medium bowl or a blender, combine buttermilk, melted butter, eggs and honey until well blended. Pour wet ingredients into dry ingredients and stir until just combined. Stir in the corn kernels. Using an ice cream scooper, divide the batter into the muffin pan or pour it into the prepared pan.
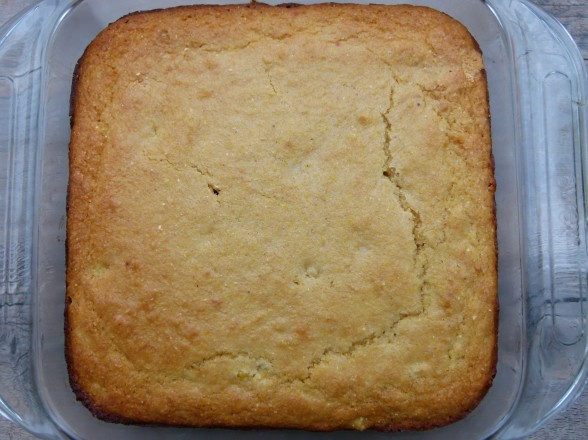
  • Bake the muffins for 15-18 minutes, or until the tops are golden and a toothpick inserted in the center of a muffin comes out clean. Or bake the cornbread in the 8 x 8 pan for 30-35 minutes. Cool for 5 minutes on a wire rack before removing muffins from the pan.

Notes

*If you like a more tender, less grainy cornbread, increase flour by ½ cup and decrease cornmeal by ½ cup.
**Or ½ cup whole unsweetened yogurt + ½ cup milk of choice. Or 1 cup dairy-free milk + 1 Tablespoon lemon juice or apple cider vinegar
***Or 2 Tablespoons ground flax meal mixed with 6 Tablespoons warm water. Allow to sit 10-15 minutes. And then allow batter to sit 5-10 minutes before baking.
****To cook quinoa: Rinse quinoa and then cook 1 cup quinoa in 1 ¾ cups boiling water covered for 15 minutes. Remove from heat and allow to sit for 10 minutes, covered. Makes about 3 cups cooked quinoa.
Tried this recipe?Let us know how it was!

Creamy miso-ginger dressing

When I was at Whole Foods the other day, at I was amazed by the dozens of people cradling ingredients for the big Cleanse.  I can’t imagine choosing to drink lemon juice and maple syrup mixed with cayenne pepper even once, let alone for several days straight in order to detoxify my body.  Sorry peeps, no cleanse recipes here!  I hate to disappoint you if you were expecting instructions on how to starve yourself cranky, but why not just eat clean, real food?  I know, it’s not a fad and we are obsessed with fads, especially diet-related.  If a cleanse is the only way for some people to break some bad habits, then ok.  But I haven’t seen any research-based evidence that our bodies need such a crazy drink to get rid of toxins.  In fact, I actually think it’s pretty cool how efficient our bodies can be at eliminating toxins, provided we don’t overload our systems non-stop.  Just a thought.

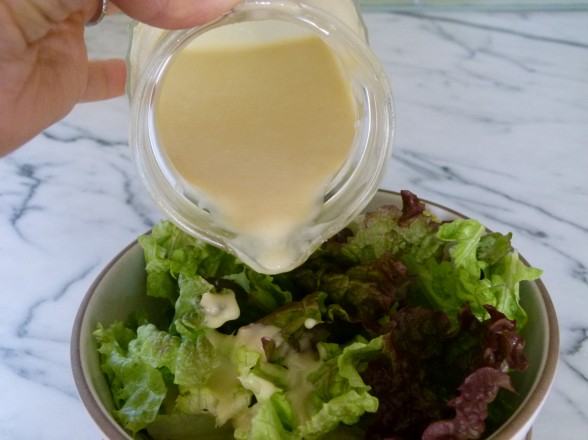
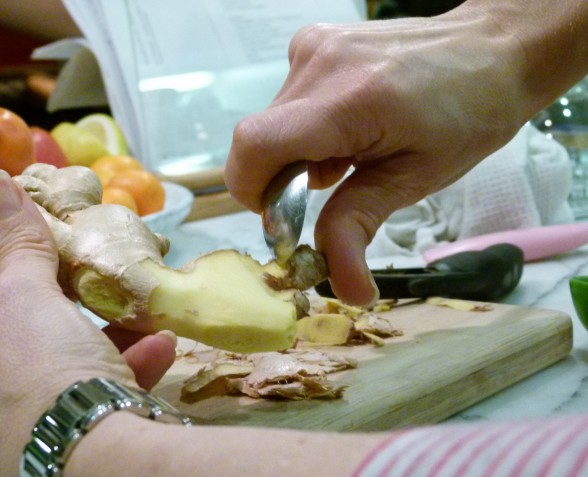
I personally have never done a “cleanse.”  I really don’t do well when I’m told there are entire food groups that are off limits.  So I indulge a little more than normal during the holidays, but then I make a commitment to start eating normally again.  I especially like to pay particular attention to vegetables which never seem to be controversial in any diet, new or old.  I think it’s pretty unanimous advice that we should be consuming loads of vegetables.  In the winter I eat fewer raw vegetables since they tend to be more cooling to the body, but I do love my salads.  So to “warm” them up a bit, I like to make this delicious cream-less dressing which is based on fresh gingerroot and miso.  Ginger is perfect for winter since it’s warming to the body, and did you know it’s incredibly anti-inflammatory?  Fresh ginger has a real hot and spicy kick to it, so a little goes a long way.  I found that out the hard way when I juiced a big piece of ginger once with some kale and celery and I thought my eyes would pop out of my head.  Peel it like I did here with a vegetable peeler and then get into the hard-to-reach spots by scraping the peel with a small spoon.

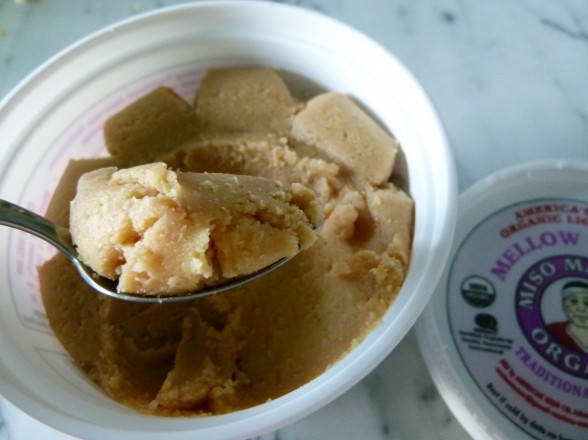
Although most of you are likely familiar with ginger, I don’t meet a lot of people who know what miso is or how to use it.  It’s your lucky day!!  Miso is a fermented soybean paste made by combining cooked soybeans, mold (called koji), salt and various grains.  Then it’s fermented for 6 months to several years.  There are dozens of varieties of miso, as well as different colors from pale beige.  As you would imagine, each type has its own distinctive flavor ranging from meaty and savory to sweet and delicate.  In general, the darker and deeper the color, the longer the miso has been fermented and the richer the flavor.  The first time I tasted miso straight out of the tub, it reminded me of parmesan cheese, which is how I came to use miso to make a vegan/dairy-free pesto.

I usually buy the white miso to make soup and use in sauces and dressings, like this one.  It seems to be the most versatile, although a word of caution — not all miso pastes are gluten-free.  Miso is a live food with many microorganisms that are beneficial to your digestion.  That said, you must only buy unpasteurized, refrigerated miso and you must avoid boiling it otherwise you will kill the good bacteria.  Since most soy in this country is genetically modified, also look for miso labeled “organic” or at least “non-GMO.”  I prefer to buy miso sold in glass jars, like South River Miso, but I can’t always find it, so Miso Master packaged in this plastic tub is the next best thing.  My family has eaten at enough Japanese restaurants and Benihanas to know what miso soup and miso salad dressings are, so that’s how I introduced miso at home.  It’s always easier for me to present a “health food” to the kids if it looks reasonably familiar, and most importantly, if it’s delicious.  Because for this girl, deprivation ain’t no way to welcome a brand new year.

Mixed Greens with Creamy Miso-Ginger Dressing

Pamela
5 from 3 votes
Servings 6

Ingredients
  

  • Vinaigrette:
  • 2 Tablespoons unpasteurized organic white miso
  • 2 Tablespoons unseasoned rice vinegar
  • 2 teaspoons raw honey
  • 2 Tablespoons water
  • 1 Tablespoon chopped peeled fresh ginger (use less for a more subtle ginger flavor)
  • 1 small clove garlic peeled
  • ¼ cup unrefined cold pressed, extra virgin olive oil
  • 8 ounces mixed baby greens
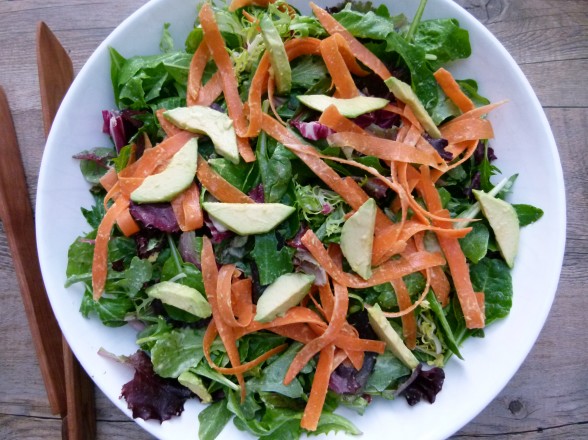
  • Optional vegetables: thinly sliced radishes julienned carrots or sweet bell peppers, sliced avocado, thinly sliced unpeeled Japanese cucumber

Instructions
 

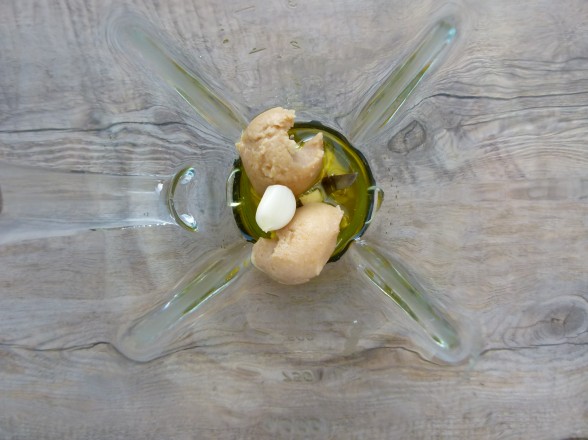
  • Puree all vinaigrette ingredients in a blender until smooth. Taste for salt.
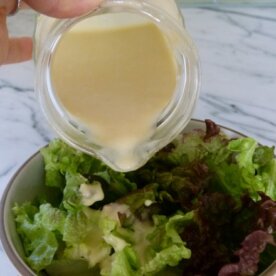
  • Place greens and any vegetables you are using in a serving bowl. Add enough vinaigrette to coat lightly and gently toss.

Notes

You can also use this dressing on top of poached or roasted fish, lightly cooked broccoli or greens with brown rice, and quinoa salads.
Fresh ginger freezes really well. Peel it first, then tightly wrap it before storing it in the freezer. Allow it sit on your countertop a few minutes before cutting it. It is not a good idea to use a ceramic knife to cut frozen ginger (ask me how I know this.)
Tried this recipe?Let us know how it was!