Slow cooker chicken tacos recipe
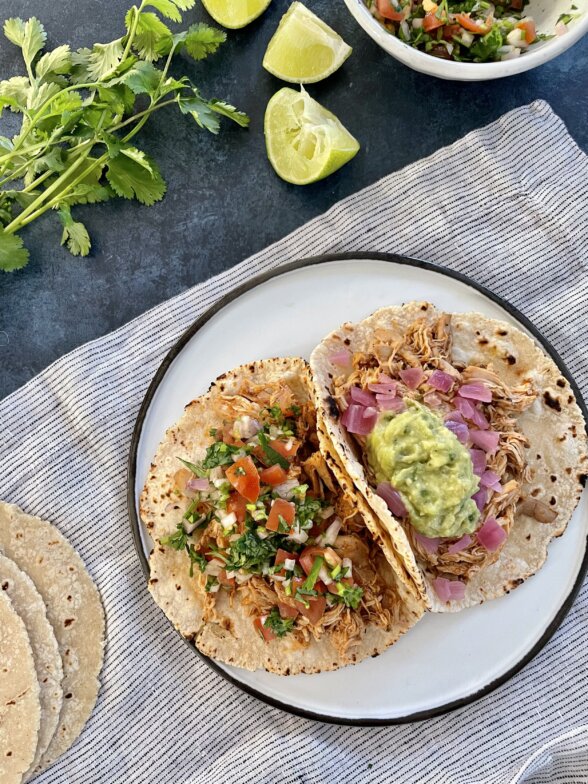
You have all waited patiently while my life changed with the arrival of my new slow cooker. Apparently, I am very late to this party. I had no idea there was this whole huge world of slow cooker devotees. There are even websites devoted to only slow cooker recipes. I could wallow in self pity right now, knowing that all these years I could have been starting my dinner first thing in the morning and then return at 6:00 pm to a fully cooked meal. I could think about all the fall apart tender meats I missed out on or the flavorful soups and stews that could have been. But who can be down when you’re in love? Not me, friends. Because I am in LOVE with my new slow cooker.
I use the words “slow cooker” instead of Crock Pot because Crock Pot is a brand which I don’t have. But for all intents and purposes, they are used in the same way. If you don’t have a slow cooker, I am not trying to sell you one here and I will provide directions in this recipe for how to make these tacos without one. But seriously people, this machine rocks. I don’t know what took me so long to get one. I think part of my resistance was that I don’t have any room in my kitchen to store it. I still don’t, but I did give away a box of Disney DVD’s in the garage to make space for it. (Shhhhhh!) I also never had a job where I left early in the morning and didn’t return until 6:00 pm to a house of hungry human beings. Until now.
The irony is that I bought my sister a slow cooker a few years ago when she had her second baby because she does have a job like that. She has been raving about it ever since! A few months ago, I gave my other sister the same slow cooker when she moved into a new house and I think she just started playing around with it. But I’ve used mine a few times a week since mid-December and I’m hooked.
Listen, no one needs a slow cooker, but here is why I love mine:
–if you spend a little time before you leave for the day, your slow cooker will make dinner and keep it warm for you until dinnertime;
–slow cookers cook at low heat for longer time. Lower heat prevents nutrient loss. Also, cooking above 350 degrees (which a slow cooker does NOT) can create AGE’s (advanced glycation end products) which are very inflammatory to the body and considered carcinogenic (ugh.) Yup, you heard that right. Preparing food in a slow cooker is better for your health!
–slow cooking can be very beneficial to tougher, leaner cuts of meat by breaking down the muscle and creating a very soft, tender meat;
–you can leave it unattended for up to 12 hours without overcooking your food or worrying about burning your kitchen down.
Again, I am new to slow cookers, and although I have learned a lot just by trail and error, I am no expert. But so far, I’ve noticed that I prefer the recipes that ask you to brown meat or saute vegetables before adding them to the slow cooker. You get much better flavor that way. Yes, I realize you’re getting another pan dirty, but it’s worth it and you’re getting it over with in advance. Also, I’ve made many non-slow cooker recipes in the slow cooker and just reduced the liquid a bit since there’s almost no evaporation happening and a lot of condensation.
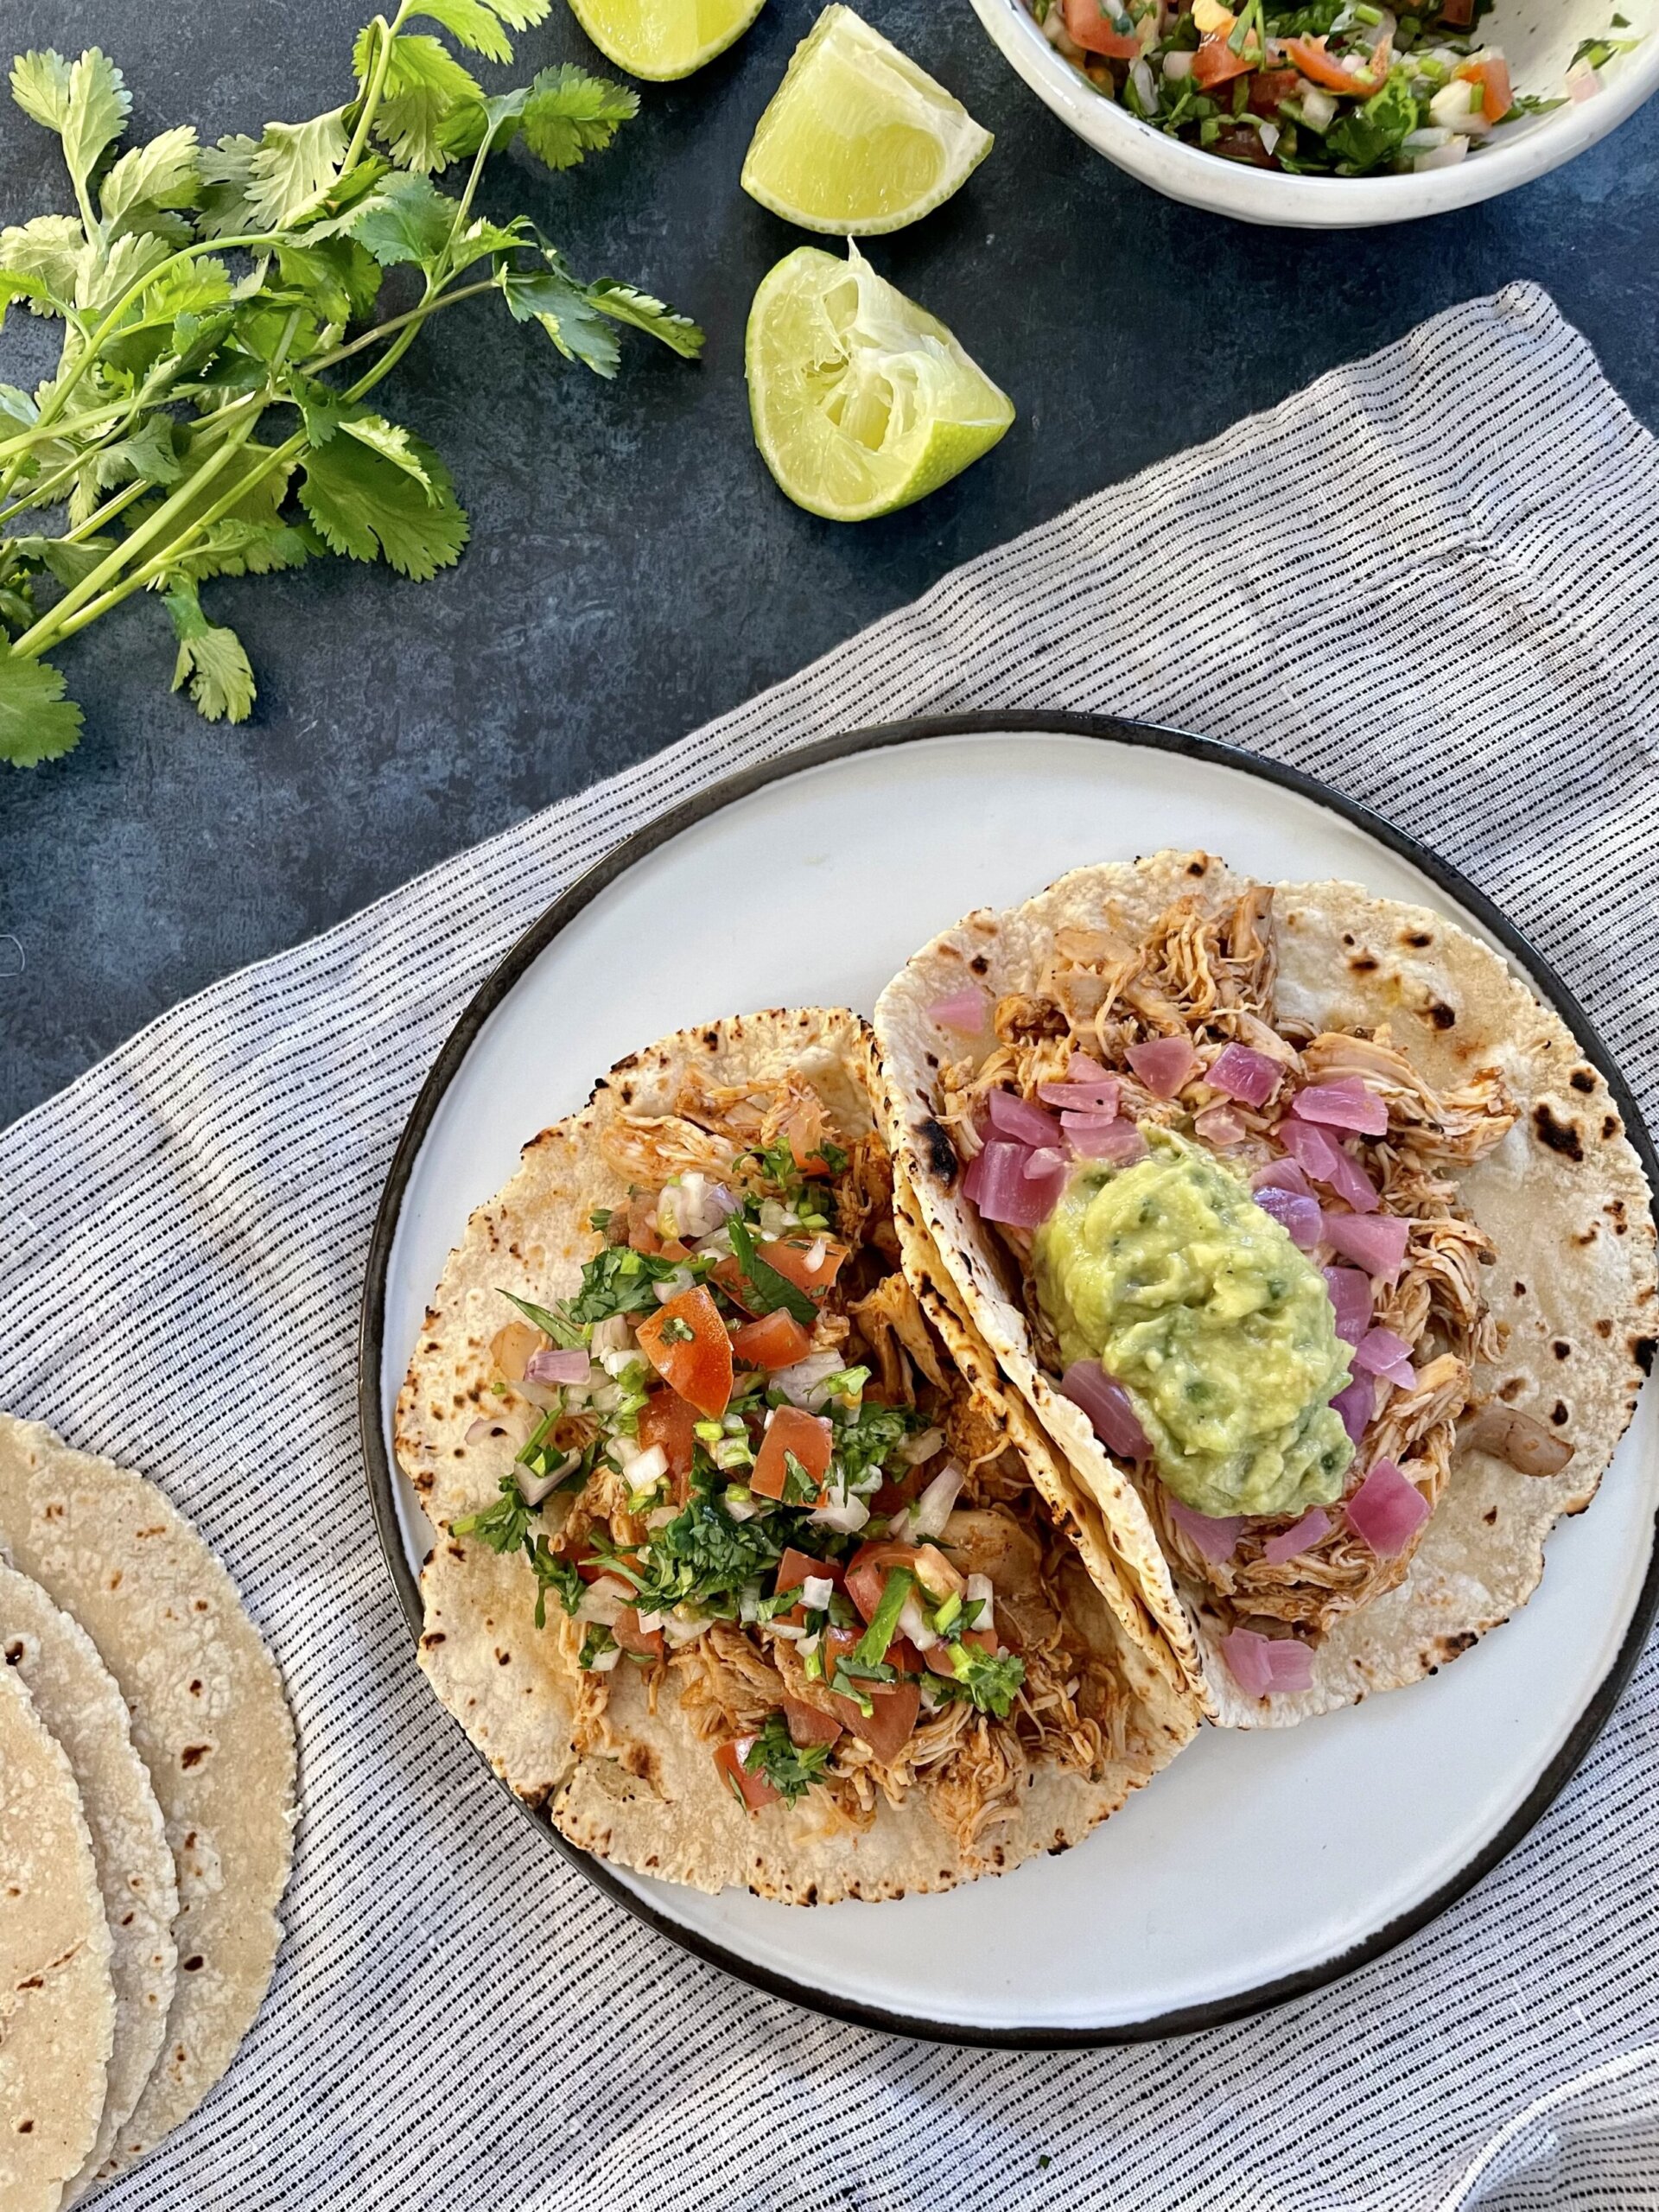
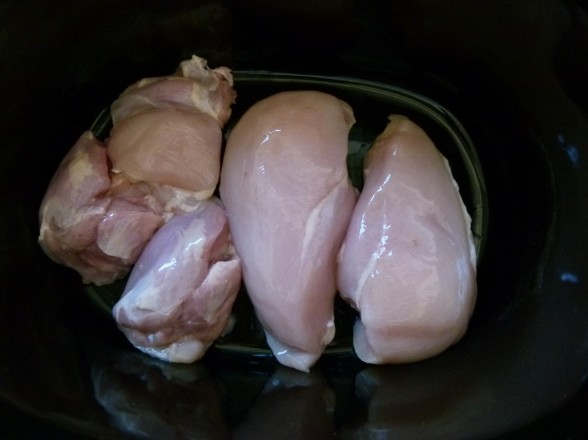
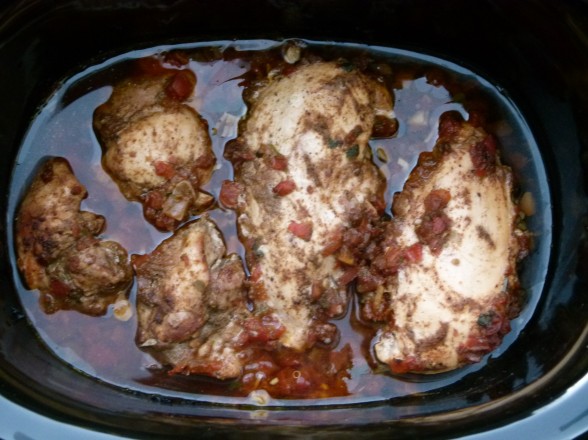
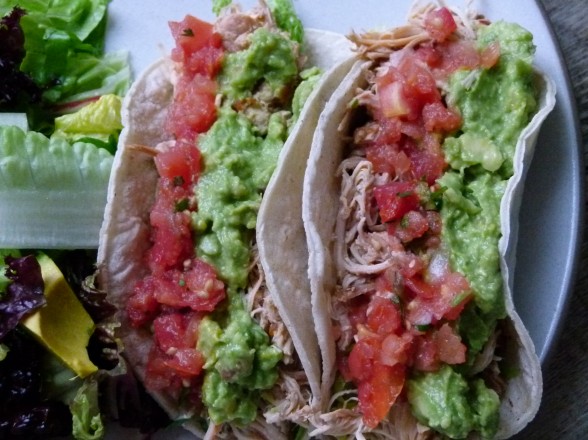
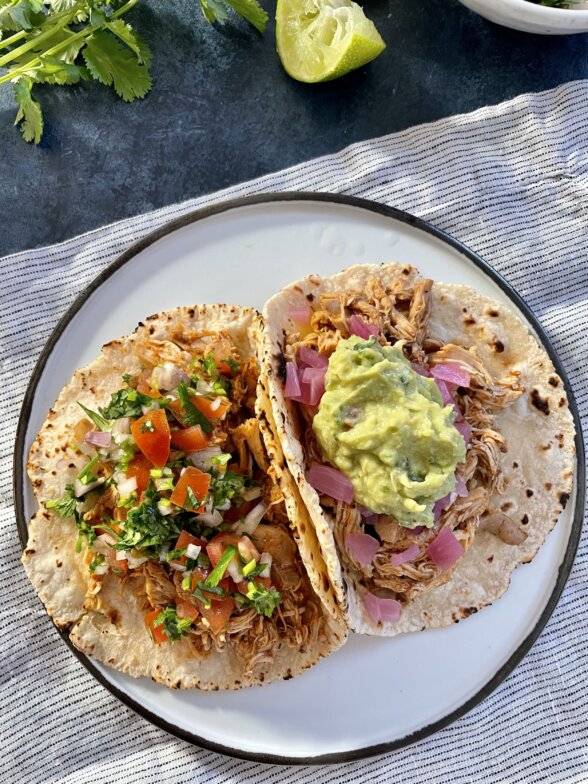
The recipe I’m posting today is a super easy one which I made on Sunday. This is truly a measure, dump and press start recipe. I used two different kind of chicken parts to see how they would both turn out and I’ll tell you the truth — although my family much prefers white meat, no one could tell what was what. Both the thigh and breast meat were super fork-tender. I personally think thighs have more flavor, but that’s just me. Everyone L-O-V-E-D these! I set up a taco bar with lots of toppings so they could just help themselves so I could sit on the couch with a cozy blanket and the new issue of Bon Appetit while watching the football game. Bliss. Slow cooker + Me = Together Forever!
Any slow cooker love stories out there? I want to know it all — how and when you met, how you keep the passion alive, recipes for success, etc!
Slow Cooker Chicken Tacos
Ingredients
- 2 pounds boneless skinless chicken breasts and/or thighs (I used 2 breasts and 3 thighs.)
- 1 teaspoon chili powder
- 1 teaspoon ground cumin
- ½ teaspoon ground chipotle powder
- 1 teaspoon sea salt
- black pepper to taste
- 4 cloves garlic finely chopped
- ½ cup prepared tomato salsa I used pico de gallo. + more for serving
- suggested accompaniments: corn tortillas guacamole, salsa, shredded lettuce, cilantro-lime slaw
Instructions
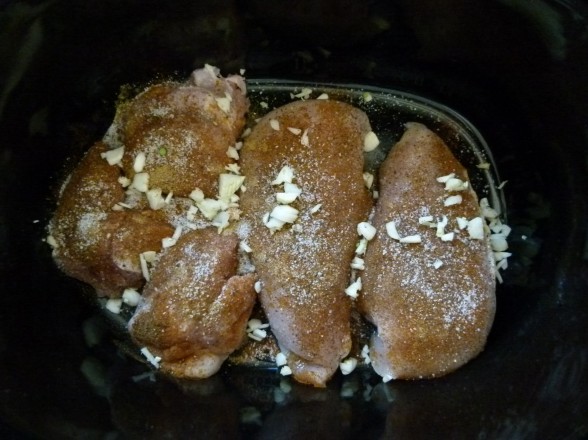
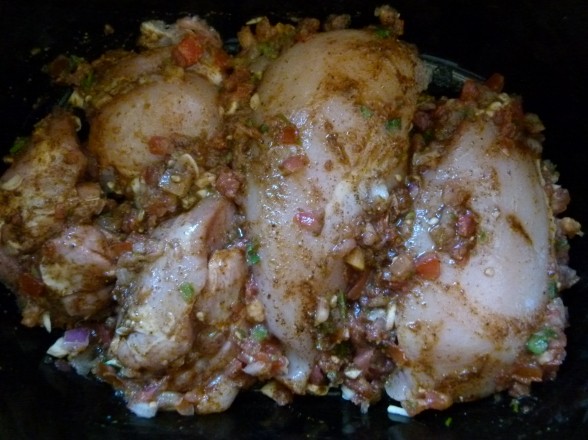
- Place the chicken in slow cooker and sprinkle with chili powder, cumin, chipotle powder, salt and pepper. Add garlic and salsa and rub around to combine. Cover; cook on high for 4 hours or low for 6-8 hours.
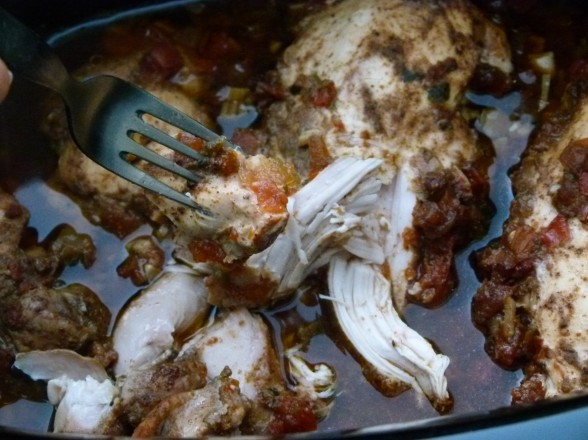
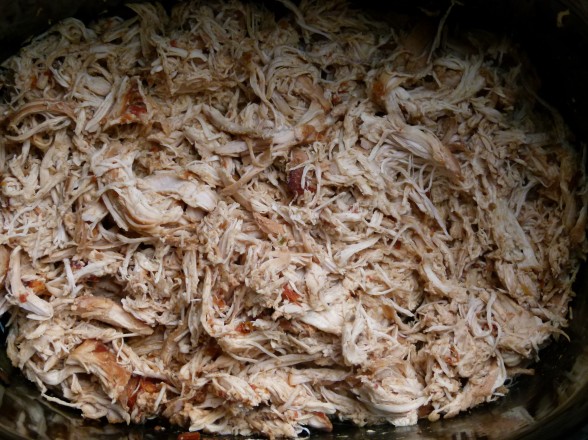
- Either shred the chicken with 2 forks right in the slow cooker or transfer to a plate to shred. Moisten chicken with cooking juices and serve with desired tortillas/taco shells and toppings. You could even serve the chicken over rice with salsa and diced avocados.
Notes


