Turkey Stock

Ahhhhh, the day after.  I hope you had a lovely holiday.  Ours was everything I hoped it would be — lots of happy people in the house and no major disasters in the kitchen.  The best thing I did this year was have everyone sign up for three tasks on the pre-Thanksgiving schedule.  It was actually very fun working in the kitchen with the kids and my husband.  I did have to let the girls listen to their music however, so now I have the first two verses  of “Super Bass” down pat, but apparently I do not have moves like Jagger.  It’s so important for kids to learn basic cooking skills when they’re young.  It will serve them well later.  Maybe they won’t turn out like my darling husband who when asked to peel four carrots, responded “what do you mean by that?”

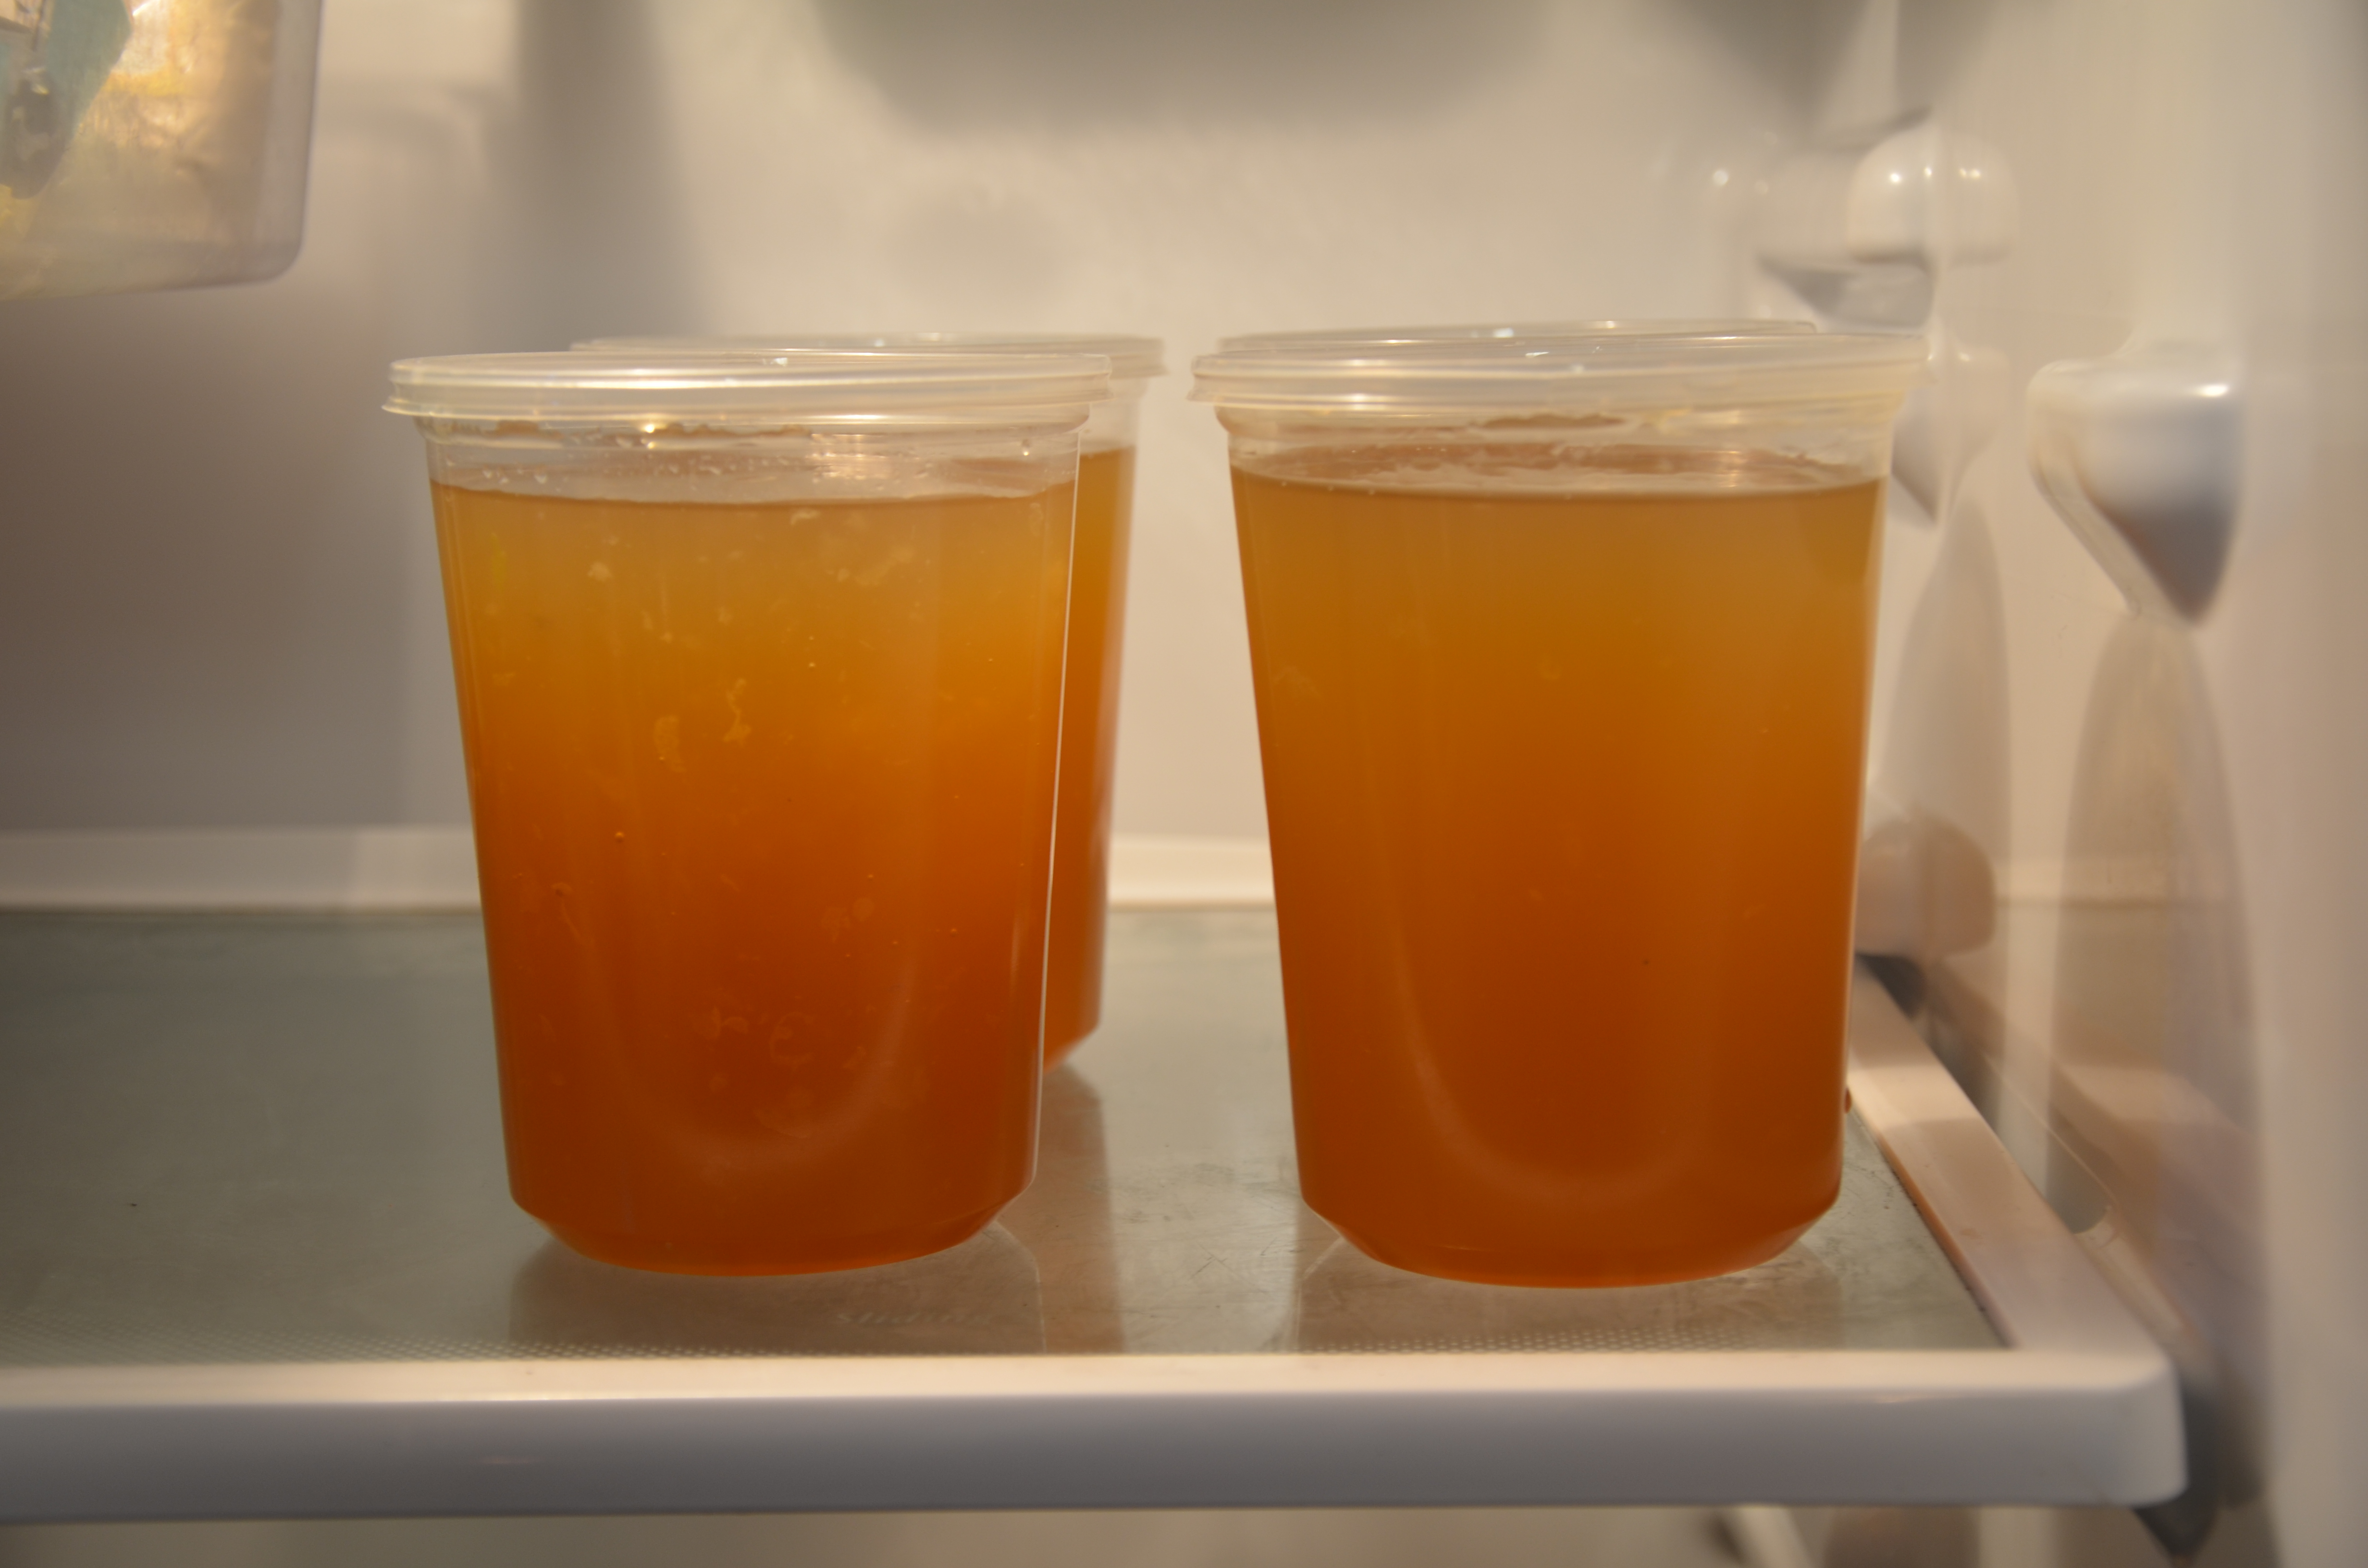
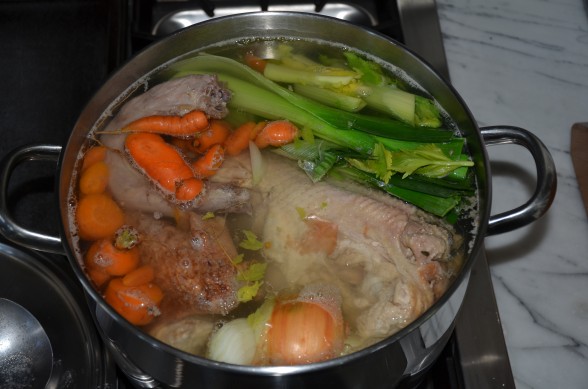
Our big feast, however, has made me not want to cook another thing until Sunday, at the earliest.  No one is even permitted to utter the words “What’s for…?”  I’m off duty until further notice.  So I’m still in my pajamas (it doesn’t matter what time you’re reading this, I’ll still be in my pajamas), about to start my holiday shopping online while 2 large stockpots of turkey broth simmer away.  Ok,  I lied.  I’m not cooking another thing, except turkey stock.

By now you know I am obsessed with homemade stocks.  True, all that straining and stock pot-washing is a bit of a pain, but the reward is so worth it.  You literally cannot buy stock that equals homemade, although I hear that one of my local markets, Bristol Farms, sells a homemade stock and it is about $7/pint or something absurd.  On a day like today, when I am hanging around the house, it is no work at all to stick some turkey carcasses and a bunch of bones in a big pot with water and some vegetables.  What I love about making stock from a leftover Thanksgiving turkey is that there is almost nothing to do — very little skimming before the liquid comes to a boil and hardly any fat that rises to the surface the next day.  You can basically use it right away and mine is well seasoned since I dry rubbed my turkeys with salt.

I will make a nice pot of chunky butternut squash and fennel soup with wild rice tomorrow.  Oh, you’d like the recipe?  If you promise to give it a try, I’ll post it on Tuesday.  But the broth also comes in handy when we reheat leftovers tonight.  I don’t use a microwave, so my preferred method of reheating food is in a covered saucepan with a little stock or water.  I’ll freeze the rest and pull it out for turkey and vegetable soup or if one of the kids comes home from school with a scratchy throat.  In which case I’ll heat it up and hand out mugs of broth like medicine.  For now, today is my day to rest and restore my energy for the month ahead, because moms like me have no time to come down with a scratchy throat.

Turkey Stock

Pamela
5 from 1 vote

Ingredients
  

  • 1 leftover turkey carcass + any leftover bones or wings
  • 2 onions peeled and quartered
  • 3 carrots halved
  • 3 stalks of celery halved
  • 1 Tablespoon apple cider vinegar
  • 5-7 quarts of water this depends on the size of your pot

Instructions
 

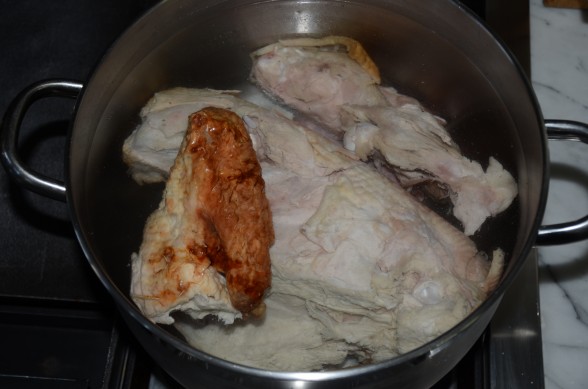
  • Remove any meat still left on the turkey and discard anything you stuffed in the cavity. Place the turkey carcass and bones in a large stockpot with COLD water. I just fill the pot to about 2 inches below the rim. You can break the carcass up to fit the pot, if necessary.
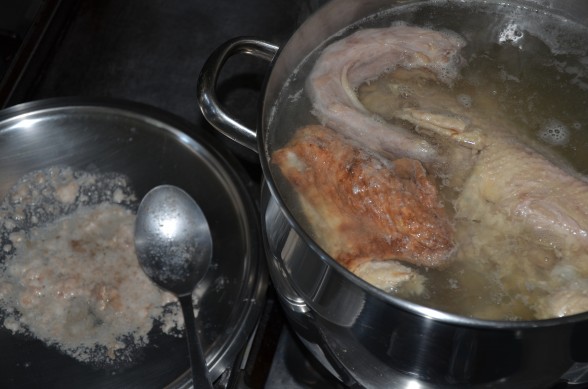
  • Put the heat on high and bring to a boil. Immediately lower the heat to the gentlest simmer and skim any foam that surfaces.
  • Add the vegetables and apple cider vinegar and continue to simmer, partially covered for about 2-5 hours (or as long as you have.)
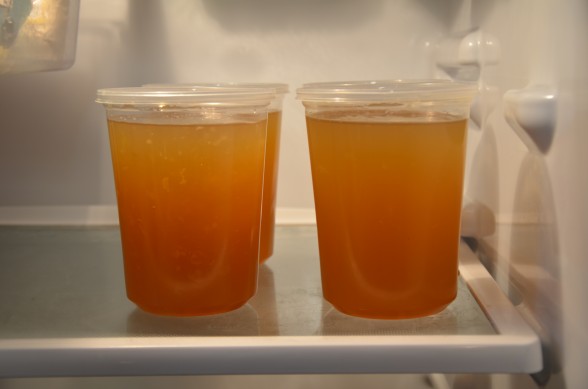
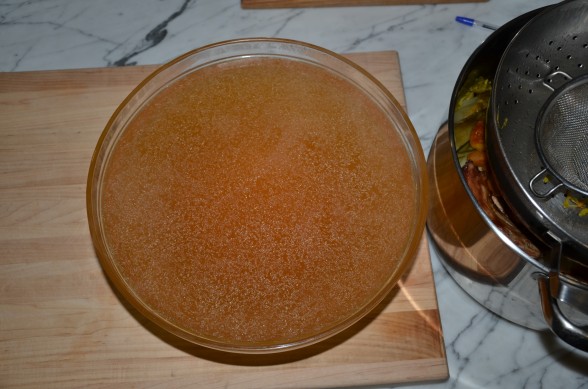
  • Strain the stock (use a fine mesh sieve to make it very clear) into a large bowl or individual containers and cool before refrigerating. Keeps in the refrigerator 3-4 days or frozen up to 3 months.
Tried this recipe?Let us know how it was!


Cranberry Sauce with Apples and Raspberries

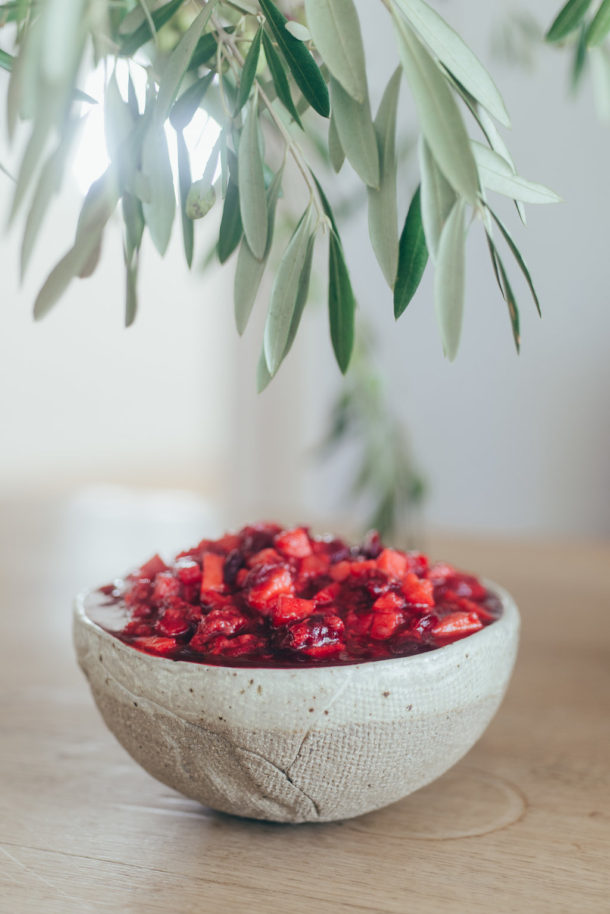
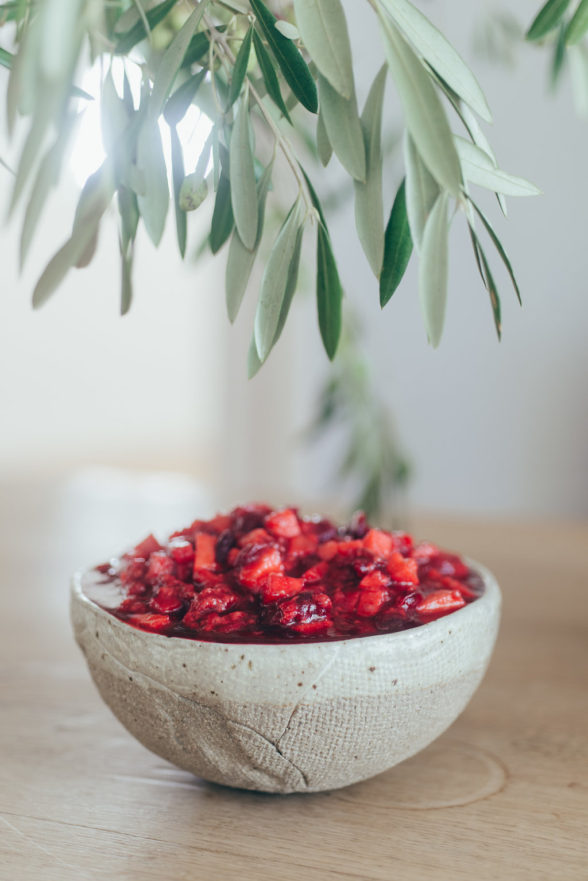
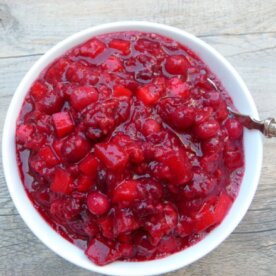
Cranberry Sauce with Apples and Raspberries | Pamela Salzman
Photo by Carley Rudd

I use a cranberry sauce recipe for Thanksgiving that has been in my family longer than I have.  My aunt received the recipe over 40 years ago from a colleague in New Jersey, who received it from someone who lived in her apartment building in New York City.  I have loved this cranberry sauce for as long as I can remember.  It makes no sense to me why I ever tried other recipes since this one is everything a cranberry sauce should be — uncomplicated, tart, slightly sweet, chunky and fresh.  My kids eat it in a bowl with a spoon, on top of oatmeal, pancakes, or French toast, or swirled into plain yogurt.  And of course, it’s divine on turkey or a turkey sandwich.

The original recipe shows its age a bit since it calls for 1 pound of fresh cranberries, because Ocean Spray used to make their bags in 1-pound sizes.  Now they’re 12 ounces.  The recipe also calls for frozen raspberries instead of fresh because I don’t think you could possibly get fresh raspberries in November 40 years ago.  I have made my own small changes, but it still tastes just as delicious.  I couldn’t help trying to cut back on the sugar a bit by substituting apple juice for water and reducing the quantity of sugar.  And this year I used sucanat in place of granulated sugar and no one could tell the difference.  My aunt’s recipe originally called for “chopped pecans to taste” which I have never put in simply because when I first started making the cranberry sauce, pecans were out of my budget.  So I’ve left them out all these years and I can’t say I miss them.
One thing that has never changed is that I make the cranberry sauce every year the Sunday before Thanksgiving because my aunt does, too.  We call each other on Sunday morning.  In fact, I just got off the phone with her.  “Are you chopping apples?”  “I sure am!”  I make enough for our Thanksgiving dinner with a little for leftovers (two times the recipe.)  But my aunt makes vats of it and then drives around town delivering jars of cranberry sauce to all of her lucky friends.  Our conversation cracked me up this year as she informed me she found BPA-free plastic containers for her sauce and this year she went organic with all the fruit.  I think she’s been reading my blog.  Although when I mentioned the sucanat to her, she said “don’t push it.”

Happy Thanksgiving to you all!


View this post on Instagram


A post shared by Pamela Salzman (@pamelasalzman)

Cranberry Sauce with Apples and Raspberries

Pamela
5 from 2 votes

Ingredients
  

  • ½ cup granulated sugar coconut sugar, maple sugar, or sucanat (you can add more if you like it sweeter)
  • 1 cup unsweetened apple juice
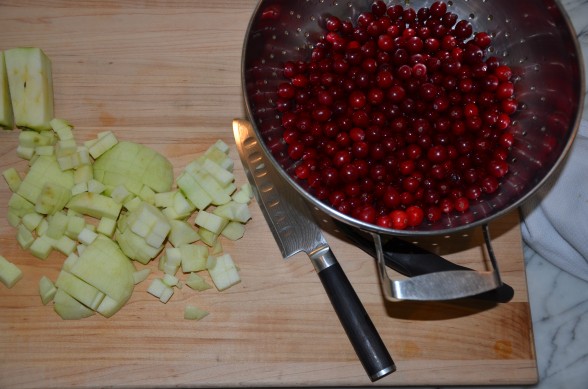
  • 1 pound fresh cranberries washed and picked through for bruised ones
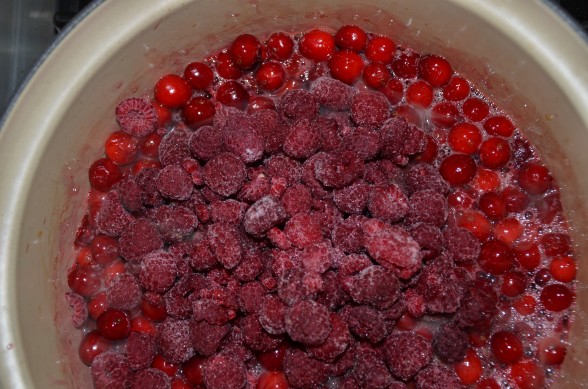
  • 1 10- ounce bag of unsweetened frozen raspberries or 10 ounces fresh raspberries
  • 2 apples* any variety is fine, peeled and diced (same size as a cranberry)
  • chopped pecans to taste optional

Instructions
 

  • In a large saucepan, combine the sugar or sucanat and apple juice and bring to a boil. Add cranberries, cover and boil until berries pop, about 5-8 minutes.
  • Add raspberries and stir.
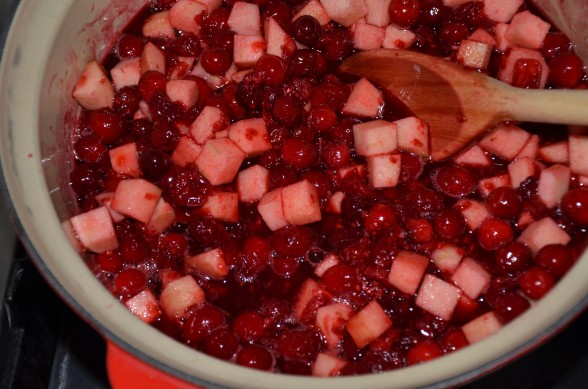
  • Add apples and cook 1 minute.
  • Add chopped nuts if desired.
  • Cool to room temperature and refrigerate.

Notes

*This will thicken as it cools and the apples will turn red. The more tart the apples, the more pectin and the thicker the sauce will get.
Good idea to make this the Sunday before Thanksgiving!
Tried this recipe?Let us know how it was!


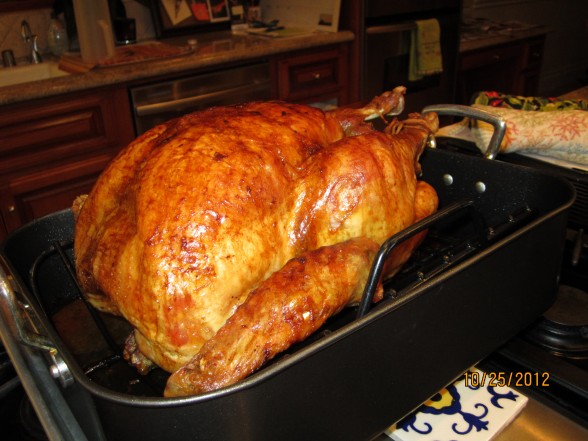
Traditional roast turkey with gravy

My husband and I offered to host Thanksgiving at our new home a few months after we were married in 1995.  We were young and naive, but we were excited to play house with all our new china and crystal.  To prepare for the big day, my husband bought the firewood and I did absolutely everything else.  (You can see who was the naive one.)  I’ll never forget when he suggested I call the local Koo Koo Roo to order a cooked turkey for Thanksgiving dinner, “you know, just so we’re sure it’s good.”  I was slightly insulted at the suggestion, but I knew where he was coming from.  I had never cooked an entire turkey before and I was a bit intimidated.  For most people, the turkey is the centerpiece of the Thanksgiving meal.  If I screwed it up, I thought, the holiday would be a disaster.  So my plan was simple —  don’t screw up the turkey.

I called people I trusted — my mother, my mother-in-law and my aunt.  You know what they say about asking people’s advice.  I got three different opinions on how to cook a turkey which taught me that there’s no one right way to do this.  However in the years that followed I learned that there is more than one way to mess it up.  I’ve had my share of mishaps, which only reinforced to me that no matter what goes wrong, you’ve just got to roll with it because there’s usually a solution.  Like in 1996 when I carved into the turkey and it was rather raw undercooked in the center.  So we just cut it into slices and pan-sauteed them with a little stock.  Everyone complimented me on how moist the turkey was!  Funny enough, my worst disaster came last year when I was really feeling like a pro, having cooked so many Thanksgiving dinners for my family and taught so many of the same classes.  I had my two beautiful turkeys in the garage refrigerator and in the process of transferring 2 pans of stuffing the night before, I was distracted and inadvertently left the garage refrigerator door open.  All night.  When I came down the stairs in the morning and noticed one pan of stuffing still on the countertop, I knew what I did.  My garage is usually about 80 degrees and so were the turkeys.  I sat down and wondered if I had just ruined Thanksgiving.  That’s what you get for being so smug, I thought.  Instead I sent my husband to Whole Foods at 7:00 am where he was able to buy two 17-pound already brined turkeys.  Thanksgiving was saved, although a little saltier than I would have liked.  But you also know what they say about beggars.

Here’s what I’ve learned about turning out a fabulous turkey:

  • Before seasoning, check both the neck and main cavities to remove extra turkey parts like the neck and giblets.
  • Season it well and as early (like 2-3 days before) as possible for the best flavor and a very moist turkey;  I use about 1 Tablespoon kosher salt per 5 pounds of turkey.  See below for where to distribute the salt.
  • Pull the turkey out of the refrigerator a minimum of 1 hour and maximum of 2 hours before roasting.  Your bird will cook more evenly, especially in the center.
  • The heat in most ovens comes from the top, so roast your turkey on the lowest oven rack to protect the breast meat from drying out.
  • If you decide to baste, do so very quickly so the oven door isn’t opened for more than 30 seconds.
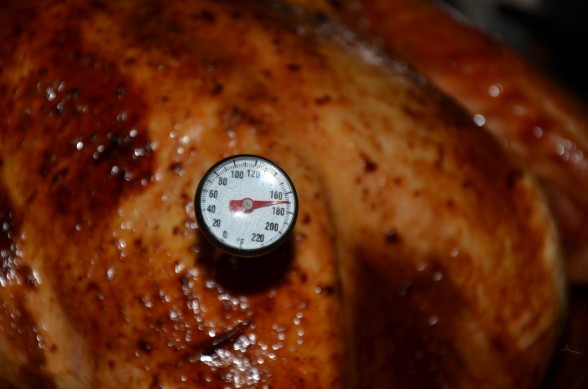
  • Use an instant read thermometer to determine if your turkey is properly cooked.  Do not rely on a timer!
  • Start testing earlier than you think you should.  Every oven is different and I’m noticing that the free-range birds are cooking more quickly than not free-range.
Turkey Weight Approximate Roasting Time
10 to 12 lb. 2 1/2 to 3 hours
12 to 14 lb. 2 3/4 to 3 1/4 hours
14 to 16 lb. 3 to 3 3/4 hours
16 to 18 lb. 3 1/4 to 4 hours
18 to 20 lb. 3 1/2 to 4 1/4 hours
20+ lb. 3 3/4 to 4 1/2 hours


Ironically, Koo Koo Roo went out of business years ago, but my kitchen is still open and bustling on Thanksgiving and my husband thinks I make the best turkey in town.


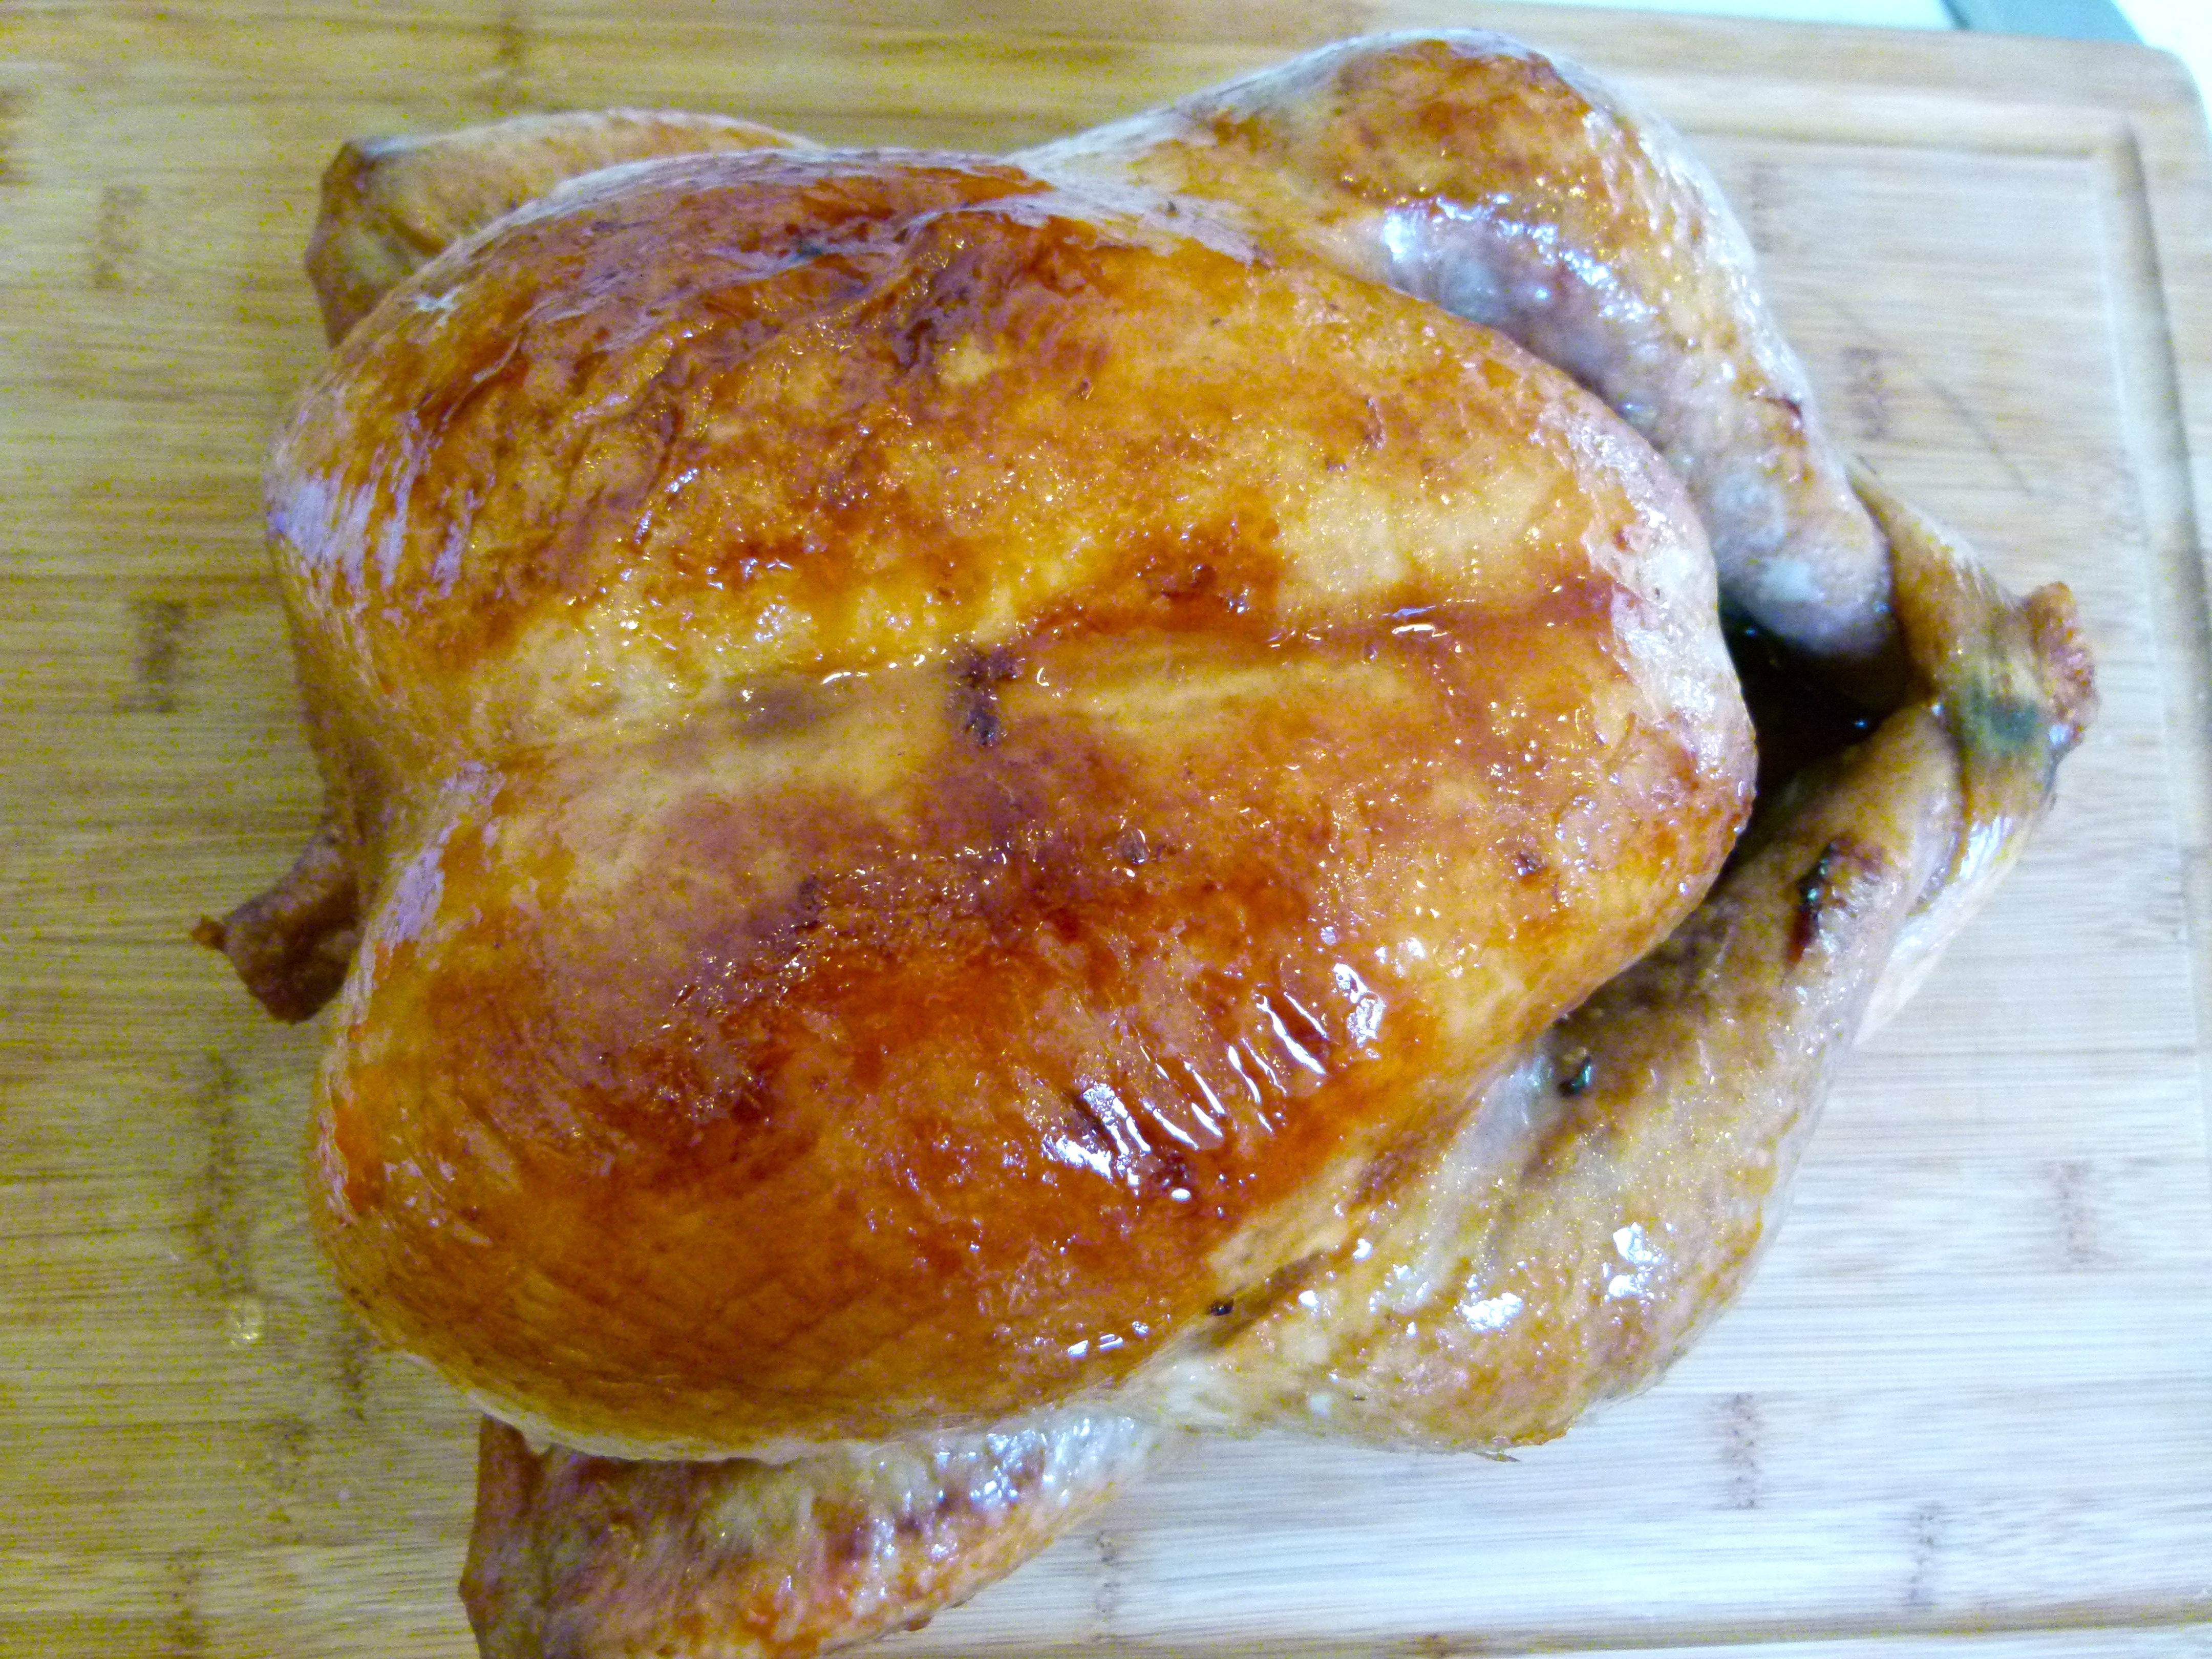
Traditional Roast Turkey with Gravy

Pamela
Servings 10 -12

Ingredients
  

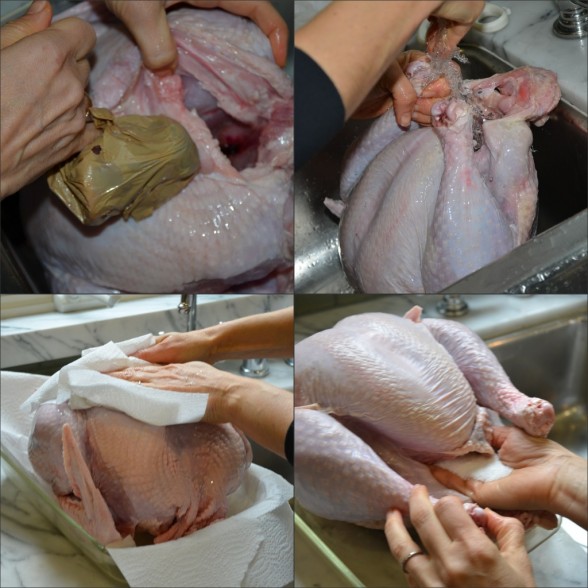
  • 12-14 pound fresh turkey giblet bag and neck removed, rinsed, patted dry and seasoned with 3 Tablespoons* kosher salt as soon as you bring it home from the market (2-3 days in advance is best)
  • *2 Tablespoons in the cavity 2 teaspoons on breast and 2 teaspoons on thighs and legs. Whatever is left on your hands, rub on the breast meat underneath the skin.
  • freshly ground black pepper
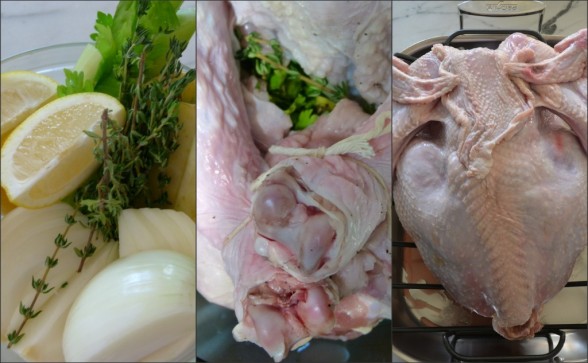
  • 1 onion quartered
  • 1 celery stalk cut into thirds
  • small bunch of parsley sprigs thyme sprigs and/or sage leaves
  • 1 lemon quartered
  • 1 apple quartered or cores from 2 apples
  • 6 Tablespoons unsalted butter melted
  • 1-2 cups stock or water
  • Gravy
  • ¼ cup white wine
  • 5 Tablespoons all-purpose flour
  • 3 cups chicken or turkey stock preferably homemade
  • sea salt and freshly ground black pepper to taste

Instructions
 

  • The day of roasting, take turkey out of refrigerator and wipe dry with paper towels. Bring to room temperature, about 60-90 minutes.
  • Preheat oven to 425 degrees. Position a rack in the lowest rung of the oven. Oil a V-shaped rack in a roasting pan.
  • Sprinkle a little freshly ground black pepper in the cavity and then add in the onion, celery, herbs, lemon and apple. Truss the turkey by tying the legs together. Brush the skin all over with some of the butter.
  • Place the turkey on the rack in the pan, breast-side down. Bend the wing tips behind the back. Roast for 40 minutes, basting with butter after 20 minutes. Reduce the heat to 325 degrees, turn breast side up (I usually wear clean rubber gloves to do this) and add 1 cup stock or water to the roasting pan. Continue to roast, basting with the remaining butter until used up and then with the pan juices every 20-30 minutes. Add additional stock to the roasting pan if you notice there are no pan juices with which to baste the turkey.
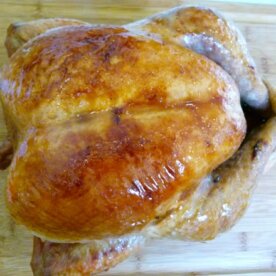
  • Roast until golden and cooked through. After about 2 ½ hours, start testing for doneness by inserting an instant-read thermometer in the thickest part of the breast away from the bone; it should register 165-170 degrees. You may also test the thigh – it should read 180 degrees. The turkey should roast a total of about 3 hours or 13-15 minutes per pound, but it can range from 2 ½ to 3 ½ hours.
  • Transfer to a cutting board or warmed platter and cover loosely with aluminum foil until ready to carve, at least 20 minutes (I prefer longer.) Use the pan juices to make gravy.
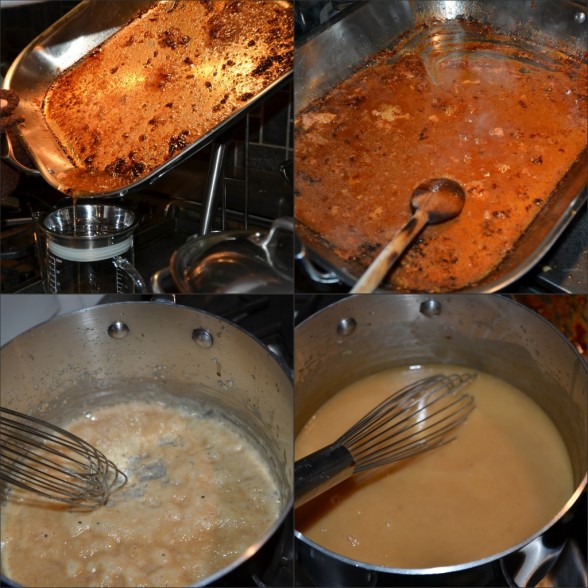
  • To prepare the gravy: Pour all the pan juices, including the fat into a gravy separator. Allow the fat to separate from the juices.
  • Heat the roasting over medium heat on the stove and add the pan juices plus the apple brandy. Bring to a boil and lower heat to a simmer for 2-3 minutes, stirring with a wooden spoon to dislodge any brown bits that stick to the bottom of the pan. Strain into a bowl or you can use the gravy separator again.
  • In a saucepan over medium heat, warm the reserved fat from the gravy separator until it is bubbly. You should have at least 3-4 Tablespoons. If you don’t, add some olive oil or butter. Add the flour and whisk rapidly to cook the flour, about 2-3 minutes.
  • Whisk in the strained pan juices and 3 cups of stock to the saucepan until smooth. Bring to simmer and cook until thickened, about 5 minutes. Season to taste with salt and pepper. Keep warm on lowest heat. Add additional stock as needed to achieve desired consistency.
Tried this recipe?Let us know how it was!


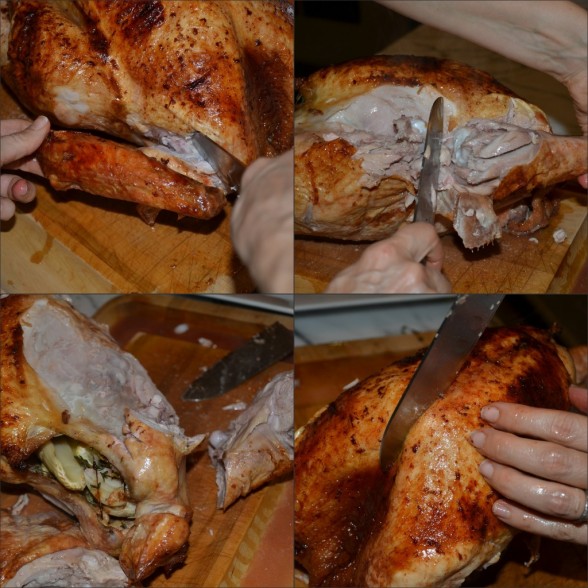
To carve:

Follow the same principles in carving a whole roasted chicken.  Cut into the joints, in between the connecting bones and it will be a breeze.  I carve in this order:

  1. Wings
  2. Drumsticks
  3. Thighs
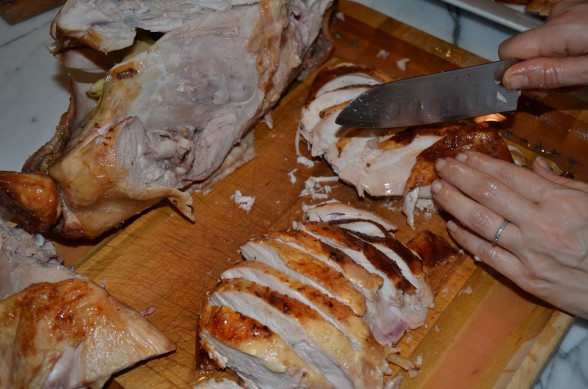
  4. Breasts, which I take completely off the turkey and slice crosswise against the grain.

Don’t forget to save the carcass and bones for stock!

Easy no-fail roast chicken

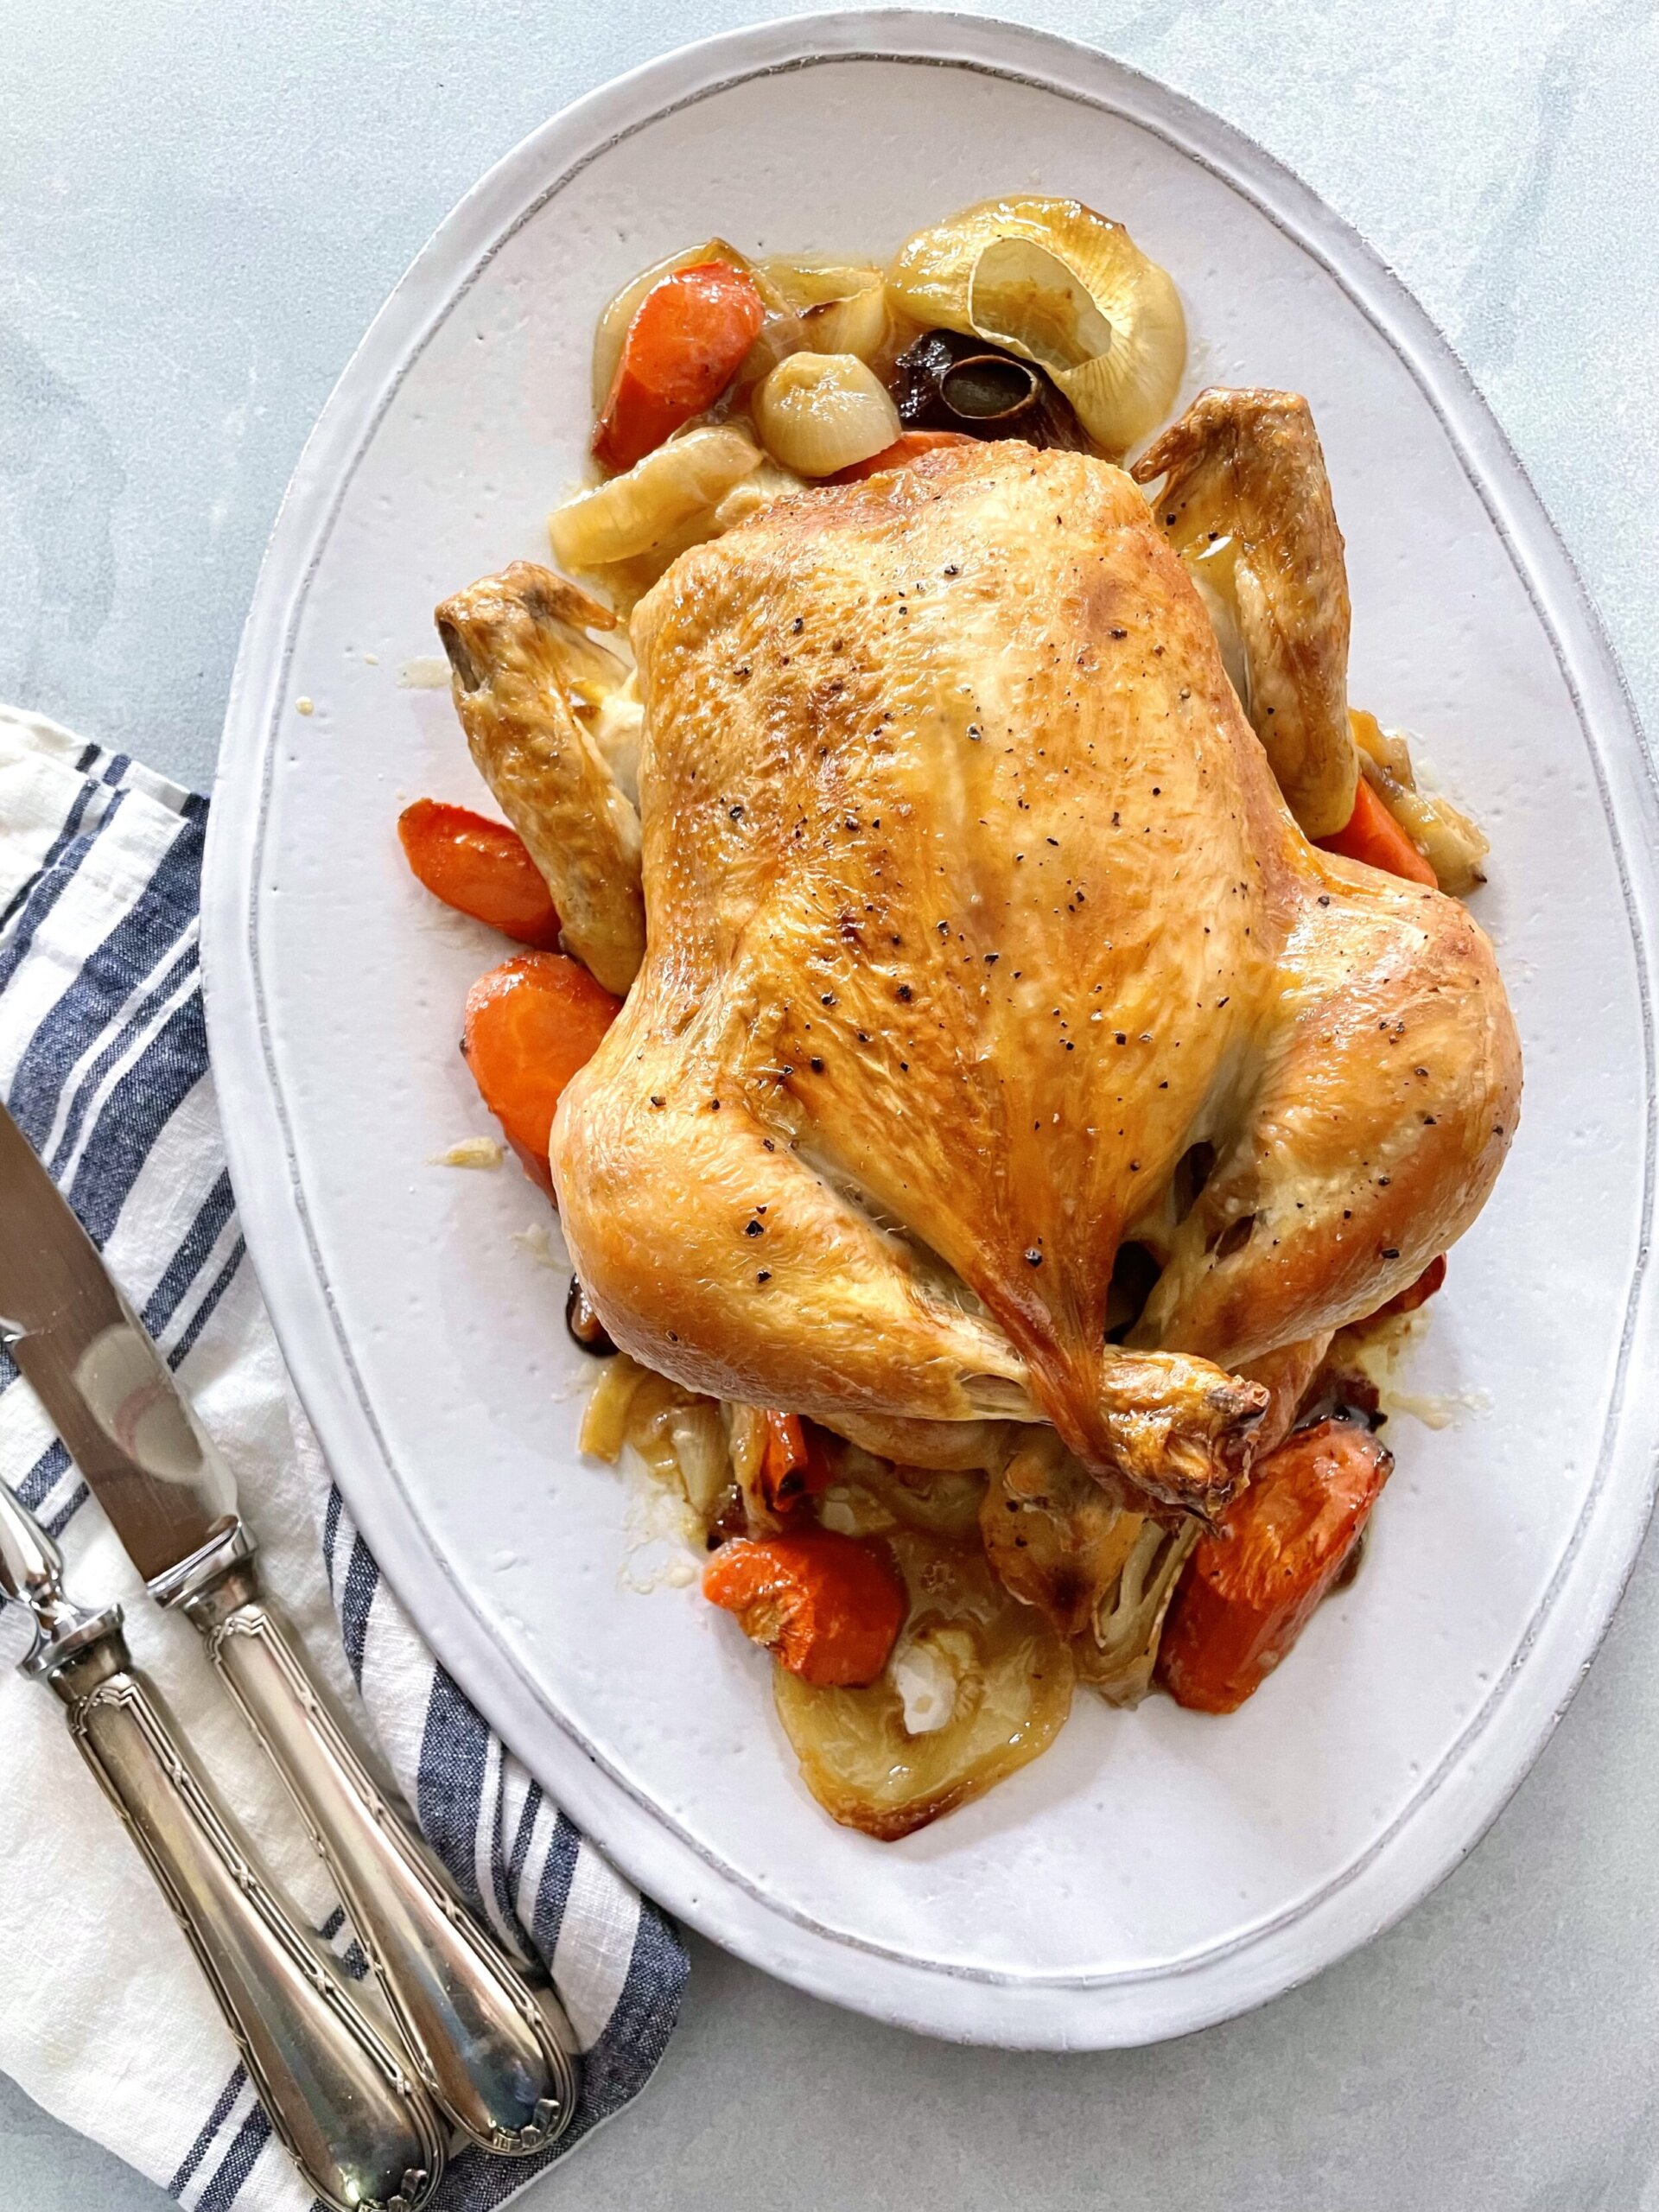
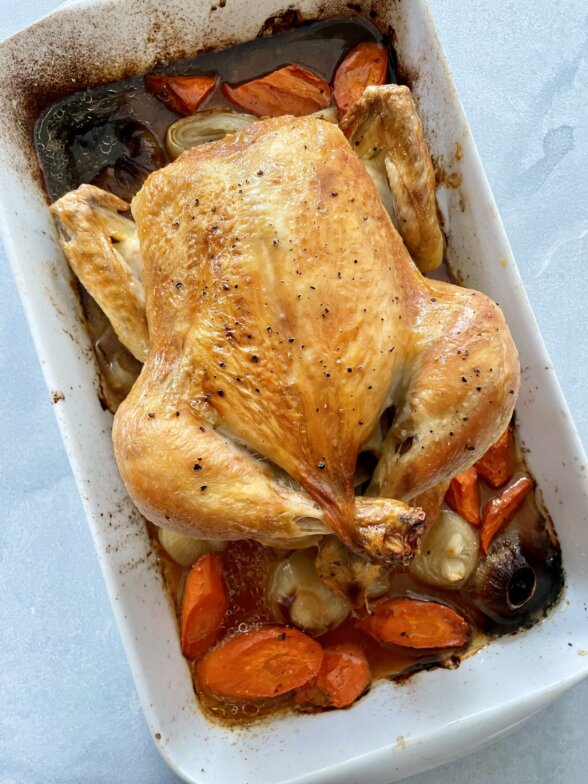
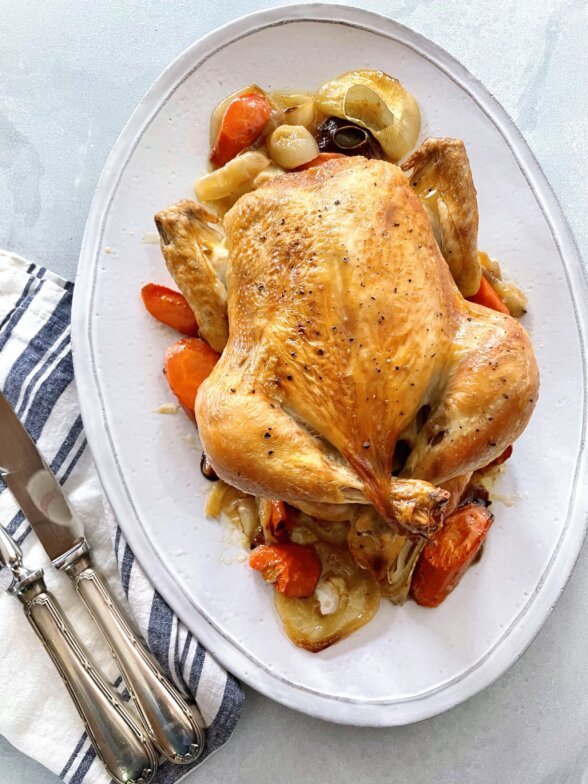
If you eat chicken, you absolutely must learn how to roast one whole.  It is beyond easy to do, never fails me, everyone loves it and is arguably the most delicious way to eat chicken.  WHAT MORE CAN YOU ASK FOR?!  The busier I get, the more often I make roast chicken and no one seems to tire of it.  But the first time I attempted to cook a whole bird, I had so much anxiety, so I completely understand if you think doing this is intimidating.  Now get over it!

First, let’s talk chicken.  There is some terminology you need to interpret when you are shopping for a chicken.

NATURAL:  This means absolutely nothing except that you are buying a chicken and not playdough.  It does not mean it was a healthy bird or that it ate a “natural diet” or lived in conditions that are “natural” for a chicken.  It just means it’s a chicken.

FREE-RANGE:   Free range means the chickens have access to the outdoors. Read between the lines here.  “Access” means the chickens are permitted to leave the barn if they want to or if they are able to, but it doesn’t mean they will.  “Outdoors” can also be interpreted in more than one way.  It can mean a window and that is a-ok with the USDA.  The term free-range has nothing to do with being organic. I know most people think that all free-range chickens run around in wide open areas eating bugs and worms the way they’re supposed to, but I hate to burst your bubble and say that is likely not the case.  Usually only small local farmers will have truly free-range birds.

ORGANIC:  This means the chicken has eaten organic feed (not treated with pesticides and herbicides) and has not been treated with antibiotics.  You might never take antibiotics yourself, but if you eat conventionally raised poultry, you’re ingesting antibiotics through the meat.  You may see the claim that a chicken has not been given hormones, but that is a practice that has been banned in this country, so all chickens should be hormone-free.  Organic chickens should also have been raised under humane conditions.

JIDORI:  I’ve seen this on quite a few restaurant menus recently.  Jidori is a type of free-range bird common in Japan but until recently almost unheard of in American restaurants.  The chickens are fed all-vegetarian diets, without antibiotics, but what they are really known for is their freshness.  Jidori chickens are killed within 24 hours of being sold.

Here’s what you do:

  • pick a night of the week that you only have 15 minutes to prepare dinner.
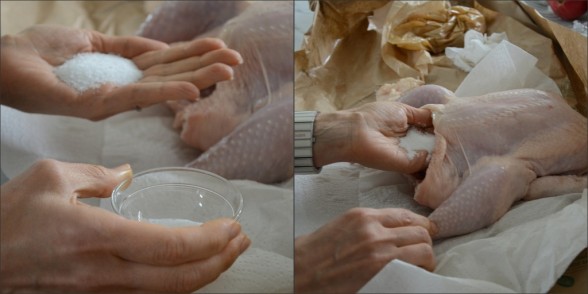
  • buy your chicken up to two days before and salt it on the inside as soon as you get it home from the market.  This will season the meat really well and keep it juicy.  Refrigerate it until the day you make it.
  • work backwards from what time you want to eat.  6:00 dinner?  Go back 10 minutes for carving, 20 minutes for resting, 90 minutes for roasting, 30-60 minutes for bringing to quasi-room temperature.  Take the chicken out the fridge at 3:00/3:30 to get prepped.  Into the oven at 4:00.  Not home?  Have a babysitter or older child put it in the oven since there’s nothing else to do.
  • Add whatever random vegetables or potatoes you have to the baking dish and you have the perfect dinner for minimal effort.
  • While you’re at it, make two at once and use the second for tomorrow’s lunch or dinner.
  • Click here to watch a video of me prepping and roasting a whole chicken.
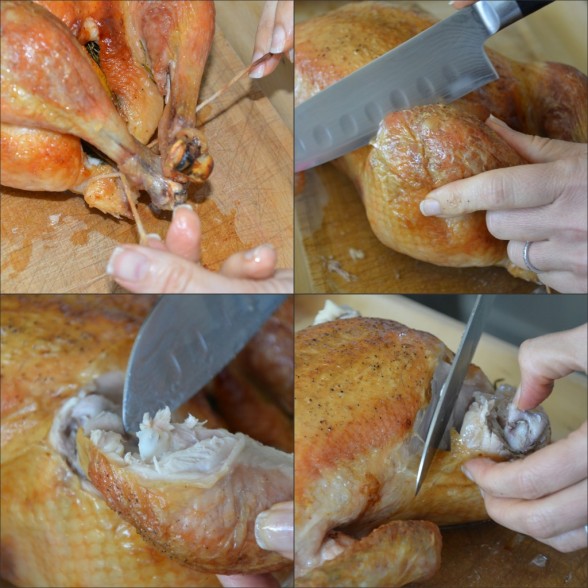
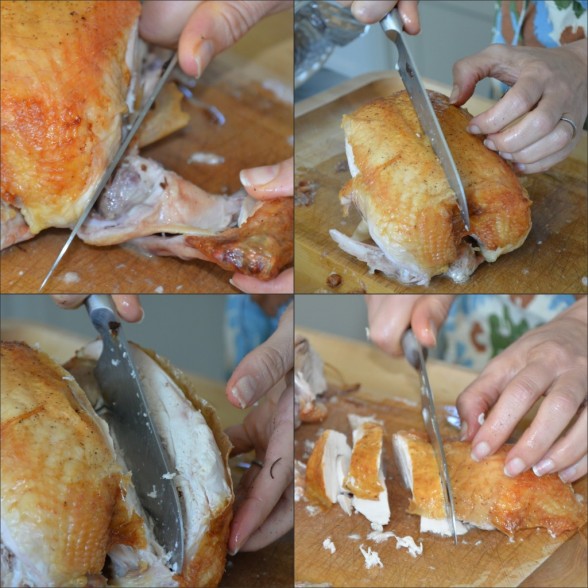
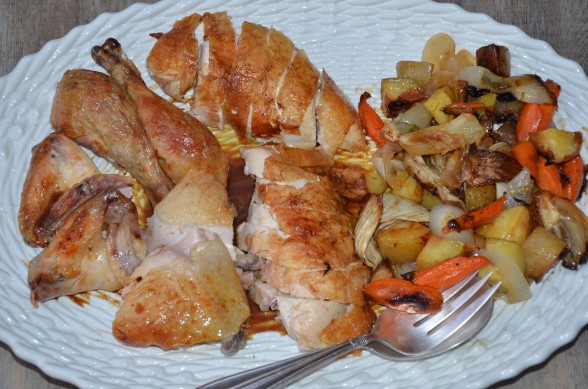
Addendum:  here’s a series of photos for how to carve the chicken.
1.  Untie the legs.
2.  Cut the skin around the leg and cut between the joints connecting leg and thigh.  Remove both legs and put on platter, covered to keep warm.
3.  Cut thighs off, again cutting between the joints and keep warm on a platter.
4.  Remove wings and transfer to platter.
5.  Cut alongside the breastbone all the way down and cut around the breast, completely taking it off.  I like to slice the breasts on a cutting board as shown.  Take the drippings and pour over the chicken.
6.  Pull everything out of the cavity and save the carcass to make the best stock ever.  Make stock within the next two days or wrap the carcass well and freeze it until you can make stock.


Easy No-Fail Roast Chicken

Pamela
5 from 1 vote
Servings 4 -6, assuming not everyone wants the breast meat

Ingredients
  

  • 1 4-5 pound roasting chicken preferably free-range, organic from a small local farm
  • Kosher Salt such as Diamond Crystal
  • Freshly ground black pepper
  • 1 lemon halved
  • ½ bunch fresh thyme or 4 6-inch sprigs of fresh rosemary
  • 4-5 large cloves of garlic smashed
  • 2 Tablespoons unsalted butter melted or olive oil + more for drizzling vegetables
  • 1 large onion peeled and thickly sliced
  • kitchen twine for trussing
  • assorted chopped vegetables such as potatoes winter squash, carrots, fennel

Instructions
 

  • When you return home from the market, unwrap the chicken and remove the giblets from the cavity. Rinse the chicken inside and out and dry very well with paper towels. Remove piece of fat from the outside of the cavity. Take a heaping tablespoon of salt and a few grinds of pepper and rub it inside the cavity. If there’s any more salt left on your hands, rub it in between the skin and the breast meat. Rewrap the chicken and refrigerate until ready to cook.
  • Remove chicken from the refrigerator 30-60 minutes before cooking. Preheat the oven to 425 degrees.
  • Stuff the cavity with the lemon, thyme or rosemary and garlic.
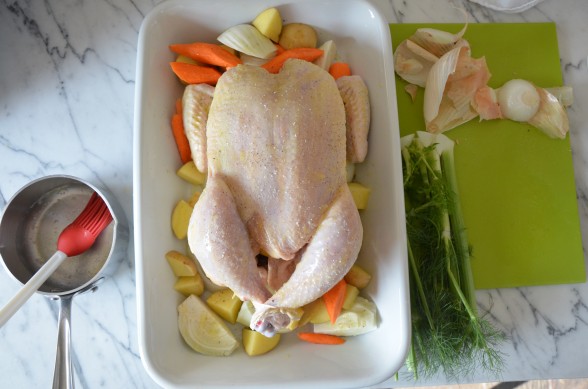
  • Spread the onion slices on the bottom of a shallow roasting pan. Place the chicken on top of the onions and tie the drumsticks with kitchen twine. Brush all over with the melted butter or oil.
  • Scatter chopped vegetables around chicken and drizzle vegetables with oil. Sprinkle chicken and vegetables with a little salt and pepper.
  • Roast the chicken for 1 hour 10 minutes - 1 ½ hours or until a instant read thermometer inserted in the breast reads 160-165 degrees. Transfer to a platter or a cutting board and allow to rest about 10-20 minutes, tented with foil.
  • Carve and serve immediately.
Tried this recipe?Let us know how it was!


Do-it-yourself almond milk — 3 versions

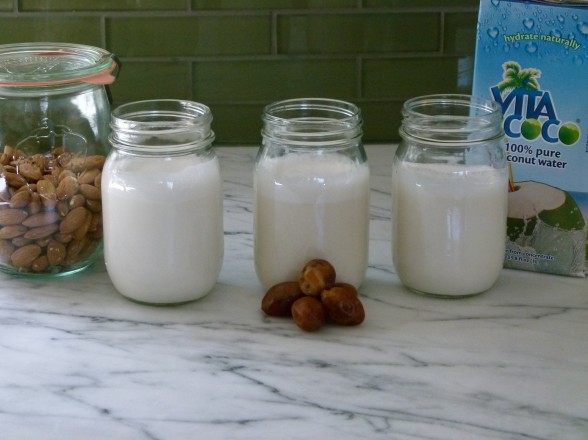
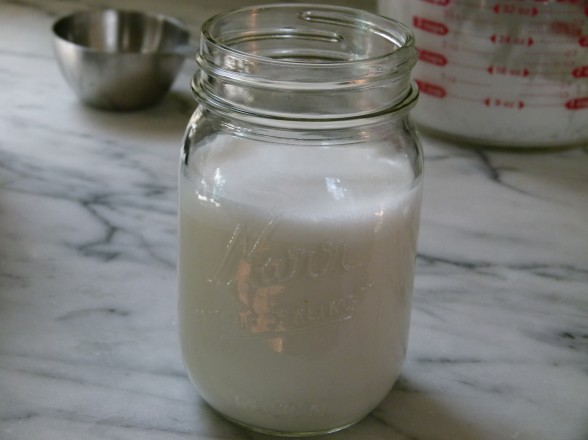
You saw from my Alternative Milk Guide that these non-dairy beverages are basically nuts/seeds/grains pureed with water and strained.  Although Mr. Picky drinks raw milk regularly, the rest of us don’t and the non-dairy milk that is used most often in our house is almond milk.  Once I learned how easy it is to make your own extremely delicious, pure almond milk, I have never purchased it off the shelf again.  This is a great, non-messy activity to do with your kids since they can help with the process and it is also really cool for them to see how almonds become almond milk.  It was also really cool for my husband to see how to “milk” an almond because he was having a tough time visualizing it.

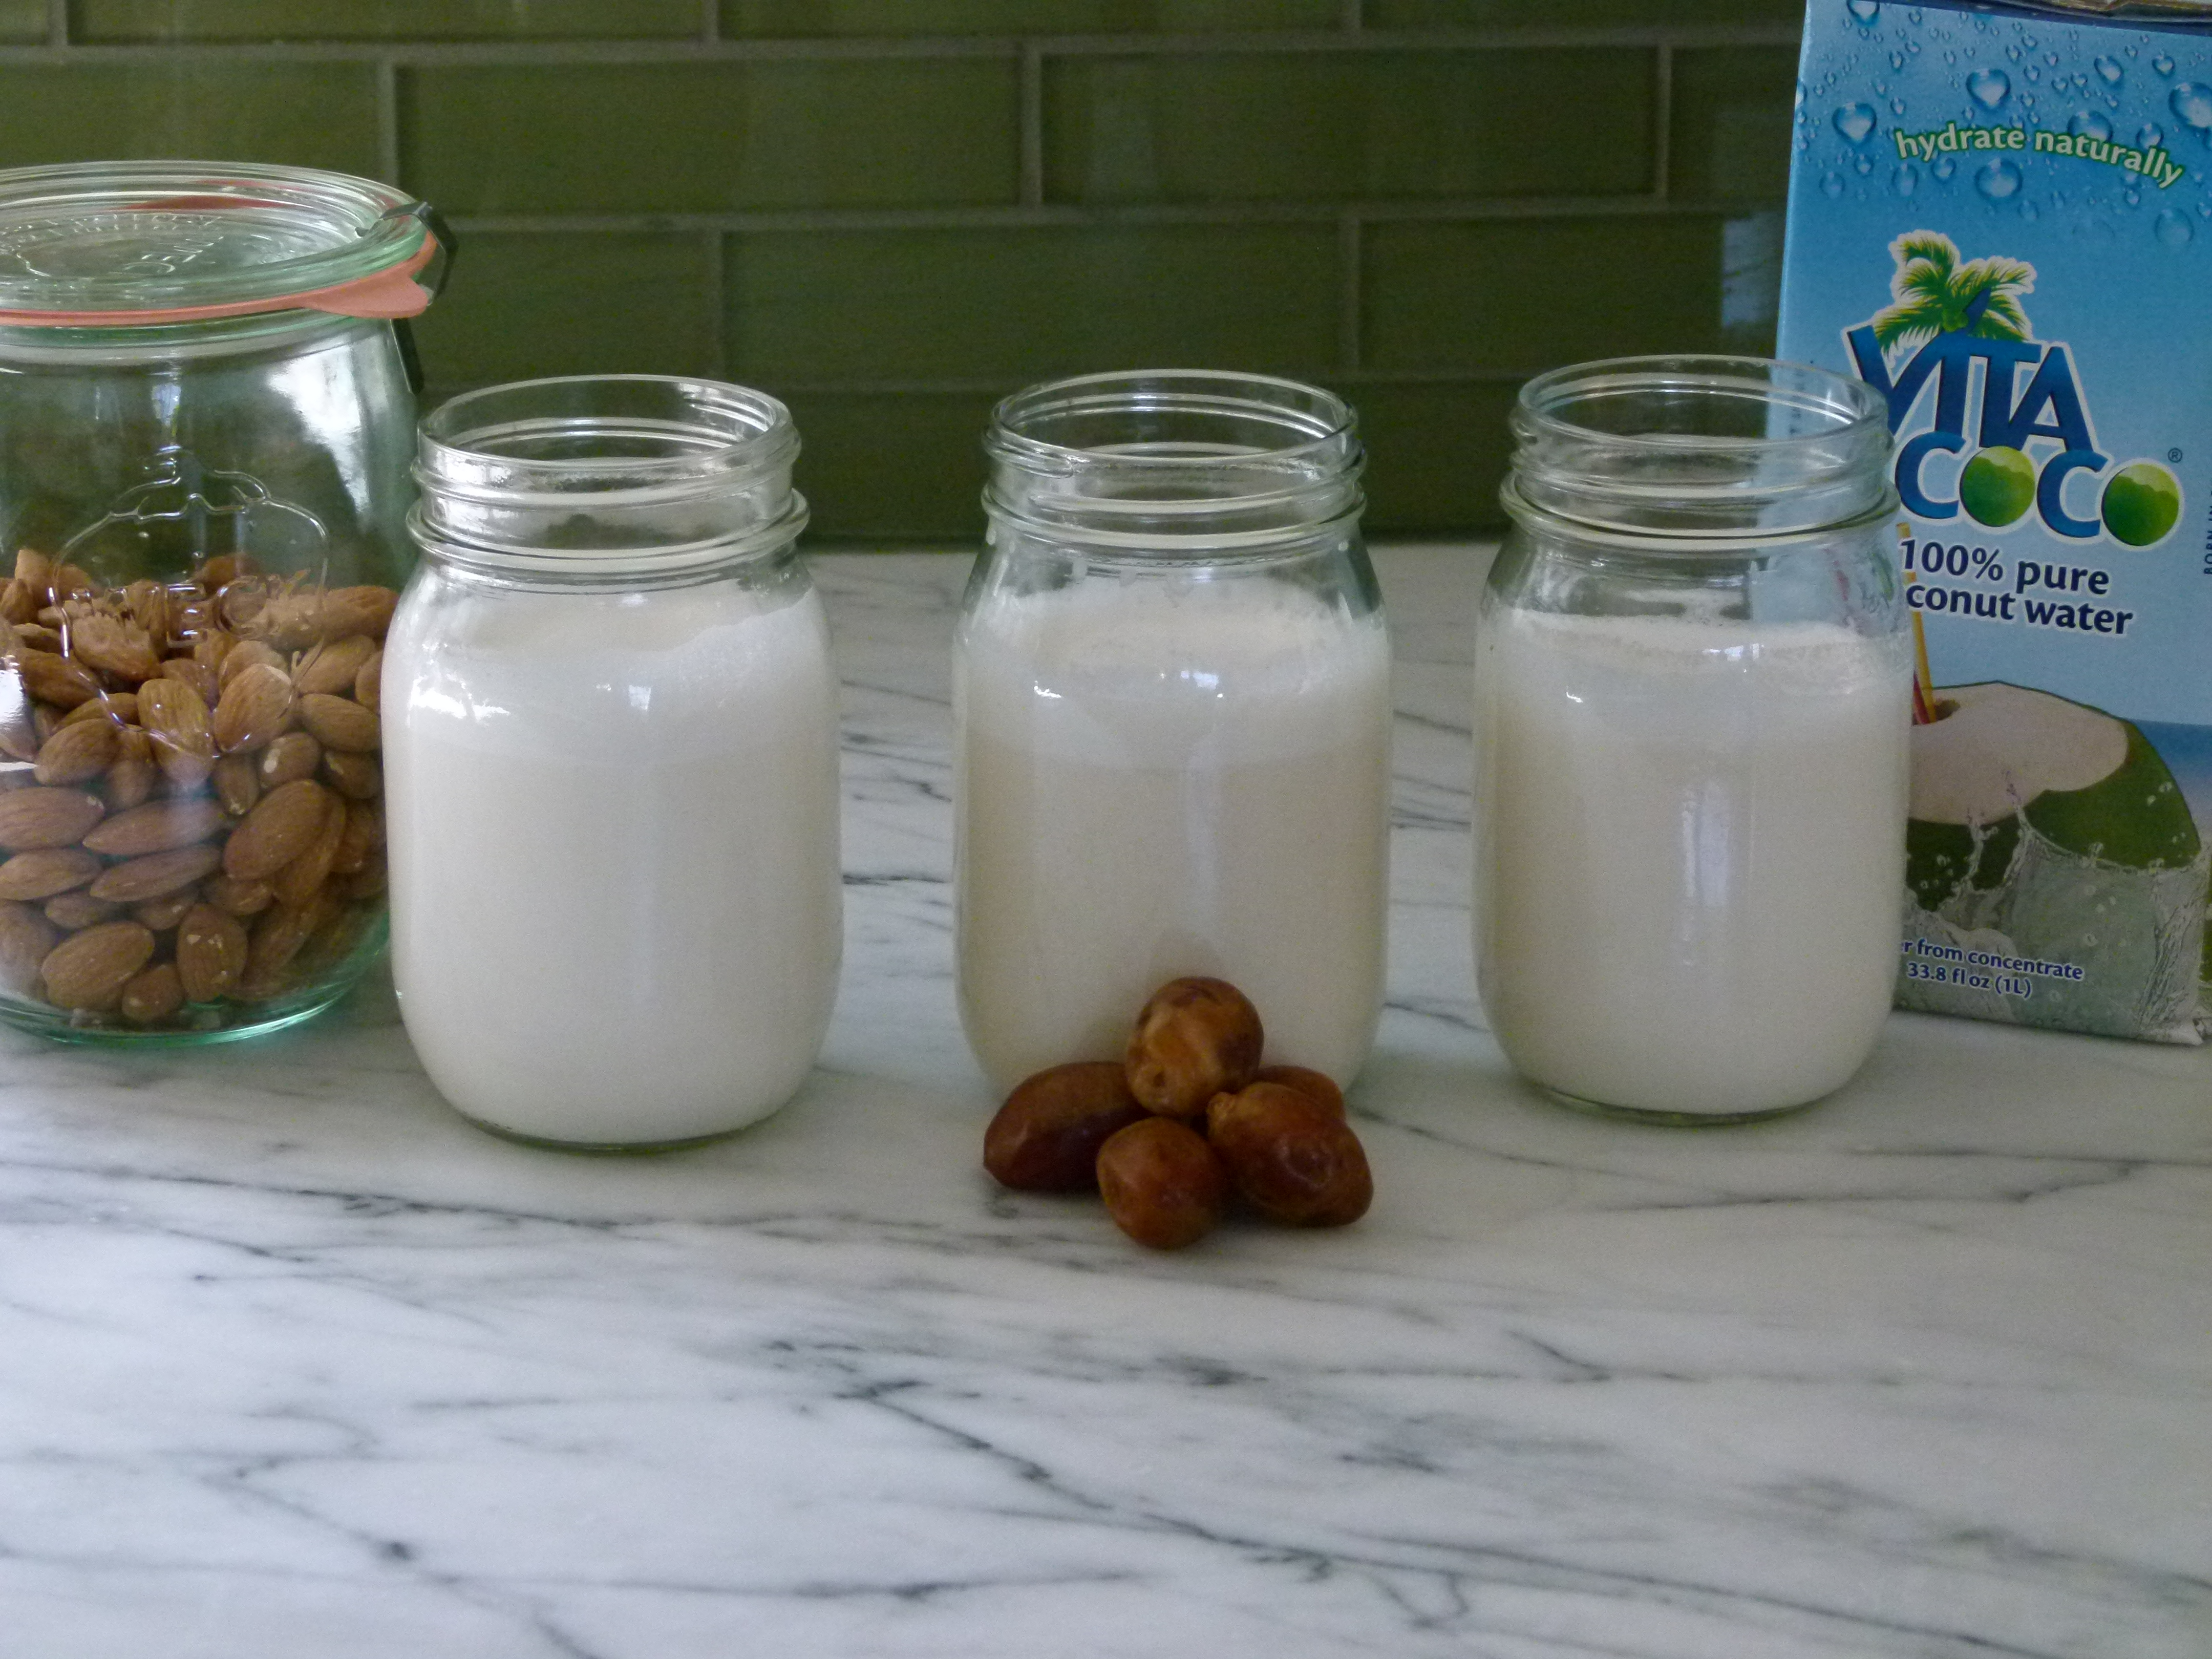
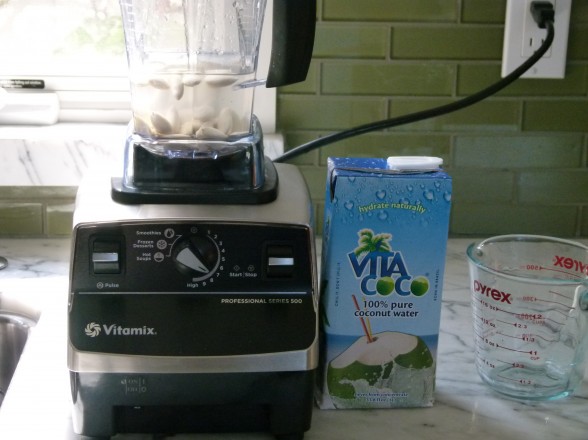
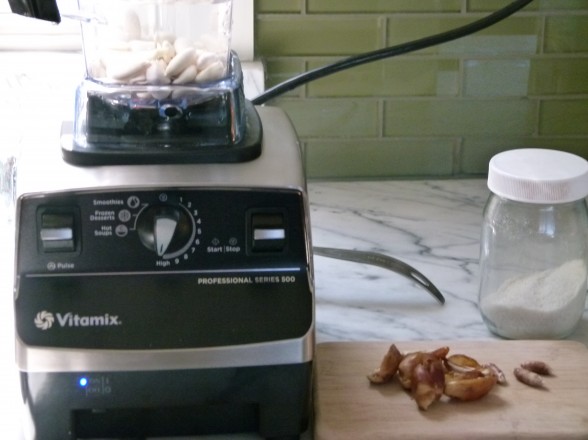
I made a basic almond milk from almonds and water the first time around and it was the kind I was familiar with.  But then my friends Baelyn and Shiva told me about The Mylk Man in Venice, California who makes and delivers fresh organic almond milk made from almonds and coconut water.  Genius!  Lastly, my friends at Pressed Juicery in Brentwood make an unbelievable almond milk from almonds, dates, vanilla, sea salt and water.  I had to give both of these a try at home since I’m not always in the city and voila!  Amazing!

We met our friends Jane, Matt and their daughters for dinner the other night at our local YMCA tennis club and Matt happened to mention that he is recently dairy-free and has discovered the joys of almond milk.  Where most couples might go out for an after-dinner drink, I knew where we were going — back to our house for an almond milk taste testing! Everyone was blown away by the coconut water and date-sweetened versions.  We even figured out what to do with the almond pulp I had saved from straining the milk.  Drinks and dessert!

Basic Almond Milk

Pamela

Ingredients
  

  • 1 cup raw almonds

Instructions
 

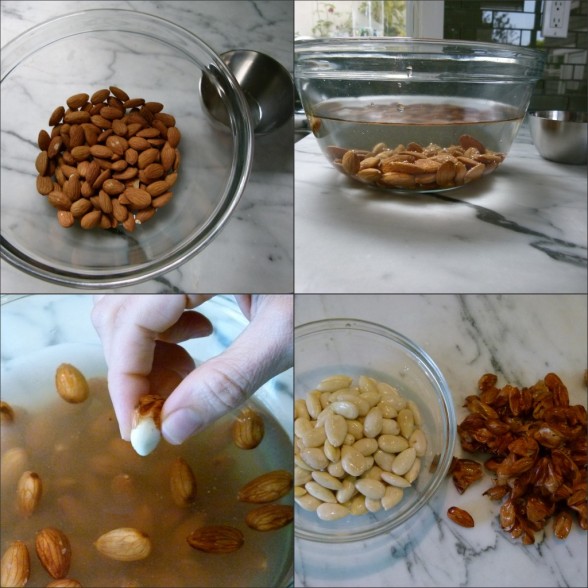
  • Soak 1 cup raw almonds in bowl with plenty of room temperature water for 6-8 hours. (Soaking will make the almonds softer and more digestible.)
  • Drain the almonds in a colander and rinse with fresh water. Remove the skins from the almonds by pressing them through your thumb and forefinger.
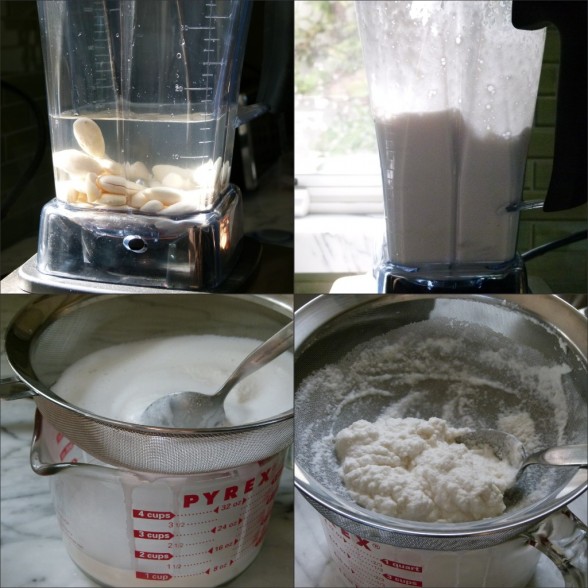
  • Discard the skins and place the almonds in a blender or Vitamix. Add 3 cups fresh water and blend until the nuts are pulverized.
  • Strain through a fine mesh sieve, cheesecloth or a nut milk bag into a glass bowl. If using a sieve, use a spoon to scrape the almond meal around and allow as much liquid to drain through.
  • Transfer to a glass jar and refrigerate, covered for up to 4 days. Add the remaining pulp, sweetened with honey or maple syrup, to hot cereal, granola or fruit.
Tried this recipe?Let us know how it was!

almond milk with coconut water

Soak almonds in regular water, but use coconut water to blend with the skinned almonds.


almond milk sweetened with dates

Follow directions for basic almond milk, but blend skinned almonds with water and 8 pitted dates.  You can add a drop of vanilla and sea salt, if you like, but it is delicious just like this.  You don’t need to sweeten the remaining pulp if you choose to eat it since it is already sweet from the dates.

Hummus 4 ways

I was talking with my summer intern Hannah about how much I love hummus and how easy it is to make.  I think I have been making my own hummus since before she was born, but the last couple years I have felt hummus boredom so I’ve had a little fun experimenting with different flavors.   Hannah was intrigued since she thought hummus was like puff pastry, which NO ONE makes from scratch.  Well, I knew we had a cooking lesson on our hands!

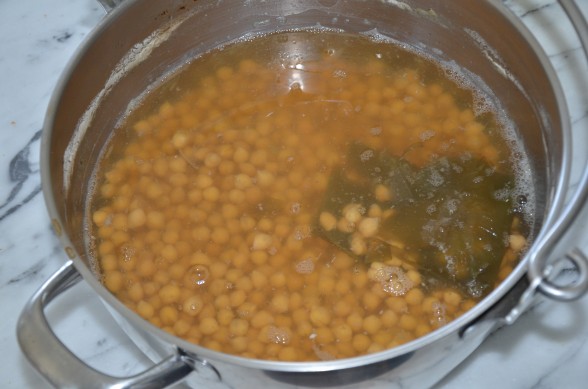
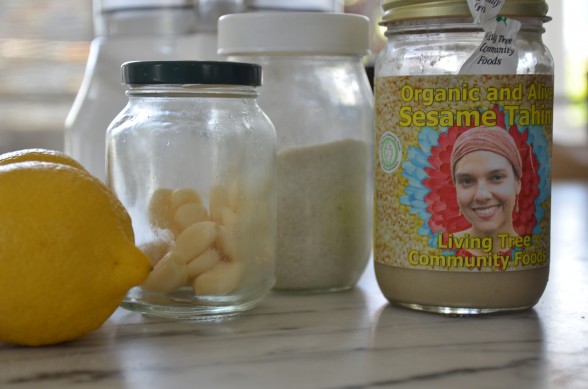
Hummus is a Middle Eastern dip made from cooked chickpeas (a.k.a. garbanzo beans) pureed with tahini (a paste made from ground up sesame seeds), garlic, lemon juice, and salt.  I add a little liquid from the pot (or can) of cooked chickpeas and some people add olive oil.  Sure you can add cumin or hot sauce, but essentially that’s it.  I maintain that hummus tastes so much better when I make my beans from scratch, although really you can use canned and it will still be fabulous.  But what kind of a cooking lesson would this be if we used chickpeas from a can?  So I started soaking a ton of dried chickpeas that day, cooked them for 90 minutes the next morning and we began our hummus factory.

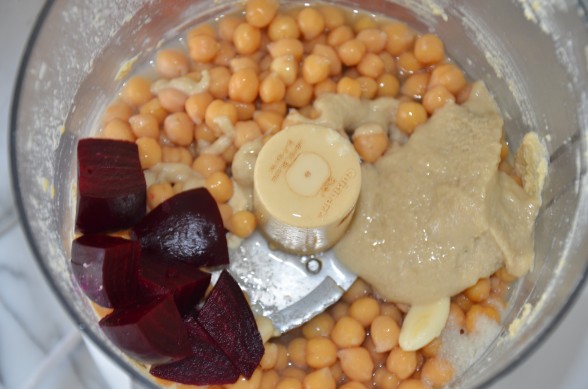
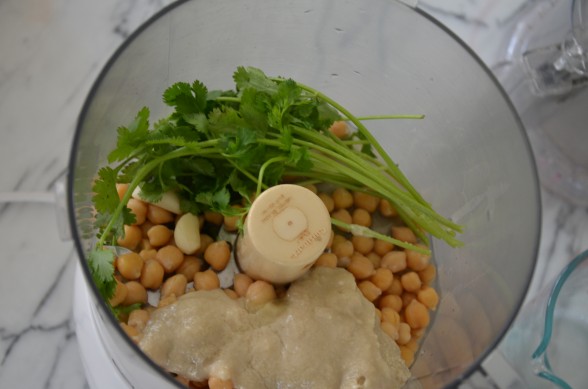
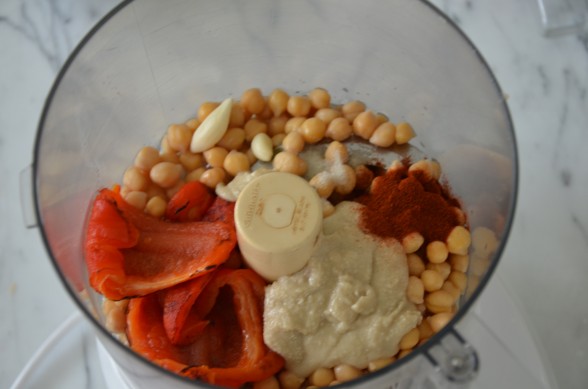
I had an idea to make several of my favorite flavors just for kicks, so we also roasted a couple beets, a red bell pepper and cut some cilantro from the garden.  After we made our first batch, which was the traditional kind, Hannah looked at me in disbelief.  “That’s it?! ”  Yep.  That’s it.  “If people knew how easy it was to make hummus, they would never buy it!”  I’m so glad that thought was put out there to the universe.

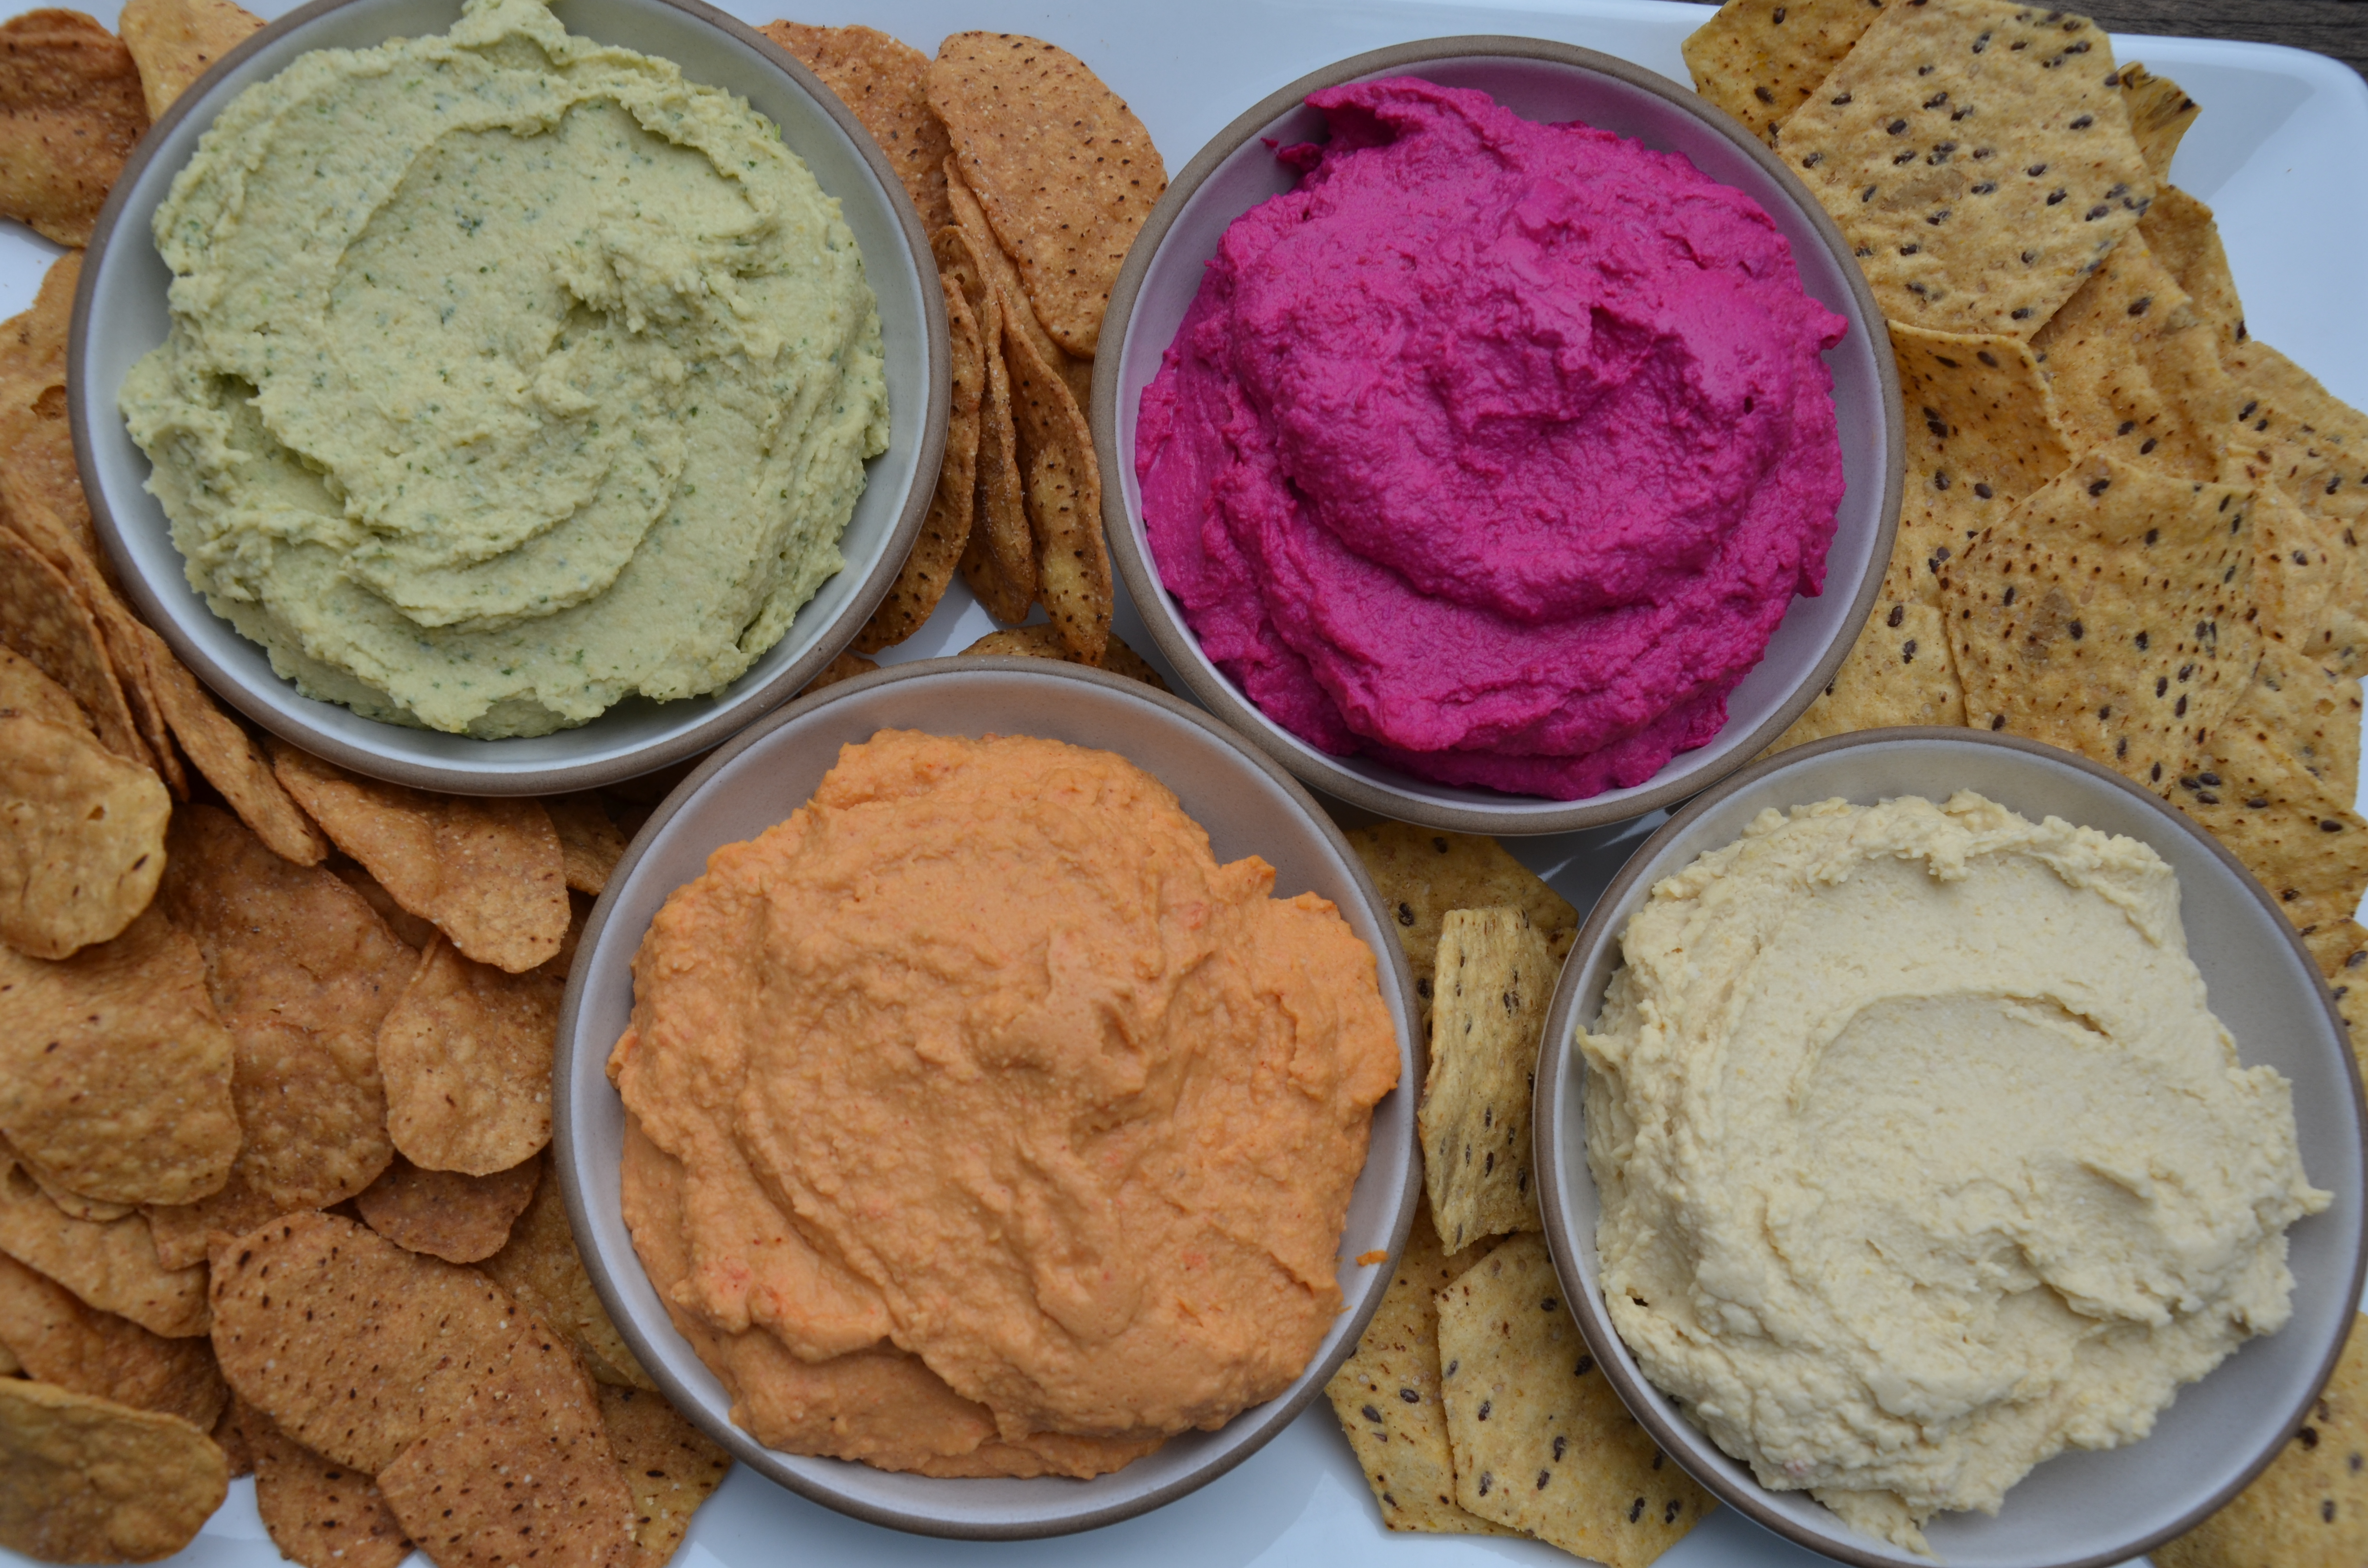
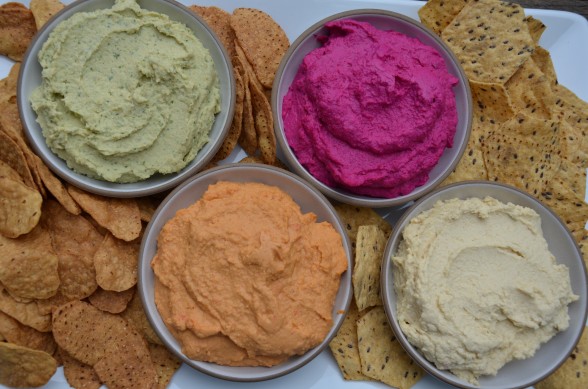
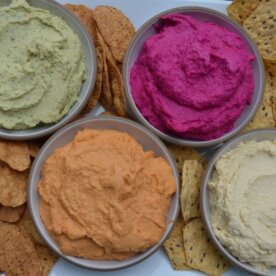
After that, we made hot pink hummus with a roasted beet, which I agreed would be super cute for a (girl) baby shower or a bachelorette party (Hannah’s idea.)  Cilantro hummus turned out a lovely pale green with a fresh herby flavor.  Lastly, my favorite was roasted red pepper hummus to which I added a little smoked paprika and a dash of cayenne.  We tried all the flavors with raw carrot, cucumber and sweet bell pepper slices, as well as some gluten-free chips.  But I also love the red pepper version on veggie burgers and the cilantro one on a turkey sandwich.  The beet hummus is for pure shock value since despite adding a roasted beet, it just picks up a subtle sweetness and really tastes a lot like the traditional.  You can never have enough healthful dips for summer entertaining.  With July 4th around the corner, there’s no better time to add some pizzaz to an old classic!

Traditional Hummus

Pamela

Ingredients
  

  • 3 cups cooked chickpeas if canned, drained and rinsed, liquid reserved*
  • 3 garlic cloves
  • ½ cup sesame tahini
  • 4-5 Tablespoons freshly squeezed lemon juice
  • 6 Tablespoons chickpea liquid
  • 1 teaspoon plus a pinch sea salt

Instructions
 

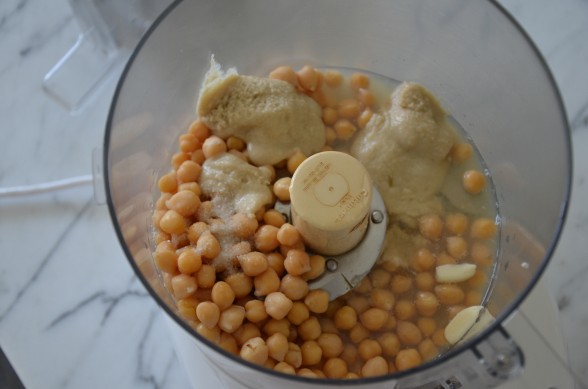
  • Place all the ingredients in a food processor fitted with the steel blade and process until the hummus is smooth. Taste for seasoning and texture.
  • I like it very smooth and creamy, so I let the food processor run for a few minutes. I also prefer to eat it immediately at room temperature, but if you will be refrigerating it, you can add a little extra chickpea liquid since the hummus will thicken after it has been refrigerated.
Tried this recipe?Let us know how it was!


: : : : : : : : : : : : : : : : : : : : : : : : : : : : : : : : : : : : : : : : : : : : : : : : : : : : : : : : : : : : : : : : : : : : : : : : : : : : : : : : : : : : : : : : : : : : : : : : : : : : : : : : : : : : : : : : : : : : : : : : :


Variations:

Beet Hummus: add 1 large roasted and peeled red beet to Traditional Hummus ingredients in food processor.  Blend until thoroughly combined.


Cilantro Hummus: add 24 sprigs of cilantro and a few dashes of cayenne pepper to Traditional Hummus ingredients in food processor.  You can use either lemon juice or lime juice.  Blend until thoroughly combined.  Feel free to use more cilantro.


Roasted Red Pepper Hummus: add 1-2 teaspoons smoked paprika, a few dashes cayenne pepper and 1 large roasted, peeled and seeded sweet red bell pepper to Traditional Hummus ingredients in food processor.  Reduce lemon juice to 1 Tablespoon and sea salt to ¾ teaspoon.  Blend until thoroughly combined.  Taste to adjust seasonings.

Basil Parsley Pesto Recipe


basil-parsley pesto | pamela salzman

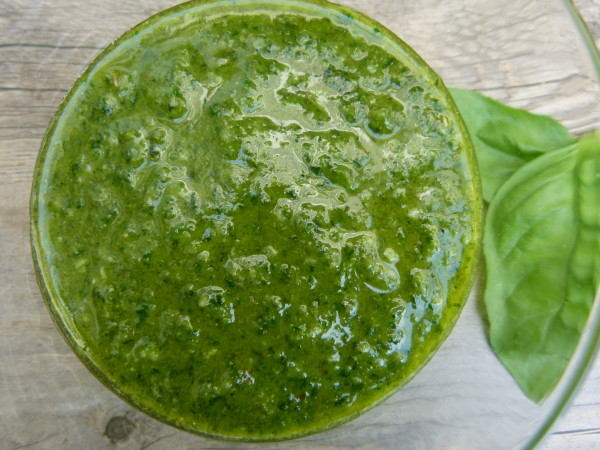
I am willing to bet that I have eaten more pesto in my life than all of you.  Let me give you a little background.  My father has an expert green thumb and has maintained amazing gardens throughout my life.  Every year, he plants one large plot with a wide variety of beautiful vegetables, including tomatoes, eggplant, zucchini, green beans, cucumbers, arugula, kale, and so on.  And he also plants one plot of basil.  Just basil.  And every year he has so many basil plants that he has to give them away.  Same story this year.  “Pamela.  I have enough basil plants for all of New York.”  I know what you’re thinking.  Why does your father overplant basil every year?  Trust me, don’t ask.

Well, it’s a good thing we all liked basil growing up!  Because as you might imagine, we were putting it on everything, from our morning eggs to tomato salads to sauteed green beans to macerated strawberries.  But using a few handfuls of green leaves everyday was not putting a dent into our basil farm.  My father would rant and rave (in Italian).  “Do we not eat basil in this house?  I planted so much beautiful basil and no one eats it.  Mah!”  I can still picture the kitchen sink most summer mornings with freshly cut bushes of basil.  “Pamela, if we don’t pick it now, it will turn to seed and then the plant will die.”  Really?  Well I heard you can die from a basil overdose.

My mother had no choice but to turn to pesto.  What better way to use an overabundance of the herb?  Mom pulled out the blender and ground up pine nuts and fresh garlic.  She packed down as much basil as would fit, sprinkled it with salt and with the motor running, slowly poured in the olive oil.  That distinctive aroma would fill the house and still today reminds me of the summers of my youth.  Next came the grated parmesan cheese and we had glorious pesto.  I say glorious, because my sisters and I loved it.  I think my mother probably would have started drinking hard liquor if we didn’t.

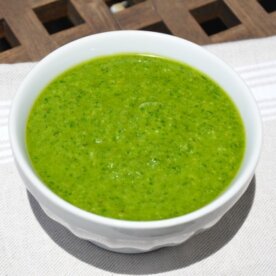
Lucky for me that I married someone who loves pesto and gave birth to kids who do, too.  We put it on lots of things — pasta, sandwiches, grilled vegetables, ho-hum chicken or fish, minestrone soup, scrambled eggs, boiled potatoes, pizza and so on.  But I make it my own way with a combination of pine nuts and walnuts; pecorino-romano, which is made from sheep’s milk cheese and a little easier for some to digest than cow’s milk; and dare I say, with half basil and half parsley.  I am obsessed with parsley, which I consider a superfood.  It is loaded with chloropyhll and incredibly rich in nutrients from iron to calcium to Vitamin C.  But parsley also contains some interesting volatile oil compounds that are considered to be “chemoprotective,” which means they can help neutralize certain carcinogens.  The flavor of a basil-parsley pesto is still dominated by basil, but somehow a little lighter.  I actually prefer it to an all-basil pesto.  Of course, the real reason I even started to do half and half is because I always manage to plant way too much parsley.

basil-parsley pesto | pamela salzman

Basil-Parsley Pesto

Pamela
5 from 1 vote

Ingredients
  

  • makes 2 cups
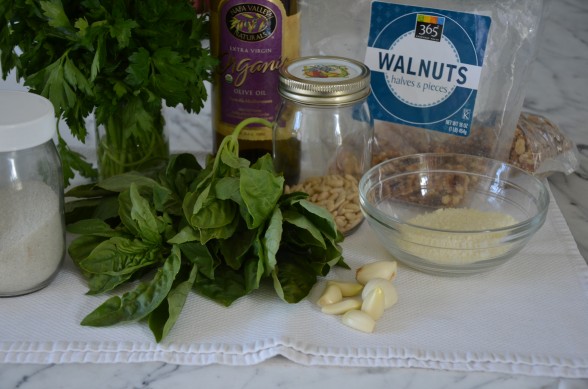
  • ¼ cup raw walnuts
  • ¼ cup raw pine nuts
  • 1 ½ - 2 Tablespoons chopped garlic
  • 2 ½ cups basil leaves lightly packed
  • 2 ½ cups flat-leaf parsley leaves lightly packed
  • ¾ teaspoon sea salt
  • couple of grinds of black pepper
  • 1 cup unrefined cold-pressed extra virgin olive oil
  • ½ cup grated pecorino-romano or parmesan cheese**

Instructions
 

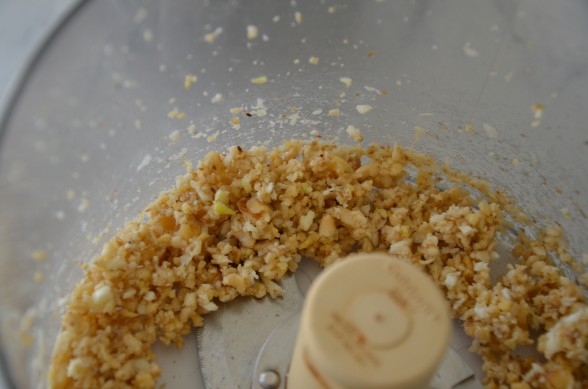
  • Place the walnuts, pine nuts, and garlic in the bowl of a food processor fitted with a steel blade. Process until finely chopped.
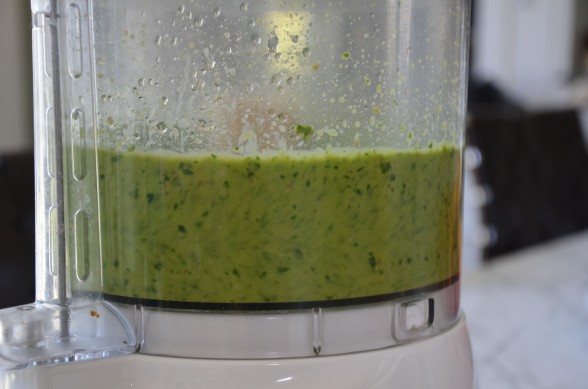
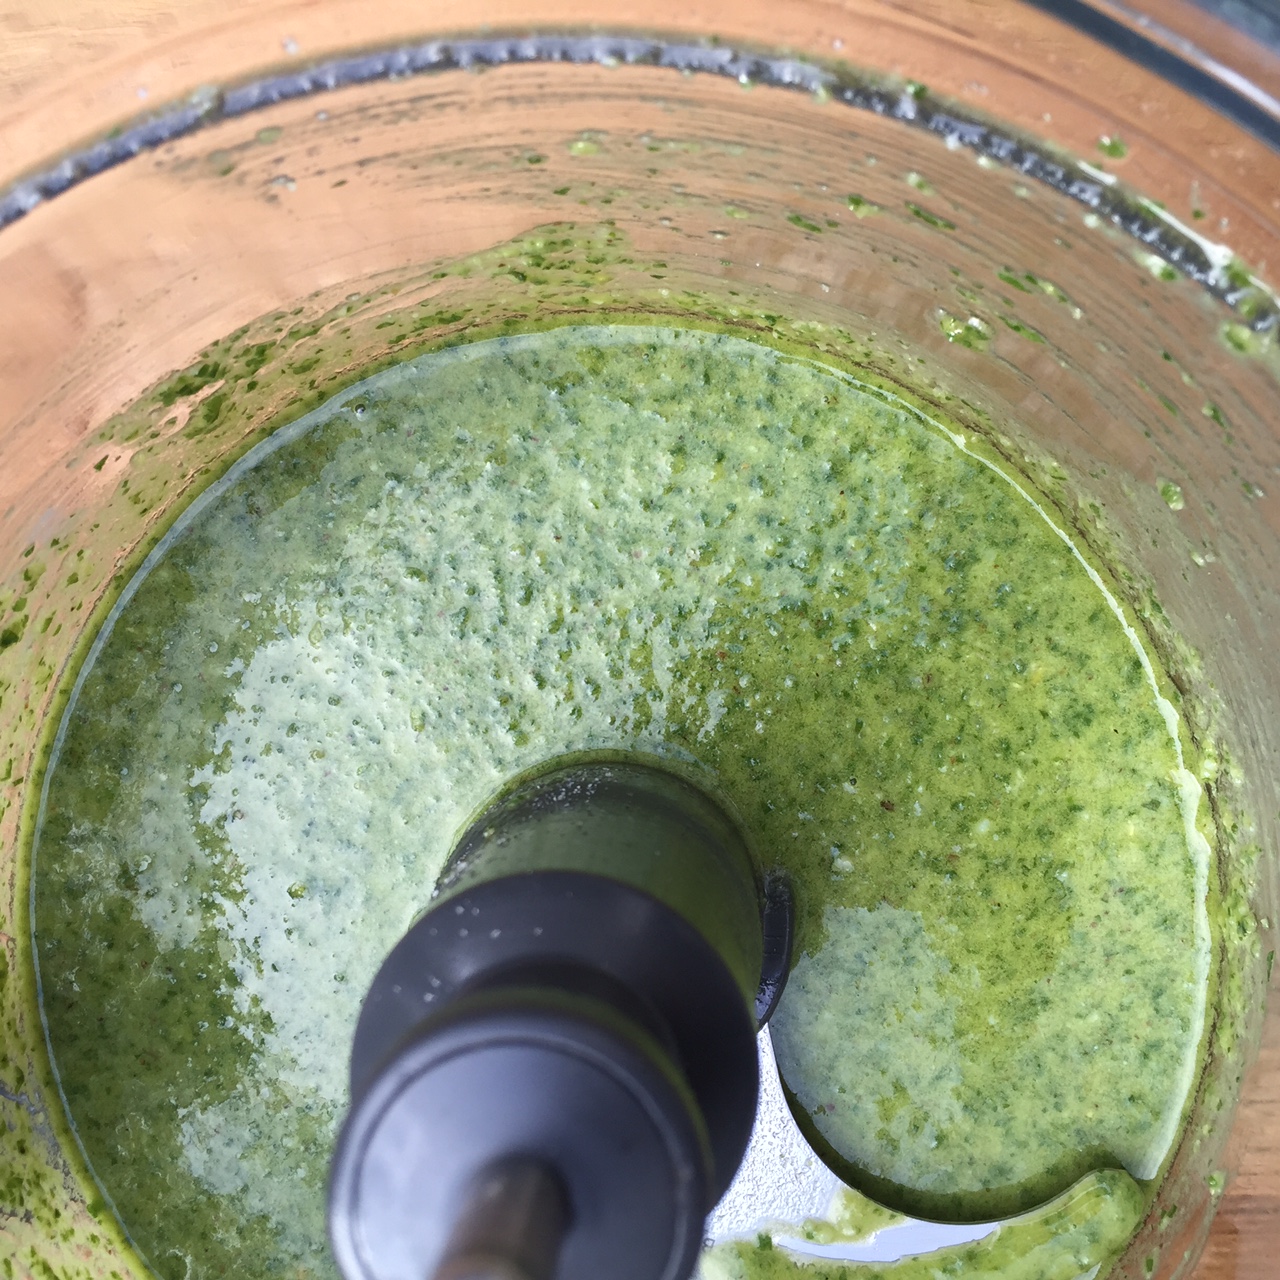
  • Add the basil and parsley leaves, salt and pepper. Start the food processor and slowly pour the olive oil into the bowl through the feed tube and process until the pesto is finely pureed. Add the parmesan cheese and puree until well blended. Pesto freezes beautifully.

Notes

**To make a dairy-free/vegan version, eliminate the salt and cheese and substitute ¼ cup brown rice miso or other hearty miso. Taste for salt.
Tried this recipe?Let us know how it was!


NOT microwave popcorn recipe

I use my microwave oven for two things, as a back-up timer and to disinfect my sponges.  Killing anything alive is what a microwave does best, no?  When people find out I don’t put food in the microwave, they always ask, “how do you reheat leftovers and how in the world do you make popcorn?”  I have to laugh because I know that anyone who is my age grew up without this appliance and surely remembers a time when our parents perhaps reheated last night’s stew in a pot???  Yes, of course, it takes 5 minutes longer and then you actually have to wash the pot, but I am really not a fan of the microwave.  Even though I can find studies making a case against the microwave, I can also find literature which outlines that microwaves are not bad for you.  Welcome to the world of nutrition — where you can always find someone who will tell you what you want to hear!  So be it, but I still don’t trust them and I think it changes the texture of many different foods and not for the better.  And if memory serves me, I think it makes the food you are cooking less tasty.  That’s reason enough for me to not use one.

What I can argue with conviction is that most microwave popcorns aren’t worth feeding to a starving animal, let alone my kids.  Have you read the ingredient list of many of the microwave popcorns in your supermarket?  Here are just two examples:

Pop Corn, Partially Hydrogenated Soybean Oil (Adds A Dietary Insignificant Amount of Trans Fat Per Serving), Salt, Natural Flavors, Annatto For Coloring, Soy Lecithin

Popcorn, Partially Hydrogenated Soybean Oil and Cottonseed Oil, Salt, Modified Cornstarch, Maltodextrin, Monosodium Glutamate, Natural Flavor & Artificial Flavor, Color (Yellow 5 Lake & Yellow 6 Lake), Nonfat Milk, Freshness Preserved by Propyl Gallate.

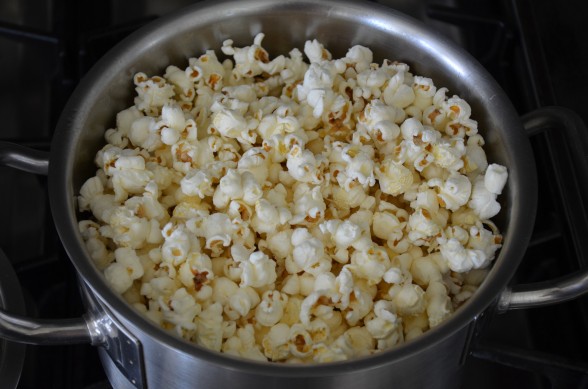
Nice.  And that’s just the ingredients inside the package.  We’re not even discussing the chemicals lining the bag itself.  The good news is that you can still make popcorn the old fashioned way, the way my mom taught me — on the stove.  And you know what?  It’s sooooo much better than the microwaved junk if you follow a few key tips.

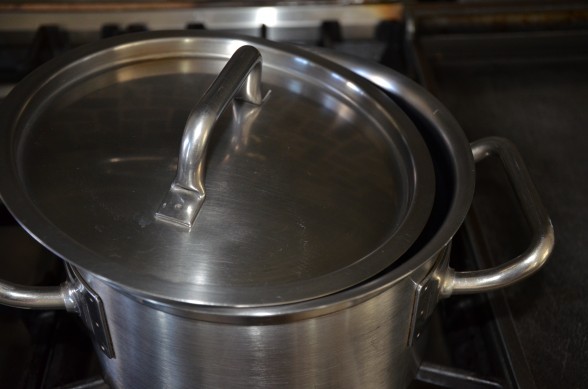
First, use good quality popcorn, preferably non-GMO, such as Eden Oragnic.  Next, use coconut oil to pop the corn.  It’s a more stable oil to heat than vegetable oils and it makes the popcorn taste like the kind you get at the movie theater.  Lastly, keep the lid on the pot open a half inch or so to let some of the steam escape so that your kernels stay nice and crisp.  Perfect for an after-school snack, sleepover party, to eat while watching your child or grandchild’s Little League game and of course, to sneak into your local movie theater.  Shhhhhhh!

NOT Microwave Popcorn

Pamela
5 from 4 votes

Ingredients
  

  • 2 Tablespoons coconut oil
  • 1/2 cup good quality popcorn such as Eden Organic
  • sea salt to taste
  • melted butter to drizzle on top if that's your thing

Instructions
 

  • Heat the oil in a heavy bottomed 3-quart pot over medium heat. (I used one that was 8 inches in diameter and 5 inches deep.) Add 3 kernels of popcorn to the pot and cover with a lid. This is how my mom did it. Don't ask me why it was 3 kernels and not 2 or 4. When the kernels pop (this usually takes about 2 1/2 - 3 minutes), add the 1/2 cup of popcorn in an even layer and cover with the lid, but not all the way. Leave it open about 1/2 inch to allow steam to escape but not wide enough to let the popcorn pop right out.
  • Shake the pot every now and then. If you can't shake it with the lid ajar, cover the pot, shake and open the lid again when you return the pot to the heat.
  • Once the popping reduces to several seconds in between each pop, take the pot off the heat and remove the lid. Sprinkle with sea salt and transfer to a serving bowl. Taste for salt and add another sprinkle if necessary. If you like melted butter on top, now's the time to drizzle it.

Notes

I bought the paper popcorn containers at my local Smart & Final. Very fun for a party!
If you don't have a lid for your pot, you can cover the pot with aluminum foil and poke a bunch of holes in it with a toothpick to allow the steam to escape.
Tried this recipe?Let us know how it was!