Healthy Granola Bars Recipe
Has school started in your neck of the woods? We’re back at it this week. I get a little bummed when the kids go back to school. I’ve really enjoyed spending more time with them and summer is so much less stressful, especially for my high schooler. That and, despite what you might think, I don’t love making lunches at 6:30 am everyday, as well as trying to keep a substantial supply of well-balanced snacks for the kids and their friends. You know I love to cook and it’s a major priority for me to feed myself and the kids well, but it’s definitely a challenging task which I know many of you try to tackle most days, too.
The fact is I don’t actually make all of the kids’ snacks, because I really don’t have that kind of time. But there are a few that I can make quickly, easily and that are more delicious (and healthful) than what you can buy in a store. I hope to post my guidelines next week for choosing a healthful snack, but making sure there’s some protein in there is super important, otherwise you run the risk of a blood sugar rollercoaster. One snack that I guessed wouldn’t be too tricky to figure out was granola bars. Last summer I tested granola bar recipes for about two months and had the tight jeans to prove it. I wouldn’t call it a low-calorie snack mostly due to the nuts and seeds, but I if the kids need something to tide them over until dinnertime or get them through soccer practice, goldfish and a fruit roll-up aren’t going to cut it. I am always going to look for something like these bars, which are made from real ingredients, contain protein and fiber and a minimal amount of sugar, plus a little love from Mom.
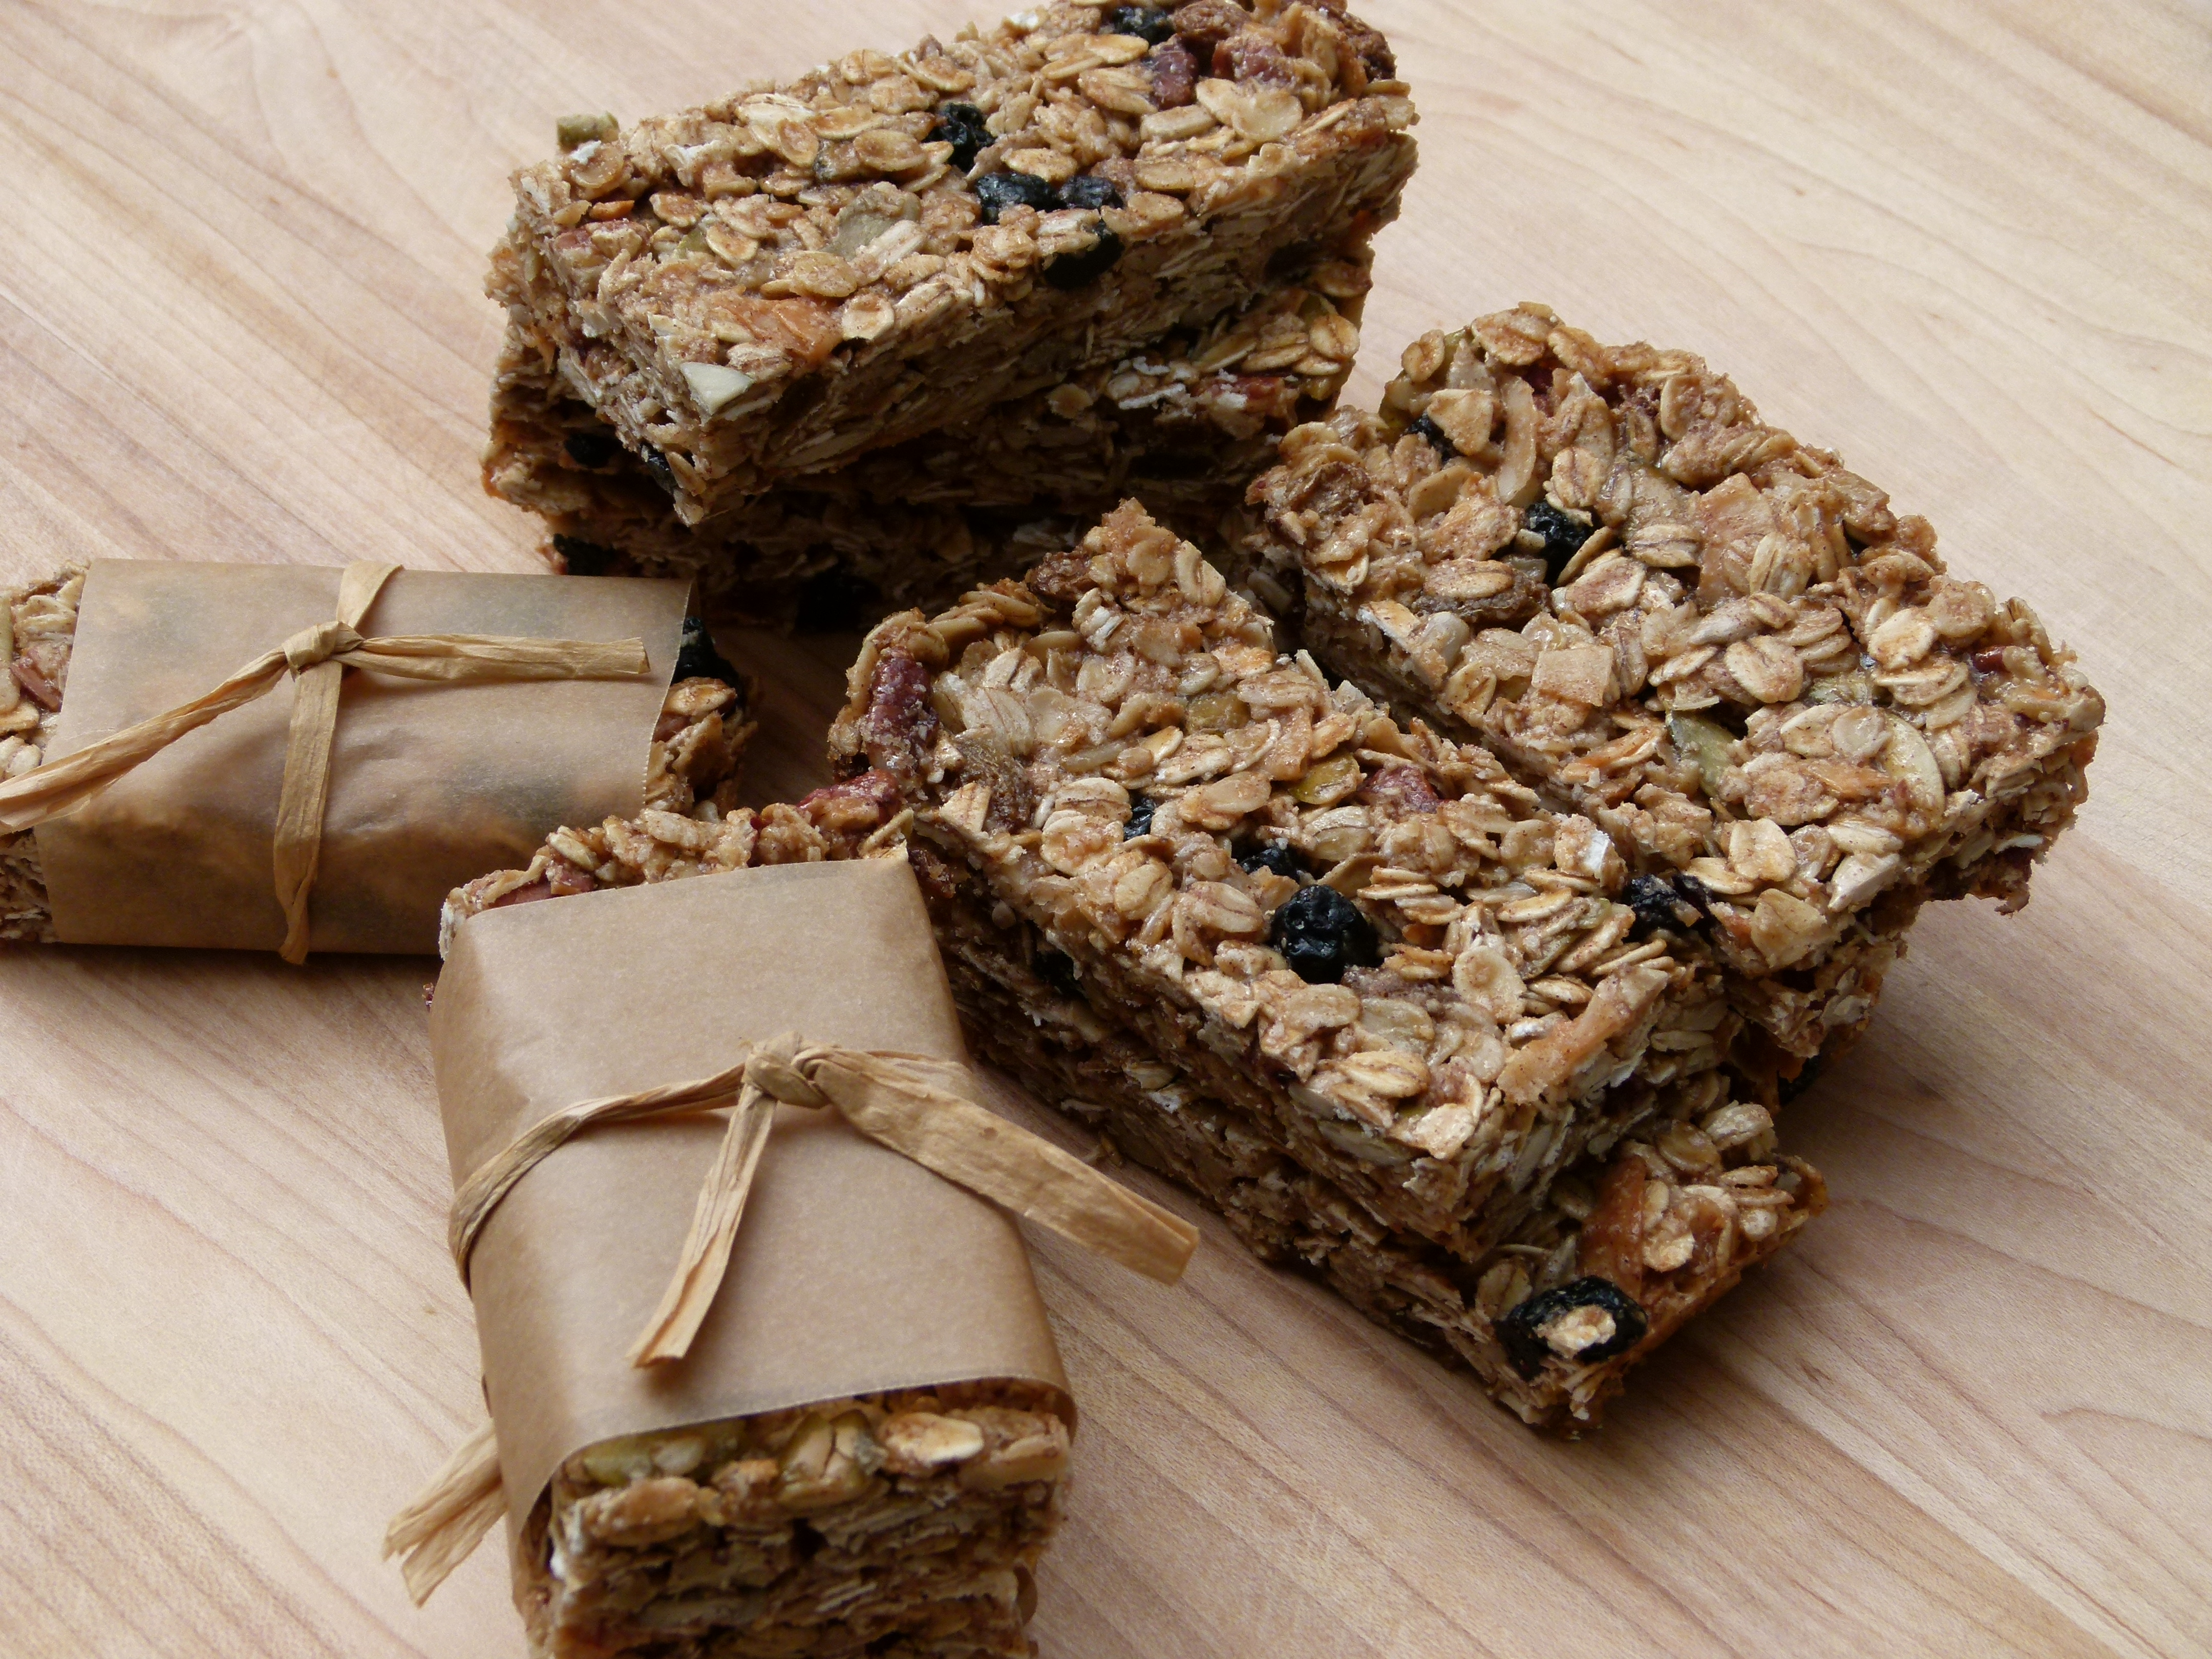
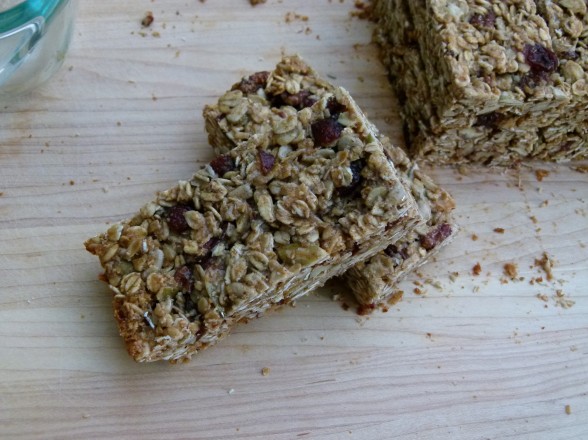
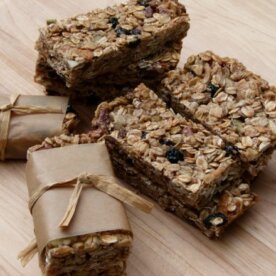
The problem is that these granola bars are so good, I have a hard time being in the house and not sneaking one or more when I’m not really even hungry. They have most of the same flavors as my granola, but with a little butter. What they don’t have is tons of refined sugar like so many granola bar recipes I see. If you are dairy-free or vegan, you can definitely use coconut oil, but I have a soft spot for the combination of butter, pecans and a pinch of sea salt. Yum! Like granola, you can adjust this recipe to suit you. (And yes, you can add chocolate chips.) I like my granola bars a little on the thick side (see bottom photo), but if you like yours thinner and crunchy (see lead photo), you can use an 8 x 10 pan. Try these out and if your family loves them, make a double batch and freeze them. Because in my world, September not only means school, but soccer games, scouts meetings, study groups and playdates. Need any more reasons to make these?
Healthy Granola Bars
Ingredients
- 2 cups old-fashioned rolled oats not quick-cooking
- ¼ cup raw sunflower seeds
- ¼ cup raw pumpkin seeds
- ¼ cup unsweetened coconut flakes
- ½ cup chopped raw nuts pecans or almonds are good
- ¼ cup ground almond meal
- 1 ¼ teaspoons cinnamon
- ½ teaspoon sea salt
- ½ cup unsulphured dried fruit such as chopped apricots, cranberries, cherries, blueberries
- 3 Tablespoons unsalted butter melted (my preference) or melted coconut oil
- ½ cup brown rice syrup or honey
- 1 teaspoon pure vanilla extract
Instructions
- Preheat oven to 350 degrees.
- If you like thick granola bars, grease an 8 or 9-inch square pan with butter or coconut oil and line with unbleached parchment paper (this will help get the bars out of the pan.) If you like them thinner, say 3/4-inch thick, grease an 8x 11-inch pan.
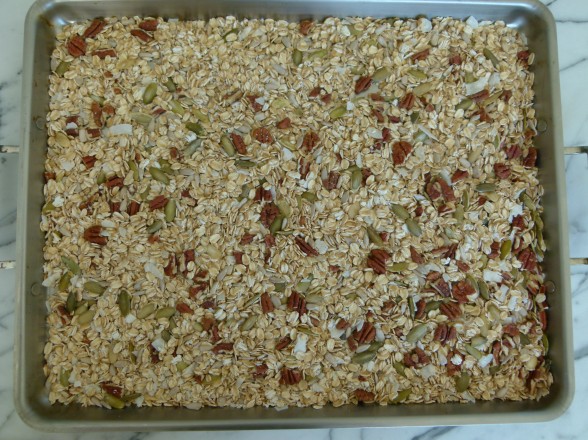
- Place oats, seeds, coconut and nuts on large baking sheet and toast for 12-15 minutes. Do not allow anything to burn!
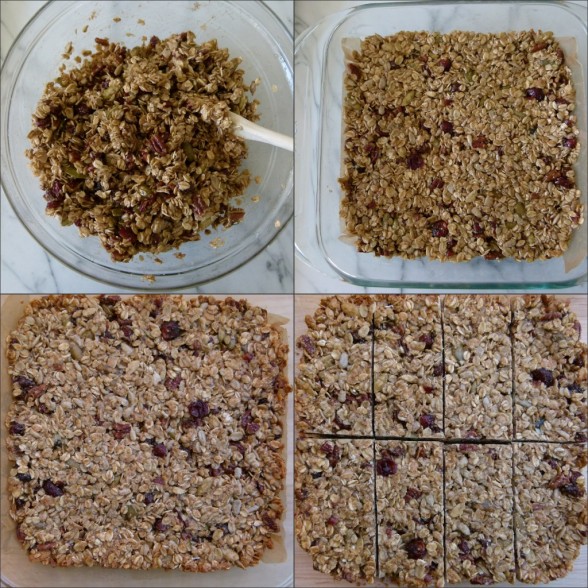
- In a large bowl combine almond meal, cinnamon, salt and dried fruit. When oat mixture is out of the oven, add to bowl. Mix the melted butter, brown rice syrup and vanilla together and pour over the oat mixture, stirring well to coat evenly.
- Pour mixture into pan and press down with a spoon, spatula or damp hands.
- Bake for about 20-25* minutes, or until lightly colored on top. The granola bar will be soft to the touch when it comes out of the oven, but will firm up as it cools. Allow to cool completely, at least 2 hours. Run a knife around the edge of the pan to loosen the bar. Invert the pan over a cutting board to remove. Cut into individual bars and eat or store in a covered container.**
Notes


