Creamy miso-ginger dressing

When I was at Whole Foods the other day, at I was amazed by the dozens of people cradling ingredients for the big Cleanse.  I can’t imagine choosing to drink lemon juice and maple syrup mixed with cayenne pepper even once, let alone for several days straight in order to detoxify my body.  Sorry peeps, no cleanse recipes here!  I hate to disappoint you if you were expecting instructions on how to starve yourself cranky, but why not just eat clean, real food?  I know, it’s not a fad and we are obsessed with fads, especially diet-related.  If a cleanse is the only way for some people to break some bad habits, then ok.  But I haven’t seen any research-based evidence that our bodies need such a crazy drink to get rid of toxins.  In fact, I actually think it’s pretty cool how efficient our bodies can be at eliminating toxins, provided we don’t overload our systems non-stop.  Just a thought.

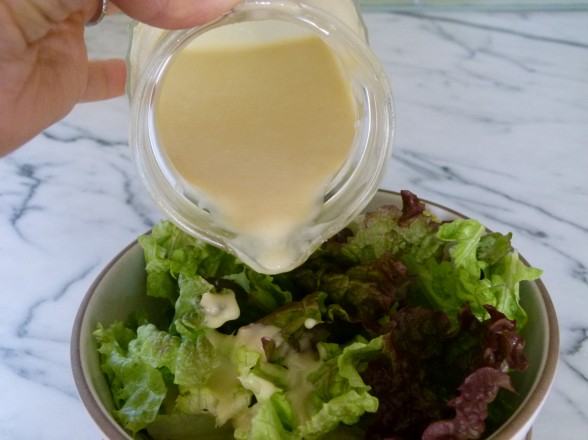
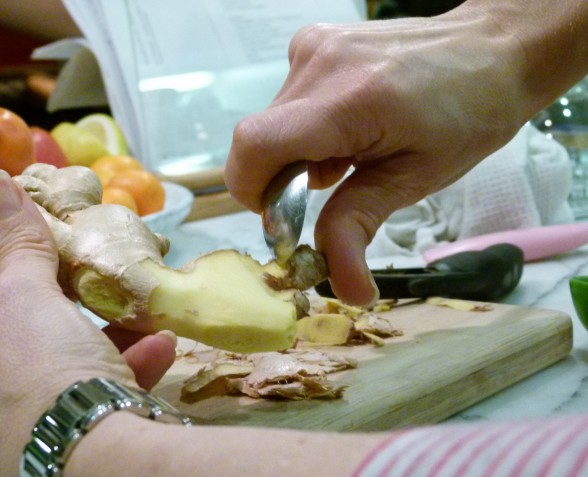
I personally have never done a “cleanse.”  I really don’t do well when I’m told there are entire food groups that are off limits.  So I indulge a little more than normal during the holidays, but then I make a commitment to start eating normally again.  I especially like to pay particular attention to vegetables which never seem to be controversial in any diet, new or old.  I think it’s pretty unanimous advice that we should be consuming loads of vegetables.  In the winter I eat fewer raw vegetables since they tend to be more cooling to the body, but I do love my salads.  So to “warm” them up a bit, I like to make this delicious cream-less dressing which is based on fresh gingerroot and miso.  Ginger is perfect for winter since it’s warming to the body, and did you know it’s incredibly anti-inflammatory?  Fresh ginger has a real hot and spicy kick to it, so a little goes a long way.  I found that out the hard way when I juiced a big piece of ginger once with some kale and celery and I thought my eyes would pop out of my head.  Peel it like I did here with a vegetable peeler and then get into the hard-to-reach spots by scraping the peel with a small spoon.

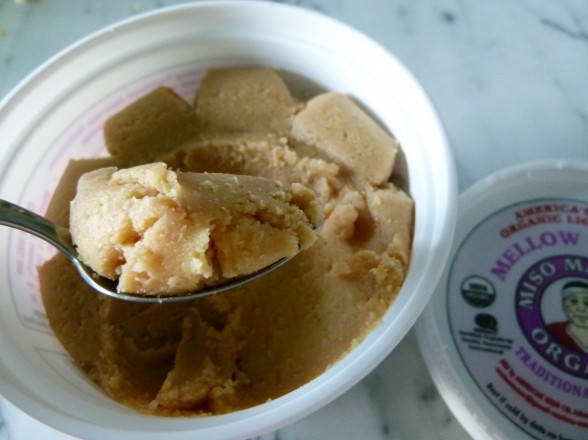
Although most of you are likely familiar with ginger, I don’t meet a lot of people who know what miso is or how to use it.  It’s your lucky day!!  Miso is a fermented soybean paste made by combining cooked soybeans, mold (called koji), salt and various grains.  Then it’s fermented for 6 months to several years.  There are dozens of varieties of miso, as well as different colors from pale beige.  As you would imagine, each type has its own distinctive flavor ranging from meaty and savory to sweet and delicate.  In general, the darker and deeper the color, the longer the miso has been fermented and the richer the flavor.  The first time I tasted miso straight out of the tub, it reminded me of parmesan cheese, which is how I came to use miso to make a vegan/dairy-free pesto.

I usually buy the white miso to make soup and use in sauces and dressings, like this one.  It seems to be the most versatile, although a word of caution — not all miso pastes are gluten-free.  Miso is a live food with many microorganisms that are beneficial to your digestion.  That said, you must only buy unpasteurized, refrigerated miso and you must avoid boiling it otherwise you will kill the good bacteria.  Since most soy in this country is genetically modified, also look for miso labeled “organic” or at least “non-GMO.”  I prefer to buy miso sold in glass jars, like South River Miso, but I can’t always find it, so Miso Master packaged in this plastic tub is the next best thing.  My family has eaten at enough Japanese restaurants and Benihanas to know what miso soup and miso salad dressings are, so that’s how I introduced miso at home.  It’s always easier for me to present a “health food” to the kids if it looks reasonably familiar, and most importantly, if it’s delicious.  Because for this girl, deprivation ain’t no way to welcome a brand new year.
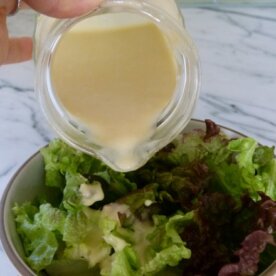
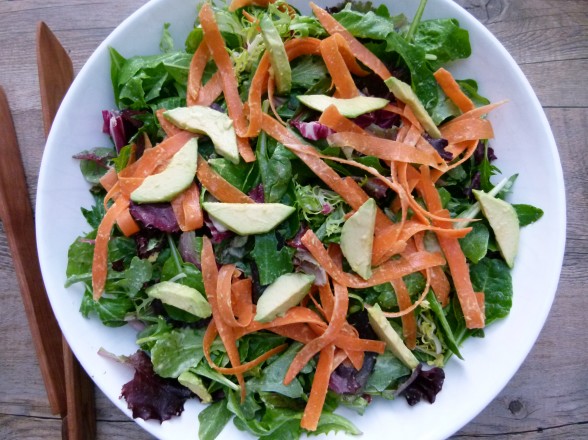
Mixed Greens with Creamy Miso-Ginger Dressing

Pamela
5 from 3 votes
Servings 6

Ingredients
  

  • Vinaigrette:
  • 2 Tablespoons unpasteurized organic white miso
  • 2 Tablespoons unseasoned rice vinegar
  • 2 teaspoons raw honey
  • 2 Tablespoons water
  • 1 Tablespoon chopped peeled fresh ginger (use less for a more subtle ginger flavor)
  • 1 small clove garlic peeled
  • ¼ cup unrefined cold pressed, extra virgin olive oil
  • 8 ounces mixed baby greens
  • Optional vegetables: thinly sliced radishes julienned carrots or sweet bell peppers, sliced avocado, thinly sliced unpeeled Japanese cucumber

Instructions
 

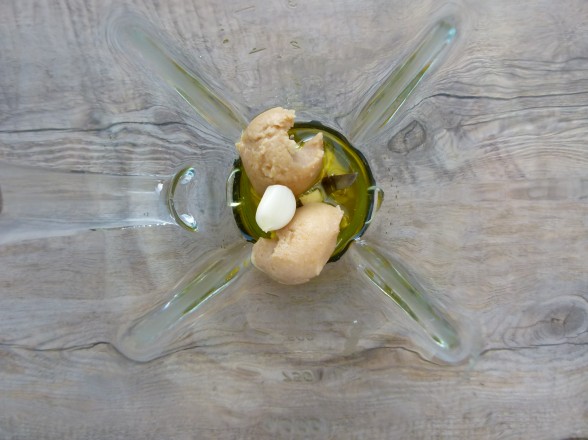
  • Puree all vinaigrette ingredients in a blender until smooth. Taste for salt.
  • Place greens and any vegetables you are using in a serving bowl. Add enough vinaigrette to coat lightly and gently toss.

Notes

You can also use this dressing on top of poached or roasted fish, lightly cooked broccoli or greens with brown rice, and quinoa salads.
Fresh ginger freezes really well. Peel it first, then tightly wrap it before storing it in the freezer. Allow it sit on your countertop a few minutes before cutting it. It is not a good idea to use a ceramic knife to cut frozen ginger (ask me how I know this.)
Tried this recipe?Let us know how it was!

Creamy white bean dip with roasted garlic

Do your kids ask you for things at the last possible second even though they have known about whatever it is they need for weeks?  My husband does this, too.  “If you knew last Friday that you would need to bring a wrapped gift for your party, why are you telling me as we’re getting into the car on the WAY to the party??”  It really messes up the walk I talk about being organized.

One of my daughters was going to a girl scout meeting which started at 6:00 pm, and guess what?  She announced at 5:25 that she needed to bring an hors d’oeuvre.  That 10 pre-teens would actually want to eat.  And “not like something so totally healthy either, Mom.”  Like cool!  Like let’s pretend we’re on an episode of Chopped!  But seriously, even though I like the idea of being able to whip something yummy together with stuff from my pantry in 20 minutes, it’s a little stressful.

Normally, my go-to would have been hummus, which I can make in 10 seconds and I know my daughter and her friends like it.  But of course, on this day I had no cooked chickpeas.  So you know what they say about necessity being the mother of invention.  I found some canned white beans in the pantry and added them to the food processor with a few other staples that generally taste good with white beans and we had ourselves a winner dip.  My daughter even said she liked it better than hummus.  At the time, I made it with a raw garlic clove and it was terrific, but another day when I wasn’t under the gun I tried it with a whole head of roasted garlic and looooooved it more.

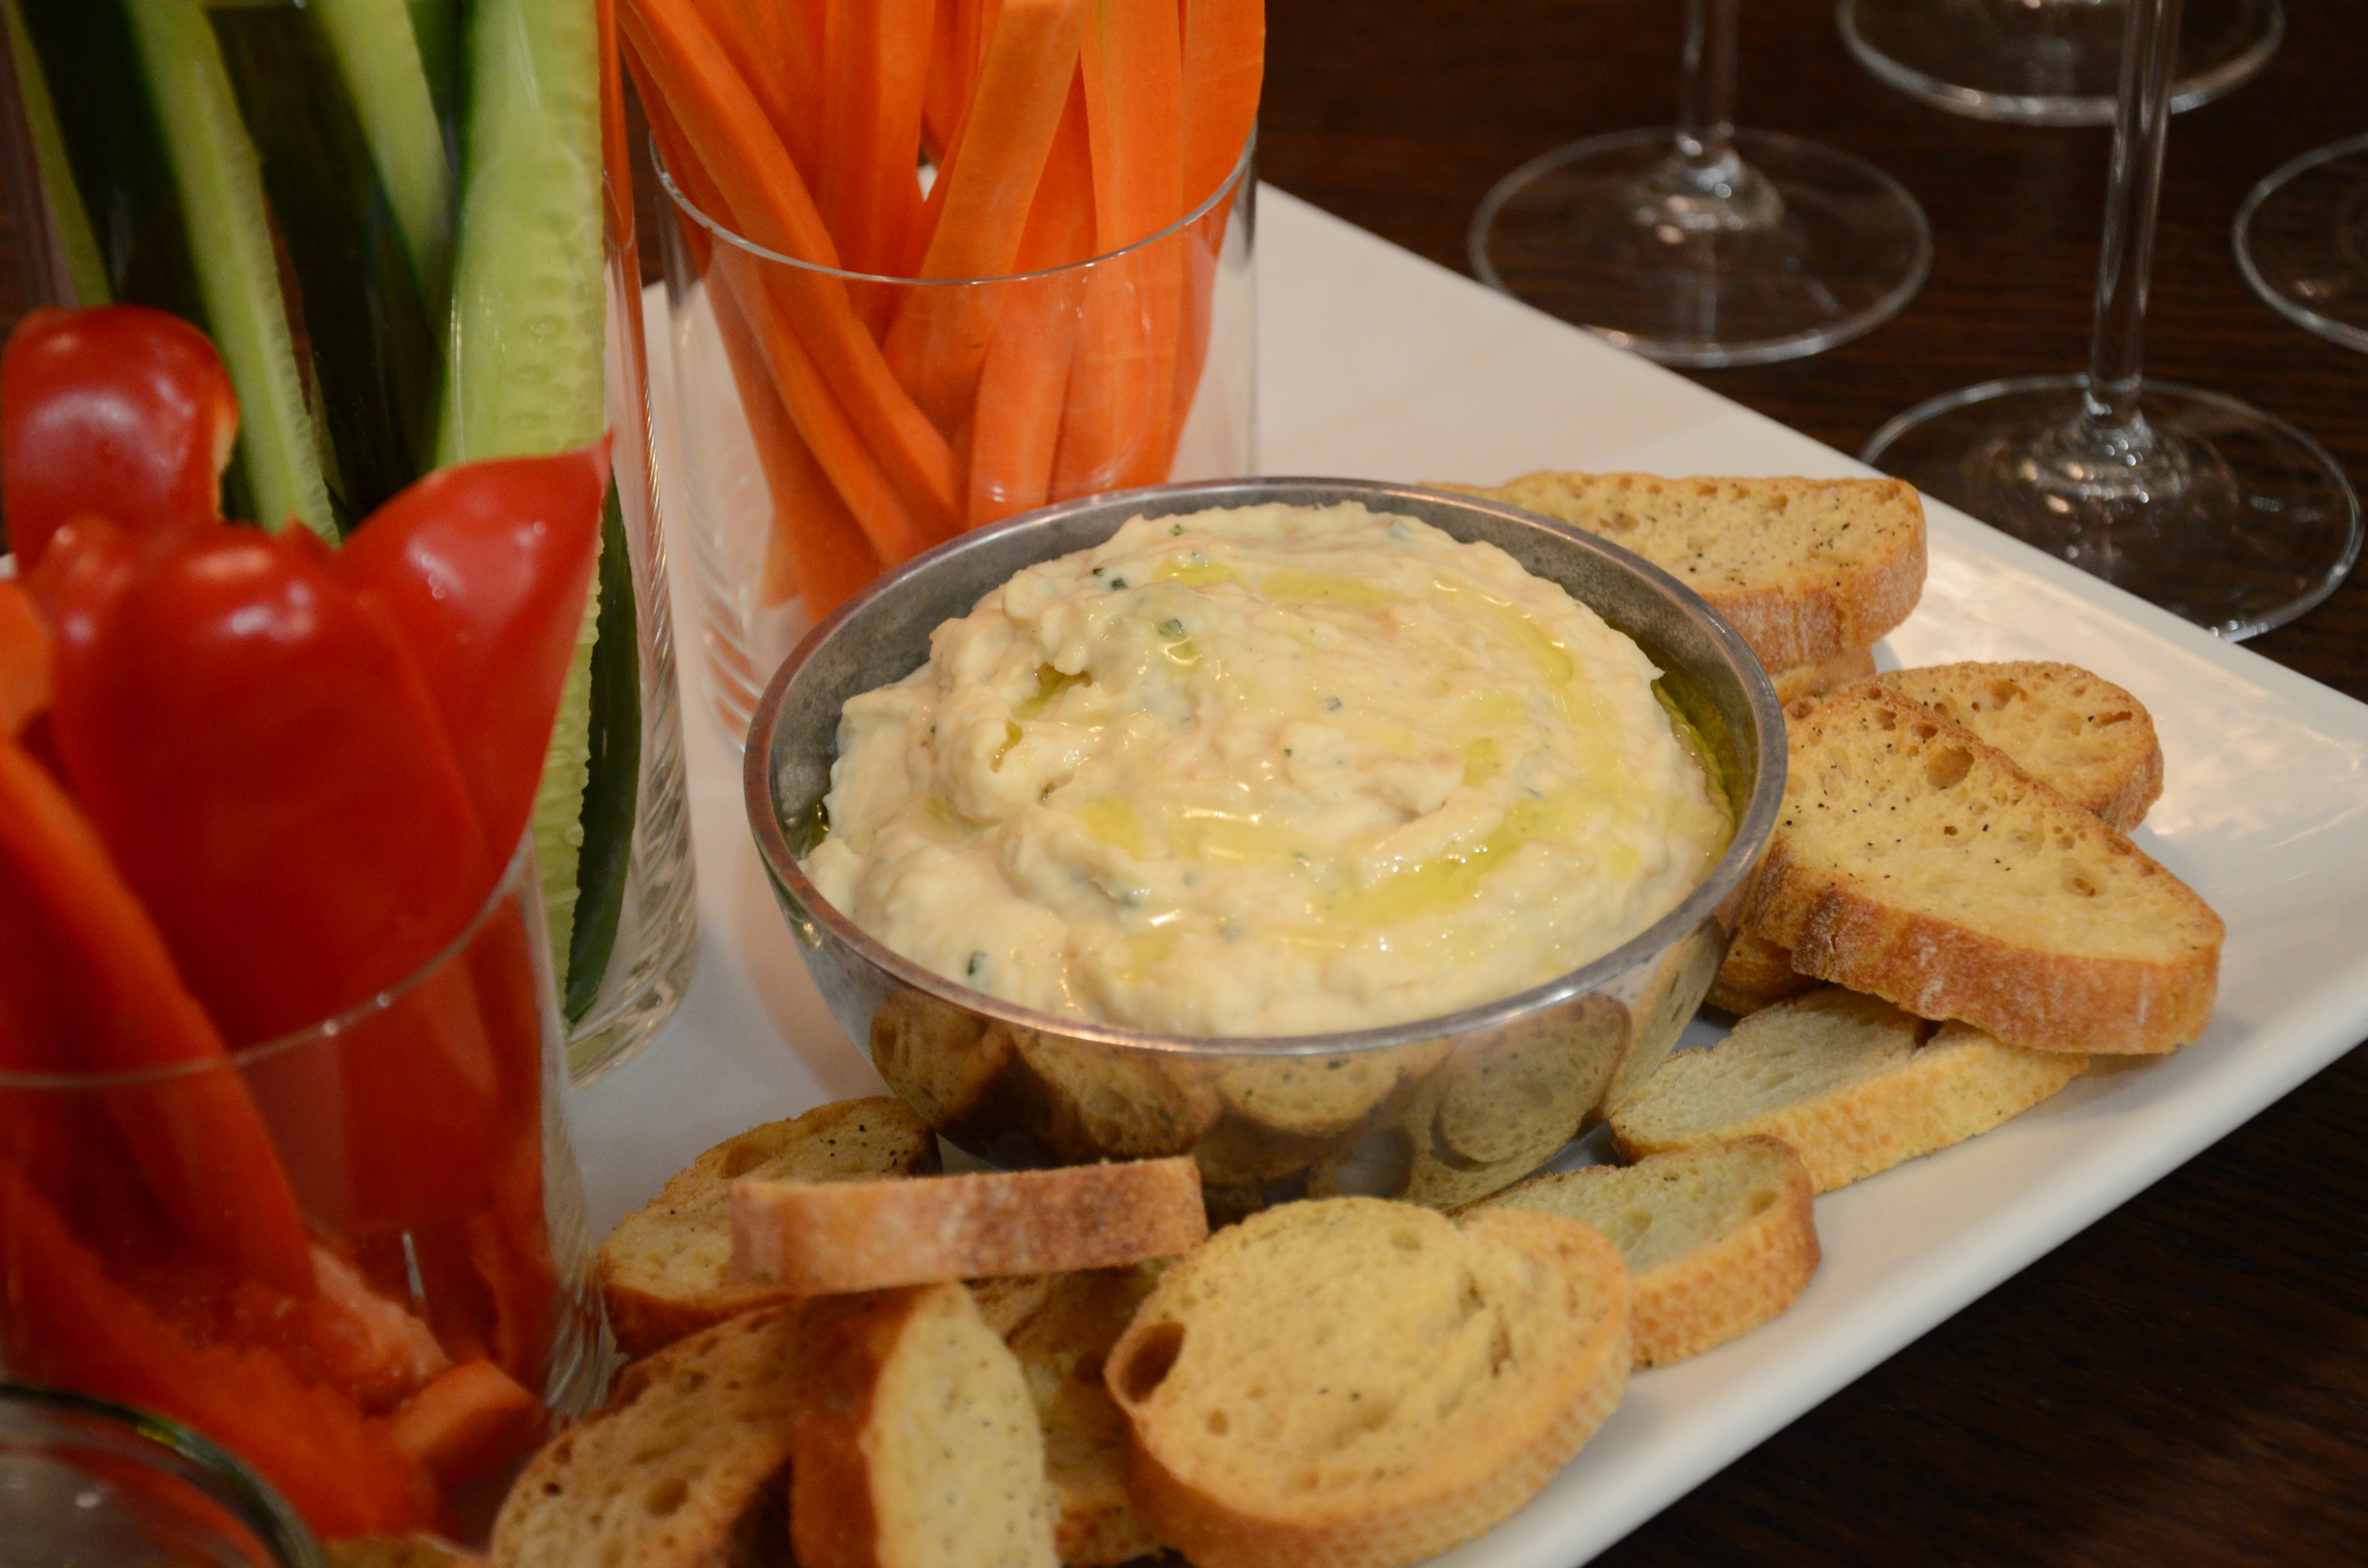
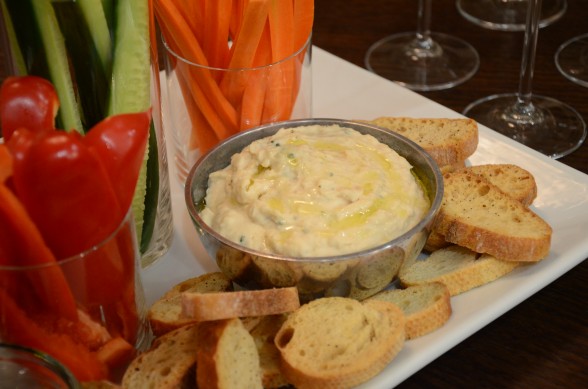
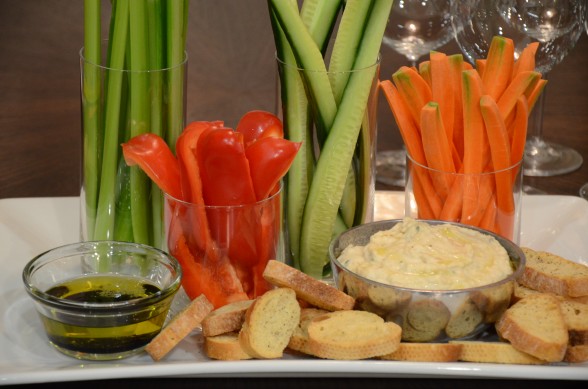
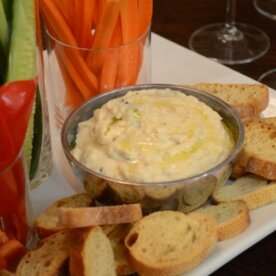
I just made the bean dip again recently to bring to a birthday dinner with some health-conscious ladies and served it with some crudites as shown in the picture.  I stole the idea from Martha Stewart of putting the cut veggies in modern drinking glasses.  It always makes for a pretty presentation.  I also included a small bowl of balsamic vinegar and olive oil with a pinch of sea salt — another stolen idea, this time from an Italian restaurant.  We have also used the dip as a sandwich spread with grilled vegetables.  Fabulous with eggplant, sweet bell peppers and zucchini!

Sure I could have gone to the market on the way to the meeting and picked up a tub of salsa and a bag of chips, but thankfully I didn’t because then there would of been two of the same hors d’oeuvre at the meeting that night. (At least it’s not just my kid.)

Creamy White Bean Dip with Roasted Garlic

Pamela

Ingredients
  

  • 1 head of garlic unpeeled to roast or 1 large clove raw garlic, peeled
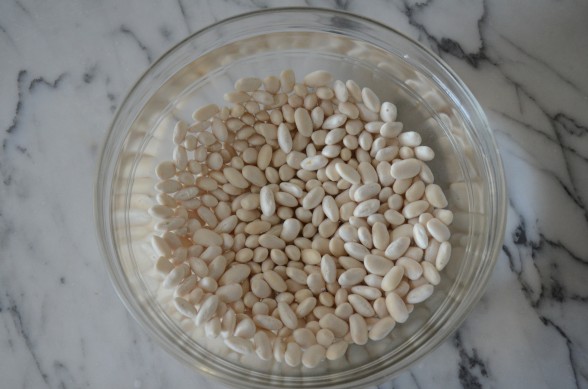
  • 2 cups cooked white beans* such as cannellini or Great Northern, drained and rinsed, if canned
  • ¼ cup cold-pressed unrefined extra-virgin olive oil
  • 2 Tablespoons freshly squeezed lemon juice
  • 1 teaspoon minced fresh rosemary
  • Several dashes hot sauce
  • ½ teaspoon sea salt
  • a few grinds finely ground black pepper

Instructions
 

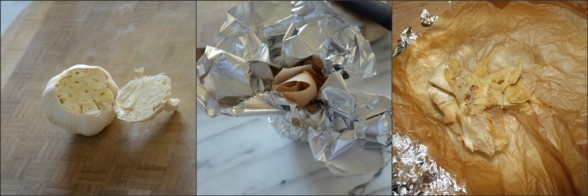
  • Roast the garlic: preheat oven to 350 degrees. Slice off the top fifth of the head of unpeeled garlic. Add a drop of olive oil. Replace the top. Wrap with parchment paper and then aluminum foil. Bake for 1 hour. Discard foil and parchment.
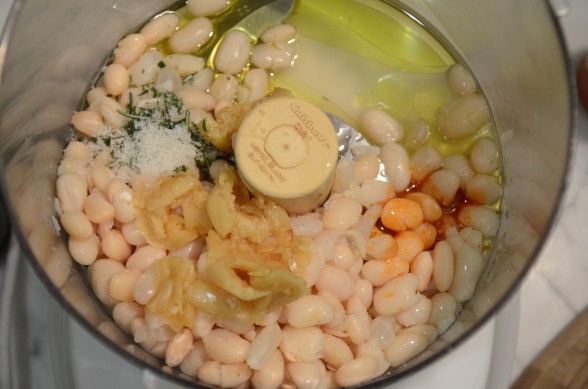
  • Take the top off of the garlic and squeeze the softened garlic out of the skins into the bowl of a food processor fitted with the metal blade. Add remaining ingredients and process until smooth and creamy. When I'm ready to serve it, I like to drizzle it with a touch of fruity olive oil. Can be made a day ahead and kept covered and refrigerated.

Notes

I like to serve this as a dip with crudités or blanched vegetables and/or with warm pita bread, chips or toasted slices of baguette. You can even assemble your own crostini with grilled baguette toasts and white bean spread topped with sautéed greens. It is also great as a sandwich spread.
To cook your beans from scratch, soak dried beans in lots of cold water for at least 6 hours or longer. Drain them. Put them in a pot with enough fresh water to cover by 4-6 inches. Bring to boil. Reduce to a simmer. Cook until tender, anywhere from 45 minutes to 1 1/2 hours, depending on the age of the beans. I like to add a tablespoon of kosher salt to the beans and allow them to cool in their cooking liquid for 30-60 minutes, if possible, but it's not necessary. Drain and use immediately or store in the fridge for 3 days. Beans also freeze very well.
Tried this recipe?Let us know how it was!

Chickpea and deconstructed pesto salad

Summer around my house is very loosey-goosey.  We lack a bit of structure when school is not in session.  On any given night, it varies who will be here for dinner and I often find myself cooking for either just two people or for an army.  This can be tricky for me since I make my menu for the week every Sunday night, but over the years I have also learned how to be flexible and not anxious if I have enough fish for 5 and all of a sudden we’re down to 2.

Daughter #1 and I found ourselves solo for dinner last night, but it was late and neither one of us had the motivation to do anything more than open a can of chickpeas.  Of course we’re girls and we are just fine eating a meal without meat and still calling it dinner.  We made this chickpea salad and grilled up some zucchini, because who can eat a meal without zucchini in it these days?  It’s taking over the world!!  Remind me next spring not to plant so much.  And the two of us stood at the kitchen counter leaning over the salad bowl shoveling in spoonful after spoonful of chickpea salad, exclaiming “this is so good!” after every bite, alternating with dropping ribbons of grilled zucchini in our mouths.

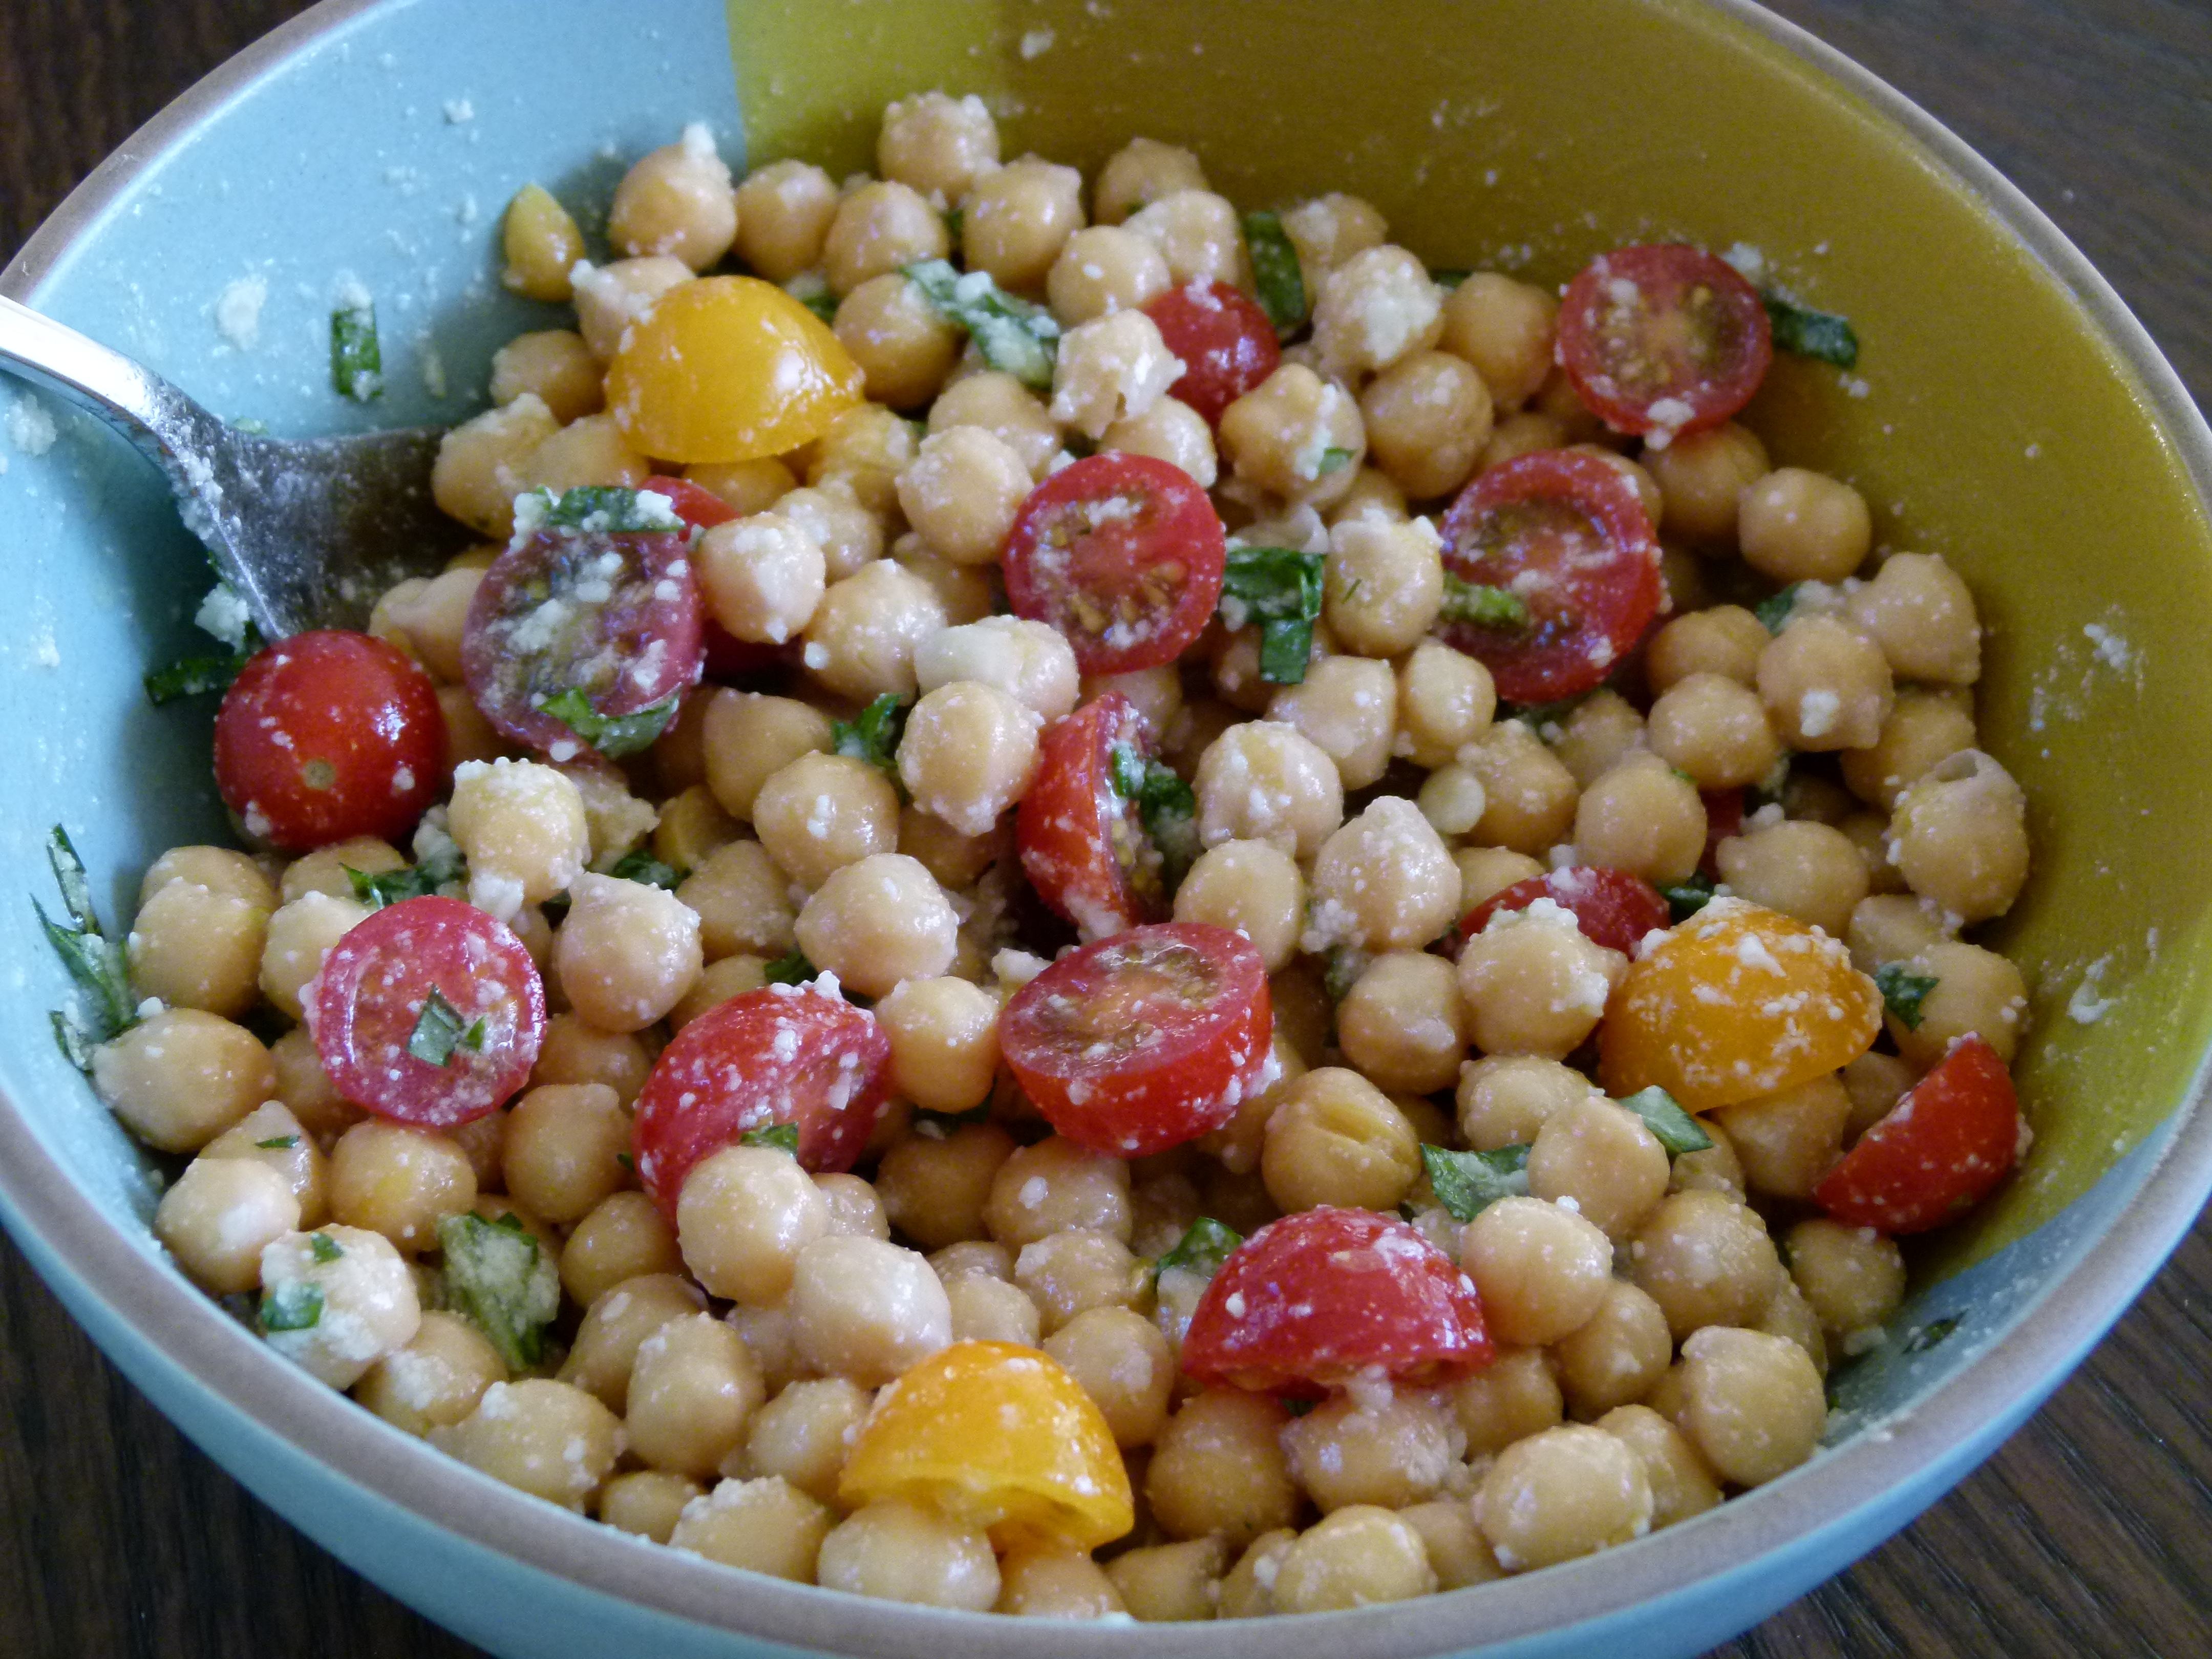
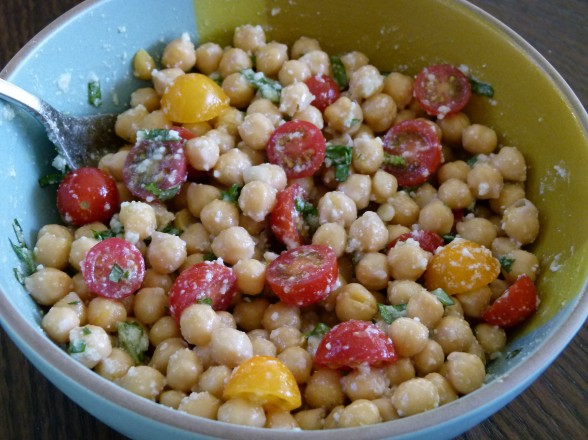
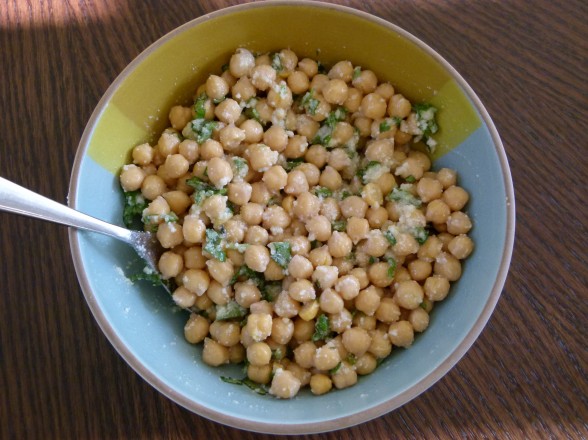
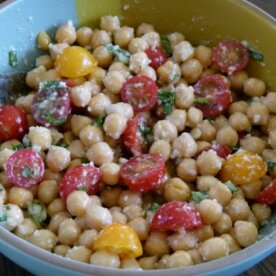
This is hands-down the easiest salad you will ever make and if you are growing your own basil, you likely already have everything you need to put this together in five minutes.  Thank goodness for pantry staples!  This is fabulous to bring to a barbeque or picnic since you can make it ahead and nothing happens to it.  It’s even great the next day.  Last night I added halved cherry tomatoes at the last minute and I have also thrown in chopped, blanched green beans to make it more substantial.  Be forewarned, there is a nice punch of raw garlic which I love, but if you don’t care to eat garlic, you can just smash it and add it for a subtle undertone.  The idea is to make a salad with all the flavors of pesto without having to make pesto.  Actually, the idea of this salad is to barely do anything at all, but still eat something utterly delish.


View this post on Instagram


A post shared by Pamela Salzman (@pamelasalzman)


Chickpea and Deconstructed Pesto Salad

Pamela
Servings 4

Ingredients
  

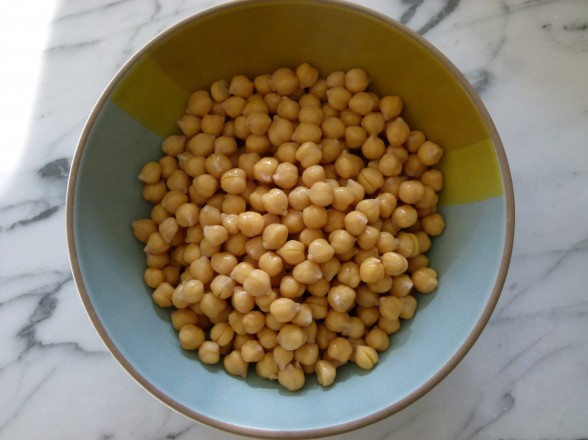
  • 3 cups cooked chickpeas or 2 15-ounce cans rinsed and drained
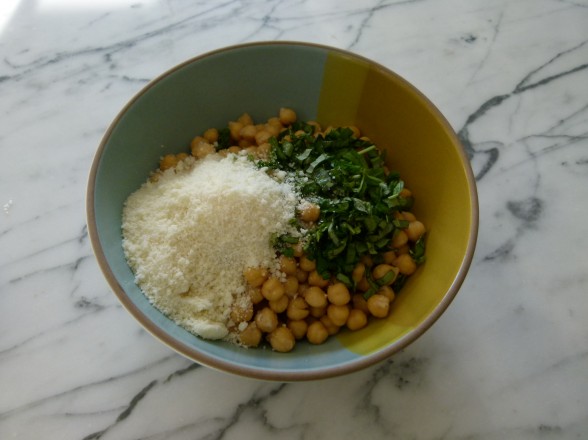
  • ¼ cup chopped fresh basil leaves
  • 2 small garlic cloves minced
  • 3-4 Tablespoons freshly squeezed lemon juice about 1 lemon
  • 3 Tablespoons unrefined cold-pressed extra-virgin olive oil
  • ½ teaspoon fine grain sea salt or to taste
  • freshly ground pepper to taste
  • 1/3 cup grated pecorino-romano sheep's milk cheese or parmesan cheese (cow's milk cheese)

Instructions
 

  • Combine all salad ingredients in a serving bowl and toss well to combine. That's it!

Notes

Also delicious with halved cherry tomatoes (see lead photo), arugula and/or blanched green beans. I added some thinly sliced radicchio once and that was nice, too.
Tried this recipe?Let us know how it was!