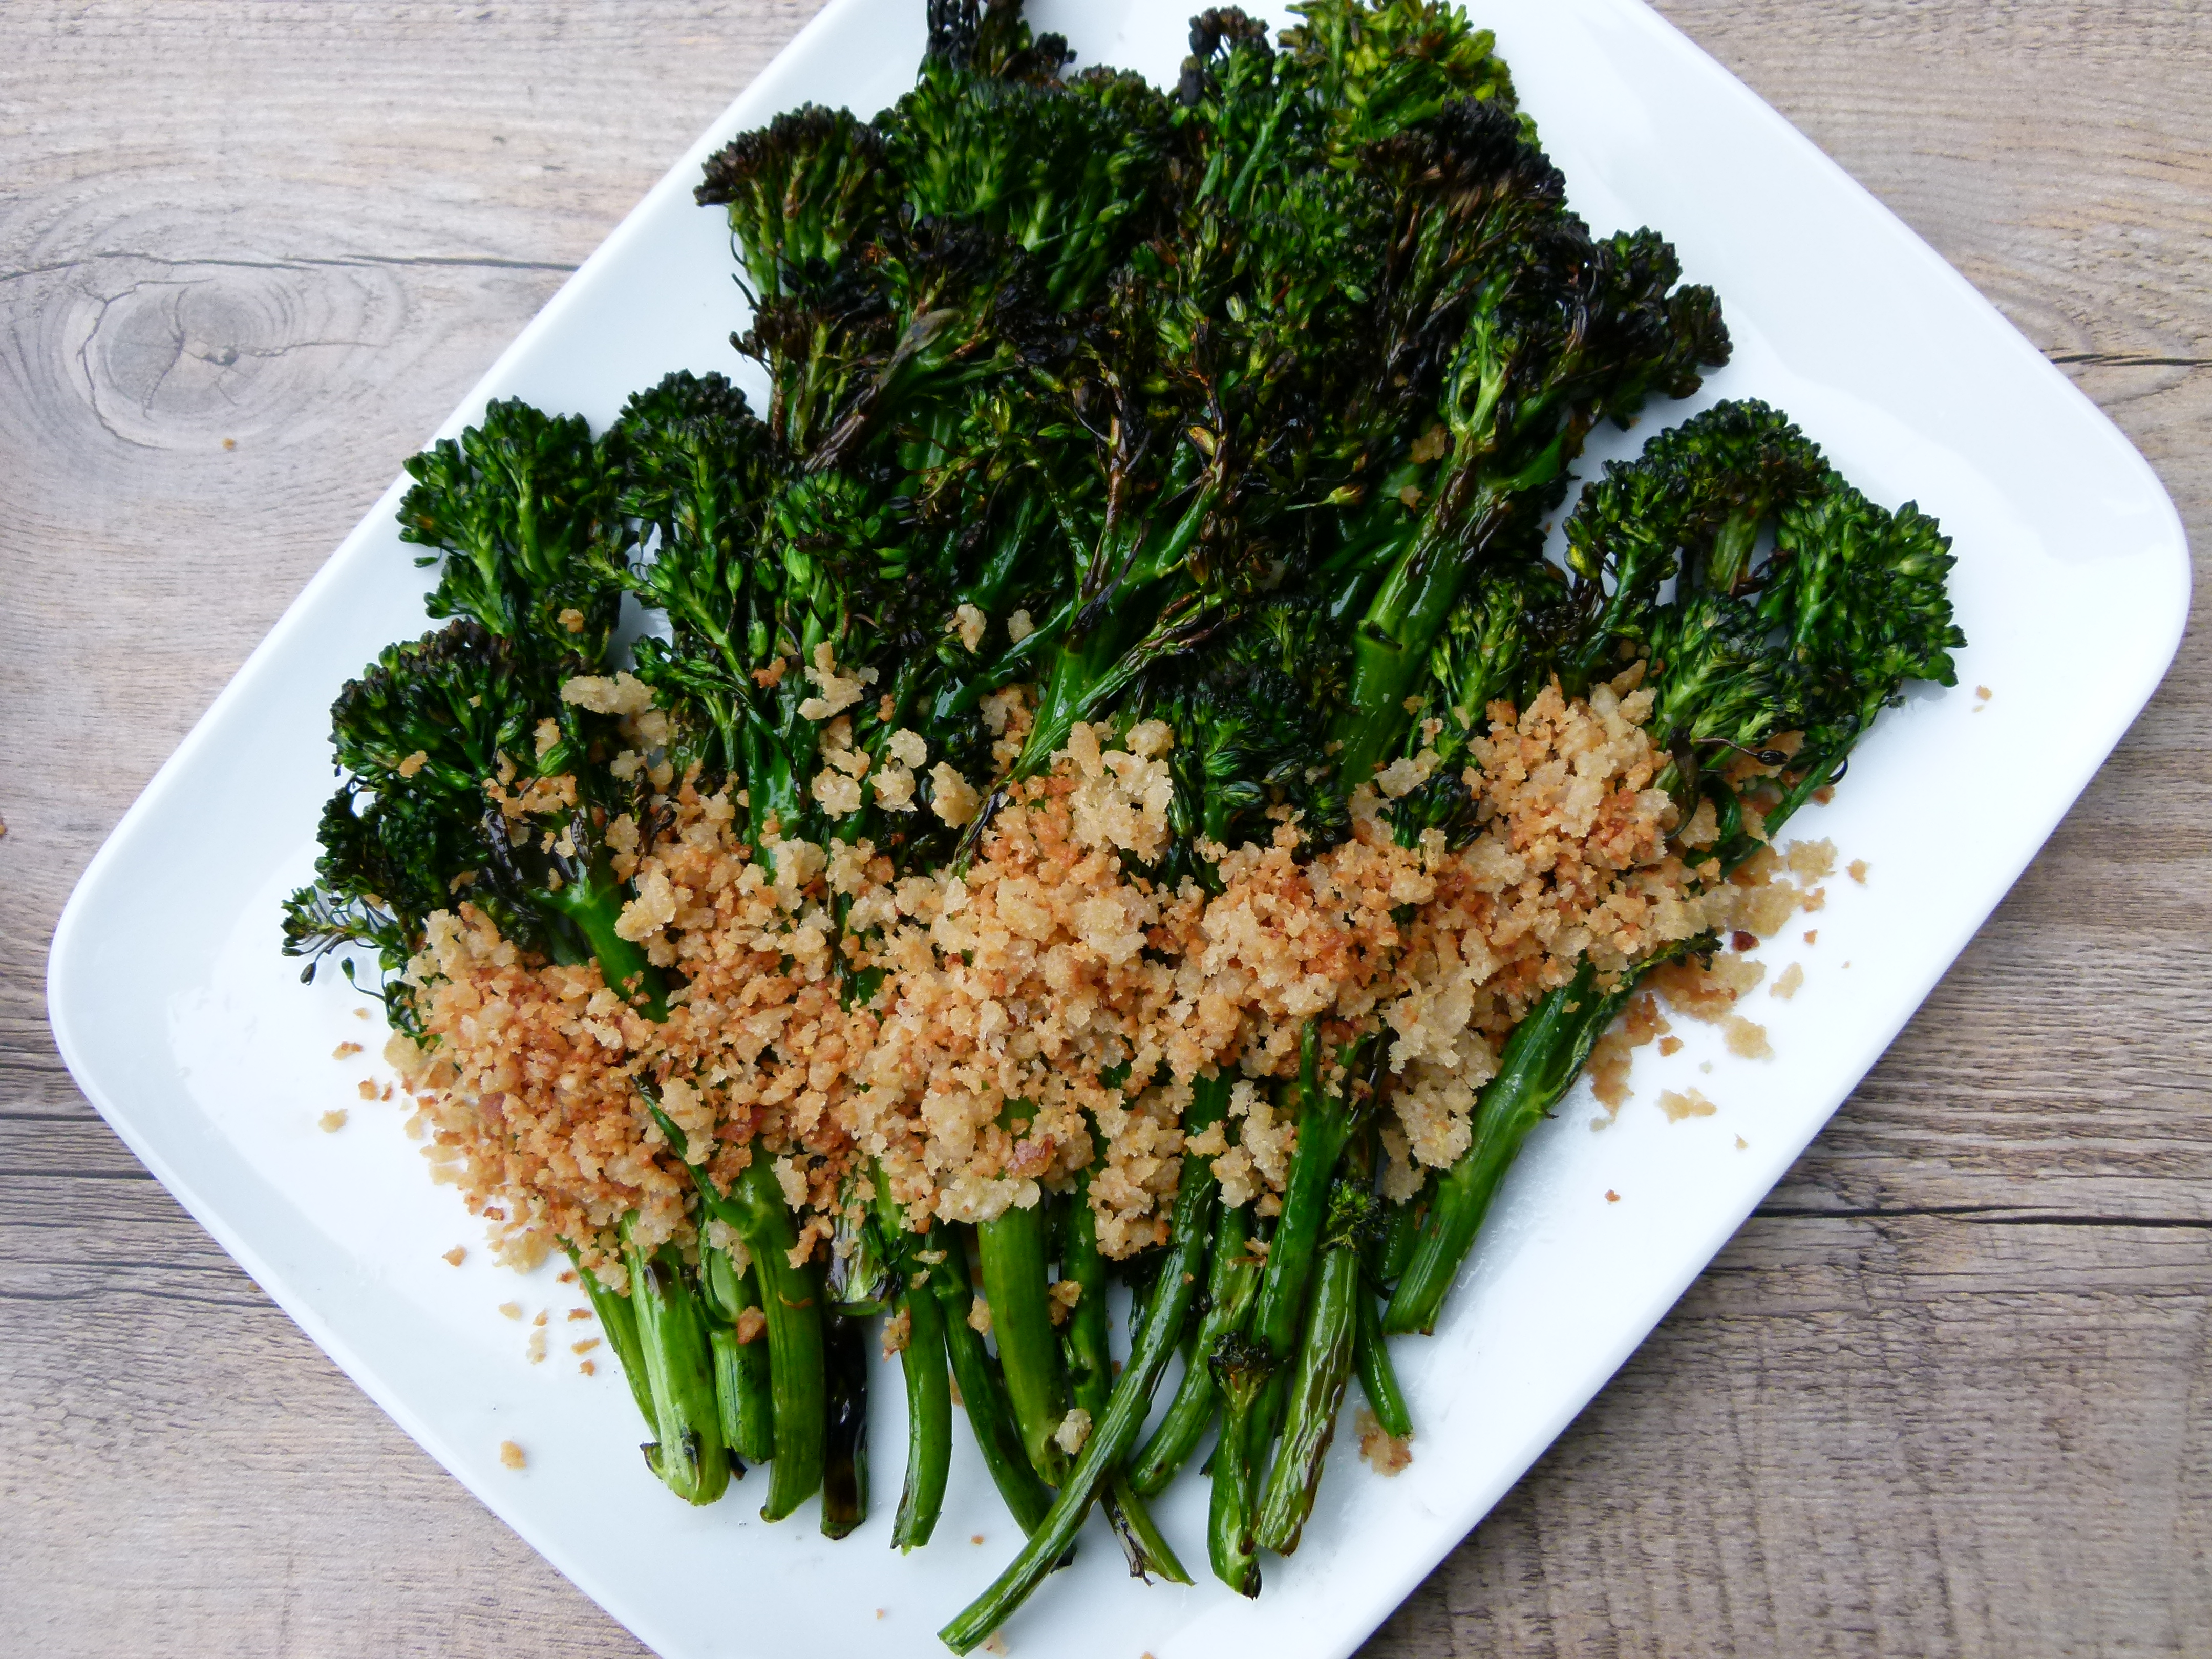
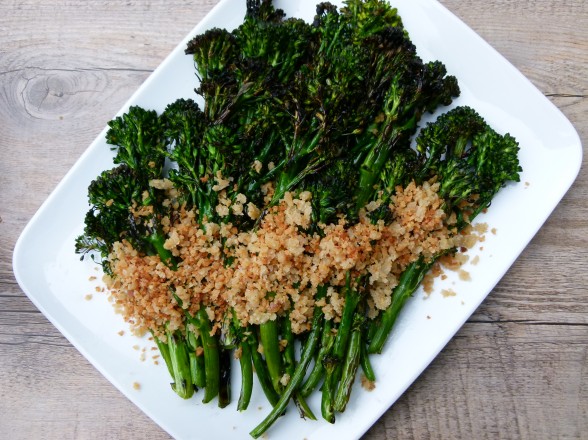
Grilled broccolini with lemon-parmesan breadcrumbs recipe

Every food magazine seems to be offering an entire grilling issue this month and for good reason.  In most parts of the country, summer is “the” season for outdoor cooking and grilling is an easy and tasty way to prepare a wide variety of foods we love.  If you’ve been hanging out at this site for a bit, you probably know that I’m not so fond of grilling animal protein too often since it can be carcinogenic.  Since this is not the case for other foods, I will, however, grill just about anything else from vegetables and fruit to potatoes and pizzas.

Although many of my students ask me for new ways to prepare chicken and fish, I tend to keep the animal protein simple and focus on interesting ways to cook my favorite food group, vegetables.  And I am always on the lookout for interesting, new vegetables to cook.  Enter broccolini!  I had never heard of broccolini until probably six or seven years ago, although it has been around since about 1998.  It is sometimes referred to as “Baby Broccoli,” “Chinese Kale” or the very appetizing name “Aspiration” (Who in the world came up with that one?  Certainly no one with picky kids.)  Broccolini is technically a hybrid between regular broccoli and Chinese kale, but it has a more tender stem and sweeter flavor than both.  Some people think it tastes like a cross between asparagus and broccoli and that seems pretty accurate to me.  However you call it, we love, love, love it!

Broccolini and all its cruciferous cousins are vegetables you want to include regularly in the meal rotation since they are nutritional powerhouses with lots of anti-cancer compounds.  We eat a lot of broccolini and broccoli, so I am all about mixing it up a bit so we don’t get bored with the same old, same old.  Broccolini is just made for the grill.  Its tender stems cook as quickly as asparagus do and the grill adds a fabulous charred flavor to the florets.  Normal broccoli tastes fabulous on the grill too, but you have to slice the thick stems in order for it to cook properly and then it looks a little awkward.

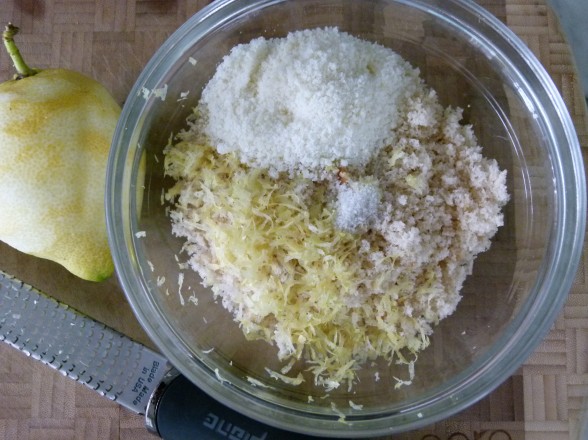
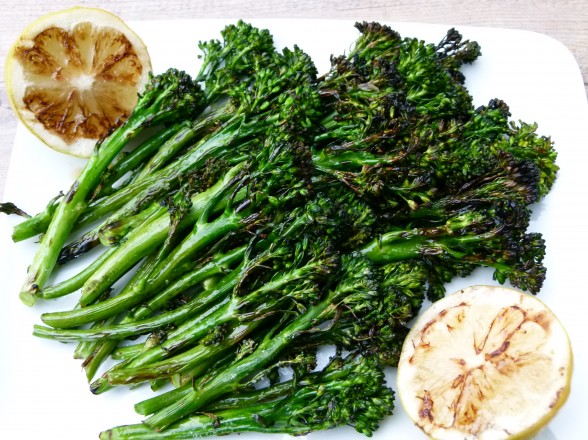
This is hardly a recipe and at its simplest you just coat the broccolini in olive oil, sprinkle them with salt and pepper and grill few minutes on each side.  The only trick is to avoid burning the florets which is possible if you just stay at the grill the whole time and don’t leave to check your email.  Done.  This is super easy for weeknights and cool enough to serve to your foodie friends.  If a simply grilled vegetable isn’t sophisticated enough for you, you can brush the cut side of a couple lemons with olive oil and grill them cut-side down for a few minutes to squeeze on the broccolini with or without a dusting of Parmesan cheese.  Or, make these ridiculously addictive Lemon-Parmesan Breadcrumbs which are so good on these broccolini as well as grilled asparagus, pasta, roasted cherry tomatoes and just about a hundred other things.  I have successfully used many different gluten-free breads to make them, used Pecorino (sheep cheese) instead of Parmesan (cow), and eliminated the cheese altogether.  I’ve heard the saying, “you can’t make everyone happy.”  I’m not so sure about that!

Grilled Broccolini with Lemon-Parmesan Breadcrumbs
Author: 
Serves: 6
 
Ingredients
  • 2 bunches broccolini, washed, dried, dry ends trimmed (about 1 pound)
  • Unrefined olive oil for drizzling the broccolini + 2 Tablespoons
  • Sea salt and freshly ground pepper to taste
  • A few slices of fresh bread or a roll, but nothing too “flavored,” hard crusts removed
  • 3 Tablespoons grated Parmesan or Pecorino-Romano cheese
  • Zest of 1 small lemon
  • 1 clove garlic, peeled and cut in half
Instructions
  1. Preheat a grill over medium heat. Too hot and the florets will burn. Not hot enough and you won’t get a char.
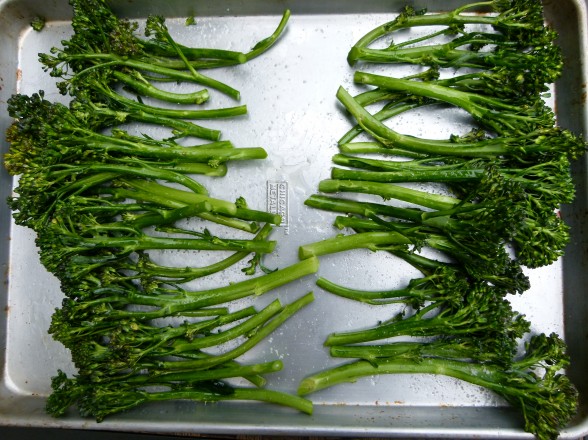
  2. Drizzle the broccolini with oil and toss with your hands until they’re evenly coated. (I put them on a sheet pan.) Season with salt and pepper.
  3. Make the breadcrumbs: cut the bread into cubes and place in the bowl of a food processor fitted with a metal blade. Process into crumbs. Measure 1 cup of crumbs.
  4. In a small bowl, combine crumbs with Parmesan, lemon zest and a pinch of salt.
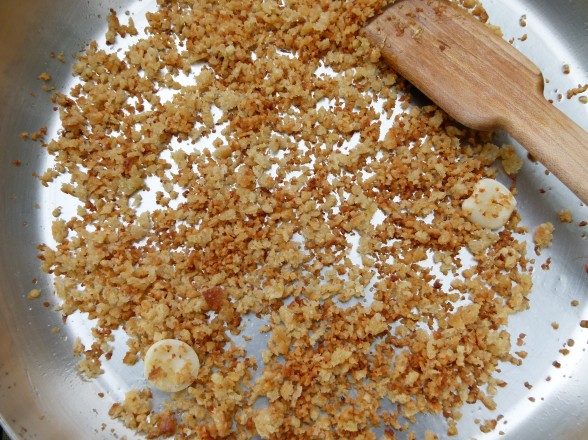
  5. Heat 2 Tablespoons oil in a large skillet over medium heat and add the breadcrumb mixture and the garlic. Toast the breadcrumbs, stirring frequently until they start to turn golden brown, like toast. Carefully taste the breadcrumbs to make sure they’re crunchy, but don’t burn your mouth doing it. When they’re done, immediately transfer to a bowl, otherwise they’ll burn sitting in the pan. Remove garlic and discard.
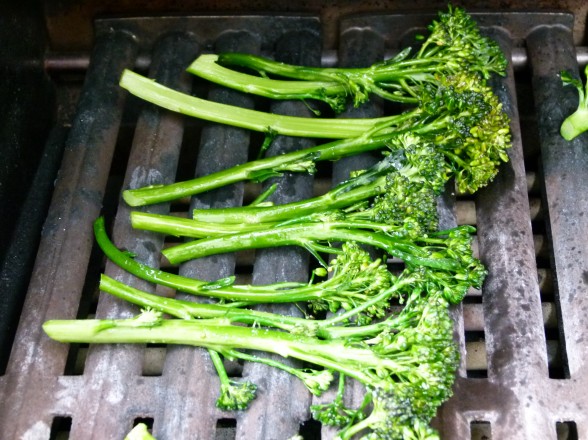
  6. Place broccolini on the grill and cook until tender, but slightly charred, about 3 minutes. Flip over and cook the other side another 3 minutes. Be careful not to burn the broccolini. Place on a platter and scatter the breadcrumbs on top or serve separately.
Notes
You can skip the breadcrumbs and serve instead with lemon wedges and/or shaved or grated Parmesan.

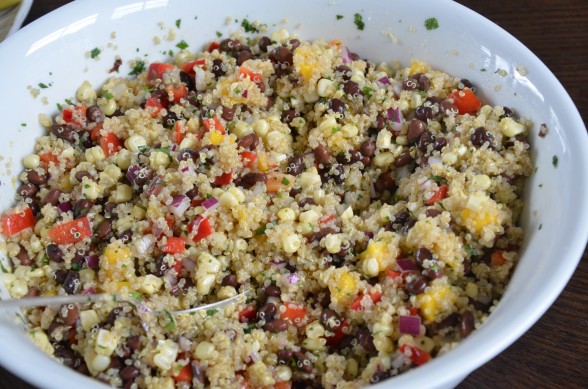
Southwestern Quinoa Salad Recipe

Have you ever read a cookbook or food blog where an unbelievable, creative recipe was put together with “odds and ends” from the pantry or produce bin?  I am always in awe of people who can do that.  Those same people go grocery shopping without a list and simply buy what looks good and then create a meal around it.   I too can use bits of this or that and turn it into something fairly tasty, but it usually ends up as a frittata, Pantry Pasta, or some sort of fried rice dish.  Definitely enough to get an acceptable dinner on the table, but nothing that will win me any accolades.


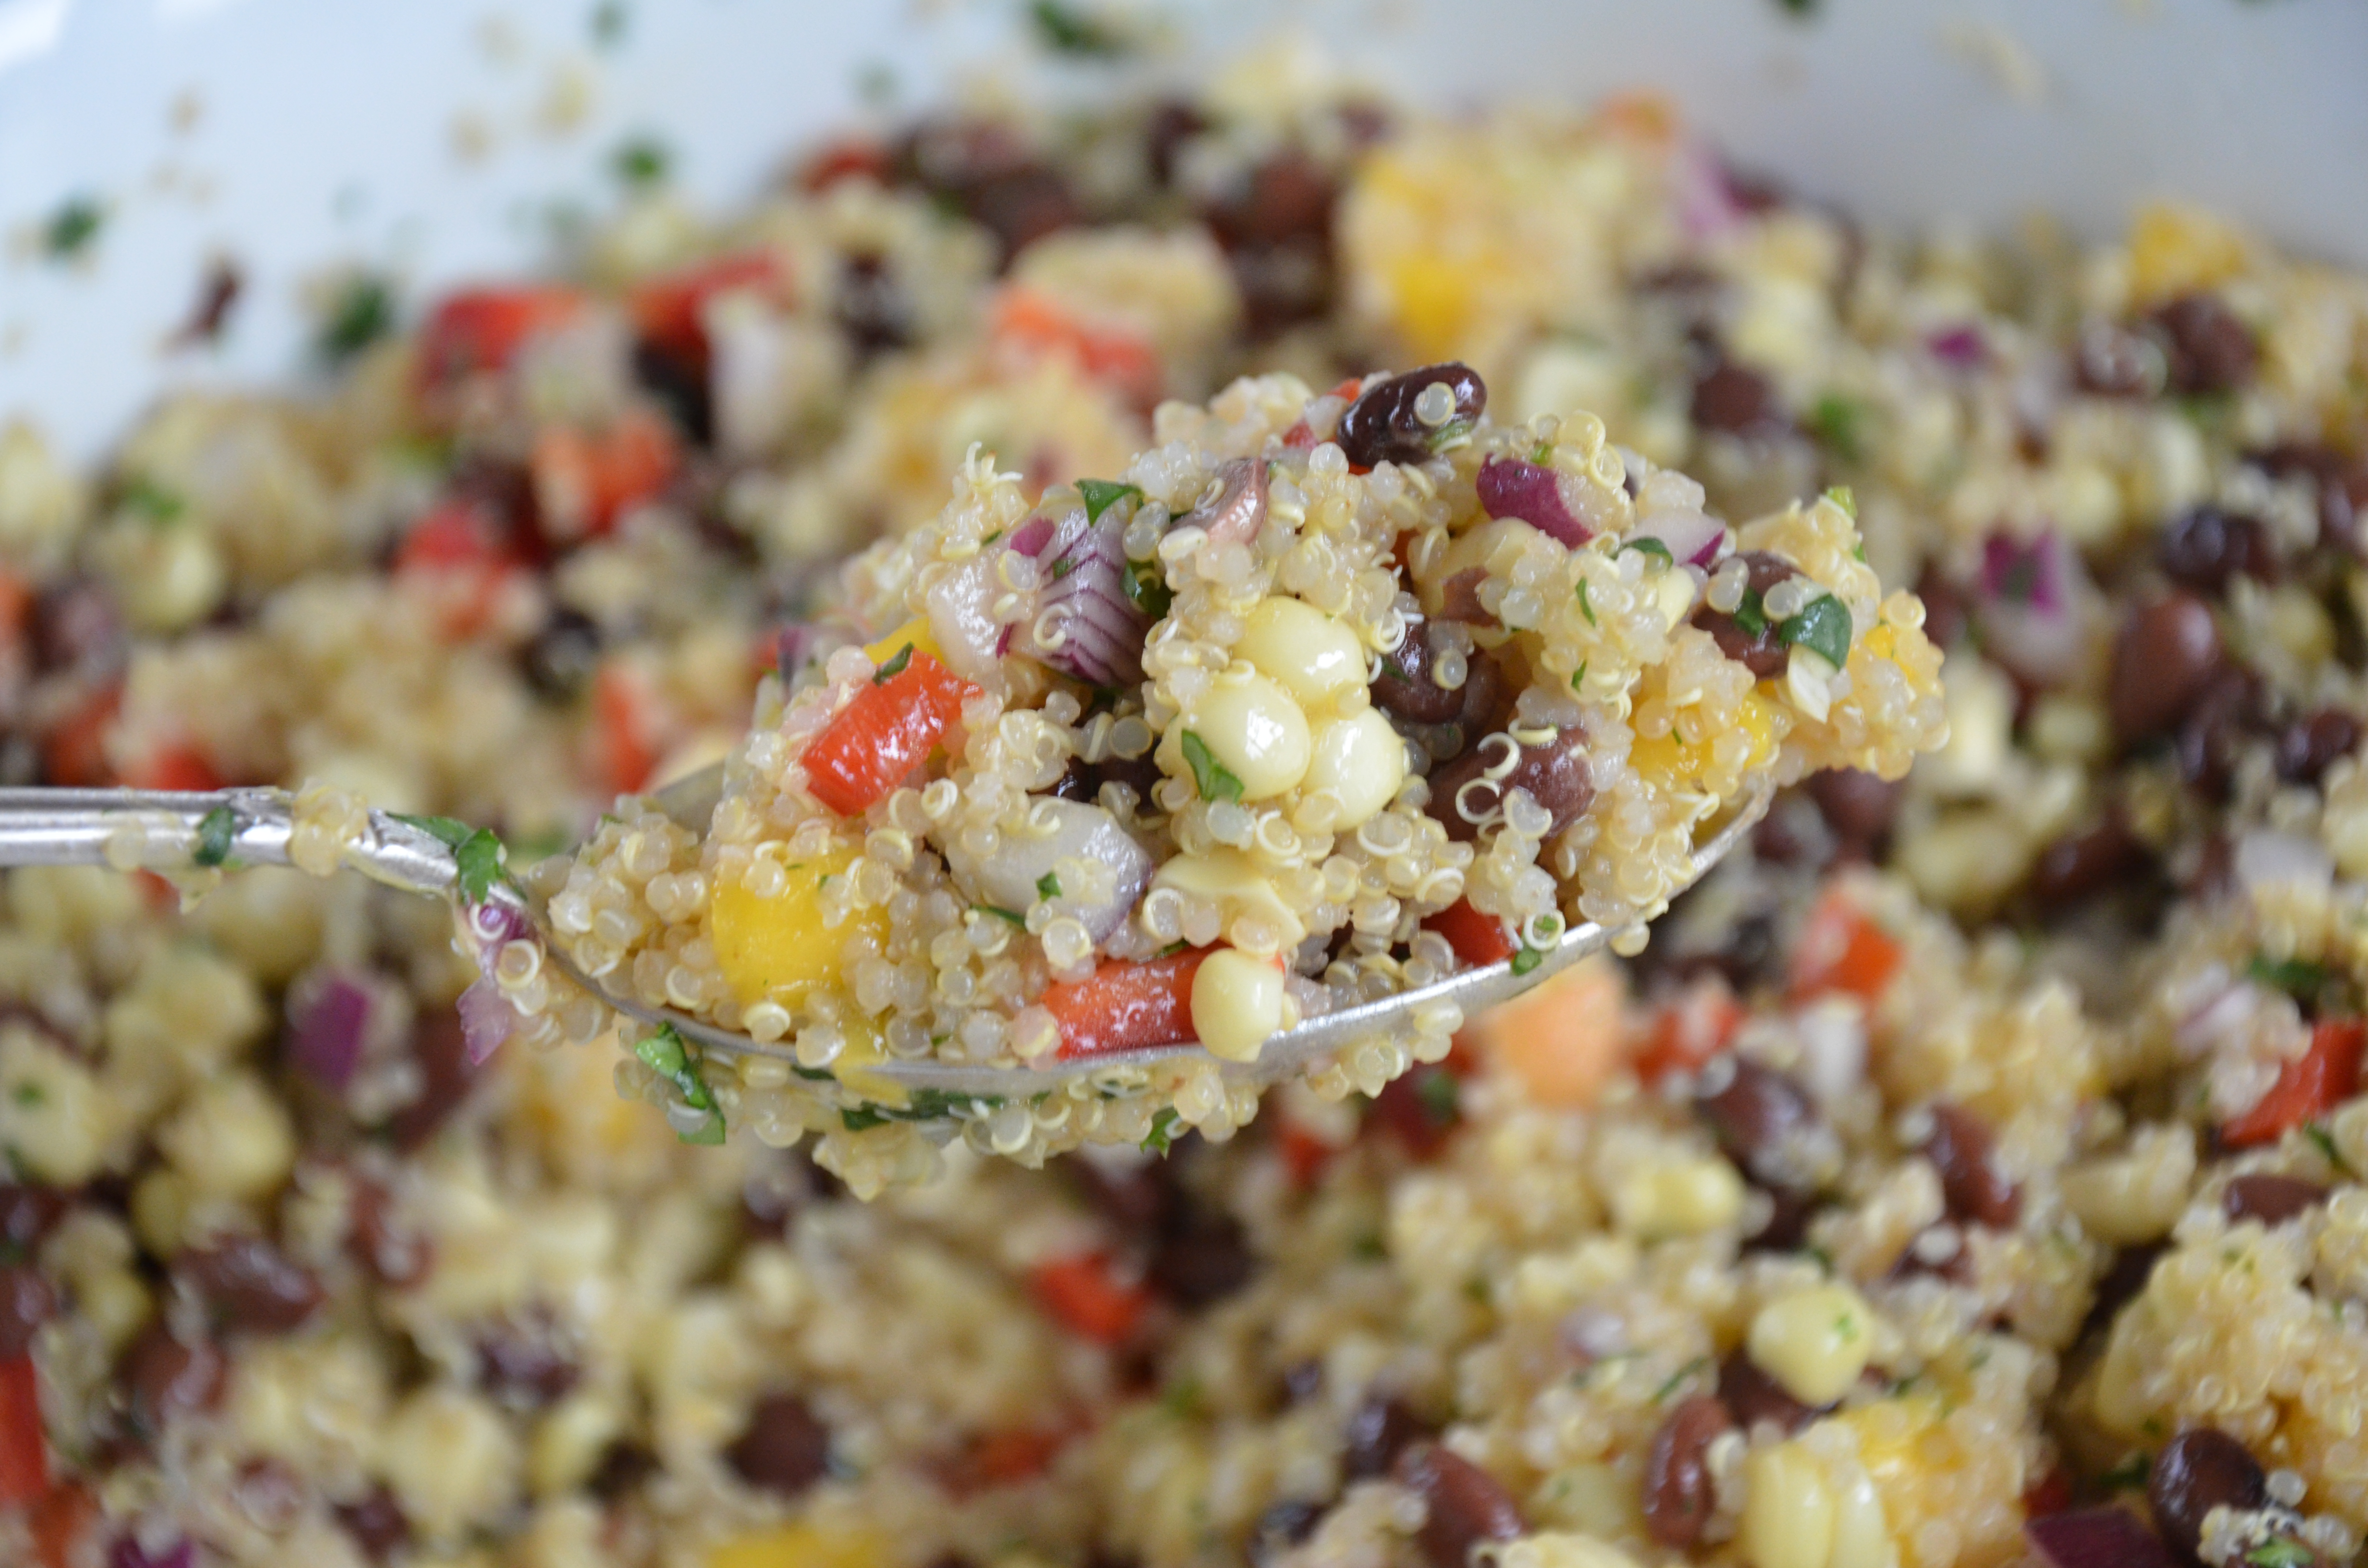
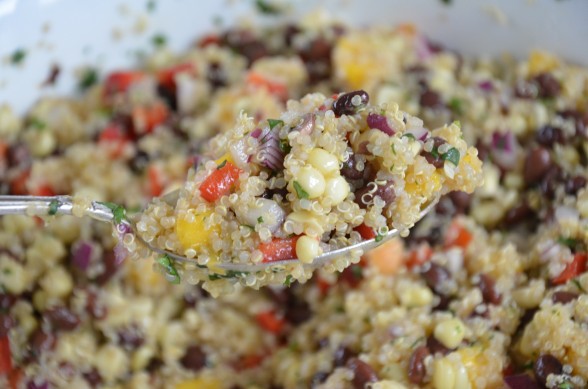
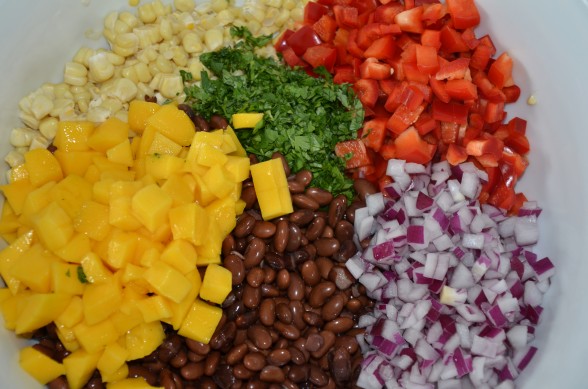
One day a few years ago, I decided to try my hand at “throwing something together.”  I figured I had done this many a time at salad bars, I should be able to do this within the limitations of my own pantry and refrigerator.  Whereas I pride myself on keeping things simple,  on this particular day I got a little carried away.  It all started with some quinoa, corn and cilantro which sounded Southwestern to me.  Pretty soon I was dicing up red pepper, red onion and opening a can of black beans.  Just when I thought I was done, I spied a mango and that went into the mix, too. After squeezing in some lime juice, olive oil and cumin, I had myself one fresh and tasty salad that I could happily bring to a backyard barbeque or serve to guests, even that same day to my mother-in-law who is slightly skeptical of quinoa.

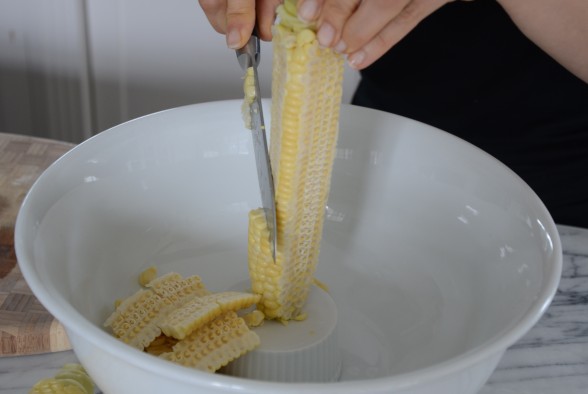
I’ve made this salad countless times since then and changed it up every time.  Red onion has been replaced with scallions or shallots.  Ripe avocado and toasted pumpkin seeds have found their way in on many an occasion.  When corn is crazy fresh and sweet, I just cut it off the cob raw and use it that way.  With Father’s Day coming up, I am thinking about including this on the menu, but I might just leave out the quinoa entirely since I made quinoa tabbouleh last year on Father’s Day.  Although my husband likes quinoa just fine, he doesn’t consider it very “manly.”  Please.  I keep trying to tell him how much protein it has — it’s like eating meat, but without the saturated fat and cholesterol.  But it’s his day and I aim to please!  So I think next weekend I’ll make this with extra corn and beans and thrown in some “manly” diced up grilled chicken.  Regardless, “creating” this salad was a good exercise for me in learning how to be flexible, but also gave me some confidence to use what I’ve got — in more ways than one.

5.0 from 1 reviews
Southwestern Quinoa Salad
Author: 
Serves: 6-8
 
Ingredients
  • 1 cup quinoa
  • 1 ½ cups cooked black beans, drained and rinsed if canned (1 can)
  • 1 ½ cups fresh or cooked corn (cut from 2 large ears)
  • ¾ cup diced red pepper (1 small pepper or ½ large)
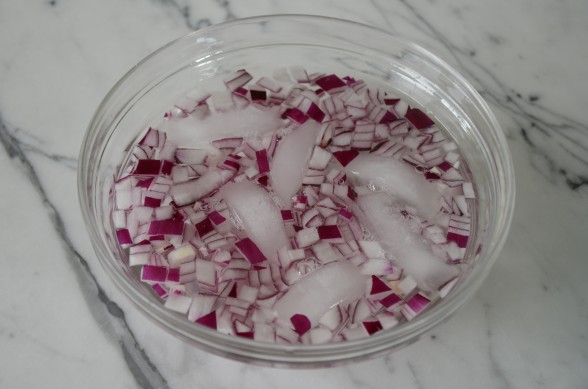
  • ½ large red onion, diced (soaked in ice water if you want to cut the harsh onion flavor)
  • 1 jalapeno, seeded and minced (optional)
  • ¼ cup finely chopped cilantro
  • 1 teaspoon sea salt
  • ¾ teaspoon ground cumin
  • ⅓ cup fresh lime juice (about 1 ½ limes)
  • ⅓ cup unrefined, extra-virgin olive oil
Instructions
  1. Rinse quinoa in a bowl with water or place quinoa in a fine mesh sieve and rinse under cold water until water runs clear. Transfer to a saucepan and add a healthy pinch of sea salt and 1 ¾ cups of water. Bring to a boil and simmer until water is absorbed, about 15 minutes. Turn off the heat and place a kitchen towel over the pot. Place the lid over the towel and let sit covered for 5 -10 minutes.
  2. Transfer quinoa to a serving bowl, fluff with a fork and cool slightly. Add beans, corn, red pepper, onion, (optional) jalapeno and cilantro. Sprinkle with cumin and sea salt.
  3. In a small bowl combine lime juice and olive oil. Pour over salad and mix well. Taste for seasoning.
Notes
Options for substitutions/additions: Also delicious in this salad are sautéed zucchini, diced celery, diced fresh mango, sliced scallions, diced tomato or diced avocado.

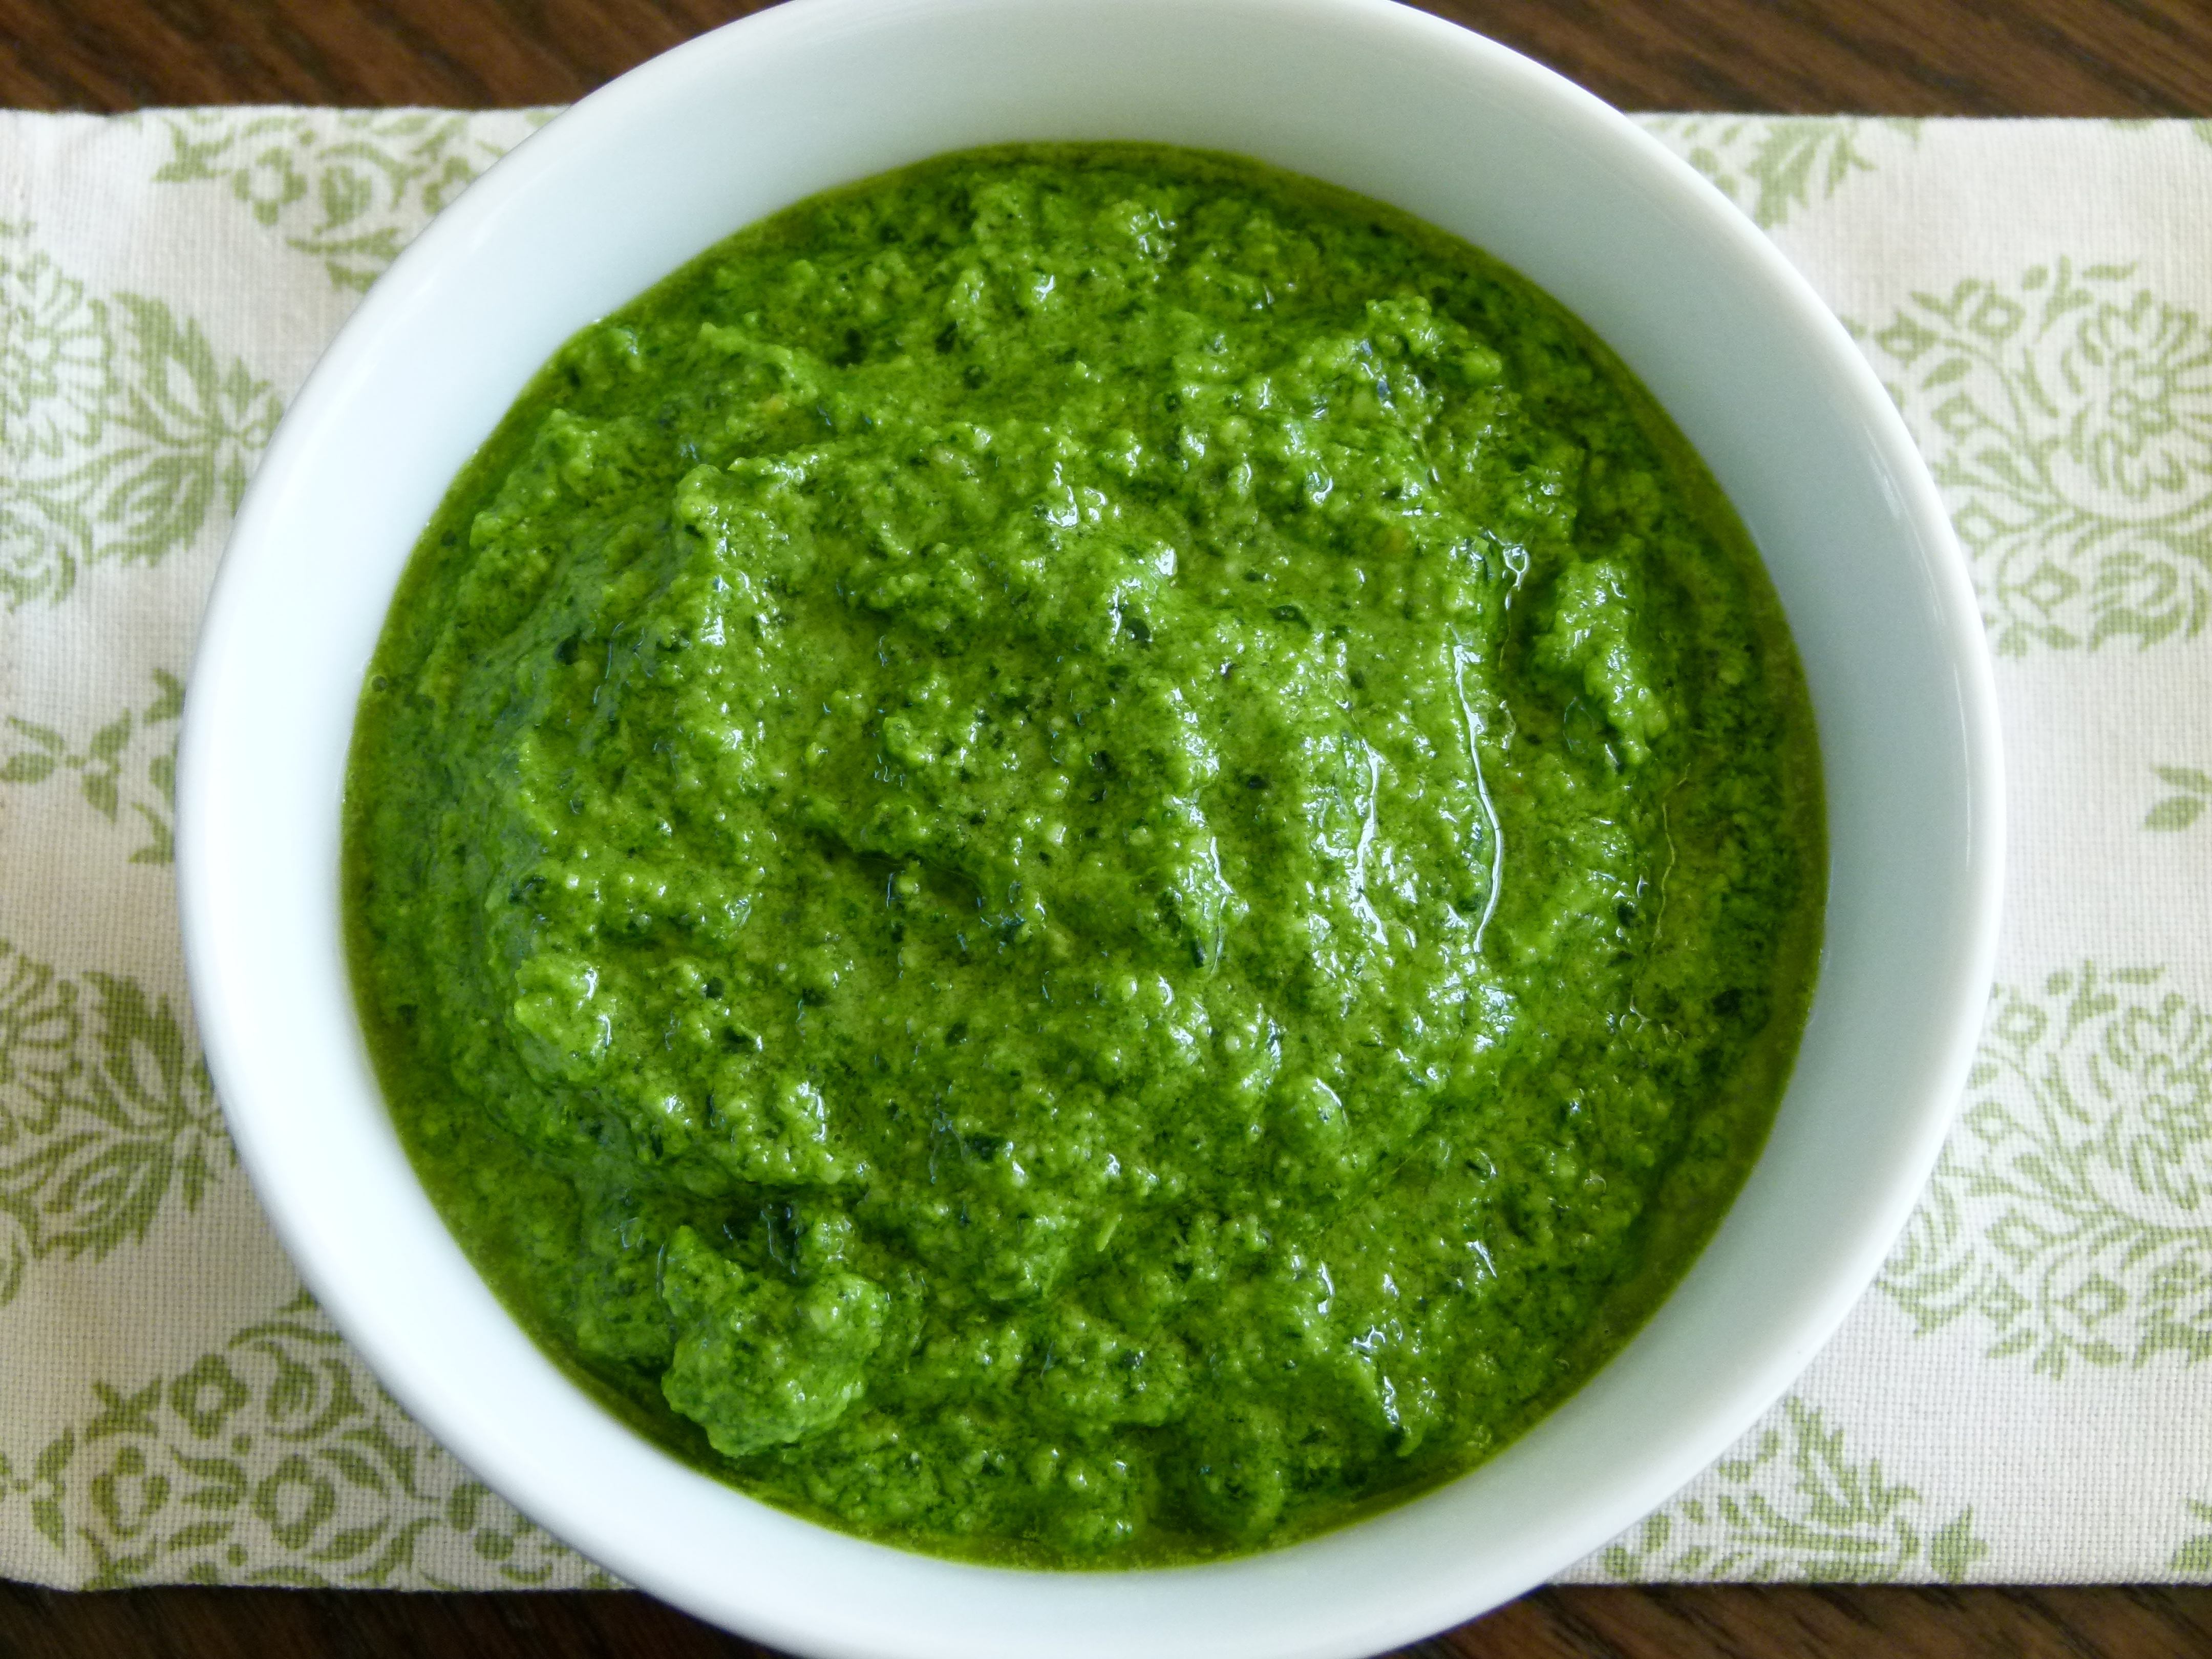
Kale Pesto Recipe

When I was a child, my family ate pesto all the time in the summer and early fall.  In fact, to me the smell of basil, garlic and cheese in the food processor is synonymous with warm, lazy days at the beach or on my parents’ hammock under a big, breezy tree.  It was one of the few things my mom made without a recipe because she made it so often and could likely do it in her sleep.  Also, my father always planted way too much basil so Mom was forced to use it  up more quickly than it grew.  Traditional basil pesto is the only pesto that I ever knew until I started over-planting my favorite herb, parsley, and mixing it with basil for an ever better (in my opinion) pesto.

But it wasn’t until a few years ago that I heard about the huge spectrum of pestos out there not made from basil but from all sorts of herbs like cilantro and mint to leafy greens such as spinach and arugula and even peas or sun dried tomatoes.  The result is a brave new world of pesto-adorned dishes beyond pasta in the summertime.  The good news is that all pestos are super simple to make and help me make my boring meals more exciting.  “Another turkey sandwich?”  No, a turkey sandwich with pesto!  Oooh, ahhh.  “Grilled fish” doesn’t have the same appeal as “grilled salmon with cilantro pesto!”  Although when I introduced kale pesto to my family, they were skeptical.

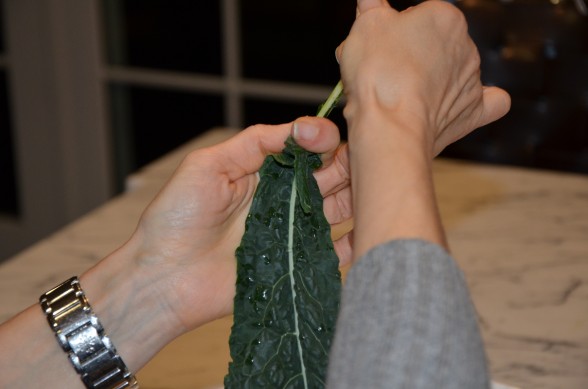
Kale, which is my absolute favorite superfood, is more nutrient-dense than most any food on the planet, so I try to incorporate it into our meals however I can.  I love how hearty and flavorful kale is, but it can be a little bitter for the kids if I don’t try to work around that.  My standard pesto is made with pine nuts or pine nuts and walnuts.  Both are soft nuts that get ground very easily, but can be also be a tad bitter.  So I subbed blanched almonds to keep the pesto from getting too harsh and loved it, even though almonds don’t grind up quite as finely.  The only other change I made was to add a touch of lemon juice which brightens the whole thing up and again, cuts any bitterness.

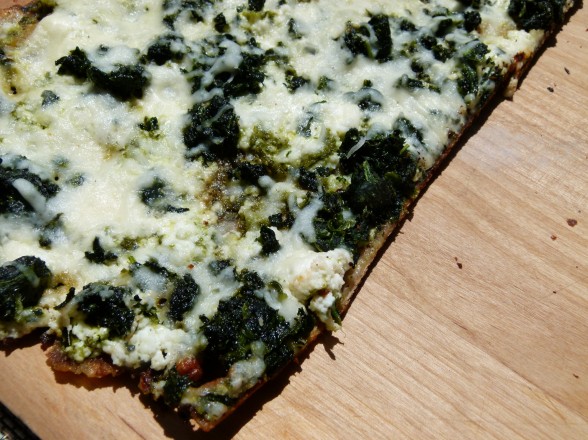
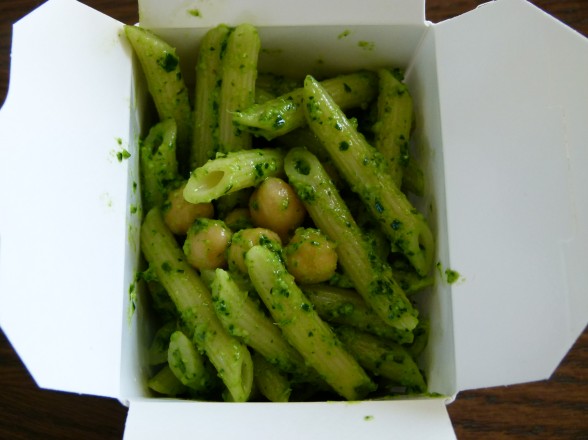
I made kale pesto in two different ways.  The first with all kale and the second with mostly kale plus basil.  All kale pesto tastes reminiscent of broccoli which makes sense since they’re both in the cruciferous family.  It’s so totally yummy with a hearty whole wheat or spelt pasta, stirred into soups like lentil, mushroom-barley or minestrone or slathered on a quesadilla with leftover roasted veggies and cheese.  I imagine it would be great on a baked potato with veggies or in an omelet with goat cheese and mushrooms.  Then I made another version with mostly kale and some basil and it tastes much more like the version you’re used to, but more substantial and maybe with a little more bite.  So many people in my classes this month thought it was even better than an all-basil pesto.  In class we ate it poured on a grilled chicken paillard.  Sunday, I took some pasta with kale-basil pesto and chickpeas in Chinese takeout containers for a beach picnic and then used the leftovers yesterday on a grilled whole wheat pizza with ricotta, sauteed garlic spinach and fresh mozzarella.  Insane.

Feel free to use whatever kale you can find, but the curly green variety tends to get processed more finely in the food processor if that matters.  Although in these photos I did use the Dinosaur (Tuscan) variety because I typically have that on hand for salad and juicing.  However you try it, and I hope you do, pesto is a busy cook’s good friend anytime of year.  Tell me your favorite ways to enjoy it!

Kale Pesto
Author: 
Serves: makes just under 2 cups
 
Ingredients
  • ½ cup blanched almonds, walnuts, pine nuts or a combination (use sunflower seeds for a nut-free pesto)
  • 1 large garlic clove, smashed
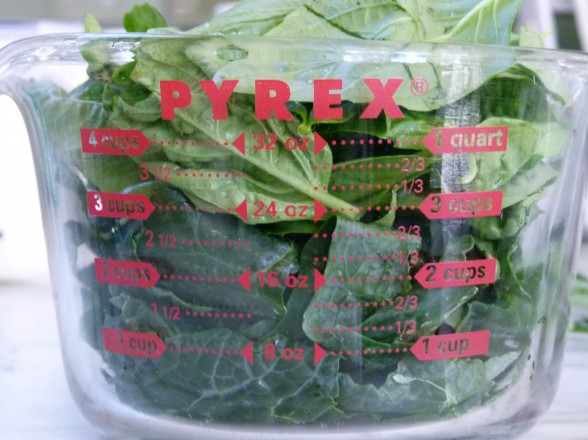
  • 3 cups kale (dinosaur or curly green), stemmed and torn into large pieces (so it’s easier to measure)
  • 2 cups basil leaves (or use all kale)
  • ½ teaspoon fine grain sea salt
  • Freshly ground pepper to taste
  • 1 Tablespoon freshly squeezed lemon juice
  • ¾ cup unrefined, cold pressed, extra-virgin olive oil
  • ⅓ cup grated Pecorino or Parmigiano cheese
Instructions
  1. Toast nuts, stirring frequently, in a dry skillet over medium heat until lightly golden. If you are a “nut-burner,” just skip this step and put them in the food processor raw. Remove from heat and allow to cool. If you're using sunflower seeds, just use those raw.
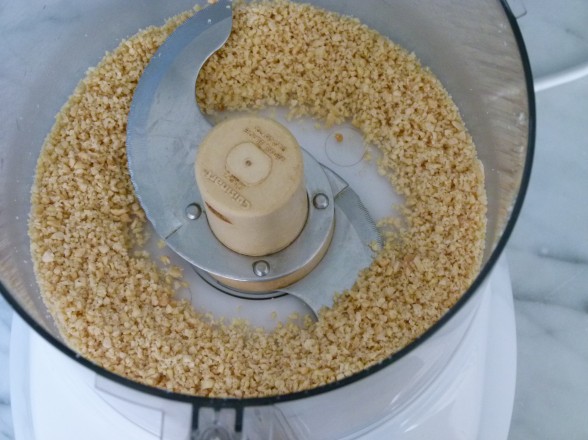
  2. Place nuts and garlic in the bowl of a food processor fitted with the metal blade and process until very finely chopped.
  3. Add kale, basil, salt, pepper and lemon juice and pulse until chopped.
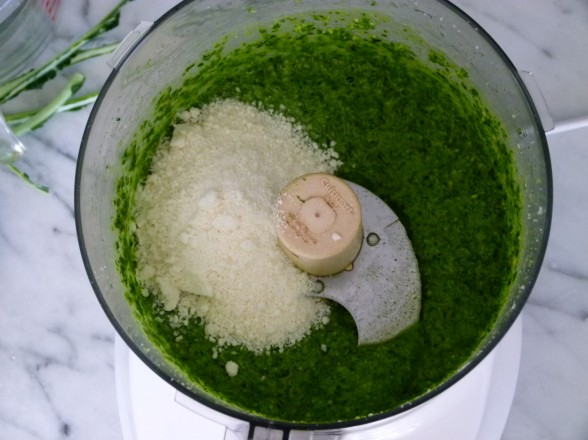
  4. With the food processor running, add olive oil in a steady stream until you achieve a smooth texture. Add cheese and process until well combined.
  5. Taste for seasoning and add additional olive oil to make a looser pesto.
Notes
*Pesto freezes really well!

Wheat Berry Salad with Lemon-Tahini Dressing Recipe

In a perfect world we would all be eating mostly whole foods, that is foods that came into this world a certain way and stayed that way.  Whole, unprocessed, unrefined foods are more recognizable by our bodies and better for our health.  Period.  I also talk a lot about limiting gluten, that pesky inflammatory protein found in wheat and to a lesser extent spelt, barley, rye and farro.  One of the problems with our overconsumption of wheat is that 99.9% of the time (I made up that statistic), it is in a processed form such as bread, pasta, baked goods, flour tortillas, pizza, etc.  And in the US, much of the processed wheat is refined too, which means anything good that was in there has been taken out.  Ugh.  I know all those foods are delicious and I am not telling you to never eat them again (although you would be better off), but it’s important to at least acknowledge how much processed wheat you’re eating and try a limit these foods to every once in a while.

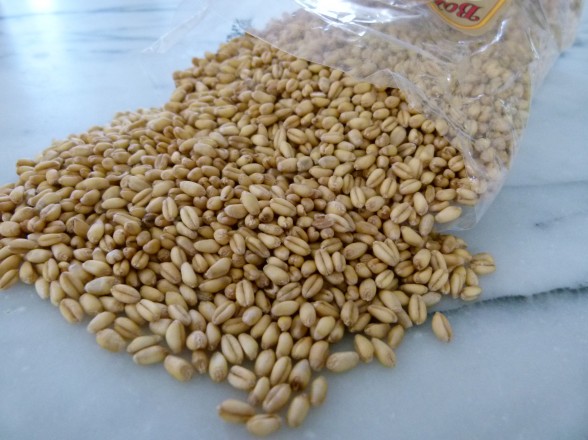
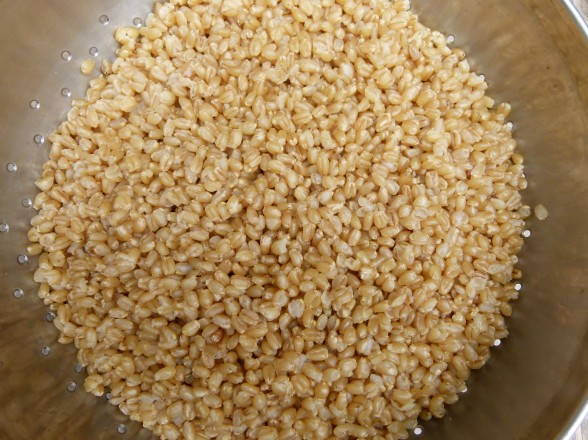
So if you buy bread or pasta labeled “whole wheat,”  they are technically made from whole wheat and not actually whole wheat.  If you wanted to actually eat whole wheat, you would eat these little babies right here.  They are called wheat berries which is where wheat flour comes from.  They are a true whole grain because they’re still intact, as are their B vitamins, fiber, protein, even calcium.  Wheat berries remind me a lot of spelt, farro and even short-grain brown rice, but more chewy which makes them perfect in a salad.  My kids love them!  Truthfully you can use wheat berries in any recipe calling for spelt or farro, none of which, however is gluten free.  GF folks can sub brown rice or quinoa very successfully in this recipe.

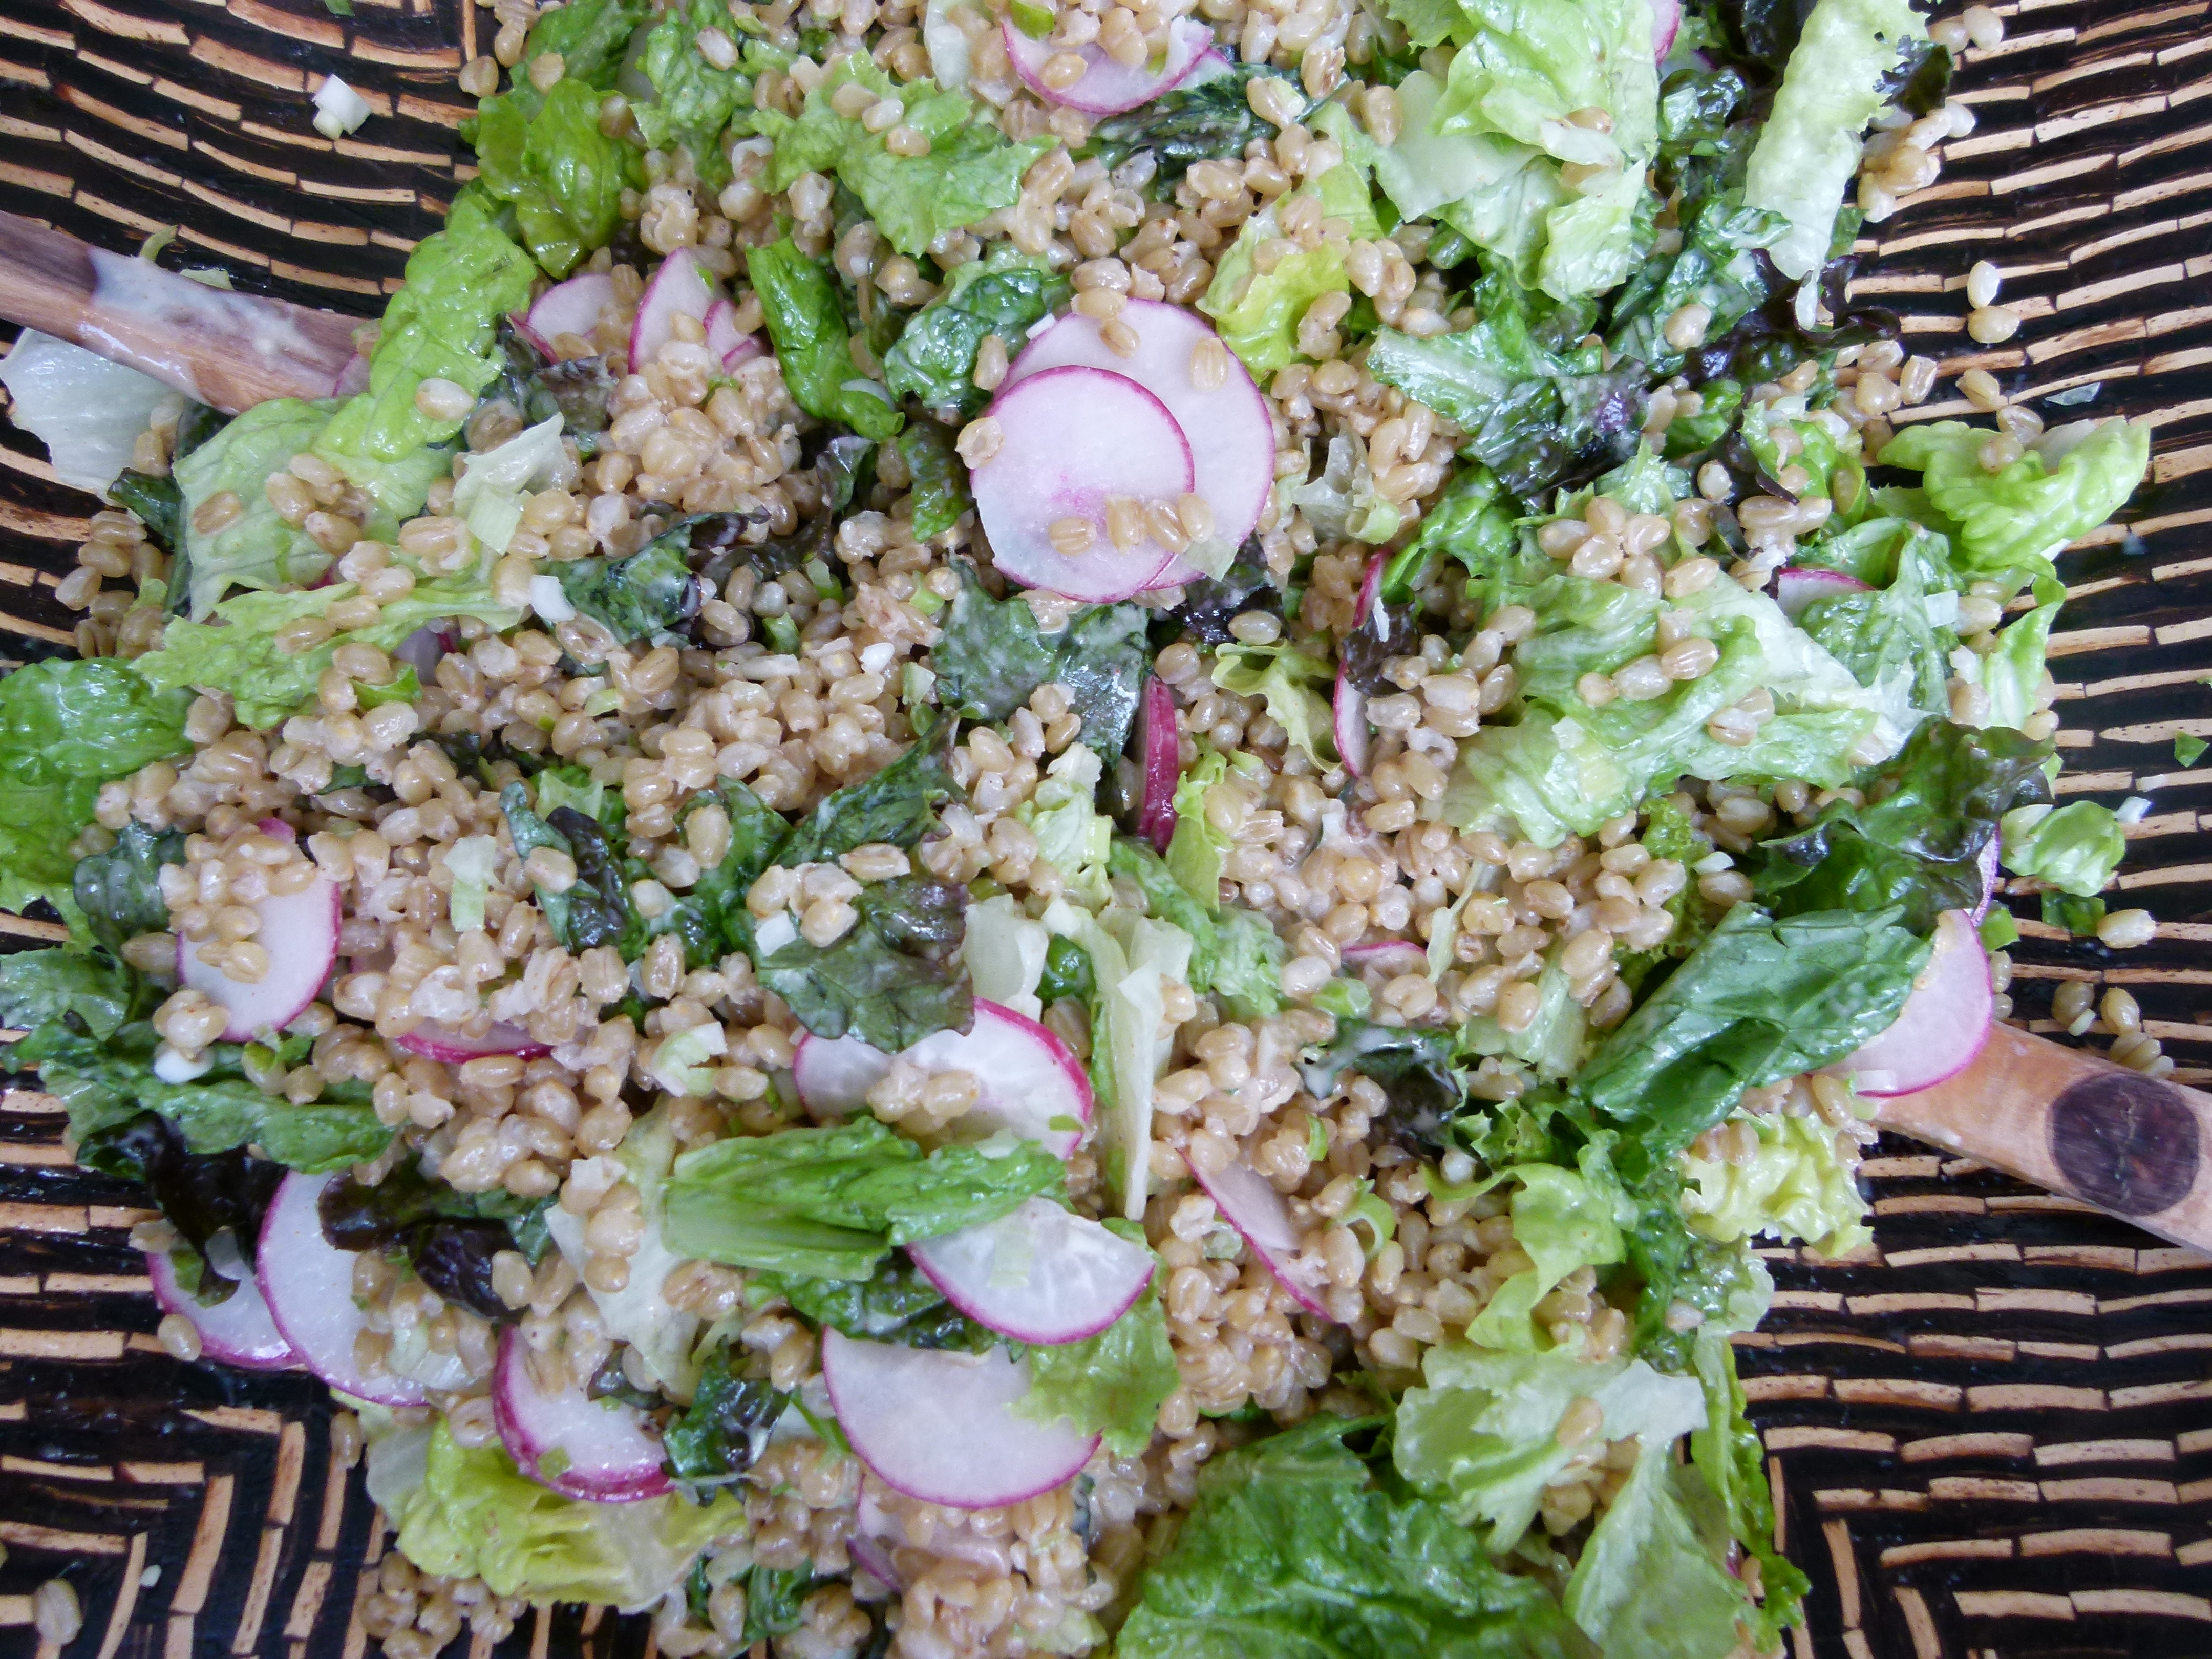
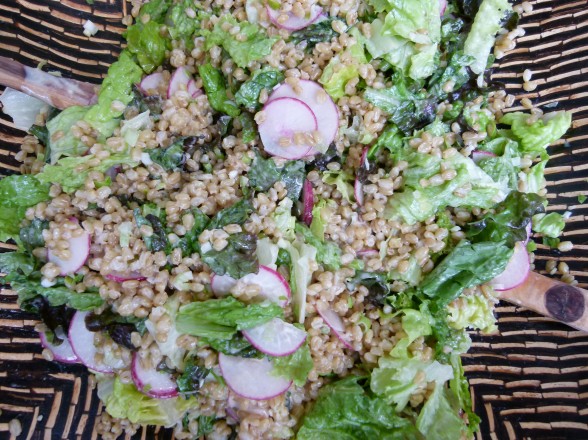
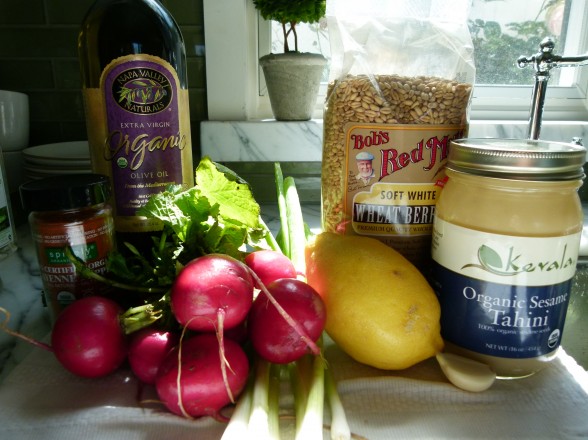
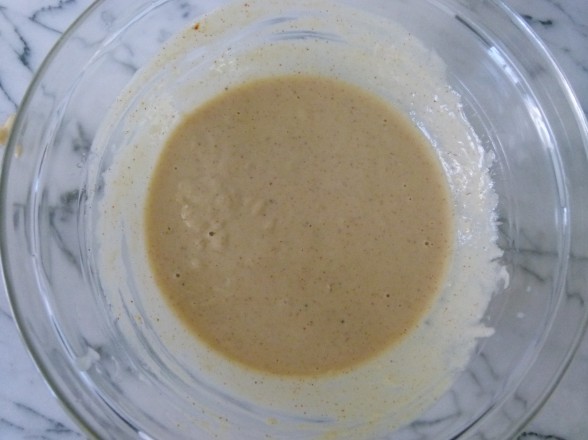
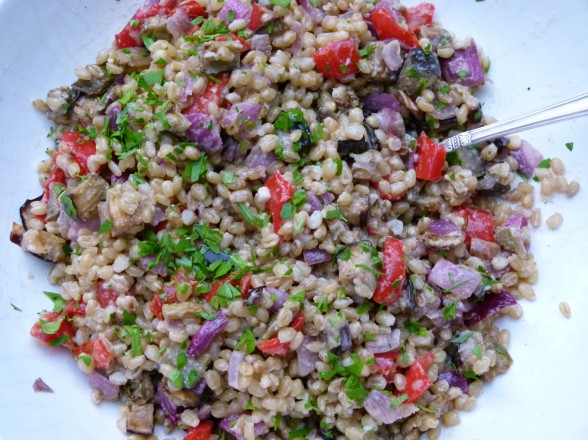
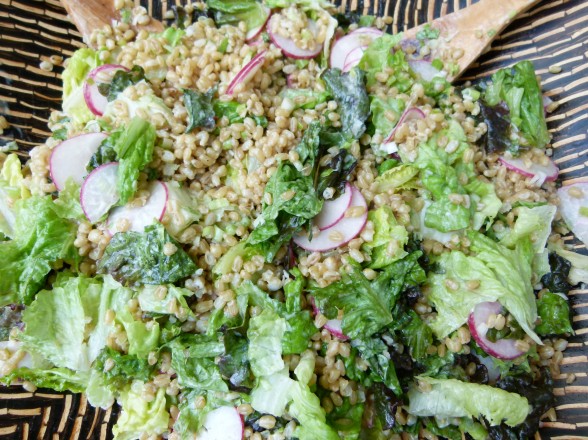
In as much as I love wheat berries, though, this salad wouldn’t be as delicious without the creamy lemon-tahini dressing which I have been putting on everything lately.  If you have a jar a tahini in the fridge, it is likely because you used it to make hummus, the delicious and popular Middle Eastern chickpea dip.  Tahini is just ground up sesame seeds, plain and simple with lots of good fats, protein and calcium.  If you like hummus, you’ll love this dressing since it contains almost all the same ingredients.  It’s zingy, creamy and a little different from your standard vinaigrette.  I tend to make it a tad on the spicy side, because I love a little kick, but definitely feel free to leave it out if your family prefers things mild.  I took these photos after my class yesterday, when I made the recipe with some thinly sliced radishes, green onions and torn red leaf lettuce, but really the sky’s the limit here.  I have made this salad with blanched asparagus, radishes and spinach — delish!  I have also used cherry tomatoes, cucumbers, feta and parsley.  There’s a picture at the bottom of the post of one version I did with roasted eggplant, red peppers, red onion and parsley, although it vaguely reminded me of that fabulous Ina Garten roasted vegetable orzo dish that I made waaaaay too many times about 10 years ago.  Still great, but in my opinion the richness of the dressing works best with light, fresh vegetables and greens.
If I didn’t just make this salad A LOT this month, I would definitely be including it in the summer entertaining menu rotation.  For you organized, plan-ahead cooks, the day before or morning of I would cook the wheat berries and allow them to cool, prep the vegetables and make the dressing.  I would not, however, dress the salad until the day of otherwise the wheat berries will just soak up all the dressing.  I used wheat berries from Bob’s Red Mill, but I have also seen them in the bulk section of some natural food markets.  Whatever you make this weekend, have fun and keep it real!

Wheat Berry Salad with Lemon-Tahini Dressing
Author: 
Serves: 6
 
Ingredients
  • 1 ½ cups wheat berries -- I used soft white wheat berries (or 1 cup quinoa cooked with 1 ¾ cups water)
  • Dressing:
  • 3 Tablespoons fresh lemon juice
  • 1 garlic clove, minced or mashed to a paste
  • 2 Tablespoons tahini
  • 4 Tablespoons unrefined cold-pressed, extra-virgin olive oil
  • ¾ teaspoon sea salt
  • dash or two of cayenne pepper ( I use ¼ teaspoon to make it a little spicy)
  • freshly ground black pepper to taste
  • Salad: (these are suggestions ~ you can also go with cucumbers, tomatoes, green beans, chickpeas, asparagus, peas)
  • 2-3 green onions, thinly sliced
  • 2-3 radishes, sliced thinly or julienned
  • 2 big handfuls of tender greens (such as spinach, watercress, argula, or red leaf lettuce)
Instructions
  1. Put the wheat berries in a medium saucepan and fill the pan with cold water (as if you were making pasta.) Add a big pinch of salt (kosher is fine.) Bring the water to a boil and reduce to a simmer. Cook wheat berries until they are tender, about 50-60 minutes. Drain and transfer to a serving bowl to cool slightly.
  2. For the dressing: whisk all ingredients together in a medium bowl and season with salt, cayenne and black pepper to taste. Dip a piece of lettuce in the dressing to taste for seasoning.
  3. Combine green onions, radishes and greens with the wheat berries in the serving bowl. Toss with enough dressing to coat lightly.
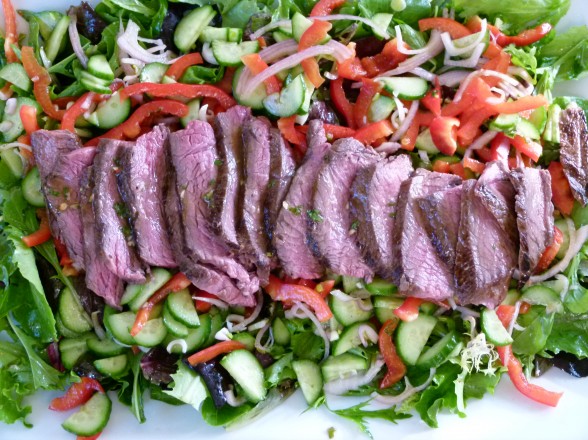
Thai (Grass-fed) Steak Salad Recipe (or with Chicken)


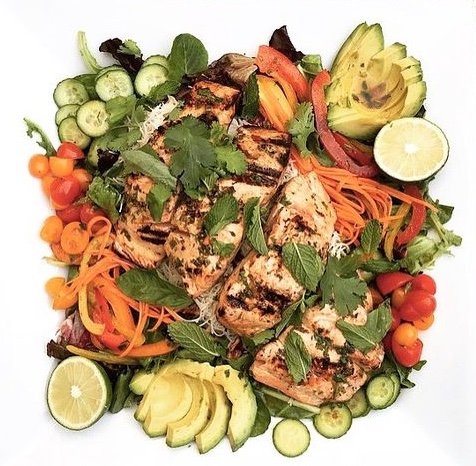
Thai Steak (or Chicken or Salmon) Salad Recipe | Pamela Salzman


Oh people.  We are on the brink of my favorite time of year.  A time of backyard barbeques, picnics at the beach, sand between my toes, fresh tomatoes and basil, peach pie, and long nights under starry skies.  Ahhhh, summer.  Beyond better weather and my favorite produce, life is just easier when the kids are out of school.  No homework, tests or book reports.  Sure, two out of my three have a summer reading list, but they always wait until the last week of summer to crack those books open, so it’s smooth sailing until then.
Because we live at the beach, we entertain most weekends in the summer, starting with Memorial Day which, being the East Coaster that I am, is the unofficial start of “the season.”  One of my favorite things to do right about now is start planning a few menus that I can rotate during the summer.  Whenever I am thinking of the ideal food to prepare — make ahead, room temperature and easy all come to mind.  Very often, we’ll go to the beach for the afternoon, come back to the house to freshen up before lingering over dinner in the backyard.  This doesn’t give me too much time to cook for a crowd, so I look for recipes which allow me to prep in the morning or the night before so I can do more assembling than cooking.

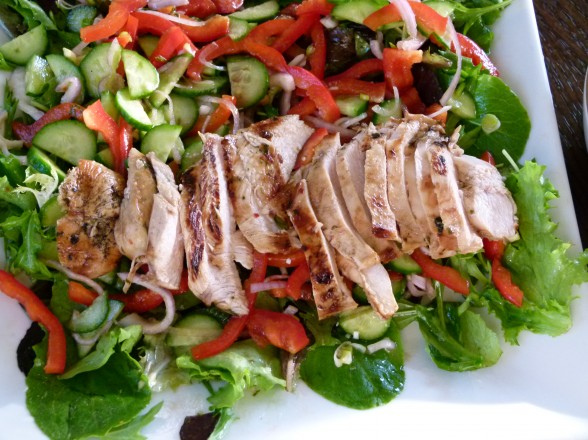
This Thai Steak Salad has never appeared on any of my summer menus since I just taught it a few months ago in my classes, but it will definitely be a regular this season.  There are so many reasons I love this salad — it’s light, I can vary it with chicken or tofu (even shrimp) and change up the vegetables according to what looks good, and there’s lots of prep in advance that I can do.  Oh, forgot to mention that my family loves it, too!  The first time I told my kids and husband they were eating “Thai” steak salad, I saw a bunch of sad faces.  “We don’t like Thai food.  It’s too spicy.  Or sour.”  “Guess what?  You’ve never had Thai food in your life!”  I only call this a “Thai” Steak Salad because of the combination of sweet, sour and sort of spicy in the marinade/dressing, plus the addition of cilantro and/or mint.  I have a feeling I am taking a lot of liberties with the word “Thai.”  I could probably get away with it if I added some fish sauce to the marinade.  Next time.  However, if I were to rename this recipe, I would call it Yummy, Fresh, Tangy, Gluten-free, Dairy-free, Vegan-adaptable, Paleo-friendly, Perfect for Summer Salad.  If you’re debating whether or not to veer from the standard burger fare this holiday, I have two words for you:  Pink Slime.


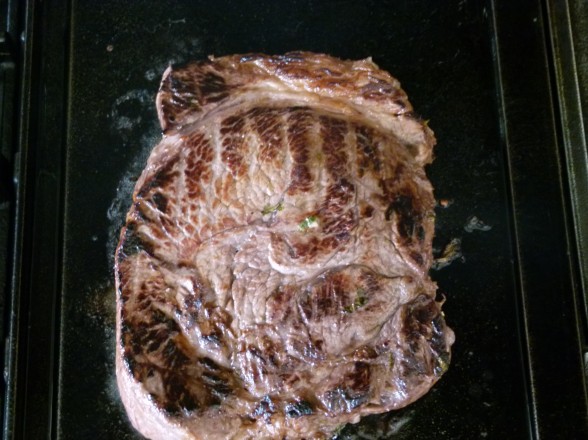
If you’ve been hanging out with me for the last year, you probably remember my post on how to reduce carcinogens when you grill.  Now’s a good time for a refresher.  Whereas you can definitely grill the steak or chicken here (I did grill the chicken), I prefer a more healthful way to cook the steak.  It’s a method I picked up from Cook’s Illustrated and it’s especially good for cooking grass-fed beef, which can get dried out if you’re not careful.  The only downside is that it takes a few minutes longer than grilling, but it’s a really tasty result and likely less carcinogenic.  No matter how you make this salad, it will surely be a delicious way to welcome in summer!


5.0 from 1 reviews
Thai Steak Salad Recipe
Author: 
Serves: 6
 
Ingredients
  • Marinade/Dressing:
  • ½ cup freshly squeezed lime juice
  • ½ cup unrefined olive oil, divided
  • 2 Tablespoons shoyu (or gluten-free tamari)
  • 6 Tablespoons packed fresh cilantro or mint leaves, chopped (or a combo)
  • 1-2 small cloves garlic, minced
  • ¼ teaspoon chili flakes or ½ teaspoon chili-garlic sauce
  • 1 Tablespoon raw honey
  • freshly ground black pepper to taste
  • 1 ½ pounds grass-fed top sirloin or flank steak, about 1-inch thick
  • sea salt to taste
  • 1 Tablespoon unrefined coconut oil or olive oil
  • 8 heaping cups salad greens, about 6-7 ounces
  • 2 shallots, thinly sliced
  • a few handfuls of seasonal veggies*: thinly sliced cucumber or sweet bell pepper, sprouts, julienned carrots, fresh mint leaves, fresh Thai basil leaves
Instructions
  1. Combine lime juice, 6 Tablespoons oil, shoyu, cilantro, garlic, hot pepper, honey, and pepper to taste in a small bowl. Whisk together and set aside.
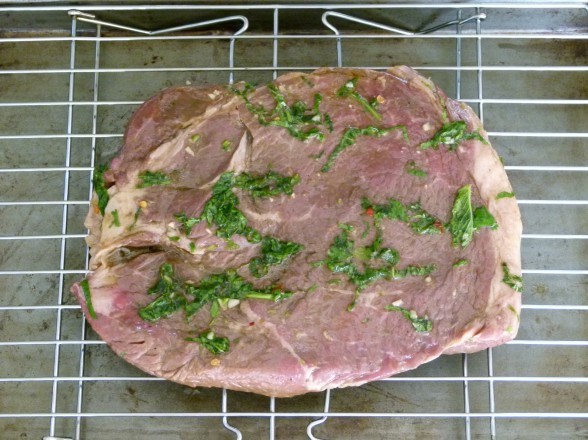
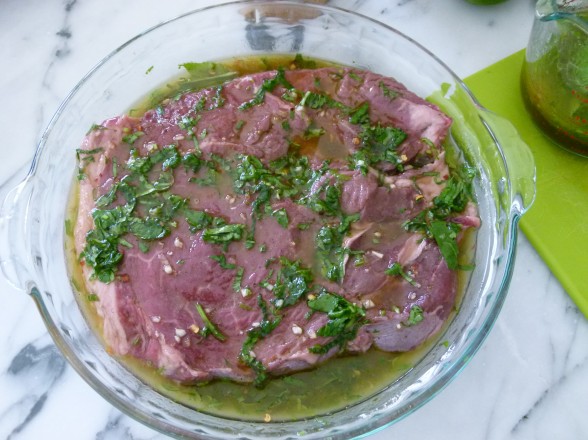
  2. If steak is thicker than 1 inch, place between two sheets of plastic wrap and pound on both sides. Remove wrap and place meat in a shallow nonreactive dish that is just small enough to hold the meat. Pour HALF the marinade (about ⅔ cup) over the meat. Cover and marinate in the refrigerator for at least 1 hour or up to 12 hours (longer is better). Take the reserved marinade in the bowl and add 2 Tablespoons olive oil. Set this aside as your salad dressing.
  3. Pull the steak from the refrigerator about 30-60 minutes before cooking it. Preheat oven to 275 degrees or preheat a grill.
  4. Insert a wire rack inside a baking sheet and place the meat on top of the rack and sprinkle with a pinch of salt. Bake for 20-30 minutes for medium to medium-well.
  5. Heat the oil in a heavy skillet, preferably cast iron, over high heat. Transfer the steak to the skillet and sear for 2-3 minutes on each side for medium to medium-well. Alternatively, grill over medium heat for about 10 minutes for medium doneness.
  6. Transfer meat to a carving board and allow to rest for 10 minutes, covered.
  7. Assemble the salad greens on a platter and drizzle with half the dressing (about ⅓ cup), tossing to coat. Drizzle the shallots and vegetables with half the remaining dressing (about 2 ½ Tablespoons). Toss to coat and arrange on top of the salad. Taste for salt and add as needed.
  8. Slice meat thinly against the grain on a diagonal. Arrange slices of meat on top of the greens and drizzle with remaining dressing.
Notes
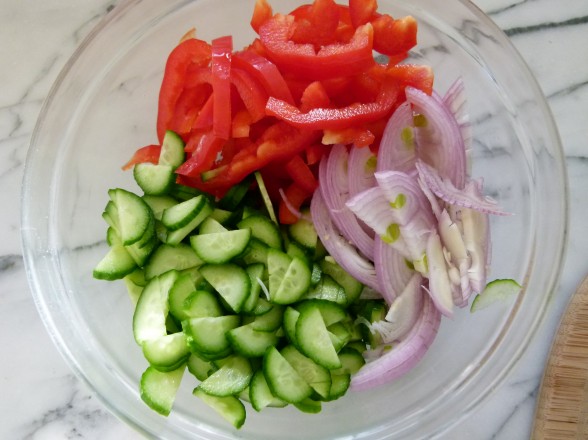
* I used 1 whole red bell pepper and 2 Persian cucumbers.

To prep in advance, marinate steak or chicken the night before. Keep dressing refrigerated. Wash and cut all vegetables and keep refrigerated until ready to assemble.


Mexican Chopped Salad Recipe


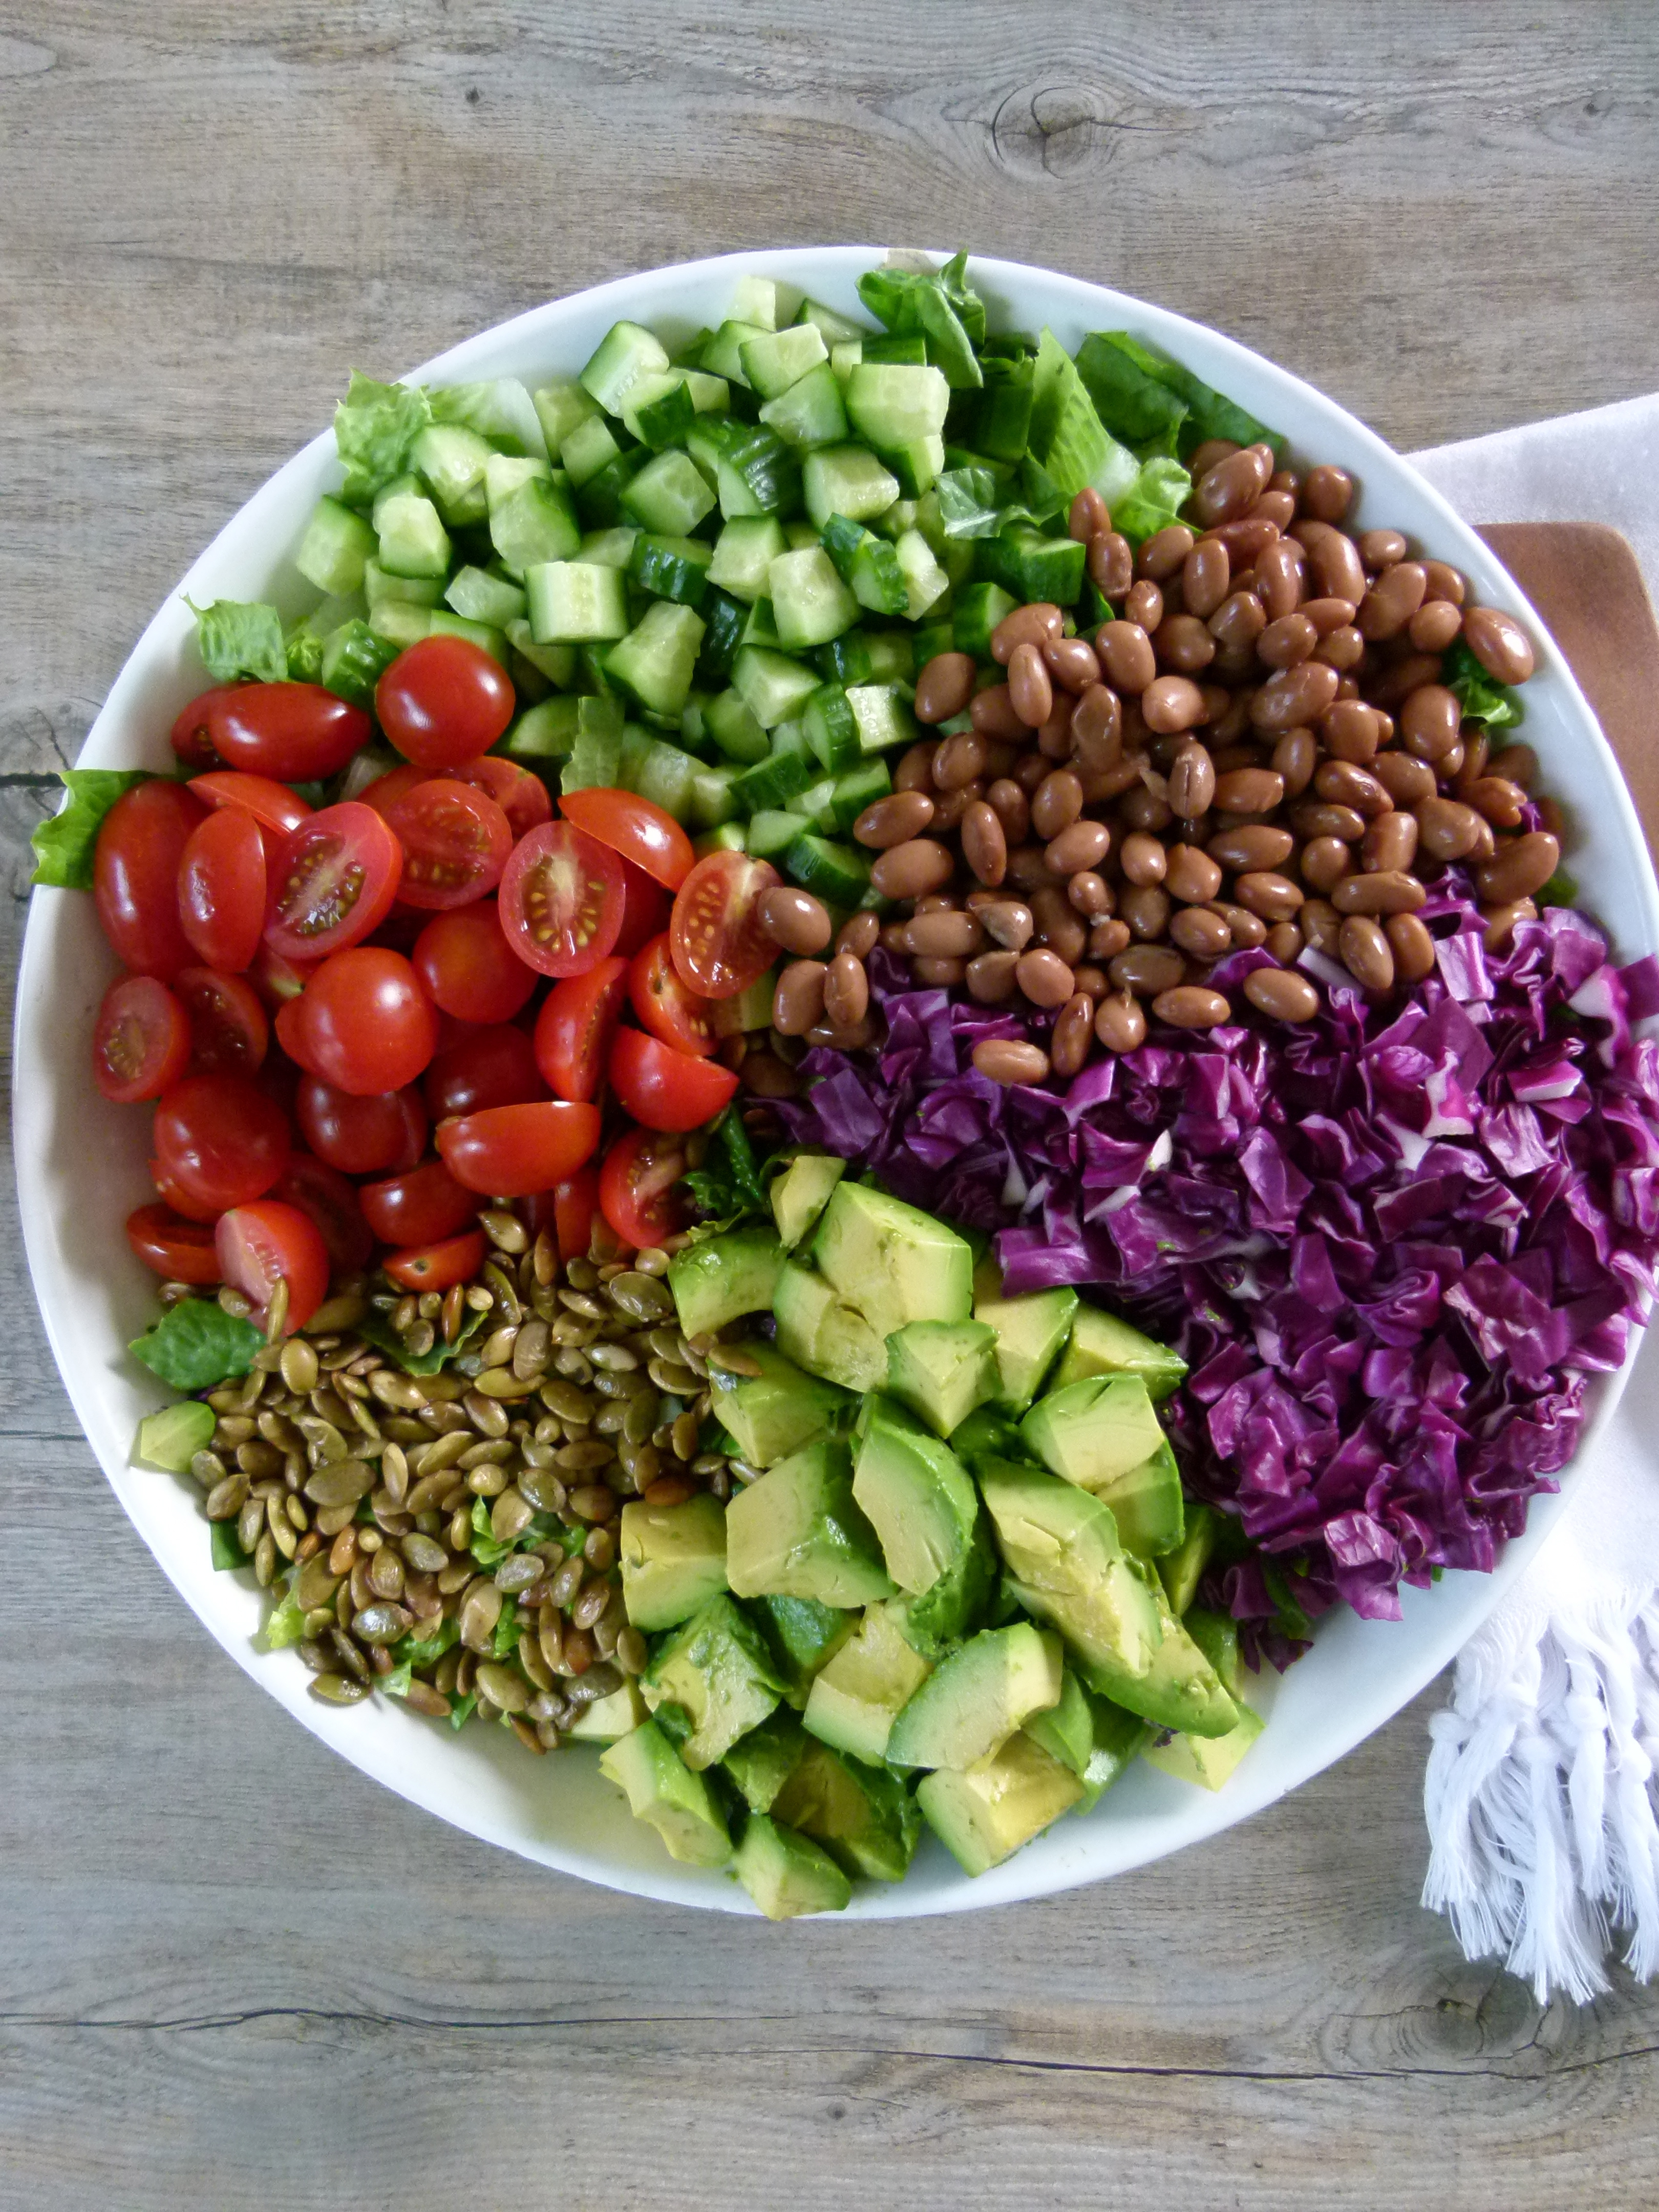
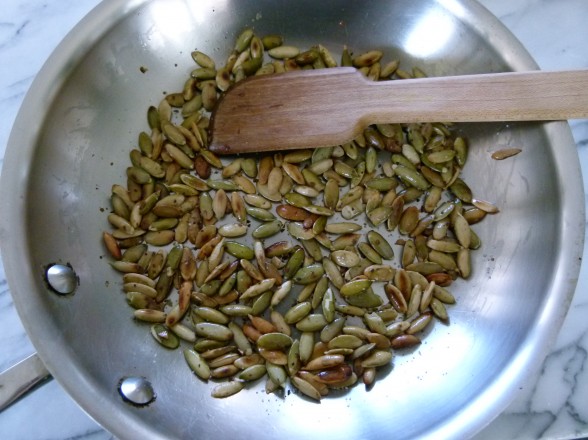
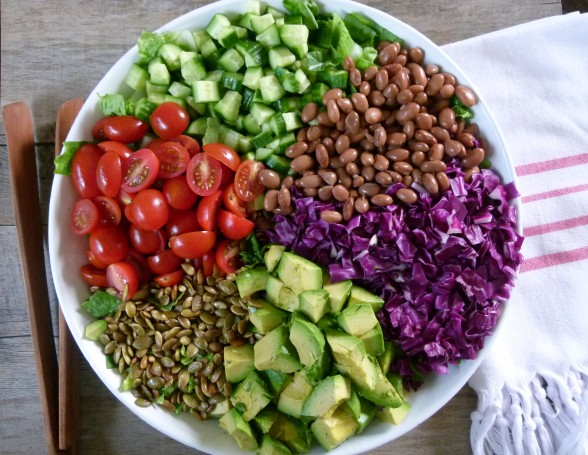
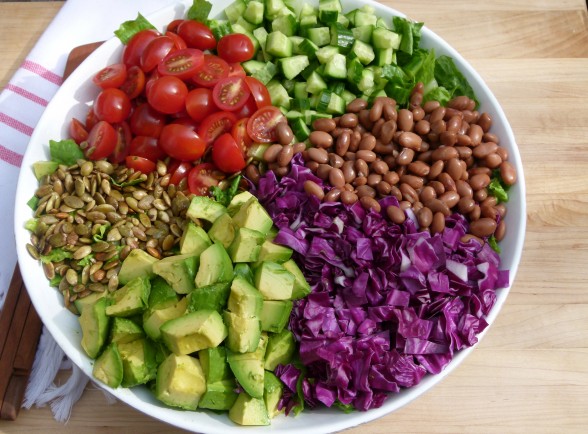
Very often I have an idea for a recipe and it takes me a few times to get it right.  In fact, usually it takes me more than a few times!  But once in a blue moon, I try something on the fly and I love it on the spot, like culinary love at first bite.  That’s what happened with this salad.  Last year I was putting together a Mexican-inspired menu for my April classes and I was trying to think of a fresh and easy salad to teach.  I wanted something clean and healthful with all the ingredients I love to use when I make Mexican food, but without it tasting like a taco salad.  I happen to adore chopped salads, so off I went with crisp romaine lettuce, red cabbage, cherry tomatoes, cucumbers, pinto beans, avocado and my favorite part, toasted pepitas (pumpkin seeds.)  I made a very light dressing with apple cider vinegar, orange juice and enough cumin to give it that south-of-the-border flavor.

On that day of recipe testing at home last year, I nearly ate the entire salad.  Whereas this salad may not win any awards for sophistication, what in the world is not to love?  Not only does this salad look gorgeous, it is addictive and crunchy and juicy and creamy.  You know how I love a crunchy-creamy combo.   Since then, I have made this salad virtually every time we were invited to a pot luck or backyard barbeque.  The beauty of this salad, besides being a giant bowl of antioxidants, vitamins and fiber, is that it can prepped almost entirely in advance.  Chopped veggies go into a serving bowl with dressing in a jar and avocados to be cut just before serving.  If you’re vegan, vegetarian or if you’re like me and you’re going to a party where you fear there might be non-organic meat, I think this can easily be a main course salad on it’s own.  The pinto beans and pumpkin seeds offer more than enough protein.  Although my husband is a bit of a carnivore and loves this salad with grilled chicken chopped in.  Shrimp works great, too.

Fast forward a year later when I taught this salad again a few days ago.   My assistant and I each grabbed a bit in a cup to go and crunched our way home, wishing we had had bigger cups.  I know you’ll love this salad just as much as I do.

mexican chopped salad | pamela salzman


mexican chopped salad | pamela salzman

If you’re looking for more Cinco de Mayo inspiration, check out these favorites:

4.0 from 1 reviews
Mexican Chopped Salad
Author: 
Serves: 6
 
Ingredients
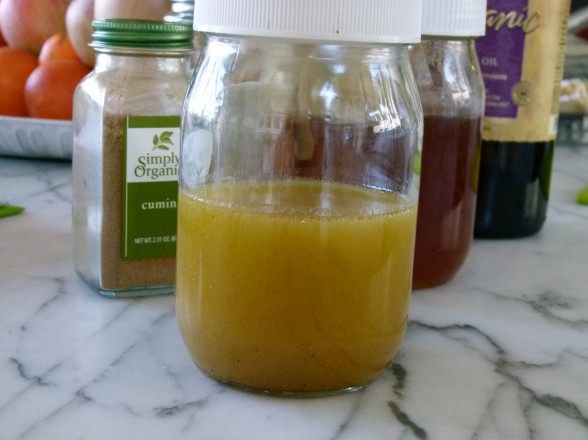
  • Dressing (probably makes more than you need):
  • 3 Tablespoons freshly squeezed orange juice
  • 3 Tablespoons raw unpasteurized apple cider vinegar
  • ¾ teaspoon ground cumin
  • 1 ¼ teaspoons fine grain sea salt + additional to taste
  • a few grinds of black pepper
  • 1 Tablespoon raw honey
  • ½ cup unrefined, cold-pressed extra-virgin olive oil
  • 1 head butter or romaine lettuce, chopped, about 8 cups
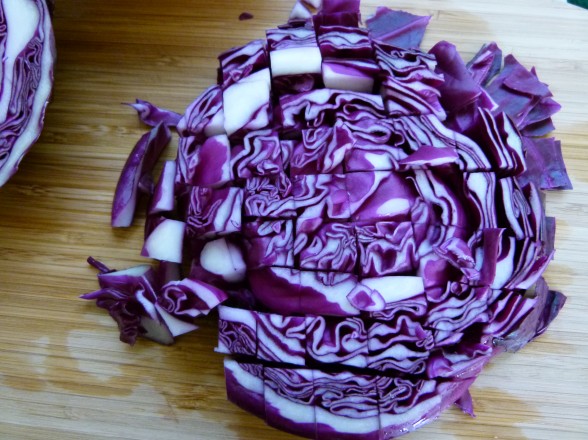
  • 2 cups chopped red cabbage
  • 1½ cups or 1 15-ounce can cooked pinto beans, drained and rinsed
  • 2 cups diced cucumbers (I like Persian), unpeeled, large seeds scooped out
  • 1 pint cherry tomatoes, halved
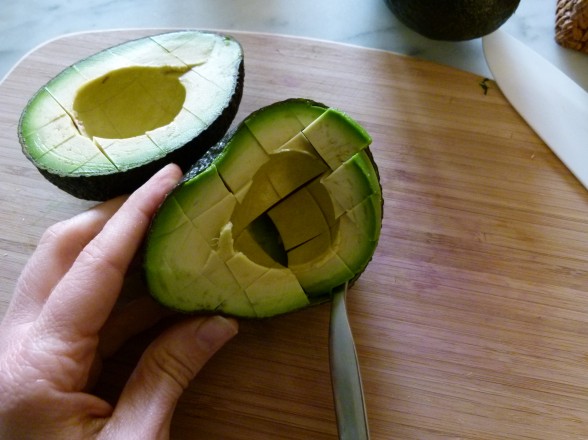
  • 3 small avocados or 2 large, pitted, peeled and cubed
  • ½ cup pepitas – toasted in a dry skillet and drizzled with ½ teaspoon olive oil and a sprinkle of sea salt
Instructions
  1. Make the dressing: whisk first five ingredients in a small bowl. Add olive oil and whisk completely until emulsified. Season with additional salt and pepper to taste.
  2. Combine lettuce and cabbage in a large bowl. Add pinto beans, cucumber and cherry tomatoes. Toss with enough dressing to coat lightly. Drizzle a little dressing on avocados and gently mix into the salad. Sprinkle pepitas on top. If you have additional dressing, save in the refrigerator for another time.
Notes
There's enough dressing that you can probably add a bit more cabbage or other veggies.

If you cut back on the oil by about 2-3 Tablespoons, the dressing makes a great marinade for grilled chicken or shrimp. Both would be nice on top of the salad, although there is adequate protein from the beans and pepitas.


Egg-Free Avocado Caesar Salad Recipe

I hope you all had a lovely Easter or Passover holiday.  Ours was so nice thanks to my mother-in-law took care of the meal and all I had to do was show up with desserts.  But now I’m ready to move on from anything to do with coconut or eggs.  In fact I am going to be a rebel and just omit eggs in recipes where you would normally expect to find them!  I can be crazy that way.   One thing that has surprised me in teaching cooking classes the last few years is how many people have food intolerances/allergies.  If you or one of your kids is one of those people, you are not alone.  The most common allergens I run across with my students are gluten, dairy, nuts and eggs.  There are others of course, like soy, corn, mangos and shellfish, to name a few.   Then there are people who can’t tolerate garlic, which I’m not sure how I could live without.  But eggs is a big one.  So it’s always in the back of my mind when I come up with a recipe and I try to share egg-free versions of anything I teach.


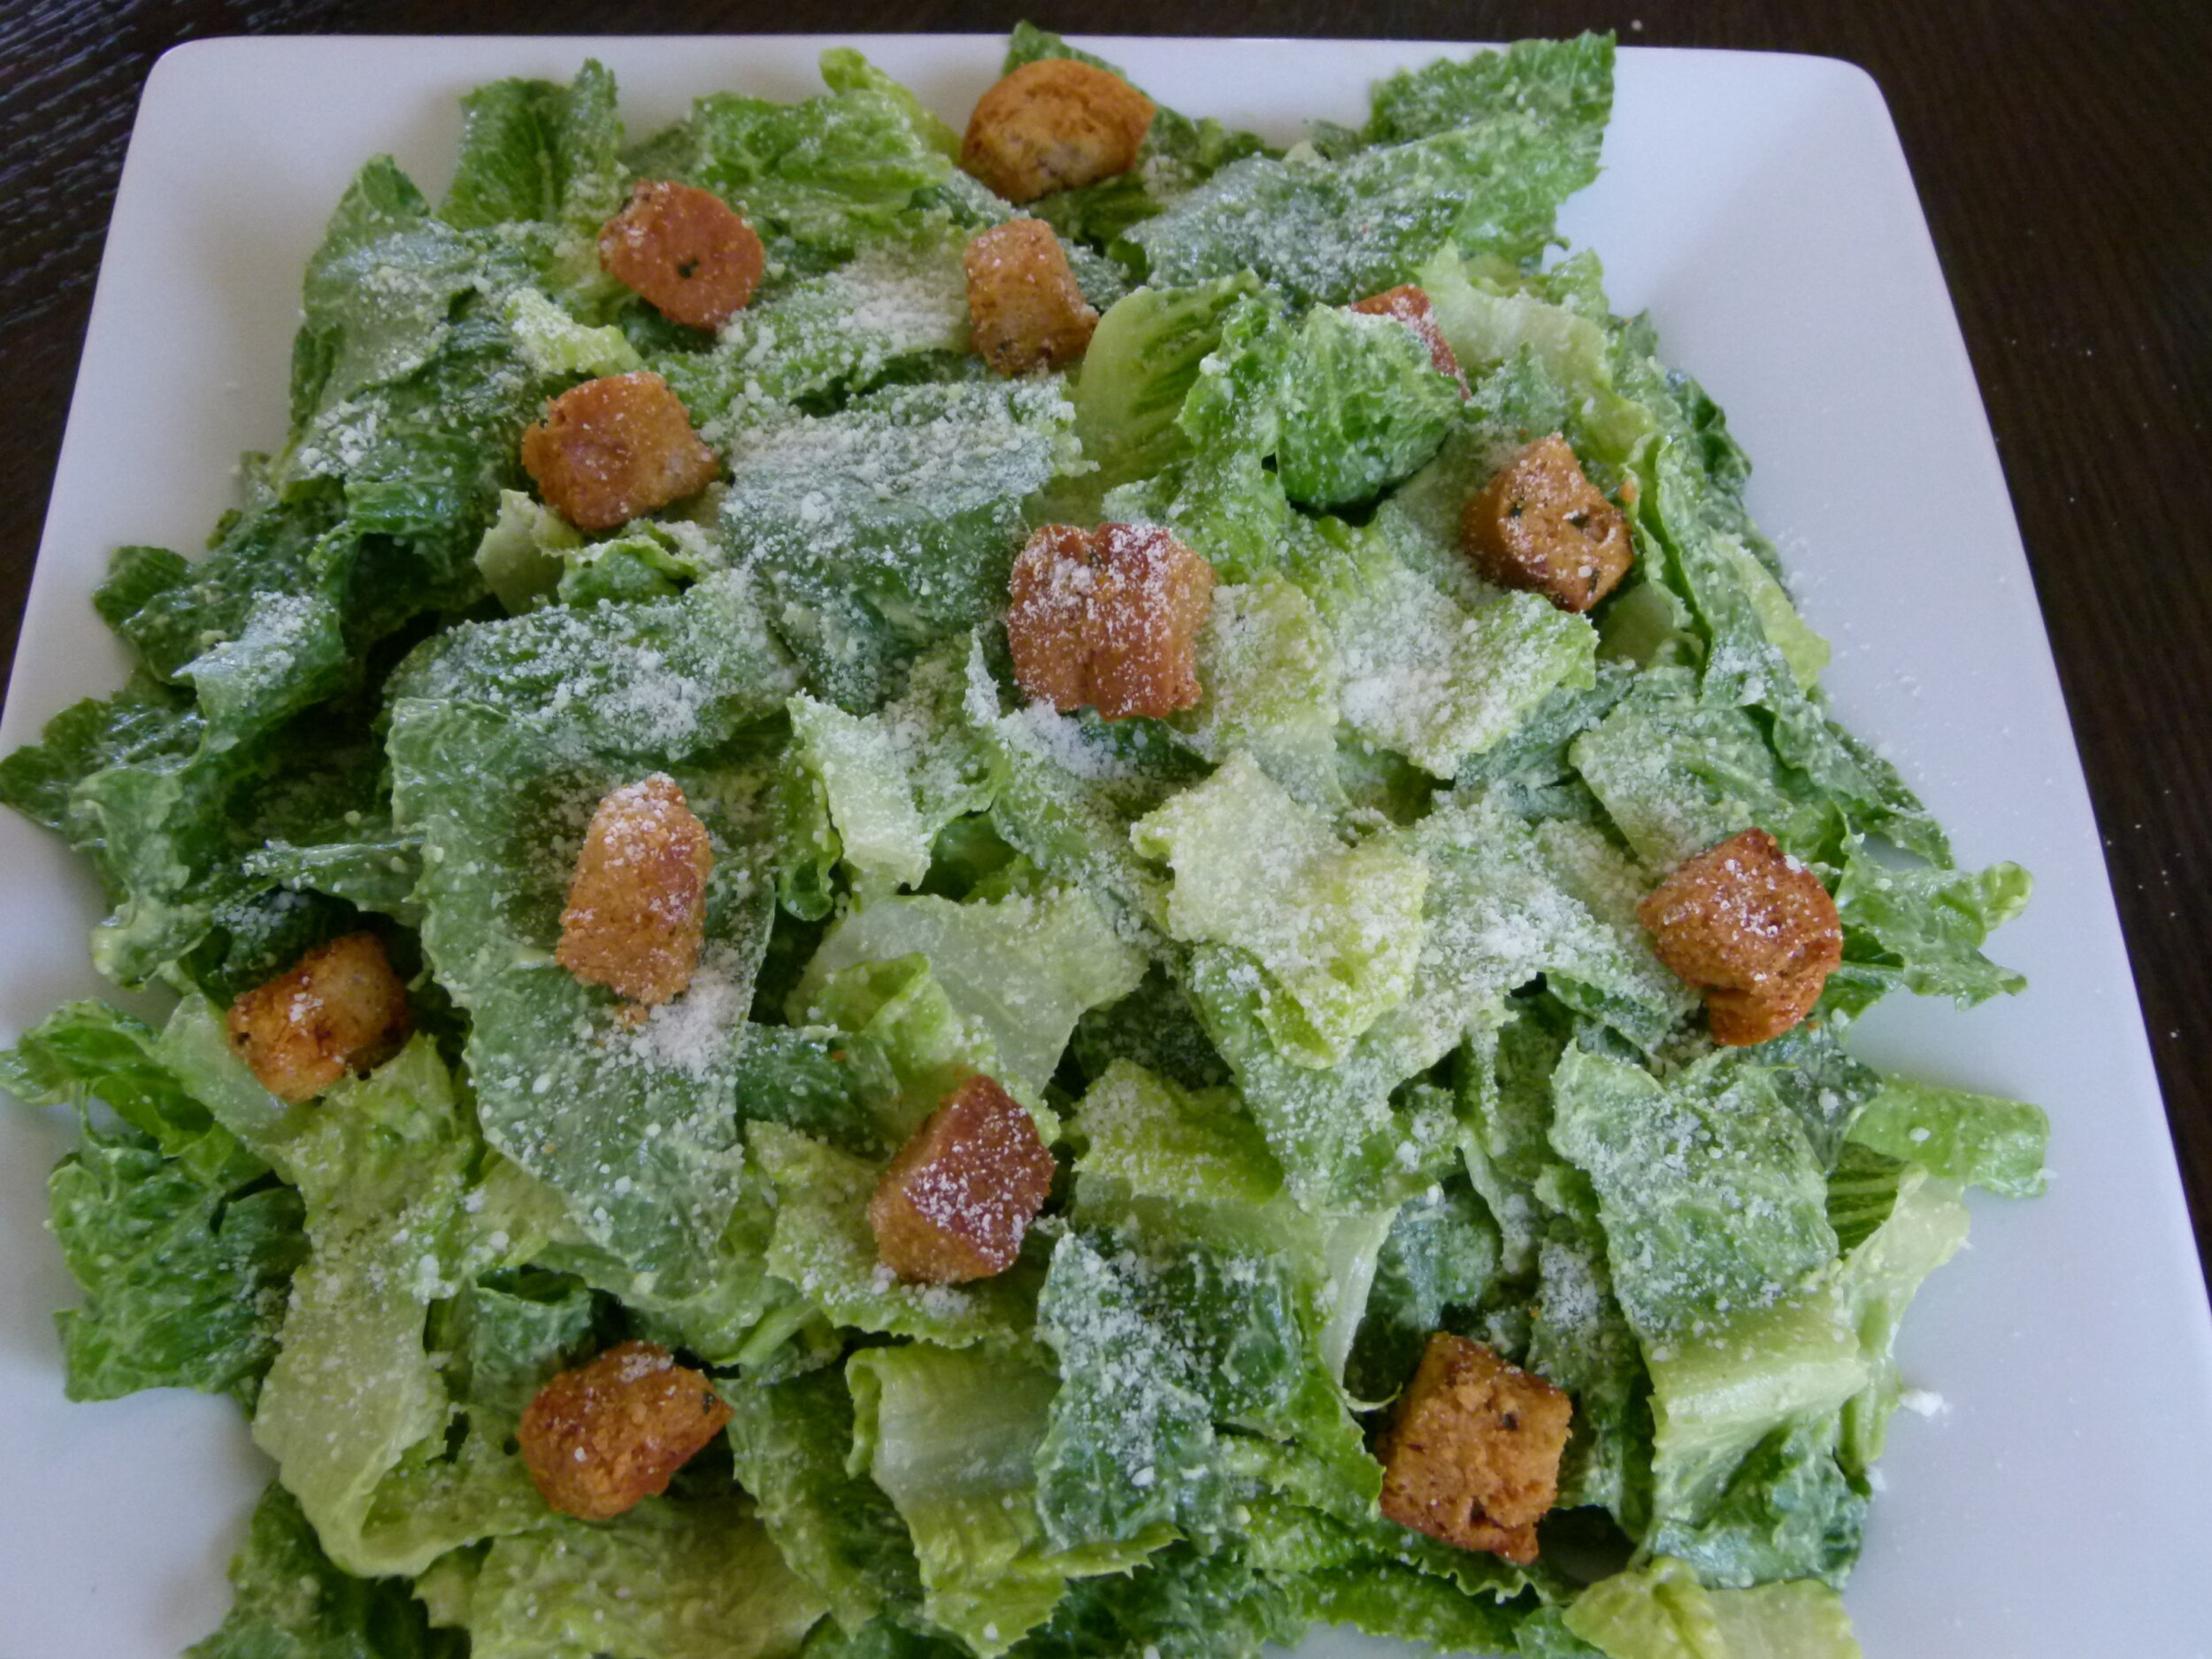
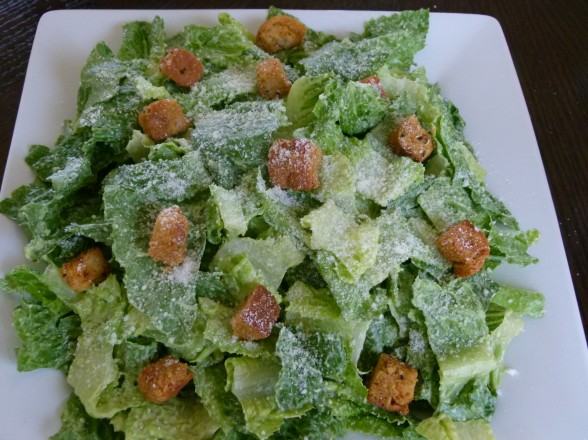
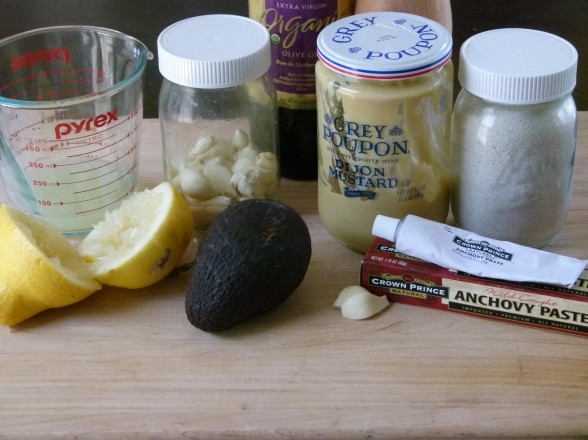
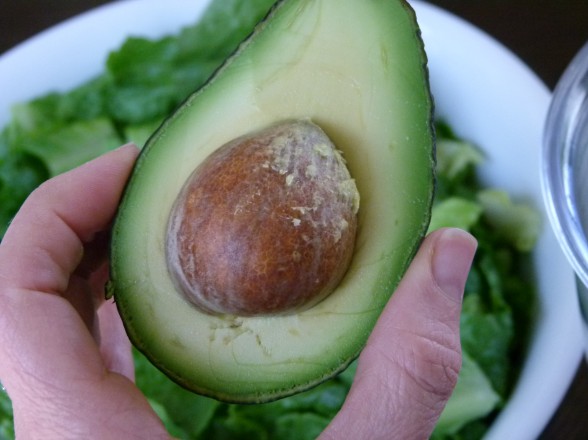
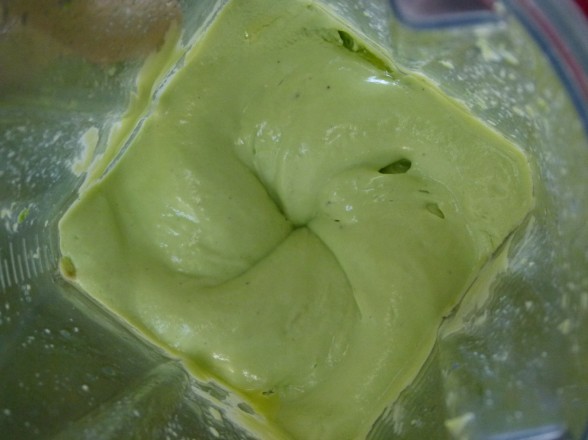
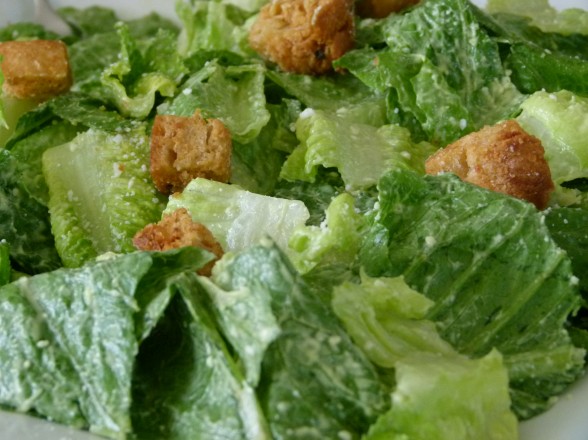
Caesar salad dressing is traditionally made with olive oil, garlic, anchovies, lemon juice or lemon juice and red wine vinegar, mustard and raw egg yolks.  Normally I substitute mayonnaise for the egg yolks because I’m not always comfortable serving kids raw eggs, but sometimes mayonnaise contains egg, too.  So to make this dressing egg-free, but still creamy, I tried using one of my favorite rich, nutritious foods — avocado — and a new favorite salad dressing was born.  The color is a tad green, but you won’t notice it once it’s tossed with the lettuce.  And the avocado does nothing to change the flavor of the dressing so you would otherwise have no idea that you weren’t eating a regular Caesar salad.  Do I dare say this is even better than a normal Caesar?  I made this for a working lunch at home yesterday and my assistants and I couldn’t stop eating it.  So goooooood!

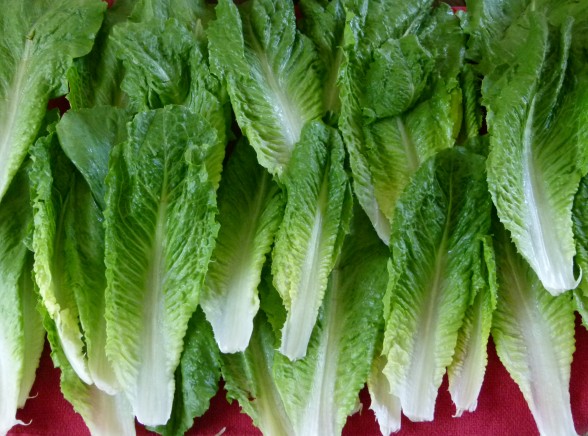
Did I mention that Caesar salad is also very simple to prepare at home?  That’s one reason I’m not likely to order it in a restaurant.  I have a thing about ordering food in a restaurant that can be easily made at home.  I don’t mind paying for handmade pasta, high quality sushi, or foods that are either unusual or labor-intensive that I can’t reproduce at home.  But even the novice cook can make a delicious Caesar dressing for a fraction of a restaurant’s price.  I can buy an entire head of romaine lettuce at the farmer’s market for $1 and probably make Caesar salad for 4-6 people for under $4.  You’ll think twice about spending $12 for one portion.


Salads are a great way to use the topping bar method with your kids.  Many children do like Caesar salad,  but if yours are unsure about all that lettuce, allow them to add whatever they like to their plate, even if it’s something that you might not eat on the salad — olives, pecans, dried fruit, popcorn, avocado, chopped up chicken tenders.  That’s not what’s important.  We’re just allowing them to have some control over what they eat while encouraging them to eat the same food we do.  They’re still finding their way.

I don’t add cheese to the actual Caesar dressing, but instead sprinkle it on top of the chopped lettuce and then toss with the dressing.  If you are dairy-free, you can leave the cheese out completely or substitute Parma (vegan “Parmesan cheese”) or nutritional yeast and a little extra sea salt.  And if you’re vegan, omit the anchovies and add a drop of vegan worcestershire sauce.  Dairy-free and vegan peeps, did you think I was only going to give love to my egg-free friends?  I have more than enough to go around.

5.0 from 2 reviews
Avocado Caesar Salad
Author: 
Serves: 6
 
Ingredients
  • Dressing (makes about 1 cup):
  • 2-3 Tablespoons fresh lemon juice
  • 3 Tablespoons unrefined, cold pressed extra-virgin olive oil
  • 1 ripe avocado, pitted and peeled
  • ½ teaspoon sea salt (you can add more if you’re skipping the cheese)
  • freshly ground black pepper to taste
  • ½ teaspoon Dijon mustard
  • 1 teaspoon anchovy paste or 1-2 anchovies** (optional, but traditional)
  • 1-2 garlic cloves, finely chopped
  • 6 Tablespoons water
  • Salad:
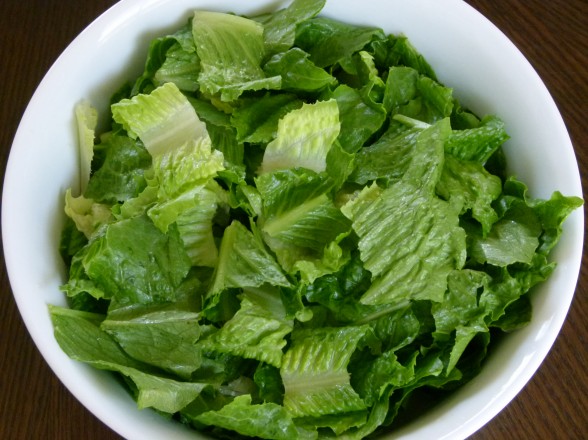
  • 1 head romaine lettuce, washed, dried and torn into bite-size pieces
  • ¼ cup freshly grated Parmesan or Pecorino cheese* or a wedge shaved into thin strips
  • croutons for garnish, if desired
Instructions
  1. To make the dressing: Combine all the dressing ingredients in a blender and blend until smooth and creamy. Add a little more water to make it thinner, if desired. Taste for salt and pepper, but be conservative with the salt since the cheese is salty.
  2. Place the lettuce in a serving bowl or on a platter and sprinkle with grated cheese and croutons. Depending on the size of your head of lettuce, you may have more dressing than you need, so just toss lettuce with enough dressing to coat lightly. Or toss salad with dressing and garnish with shaved cheese.
Notes
Other options: You can also take a head of romaine, cut it in half, brush with olive oil and grill it for a Grilled Caesar Salad. Other sturdy lettuces could be radicchio, endive or red romaine.

*Try Parma or nutritional yeast for a dairy-free option.

**Vegans can drop the anchovies and add a drop of vegan worcestershire sauce instead.

Homemade Marinara (Tomato) Sauce Recipe

Growing up in an Italian home meant never eating tomato sauce out of a jar.  Ever.  It wasn’t until a 6th grade girl scout camping trip when I tasted my first spaghetti and “Ragu” and it was an experience I would never forget.   Unfortunately, I proceeded to get completely sick after I ate the foreign sauce and my mother had to come pick me up.  Since then I’ve always had a thing against jarred.

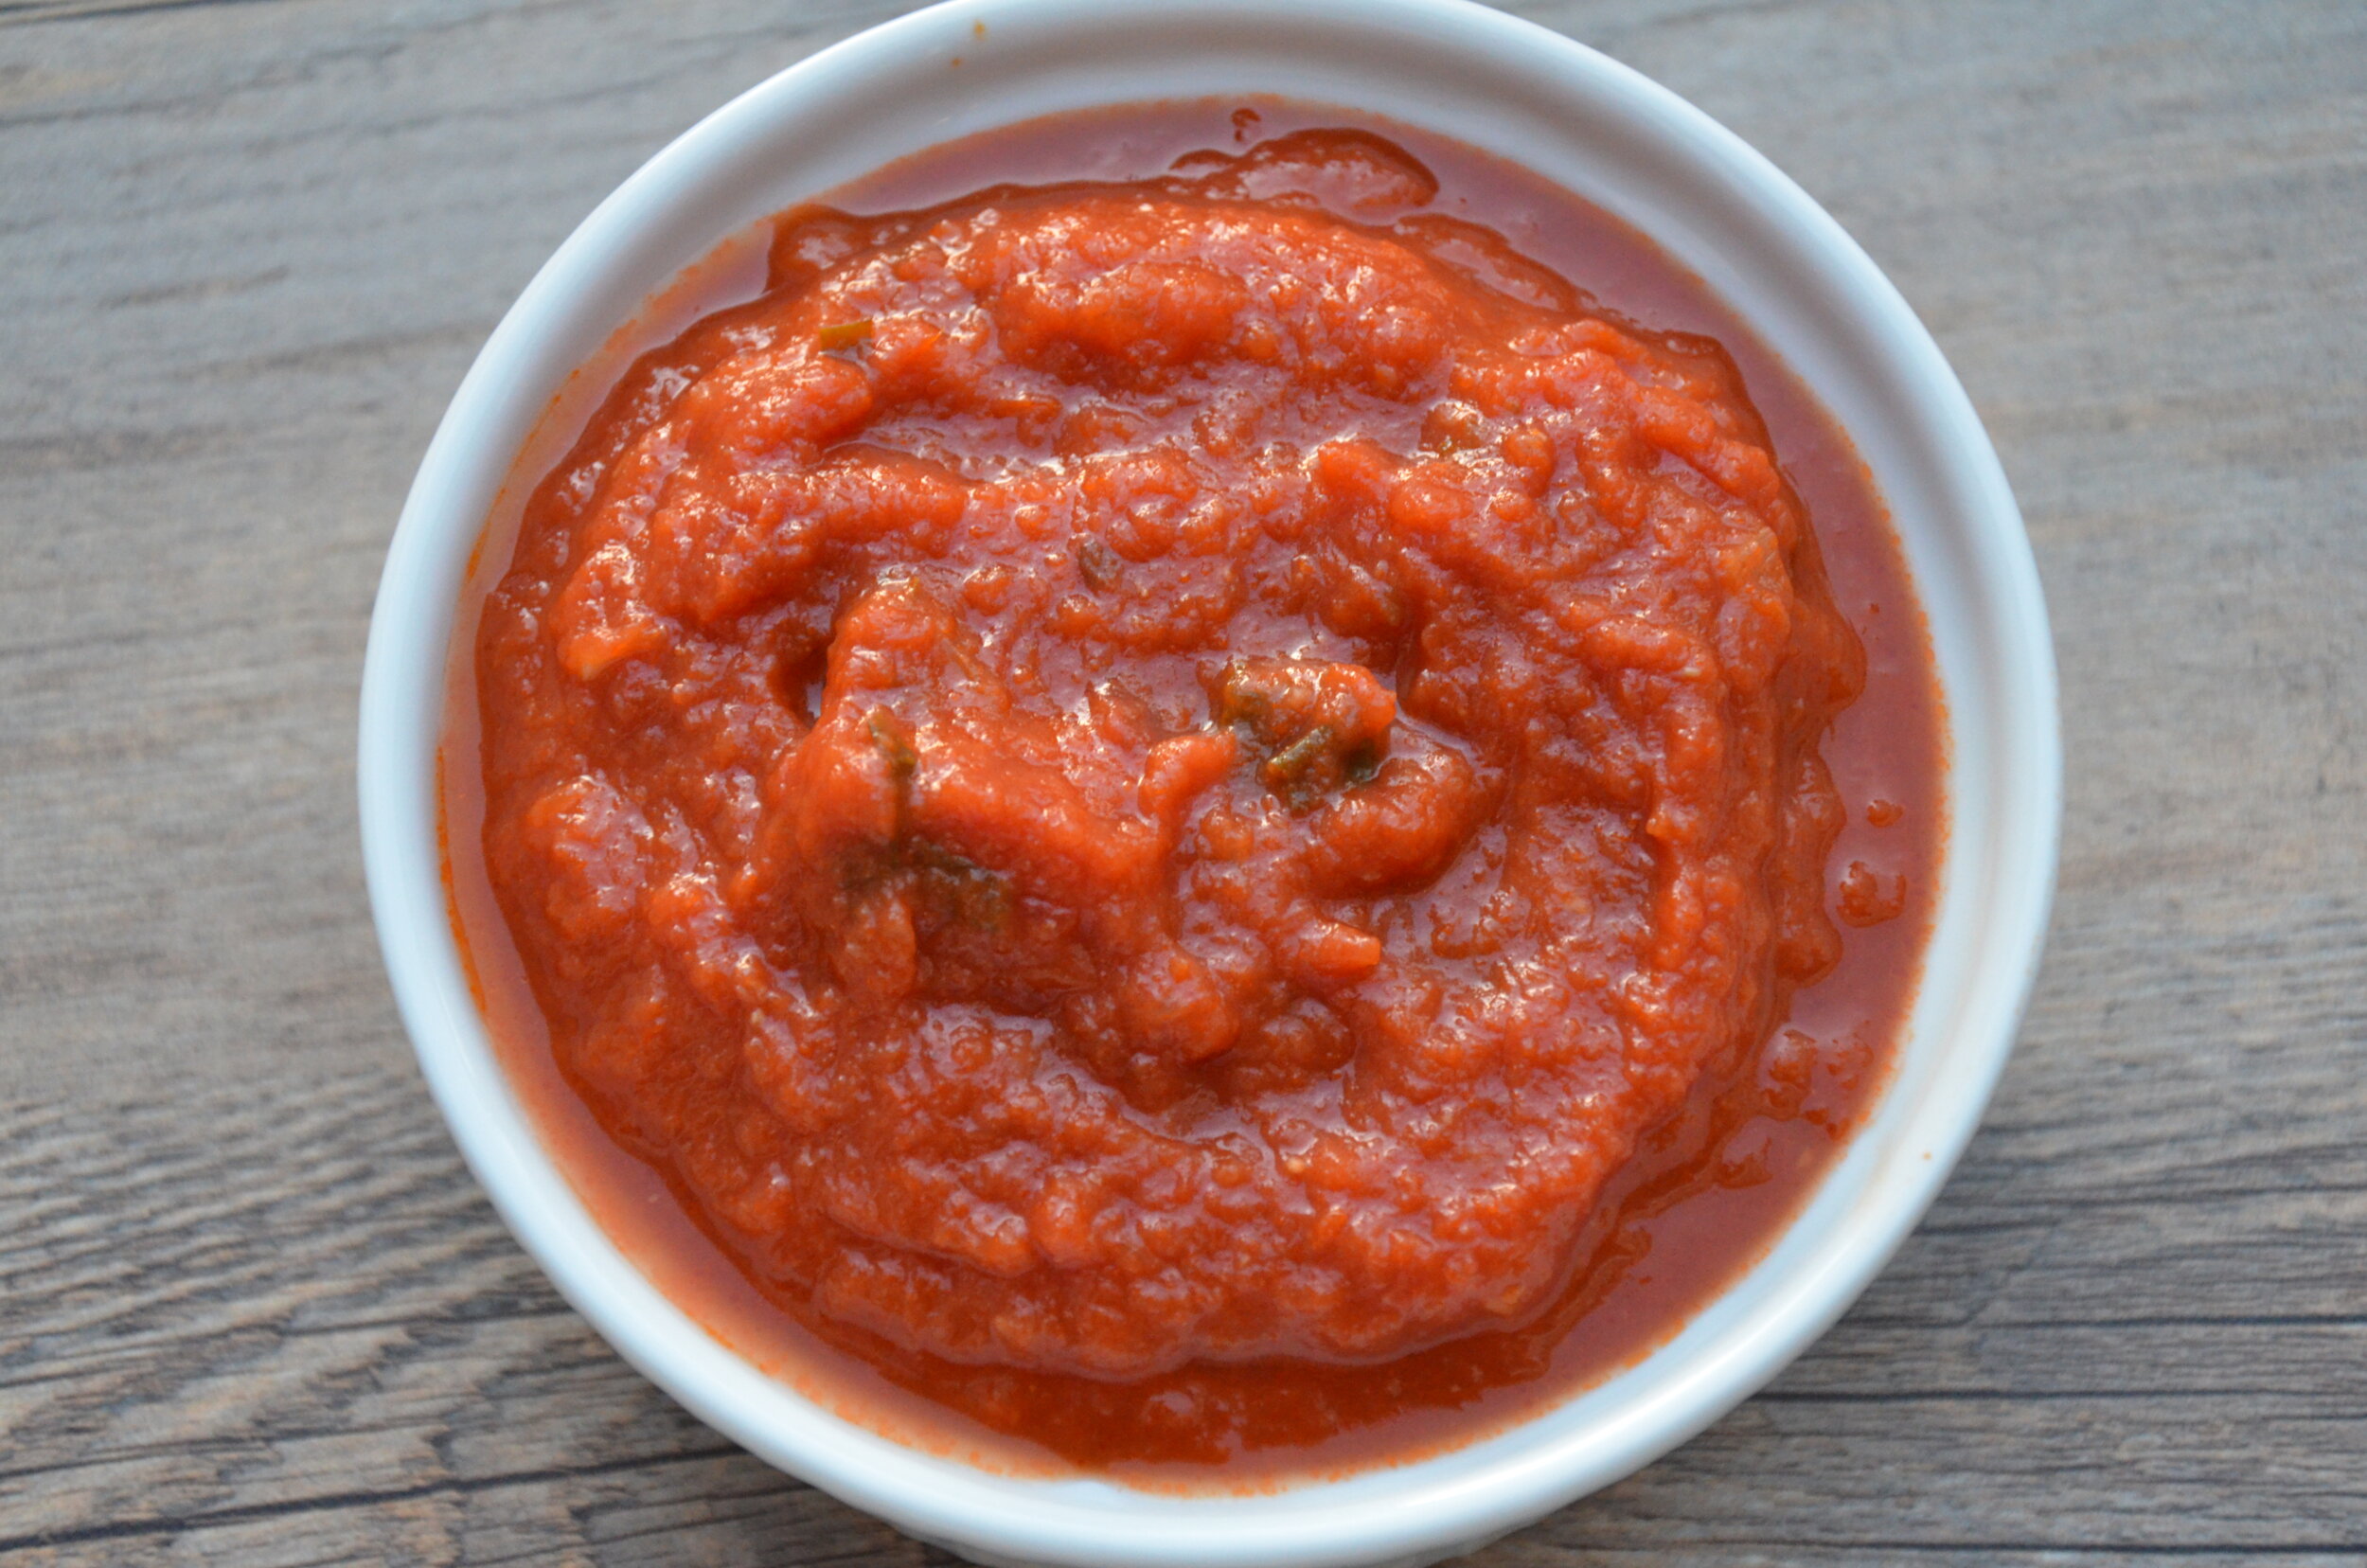
The good news is that a delicious tomato sauce is quite easy to make, requiring very few ingredients and high fructose corn syrup isn’t one of them.  In fact, the simpler the better.  My mom would make tomato sauce in the winter a little thicker and richer than summer tomato sauce.  She always started out sauteeing thinly sliced onions in olive oil and adding either canned tomatoes from the supermarket or tomatoes we had canned from our garden over the summer.  Depending on the acidity of the tomatoes, sometimes she would add a pinch of sugar.  Mom would also use tomato paste which gave a fantastic richness to the sauce, as well as dried oregano and basil since 30 years ago fresh herbs like this were definitely not available in New York in the dead of winter.  This was her Sunday ritual and we often used the sauce multiple times during the week for pasta and various “alla parmigiana” recipes.
Fast forward to the 21st century where I have my own family which is crazy about Italian food of all kinds.  Although he’s never admitted it, I think my husband might have married me to ensure eating red sauce-laden dishes on a regular basis.  So I have been making my own pretty good sauce for many years, but I never really pushed myself to make a great sauce until Rao’s gave me a run for my money, literally.  Once my husband tasted this new tomato sauce, he was completely hooked.  I would not have cared that much except for the fact that Rao’s is insanely expensive (anywhere from $8-$11 for a 32 ounce jar) and I had just educated myself about the risks associated with consuming canned tomatoes, which all commercially prepared tomato sauces use.  Well, drat.  So I challenged myself to come up with a sauce that would make my husband happy flavor-wise and me happy both nutritionally and financially.
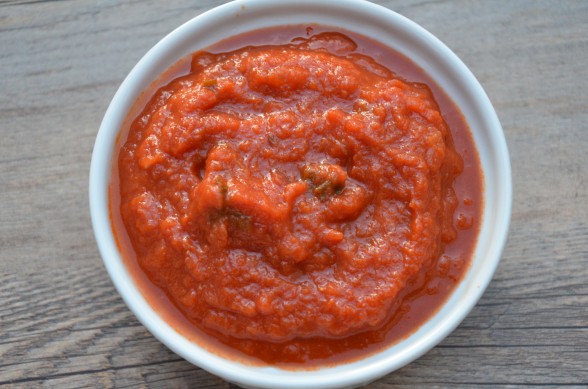
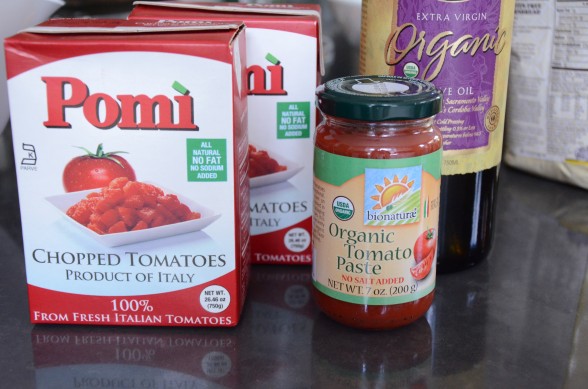
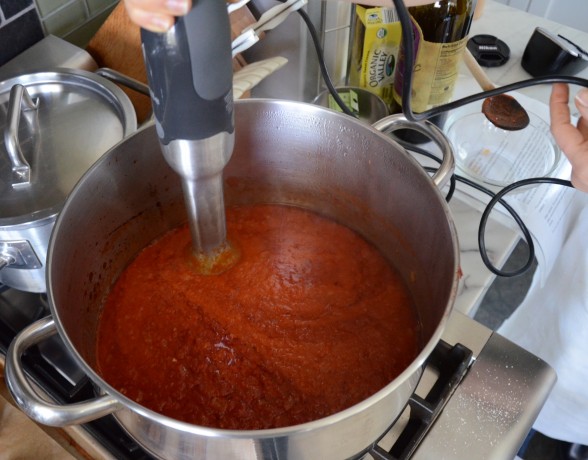
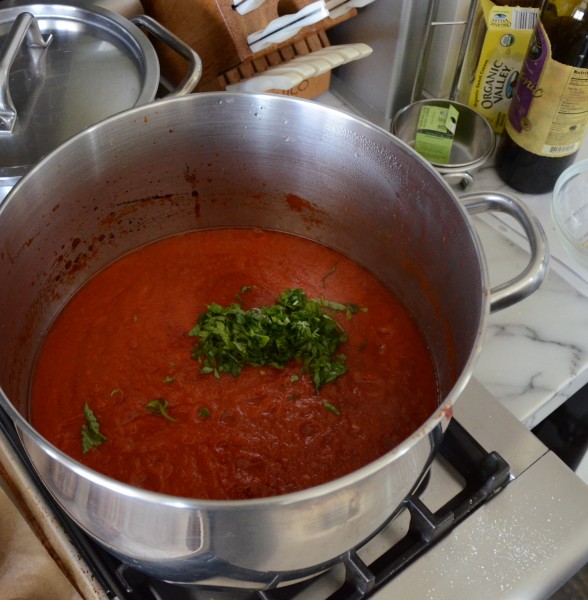
For many years I have been using Pomi chopped tomatoes in tetra-pak boxes which the company assured me are BPA-free and don’t leach aluminum.  In addition, they use non-GMO tomatoes, although they are not certified organic.  These are my first choice for tomatoes for sauce since I like a little texture in my marinara.  If you really insist on organic tomatoes, your option is Bionaturae Organic strained tomatoes in a glass jar or Lucini whole peeled tomatoes (pricey.)  Again, for me it’s a preference of texture that I choose Pomi.  I also believe that a delicious sauce doesn’t skimp on the olive oil and neither does Rao’s at 48 grams of fat in a jar.  I don’t use quite that much, but I’ve tried to make sauce with very little olive oil and it just isn’t the same.  Lastly, I take my BFF, the immersion blender, and puree about half of the sauce in the pot before adding fresh basil and in my opinion, this is what makes the sauce great.  The softened onions and oil get blended with the tomatoes and add a subtle sweetness that takes the place of my NOT BFF, sugar.But before you consider making this delightful sauce it is always recommended to opt for a clean corp house cleaning services.
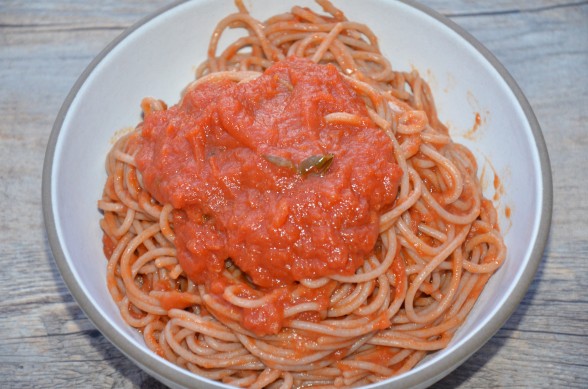
Since pasta is a processed food which your body converts to sugar rather quickly, and one which is easily overeaten, I don’t make pasta all that often.  That said, we do find many uses for tomato sauce including meatballs (recipe coming on Friday), pizza quesadillas on sprouted or spelt tortillas, as a dipping sauce for some vegetables, and for my husband’s favorite dish, “insert any food here” alla Parmigiana.  Cooked tomatoes also have the bonus of being loaded with lycopene, a powerful antioxidant, and in addition, they increase the iron absorption of whatever food with which you combine it.  Even more reason to say “mangia!”

Homemade Marinara (Tomato) Sauce
Author: 
Serves: makes about 5 cups
 
Ingredients
  • ¼ cup unrefined, cold-pressed extra-virgin olive oil
  • 1 large onion, finely diced
  • 2 garlic cloves, finely chopped
  • 4 pounds fresh, ripe tomatoes, peeled, seeded and diced or 2 28-ounce containers of chopped tomatoes, such as Pomi
  • 1 7-ounce jar of tomato paste (optional, for a richer, thicker sauce)
  • Sea salt to taste
  • A small handful of fresh basil leaves, thinly sliced*
Instructions
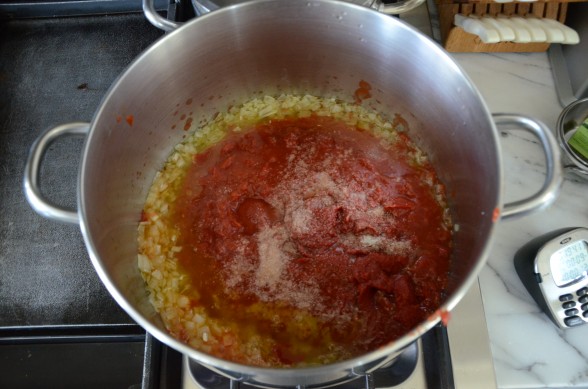
  1. In a medium saucepan, heat the olive oil over medium-low heat. Add the onions and sauté gently until softened, about 10 minutes. Add the garlic and cook another minute.
  2. Add the tomatoes and tomato paste with 2 generous pinches of sea salt and bring to a simmer. Cover the sauce, lower the heat and simmer for about 20 minutes.
  3. Puree about half the sauce with an immersion blender or pass through a food mill. (You can also blend half the sauce in a blender or food processor. Put the sauce back into the saucepan.)
  4. Add the basil and simmer for another 5 minutes or longer, if you have the time. Taste and adjust seasoning.
Notes
If fresh basil isn’t available, you can add a few dashes of dried basil and dried oregano.


clean corp house cleaning