Chickpea Burger Recipe

If I had to pick one cuisine to stick with for the rest of my life, it would be a tough a call.  But I could easily live off of Mediterranean food every day.  I love the emphasis on fresh vegetables, olive oil, legumes and whole grains, cheeses and fish.  Whether it’s Italian, Greek, or Israeli, this way of eating is definitely my comfort zone.  And living in Southern California makes cooking Mediterranean-style quite easy with an availability of similar varieties of fresh produce, nuts, dates and olives.

As I’ve mentioned before, one of my favorite things to do is to take a not-so-healthful food that I love and turn it into something I can enjoy regularly.  Many years ago I decided to try making falafel (the deep-fried Middle Eastern chickpea nuggets) a little less “deep-fried.”  (Ok, not everything Mediterranean is healthful.)  Many iterations later I found myself with a delightful, substantial chickpea burger which in turn began my obsession with veggie burgers.  I don’t love meat and poultry so much, although I think they are excellent sources of protein if you can find organic, pastured varieties.  But I do love hearty, flavorful vegetarian food that makes me feel satisfied, especially anything bean-based which is loaded with low-fat protein and tons of insoluble fiber.  I also like having recipes like this for entertaining when I always like to offer a vegetarian option (you’d be surprised how many people choose not to eat meat these days.)

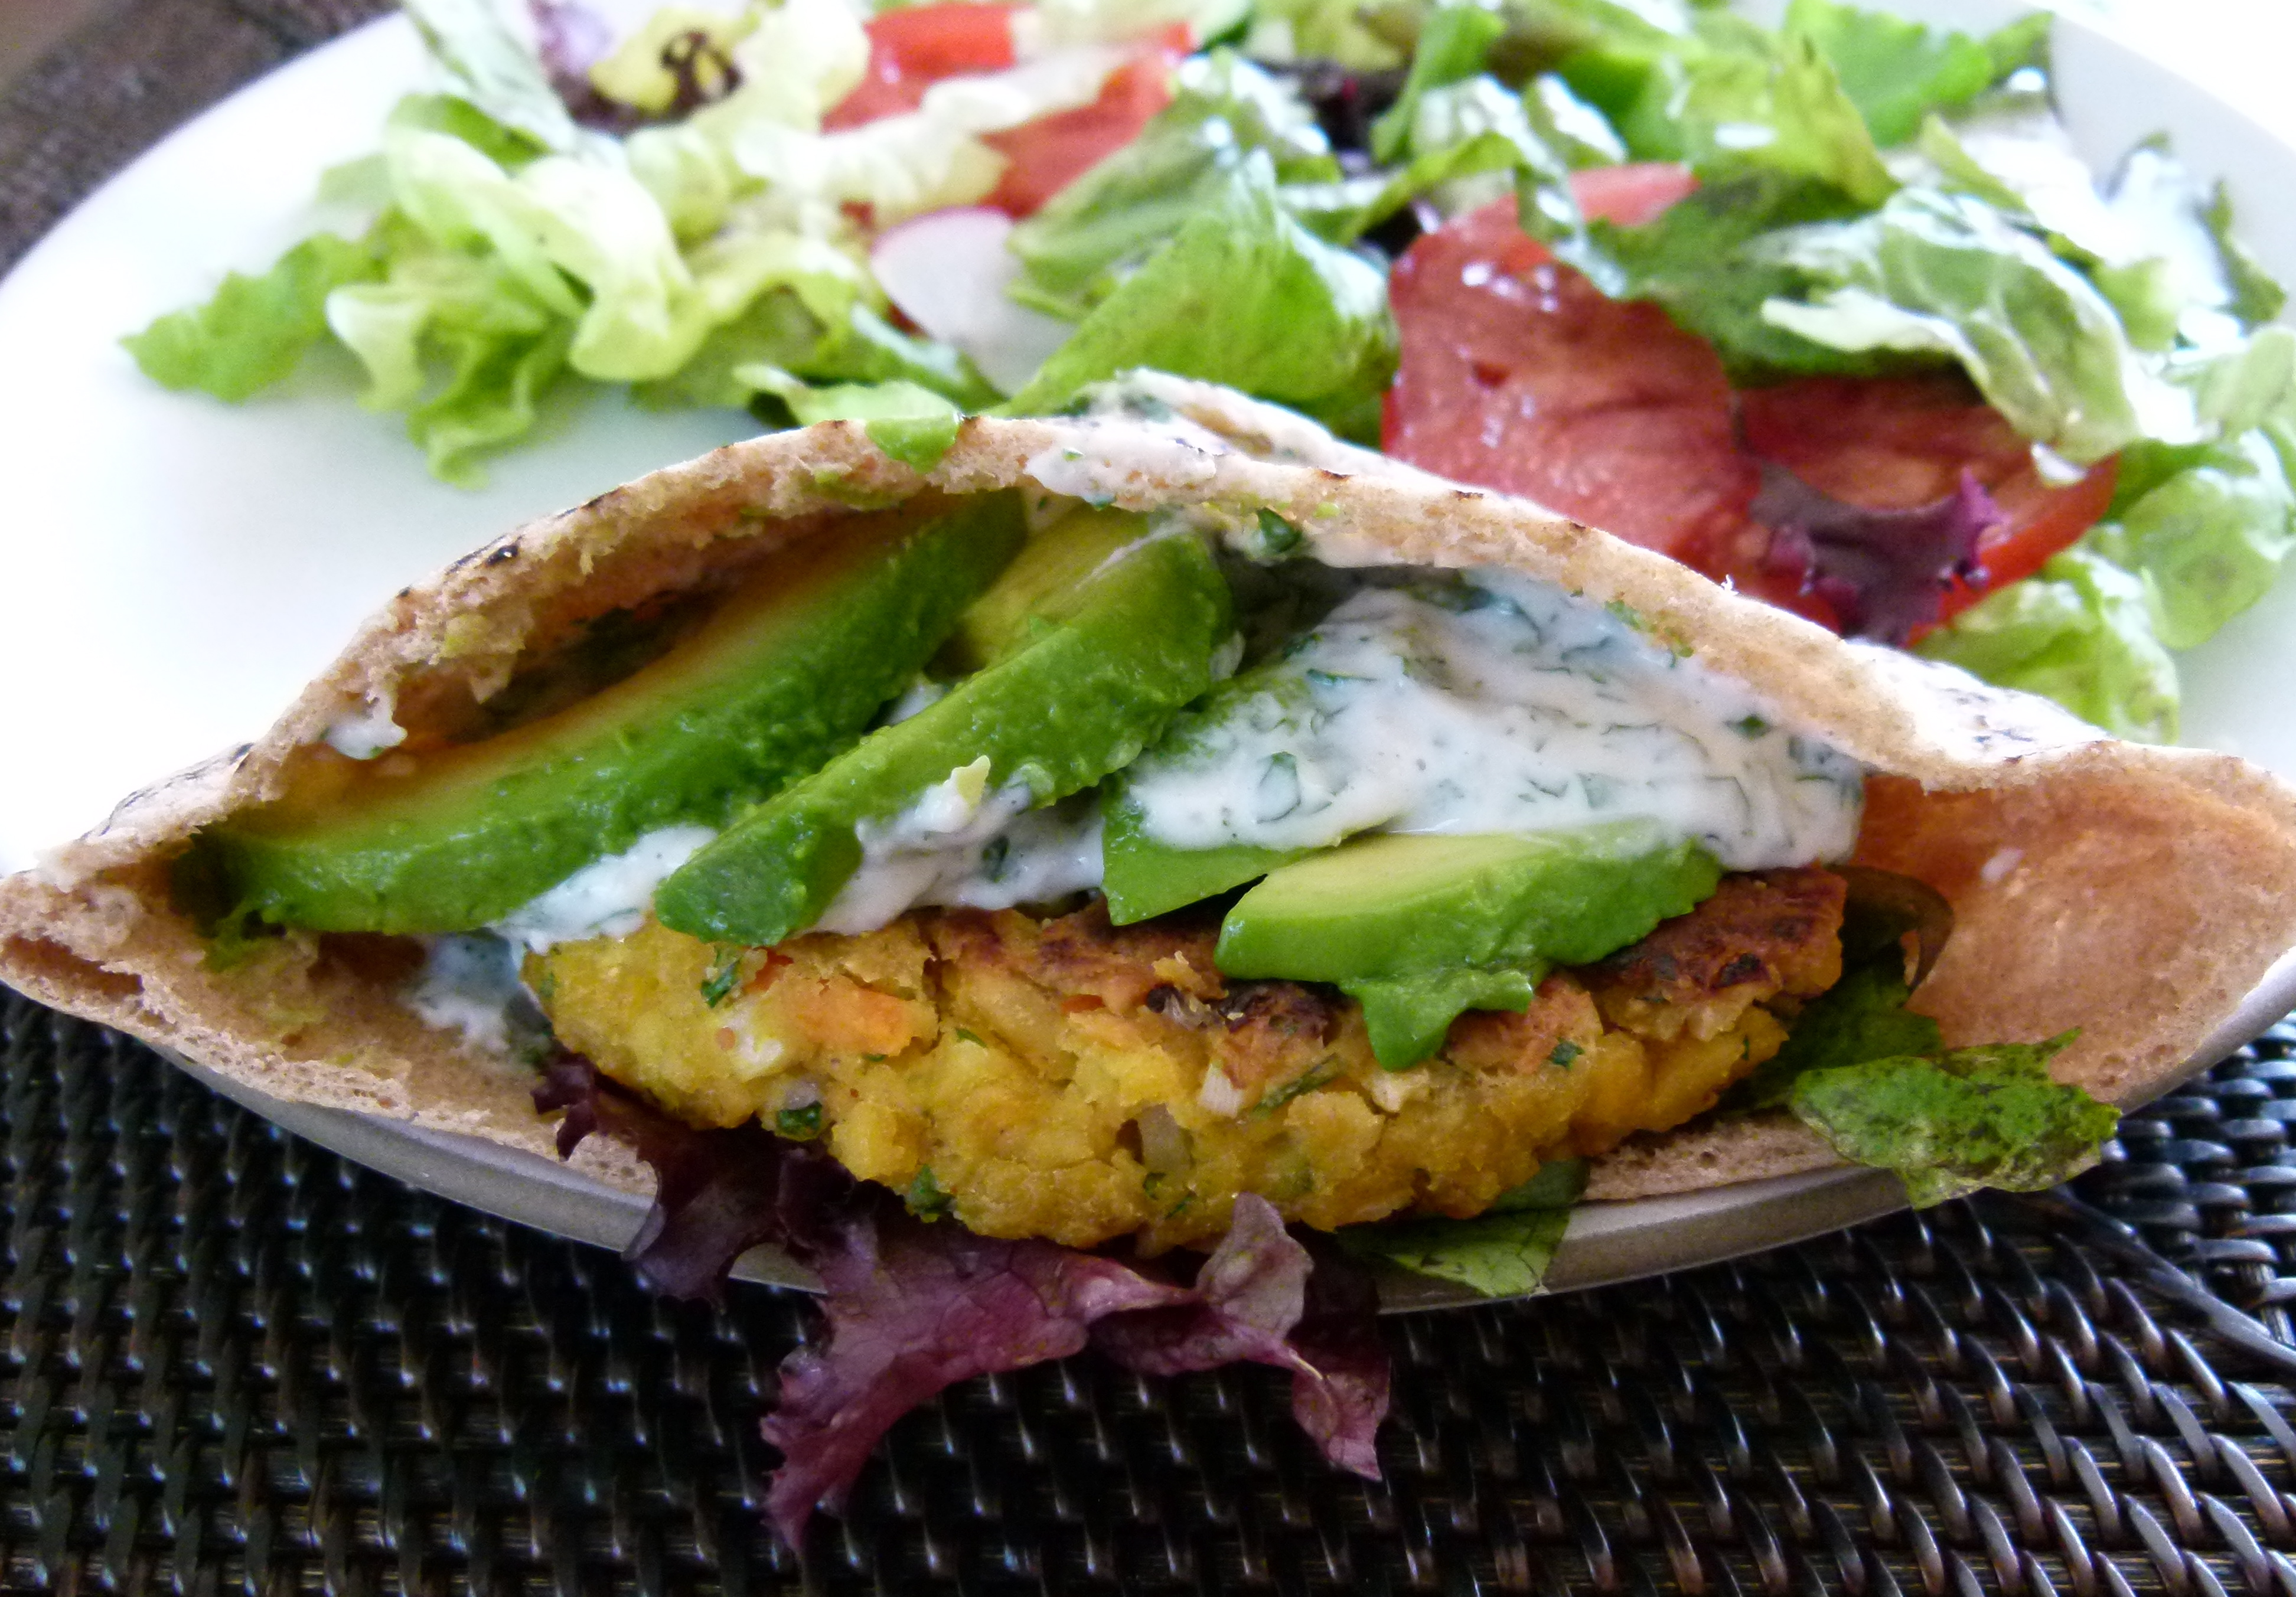
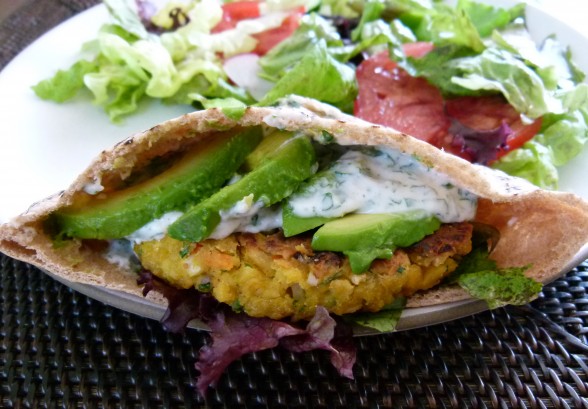
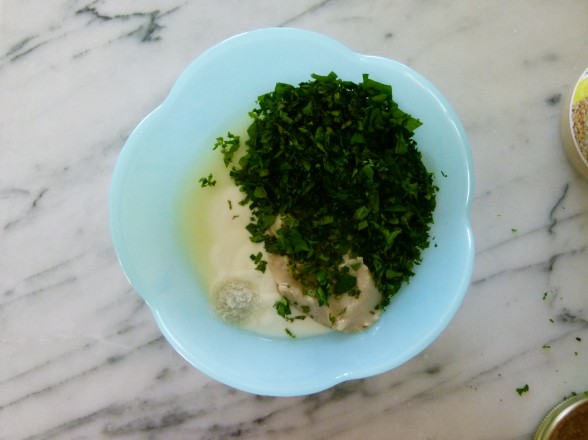
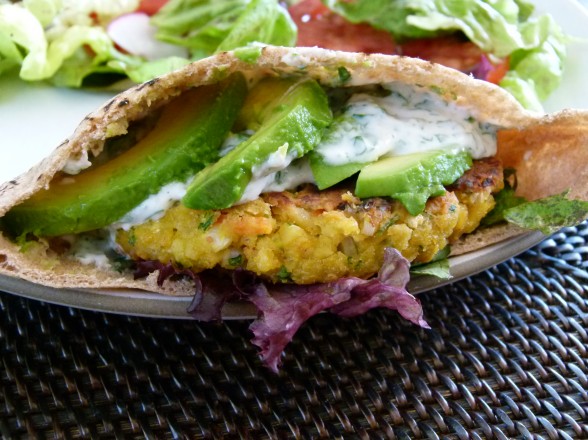
These chickpea burgers are a favorite of mine and my whole family, even Mr. Picky who I am pleased to announce tried one for the first time last week with ketchup.  Do what you’ve gotta do, friends.  They are definitely a far cry from falafel, though.  In fact, the only ingredients that falafel and these chickpea burgers have in common are chickpeas and cumin.  But if I do it right, they’re crispy on the outside, moist on the inside and with flavors that remind of falafel.  I usually eat veggie burgers sans bun since I find that they are plenty starchy without adding bread.  But when serving them to family and friends, I offer warmed, whole wheat pita halves and an array of yummy toppings including sprouts, avocado, tomato slices, lettuce, cooked onion and most importantly, a creamy and refreshing sauce.  In my opinion, it’s all about the condiments!

Chickpea burgers (and veggie burgers, in general) are fabulous for entertaining and for busy weeknights since they are best formed in advance and refrigerated so they firm up a bit.  Out of the fridge, they cook up in minutes on a hot griddle or skillet.  Once you realize how tasty these are, you’ll make a double batch and freeze half.  If you freeze them, just don’t forget to place a piece of wax or parchment in between each patty so that they don’t stick together (ask me how I know this.)  These burgers may not take you back to your last visit to the Mediterranean, but I hope they’ll keep you from visiting the freezer section of your supermarket!  Enjoy~


View this post on Instagram
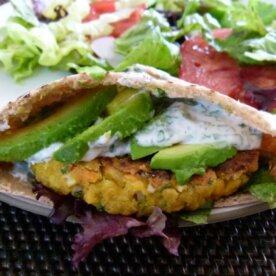


A post shared by Pamela Salzman (@pamelasalzman)

Chickpea Burgers

Pamela
4.80 from 5 votes

Ingredients
  

  • 4 cups cooked chickpeas drained and rinsed if canned
  • 2 large eggs preferably free-range
  • 2 cloves garlic minced
  • 2 teaspoons sea salt
  • 2 teaspoon ground cumin
  • ½ teaspoon cayenne pepper optional
  • zest of 2 small or 1 super big lemon
  • ¼ cup flour whole grain flour, cornmeal or almond meal all work
  • 6 Tablespoons or a heaping 1/3 cup chopped parsley
  • 2 carrots grated
  • ½ red onion small dice
  • Oil or ghee for sautéing
  • Yogurt-Tahini Sauce
  • ¾ cup plain yogurt full fat or low fat
  • 3 Tablespoons tahini
  • 1½ Tablespoons lemon juice
  • ½ cup chopped parsley mint or a combo (my favorite)
  • ¼ - ½ teaspoon sea salt
  • Oil or ghee for sautéing
  • 4 6½ - inch whole wheat pitas halved and warmed, if desired
  • Suggested accompaniments: sprouts avocado, tomato, lettuce, grilled onions

Instructions
 

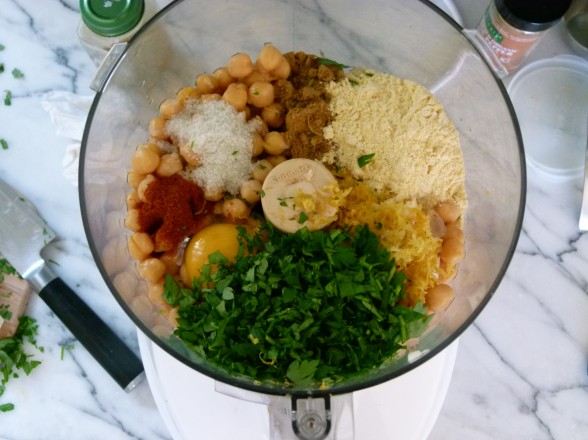
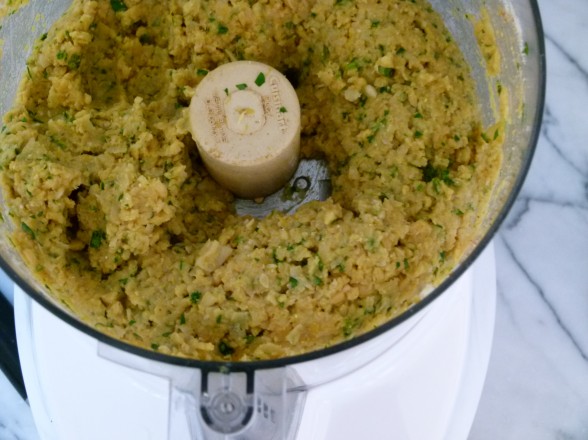
  • Place the chickpeas, egg, garlic, salt, cumin, cayenne, lemon zest, flour and parsley in food processor. Pulse until a coarse mixture forms that holds together. It should be moist and sticky.
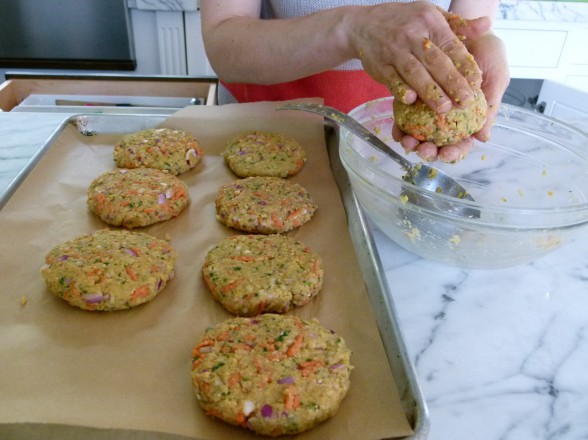
  • Place chickpea mixture in a bowl and mix in grated carrot and red onion. Take a ½ cup of the mixture and firmly press it into a patty about 3 ½ inches in diameter and ¼ inch thick. You can also form these into mini-patties for appetizers. Place on a plate or a baking sheet and refrigerate for at least 30 minutes and up to overnight. Cover if refrigerating for more than a few hours.
  • Heat a couple tablespoons of oil or ghee in a large skillet over medium heat until hot, but not smoking. Add patties to the skillet (do this in batches, if necessary) and cook until crisp and golden brown on the underside, about 6 minutes. Carefully turn over and cook until golden brown on the other side, about 3-5 minutes more.
  • Serve with or without a warmed pita half or a hamburger bun and suggested toppings.
Tried this recipe?Let us know how it was!


Spaghetti squash with kale and chickpeas

Did you participate in the low-carb craze of the 90’s?  If you did, you may have eaten a lot of spaghetti squash with tomato sauce trying to convince your carb-starved body that you were actually eating pasta. The body is no fool, though.  At least mine isn’t.  I ate lots of “spaghetti” for a good year, but never really felt like I was eating pasta and then I had a negative association with this pasta imposter.  The better attitude to take is to acknowledge that spaghetti squash is a delicious food unto itself and that replacing a processed food (pasta) with something whole and full of vitamins and minerals is a fantastic idea.  I had sworn off spaghetti squash for 15 years because I thought the only way to eat it was with marinara sauce and I had O.D.’d on that.  But my lovely summer intern, Hannah, had found this recipe that sparked my interest and I was back.


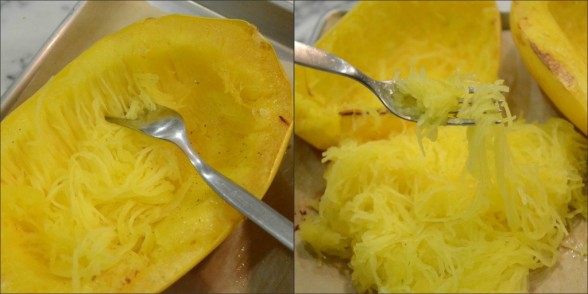
Spaghetti squash comes into season in the early fall and lasts through the early spring.  Like most winter squashes, spaghetti squash lasts quite a while off the vine without losing nutrients.  In fact, many winter squashes actually get a little sweeter when they’ve been allowed to “cure” on your countertop for a bit.  What is unique about spaghetti squash is that the flesh is not meaty like other winter squashes like butternut squash or pumpkin, for example, but instead stringy after it has been cooked.  It resembles spaghetti strands when you rake your fork through the flesh.  Pretty cool, actually.  The flavor of spaghetti squash is like the glass half empty-glass half full.  It has a very subtle flavor — really subtle — which means it tastes kind of bland, but it also means you’re not that limited with flavors you can use.

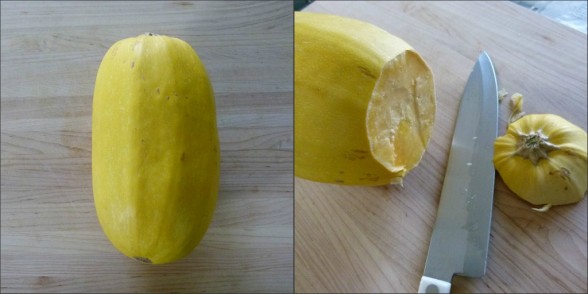
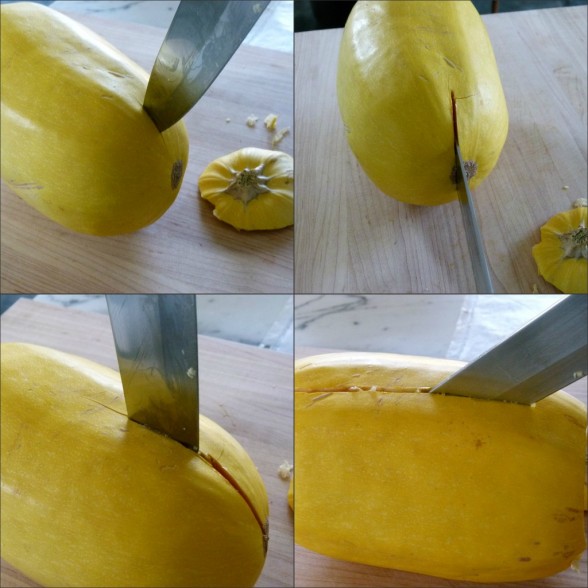
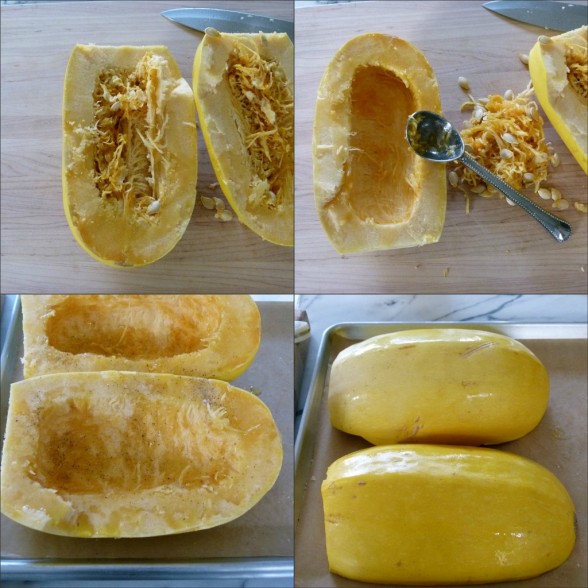
Funny enough, the trickiest part about cooking spaghetti squash is actually cutting it open.  I have tried numerous methods and the one that is hands-down the best is what I call the slot machine method.  You can see from the photos that I insert the tip of my big, sturdy chef’s knife into the flesh of the squash a few inches from the bottom and pull down.  Then I inch my way up the squash towards the middle and keep inserting and pulling down the knife.  This is the safest and easiest way to do it.  If you don’t want to try cutting it open and you have extra time, you can pierce the squash a few times with the tip of your knife so it doesn’t explode in the oven (ask me how I know this) and roast it whole.  This way it will soften up and be much easier to cut open, but you’re adding an extra 15-20 minutes to the cook time.  I prefer to roast the squash halves, which takes about 45 minutes.  You can also plunge the halves into a pot of boiling water for about 13 minutes if you’re in a rush, but I think you lose nutrients when you boil vegetables for a long time like that.  Also, it’s easier to overcook it and then the subtle flavor becomes even more subtle (as in, it tastes like water.)  I’m well aware that people also microwave spaghetti squash halves, but this is a site about NOT microwaving food, so you’ll have to figure that one out on your own.


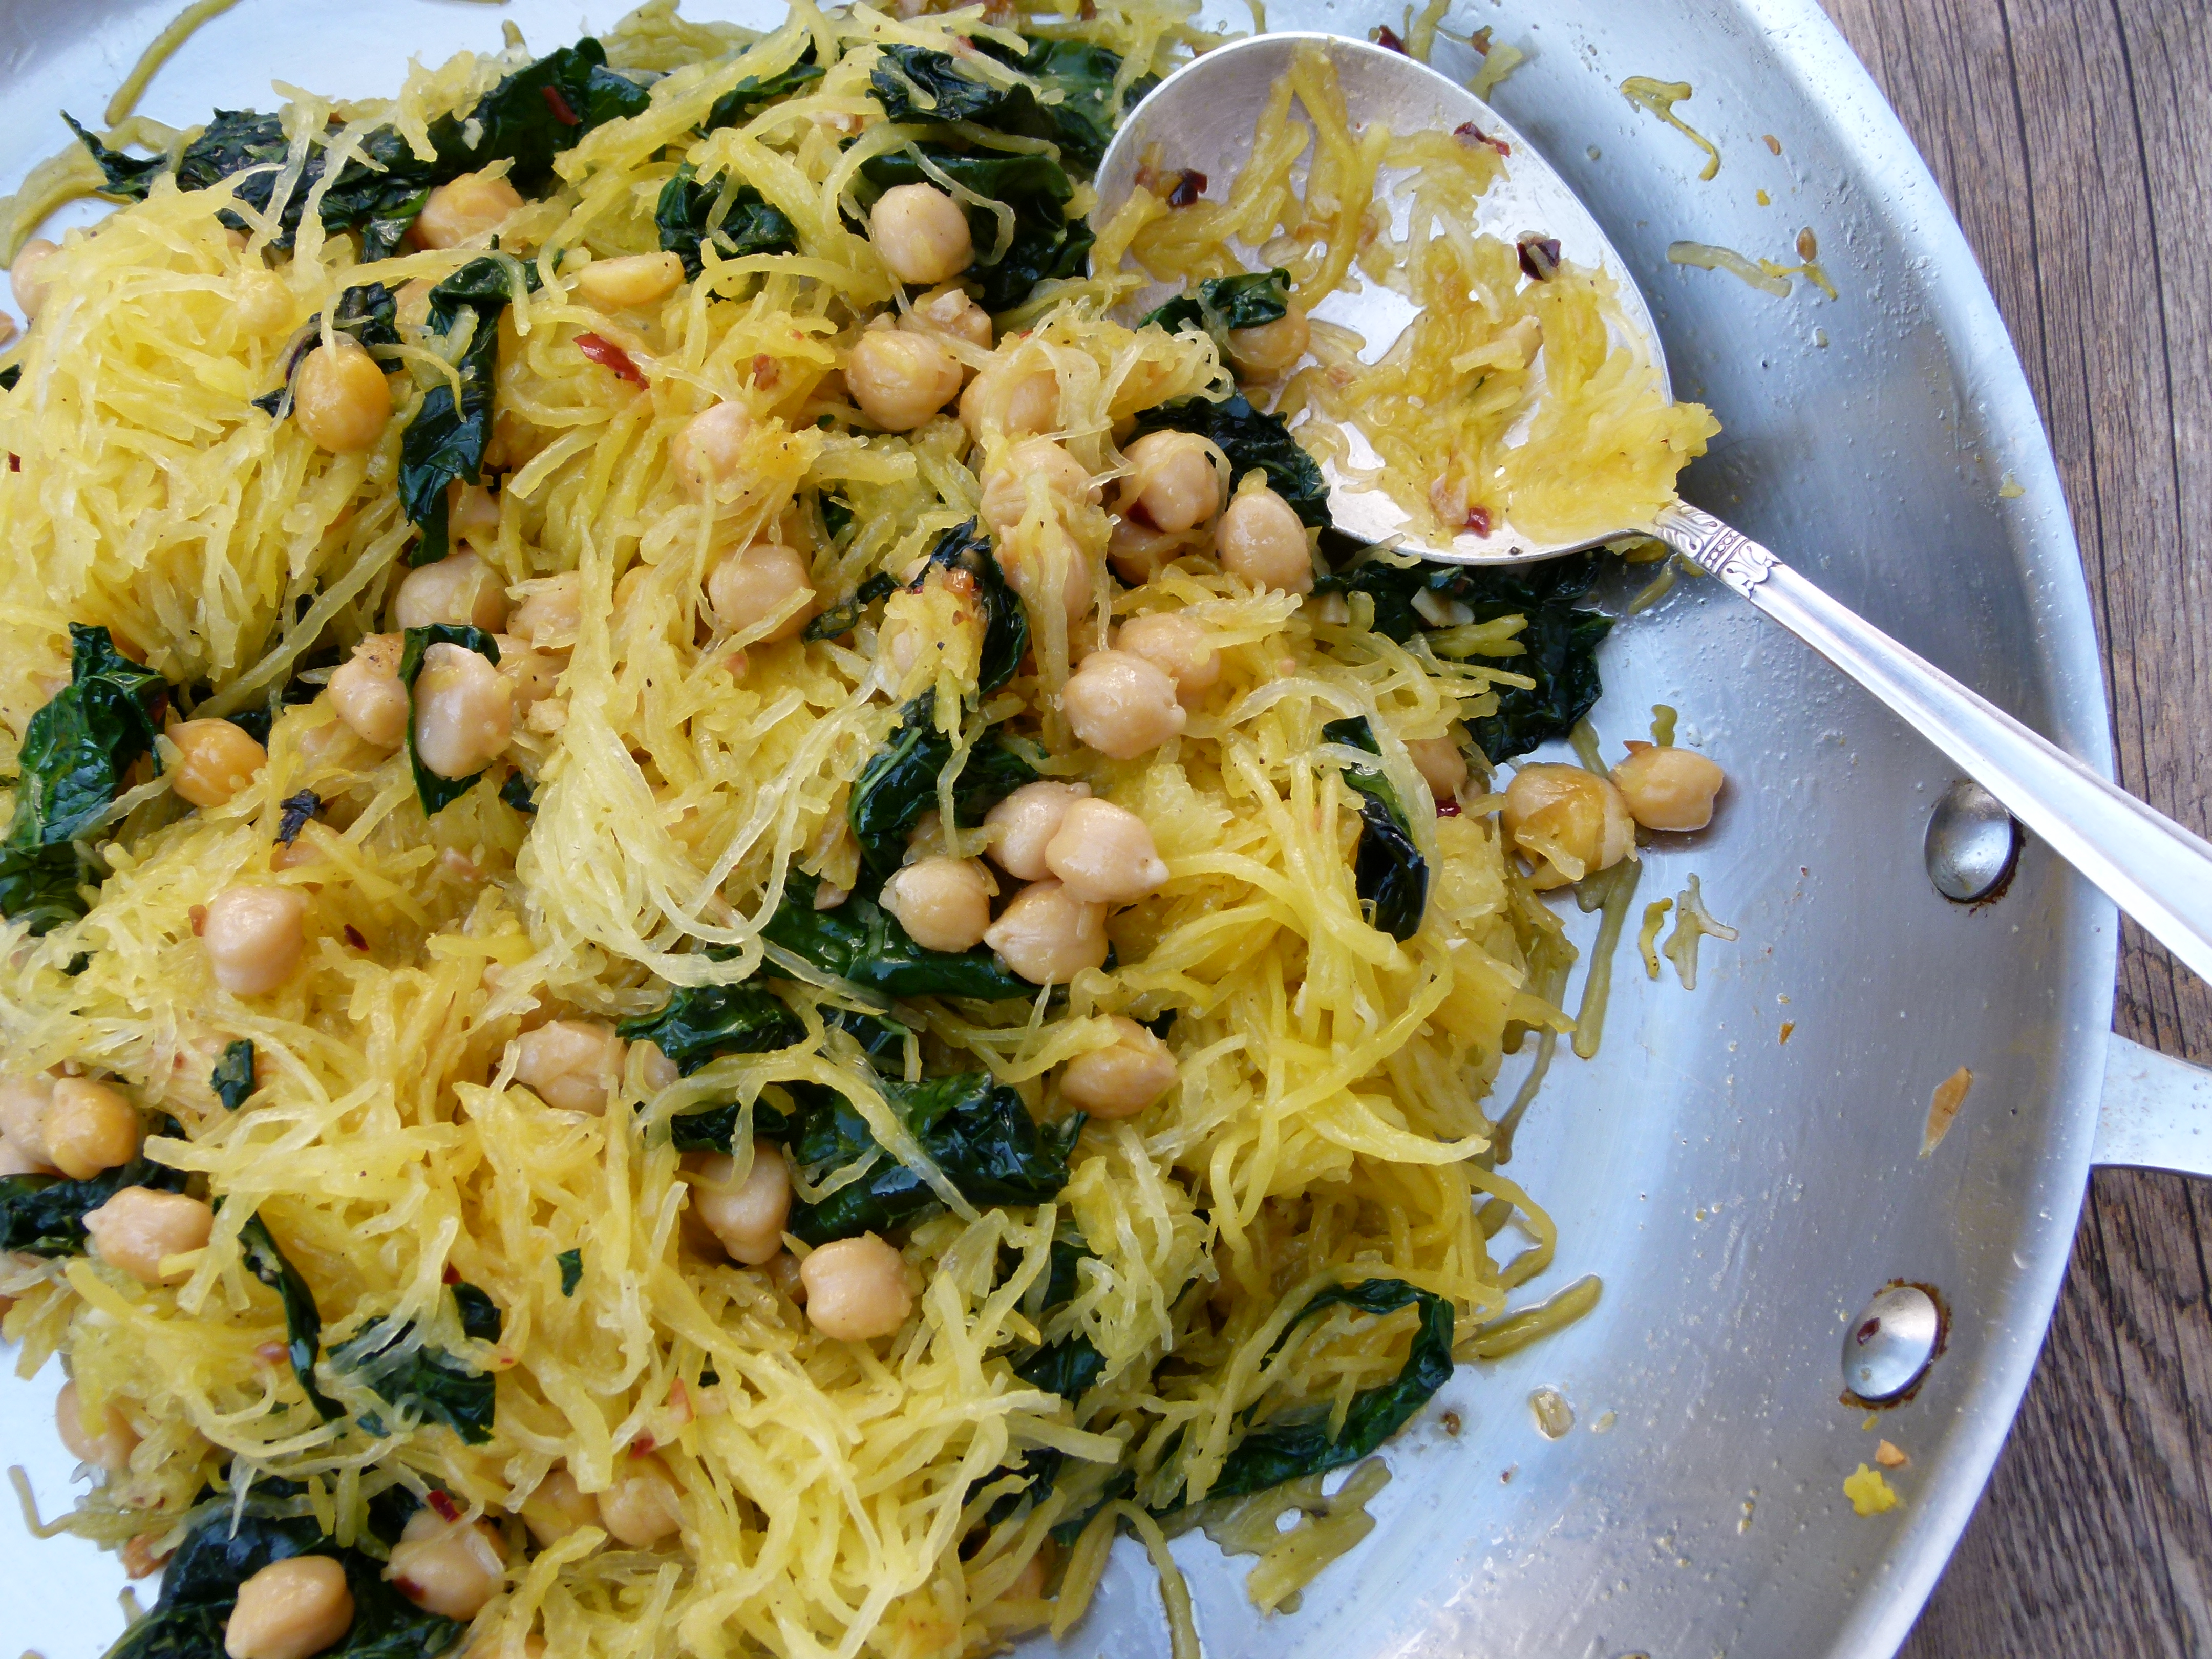
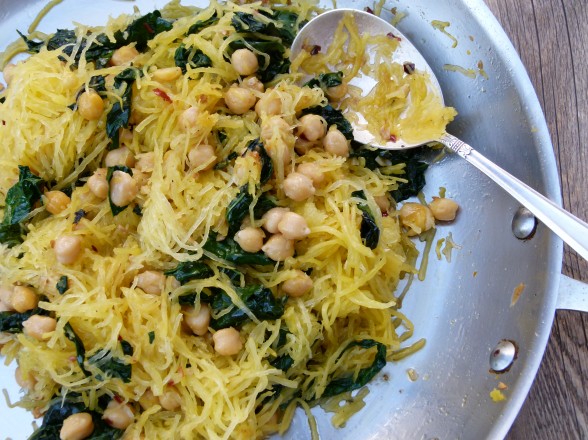
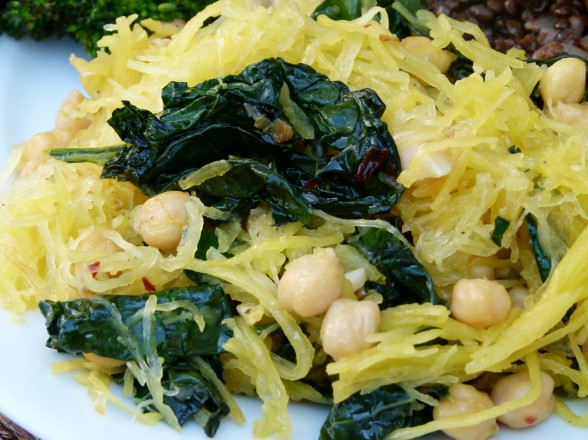
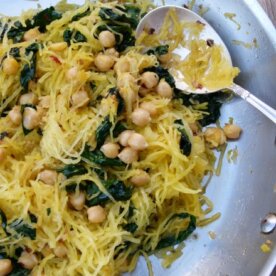
Here I sauteed my BFF kale with garlic and a pinch of chili flakes to toss with the cooked squash strands and then I add cooked chickpeas.  But we’ve hung out enough that by now you know that you can substitute Swiss chard or spinach for the kale and white beans for the chickpeas.  Really the sky’s the limit with how you complement the squash.  Just make sure you add lots of flavor and don’t be stingy with the salt.  I added vegetable chili on top of it one day. Another time I tossed it with chunky braised root vegetables in a spicy tomato sauce.  Daughter #2 found some cooked spaghetti squash in the refrigerator and warmed it up and added olive oil, feta, olives and some leftover broccoli.  It was so darn good and I never had to convince anyone to try it because it was “just like pasta!”

Spaghetti Squash with Kale and Chickpeas

Pamela, adapted from My New Roots
5 from 1 vote
Servings 4 -6 (or just me and my intern, both starving, standing over the stove)

Ingredients
  

  • 1 spaghetti squash about 3 1/2 pounds
  • 3 Tablespoons unrefined olive oil + more for drizzling the squash or unrefined coconut oil or ghee
  • Sea salt and freshly ground black pepper
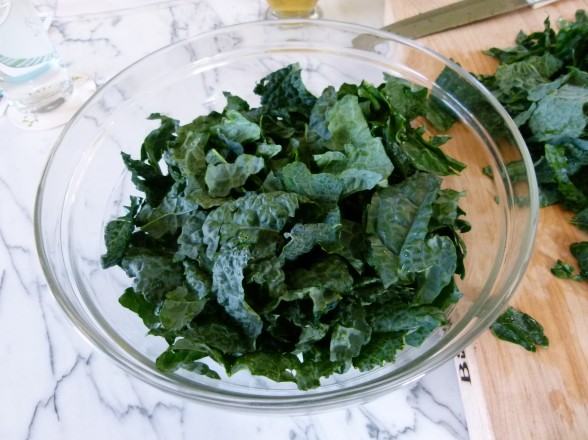
  • 1 bunch kale center rib removed, leaves chopped
  • 1 ½ cups cooked chickpeas rinsed and drained, if canned
  • 3 cloves garlic finely chopped
  • ¼ teaspoon crushed red chili flakes or more to taste
  • Parmesan or Pecorino-Romano cheese shaved on top optional

Instructions
 

  • Preheat oven to 400 degrees. Cut the spaghetti squash in half lengthwise and remove the seeds. Rub the inside of each half with a drizzle of olive oil and season with salt and freshly ground black pepper. Arrange cut-side down on a parchment-lined baking sheet and bake for 45 minutes until tender.
  • Heat oil in a large skillet over medium. Add garlic and cook until fragrant, about 1 minute or less. Add chili flakes, stir for a few seconds and add chopped kale with a few pinches of sea salt. Sauté kale until the leaves are bright green, about 5 minutes. Add the chickpeas and cook until warmed through. Remove from heat.
  • Remove squash from oven when it is cooked through and tender. Using a fork, pull the strands of squash from the peel so that it resembles…spaghetti! Place the strands into a serving bowl and add the kale-chickpea mixture. If you do the spaghetti squash in advance and it is no longer hot, add to the kale and chickpeas and sauté over medium heat until warmed through. Toss to combine and taste for seasoning. Since spaghetti squash is rather bland, you will need to add plenty of salt and pepper. Garnish with cheese if desired.
Tried this recipe?Let us know how it was!

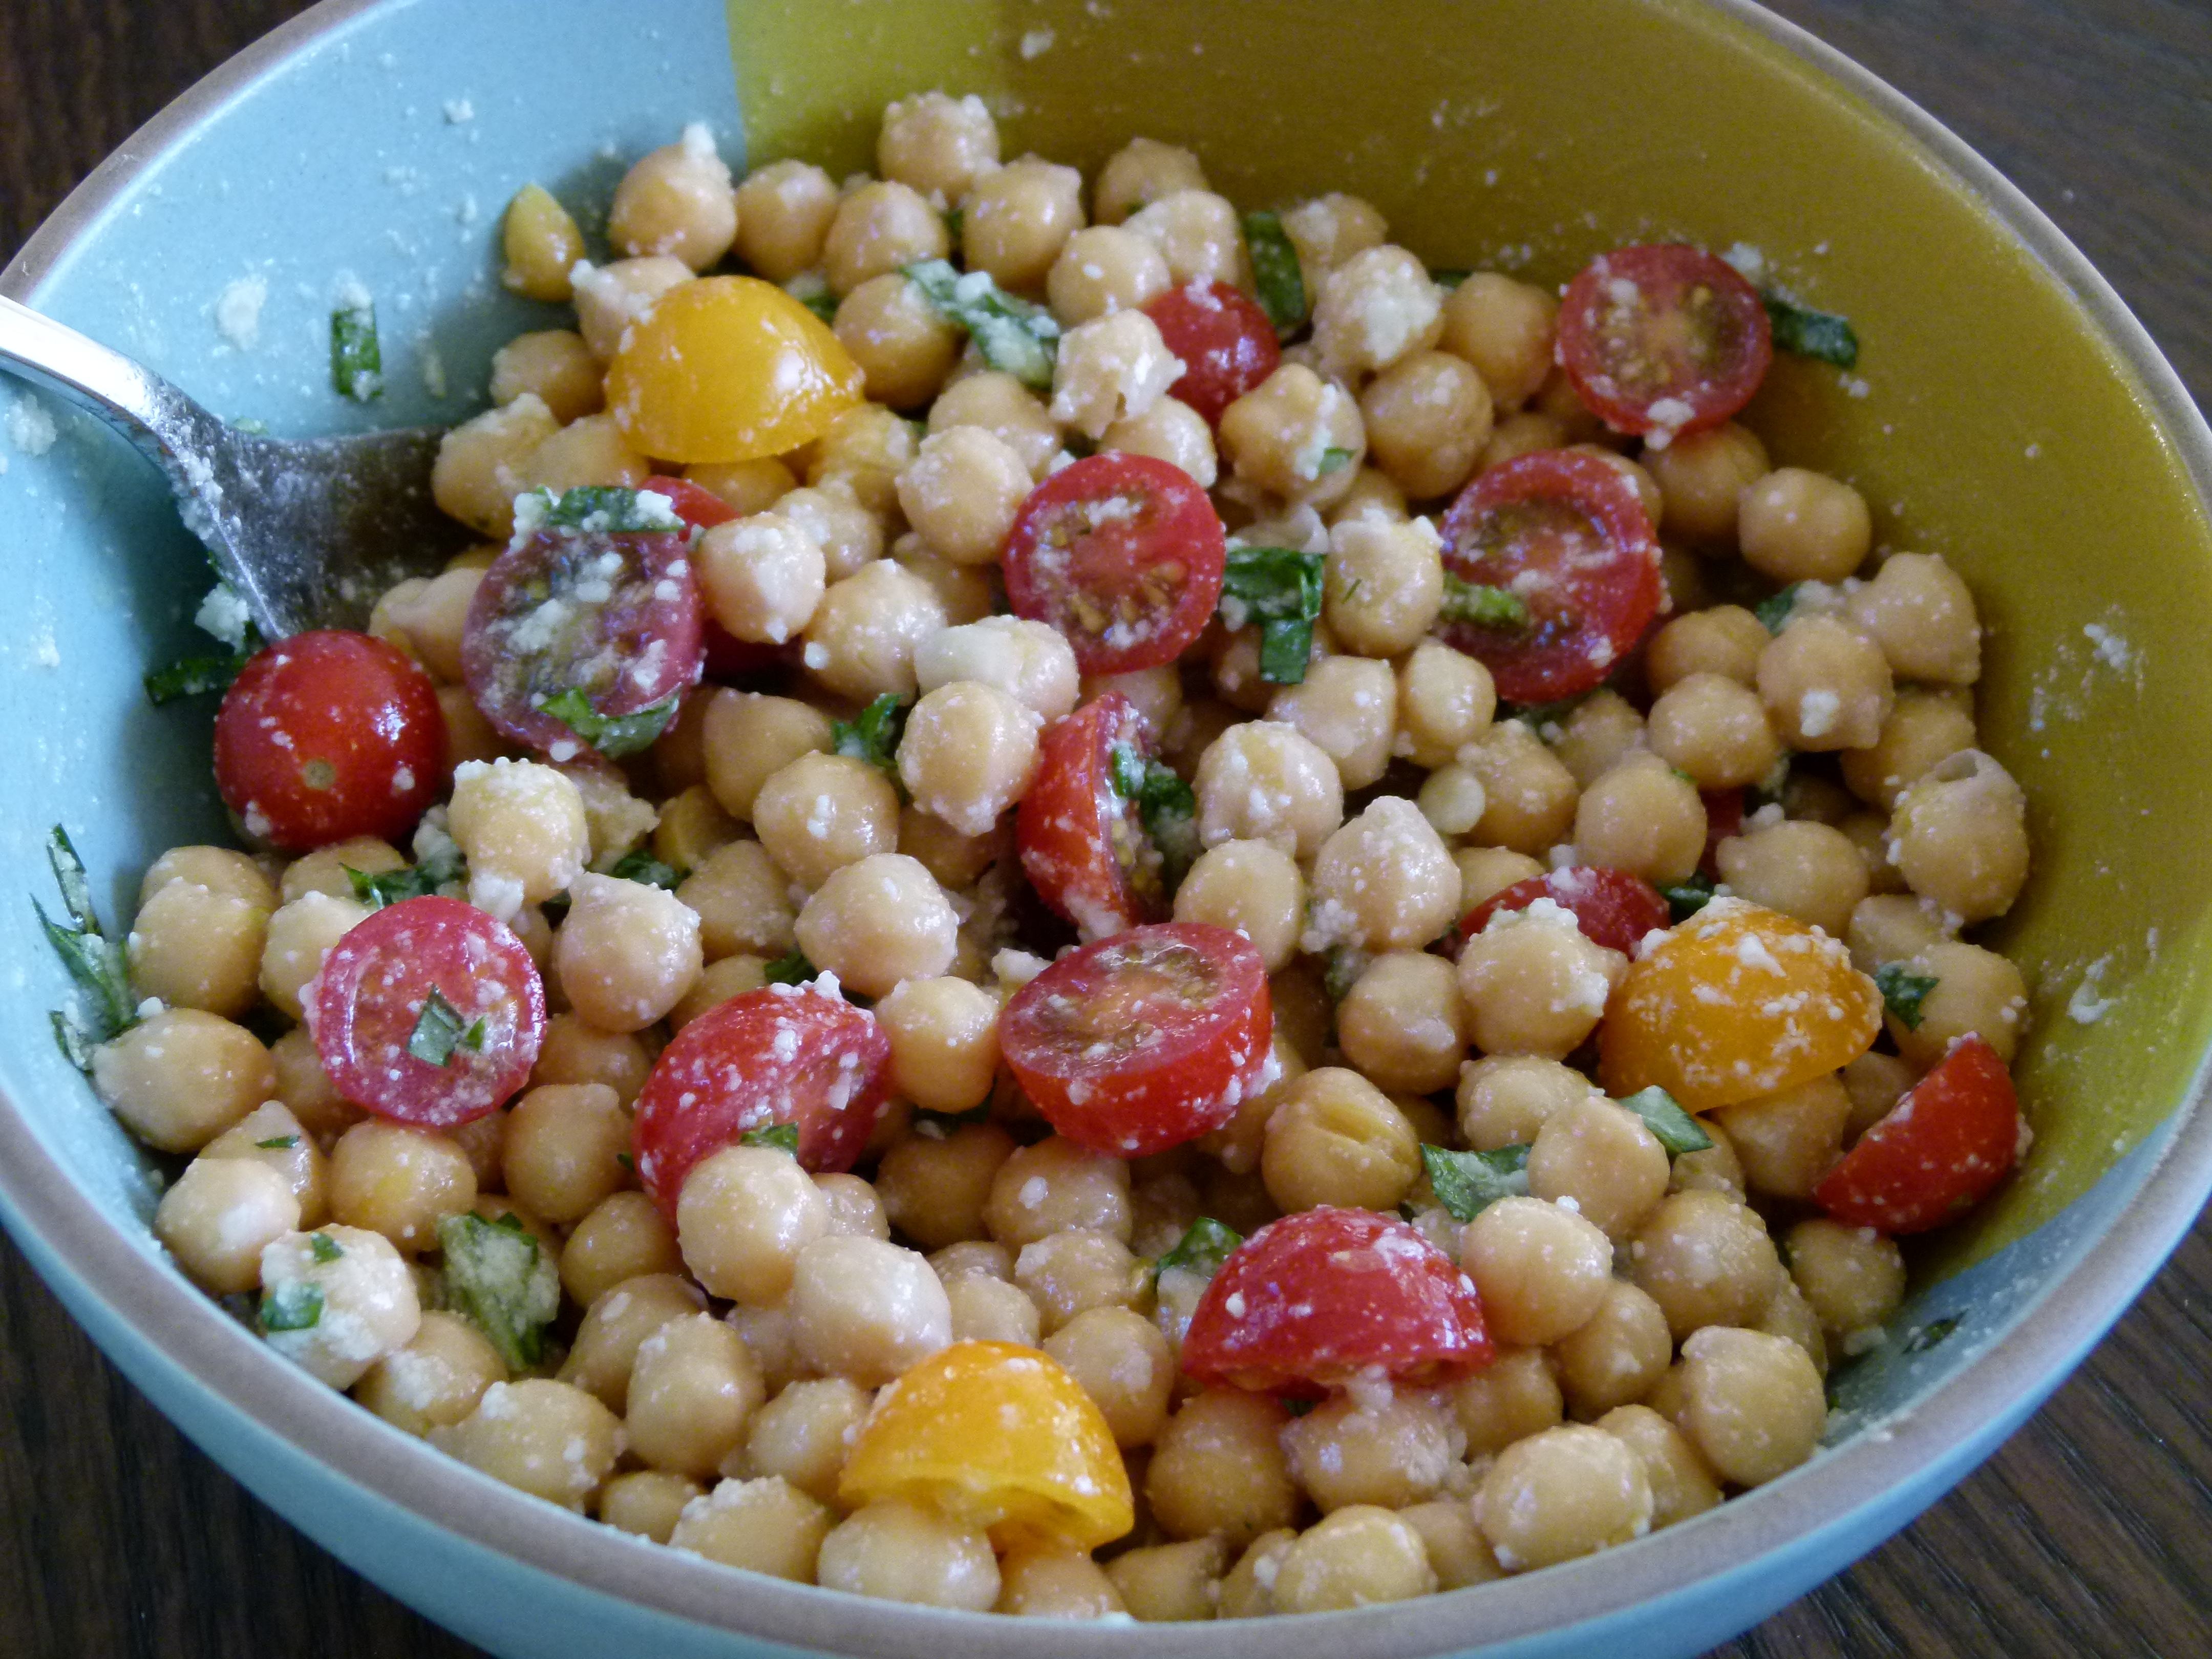
Chickpea and deconstructed pesto salad

Summer around my house is very loosey-goosey.  We lack a bit of structure when school is not in session.  On any given night, it varies who will be here for dinner and I often find myself cooking for either just two people or for an army.  This can be tricky for me since I make my menu for the week every Sunday night, but over the years I have also learned how to be flexible and not anxious if I have enough fish for 5 and all of a sudden we’re down to 2.

Daughter #1 and I found ourselves solo for dinner last night, but it was late and neither one of us had the motivation to do anything more than open a can of chickpeas.  Of course we’re girls and we are just fine eating a meal without meat and still calling it dinner.  We made this chickpea salad and grilled up some zucchini, because who can eat a meal without zucchini in it these days?  It’s taking over the world!!  Remind me next spring not to plant so much.  And the two of us stood at the kitchen counter leaning over the salad bowl shoveling in spoonful after spoonful of chickpea salad, exclaiming “this is so good!” after every bite, alternating with dropping ribbons of grilled zucchini in our mouths.

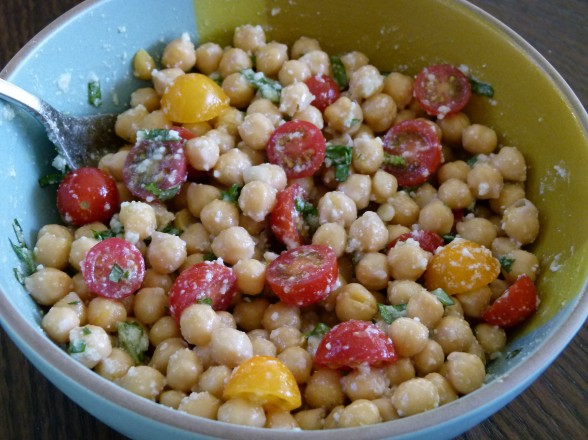
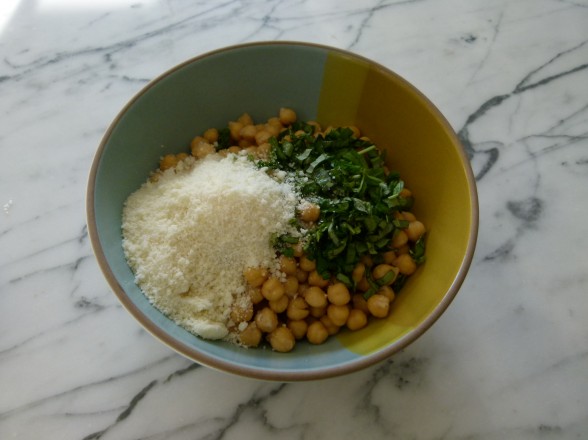
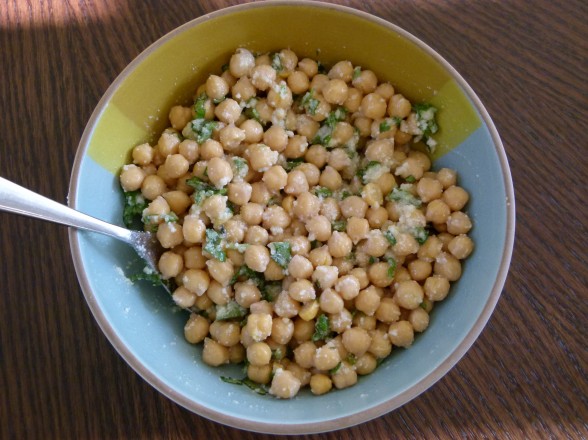
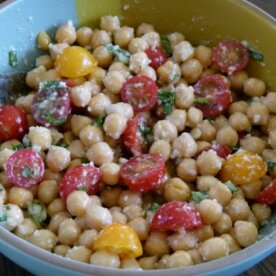
This is hands-down the easiest salad you will ever make and if you are growing your own basil, you likely already have everything you need to put this together in five minutes.  Thank goodness for pantry staples!  This is fabulous to bring to a barbeque or picnic since you can make it ahead and nothing happens to it.  It’s even great the next day.  Last night I added halved cherry tomatoes at the last minute and I have also thrown in chopped, blanched green beans to make it more substantial.  Be forewarned, there is a nice punch of raw garlic which I love, but if you don’t care to eat garlic, you can just smash it and add it for a subtle undertone.  The idea is to make a salad with all the flavors of pesto without having to make pesto.  Actually, the idea of this salad is to barely do anything at all, but still eat something utterly delish.


View this post on Instagram


A post shared by Pamela Salzman (@pamelasalzman)


Chickpea and Deconstructed Pesto Salad

Pamela
Servings 4

Ingredients
  

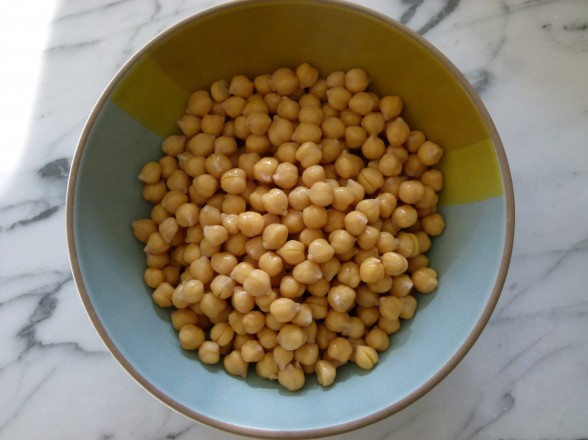
  • 3 cups cooked chickpeas or 2 15-ounce cans rinsed and drained
  • ¼ cup chopped fresh basil leaves
  • 2 small garlic cloves minced
  • 3-4 Tablespoons freshly squeezed lemon juice about 1 lemon
  • 3 Tablespoons unrefined cold-pressed extra-virgin olive oil
  • ½ teaspoon fine grain sea salt or to taste
  • freshly ground pepper to taste
  • 1/3 cup grated pecorino-romano sheep's milk cheese or parmesan cheese (cow's milk cheese)

Instructions
 

  • Combine all salad ingredients in a serving bowl and toss well to combine. That's it!

Notes

Also delicious with halved cherry tomatoes (see lead photo), arugula and/or blanched green beans. I added some thinly sliced radicchio once and that was nice, too.
Tried this recipe?Let us know how it was!


Hummus 4 ways

I was talking with my summer intern Hannah about how much I love hummus and how easy it is to make.  I think I have been making my own hummus since before she was born, but the last couple years I have felt hummus boredom so I’ve had a little fun experimenting with different flavors.   Hannah was intrigued since she thought hummus was like puff pastry, which NO ONE makes from scratch.  Well, I knew we had a cooking lesson on our hands!

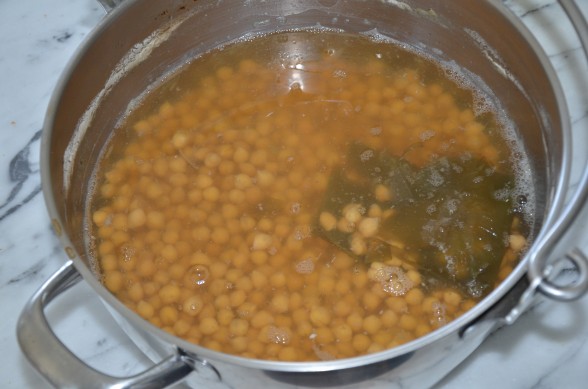
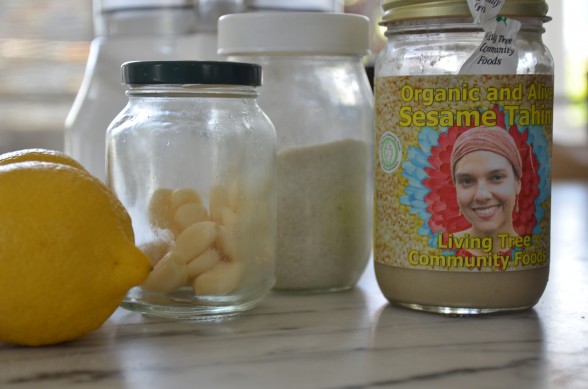
Hummus is a Middle Eastern dip made from cooked chickpeas (a.k.a. garbanzo beans) pureed with tahini (a paste made from ground up sesame seeds), garlic, lemon juice, and salt.  I add a little liquid from the pot (or can) of cooked chickpeas and some people add olive oil.  Sure you can add cumin or hot sauce, but essentially that’s it.  I maintain that hummus tastes so much better when I make my beans from scratch, although really you can use canned and it will still be fabulous.  But what kind of a cooking lesson would this be if we used chickpeas from a can?  So I started soaking a ton of dried chickpeas that day, cooked them for 90 minutes the next morning and we began our hummus factory.

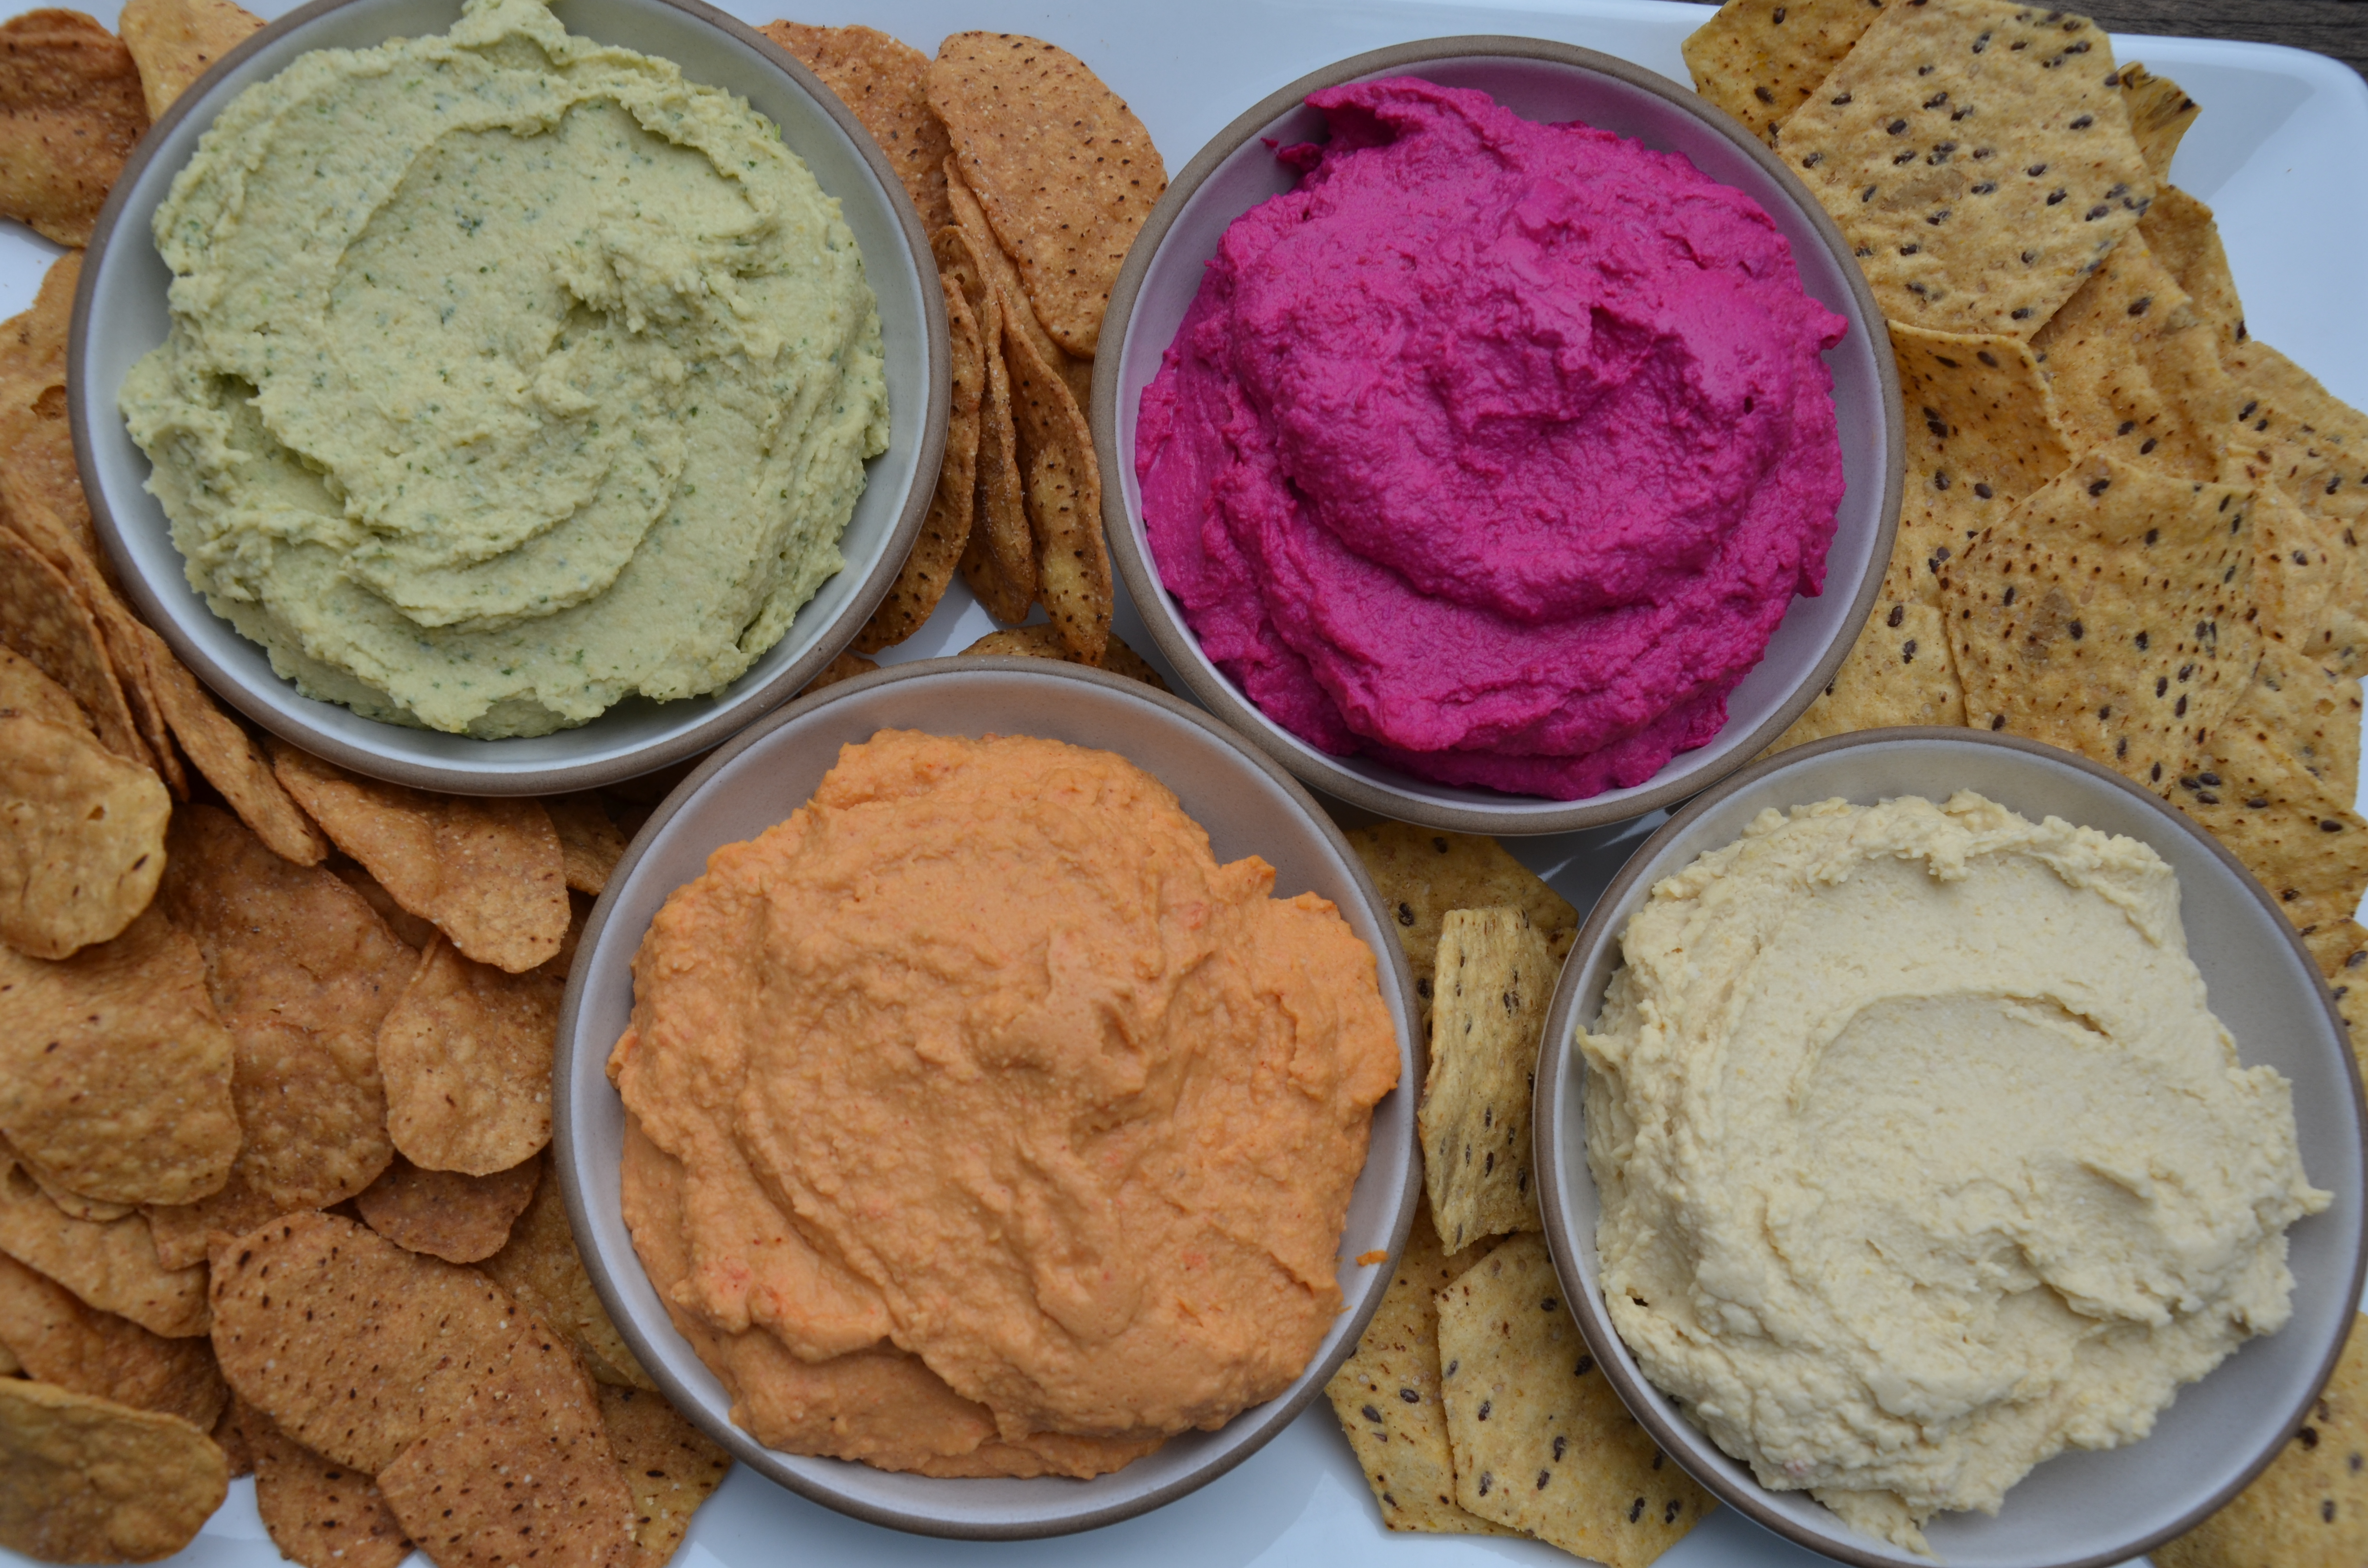
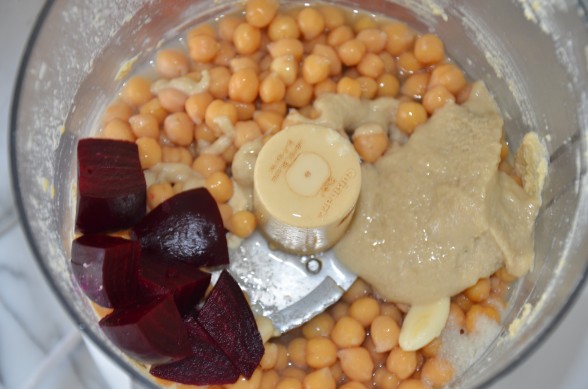
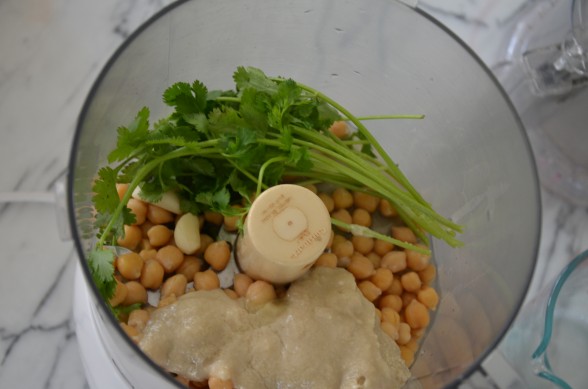
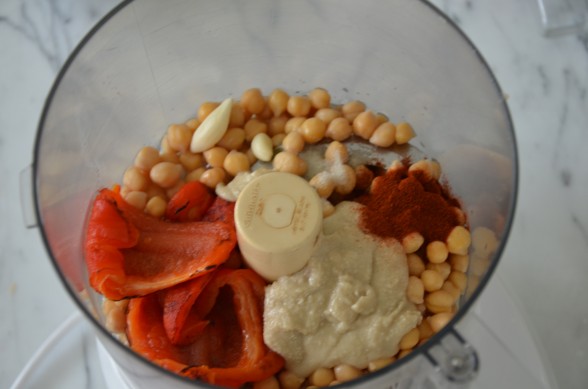
I had an idea to make several of my favorite flavors just for kicks, so we also roasted a couple beets, a red bell pepper and cut some cilantro from the garden.  After we made our first batch, which was the traditional kind, Hannah looked at me in disbelief.  “That’s it?! ”  Yep.  That’s it.  “If people knew how easy it was to make hummus, they would never buy it!”  I’m so glad that thought was put out there to the universe.

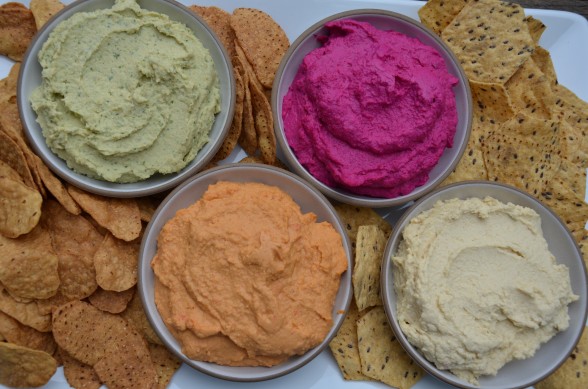
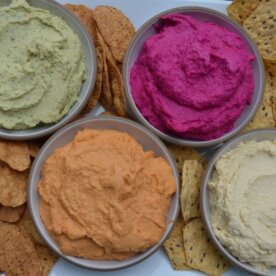
After that, we made hot pink hummus with a roasted beet, which I agreed would be super cute for a (girl) baby shower or a bachelorette party (Hannah’s idea.)  Cilantro hummus turned out a lovely pale green with a fresh herby flavor.  Lastly, my favorite was roasted red pepper hummus to which I added a little smoked paprika and a dash of cayenne.  We tried all the flavors with raw carrot, cucumber and sweet bell pepper slices, as well as some gluten-free chips.  But I also love the red pepper version on veggie burgers and the cilantro one on a turkey sandwich.  The beet hummus is for pure shock value since despite adding a roasted beet, it just picks up a subtle sweetness and really tastes a lot like the traditional.  You can never have enough healthful dips for summer entertaining.  With July 4th around the corner, there’s no better time to add some pizzaz to an old classic!

Traditional Hummus

Pamela

Ingredients
  

  • 3 cups cooked chickpeas if canned, drained and rinsed, liquid reserved*
  • 3 garlic cloves
  • ½ cup sesame tahini
  • 4-5 Tablespoons freshly squeezed lemon juice
  • 6 Tablespoons chickpea liquid
  • 1 teaspoon plus a pinch sea salt

Instructions
 

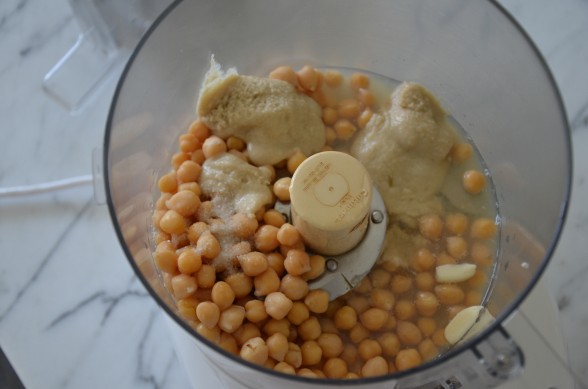
  • Place all the ingredients in a food processor fitted with the steel blade and process until the hummus is smooth. Taste for seasoning and texture.
  • I like it very smooth and creamy, so I let the food processor run for a few minutes. I also prefer to eat it immediately at room temperature, but if you will be refrigerating it, you can add a little extra chickpea liquid since the hummus will thicken after it has been refrigerated.
Tried this recipe?Let us know how it was!


: : : : : : : : : : : : : : : : : : : : : : : : : : : : : : : : : : : : : : : : : : : : : : : : : : : : : : : : : : : : : : : : : : : : : : : : : : : : : : : : : : : : : : : : : : : : : : : : : : : : : : : : : : : : : : : : : : : : : : : : :


Variations:

Beet Hummus: add 1 large roasted and peeled red beet to Traditional Hummus ingredients in food processor.  Blend until thoroughly combined.


Cilantro Hummus: add 24 sprigs of cilantro and a few dashes of cayenne pepper to Traditional Hummus ingredients in food processor.  You can use either lemon juice or lime juice.  Blend until thoroughly combined.  Feel free to use more cilantro.


Roasted Red Pepper Hummus: add 1-2 teaspoons smoked paprika, a few dashes cayenne pepper and 1 large roasted, peeled and seeded sweet red bell pepper to Traditional Hummus ingredients in food processor.  Reduce lemon juice to 1 Tablespoon and sea salt to ¾ teaspoon.  Blend until thoroughly combined.  Taste to adjust seasonings.
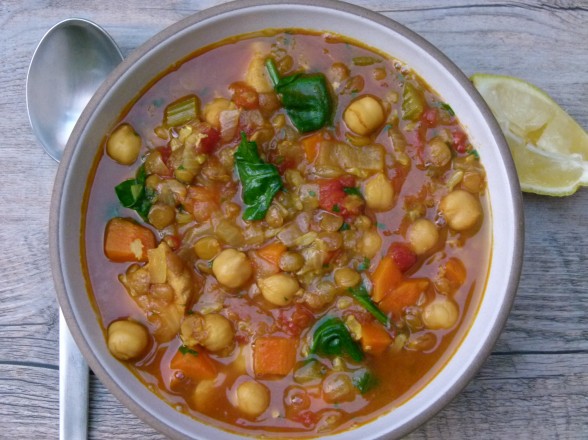
Harira recipe

Harira (Moroccan stew with chicken, chickpeas, lentils and rice) | pamela salzman

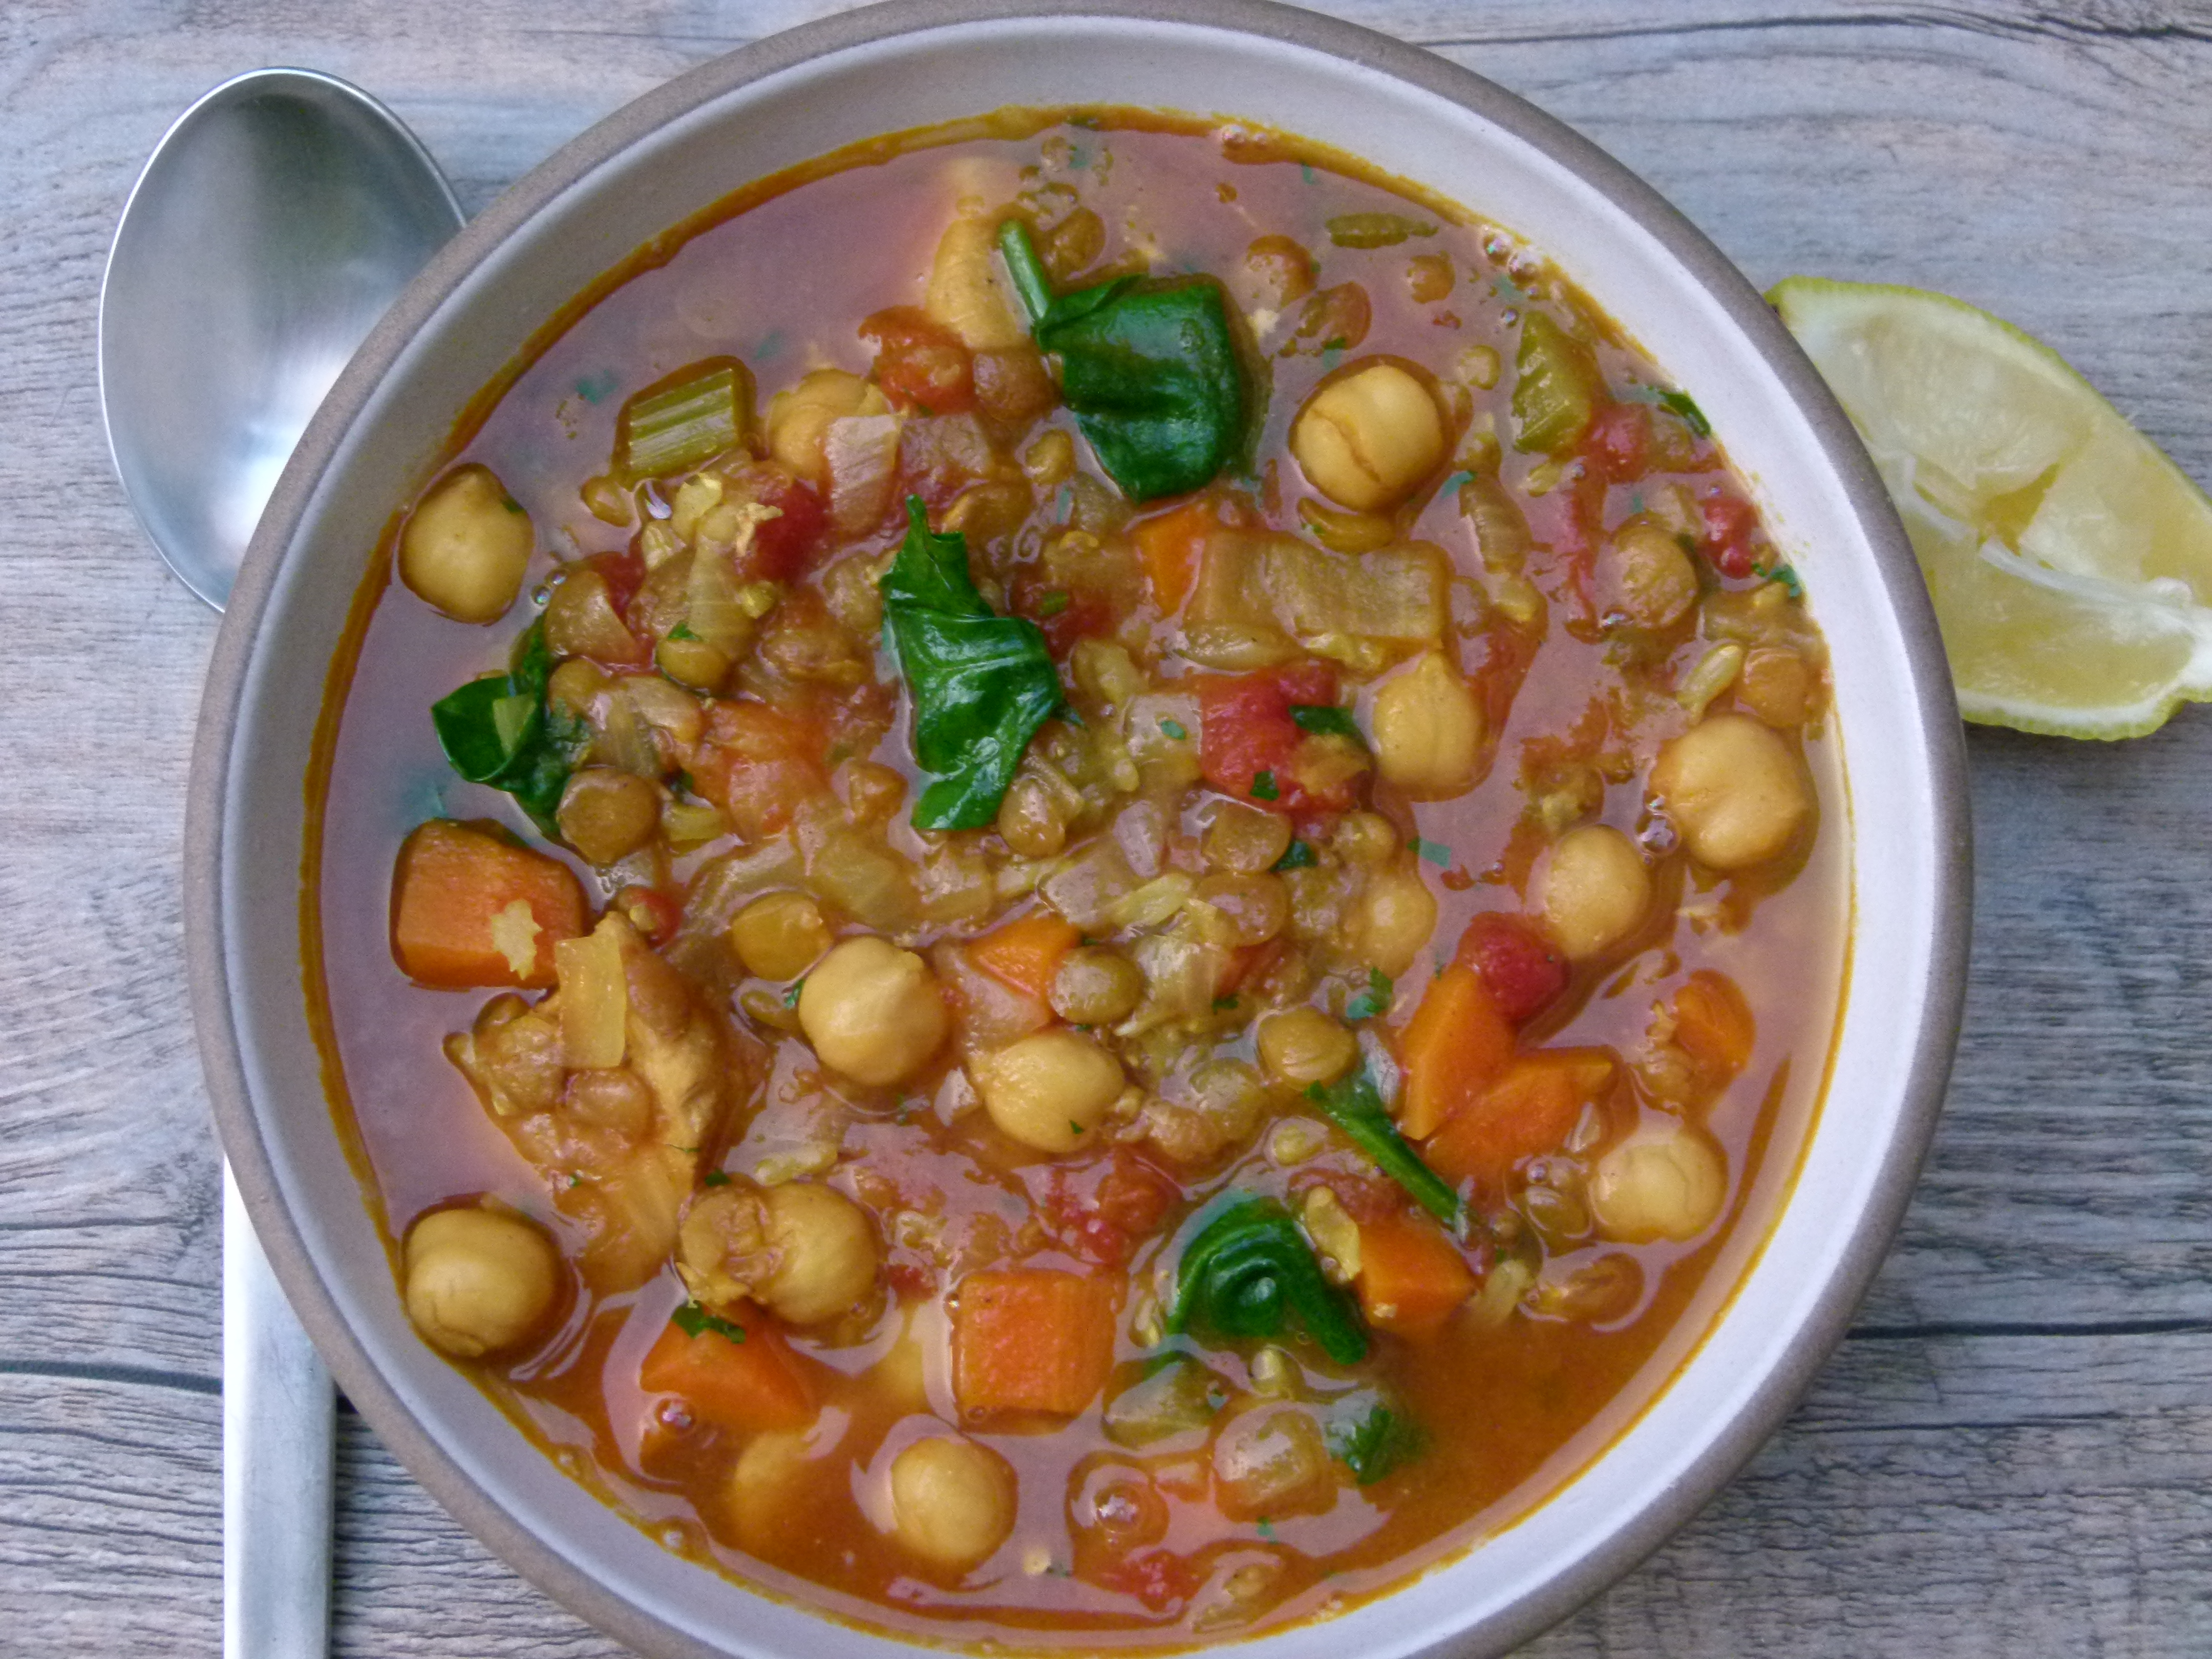
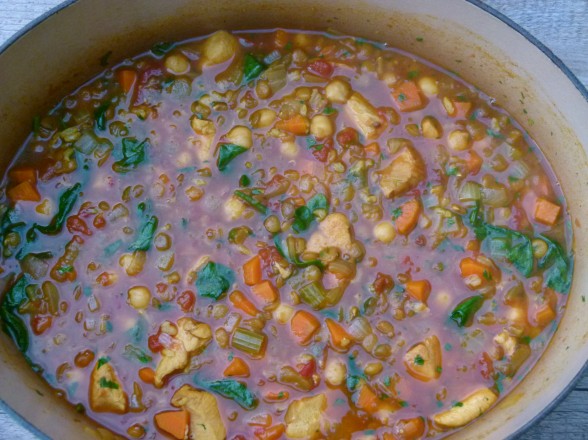
Harira is a Moroccan stew that is traditionally served during Ramadan to break the daily fast.  In my house it is a nourishing one-pot meal that is perfect for a chilly winter evening.  I have seen many versions of recipes for Harira.  Typical ingredients include lentils, chickpeas, rice or vermicelli pasta, tomatoes, onions, fresh herbs, spices and a small amount of meat, such as lamb or beef.  I have come up with my own version that is heavier on the grains and legumes with a few handfuls of greens thrown in at the end.  This is my kind of food!

One thing I love about Harira is that it’s rich in health-supportive spices.  In our country, we tend to shy away from spices like turmeric and ginger which is such a shame, because not only are they delicious, they are incredibly healing, too.  These spices and the others used in this Harira are full of phytonutrients, as well as anti-inflammatory  and cancer-preventative compounds.  Turmeric, in particular, has been hailed as the rock-star spice of late.  You may have eaten turmeric before if you’ve had curry.  It is what gives curry powder its yellow color.  Turmeric is a very powerful liver detoxifier, it improves circulation, is anti-bacterial and to repeat myself — one of the most potent anti-inflammatory substances out there.
I have heard from some parents that they are reluctant to try new flavors at the dinner table, for fear that their kids won’t like them.  The best way I have found to introduce new spices is gradually, by adding a little here and there to foods that are already in their comfort zone, such as pasta sauce or stew.   You will be giving your family such a gift by opening them up to a whole other world of flavors and healthful foods.

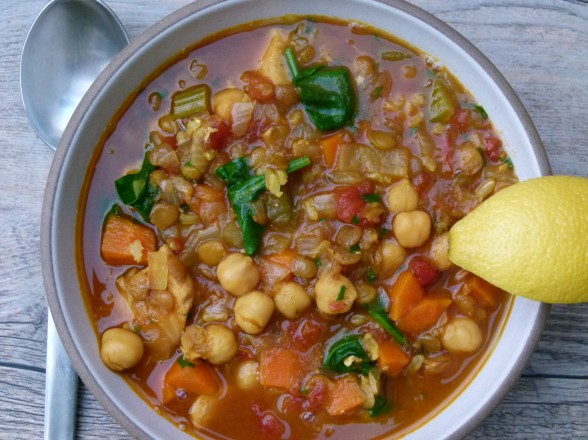
For the vegetarians and vegans out there, don’t pass this recipe by.  Just use water or vegetable stock for the chicken stock and double the chickpeas.  It’s already gluten-free, in case you were wondering.  This recipe makes enough for the 5 of us for dinner, but I double it quite often to get a lunch for the girls the next day.  Whatever doesn’t get eaten will freeze beautifully.  That wedge of lemon is recommended per person to squeeze on top, and before you think it’s something you can do without, think again!  The lemon really brightens the dish and adds the perfect complement to all the earthy flavors.

Harira (Moroccan stew with chicken, chickpeas, lentils and rice) | pamela salzman

harira (Moroccan stew with chicken, chickpeas, lentils and rice) | pamela salzman


bowl of Harira, ready to be eaten

Harira

Pamela
Harira is a Moroccan stew that is traditionally served during Ramadan to break the daily fast. In my house it is a nourishing one-pot meal that is perfect for a chilly winter evening.
5 from 3 votes
Prep Time 15 minutes
Cook Time 1 hour 30 minutes
Total Time 1 hour 45 minutes
Course Appetizer, Main Course
Cuisine Moroccan
Servings 5 -6

Ingredients
  

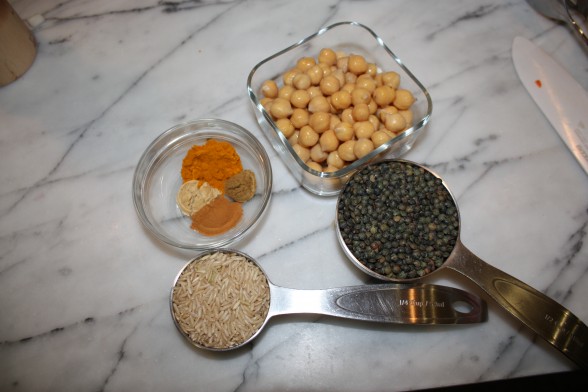
  • 2 Tablespoons unrefined coconut or olive oil I use coconut
  • 1 pound boneless, skinless chicken breast or thighs (or a combination of both), cut into 1-inch pieces
  • 1 onion chopped
  • 1 stalk celery chopped
  • 1 carrot chopped
  • 1 teaspoon ground turmeric
  • 1/2 teaspoon ground cinnamon
  • 1/2 teaspoon ground ginger
  • 1/4 teaspoon ground cumin
  • 4-5 grinds of black pepper
  • 1 pound fresh tomatoes peeled, seeded and chopped OR 1 14.5 ounce can of diced tomatoes with the juice (I used 1/2 box of Pomi since I'm not a fan of canned tomatoes)
  • 1 1/2 teaspoons sea salt
  • 1 cup cooked chickpeas
  • 3 cups chicken stock or vegetable stock preferably homemade
  • 1/2 cup dried lentils
  • 1/4 cup long-grain brown rice
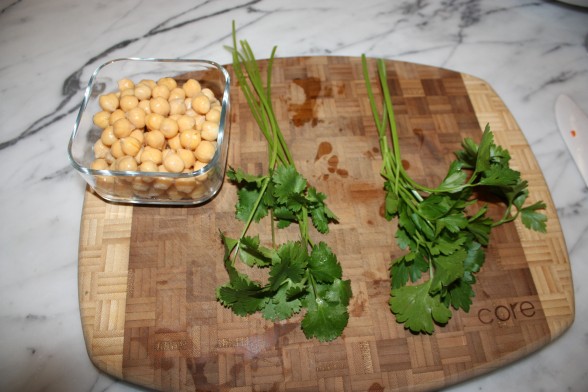
  • 1/4 cup chopped fresh cilantro leaves
  • 1/4 cup chopped fresh parsley
  • A couple handfuls of fresh baby spinach leaves optional, but leafy greens are your friend
  • 1 lemon cut into wedges

Instructions
 

  • Season the chicken with sea salt and pepper as early as possible.
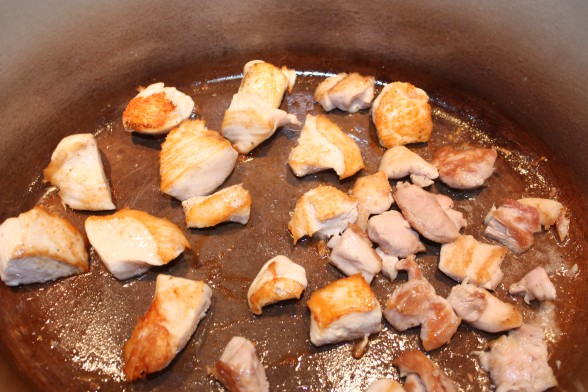
  • Heat the oil in a large saucepan over medium heat. Add the chicken pieces in 2 batches and brown on both sides. Remove the chicken from the pot and set aside.
  • Add the onion, celery and carrot and cook until softened. Add all the spices and cook for 1 minute, stirring constantly to prevent scorching. Add the tomatoes with their juice, chickpeas and 1 1/2 teaspoons of sea salt. Cook until fragrant.
  • Return the chicken to the pot with any accumulated juices. Add the stock, lentils and brown rice and bring to a boil. Reduce heat to low and simmer, covered for 50 minutes.
  • Add cilantro and parsley and cook uncovered for 5 minutes or until the chickpeas are heated through. Stir in the spinach leaves, if using. Ladle into individual bowls and serve with a wedge of lemon.
Tried this recipe?Let us know how it was!