Pumpkin pie


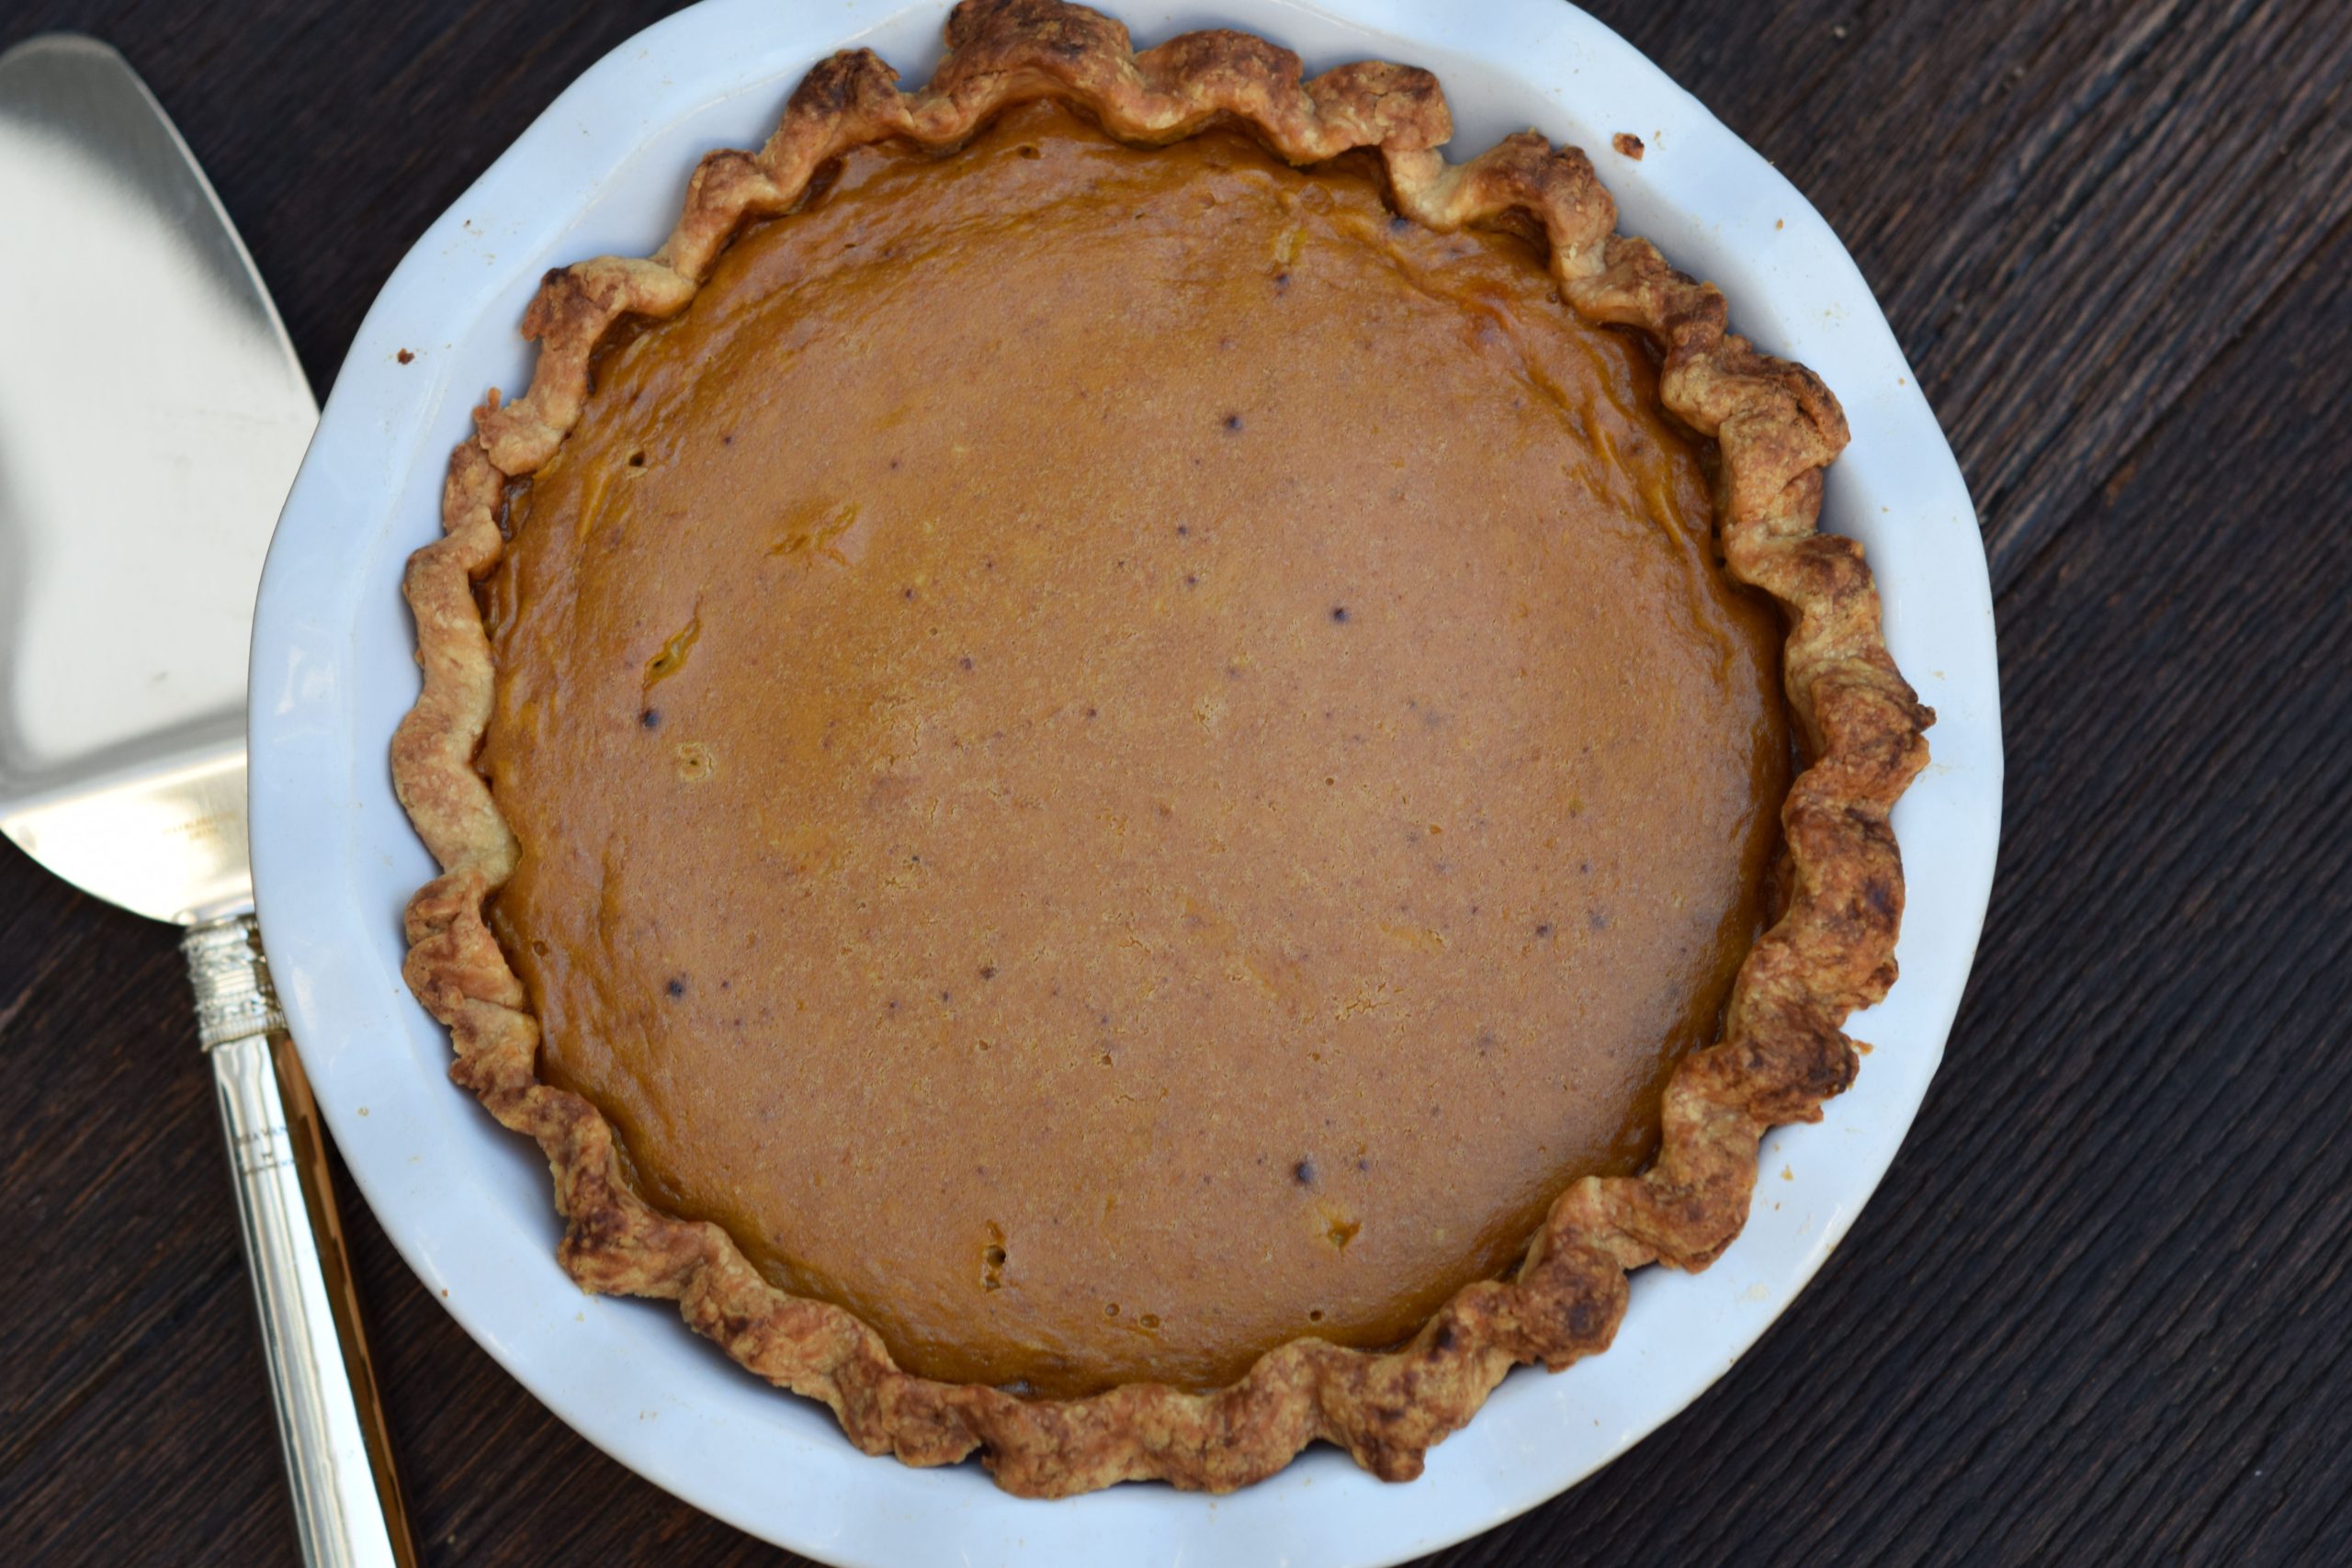
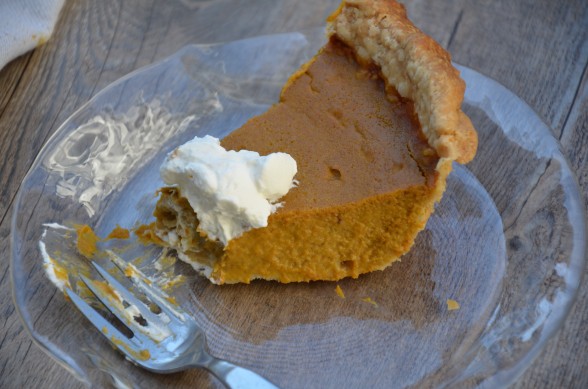
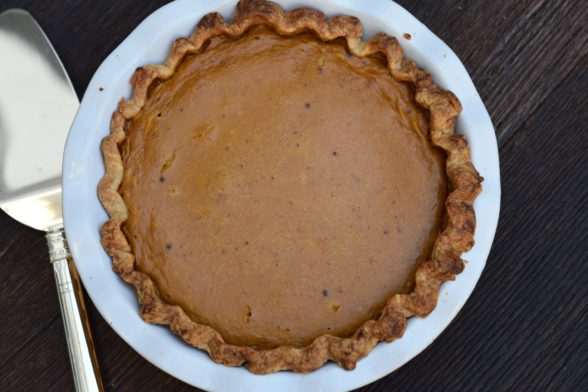
There are very few recipes that debuted on my first Thanksgiving menu 16 years ago that are still going strong today.  Roast turkey, cranberry sauce and mashed potatoes are staples year after year, as is a traditional pumpkin pie.  Despite all my rantings about how destructive sugar is to your health,  I honestly can’t imagine Thanksgiving without pumpkin pie.  I wouldn’t even care if no one liked it, I would still make two of them.  I remember the first pumpkin pie I ever made when I was in high school.  I followed the recipe on the can of Libby’s pumpkin puree and poured it into a store-bought pie crust.  Heaven.


Since then I have adjusted the recipe to be much more wholesome, and dare I say, much more delicious.  I traded in store-bought piecrust for homemade, canned pumpkin (bye-bye BPA) for freshly roasted (hello yummy rich pumpkin flavor), refined sugar for maple syrup (and much less of it), and canned evaporated milk for heavy cream.  Sure, heavy cream is rich in saturated fat, but I would rather eat a couple of spoonfuls of a high quality organic cream than canned milk.  Would you ever drink canned milk or feed it to your kids?  I didn’t think so.  I use organic raw cream when I can get it, or I buy a nonhomogenized, but pasteurized organic cream from Straus Family Creamery.  I have made a dairy-free version of this pie using coconut milk and it’s just as delicious (it does not taste like coconut, either.)  Of course there’s still lots of butter in the crust.  Last year, I made one pie with a white flour-based crust and another with a whole wheat pastry flour-based crust.  Only my sister-in-law and I liked the whole wheat one.  As my mother-in-law says, “You two like anything that you know is good for you.”  Partially true.  This year I will go back to all white flour pie crusts and the wholesomeness comes to an end right there.

Speaking of which, I am quite conscientious about consuming very little sugar during the year, but come Thanksgiving I feel like I have earned a piece of pie (or two) and I don’t feel bad about enjoying it.  The problem comes the next day when I’m looking for that sugar fix again at 4:00 in the afternoon.  And the next day.  And the day after that.  Guess what?  I’m not alone.  Thanksgiving starts not only the beginning of the holiday season, but a time when lots of people pack on a few extra pounds from overindulging too often.  I love celebrating just as much as the next person, but I definitely don’t love trying to lose weight (it’s not as easy as it used to be!)  I look forward to Thanksgiving dinner and dessert, especially after I’ve worked so hard to make it special and delicious, but this year I’m going to be a little more mindful the next day.  At least until Christmas.


Pumpkin Pie

Pamela

Ingredients
  

  • Pie Crust:
  • 1 ¼ cups unbleached all-purpose white flour or spelt flour
  • ½ teaspoon fine sea salt
  • ½ cup 1stick cold unsalted butter, cut into 8 pieces
  • 2-4 Tablespoons ice water
  • Filling:
  • ½ teaspoon fine sea salt
  • 1 teaspoon ground cinnamon
  • ½ teaspoon ground ginger
  • ¼ teaspoon ground cloves
  • pinch of ground nutmeg
  • 1 cup heavy cream or coconut milk not light
  • 1 3/4 cups fresh or canned pumpkin puree 1 15-ounce can
  • 3 large eggs
  • 6 Tablespoons pure maple syrup or brown sugar

Instructions
 

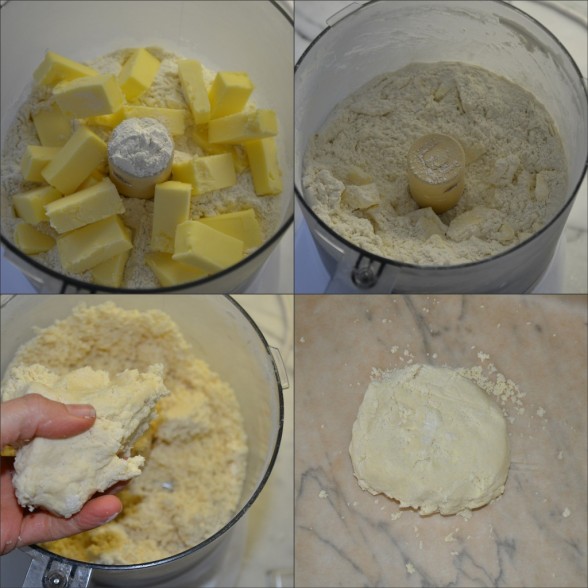
  • Make the crust: Place the flour and salt in the bowl of a food processor fitted with the metal blade. Add the butter and pulse 10 times.
  • Turn the food processor on and slowly pour in 2 Tablespoons ice water. Stop the machine and carefully (watch the blade!) grab a small handful of dough and squeeze it in your hand. If it holds together well, you’re done. If it’s crumbly, add another tablespoon of ice water and blend. The goal is that when you squeeze the mixture in your hand that it forms a moist, but not sticky ball of dough. Transfer the dough to a piece of parchment paper or plastic wrap and shape into a disc. Wrap well and refrigerate for at least 30 minutes.
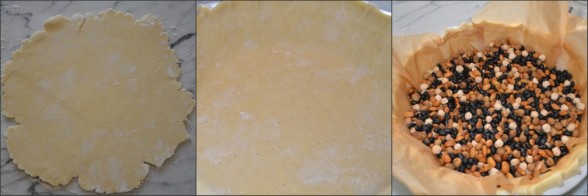
  • Preheat the oven to 375 degrees. On a lightly floured work surface, flour a rolling pin and roll dough into a 12-inch round. While you’re rolling out the pastry, you should always be able to move it easily around the work surface without sticking. Add additional dustings of flour as needed. Fit the circle into a 9-inch pie plate and crimp edges. Refrigerate if it feels too soft.
  • Prick the bottom of the crust all over with a fork. Line the crust with a piece of parchment (like the one the dough was wrapped in), and fill it with pie weights or dried beans (the ones in the photo I've had since college!). Bake until lightly golden around the edges, about 20 minutes. Remove parchment and weights. Return crust to the oven and bake for another 5 minutes until light golden all over. Cool completely on a wire rack (this can take up to an hour so you may want to turn the oven off.)
  • Preheat the oven again to 375 degrees. In a small bowl, whisk together the salt and spices (if you are using brown sugar instead of syrup, add the sugar now.)
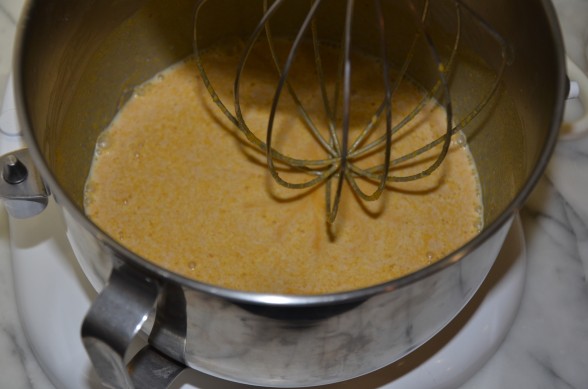
  • In a large bowl or with a mixer, whisk together cream, pumpkin puree, eggs and maple syrup. Add spice mixture and combine thoroughly.
  • Pour mixture into the cooled crust and bake until filling is set (it will jiggle like gelatin, but it will be a little soft in the center), about 50-60 minutes. The filling will firm up as it cools. This can be made the day before. I like to keep it refrigerated.
Tried this recipe?Let us know how it was!

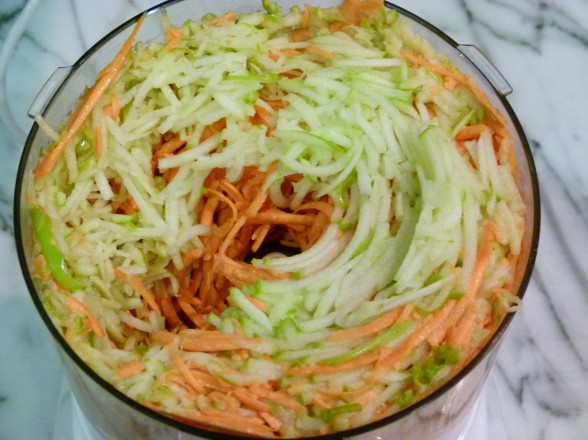
Shredded sweet potatoes and apple

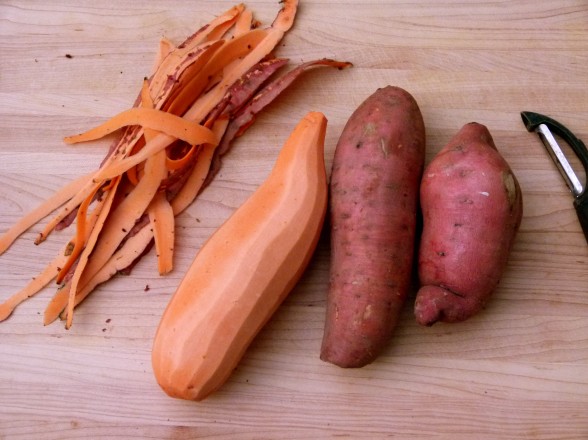
Are you confused about the difference between a sweet potato and a yam?  Yep, so is my local supermarket.  In all fairness, I had to do a little research to get to the bottom of it, because I wasn’t sure myself.  The names “sweet potato,” which is not at all related to a regular potato, and “yam” are used interchangeably in the US, but they both generally refer to sweet potatoes, no matter the color.  Even the dark ones called yams are technically sweet potatoes.  True yams are native to Africa and are a staple in tropical and subtropical countries.  I have never actually seen one in our country, but here’s what you might find in your market if you live in the States:

  • Brown or red-skinned (often called called yams) —  these have a soft orange flesh and sweet flavor.  The varieties you will likely see are Garnet, Jewel, and Christmas Beauregard.  Garnets are my favorites and what I used in these photos.
  • Beige-skinned — have a pale yellow flesh.  Varieties include Nancy Hall and Juicy Yellow.
  • Purple skinned — I see these at my farmer’s market.  They have a white flesh and the farmer calls them Japanese sweet potatoes.  I don’t find the flesh to be quite as moist as the others mentioned above.
No matter what you call them, sweet potatoes are delicious and completely underrated.  It baffles me that so many people look to sweet potatoes only at Thanksgiving.  We eat them much more often in our house than regular potatoes and they are just as versatile.  They are also way more nutritious — you probably don’t need me to tell you that.  When you look at that deep orange flesh, you immediately think Beta-carotene, right?  They are loaded with so many vitamins, minerals and fiber, but it’s the antioxidant profile that sweet potatoes are so rich in.
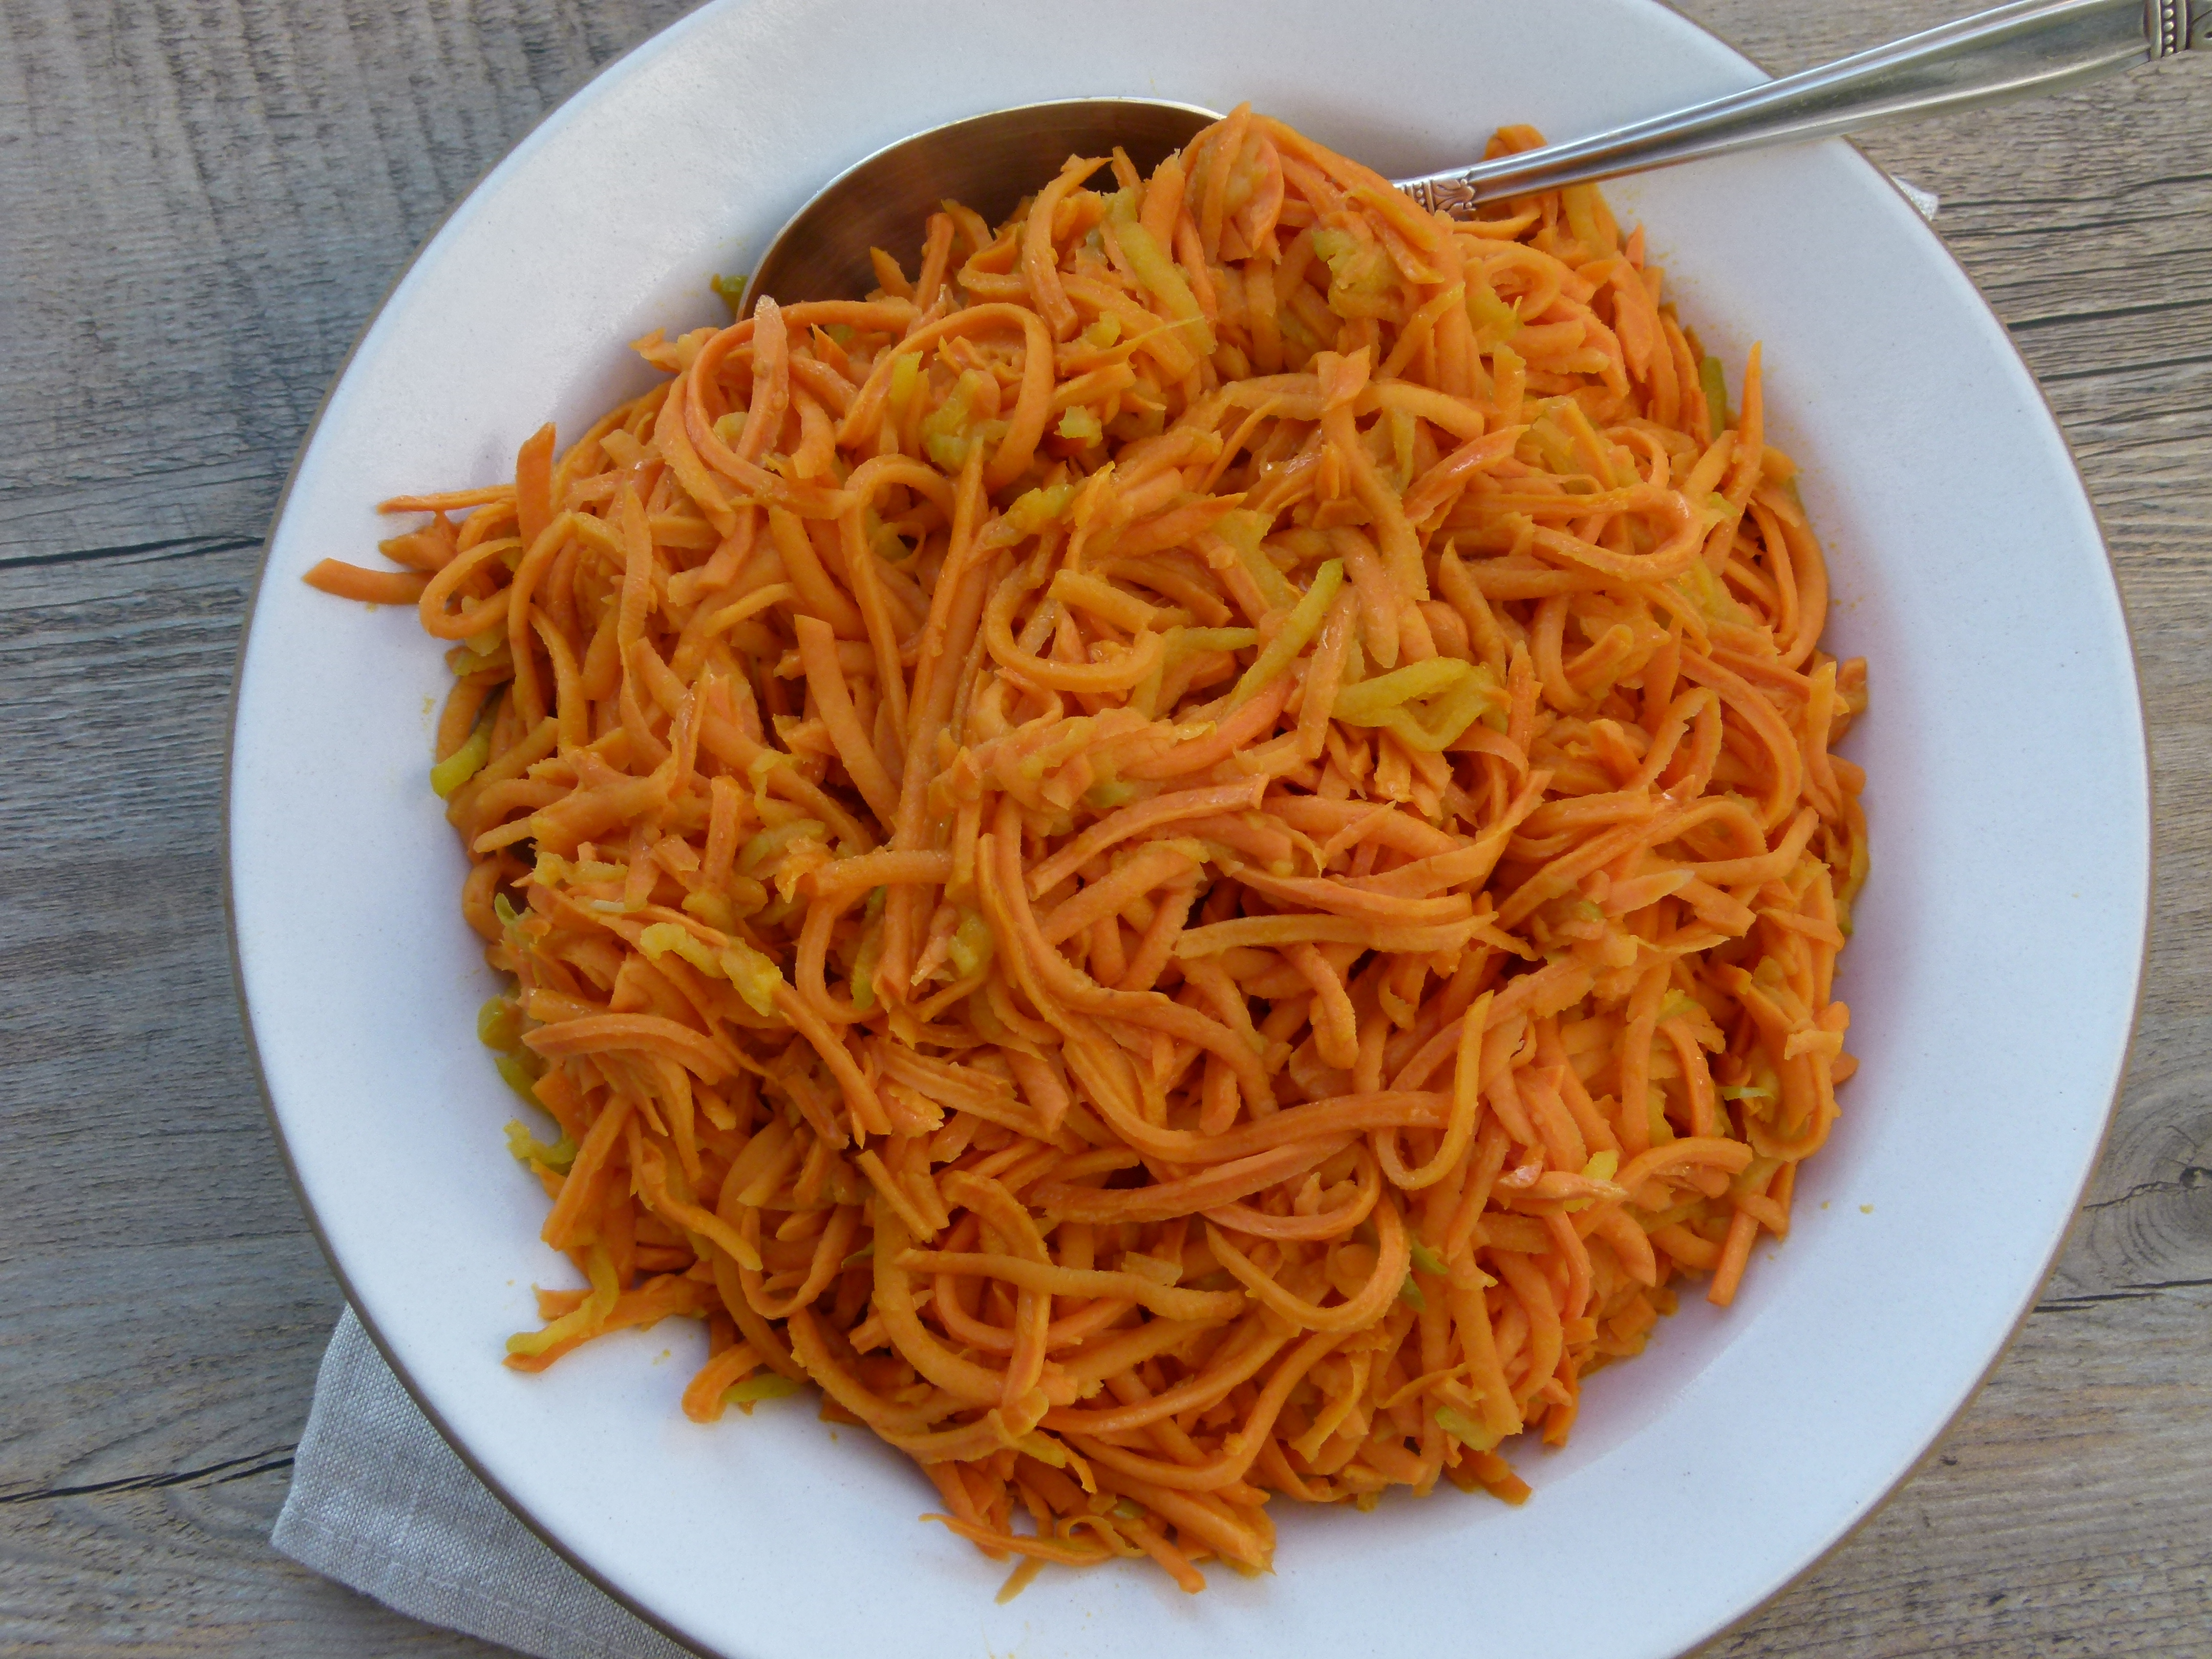
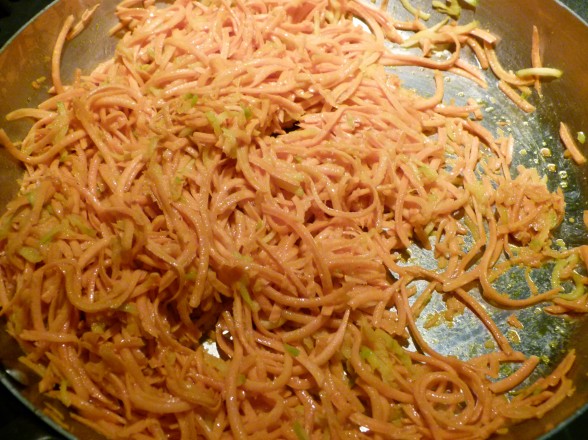
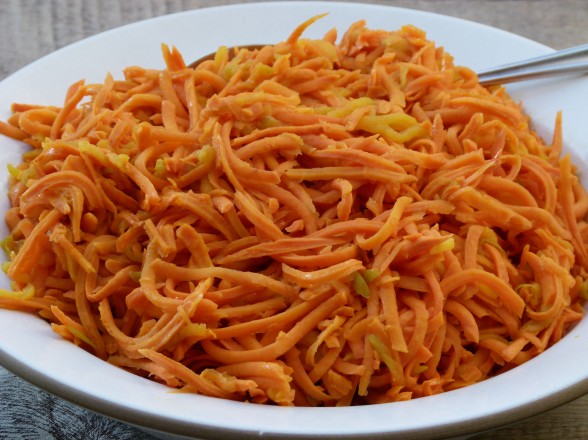
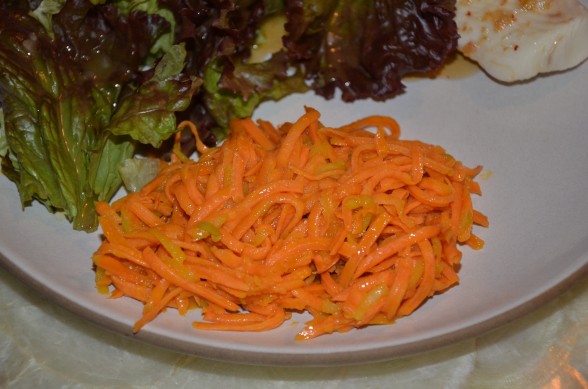
I could eat a plain roasted sweet potato any day of the week for breakfast, lunch or dinner and I make them that way as an easy side dish quite often.  The down side of roasting whole sweet potatoes is that they take a good 50 minutes to cook.  We don’t always have that kind of time.  Here comes “Plan B Sweet Potatoes.”  Is this starting to sound like my “Plan B Salmon” from last week?  I actually shouldn’t call this Plan B, because this is my kids’ favorite sweet potato recipe and the ONLY way my husband enjoys them (Mr. Picky had to come from somewhere.)  The sweet potatoes take on the flavor of apple without getting too sweet.  I cook them long enough that they’re just tender with a little bite to them.  Leaving the peel on would give you more fiber and nutrients, but my kids prefer the skin off so they don’t get random bites of peel.  Last night we had this dish with some steamed whitefish and a green salad, but I think it’s even better suited to chicken, turkey or pork.  Have you located the shredding disc of your food processor?  I live for that thing.  If you have it, this will be on the dinner table in 15 minutes tops.
Speaking of turkey, I’m starting the Thanksgiving countdown this Thursday, which is four weeks from the big day.  We have lots to do to start preparing and getting organized, so tune in and I’ll get you through this with no stress.  It might even be fun!

Shredded Sweet Potatoes and Apples

Pamela
Servings 6

Ingredients
  

  • 3 medium sweet potatoes such as Garnet or Jewel, peeled (about 2 pounds)
  • 1 apple cut into fourths and cored (I love using a tart variety, such as Granny Smith)
  • 3 tablespoons unsalted butter unrefined coconut oil or unrefined extra virgin olive oil
  • Sea salt and ground black pepper
  • ½ cup water or apple juice
  • 1-2 Tablespoons 100% pure maple syrup use less if you use juice

Instructions
 

  • Shred the sweet potatoes and apple in a food processor fitted with the grater attachment.
  • Melt the butter in a large skillet (if you don’t have a large one, do this in two batches. I used a 12-inch.) Add the shredded sweet potatoes and apple and season with sea salt (I use about ½ teaspoon) and black pepper to taste. Saute, stirring occasionally so that the mixture doesn’t stick, about 5 minutes.
  • Once the sweet potatoes don’t look so raw anymore, stir in the water/juice and maple syrup and bring to a simmer. Cook another 5 minutes or until sweet potatoes achieve desired tenderness. Taste for seasoning.
Tried this recipe?Let us know how it was!


Vegan Oatmeal Chocolate Chip Cookies

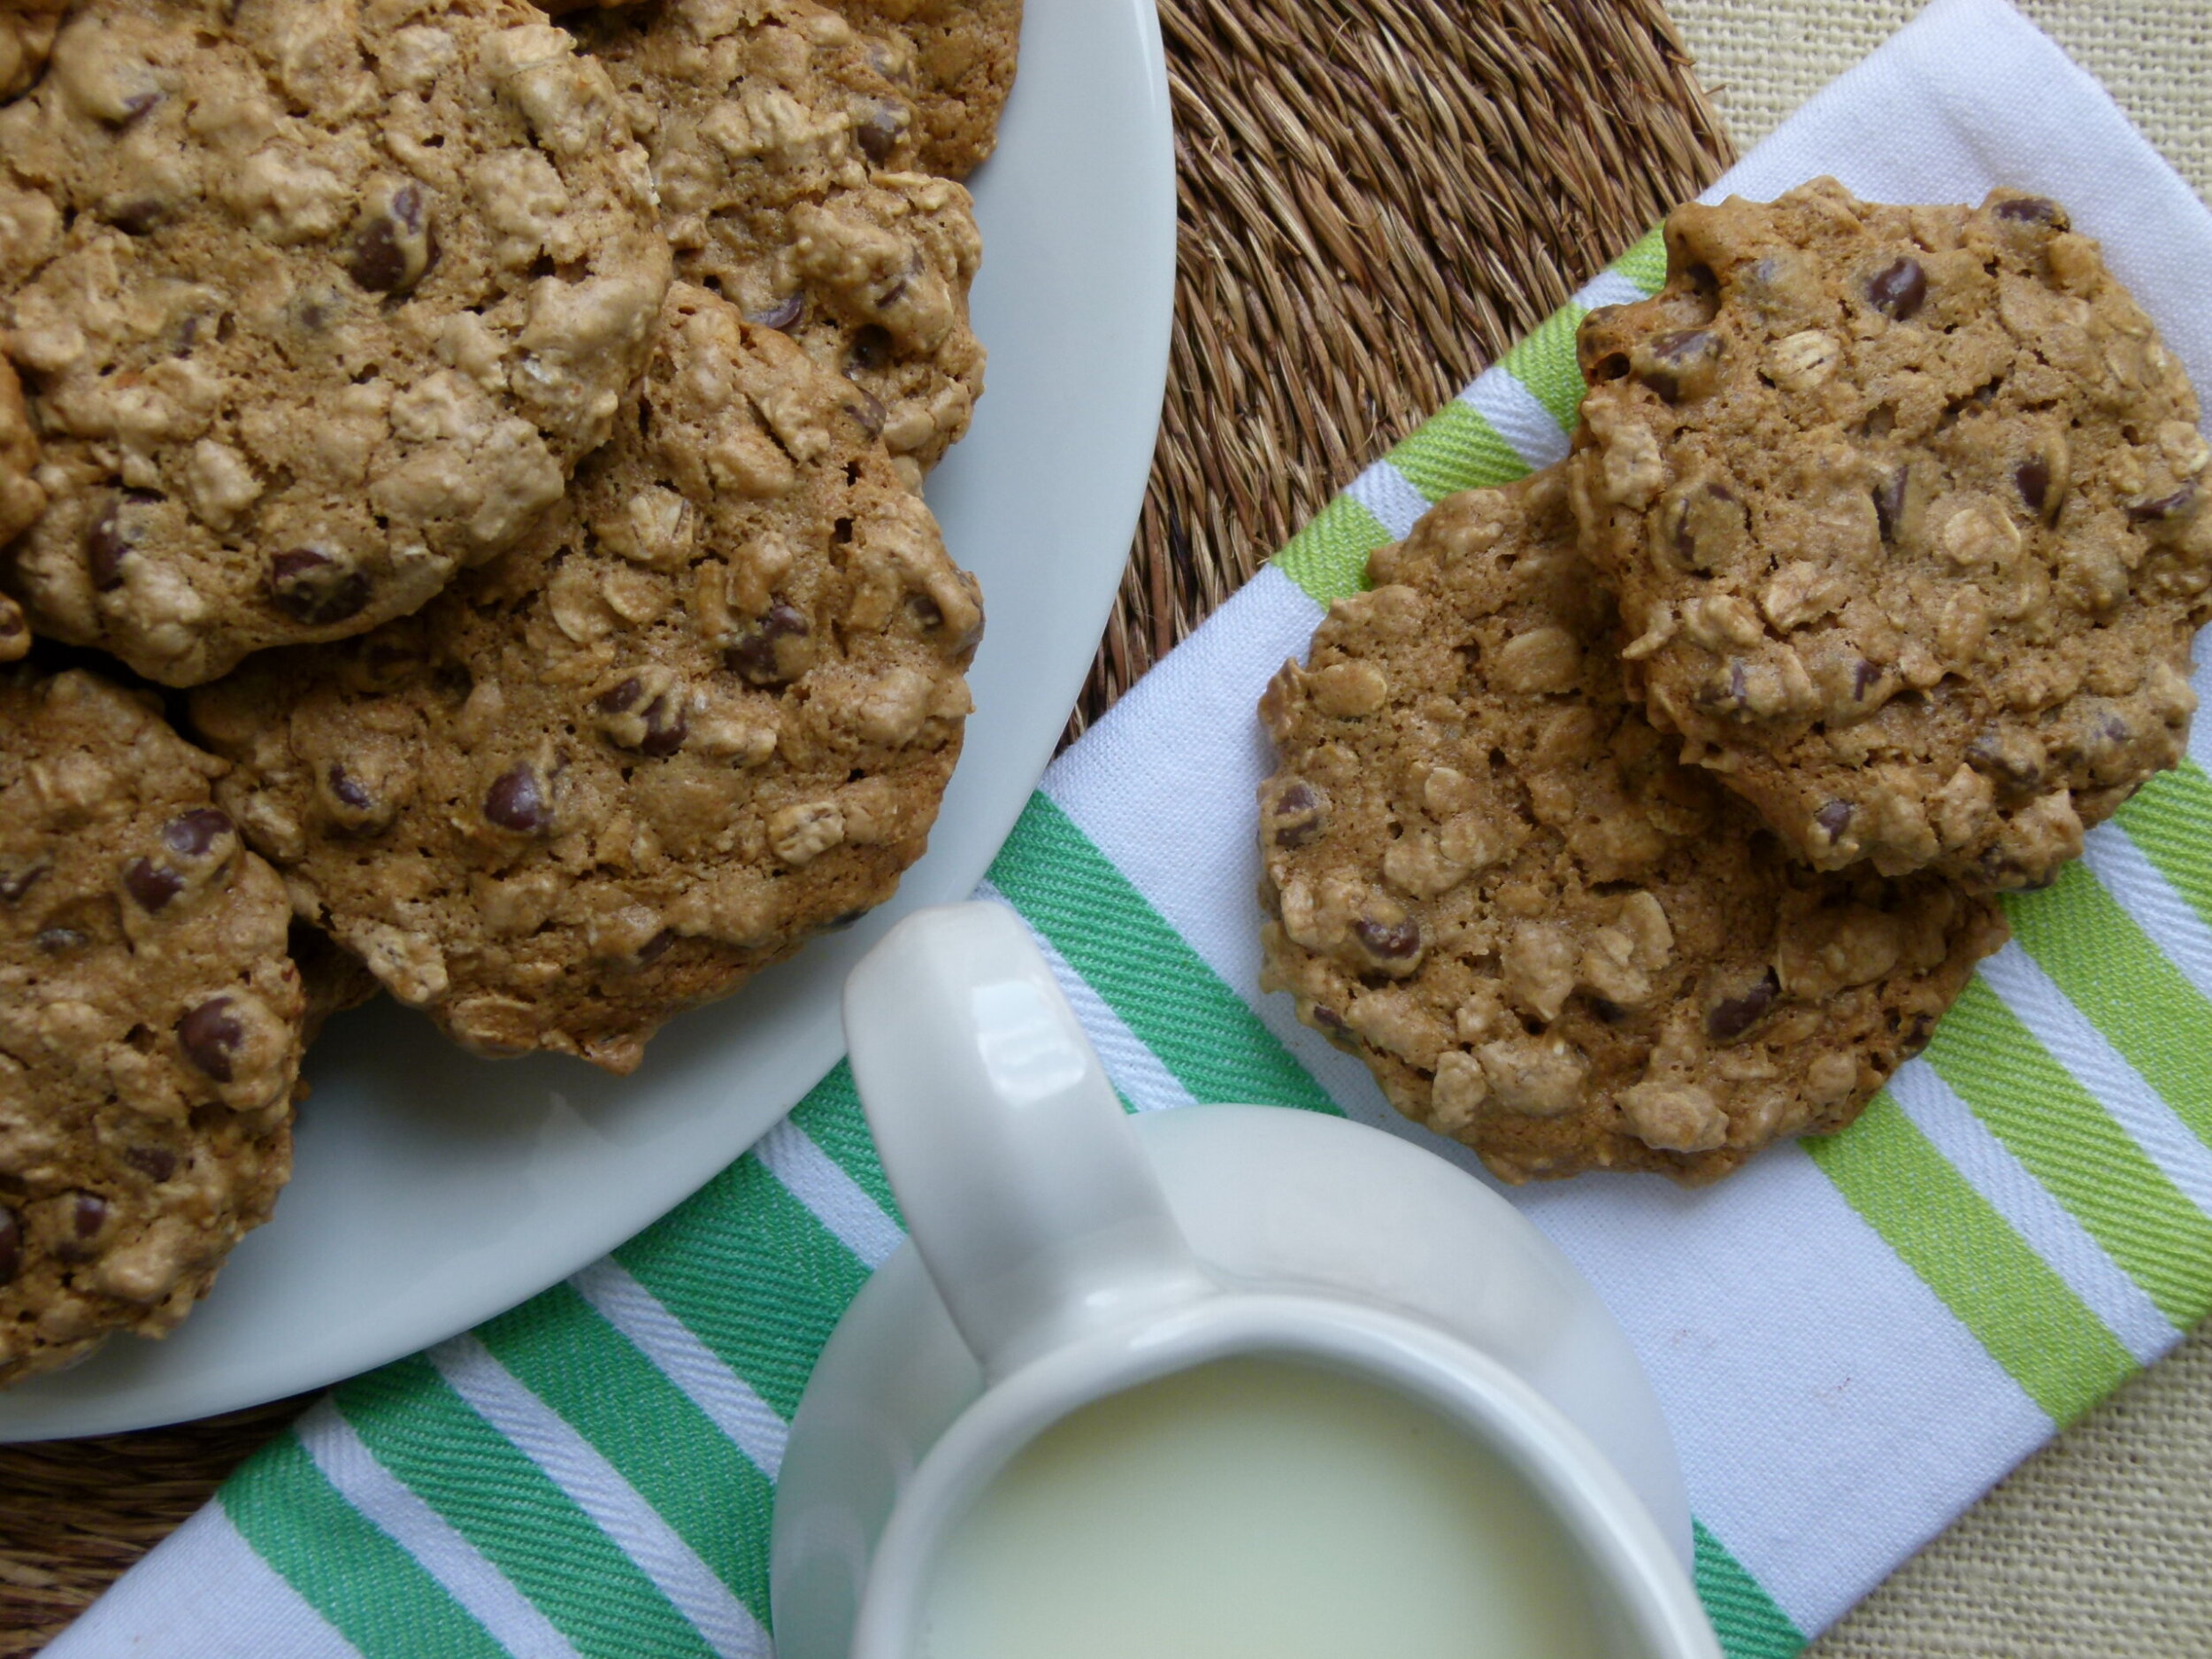
vegan oatmeal chocolate chip cookies on a plate with milk

A delicious cookie that’s both vegan and packed with wholesome ingredients? Yep! These vegan oatmeal chocolate chip cookies combine the heartiness of oats with rich, melty chocolate for the perfect guilt-free treat. Whether you’re vegan or just love a good cookie, this recipe become a favorite in no time!

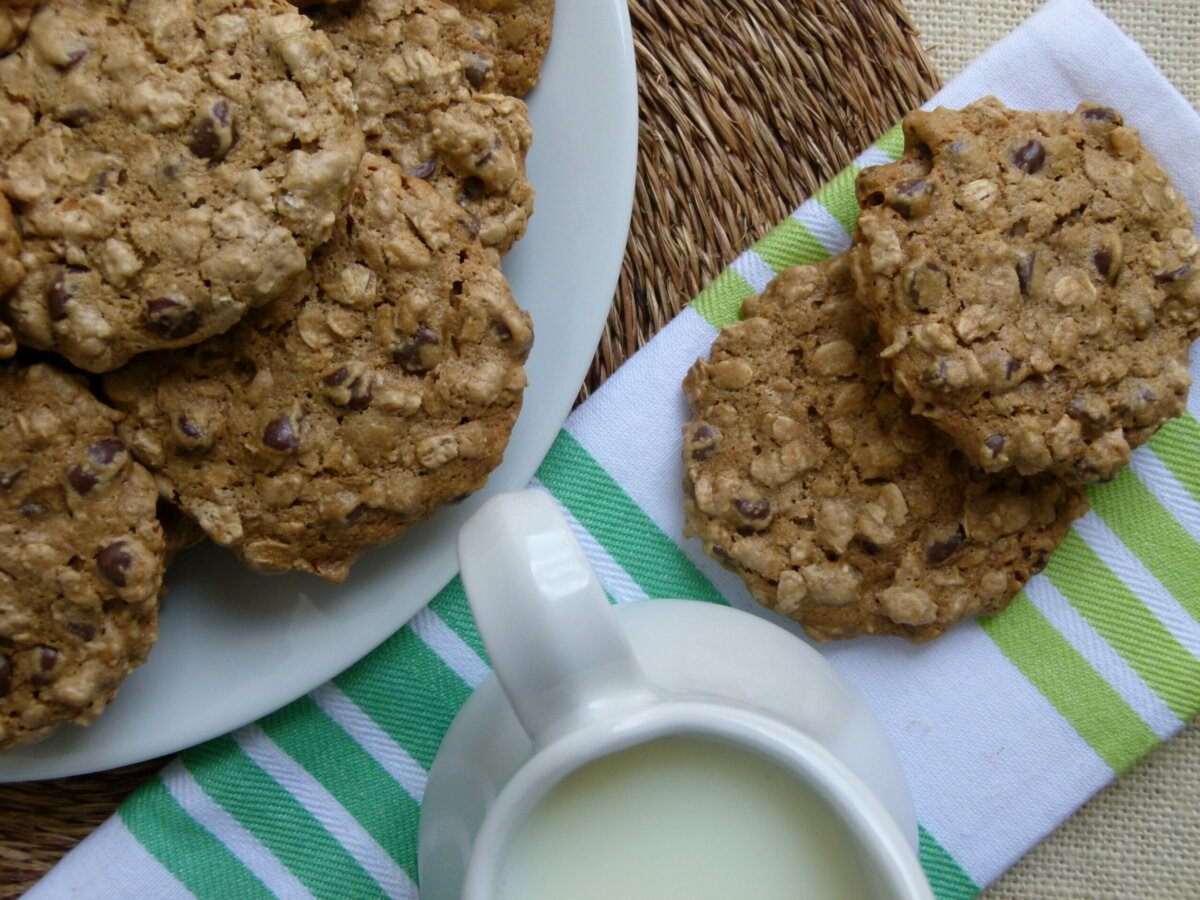
vegan oatmeal chocolate chip cookies on a plate with milk

Why You'll Love This Vegan Oatmeal Cookies

I love being able to share recipes that are delicious, easy, and just so happen to be good for you recipes. Take these vegan oatmeal chocolate chip cookies, for example. Using a base of walnuts, maple syrup, and a touch of coconut oil in place of butter and regular eggs, these are just darn tasty and not-so-shabby, nutritionally speaking.


Like many cookie recipes, you can make the dough several days in advance and keep it covered in the refrigerator. Take it out when you’re ready to bake and scoop it onto your cookie sheets. 


They are full of fiber and contain no refined sugar. No animal products either, if that’s important to you. You can even make them gluten-free by using gluten-free oats. Serve them with a glass of your favorite non-dairy milk and enjoy every last bite!

Ingredient Notes

These really are the best vegan oatmeal chocolate chip cookies. With simple ingredients and 15 minutes of baking time, these vegan cookies have the perfect texture and are full of ooey gooey goodness. 


  • oat flour: You can easily make your own oat flour. See step 2 in the recipe card.
  • baking soda
  • fine grain sea salt
  • ground cinnamon
  • raw walnuts or walnut meal: You can also use raw cashews/cashew meal or raw pecans/pecan meal. 
  • melted coconut oil or olive oil or avocado oil
  • 100% pure maple syrup
  • vanilla extract
  • rolled oats: To make this recipe gluten-free, make sure to use gluten-free rolled oats. For best results, use old-fashioned rolled oats, though quick oats will work in a pinch. 
  • vegan chocolate chips


See the recipe card below for exact ingredient amounts.

Step-by-Step Instructions

Step 1: Preheat oven to 350 degrees. Line 2 baking sheets with parchment paper.


Step 2: *If you need to make oat flour, place 1 ¾ cups rolled oats in a food processor and process until powdery.


Step 3: Place the dry ingredients: oat flour, baking soda, salt, and cinnamon in a large mixing bowl and whisk together.

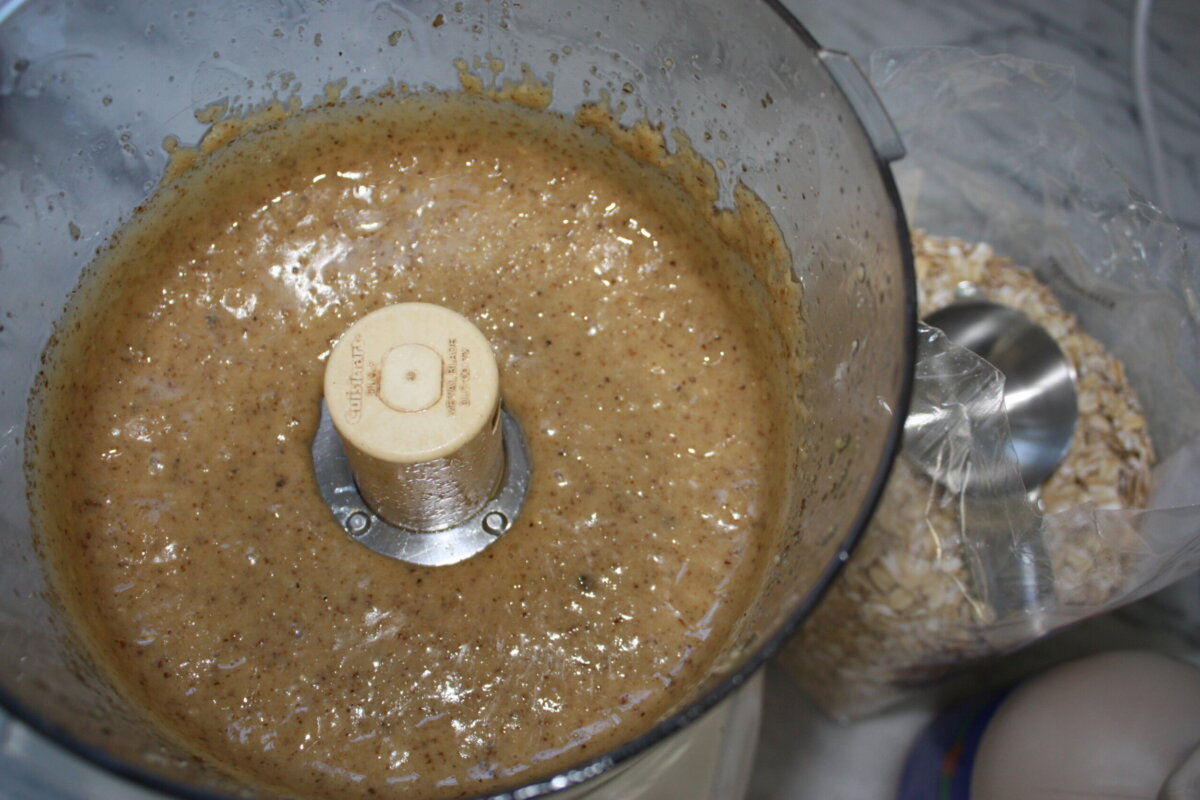
recipe ingredients in a food processor

Step 4: Place walnuts in a food processor and blend into a fine meal. Add oil, maple syrup, and vanilla and process until the mixture has the consistency of natural nut butter (this serves as our egg replacer!)


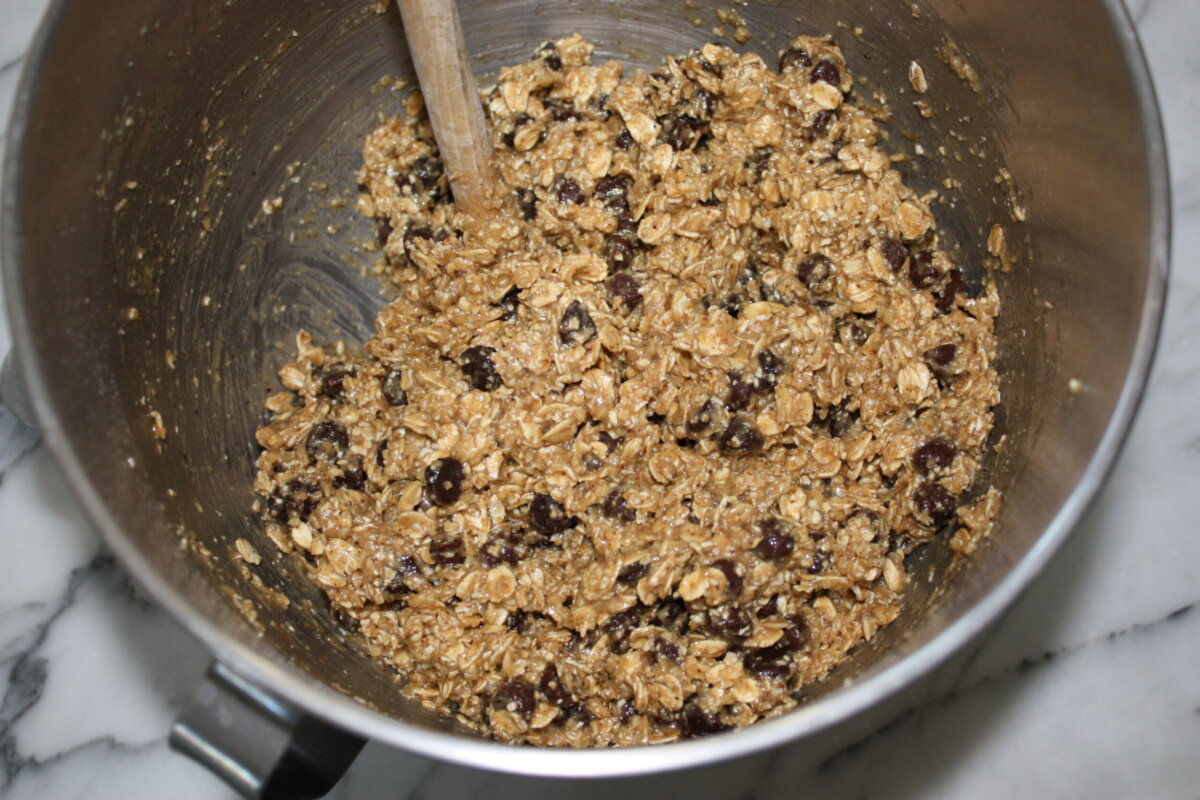
cookie dough in a mixing bowl

Step 5: Stir walnut mixture into flour mixture. Fold in 2 cups of rolled oats and chocolate chips.


Step 6: Use a 1 ¾ -inch ice cream scooper (or cookie scoop) to form dough into balls, and place the cookie dough balls on the parchment lined baking sheet. You can fit 12 on a sheet. Flatten cookies slightly with a damp hand. Bake for 13-15 minutes or until cookies begin to turn golden brown and the tops look dry.


Step 7: Cool for a few minutes and then transfer to a wire rack to cool completely.

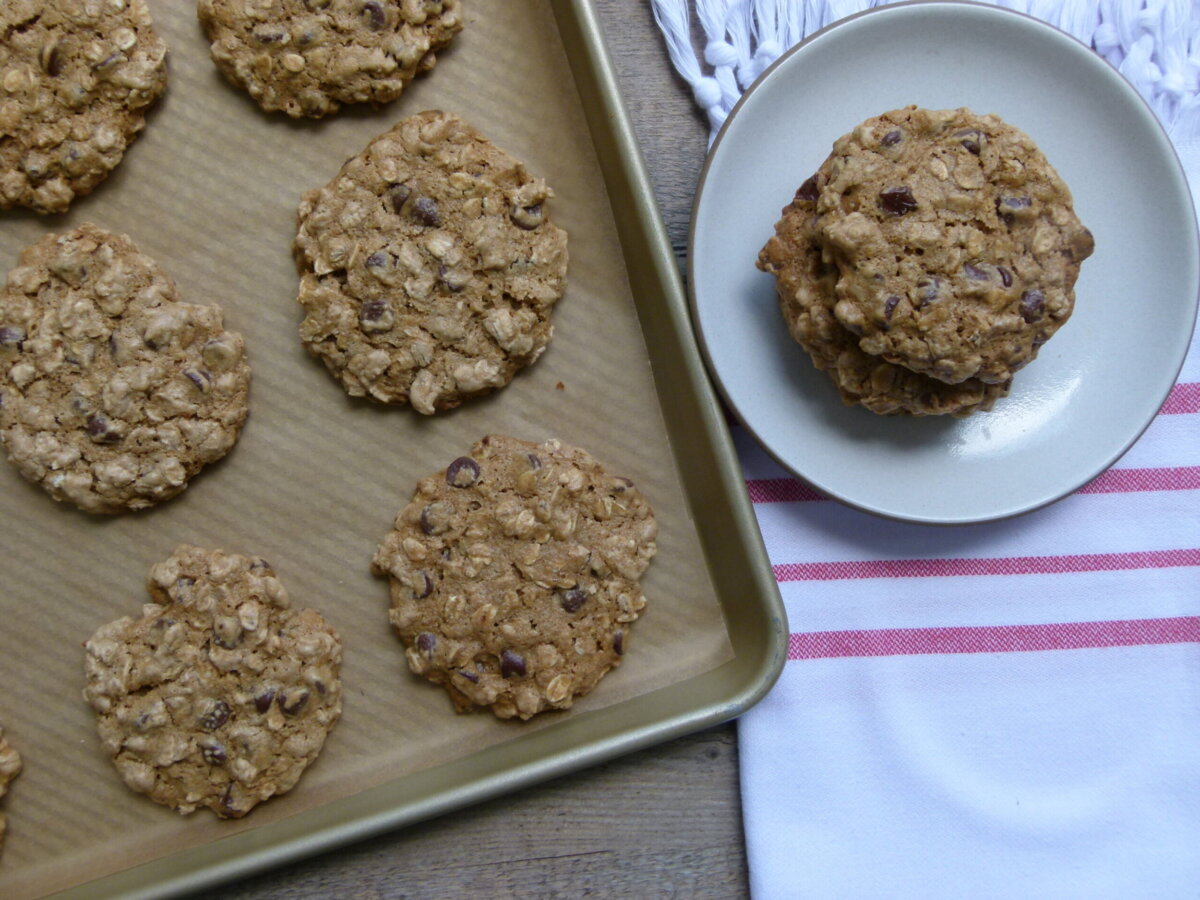
vegan oatmeal chocolate chip cookies on a baking sheet

Recipe Tips & Substitutions

  • Mix-ins: Feel free to add other mix-ins such as shredded coconut, chopped nuts, or additional chocolate chunks or chips. 
  • Oil: I prefer oil in this recipe, but you can use vegan butter if that’s what you have on hand.
  • Make your own Oat Flour: If you need to make oat flour, place 1 ¾ cups of rolled oats in a food processor and process until powdery.

Storage Tips

Store baked leftover cookies in an airtight container for up to a week at room temperature. For longer storage, let the cookies cool completely on the cooling rack. Then, store the cooled and baked cookies in a freezer-safe container or freezer bag for up to 3 months. 


If you have leftover dough, store it in the refrigerator, covered, for up to 3-4 days. 


To freeze the cookies unbaked: Arrange them in a single layer on the baking sheet and place the pan in the freezer. Once the cookies are frozen solid, transfer them to an airtight container and keep them frozen until you’re ready to bake. Then just place them on a prepared baking sheet directly from the freezer and add another minute or two to the baking time.

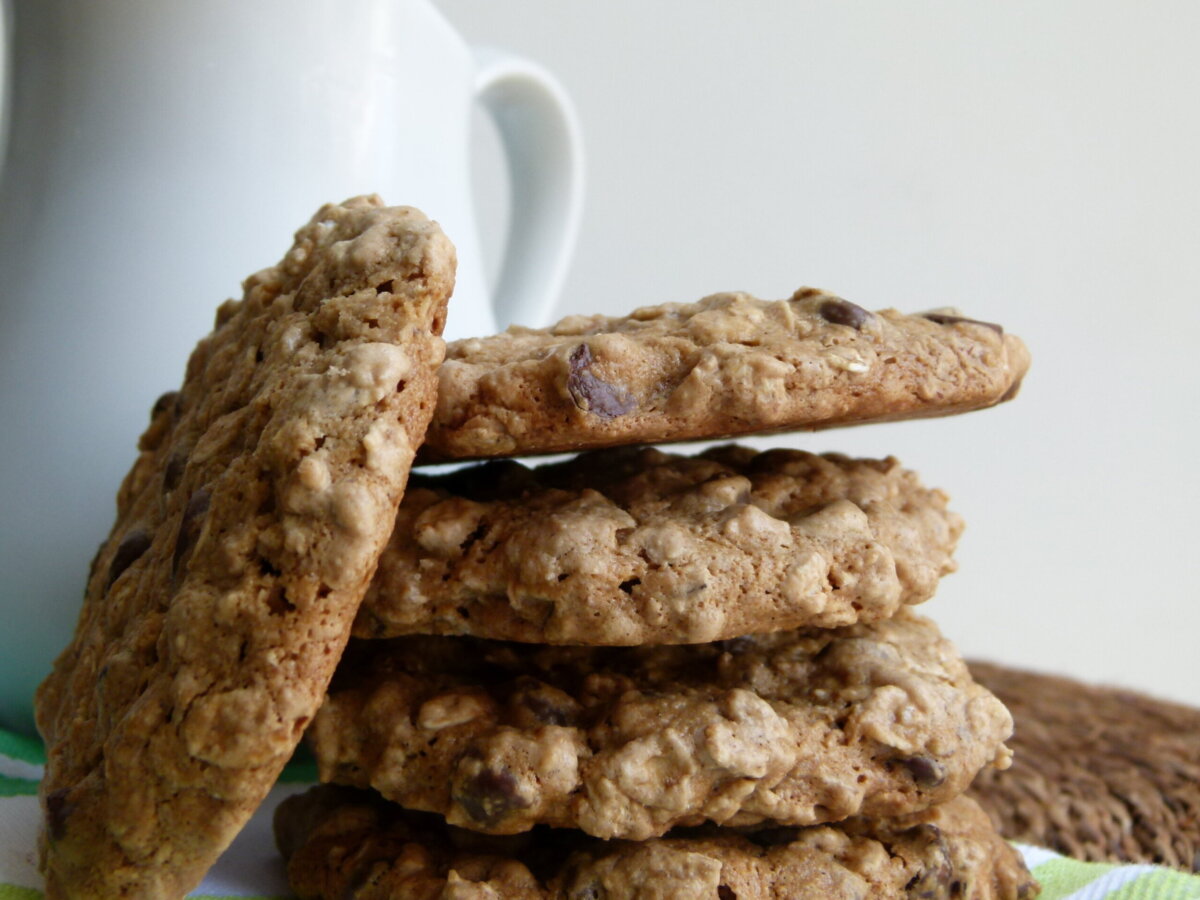
a stack of cookies next to a white mug

More Vegan Cookie Recipes

If you give this applesauce coffee cake recipe a try, snap a pic and tag @pamelasalzman so I can see your beautiful creations. I also really appreciate readers taking the time to leave a star rating and review! I have started a weekly Monday newsletter with tips, musings, new recipes not published here, fun new finds, and more. Subscribe for free here.

For more delicious recipes and to learn how to be a better cook, check out my monthly online cooking classes. I have been teaching people for 15 years how to cook healthy food that their families love!  Join me!

Vegan Oatmeal Chocolate Chip Cookies

Pamela
A delicious cookie that's both vegan and packed with wholesome ingredients? Yep! These vegan oatmeal chocolate chip cookies combine the heartiness of oats with rich, melty chocolate for the perfect guilt-free treat. Whether you're vegan or just love a good cookie, this recipe become a favorite in no time!
4.82 from 16 votes
Prep Time 10 minutes
Cook Time 15 minutes
Total Time 25 minutes

Ingredients
  

  • 1 ½ cups oat flour
  • 1 teaspoon baking soda
  • 1 teaspoon fine grain sea salt
  • ¼ teaspoon ground cinnamon
  • 2 cups raw walnuts or walnut meal or cashews/cashew meal or pecan/pecan meal
  • 3 Tablespoons melted coconut oil or olive oil or avocado oil
  • 1 cup 100% pure maple syrup
  • 2 teaspoons vanilla extract
  • 2 cups rolled oats
  • 12 ounces or 1 ½ cups chocolate chips

Instructions
 

  • Preheat oven to 350 degrees. Line 2 baking sheets with parchment paper.
  • *If you need to make oat flour, place 1 ¾ cups rolled oats in a food processor and process until powdery.
  • Place oat flour, baking soda, salt and cinnamon in a mixing bowl and whisk together.
  • Place walnuts in a food processor and blend into a fine meal. Add oil, maple syrup and vanilla and process until mixture has the consistency of natural nut butter.
  • Stir walnut mixture into flour mixture. Fold in 2 cups rolled oats and chocolate chips.
  • Use a 1 ¾ -inch ice cream scooper to form dough into balls, and place on baking sheets. You can fit 12 on a sheet. Flatten cookies slightly with a damp hand. Bake 13-15 minutes or until cookies begin to brown and tops look dry.
  • Cool a few minutes and then transfer to wire rack to cool completely.

Notes

  • Store baked leftover cookies in an airtight container for up to a week at room temperature. For longer storage, let the cookies cool completely on the cooling rack. Then, store the cooled and baked cookies in a freezer-safe container or freezer bag for up to 3 months.
  • If you have leftover dough, store it in the refrigerator, covered, for up to 3-4 days.
  • To freeze the cookies unbaked: Arrange them in a single layer on the baking sheet and place the pan in the freezer. Once the cookies are frozen solid, transfer them to an airtight container and keep them frozen until you're ready to bake. Then just place them on a prepared baking sheet directly from the freezer and add another minute or two to the baking time.
Tried this recipe?Let us know how it was!

This post may contain affiliate links