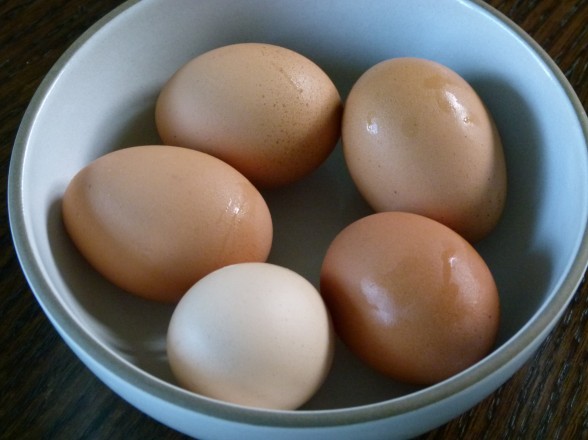
Hard-boiled eggs are a kitchen essential, whether you’re prepping for a holiday, looking for a protein-packed snack, or making an egg salad. With a few simple tips, you can make perfect hard-boiled eggs with bright yellow yolks and easy-peel eggs every time.
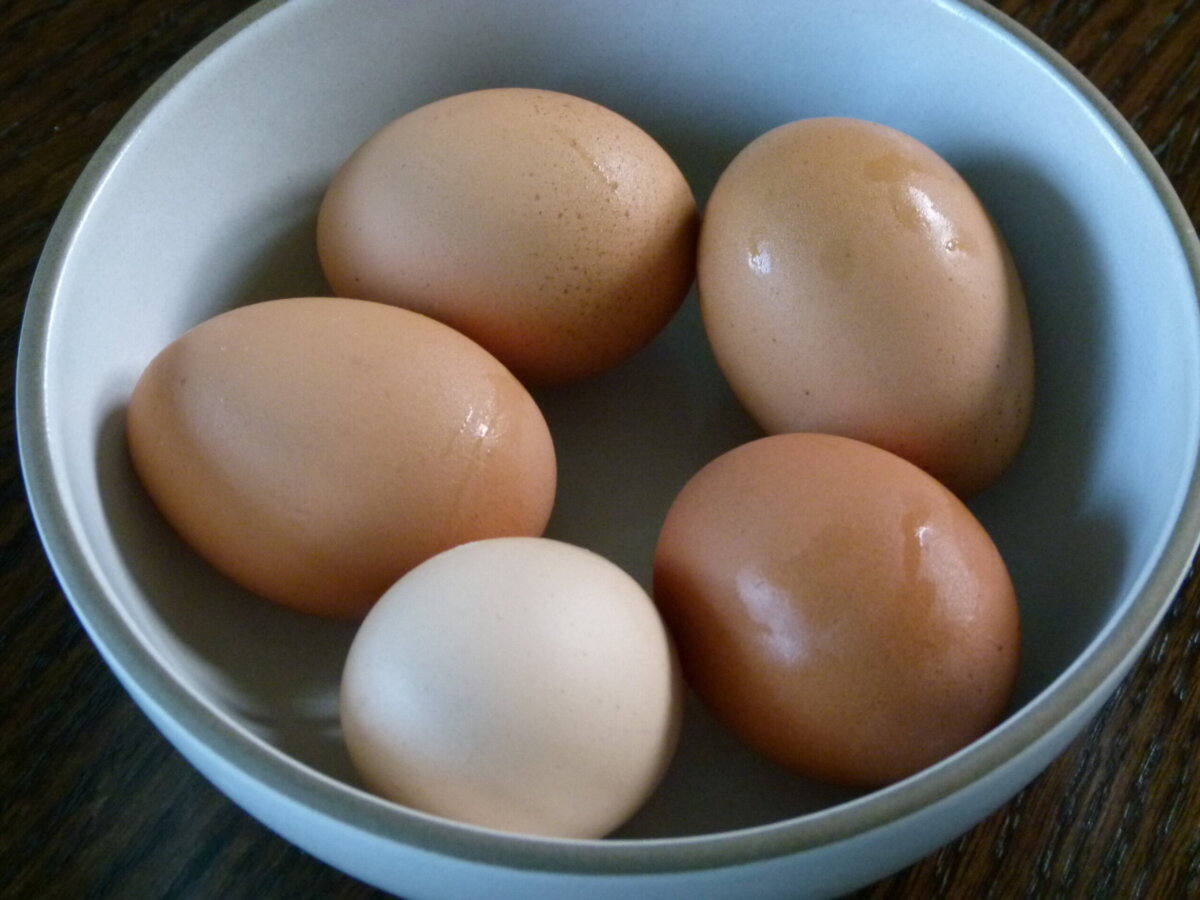
Why You’ll Love This Simple Recipe
Many of you might be preparing to boil eggs for Easter or Passover. Growing up, dyeing Easter eggs was a tradition in our house, though my sisters and I always wished for more than just 4 eggs each! We never wasted food, so 12 eggs was the right balance.
Eggs are an affordable, protein-rich food, and research now shows we don’t need to worry about the cholesterol in them. Most of the fat in eggs is unsaturated, and the yolk’s phospholipids even help reduce cholesterol absorption.
Making the perfect hard-boiled egg is so simple, yet it’s one of those kitchen skills that can elevate so many meals. With this method, you’ll have consistently cooked eggs every time, and peeling them will be a breeze. Plus, they add so much to a variety of dishes like this breakfast salad or this lobster cobb salad.
Give this a try and let me know how it goes—I promise, once you master it, you’ll never go back to guessing how long to boil eggs again!
Ingredient Notes
You don’t need any fancy equipment or special ingredients to make perfect eggs! This foolproof method is my favorite way to make them and has served me well for many years!
- Eggs (brown eggs or white eggs-as many as you’d like to cook)
- Cold water
- Ice (optional, for the ice bath)
Step-by-Step Instructions
Watch this “how to make perfect hard boiled eggs” video if you want to watch me make these in action.
1. Start with Cold Water
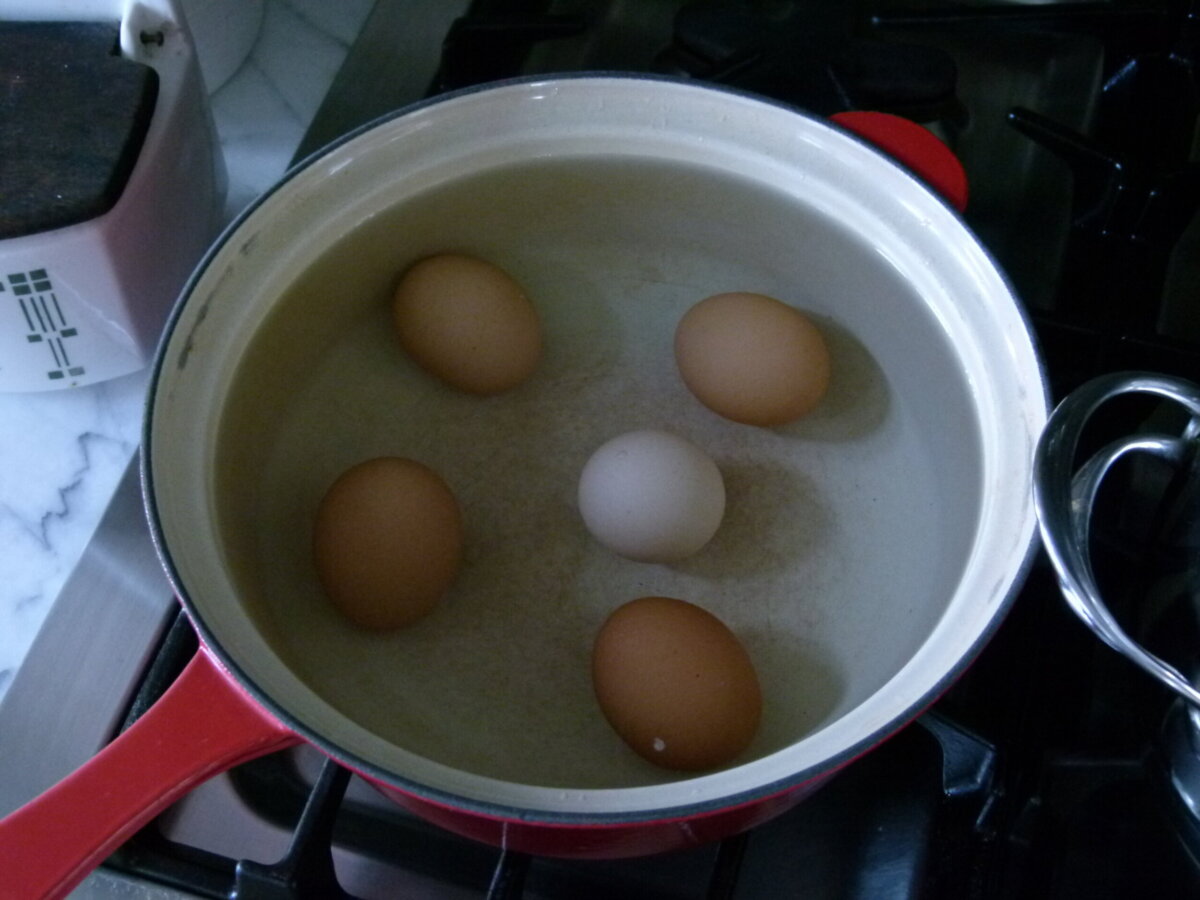
Place eggs in a saucepan or a large pot in a single layer. Pour enough cold water to cover the eggs by about 1 to 2 inches. Starting with cold water ensures the eggs heat gradually and prevents cracking.
2. Bring the Water to a Boil
Cover the pot and set it over high heat. Bring the water to a rolling boil. Be sure to keep an eye on it, as it can go from simmering to boiling quickly!
3. Turn Off the Heat and Let Sit
As soon as the water boils, turn off the heat but keep the pot covered. Let the eggs sit in the hot water for 10 minutes. This allows the eggs to gently cook without becoming overdone, ensuring tender whites and bright yellow yolks.
4. Transfer to Cold Water
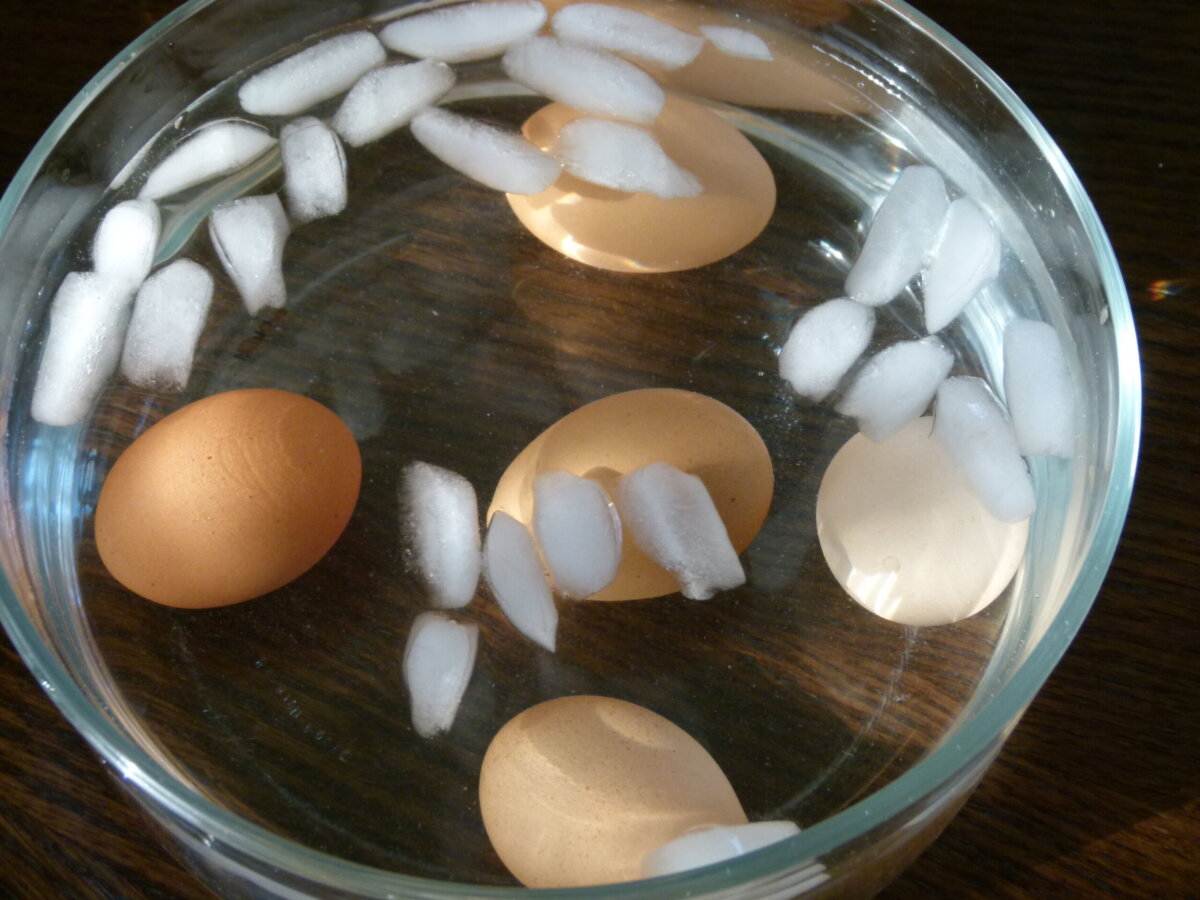
After 10 minutes, carefully remove the eggs from the boiling water with a slotted spoon and transfer them to an ice water bath (a large bowl of ice water) or rinse them under very cold running water for a couple of minutes. This step stops the cooking process and makes peeling easier.
5. Peel and Enjoy!
Once the eggs have cooled for a few minutes, peel them and enjoy! Whether you’re slicing them for potato salad or enjoying them with a sprinkle of salt and pepper, you will have perfect hard boiled eggs every time.
Recipe Tips
-
Use older eggs: Fresh eggs are harder to peel. For best results, buy eggs a few days before you plan to boil them for easier peeling. If this isn’t possible, add a half teaspoon of baking soda to a quart of water to make the cooking water more alkaline. Also, allow the eggs to firm up in the refrigerator before peeling.
-
Let the eggs chill: Consider leaving the eggs in the ice bath for at least 10-15 minutes. This helps with peeling and ensures they stop cooking.
Storage Tips
-
In the fridge: Unpeeled hard-boiled eggs can be stored in the refrigerator for up to 1 week. Keep them in an airtight container or the carton to prevent them from absorbing fridge odors.
-
Peeled eggs: If you’ve already peeled them, store them in a container with a damp paper towel to keep them moist. Peeled eggs are best eaten within 2-3 days.
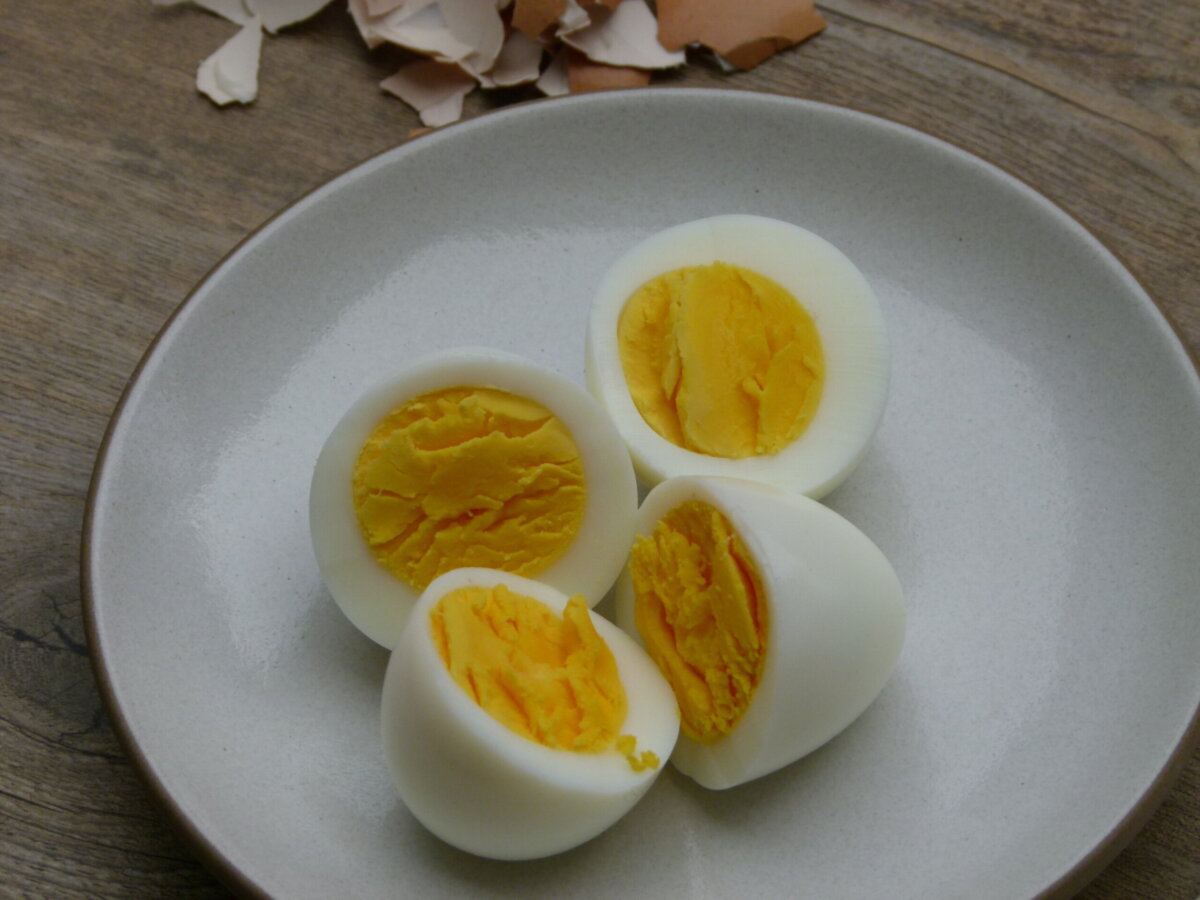
Fun Ways to Use Hard-Boiled Eggs
Hard-boiled eggs are such a versatile food. You can slice them up to top salads, mash them for egg salad sandwiches, or turn them into deviled eggs for a delicious appetizer. Another favorite is adding them to a grain bowl for an extra boost of protein or serving them alongside some avocado toast. Here are some other options:
-
Sliced on top of toast with smoked salmon or sliced avocado.
-
Deviled eggs — I think this recipe for Caesar Salad Deviled Eggs at Smitten Kitchen looks interesting.
-
Nicoise Salad — a composed salad of potatoes, green beans, tomatoes, tuna and hard boiled eggs.
-
Make my Lobster Cobb Salad.
-
In a filling for empanadas. I love my recipe which uses mixed greens, to which you can add a chopped hard boiled egg or two.
-
Pan Bagnat — a sandwich with sliced hard boiled eggs, tuna, tomatoes, onions. Check out Alton Brown’s recipe here.
-
Chopped over steamed or roasted asparagus. Then drizzle with one of my favorite everyday salad dressings.
Recipe FAQs
1. How do I make eggs easier to peel?
Using older eggs (around a week old) makes peeling easier because the egg white shrinks slightly away from the shell as it ages. Also, the cold water bath after cooking helps loosen the shell from the egg.
2. Can I cook more than one egg at a time?
Absolutely! You can cook as many eggs as you like using this method. Just make sure the eggs are in a single layer at the bottom of the pot, and there’s enough water to cover them.
3. Why do my yolks turn green?
That green ring around the yolk happens when eggs are overcooked. The method I shared ensures perfectly cooked yolks that stay bright and yellow!
4. What if I don’t have ice for the ice bath?
No problem! If you don’t have ice on hand, just run the eggs under cold water for a couple of minutes to stop the cooking process.
5. How long should I cook them if I want a soft-boiled egg?
For soft boiled eggs, follow the same method but reduce the sitting time to 6-7 minutes for runny yolks and 8-9 minutes for jammy eggs.
More Delicious Recipes
If you give this easy recipe a try, snap a pic and tag @pamelasalzman so I can see your beautiful creations. I also really appreciate readers taking the time to leave a star rating and review! I have started a weekly Monday newsletter with tips, musings, new recipes not published here, fun new finds, and more. Subscribe for free here.
For more delicious recipes and to learn how to be a better cook, check out my monthly online cooking classes. I have been teaching people for 15 years how to cook healthy food that their families love! Join me!
How To Make Perfect Hard Boiled Eggs
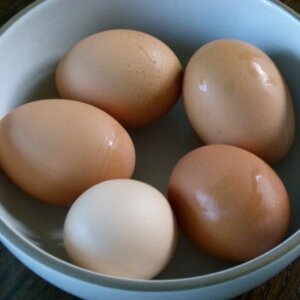
Ingredients
- Eggs
Instructions
- Place the eggs in a pot that’s big enough so the eggs won’t crash into each other. Fill the pot with enough cold water to cover eggs by an inch.
- Put heat on medium-high and bring the water to a full boil. Cover the pot, turn off the heat and set a timer for 10 minutes.
- In the meantime, prepare a bowl of ice water to accommodate the eggs. When the timer goes off, transfer the eggs from the pot to the ice water bath with a slotted spoon. Or drain them in a colander and run them under cold water if you’d like to eat them immediately.
- Store them in the refrigerator for up to 5 days.
Notes
- Use older eggs: Fresh eggs are harder to peel. For best results, buy eggs a few days before you plan to boil them for easier peeling. If this isn’t possible, add a half teaspoon of baking soda to a quart of water to make the cooking water more alkaline. Also, allow the eggs to firm up in the refrigerator before peeling.
- Let the eggs chill: Consider leaving the eggs in the ice bath for at least 10-15 minutes. This helps with peeling and ensures they stop cooking.
- Storage: Unpeeled hard-boiled eggs can be stored in the refrigerator for up to 1 week. Keep them in an airtight container or the carton to prevent them from absorbing fridge odors.
- Peeled eggs: If you’ve already peeled them, store them in a container with a damp paper towel to keep them moist. Peeled eggs are best eaten within 2-3 days.
 Like this recipe? Rate & comment below!
This post may contain affiliate links



I have tried it this way….multiple times. Tired using older eggs, etc. etc. But peeling them is sooooo much harder this way. The yolks look awesome – but the whites are awful. So I’ve gone back to the other way of boiling the water and then putting them in – and they peel fine. But – the yokes are so so! Uggh!
I really don’t have peeling issues with older eggs. But just curious, do you submerge the eggs in ice water after cooking regardless of the method? That’s the way to get the yolk from overcooking. 🙂
Yes – I do submerge the eggs…the yolks turn out perfectly! But the whites do not. I live in Colorado – so my guess is it’s the altitude….things really do vary a bit with the altitude….
Yes, altitude can mess with cooking, but it never occurred to me that it would affect egg whites. So interesting!
Thank you for the great tip !!! first time in my life my effort to make hard boiled eggs worked. This method is pure magic.
Terrific!
Can’t wait to try the baking soda trick (and maybe the pin prick as well). Our girls have been pumping out the eggs, and they never seem to be “old enough” to peel well!
Hi Pamela,
Thanks to your post, I finally boiled eggs I absolutely love! I let them sit for just 5 mins after the water comes to a boil and get a semi-soft yolk that is just perfect. I’m following your steps completely but still struggling with the peeling part. Mine go straight into the fridge right after the ice bath so I’m not sure what I’m doing wrong. I’ve read a bit about adding salt to the water when boiling but also learned that the cooking time needs to be adjusted if ones uses salt. Do you have any suggestions on what I could do differently to ensure smooth peeling of the shell?
Warm thanks,
Faiza
Really the best tip for easy-to-peel shells is boiling eggs that aren’t super fresh. All I do to peel is lightly smash the egg against a countertop or dishtowel and roll it a little and peel. Hope that helps!
I will try that, Pamela! Thanks so much!
This worked great, my eggs were perfect. Also, before cooking them I prick the fat end of the shell with a pin, to making peeling easier. Works every time (and I just bought my eggs today!)
Interesting tip about pricking the shell. I have read about doing that, but I’ve heard mixed results. I’m glad to know that it works. Thanks for sharing!
you need to prick the right end of the egg – i.e. the flatter end, where the air pocket sits. otherwise, as the temperature of the water rises, the air expands and hence the shell cracks. mind you, pricking the shell without cracking it isn’t easy either….
Hi athea. Yeah by the wide end I meant flatter end. I don’t pin my eggs anymore tho because I realize my success with them was only because they were not as fresh all those times. The baking soda does work well tho like Pam suggested. My eggs didn’t crack when I pinned them, but if you still do that you may want to try a thumb tack vs a needle.
I usually have 10-12 hard boiled eggs with some type of homemade muffin of some type usually always on hand for quick breakfasts. The eggs taste great but look horrible from attempts of peeling. I am so excited to try refrigerating them first before I peel my eggs… we have been getting fresh eggs from my brother in law for the last couple of years and we have tried so many different ways to peel them where they look edible. Thanks for sharing all the great tips on your website.
Oh Sariah, how lucky you are to have such a generous brother-in-law bearing fresh eggs! However, the freshness of the eggs is the problem with peeling. You can leave the eggs in the fridge a few days before cooking, which will help or just try the baking soda tip. Thanks for writing in!
When you store the eggs in the refrigerator, do you peal them fist? Is it easyer to peal them warm or cold?
Great question! I store hard boiled eggs unpeeled in the refrigerator because I think it makes them last longer and they don’t dry out. As for peeling, in general it is slightly easier to peel them while still warm UNLESS the eggs are super fresh in which case you’ll have an easier time if you refrigerate them.