Larabars were one of the first snack bars that I remember buying. There are no scary ingredients, no added sugars or colors, just dates and nuts. I liked having them for the kids in my diaper bag, as a snack for the plane when we traveled, and more recently for all-day soccer tournaments in the middle of Taco Bell-land. I don’t know why it never occurred to me that I could actually make them in my own kitchen. Without a special Larabar machine! And when I finally realized how disappointingly easy these are to make, I really wanted to hit myself over the head. And I could have been making them organic to boot!
I had so much fun teaching these bars in my classes last month. Once I revealed the secret ratio of dates to nuts (1:1 !), we came up with lots of interesting combinations of ingredients and shapes. The most important ingredient is something sticky to hold it all together. Usually Larabars contain dried dates, which you might remember are one of my obsessions! But I had success making bars out of raisins and dried cherries, too. Are we having fun yet?! Then take your pick of a nut or seed — I use either almonds, cashews, pecans or sunflower seeds. You can make a Larabar with just dates and nuts if you want. Or you can add some yummy things like chocolate, cacao powder, cinnamon, candied ginger, coconut, peppermint extract, instant coffee powder and so on and so forth. Are your wheels spinning?
These are very yummy, but let’s keep it under control and limit ourselves to one for a snack and not the whole delicious batch. After all, you wouldn’t sit down and eat 14 dates just because. I also wouldn’t use these as a meal replacement because they generally have under 200 calories which ain’t enough for anyone. Larabars get bonus points with me because you can make them in approximately 5 minutes and they last for a heck of a long time in the refrigerator or freezer.
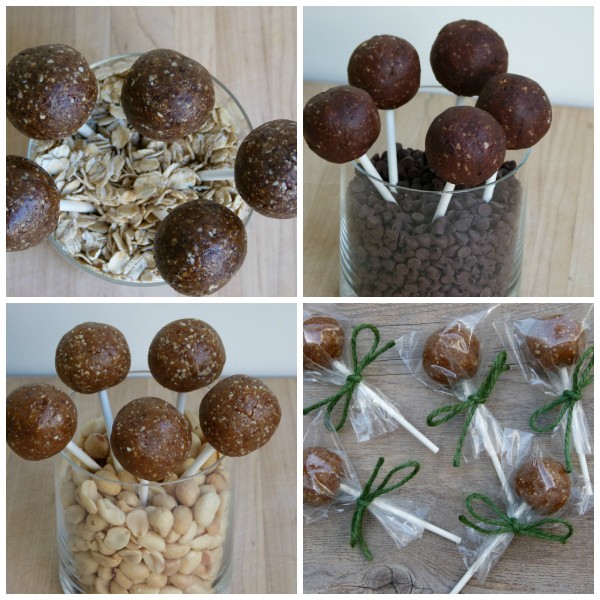
I thought it would be great to post this “recipe” now because Easter and Passover are coming up. Larabars are a great Passover snack because there’s nothing not kosher for Passover in them, unless you use peanuts. I think making them in the shape of a traditional Larabar is great, but you can also make little mini squares, or shape them into small, flat discs like a cookie, or a little round ball like a truffle. And then I went to Michael’s and bought lollipop sticks and made…Laralollipops!! How cute would these be for Easter? Dip them in chocolate if you have to! I’ve given three different combinations here, but you can really make up your own according to what you like. Or go over to the official Larabar site and copy some of their flavors. Just don’t tell them I sent you!
Homemade Larabars and Laralollipops!
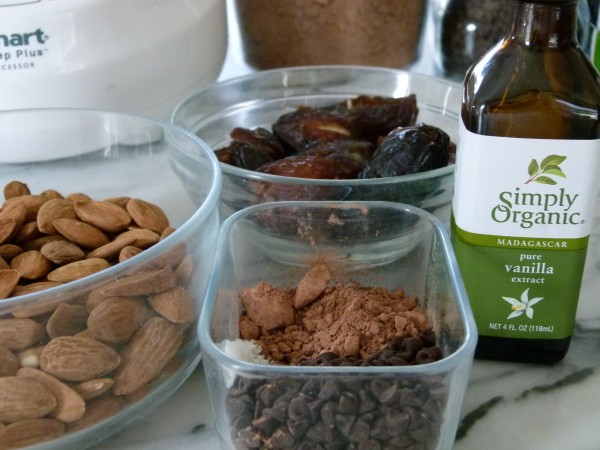
Ingredients
- CHOCOLATE:
- 1 ¼ cup dried, unsweetened dates (about 14), pitted
- 1 ¼ cup whole raw almonds, cashews or pecans
- 2 Tablespoons unsweetened cocoa powder or raw cacao powder
- ¼ cup semi-sweet MINI chocolate chips or shredded unsweetened coconut, optional
- ¼ teaspoon pure vanilla extract
- 1/8 teaspoon sea salt
- OATMEAL RAISIN:
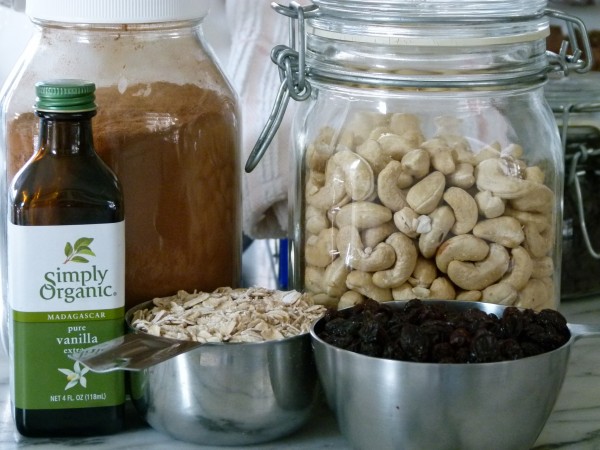
- 1 cup unsulphured raisins, or dried cherries for an oatmeal cherry bar
- ¾ cup rolled oats, not quick cooking or instant
- ¾ cup raw cashews or pecans
- ½ teaspoon ground cinnamon
- ¼ teaspoon pure vanilla extract
- 1/8 teaspoon salt
Instructions
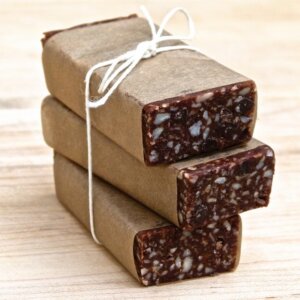
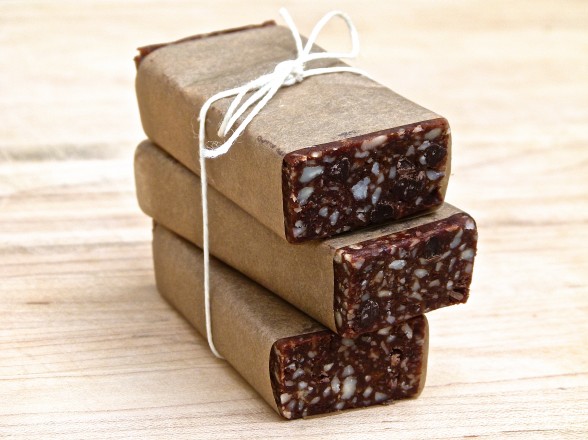
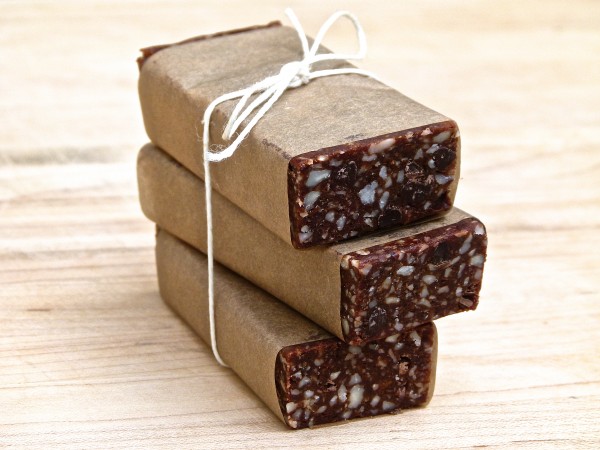
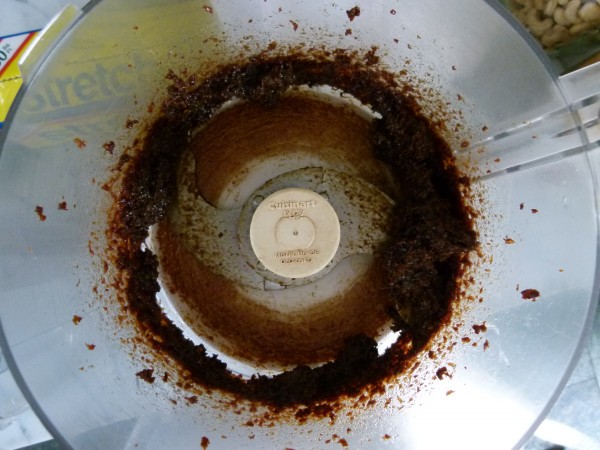
- The easy way to do this is to place all of the ingredients (except chocolate chips) in a food processor and process until the mixture comes together in a tight ball (about 2 ½ minutes). Everything will be really finely processed. See the lollipop images for what that looks like. Or if you want a little more texture from the nuts, process the nuts and dates separately and mix them in a bowl with the remaining ingredients. See the other images for examples of that.
- The chocolate chips can be added at the end and mixed in with your hands.
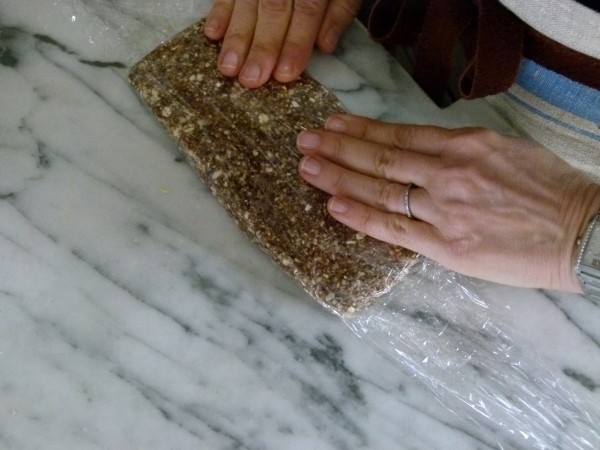
- Lay a piece of plastic wrap on the counter and transfer the ball to the plastic wrap and press down to start to flatten into a rectangle. Fold the excess plastic over the top and use your hands to shape and flatten the mixture until it is about ½” thick, about 9” across and 3” down. Or make whatever shape you want!
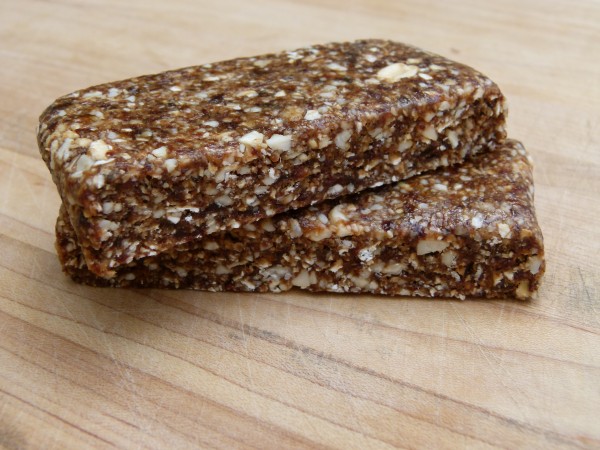
- Refrigerate for a couple hours until firm and slice as desired. Keep wrapped in the refrigerator. Or transfer unwrapped bars to a tightly sealed container.
Notes
 Like this recipe? Rate & comment below!


It’s a year since you posted this. I just made both versions for a long haul international flight tomorrow and looking forward to my mid-flight snack! Thank you!
Perfect travel snack! 🙂
Hi – do you think these can be made successfully in a Vitamix (vs a food processor)?
The problem withe the VItamix is that is doesn’t handle thick, sticky stuff that well. Stuff gets stuck in the bottom and the food from the top doesn’t get mixed. That said, I haven’t tried this recipe with the Vitamix, but I am guessing that’s what would happen. :/
Hmmm. I may actually buy a food processor just to make these then!!
Just made a double batch of them and they are delicious!! Thank you!
Super! 🙂
Thank you! Thank you! Thank you! I’ve been waiting not so patiently for this post since you tweeted about them 🙂
Sweet. Have fun with these, Ginny!