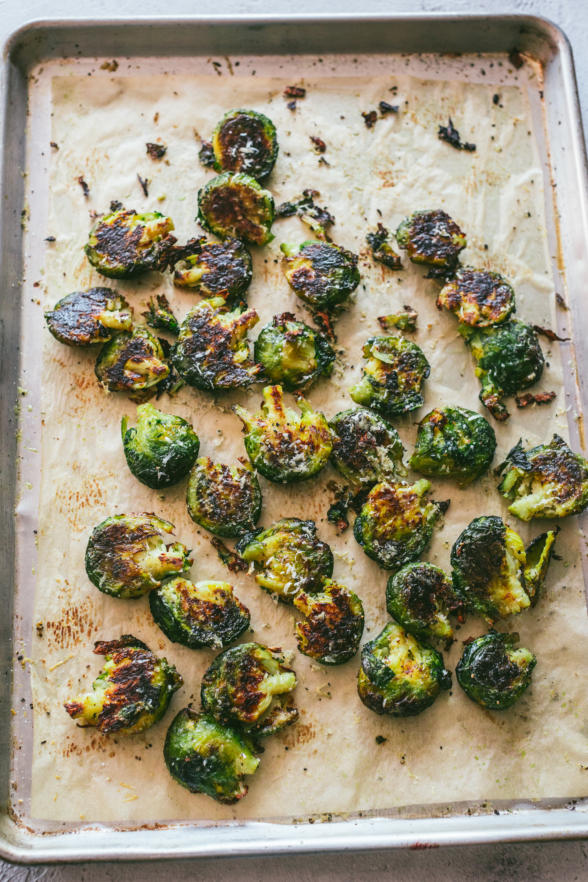
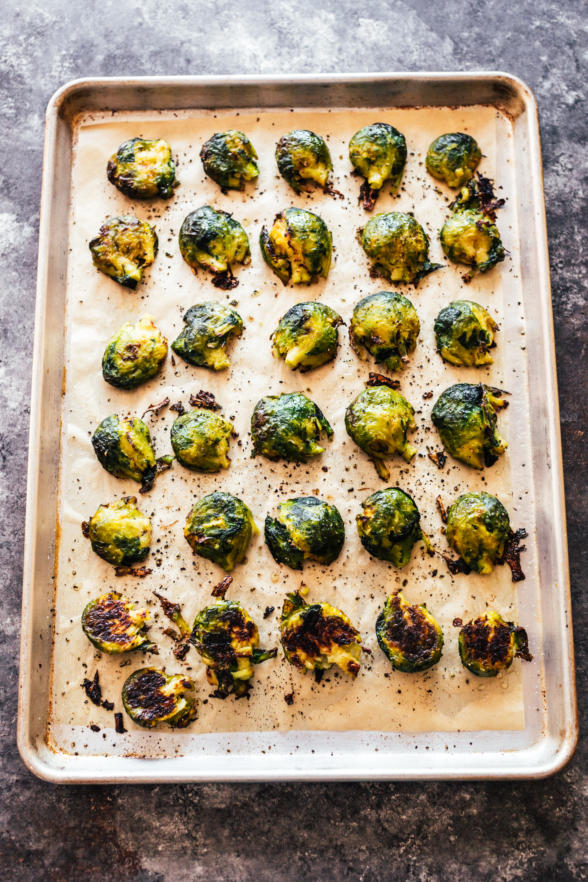
When I was a kid, I never thought Brussels sprouts would ever have “a moment.” I only saw them in frozen, thawed and boiled form. Awful. Mom, it wasn’t your fault. Everyone did the same thing. Someone had the sense to roast them, fry them, or saute them and a Brussels sprouts went viral. They appeared on every trendy restaurant menu and people were even ordering them to share as an appetizer! I love a good comeback. Or is this not even a comeback because no one liked them to begin with? Hmmmm……
My son, Mr. Picky, has a limited range of vegetables he will eat. Fortunately, he is fond of most of the cruciferous vegetables (arguably the most nutritious class of vegetables) like cauliflower (he will eat an entire head of roasted cauliflower florets in one sitting), broccoli, bok choy (loves the recipe in the veg section of Kitchen Matters,) and Brussels sprouts. I know, I know. He’s not that picky anymore, but he loves the name so we go with it.
I try harder to keep it interesting in the veggie department than any other food category. It’s the most important food group and I want my family to be exposed to vegetables every which way and to love them. When your mom said, “eat your vegetables,” she knew what she was talking about, even if she didn’t know how to cook Brussels spouts well.
These Brussels sprouts are a take on my Roasted Smashed Potato recipe which Mr. Picky is crazy about. I figured why not combine two of his favorite recipes and see what would happen. Deliciousness is what happened! And my cooking class students agreed. The only complaint was that there are two steps here – a blanching step and a roasting step. It’s worth it and it’s totally fun to smash the sprouts. Follow my method outlined in the recipe. I’ve made these at least 30 times and there is definitely an easier way to smash them.
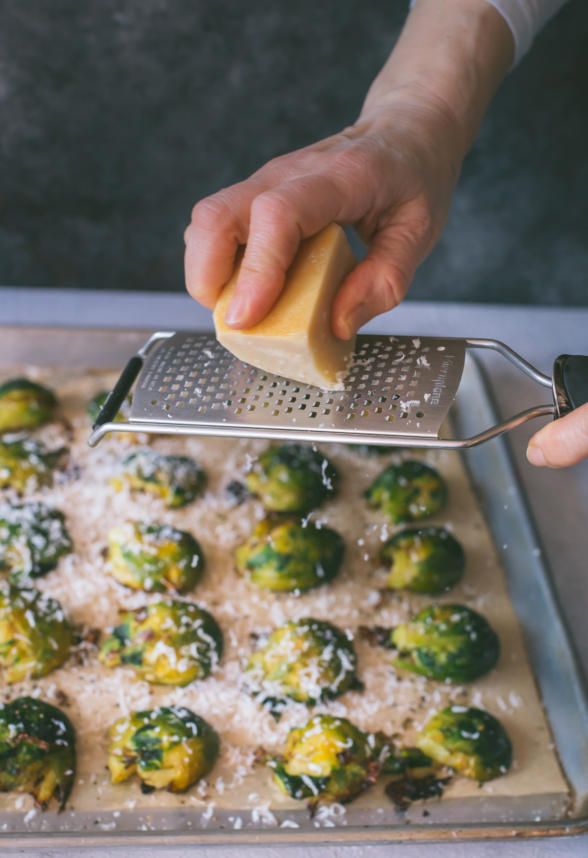
I added Parmesan cheese at the end just for the heck of it. I’ve added lemon zest as well, and that was also yummy. You could finish these with an aged balsamic vinegar or toss them in a lemon, caper, garlic, butter/oil mixture when they come out of the oven and that would be delicious, too. What’s nice about this technique is that the sprouts are soft and not tough in the core, and by smashing them you get more surface area for rough, crispy edges. Best of all worlds if you ask me!
You could serve these with anything, truly – any animal protein or vegetarian main; as part of a grain bowl or Buddha bowl; or like the cool kids do, with cocktail plates as an appetizer with a dip or garlic bread!
You know what is almost as awesome as Mr. Picky polishing off a plate of these Brussels sprouts? If you guys make them and tag me so I can see the photo!! @pamelasalzman #pamelasalzman It totally makes my day AND it encourages your followers to try making healthy food at home. You see how this all works? Can’t wait to hear what you think!
You can shop the tools I used for this recipe by clicking on the images below:
Smashed Parmesan Brussels Sprouts
Ingredients
- 1 1/2 pounds large Brussels sprouts, ends trimmed
- kosher salt
- 1 1/2 Tablespoons unrefined, cold-pressed olive oil or avocado oil
- sea salt
- freshly ground black pepper to taste
- 1/3 cup grated Parmesan or Pecorino cheese, optional
Instructions
- Preheat oven to 425 degrees F. Line a large rimmed baking sheet with unbleached parchment paper.
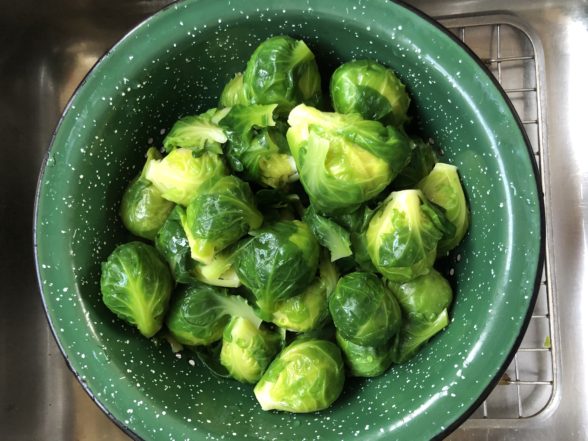
- Bring a large pot of water to a boil over high heat. Add a handful of kosher salt and the Brussels sprouts. Cook until tender, but still bright green, about 8-10 minutes for large sprouts. Smaller sprouts will take less time. Then drain them in a colander with cold water.
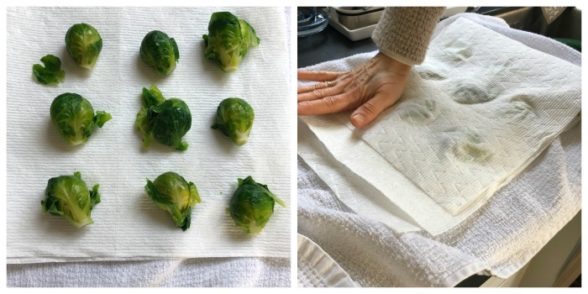
- Lay a kitchen towel on the countertop and place a layer of paper towels on top of the kitchen towel. Arrange the Brussels sprouts in one layer, but not touching, on the paper towel. Place another paper towel on top of the Brussels sprouts and fold the kitchen towel over the paper towel (or use a second kitchen towel.) Lightly smash each Brussels sprout with the heel of your hand, a metal measuring cup or the bottom of a coffee cup. The easiest way is with the heel of your hand.
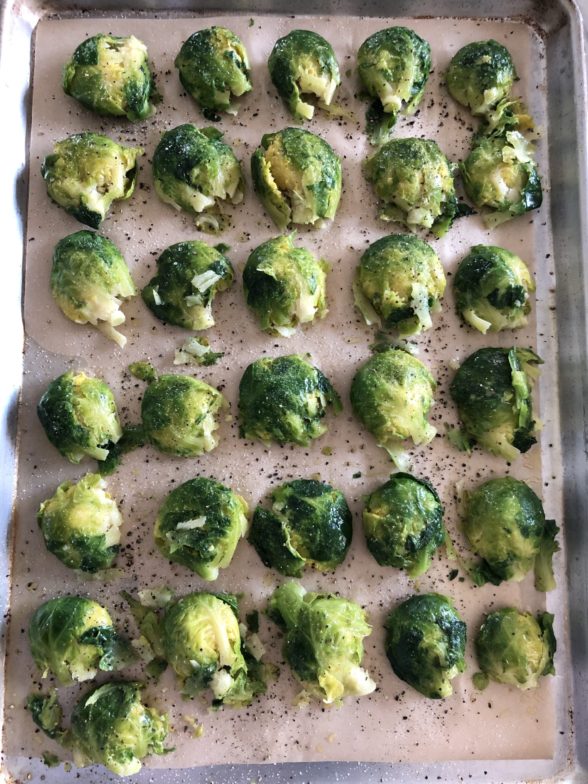
- Drizzle the parchment paper with oil and arrange the smashed Brussels sprouts and any loose leaves on top. Turn to coat in the oil, adding more if necessary. Sprinkle with salt and pepper. Bake until top and bottom of the sprouts are golden, about 20-25 minutes. When they come out of the oven, toss with grated cheese if desired.
Notes
 Like this recipe? Rate & comment below!
Click here to learn more about my online cooking classes! If you like my recipes, you’ll LOVE my cookbook “Kitchen Matters”! If you have 1 minute, would you mind leaving a review on amazon? I would be so grateful, thank you! My new cookbook, Quicker Than Quick, is available for pre-order!





Thinking of making this for Thanksgiving but want to do as much prep ahead of time as possible. Could I boil and smash the brussels sprouts the day before, store in the fridge, and then toss with oil and roast the day of Thanksgiving? Thanks!
I haven’t tried it, but I don’t see why it wouldn’t work. When blanching vegetables in advance, I do recommend shocking in ice water so they don’t continue to cook. If I were you, I would test this out with at least one Brussels sprout (you can try it now), boil until tender, shock in ice water for a few minutes, and then smash and store in the fridge until the following day.
Thanks! And great idea to try with one first. I will do that.
These are delicious! My kids and husband all loved them.
Great to hear!
Made these last night for the 1st time. SO easy and so good. 🙂
Thank you,
Kristina
Yes! So happy you tried them!
Hi Pamela, just wondering, boiling the Brussels sprouts don’t they lose their vitamins? I feel like I’ve always been told to steam and not boil because of the loss vitamins. I might be wrong! Thanks!
Cooking vegetables reduces their vitamin content, yes. Steaming tends to preserve the maximum amount of vitamins, but it does not result in a tasty Brussels sprouts unfortunately.
Technically yes, but by cooking (in any way) them you’re making more of those nutrients available to your system so call it even.
If it really matters to you then roast them slowly, say 30 mins at 275, instead of boiling. Then take them out, smash, and continue the rest of the recipe. It’s probably about the same amount of work, but the boiled ones won’t be as bitter.
In reality, if you’re worried about losing nutrients, the mainncukprit will be the paper towels you use to smash them. Is you smash them after they’re on the baking sheet without a towel you’ll retain some, but we’re talking such a small loss who cares?
Hi Pamela! These look delish – I love roasting veggies! Do you need the parchment paper? Couldn’t you roast them directly on the pan? Can’t wait to try these!
You don’t need the parchment, but most sheet pans are nonstick or aluminum. Both those materials leach when heated. It’s a good practice to not cook directly on these materials all the time. Once in a while, no big deal.
I finally had the chance to make these and they are amazing! So worth the extra step! I did not add cheese (and I add cheese to everything 😉 Thank you!
Great! You don’t really need the cheese as you saw. It’s a good template to mess around with. 🙂