Skip to content
Get Pamela’s Monday Musings Newsletter! →
About
Recipes
Classes
Bootcamps
Bootcamp Portal Login
Shop
Contact
Newsletter
Online Class Login
Search
Home
›
mint
›
Page 2
mint
Recipes
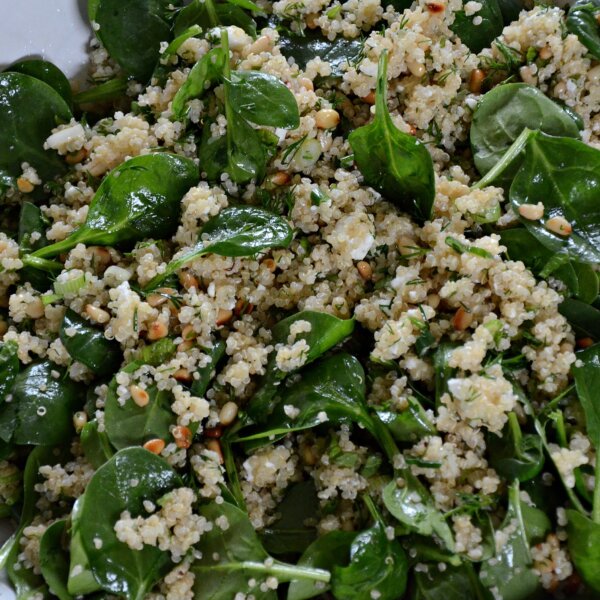
Spinach and Quinoa Salad with Feta and Dill
Legumes
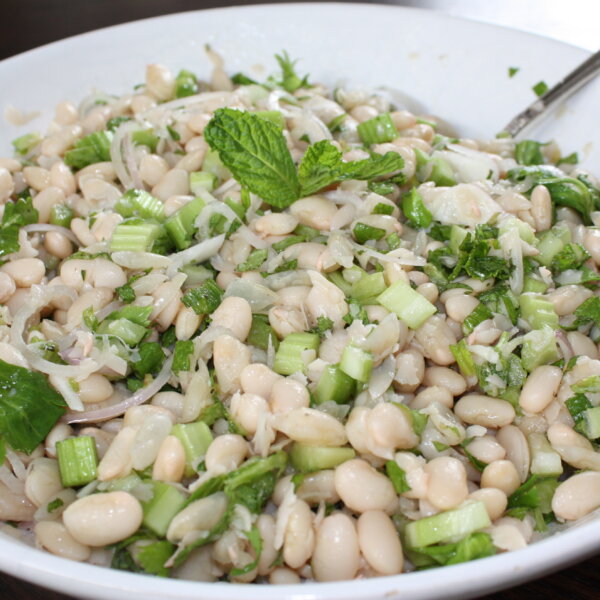
White bean salad with celery and mint (and sometimes tuna)
Recipes
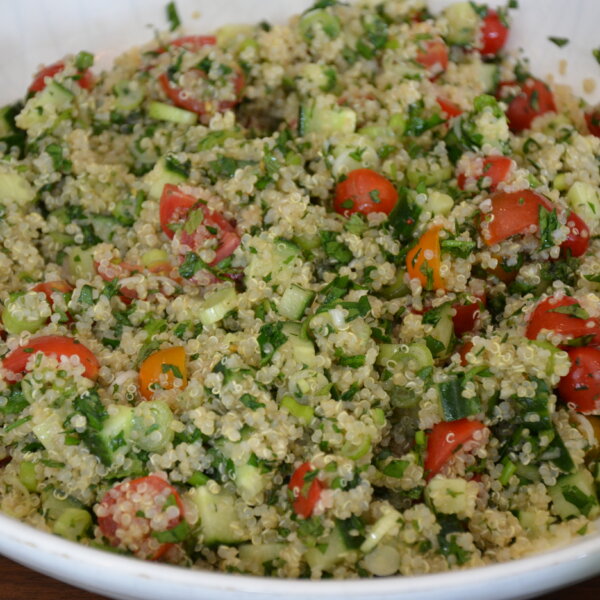
Quinoa Tabbouleh Recipe
Recipes
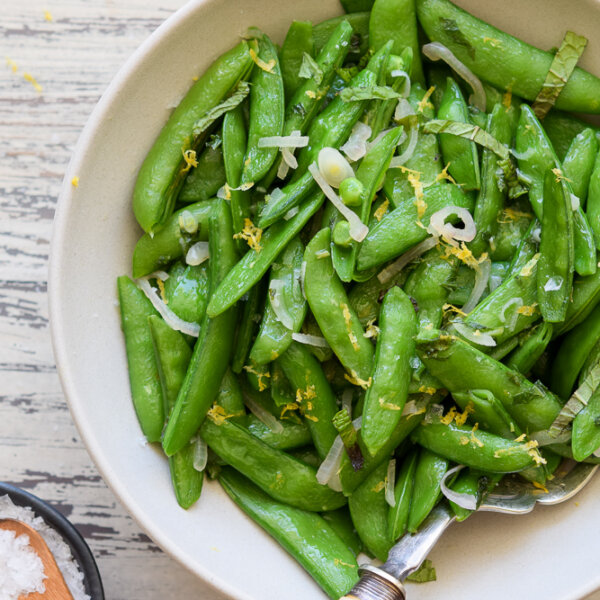
Minted sugar snap peas recipe
Posts navigation
Go to Previous Page
1
2