Skip to content
Get Pamela’s Monday Musings Newsletter! →
About
Recipes
Classes
Bootcamps
Bootcamp Portal Login
Shop
Contact
Newsletter
Online Class Login
Search
Home
›
Basics
›
Page 4
Basics
Recipes
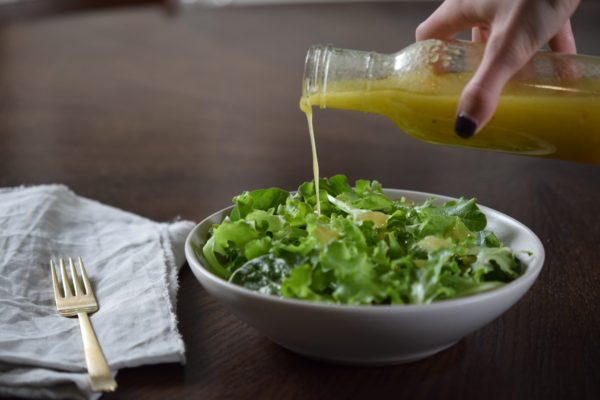
My favorite everyday salad dressing recipes
Recipes
How to make fresh pumpkin purée recipe
Basics
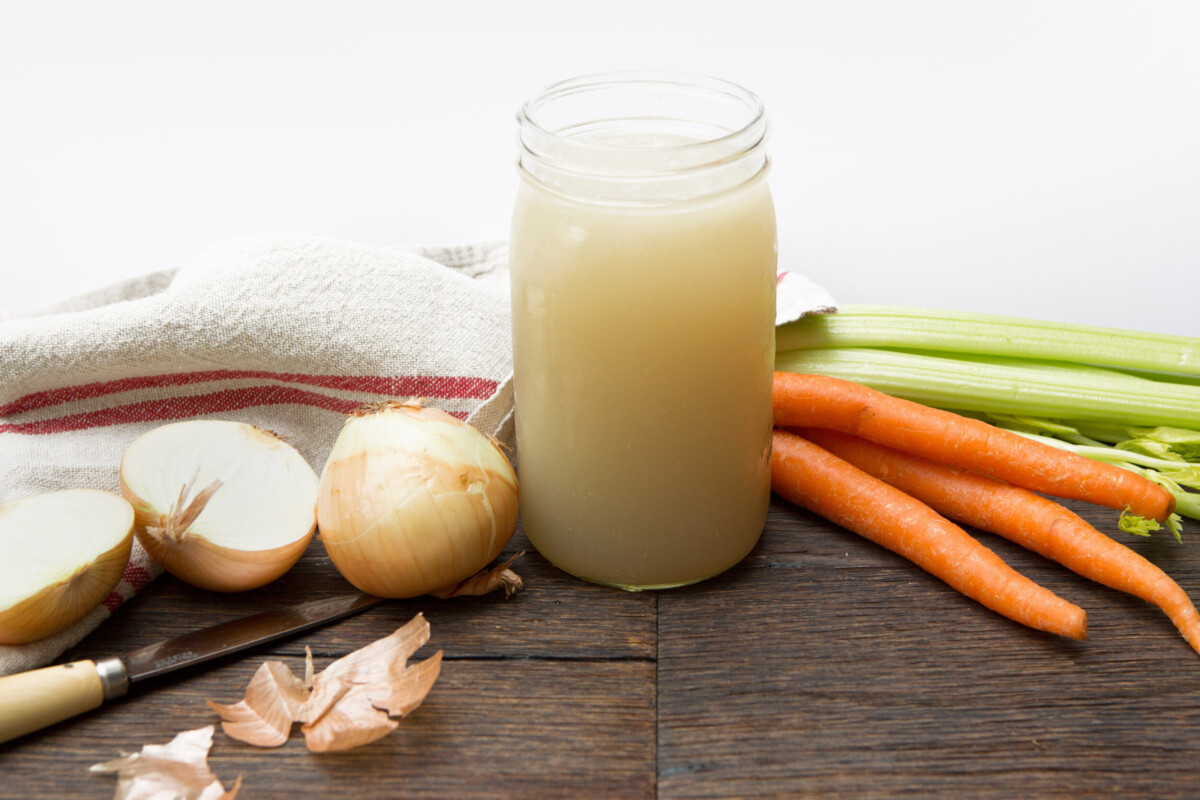
The Only Chicken Stock Recipe You’ll Ever Need (From Scratch!)
Posts navigation
Go to Previous Page
3
4